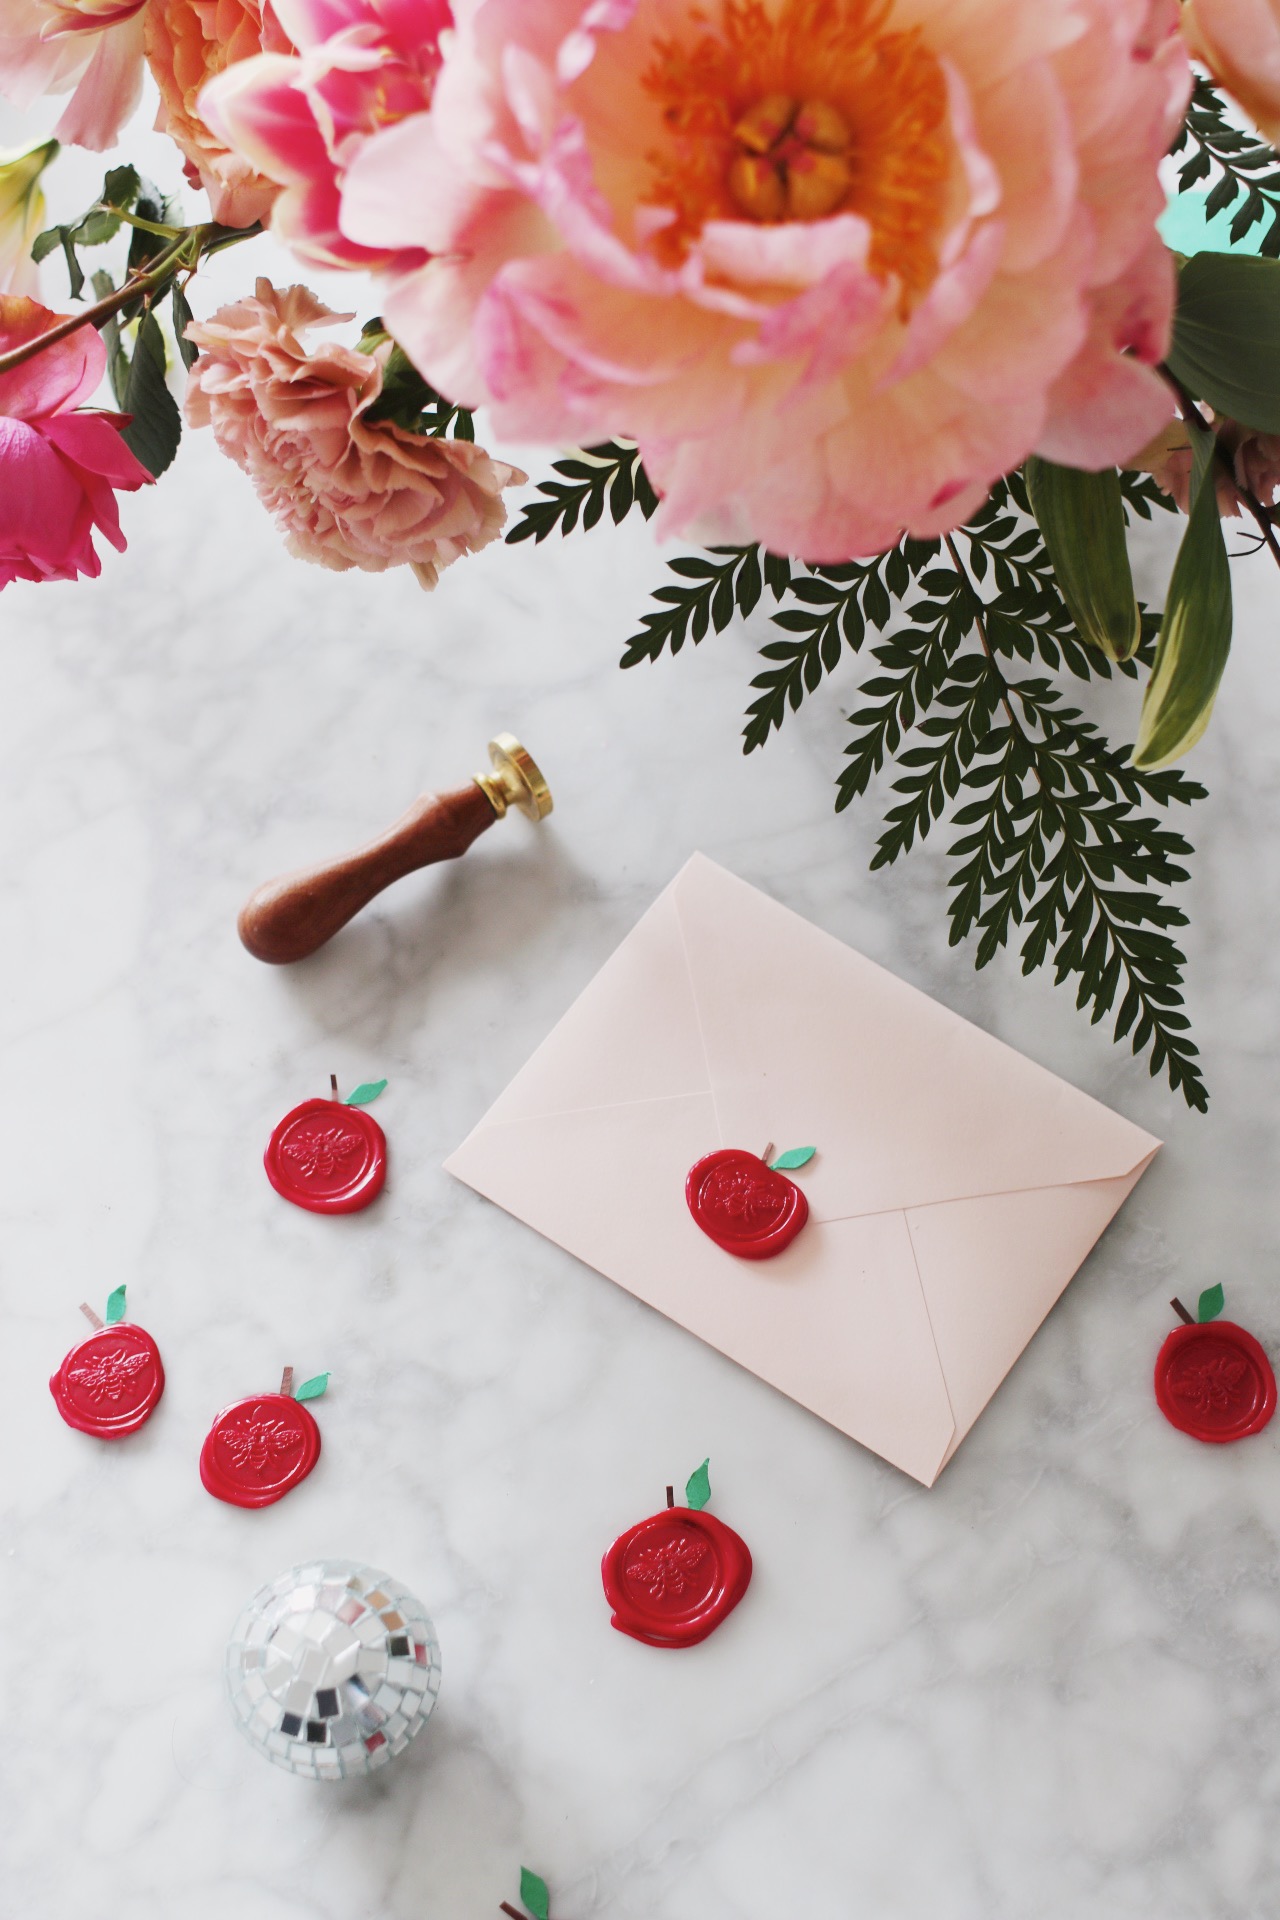
I hereby confess that I am obsessed with—no, addicted to—making wax seals. It’s just so darn satisfying. If you can’t see the appeal, you’ve clearly never plopped an ice-cold stamp onto a pile of hot wax and watched as the whole thing solidified before your eyes like Lot’s WIFE.
Admittedly, I wasn’t always this way. I didn’t always scour Amazon late at night for deals on wax beads and new warmer spoons. This is a new hobby. About, um, one week old, to be precise. See, for months, I just couldn’t get the idea of apple-shaped seals out of my head. You know how it is.
Narrator: They did not, in fact, know how it is.
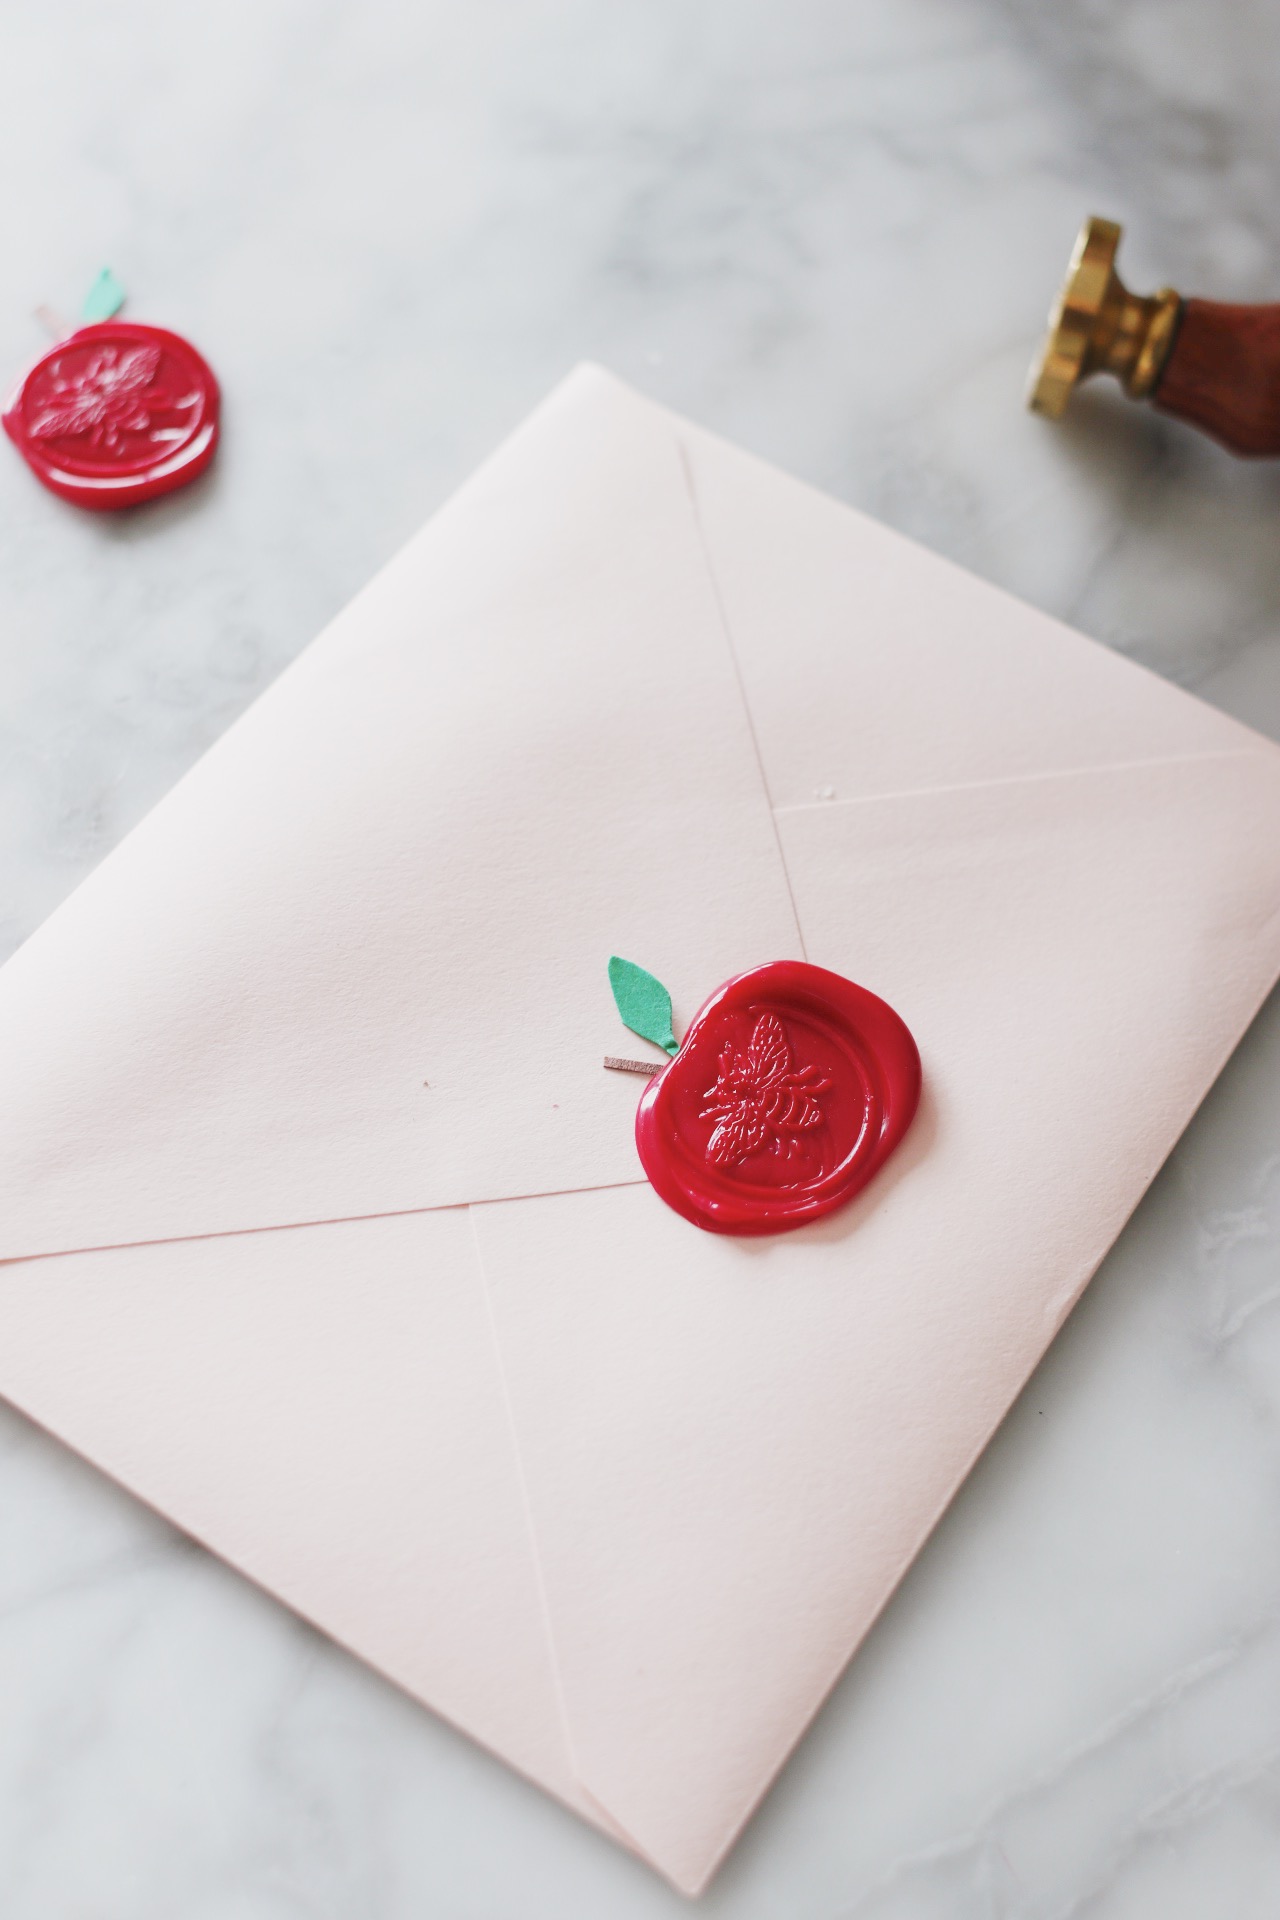
Anyway, I’m so glad I followed through with my impulse bee stamp purchase. I love the way these turned out, and honestly, for a last-minute, on-a-whim sort of project, that’s something of a miracle. I initially imagined including these apple-shaped wax seals on Rosh Hashanah cards as a creative finishing touch, but they’d also look lovely on place cards, menus, hostess gift tags, and other paper goods. I also considered affixing one to each of the honey-tasting worksheets on this year’s Rosh Hashanah tablescape, and only changed my mind because the red sort of clashed with all the gold tones I had going on.
In any event, they’re lovely and so worth your time. Find the full tutorial below!
What You’ll Need:
- 1 sheet of green card stock
- 1 sheet of brown card stock
- For adhesive/pre-made seals: Small sheet of parchment paper and double-faced adhesive for wax seals
- For on-envelope seals: Closed, ready-to-seal envelopes!
- Pencil
- Round bee-shaped sealing stamp (or other round stamp of your choice)
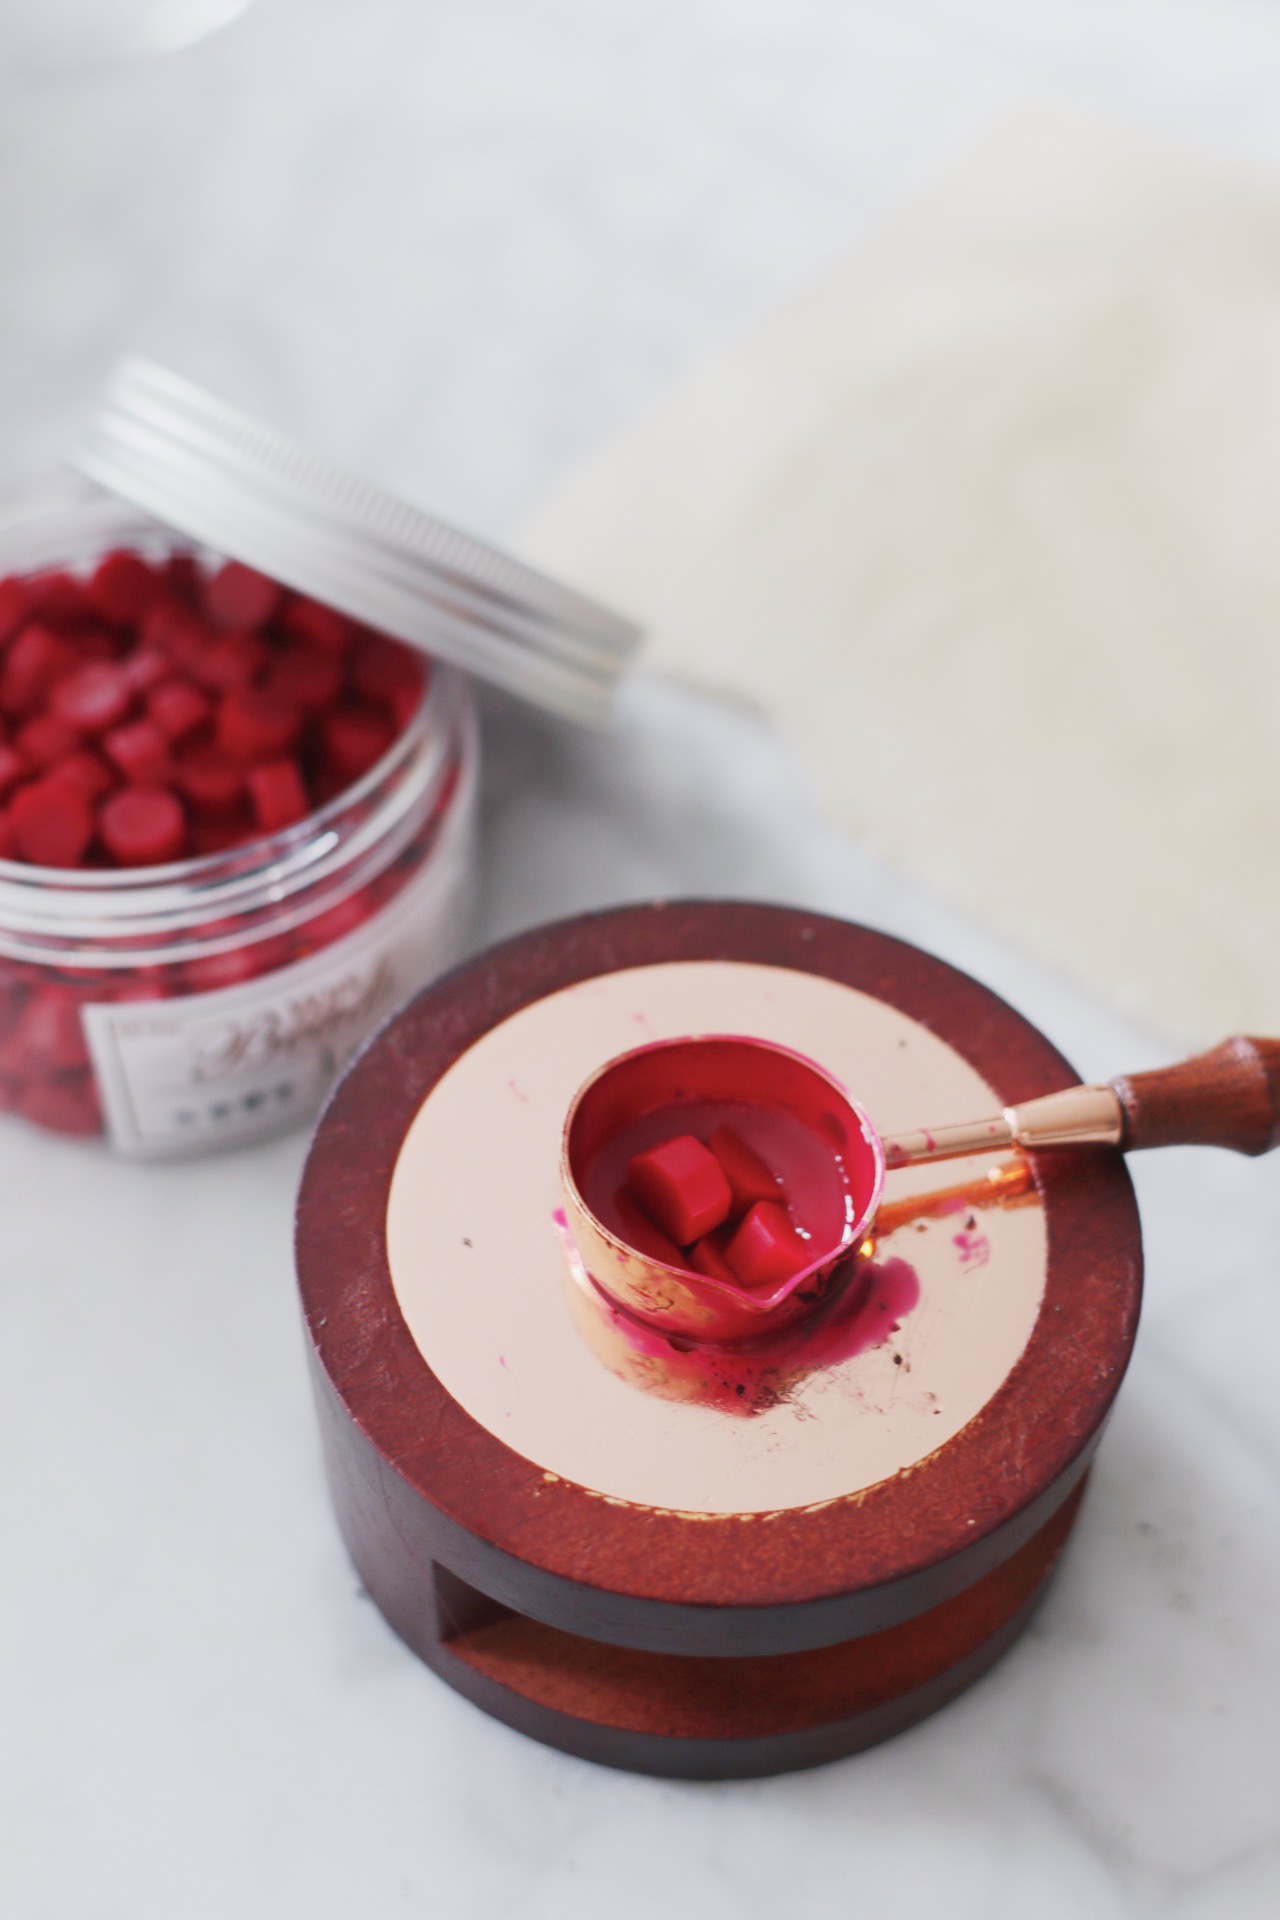
- Red sealing wax beads
- Wax seal warmer
- A tealight candle (and a lighter or box of matches)
What You’ll Do:
- Mark and chill your stamp: In order to determine which side of the stamp is the “top,” use a pencil to mark a faint line extending upwards on the top-most side of the metal circle. Then, place it into the freezer to chill for a few minutes while you prepare the other materials and heat the wax.
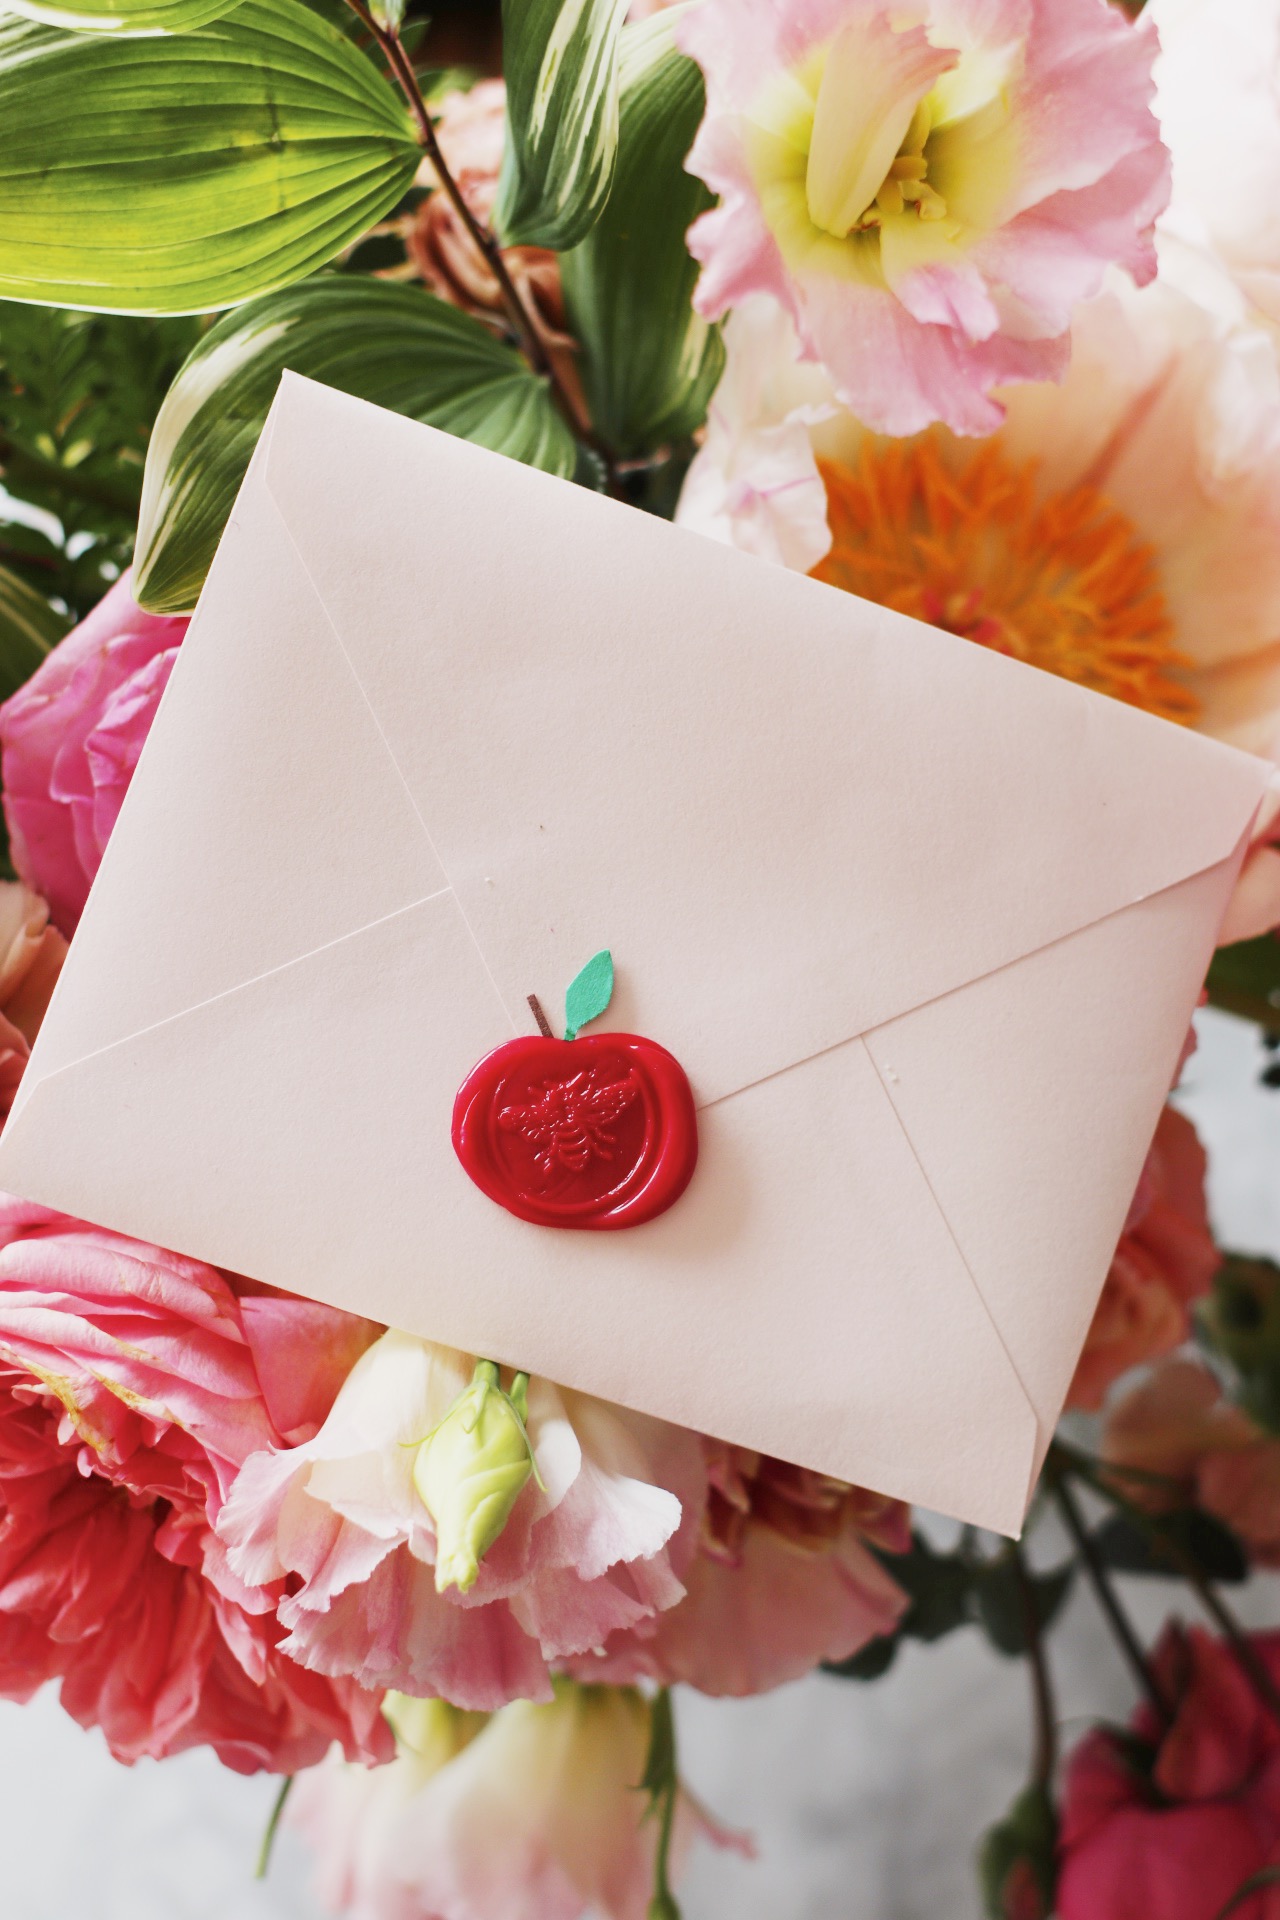
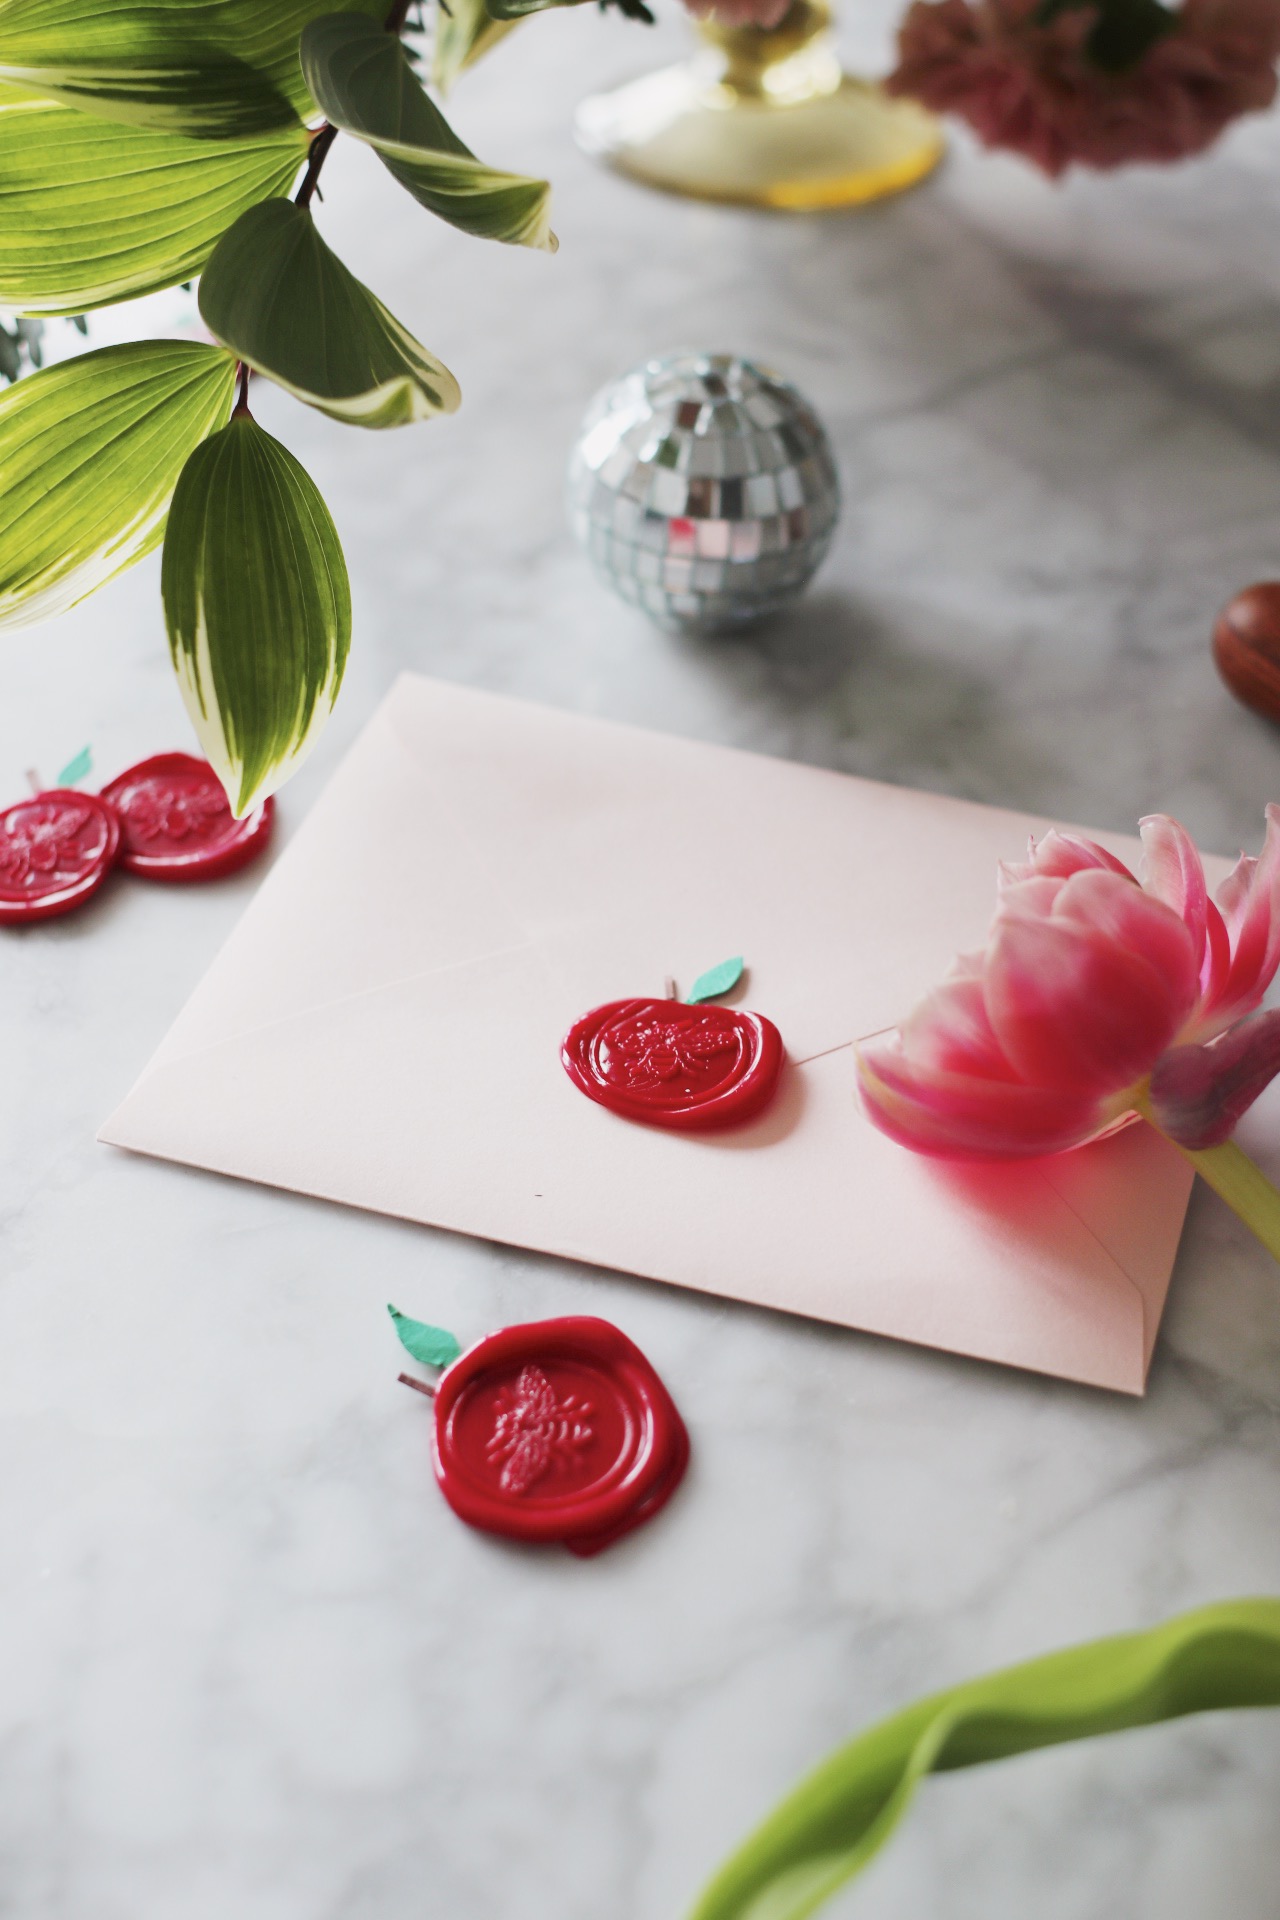
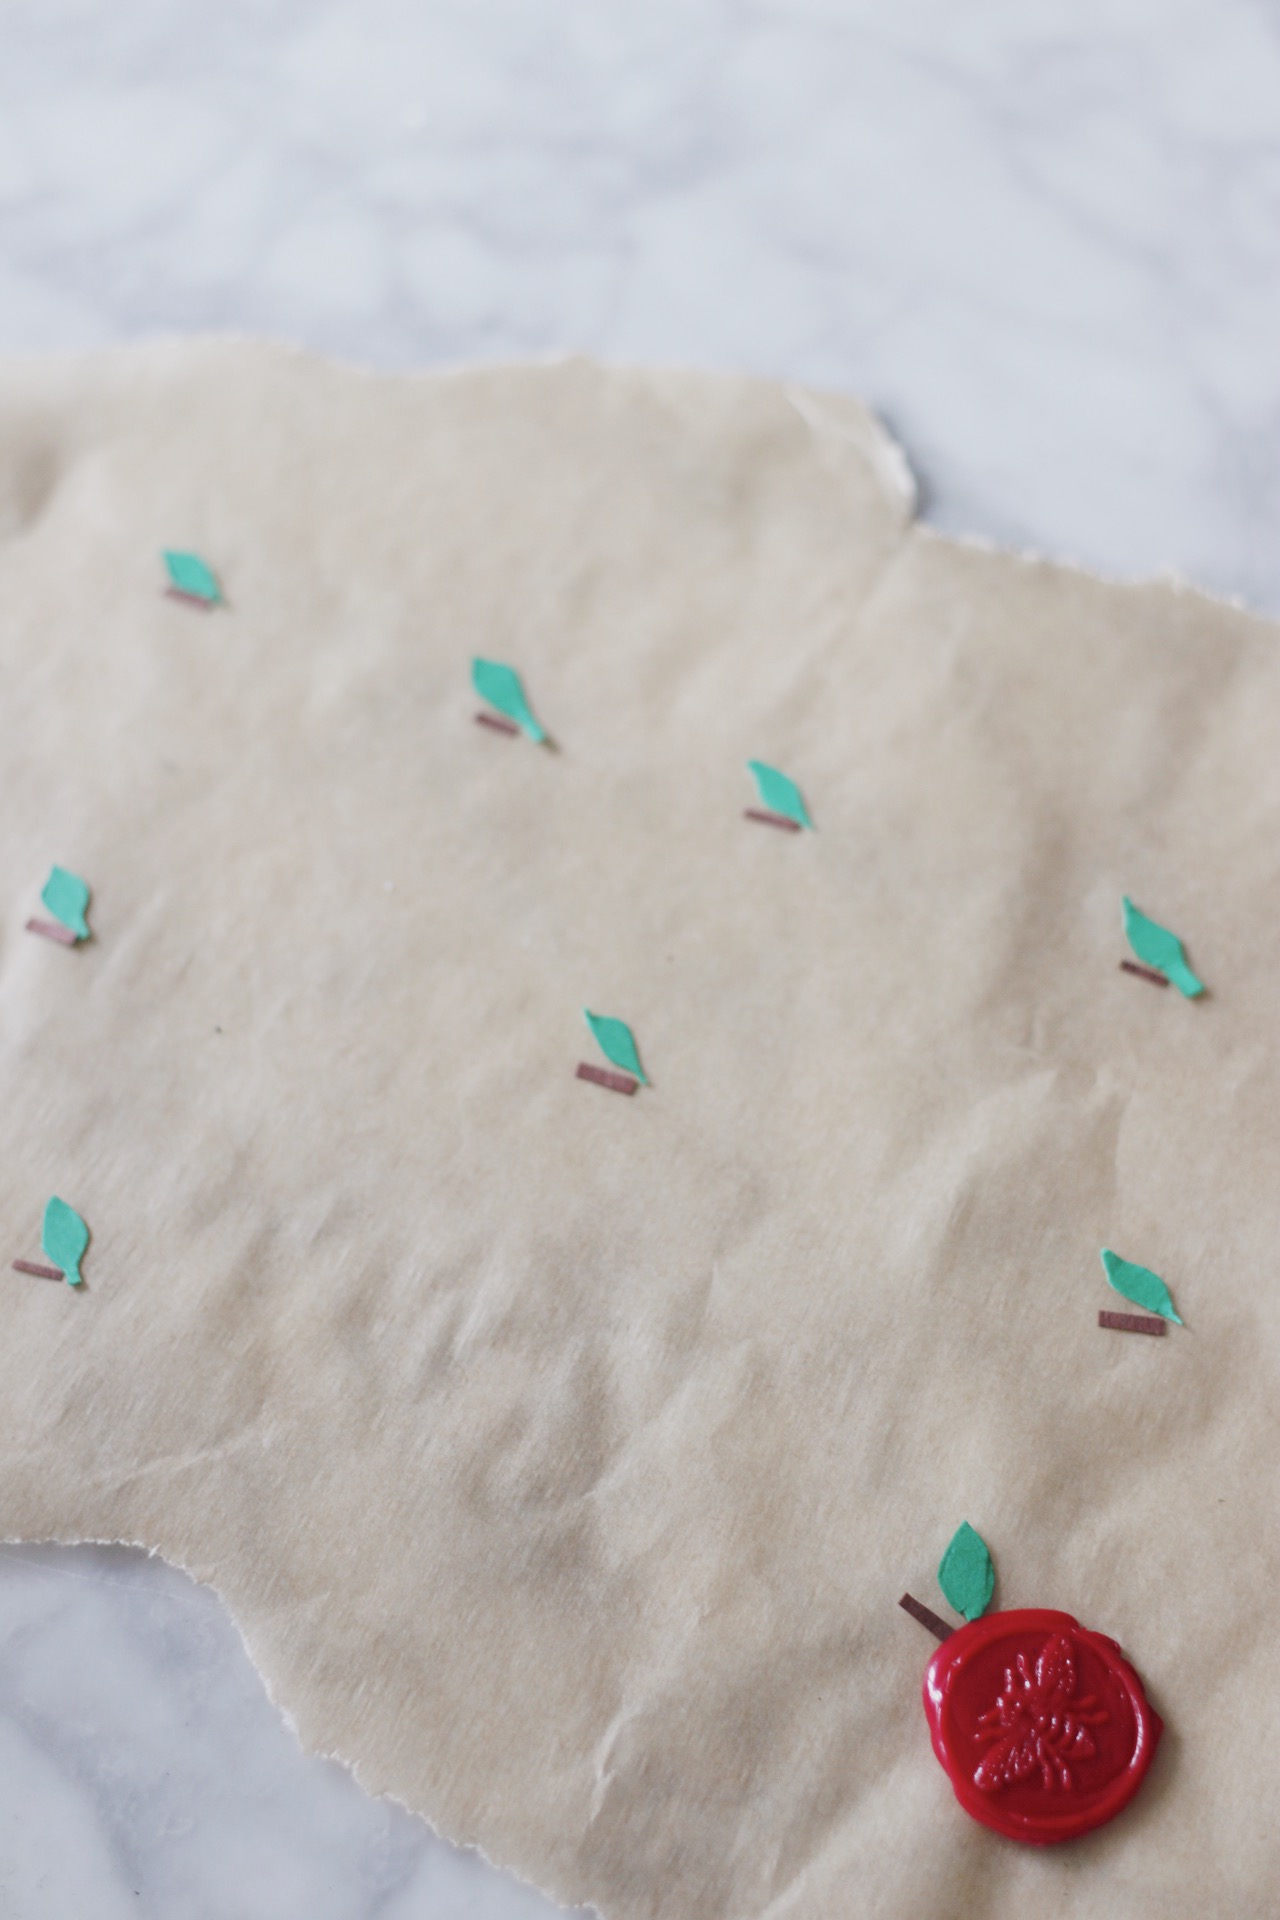
- Make the apple “leaves” and “stems”: Look to the photos on this page for inspiration, then cut several leaf shapes out of the green card stock (about 3/4″-inch long) and an equal number of stem shapes out of the brown card stock (very thin, 3/4″-long rectangles).
- Prepare your crafting area! Things move quickly when you’re working with hot wax, so this is an important step. For make-ahead seals, you’ll need to lay out a sheet of parchment paper and arrange your leaves and stems on top (as shown); for any envelopes you’re looking to seal, just make sure they’re close at hand, pre-closed, with the address side down and the leaves and stems similarly pre-arranged. Nearby, you’ll also want a sandwich-sized plastic bag filled with a few ice cubes and a few tablespoons of water. You’ll use that to keep your stamp chilled when you’re heating up more wax between each seal’s individual process. See notes below this tutorial for more information.
- Heat the wax: Light the candle beneath your wax warmer, then add 5 wax beads to the spoon and place it on top to heat (depending on the size of your stamp, you could opt for less or more beads ; for my 1″ round stamp, 5 beads worked perfectly). Let the beads heat up until fully melted, but don’t let them sit too long on the flame or you’ll end up with a bubbly consistency. (If the wax does begin to bubble, just remove the spoon from the warmer for a minute. You could also give it a stir with a toothpick to pop any bubbles that do show up.)
- At this time, retrieve your stamp from the freezer and place it near your workstation.
- Pour the wax: When the wax has melted, gently tilt the spoon to pour it onto the prepared parchment paper (or directly onto your envelopes!) in small, widening circles, spiraling outwards, just reaching the bottom of the apple leaf and stem (you want the seal and the paper shapes to touch so that they connect). It’s fine if you don’t achieve a “perfect” shape here; in fact, I personally love the more organic look of a messy circle, especially when it comes to wax seals—they look lovelier and more old-fashioned that way.
- Stamp the seals: Immediately or within just a few seconds, place your chilled stamp onto the hot wax and press gently into place. Wait about 8-10 seconds for the wax to cool. Carefully lift the stamp to reveal your “apple” seal! If you opted for the parchment paper route, you can add the self-adhesive backing at this time; otherwise, your envelope should be sealed and ready to go.
Helpful Notes:
- Before starting on the next seal, make sure you re-chill your stamp. I mentioned this above, but I like to keep an ice-filled sandwich bag nearby for this reason—it’s easier than running back to the freezer between each seal. Just watch out for any condensation that appears on the metal part of the stamp; you’ll want to wipe that away with a paper towel or cloth before placing it back down onto a new seal; the water droplets can leave imprints on the hot wax.
- To send these wax seals to a friend, you can do one of three things:
- House your entire creation within a second “outer” envelope. This way, your delicate stem and leaf won’t get harmed in the post, but you’ll still be able to send the real thing as is. Easy! (Yes, you can mail a wax seal as is, but seals on the exterior of an envelope require an additional $0.21 of postage per envelope anyway. There are “additional ounce” stamps you can purchase that are exactly $0.21 each, but I personally think it’s just easier to throw on that second envelope and call it a day.)
- Hand-deliver the envelopes! An obvious solution, but it’s worth mentioning. If you’re able to drop them off into your neighbors’ mailboxes yourself, that’s definitely ideal.
- Use them on other paper goods, like menus, place cards, gift tags, etc.—then there’s no need to worry about the post at all.
- I’m sure you’re now wondering how to clean the wax warmer! I thought this video was really helpful.
