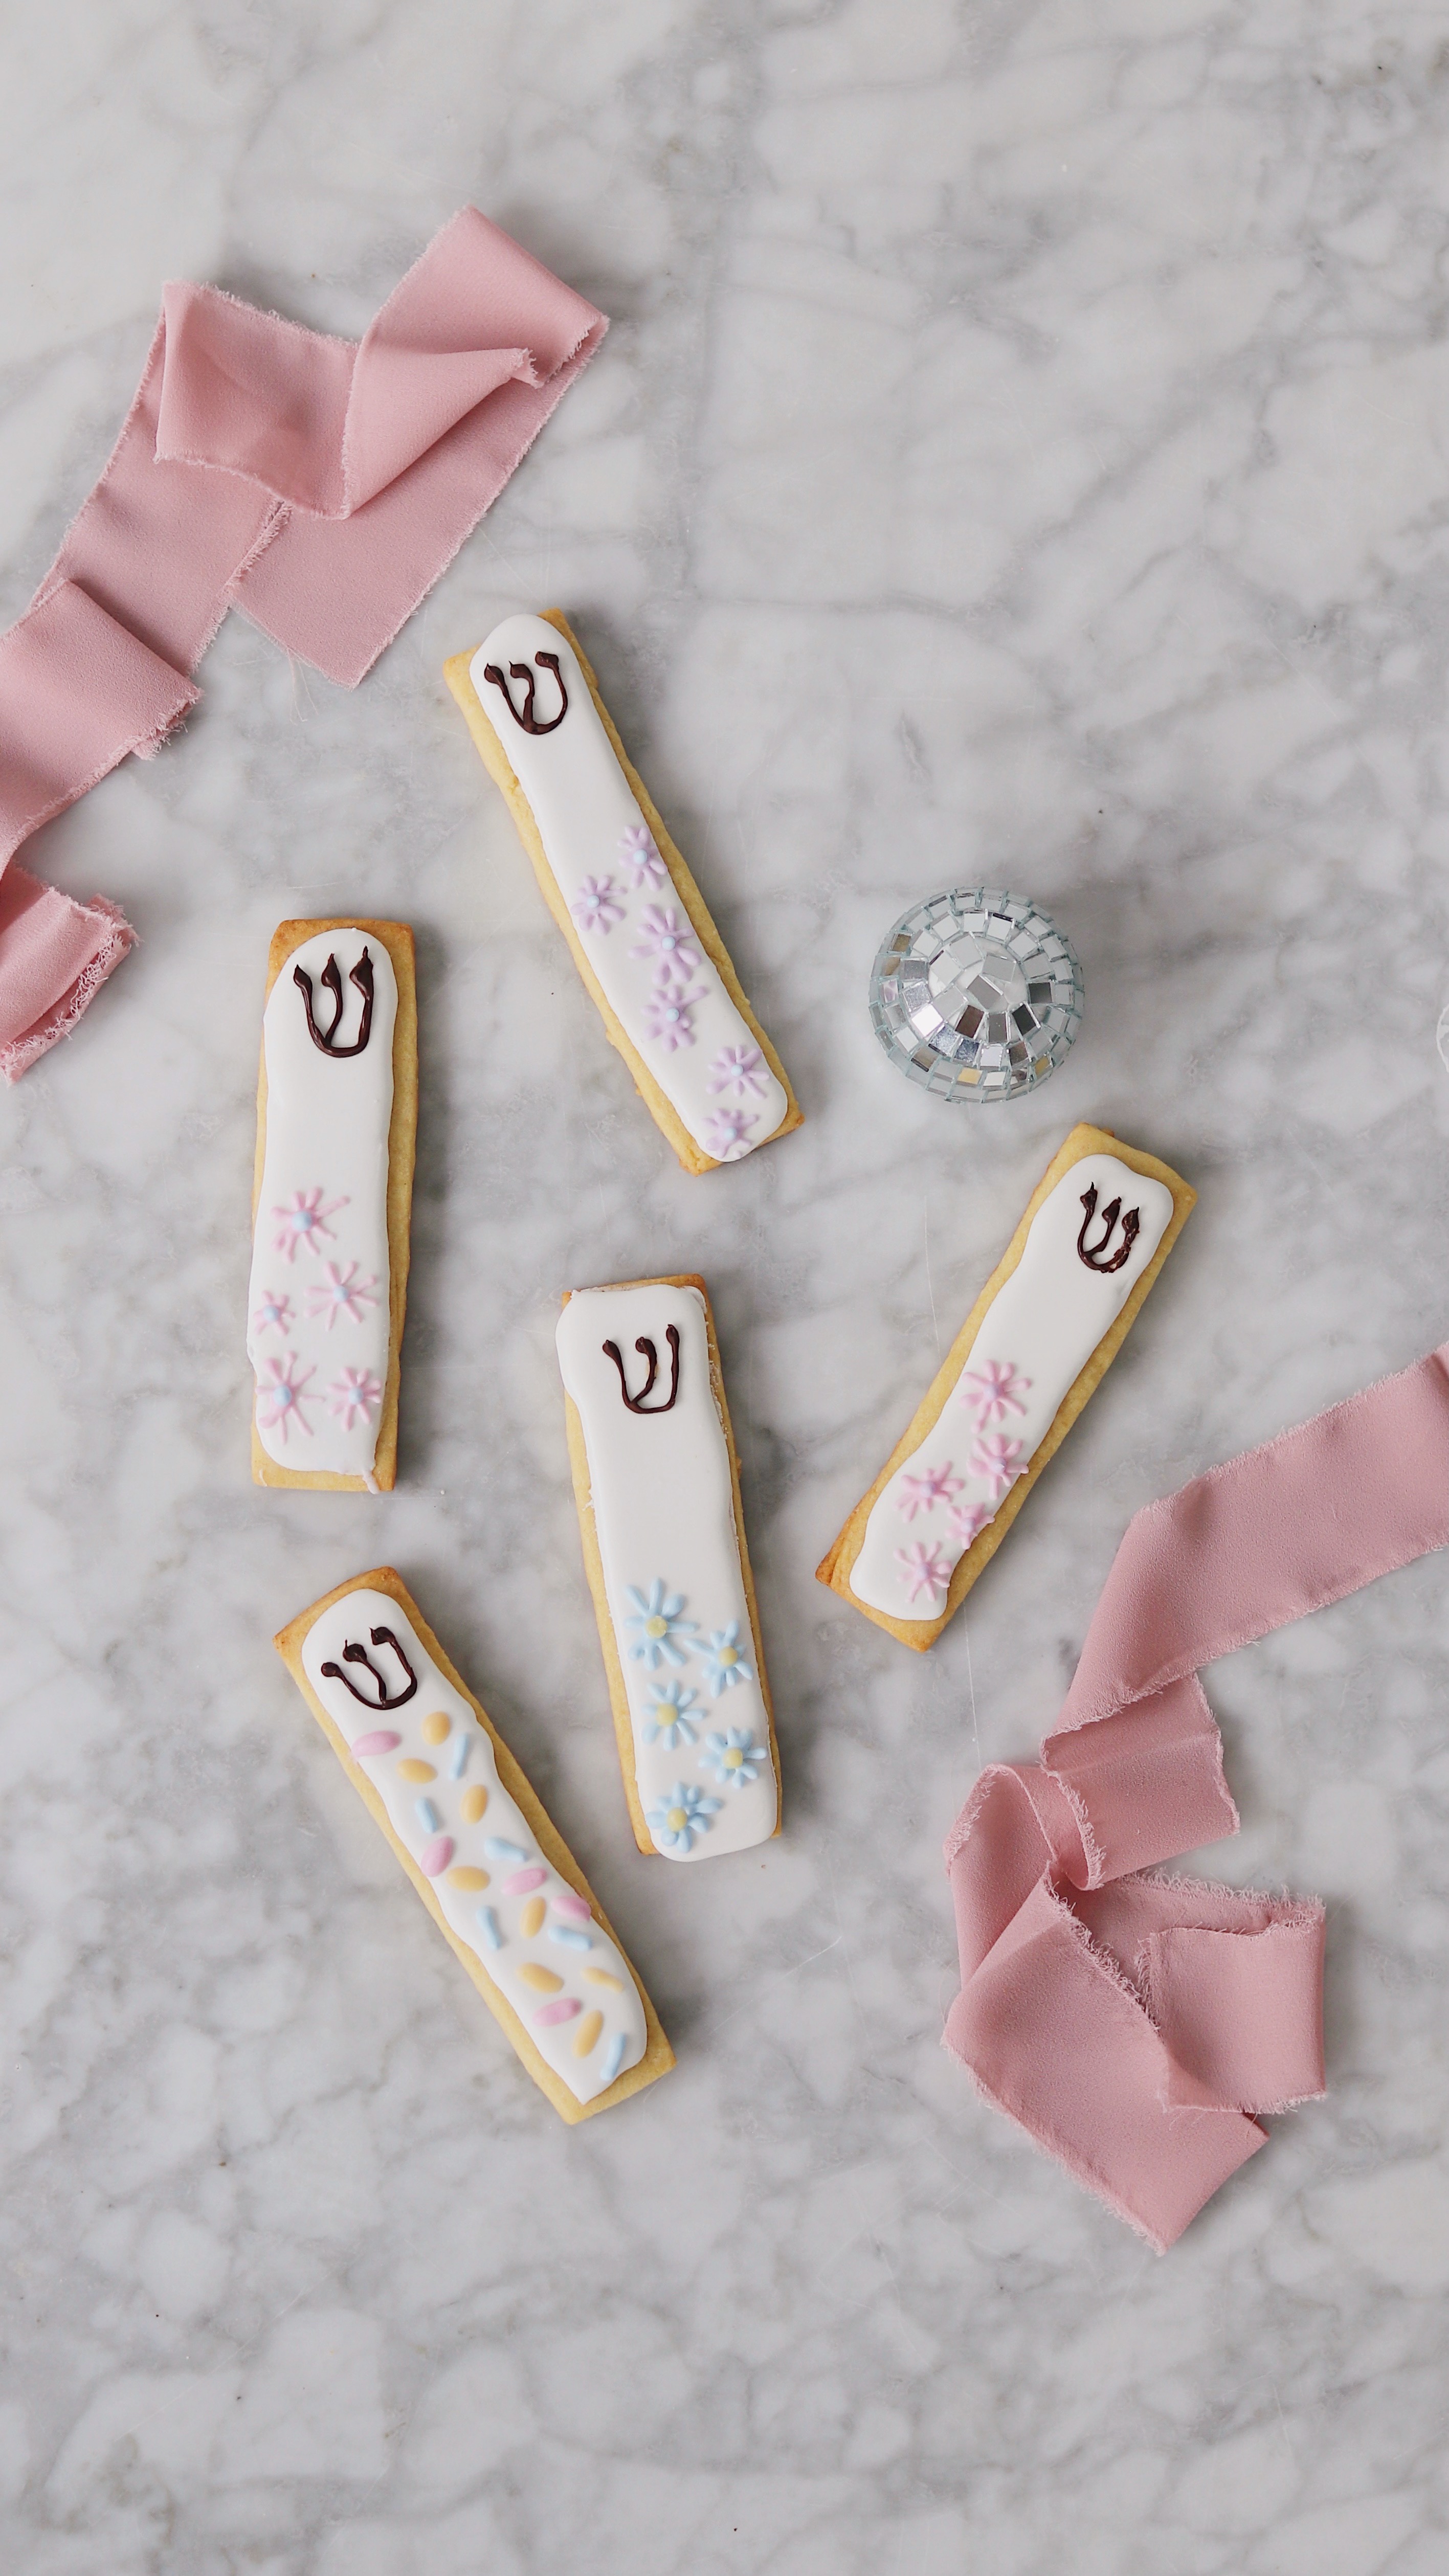
Some hit the big time with a chart-topping song, a TED Talk, a breakout role on the big screen. For me, it was…mezuzah cookies. As in, I peaked with sugar cookies shaped like Jewish doorposts.
These are now, reluctantly, my forever legacy and my greatest contribution to the Jewish world.
Anyway, I’ve accepted it. I embrace it! Because these cookies really do seem to unite the Jewish people in a rare, almost messianic harmony. Against all odds, they remain my most widely shared, widely made, widely DM’d about creation, hitting an emotional nerve I still don’t fully understand. I first posted about them the same week I gave birth to my oldest son, and my husband joked that the cookie post—which, as we stepped into the hospital, was doing unspeakable things to the algorithm—might outshine the baby announcement. I’d love to tell you he was wrong.
I’ve made these for housewarmings and house-coolings and given them as gifts. I receive a lot of emails asking if I sell them, which is flattering, but until someone donates a commercial kitchen my way, you’ll have to make your own. Luckily, they’re totally doable! I like to break down the process into three days: On the first day, I bake the cookies. On the second day, I make royal icing and decorate the bottoms (it’s important to do this while the icing is wet so it all sticks), then let it harden overnight. On the third day, I pipe the Shins. On the fourth day, I look upon all that I have made, and behold: It’s very cute.
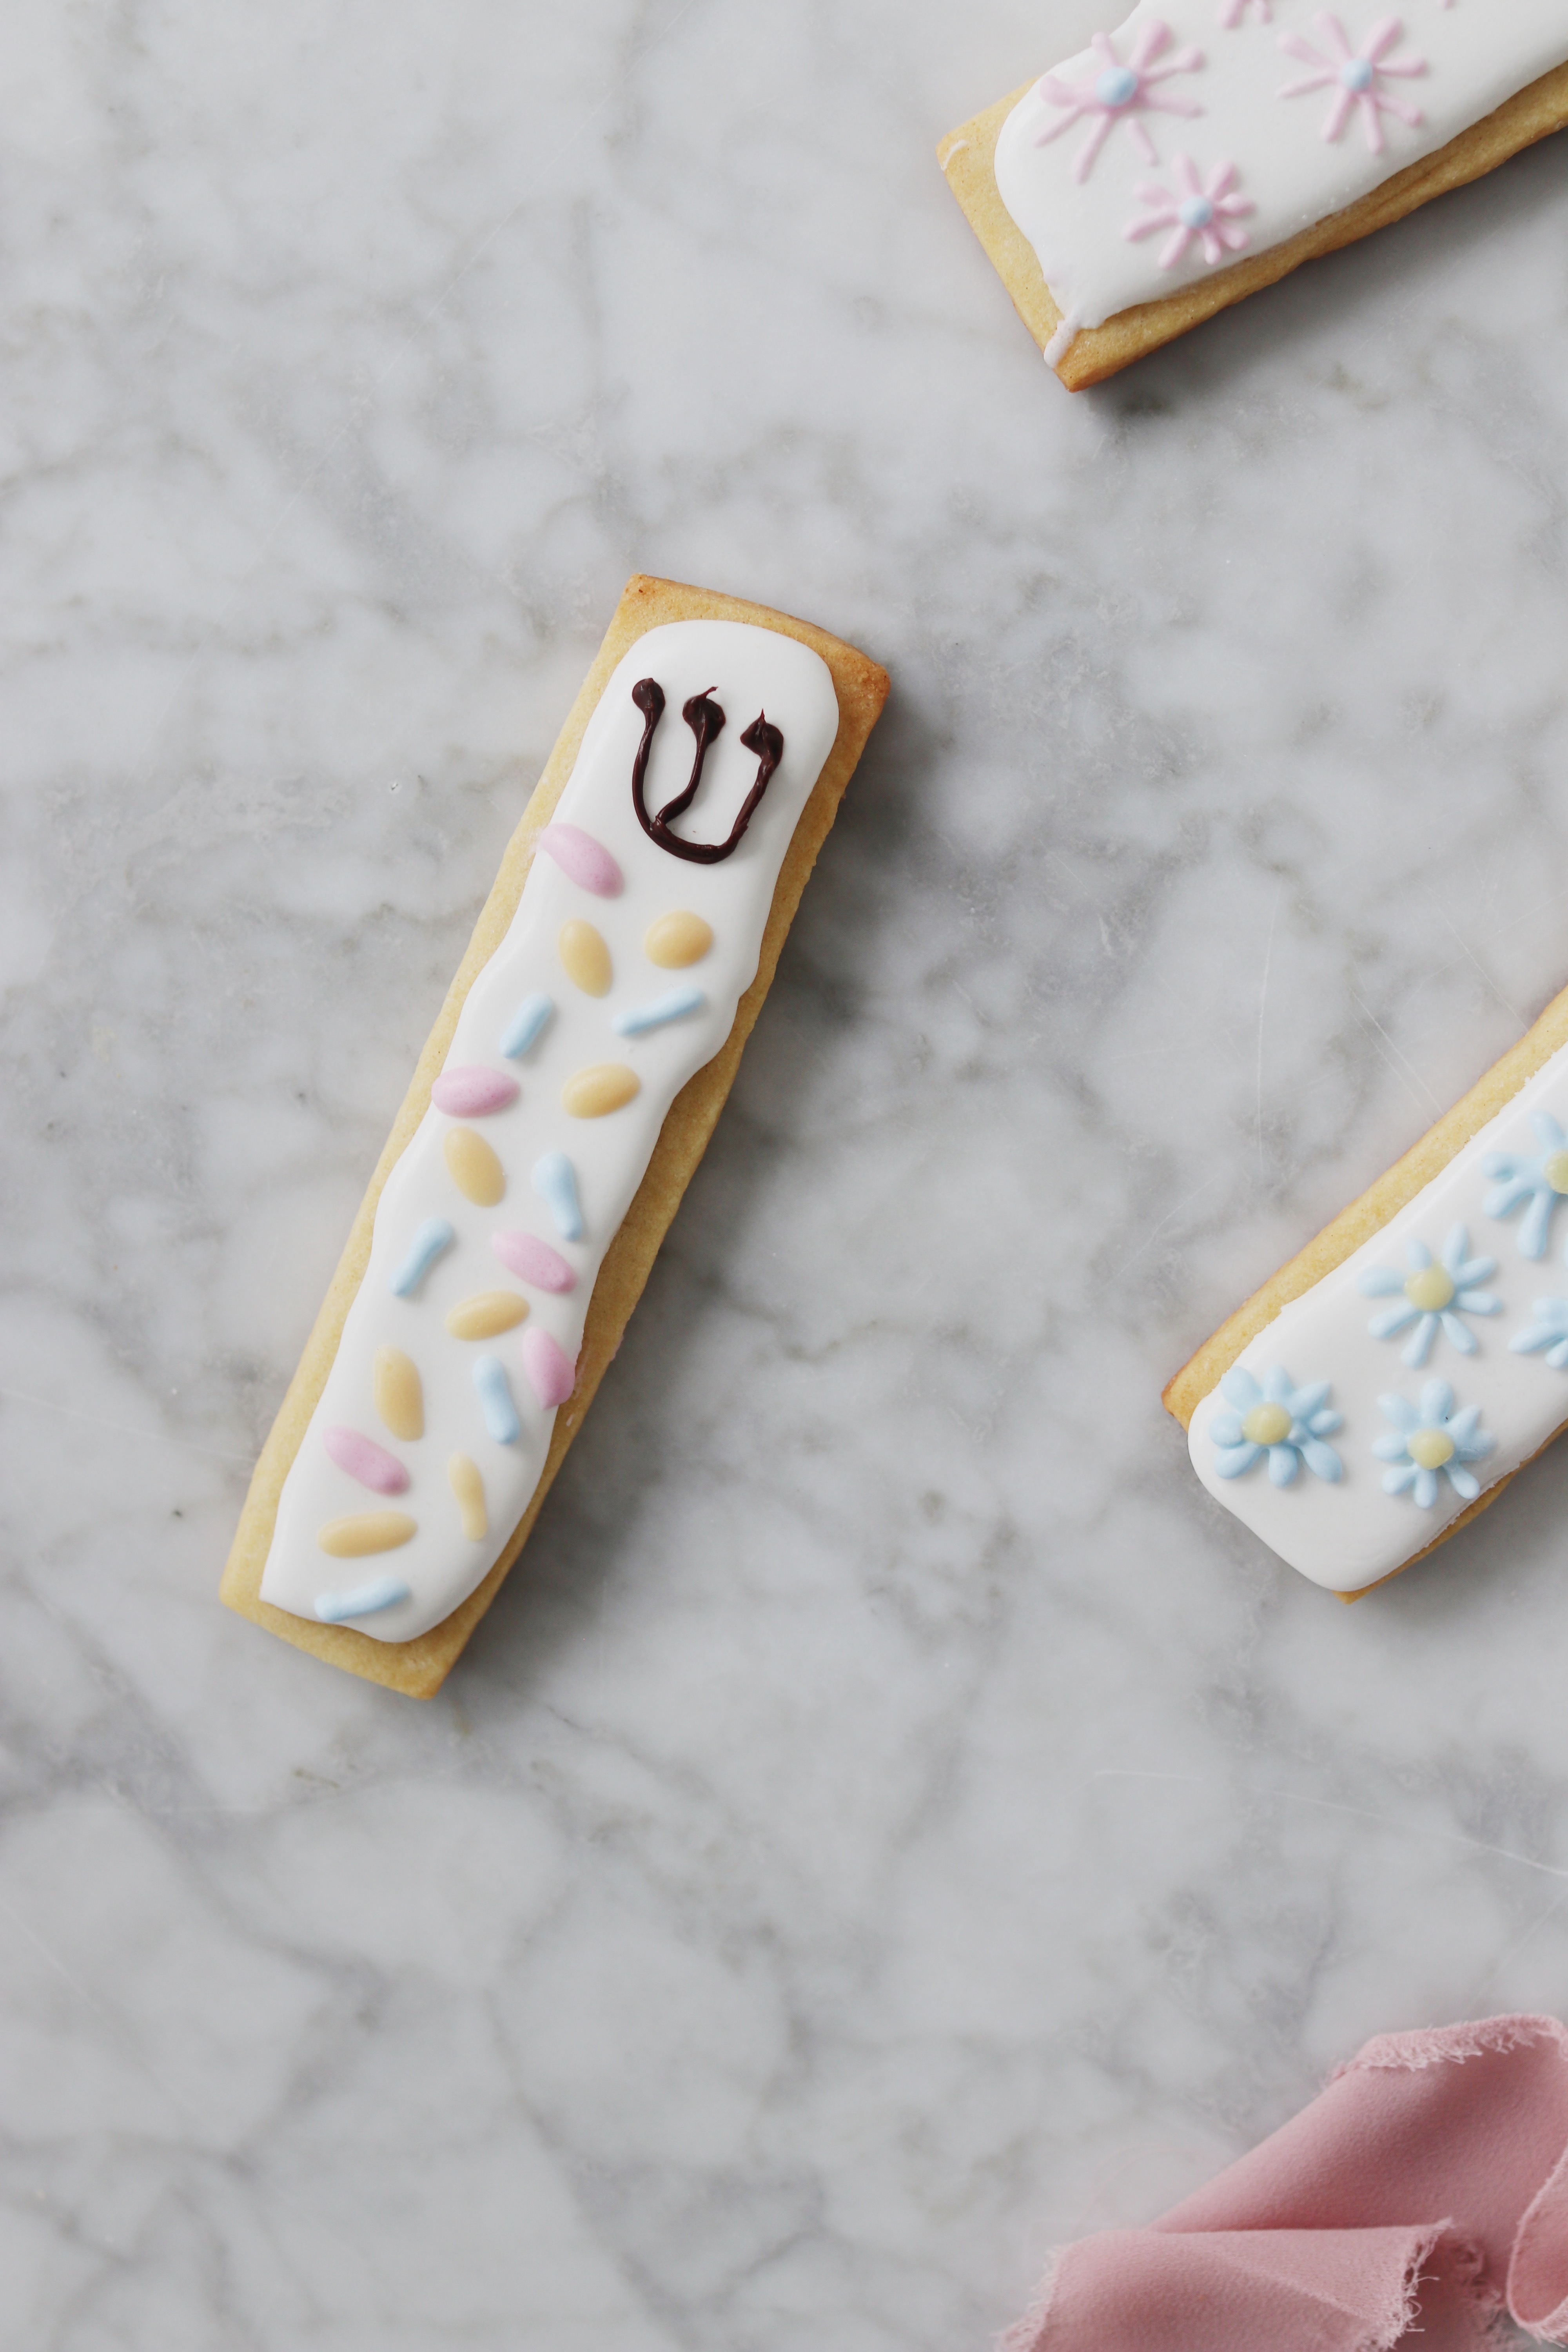
The key here is using a fork for the Shin—just a gentle upward drag gives you that signature flourish. Once you nail one, you’ll feel unstoppable. And you can take my word for it: A well-piped Shin might change your life.
Mezuzah Cookies
Description
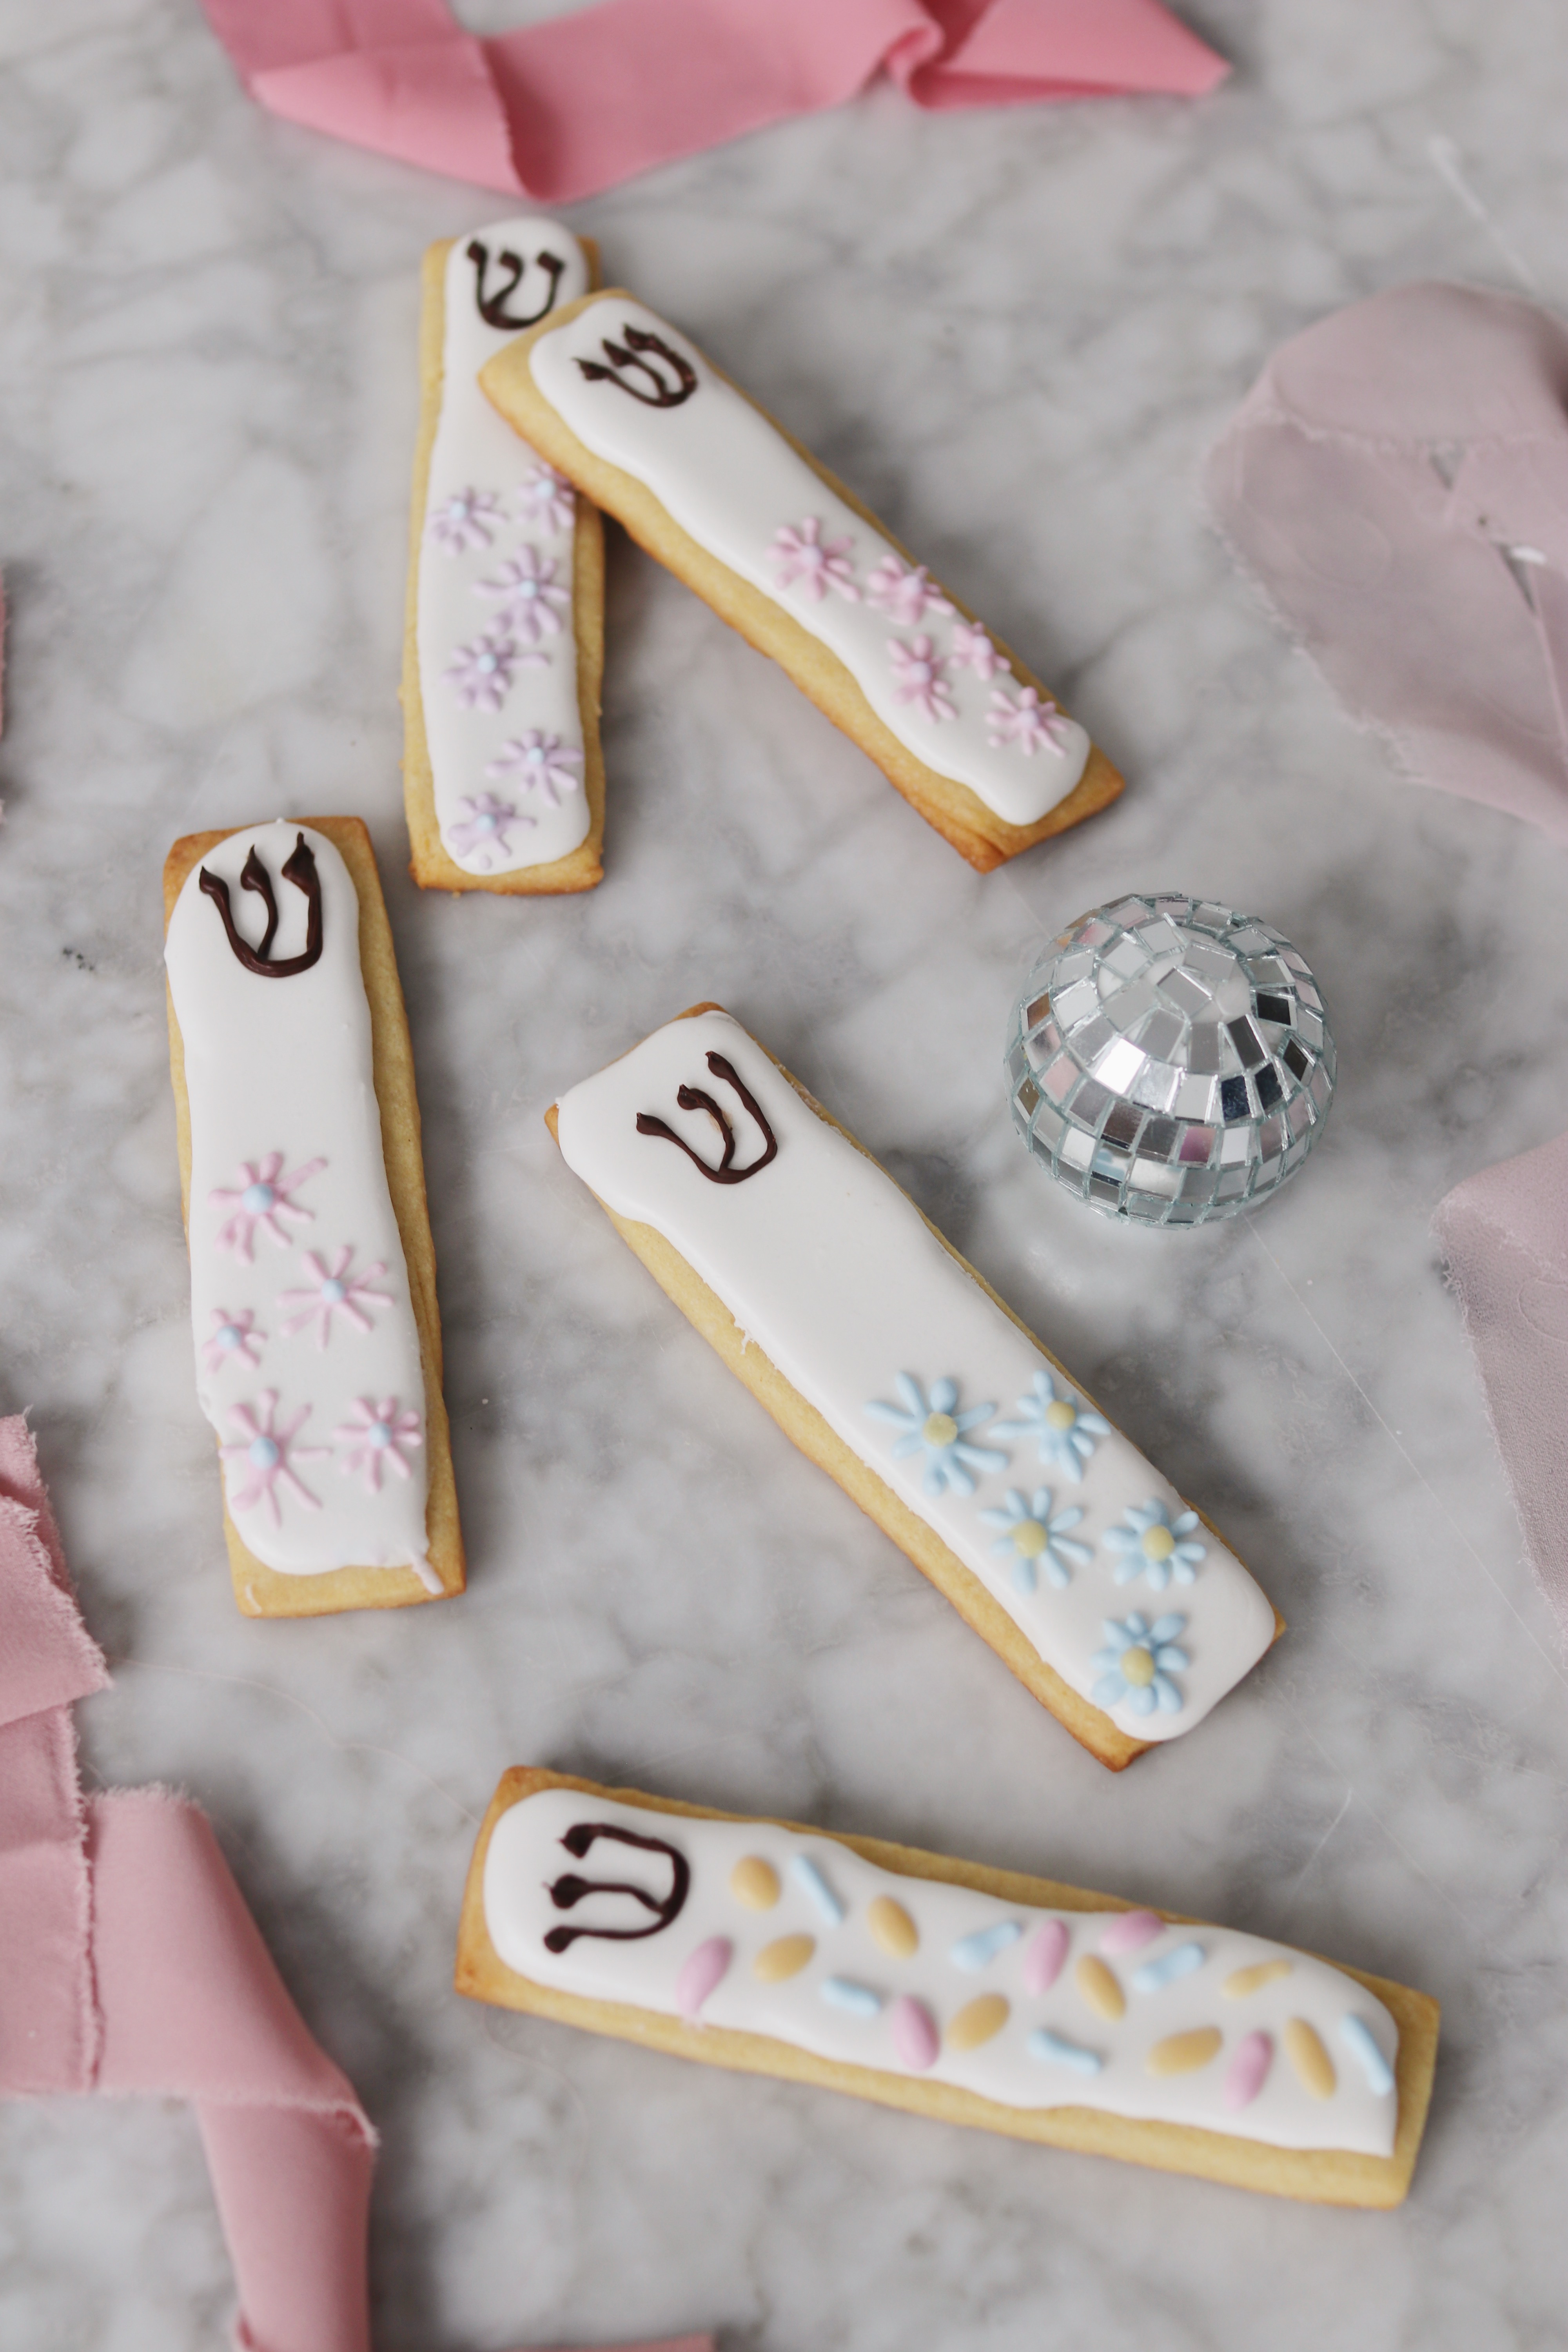
The sweetest housewarming gift idea! Here’s how to make these cute cookies.
Ingredients
- One batch of chilled, rolled-out sugar cookie dough at 1/4″ thickness (I often use this recipe and love it! Remember that you need to use a recipe for cut-out cookies—i.e. cookies that will cooperate with cutters and keep their shape during the baking process)
- 2 cups confectioners’ sugar, sifted (measure before sifting)
- 1.5 tablespoons meringue powder (you can get this online and at most baking stores)
- 4–5 tablespoons water
- Gel food coloring in various colors, for decorating
- 1 cup semisweet chocolate chips
Supplies
- Parchment paper
- Large baking sheet
- A pizza cutter or paring knife
- Standard ruler
- Piping bags (or plastic sandwich bags)
- Scissors
- Fork
Instructions
- Using the ruler and pizza cutter or knife, measure and cut 5-inch-by-1-inch rectangles out of your prepared dough, as many as you’re able (you can re-roll and re-cut the scraps of dough). Place the dough shapes onto the parchment-lined baking sheet and into the fridge to chill for at least 15 minutes; meanwhile, preheat the oven according to the recipe directions.
- Bake the cookies according to the recipe directions, then let cool while you make the royal icing.
- Pour the confectioners’ sugar, meringue powder, and water into the bowl of a stand mixer; beat the ingredients together on high speed for about a minute. The longer you beat it, the thicker the icing becomes. The trick to knowing if the icing is the right consistency is to lift up the whisk attachment and watch as the icing drips back into the bowl; if this happens in about five to ten seconds, it’s the right consistency. If it’s too thick (moving too slowly), you can add in more water, tablespoon by tablespoon. If it’s too thin, you can add in a little more confectioners’ sugar or simply beat it for a longer amount of time.
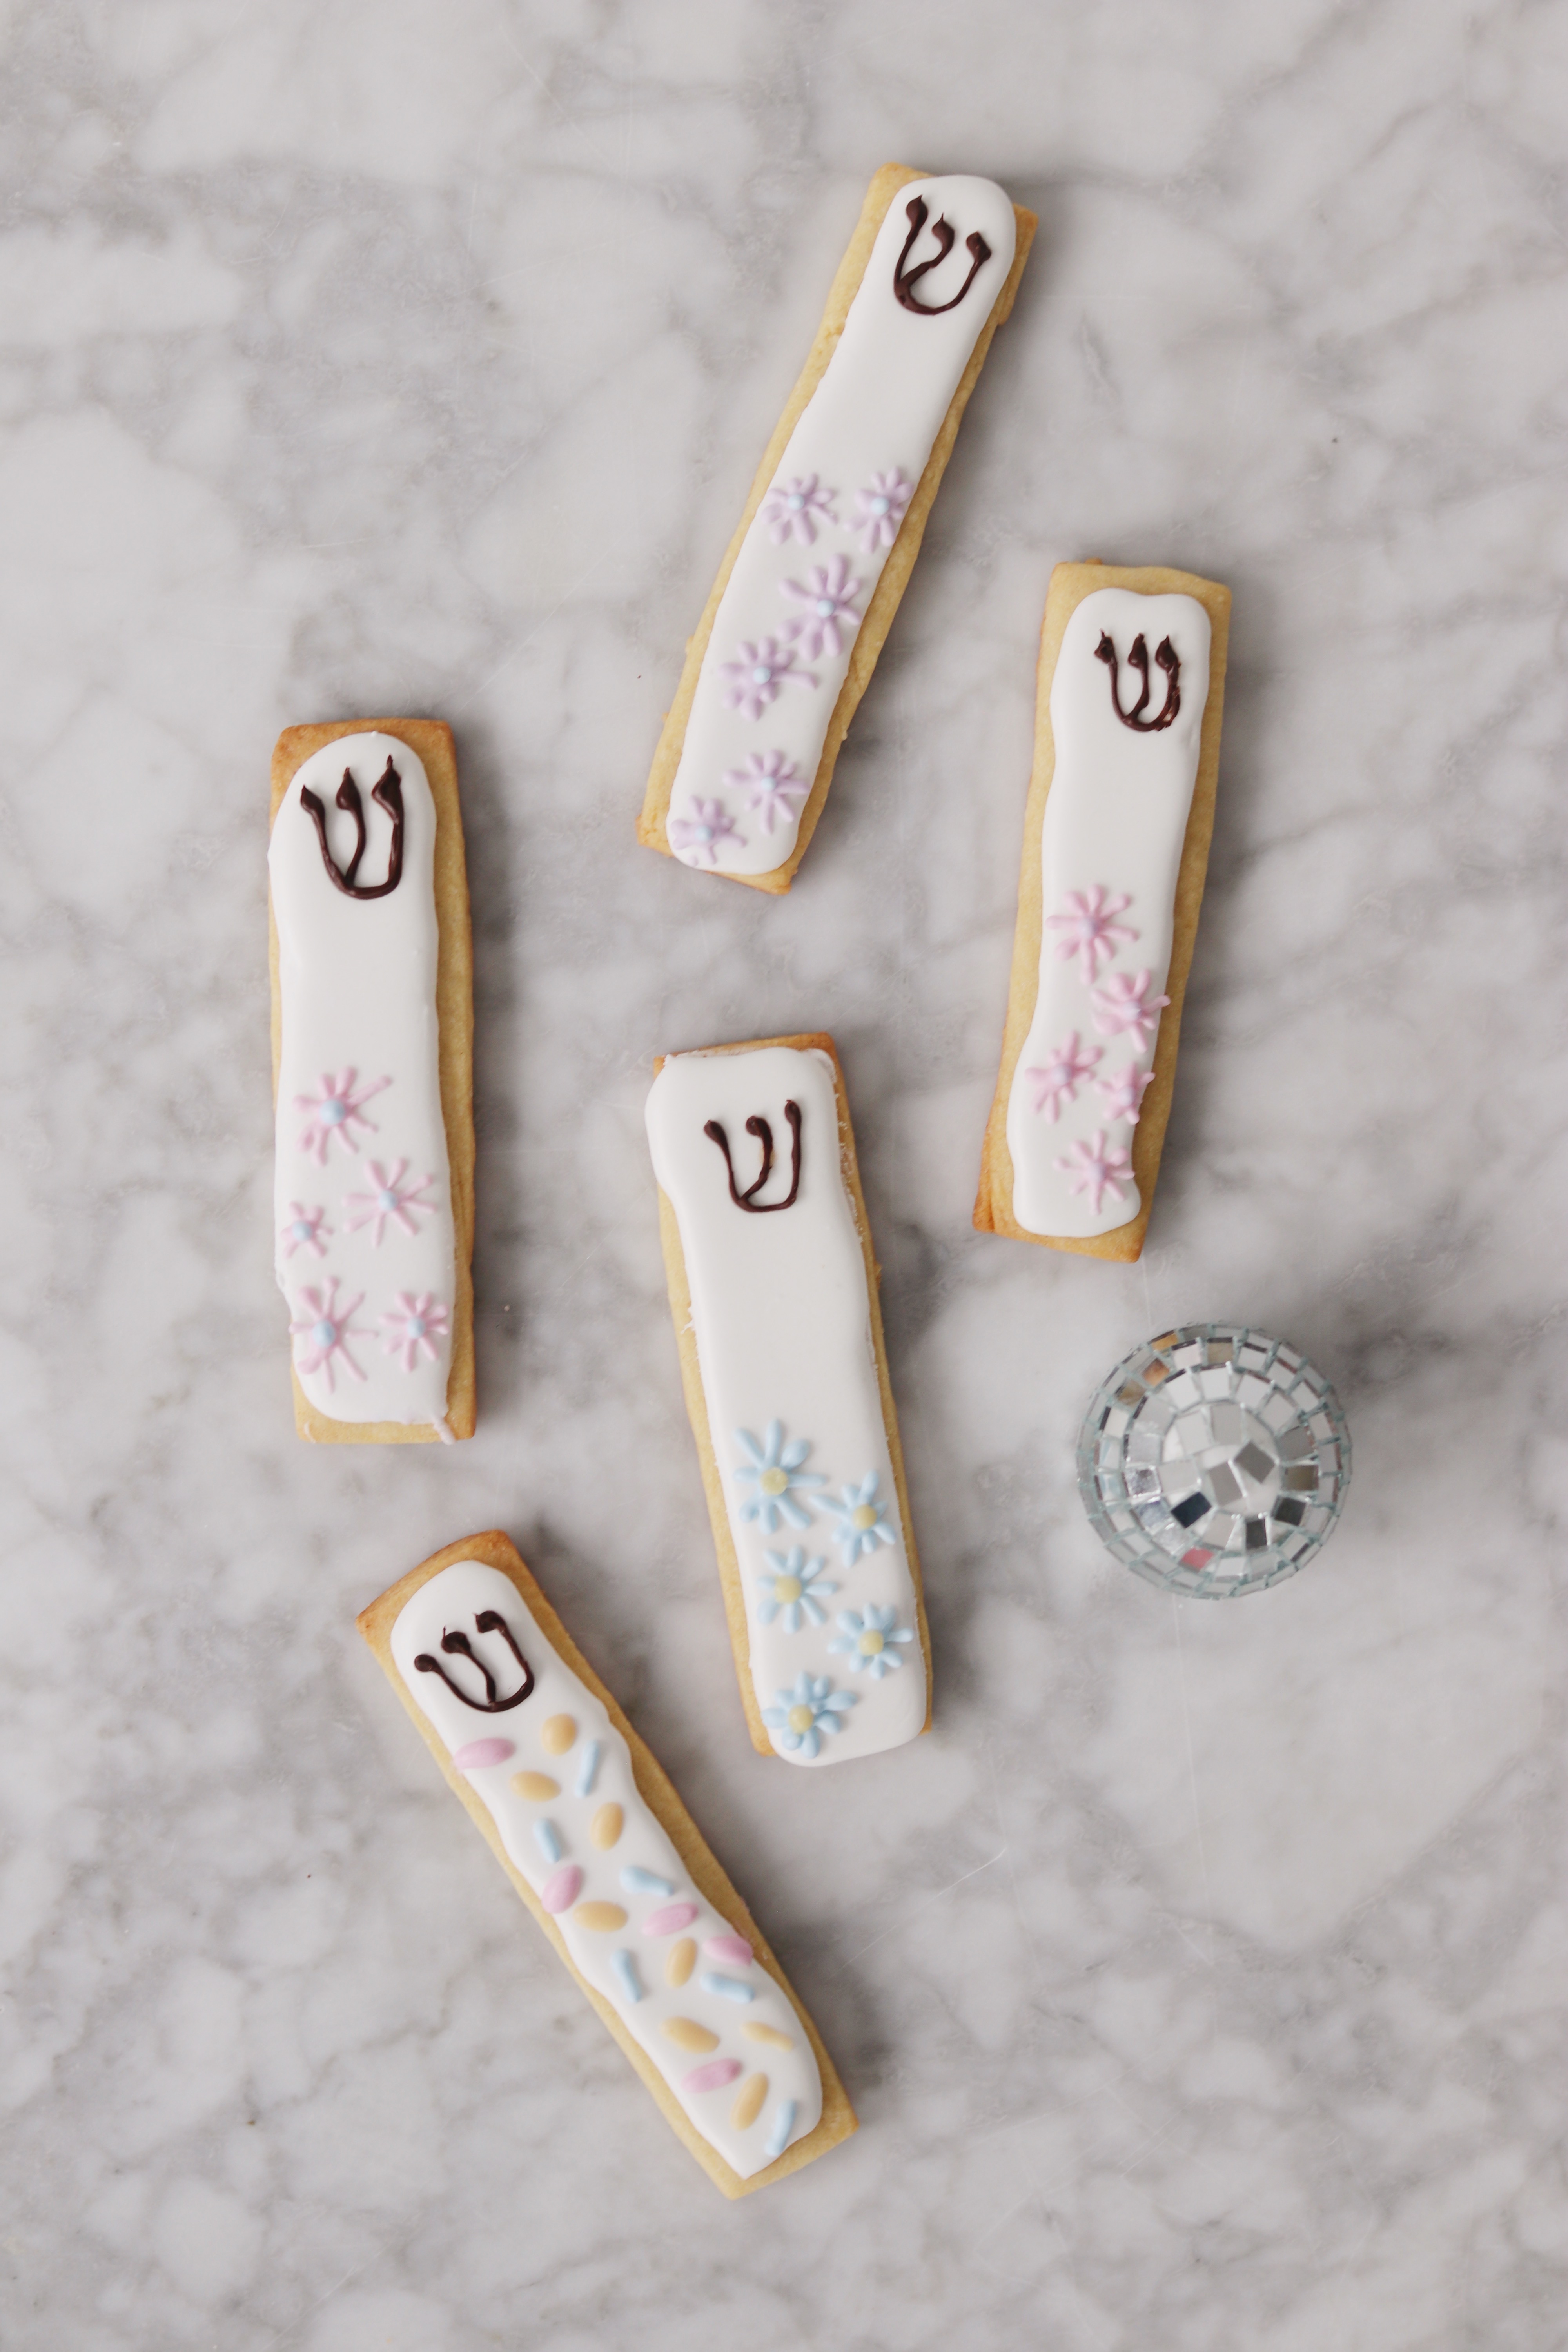
- Spoon the icing into a few different bowls, leaving one larger bowl “white” (you’ll need the most of this hue) and mixing food coloring into each of the other bowls to create colors with which to decorate the finished cookies. Next, spoon the finished icing into a few separate piping bags (or sandwich bags with a very small hole cut at one corner), one for each color.
- Begin decorating the finished cookies: Outline and flood each cookie with the white icing, then let it set for at least 20 minutes before piping any extra decorations on top using the other colors.
- Make the Shin: Place the chocolate chips into a small, microwave-safe bowl. Microwave in 20-second increments for about 1 minute, removing the bowl and stirring after each trip to the microwave. If you need to continue microwaving, switch to 10-second increments. (Yes, chocolate can “burn,” and when it does, it gets sort of chalky and is rendered unusable. So keep an eye on your microwave!) Spoon the melted chocolate into a piping bag or plastic bag. If using a plastic bag, use scissors to snip a very small hole off of one of the corners. Pipe a Shin carefully onto each cookie. Before the chocolate hardens, use the prongs of a fork or a toothpick to “pull” some of it upwards to create decorative points at the top of each section of the letter.
- Wait for the icing decorations and chocolate to harden fully, another hour or so, then enjoy within a few days!