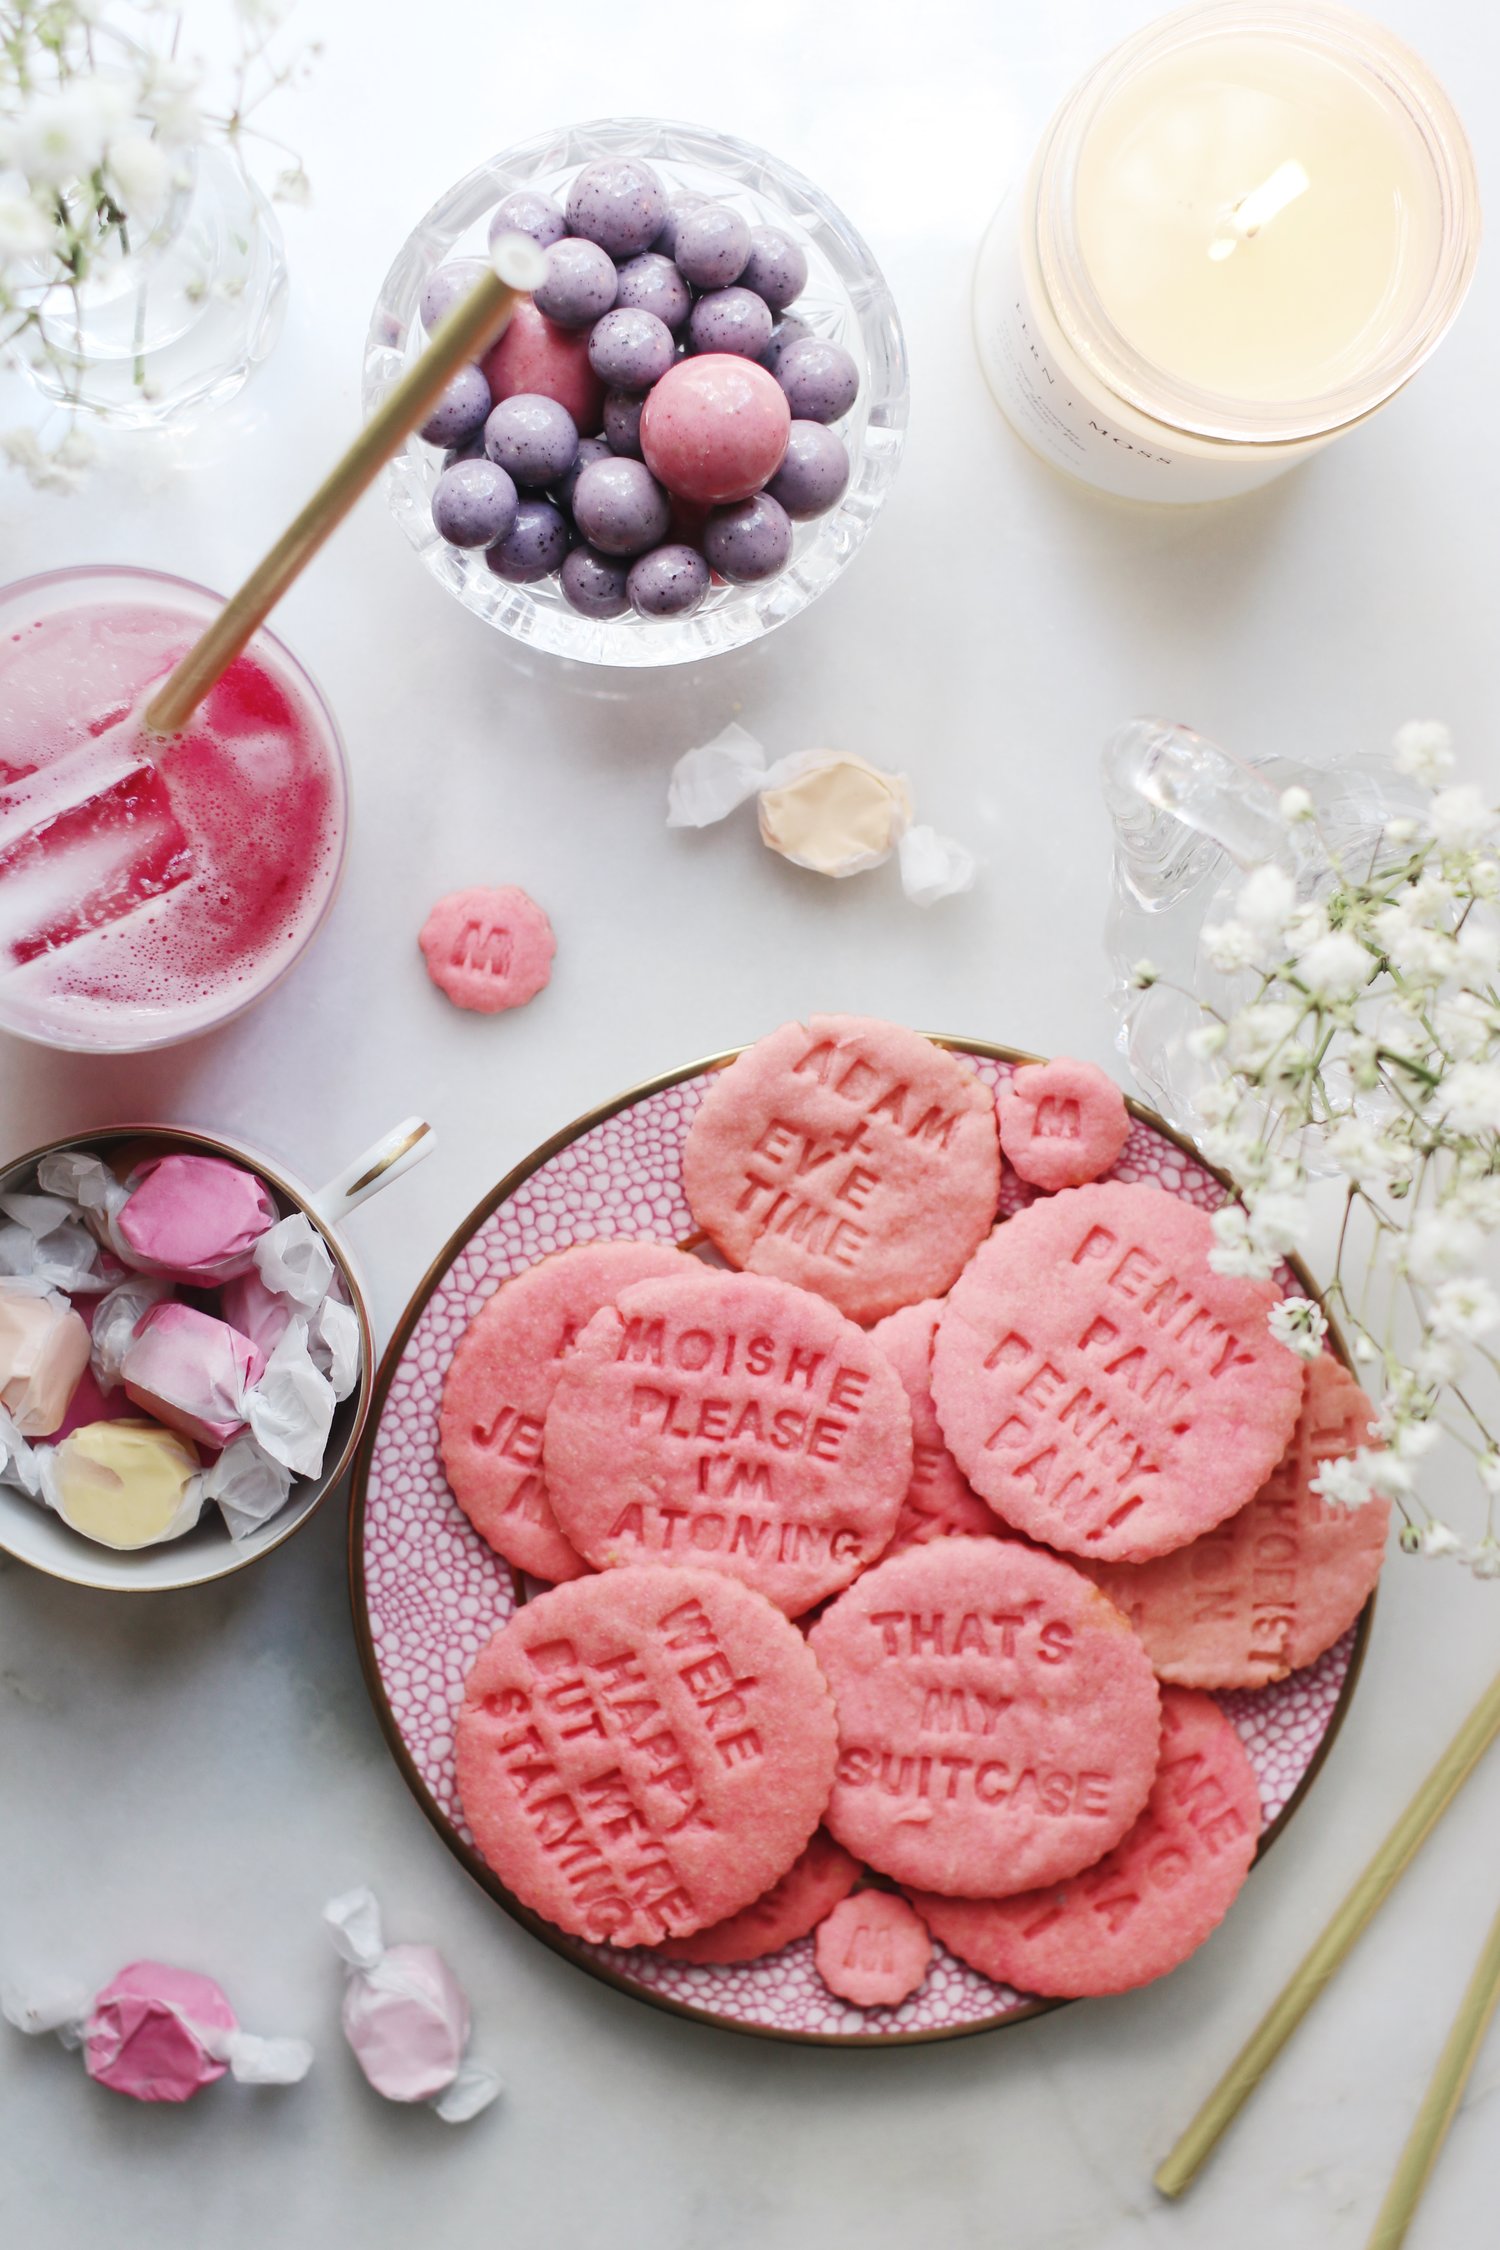
Yes, the quote cookies are back. Again. And I, for one, am thrilled about it.
This is now one of my most-asked-about tutorials, so…I’m republishing it for 2020. I first made these pink cookies all the way back in June of 2019, then brought them back out for a Maisel watch party this past December (just in time for Season 3). They’ve got just the right ratio of chewy to crispy, and I also love that the pink coloring isn’t “too much”—it’s more of a dusty rose shade (I’ll show you exactly how to make it happen below). I just think it’s perfect for the feminine, vintage vibes of this very fun show.
The cookies are also easy to customize, so you can go ahead and incorporate whatever your own favorite Maisel quotes/sayings/truisms are. Maybe you’ll decide to make a whole batch dedicated to the lines of a specific character. Maybe you’ll make them in the shape of high heels or old-school microphones. Maybe you’ll totally forego the whole Maisel thing and instead turn this recipe into a Valentine’s Day treat for someone you love.
Anything goes.
Recipe follows after the photos!


The Marvelous Mrs. Maisel Quote Cookies
Recipe adapted from Lovely Indeed.
What You’ll Need:
- 2 sticks (1 cup) unsalted butter, at room temperature
- 2 ounces cream cheese, at room temperature
- 1 cup granulated sugar
- 1 large egg
- 1 1/2 teaspoons vanilla extract
- 3 cups all-purpose flour
- 1 1/2 teaspoons baking powder
- 1/2 teaspoon salt
- Cookie imprinting set
- Neon food coloring (normal food coloring works just fine, too; I just happened to prefer the neon set for the dusty pink color you see here)
- Round cookie cutters (you can also just use the rim of a glass cup with a similar diameter)
What You’ll Do:
- Using a hand mixer, cream together the sugar, butter, and cream cheese in a large mixing bowl. Once the mixture is light and fluffy, mix in the egg and vanilla.
- In a separate bowl, mix together all the dry ingredients. Slowly incorporate them into the butter mixture until they’re thoroughly combined.
- Once your dough is made, separate it into as many sections as you’d like different colors of cookie. Drop a very, very, very small amount of color into the dough ball, then knead it together until the color is evenly spread throughout. I suggest doing this incrementally, as the colors tend to build up much faster than you’d think they would.
Another color tip: You’ll notice that the colors aren’t quite appearing “as advertised” since your dough has quite a bit of yellow in it already. This means that you’re essentially already working with a yellow and pink combo—which creates a sort orange-y color. To counter that orange-ish effect, I added a tiny, tiny bit (pinprick amount!) of the red-hued purple as well, which helped the true “pink” really shine through. If you’re working with traditional food coloring (as opposed to the neon ones I recommend above), you’ll have to do a little experimenting to make sure your colors shine through properly as well. In the end, though, I sort of love the “different” look of all the colors that come through with the dough coloration—it’s a little more unique to me and sort of sophisticated that they’re not so…blaring and primary. - Once the colors are mixed into your balls of dough, flatten each one until it’s about an inch think, then wrap it (individually!) in plastic wrap and chill for at least 1 hour or overnight. While the dough is chilling, prepare your letters by laying out the letters in small piles, one pile per word, so that you don’t have to take up too much time doing that when you’re ready to bake.
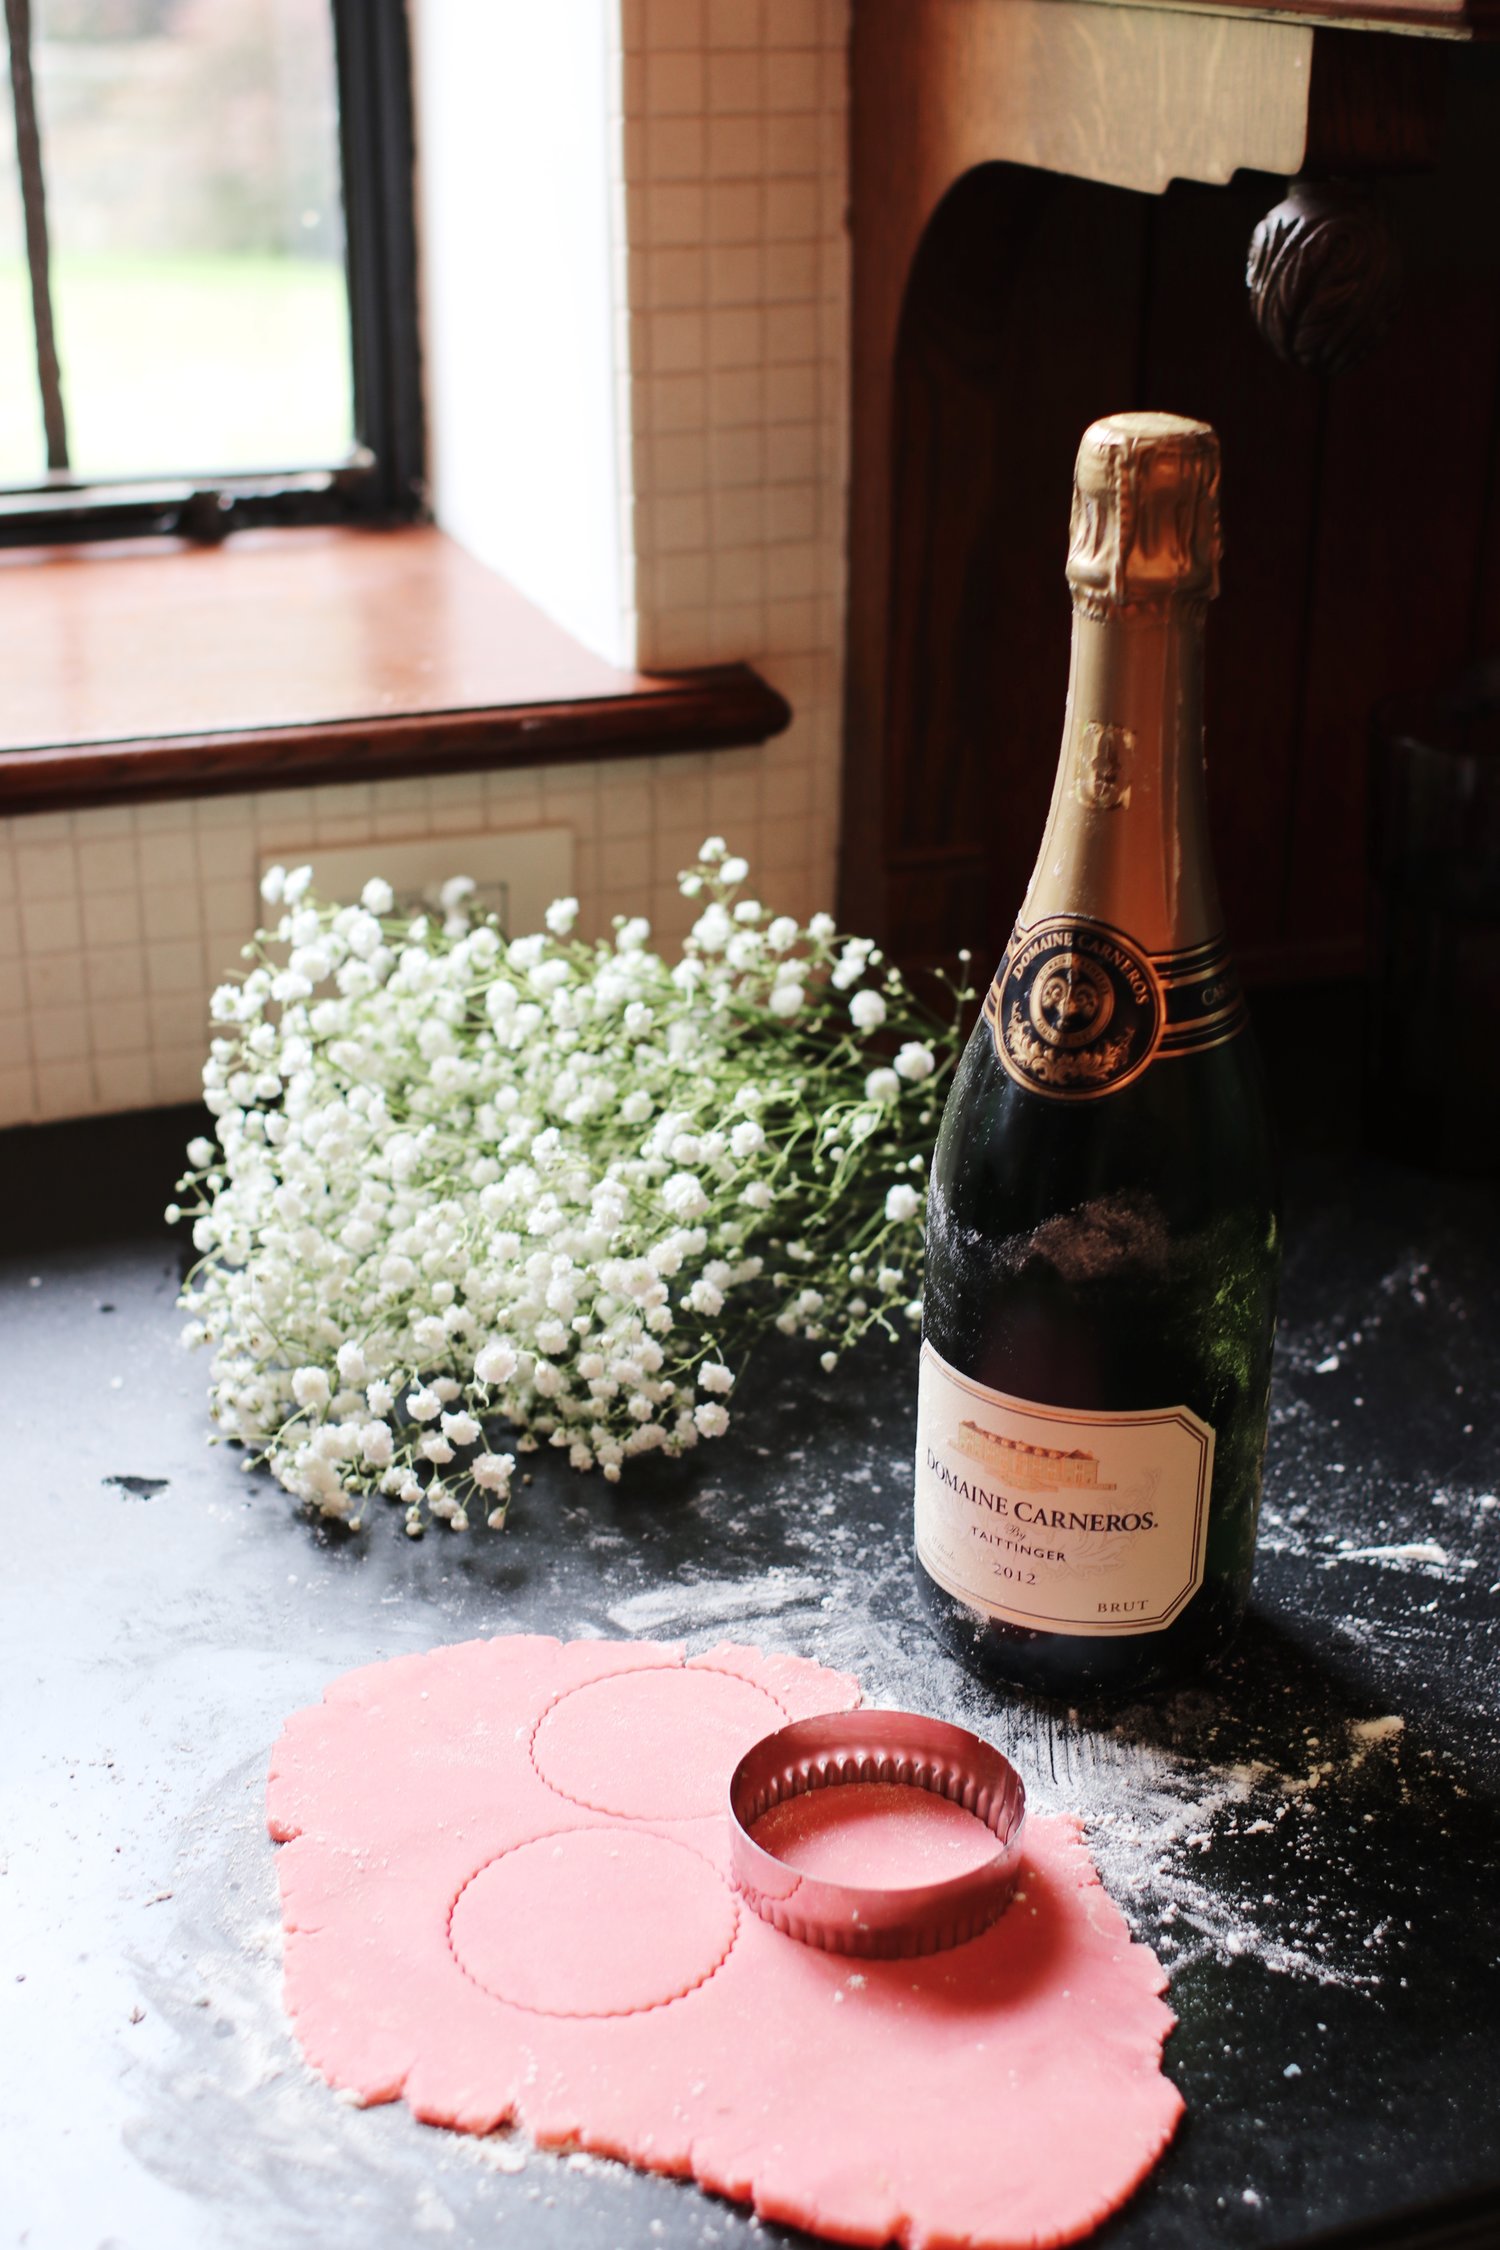
- About 10 minutes before you plan on using it, remove the dough from the refrigerator and allow it to soften. Prep your baking pans with nonstick spray or parchment paper, then set your oven to 350 degrees Farenheit. Flour your surface generously, then roll out your dough, one color at a time, until it’s about 1/4” thick.
- Cut out shapes using the circle cutters, then place the cookies on the baking sheet *before stamping them.* Once they’re laid out on a baking sheet, my suggestion is to stamp the letters onto the cookies one at a time, by hand, instead of using the combination tool that comes with the kit—but you can try both! Be careful to leave yourself enough room—there’s always less than you think there is. But if you do mess up, you can always flip over that piece of dough and try again on the other side.
- Once your messages are stamped, bake your cookies for 5-6 minutes, being sure not to leave them for longer than that. They’ll burn quickly.
- Let the cookies cool *on the pan* to ensure that the letters and cookies harden properly. Then serve, eat, and enjoy!
