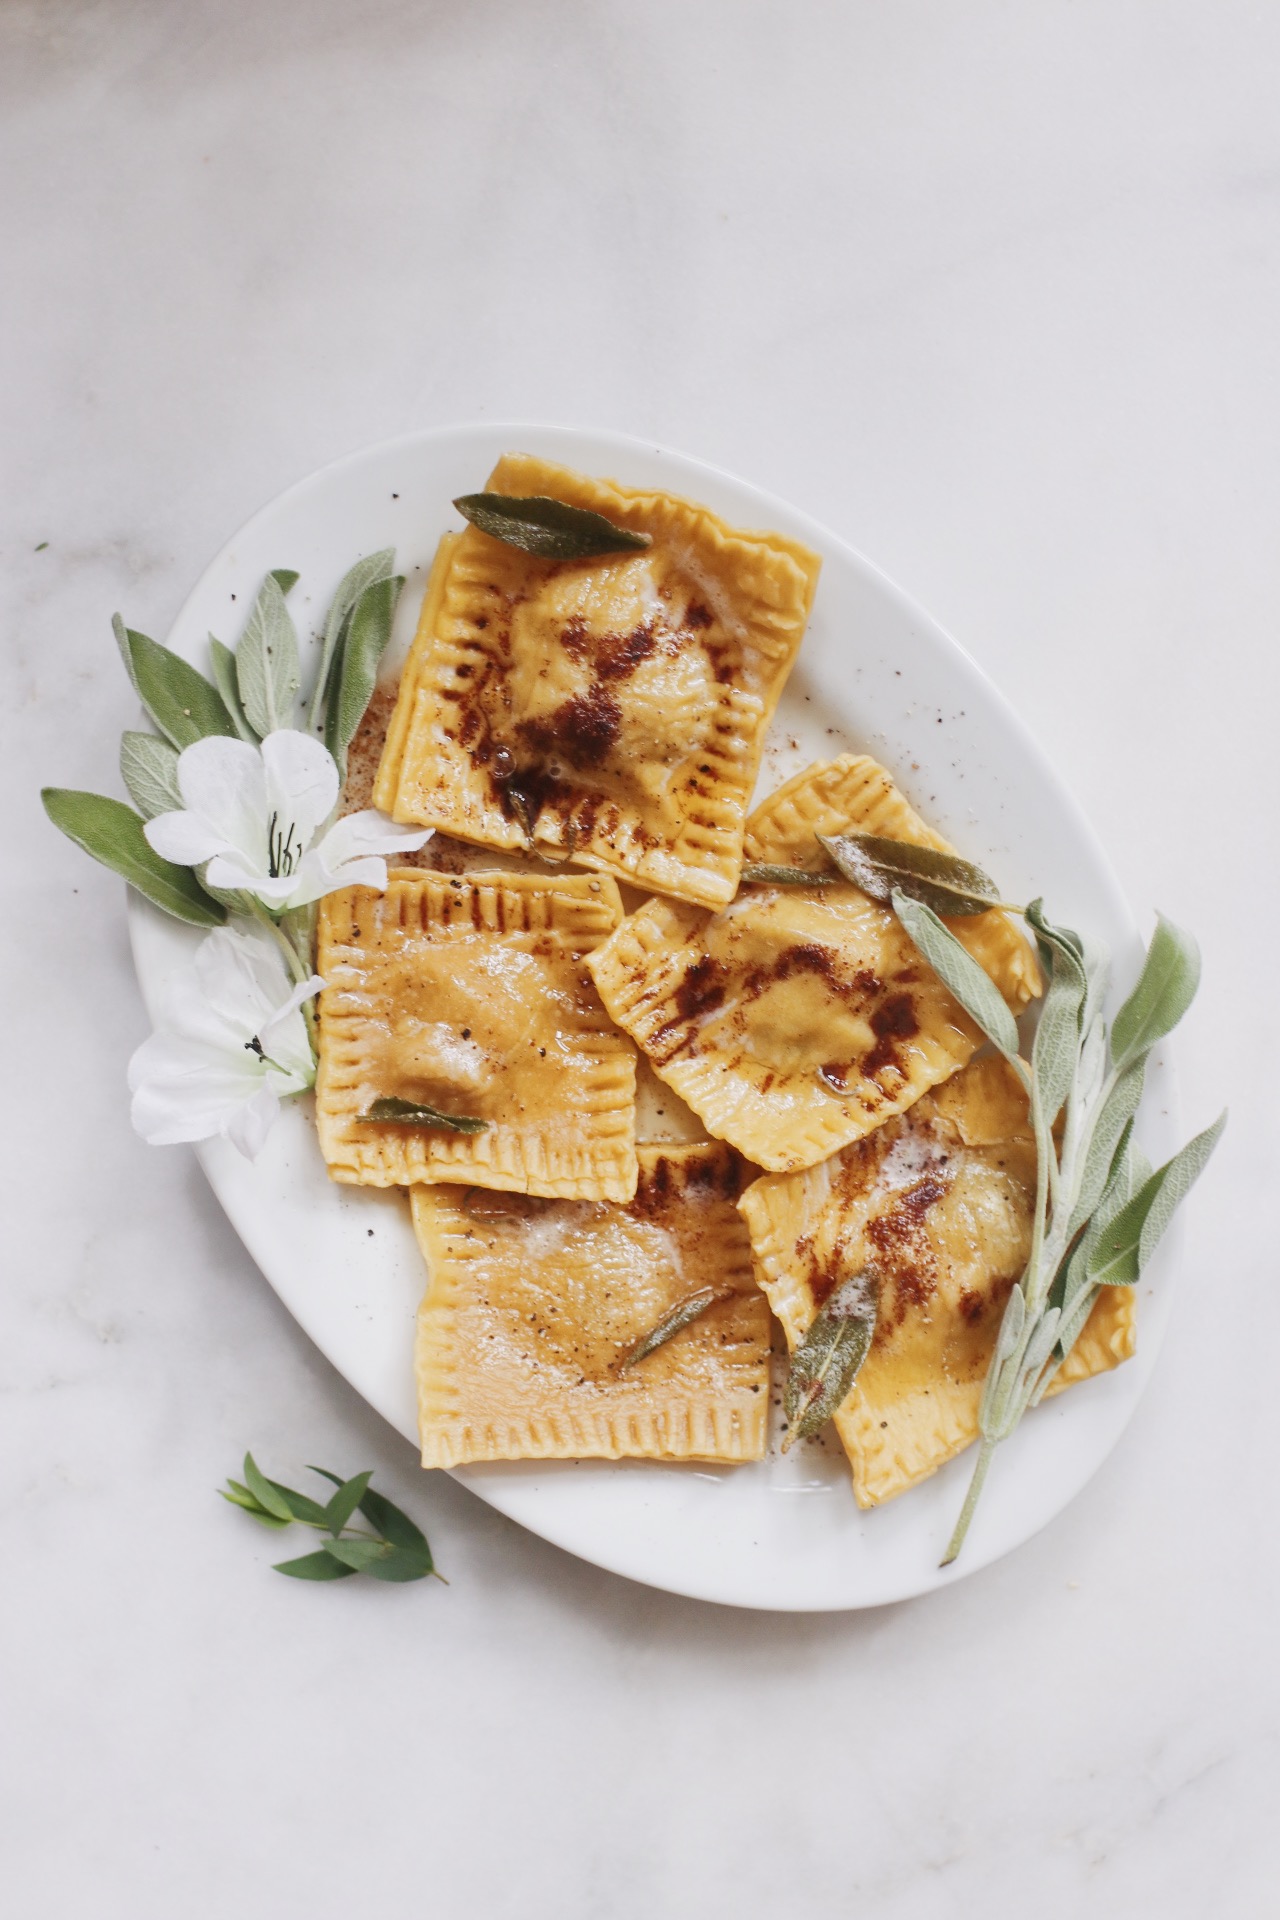
WHERE to begin with this tzimmes ravioli situation?
Well, for starters, you know I love a good mash-up. And this mash-up involves…actual mashed(-ish) stuff. Which is even better!
It’s science.
But actually, the idea for this recipe didn’t stem so much from a need to mash things together as it did from a desire to placate my very pregnant sister. Lately, Abigail’s been having some very intense cravings. Not for tzimmes, though, and not for ravioli, either. No, what Abigail’s been talking about for the last several weeks is…brown butter and fried sage.
Can you blame her? There are few things better. FRIED SAGE. The best. 😍
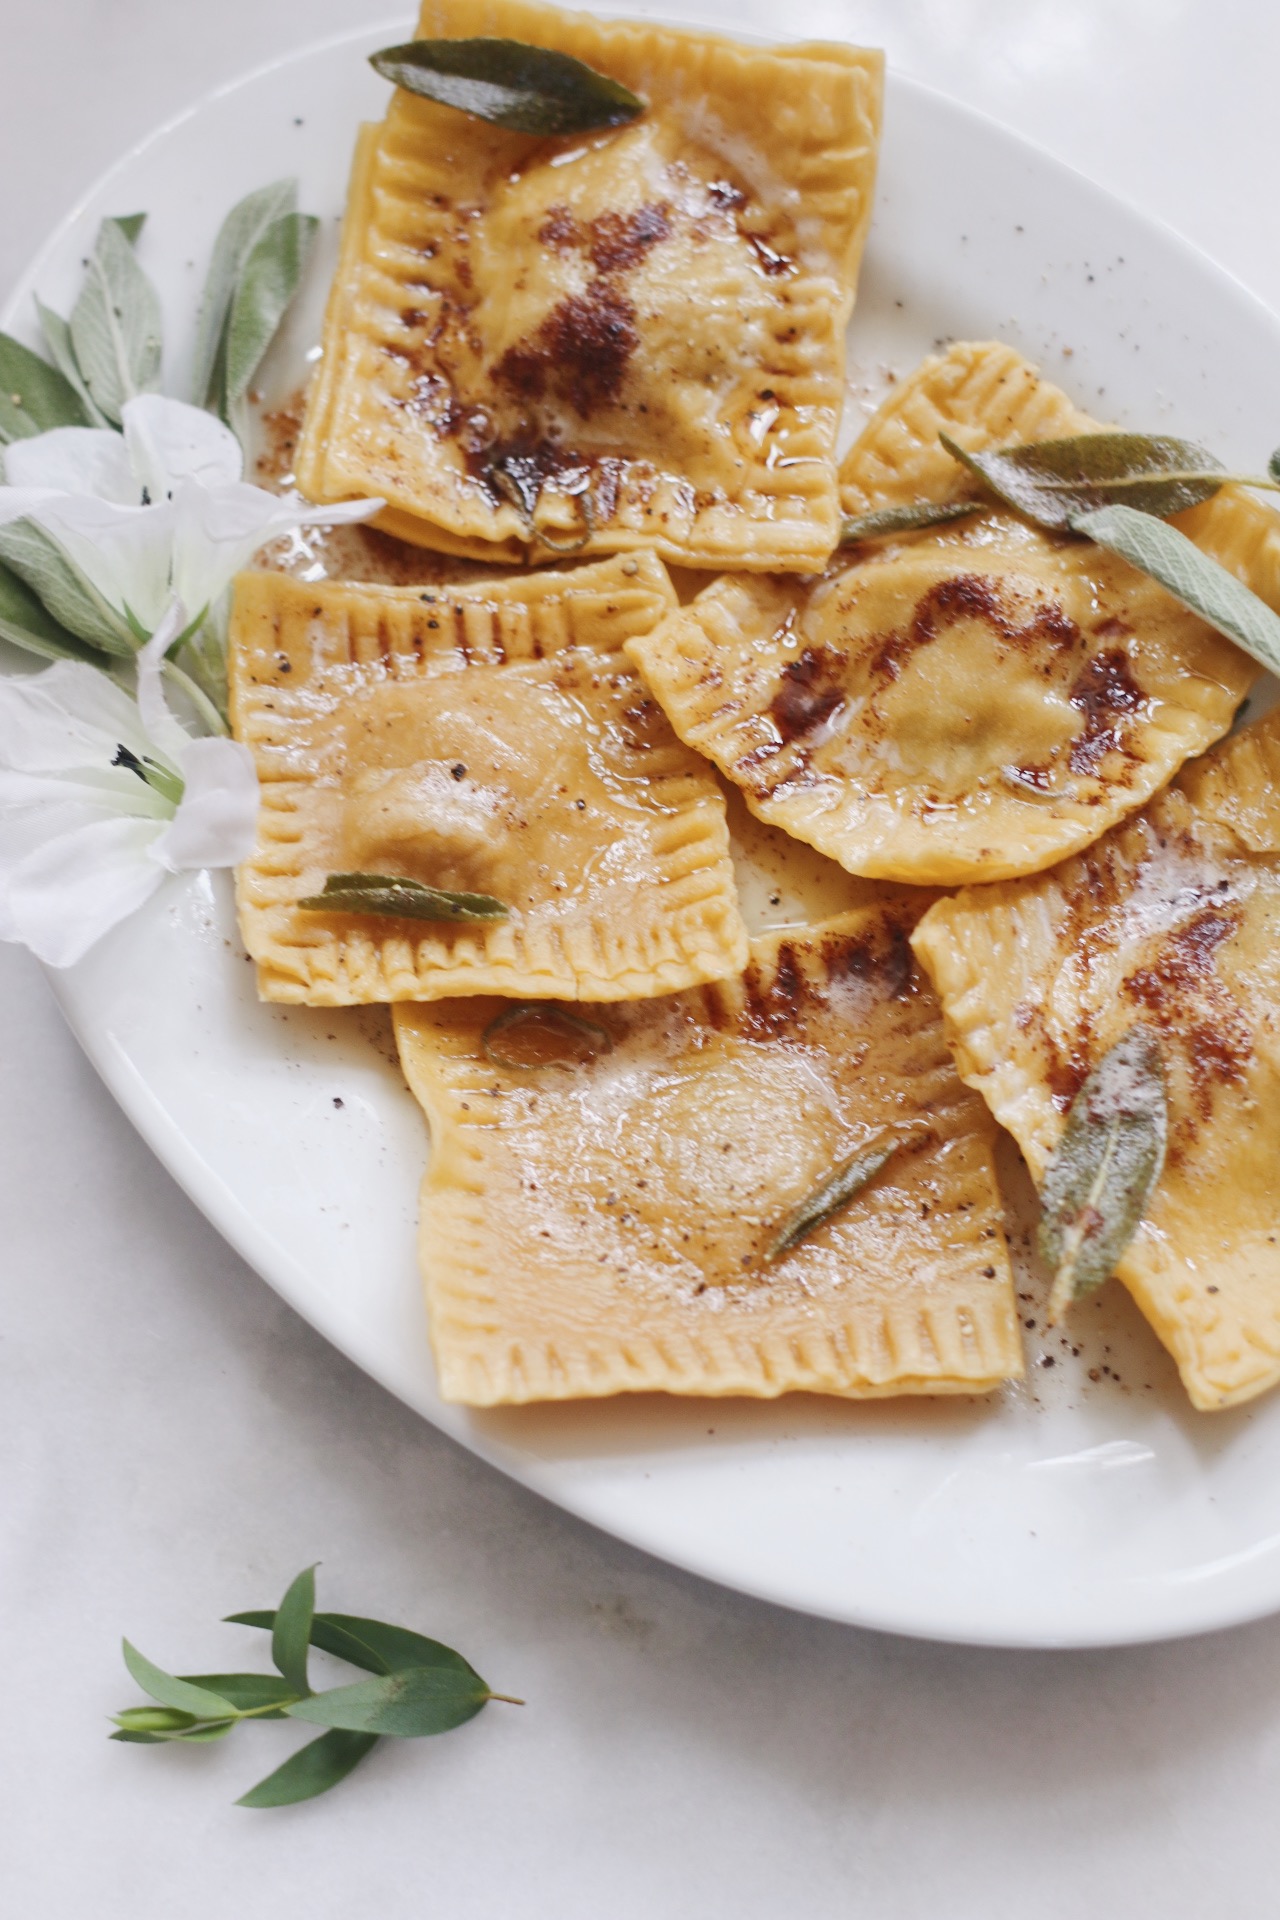
So, as I put together the menu for my little not-Rosh-Hashanah shoot (more on the whole spread here), I decided it might be fun to incorporate that beloved combo. Over the years, I’ve seen the butter-sage sauce served with pumpkin ravioli and butternut squash ravioli…which got me thinking about tzimmes.
After all, tzimmes—that ubiquitous Ashkenazi stew featuring carrots, sweet potatoes, and prunes that’s often served as a side dish for holidays like Rosh Hashanah—has a very similar flavor profile to those other pastas I just mentioned. Why shouldn’t it get the ravioli treatment too?
With Abigail in tow, I got to work.
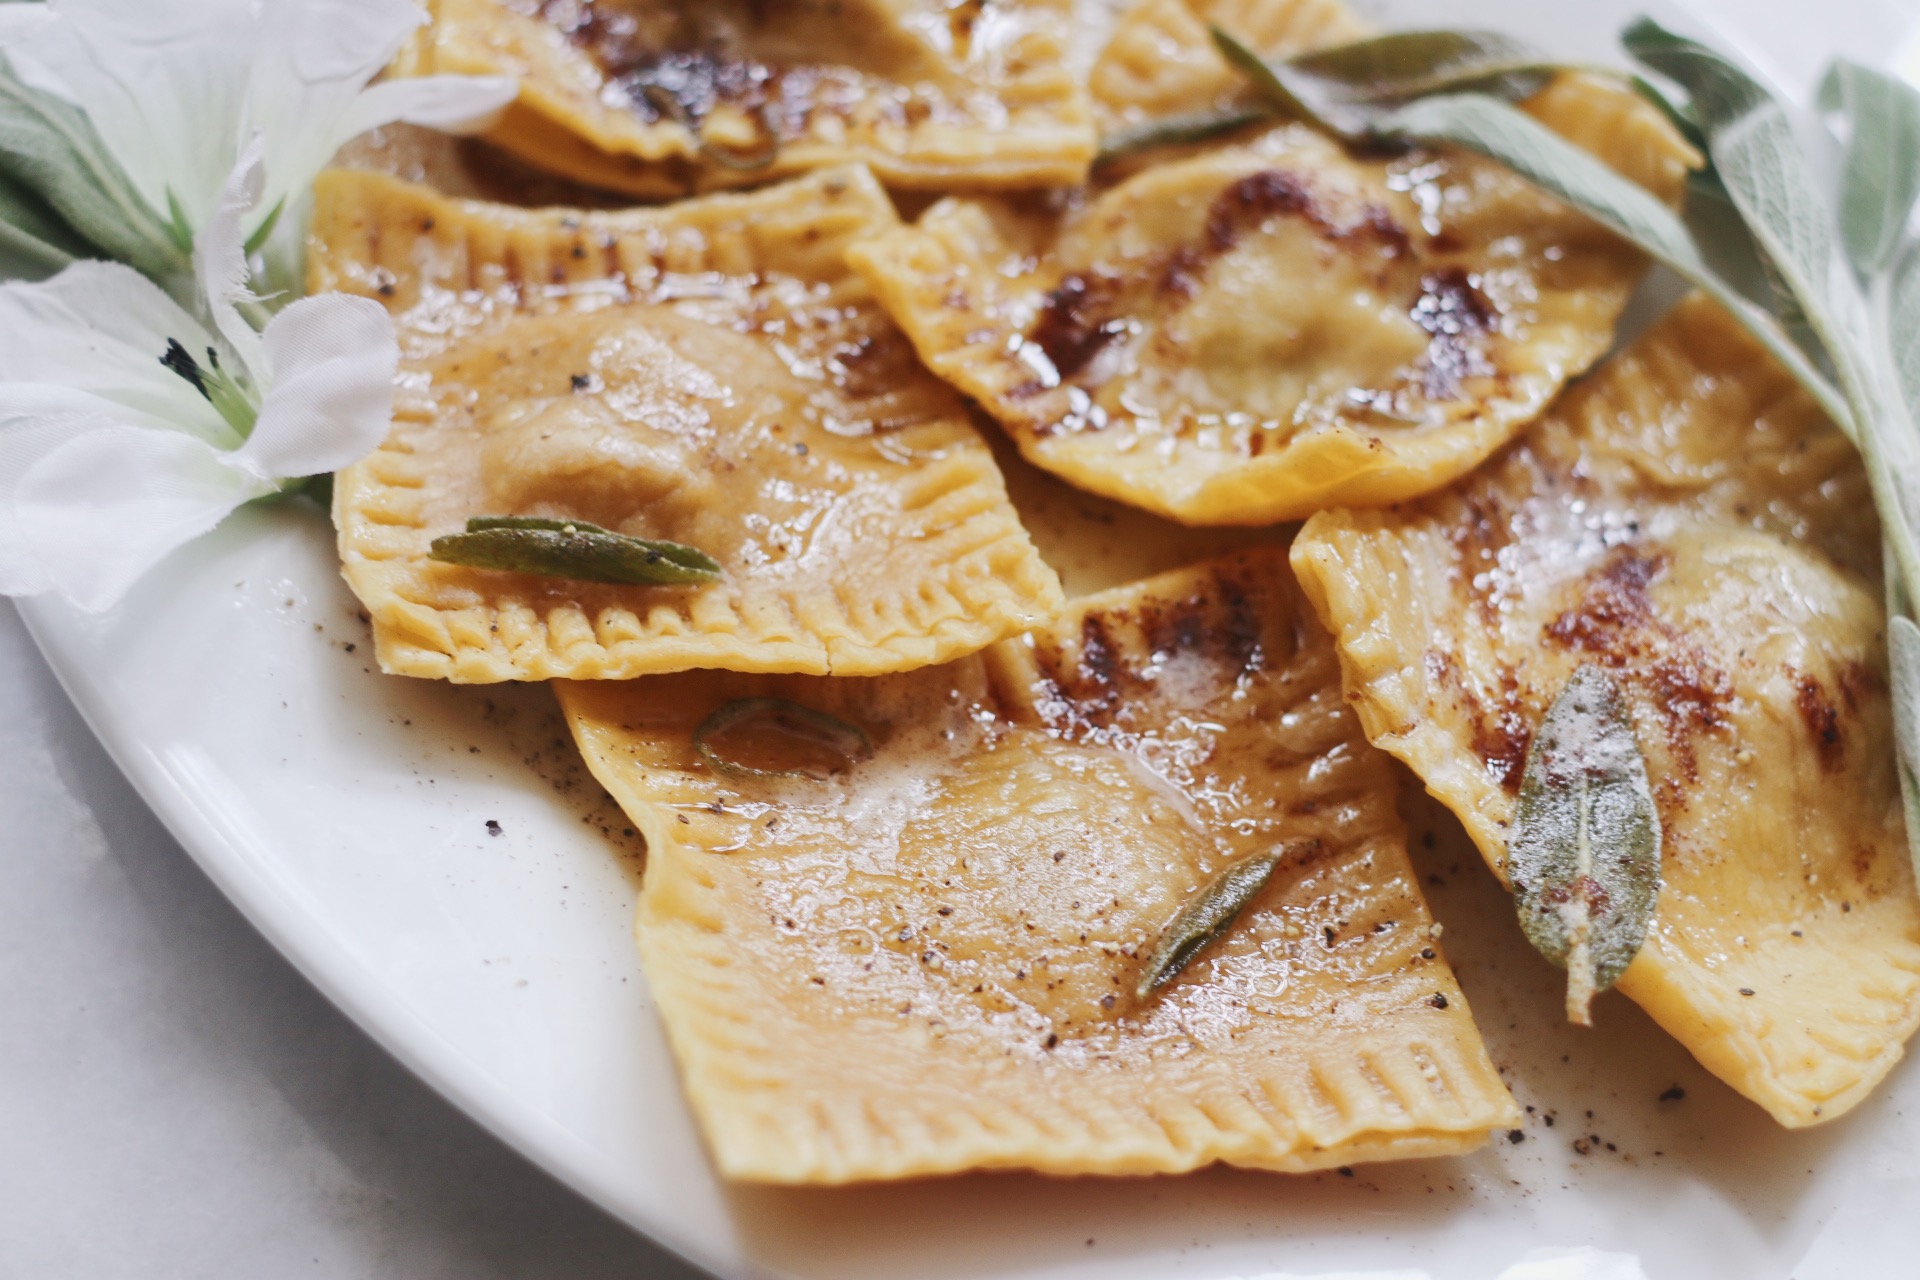
My favorite thing about the resulting recipe is…well, so many things. Ohhh my goodness. RYOU GUYS. It turned out so nicely. 🤗
BUT! The first and most important “favorite thing” would be that it just plain works. Like, the tastes work beautifully together. The sauce is super rich and nutty, but it’s balanced nicely by the sweetness of the filling. Then there’s this very subtle tartness offered by the orange juice in the tzimmes. And finally, you get the fresh, fried sage, which is insanely fragrant and herbaceous (I mean, it’s a literal herb, so, duh).
The sage also has this lovely crispness that keeps things from feeling too…how shall I put this? Too mush.
Because, as everyone knows, there can only be so much mush in your mash.
And don’t be afraid of the prunes. If you’re not afraid of them in the tzimmes itself, then there’s nothing to freak out about once you bring all the flavors over to the pasta. (I also think the butter sort of mellows things out anyway.)
The other thing I love about these ravioli(s?) is that they’re super conducive to leftovers. You only need a small amount of tzimmes to make the ravioli themselves, so you can keep the rest of the batch on hand for leftovers. Or serve it as an additional side.
Is ravioli already plural or did I need to throw an “s” in there?
We may never know.
Oh! Also, learning how to make fresh pasta is such a useful skill (not to mention impossibly easy). It requires just two ingredients, and for future needs, the dough can morph into whatever you’re in the mood for: spaghetti, fettuccine, farfalle (kasha!!!), whatever.
Anyway, that’s enough chatting for today; I want you to try this for yourself! Let me know if you do by DMing me or tagging me on Insta; I’m always so excited to see what gets you inspired.
Tzimmes Ravioli
What You’ll Need:
For the Pasta:
- 6 eggs
- 3 cups all-purpose flour, plus more for dusting (you may even need up to 3/4 cup more)
- 1 batch tzimmes (I used Tori Avey’s recipe and omitted half the prunes just for the purposes of this recipe)
For the Sauce and Garnish:
- 8 tablespoons butter (1 stick)
- 20 whole fresh sage leaves, plus extra for garnishing
- 1/4 cup olive oil
- 1/2 cup grated or shredded parmesan cheese (optional)
- Salt and pepper, to taste
Note: Homemade pasta dough is actually very, very simple, as long as you follow a few important rules:
- For starters, you’ll want to remember “two eggs for every one cup of flour” for all future homemade pasta needs (this recipe makes enough resulting ravioli for about 5 hungry people to enjoy).
- The second important thing to remember is to move SLOWLY. If you mix things together too quickly, you run the risk of your eggs overflowing out of the flour chamber you’ve built for them. Stir ever so slowly to incorporate the flour and egg together in the tiniest, tiniest bits.
- Finally, the last thing I really want you to remember is that pasta dough “puffs up” a little once you throw it into boiling water. That’s why it’s so crucial that your dough is rolled out to its absolute thinnest possible dimensions. One teacher I had in a pasta-making class said that we should “be able to read the time on a wristwatch through the dough,” if that helps you understand just how thin we’re talking here. A hand-held or electric pasta machine is definitely the easiest way to make that happen, but a rolling pin and some extra elbow grease will work just fine too. Okay, that’s all! 🙂 Thanks for reading.
What You’ll Do:
- Make the Pasta Dough: Measure your flour directly onto a clean countertop surface (no bowl necessary!). Make a well in the center of that flour pile—one that’s fairly deep, with relatively high “walls.” Crack in your eggs, then, using a fork, slowly and carefully beat them without wrecking the walls of that flour cavern you’ve built.
- Eventually, you’ll start slowly incorporating bits of flour from the “sides” into the eggs. Be careful not to destroy the walls too quickly; you don’t want the egg going all over your counter.
- Once the egg and flour is mostly incorporated, continue mixing everything together using your hands. Turn the dough out onto a floured surface and knead until it feels soft and pliable, adding more flour as you go until it’s no longer “tacky” or sticky to the touch and there are very few moon-like craters in its surface. You want a nice smooth exterior, which really could take several minutes of continuous kneading.
- Let the dough rest for at least 30 minutes.
- Form the Ravioli: Time to roll out the dough! You can do this using a pasta machine or by hand on a lightly-floured surface with a rolling pin. The key is to get it as thin as possible (no thicker than a nickel), since the boiling water will add a bit of heft to the final ravioli. Cut into at least two sheets.
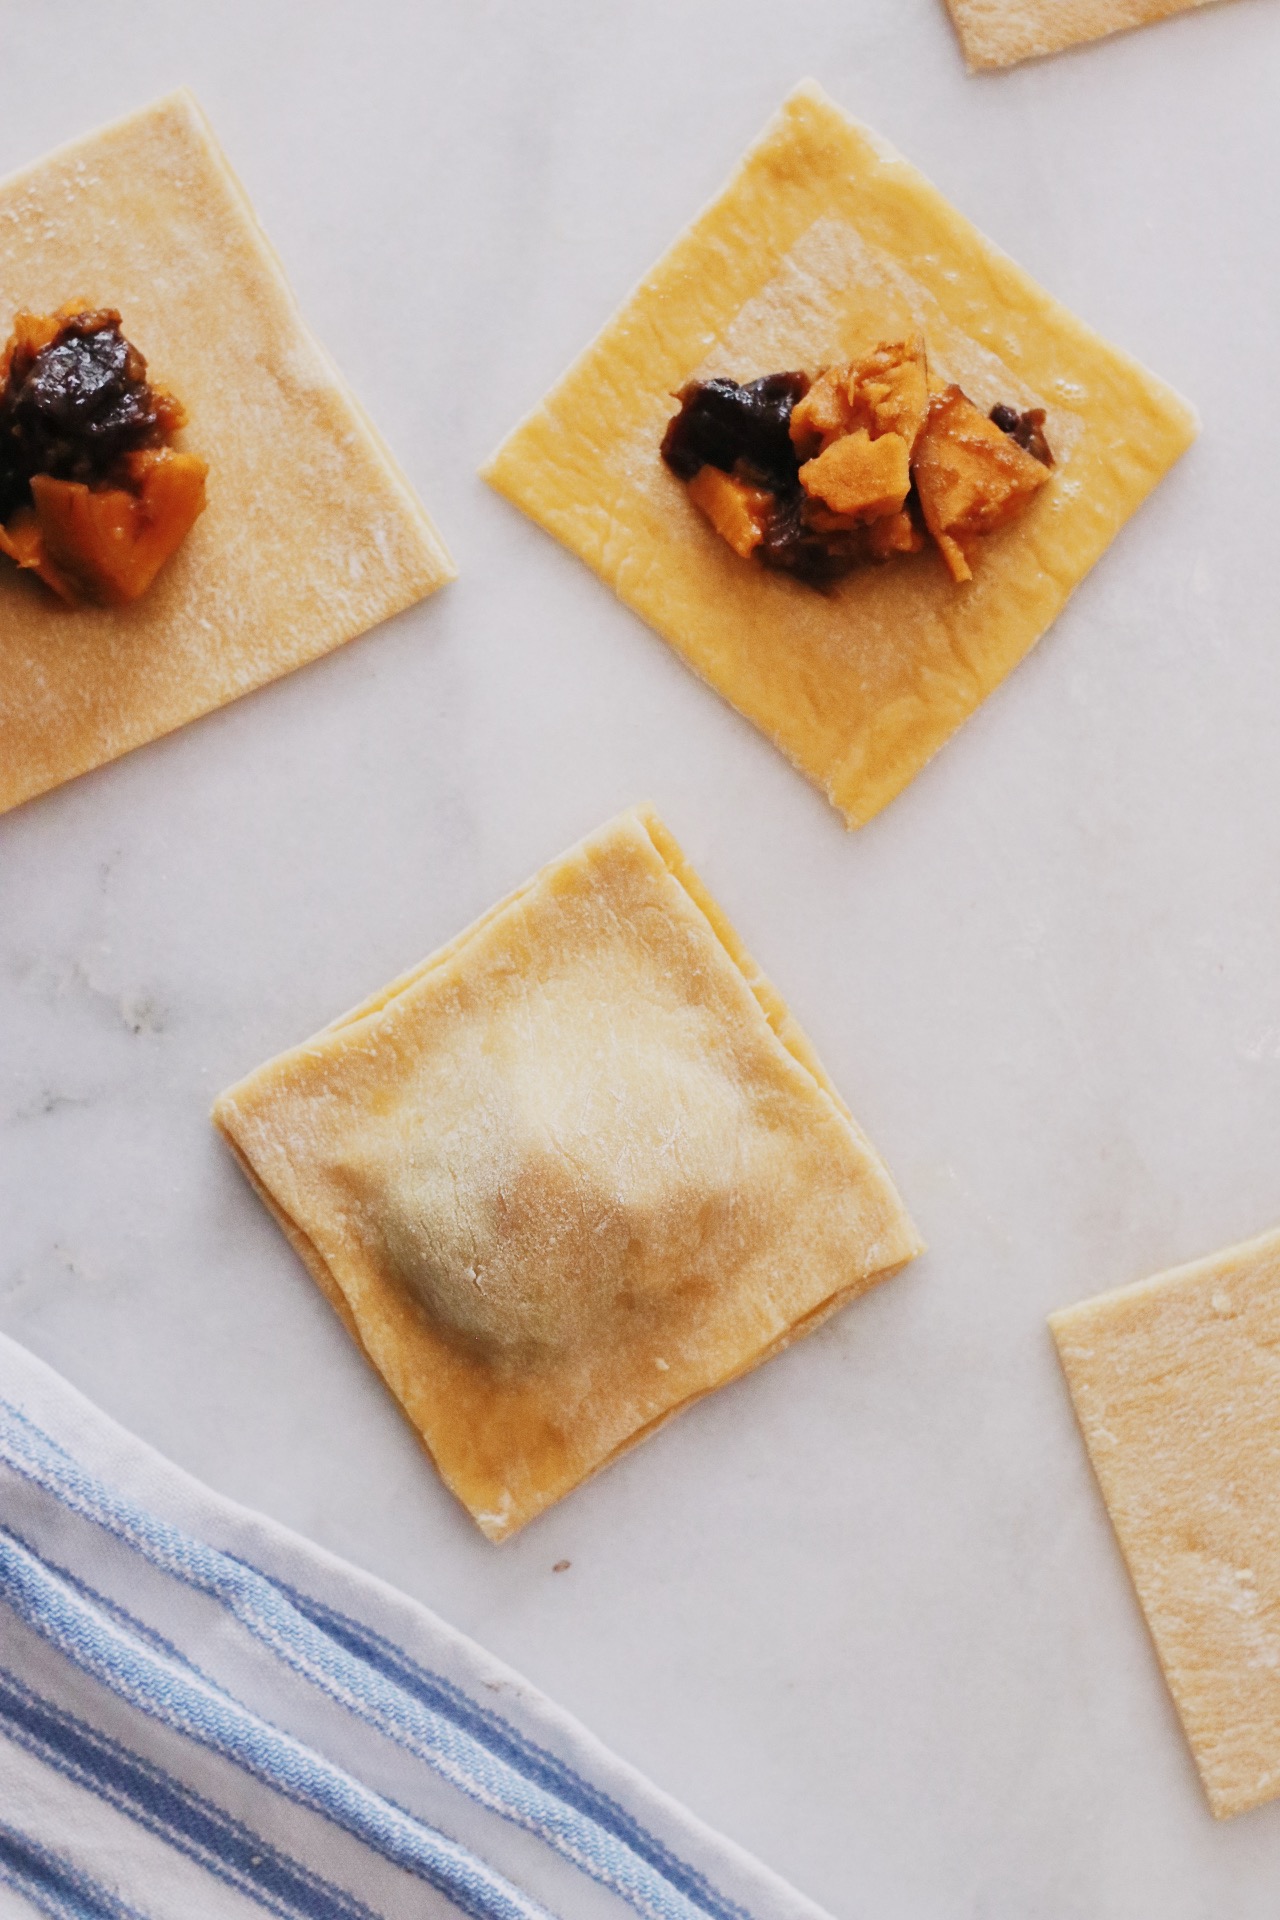
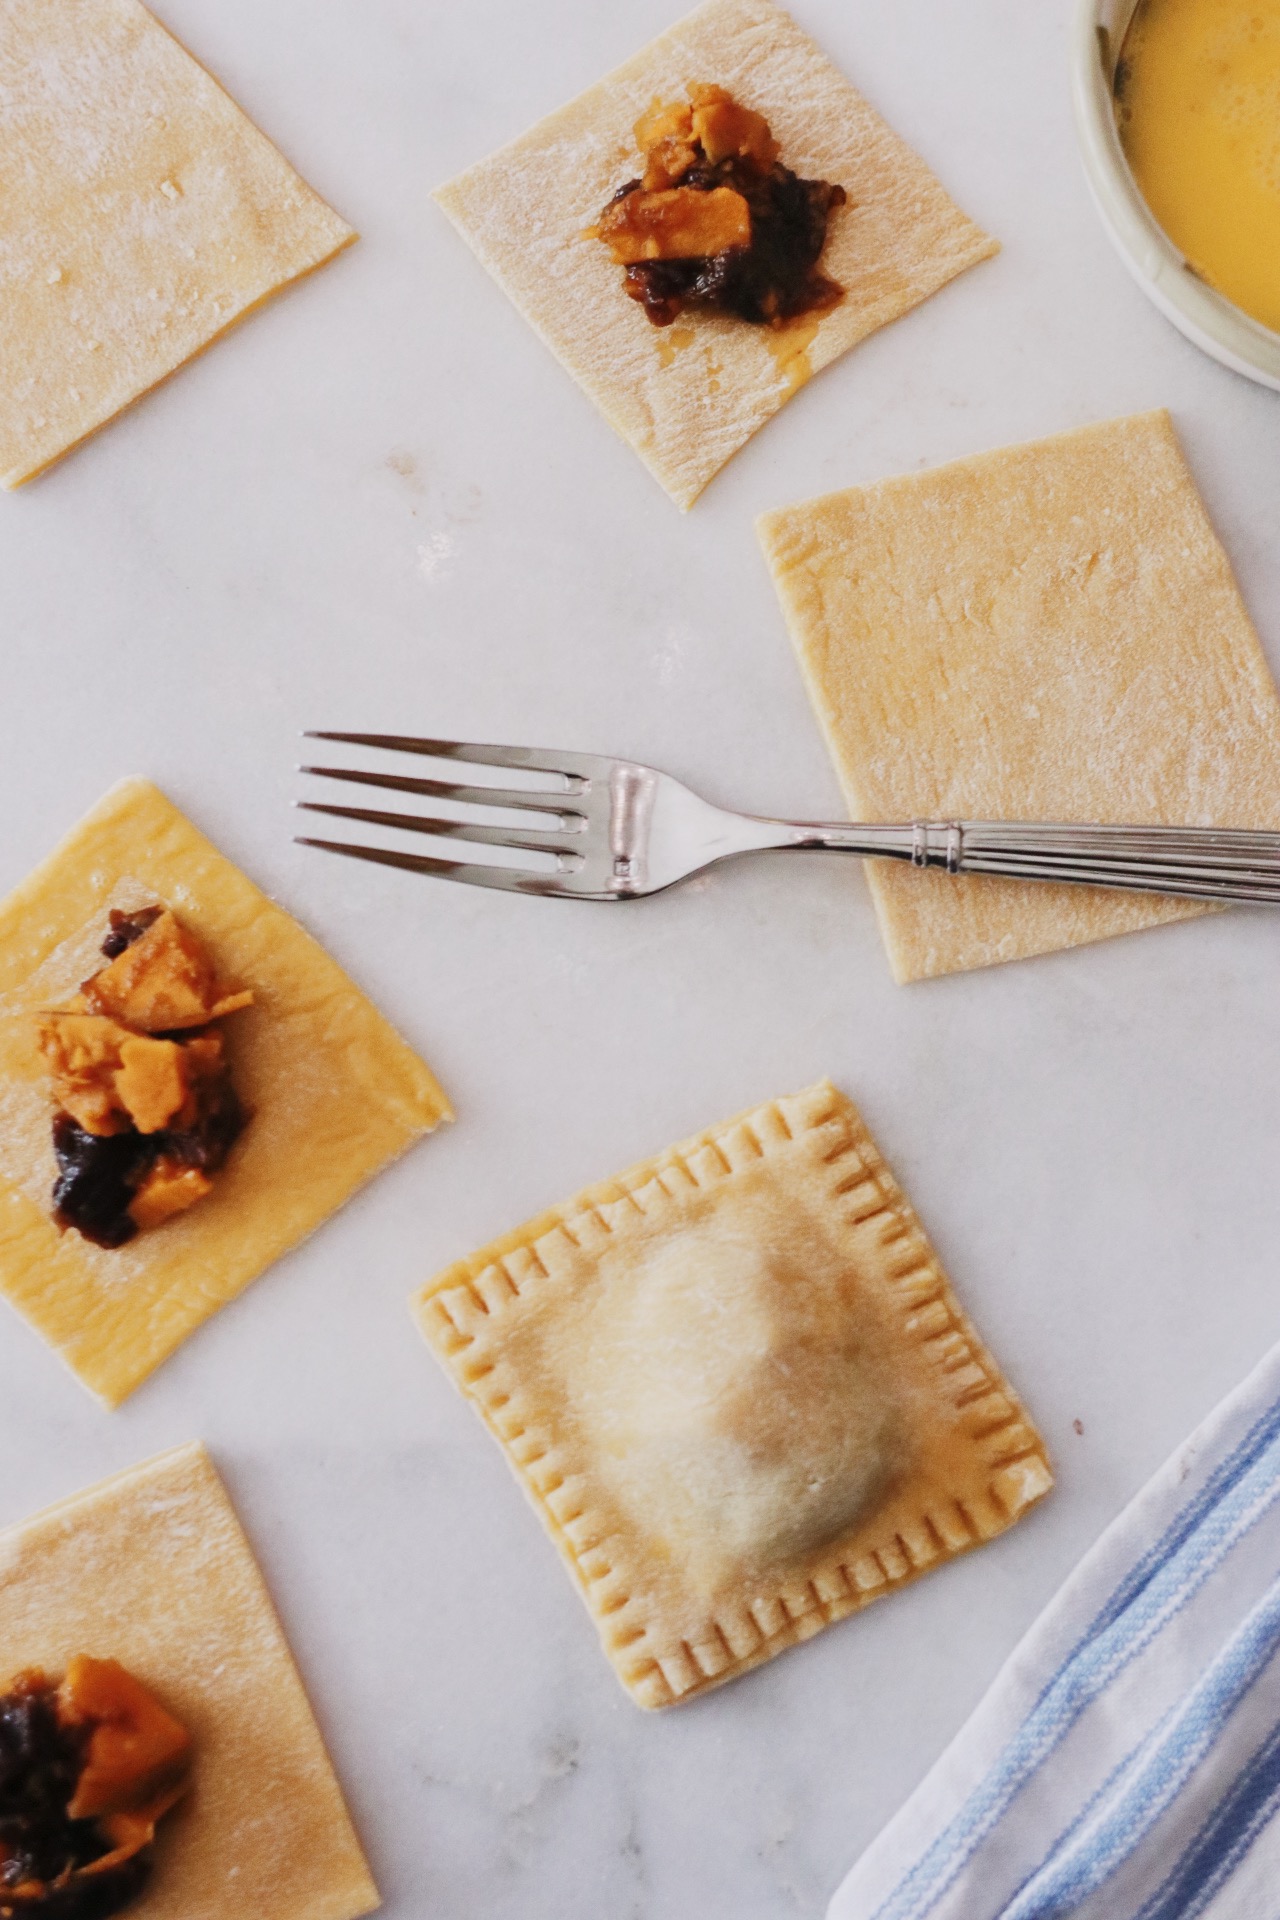
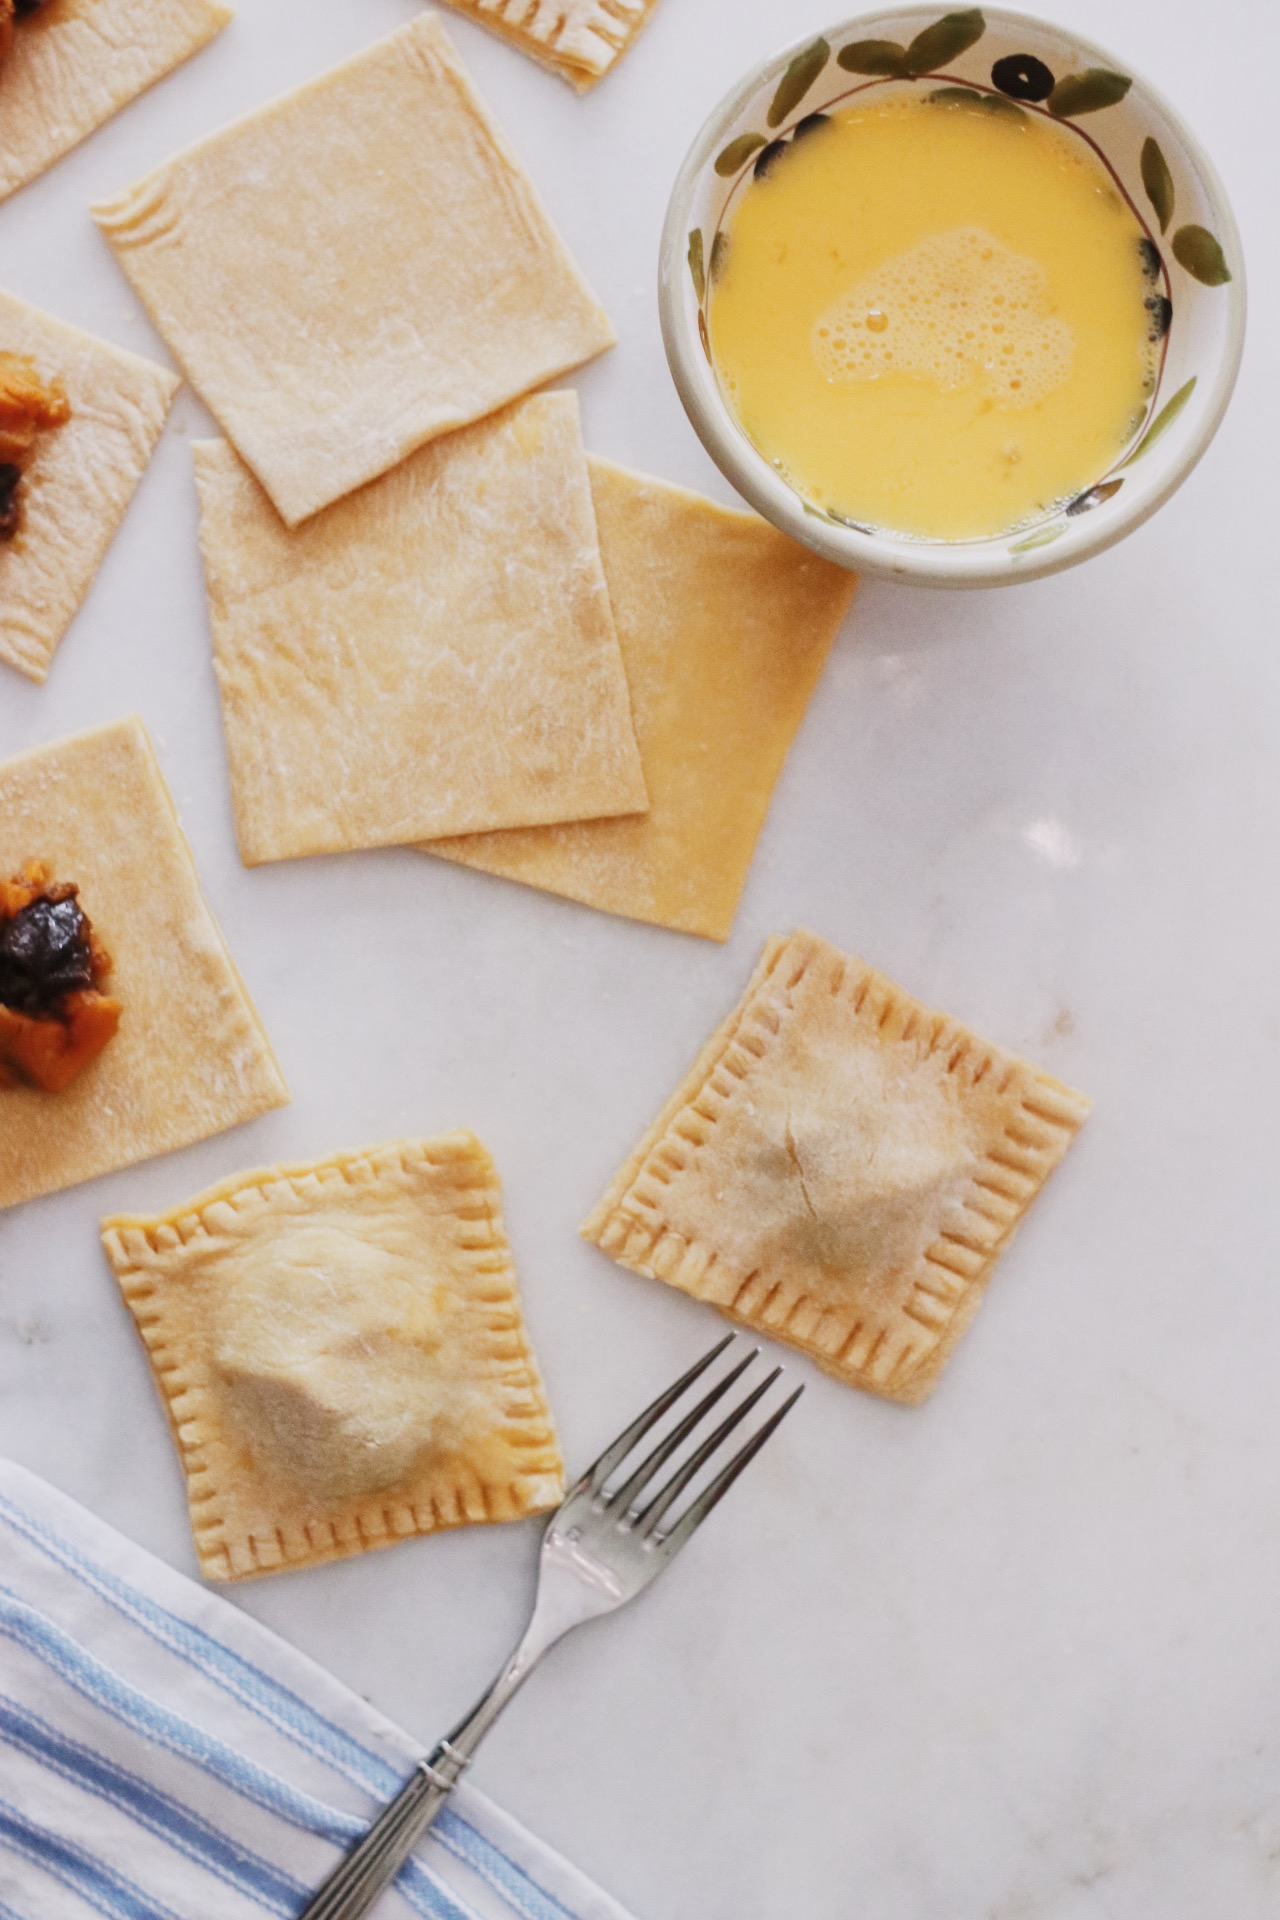
- Add the Filling: Add one teaspoon of tzimmes onto half of the pasta sheets, about 2 inches apart (you may have to cut any large chunks of ingredients to make it fit). Dip your finger in egg wash and wet the edges just around the “filling” to create a nice seal; then, add the second sheet on top. Press out the air from the area around the filling and lightly flour the top of the ravioli. Cut into individual ravioli with a ravioli press, ravioli stamps, a cookie cutter, a sharp knife, or a pizza cutter. Seal the edges using the tines of a fork (if not using a stamp).
- Bring a large pot of salted water to a boil, and add the ravioli; they’ll only need to cook for a short time (about 2 minutes) before they’re done. When they’re ready, you’ll notice that they float up to the surface of the water. Carefully remove them one by one and drain off any excess water.
- Prepare the Sauce: In a medium skillet, melt the butter over medium heat; continue cooking and constantly stirring with a wooden spoon until you see the butter begin to foam. Remember, you want the butter to brown, not to burn—and it can burn quickly. Add the fresh sage and cook for a few minutes more until the sage is crisp and rust-colored particles begin to form toward the middle of the pan; that’s the butter “browning” at last! Remove from the heat.
- Add the cooked and drained ravioli to the skillet and mix gently to coat. Plate, then sprinkle with Parmesan, and serve warm!
