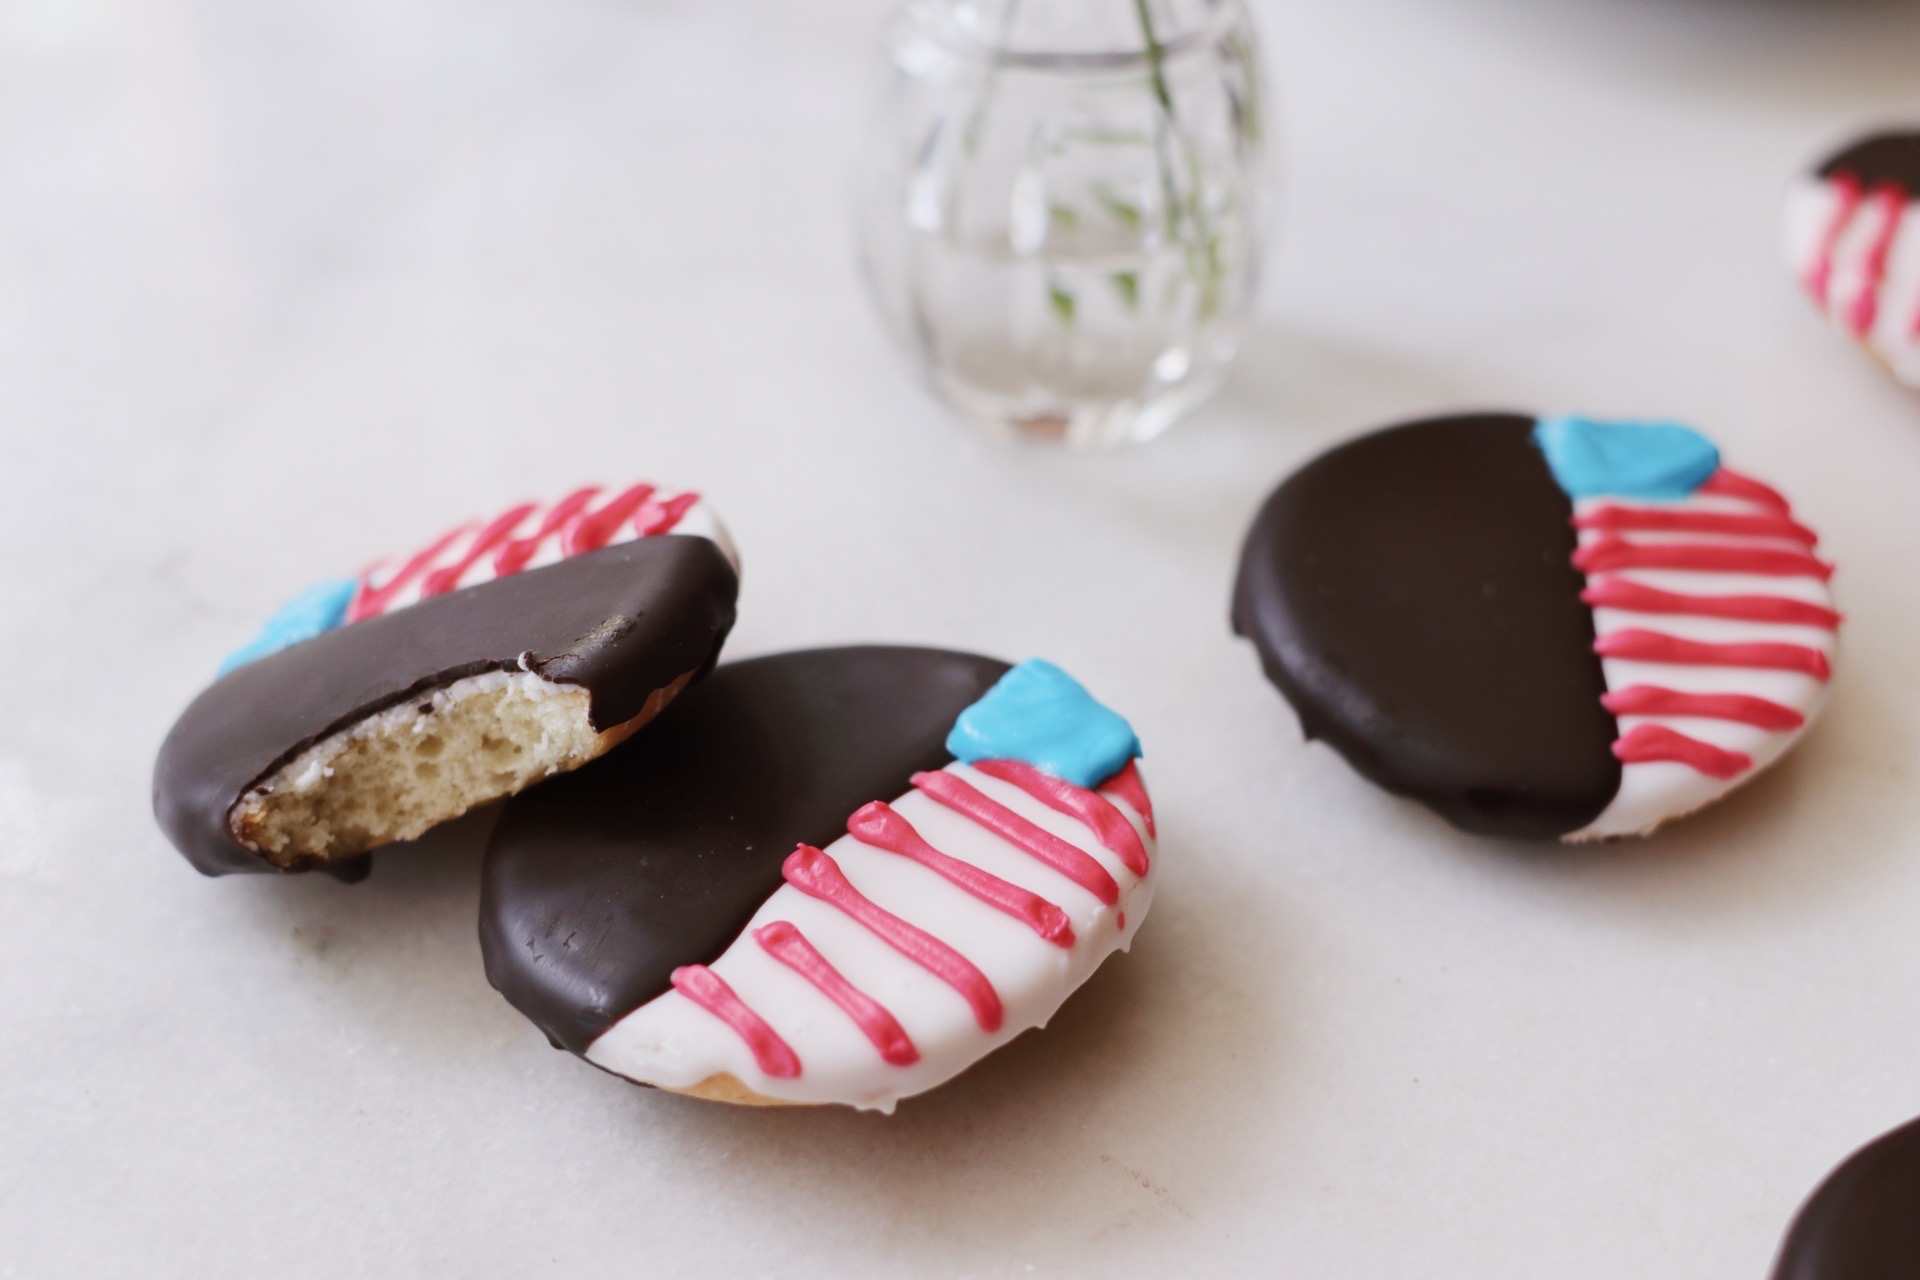
Think of these cookies as a Fourth-of-July-ified ode to old New York.
Not, like, Old New York.
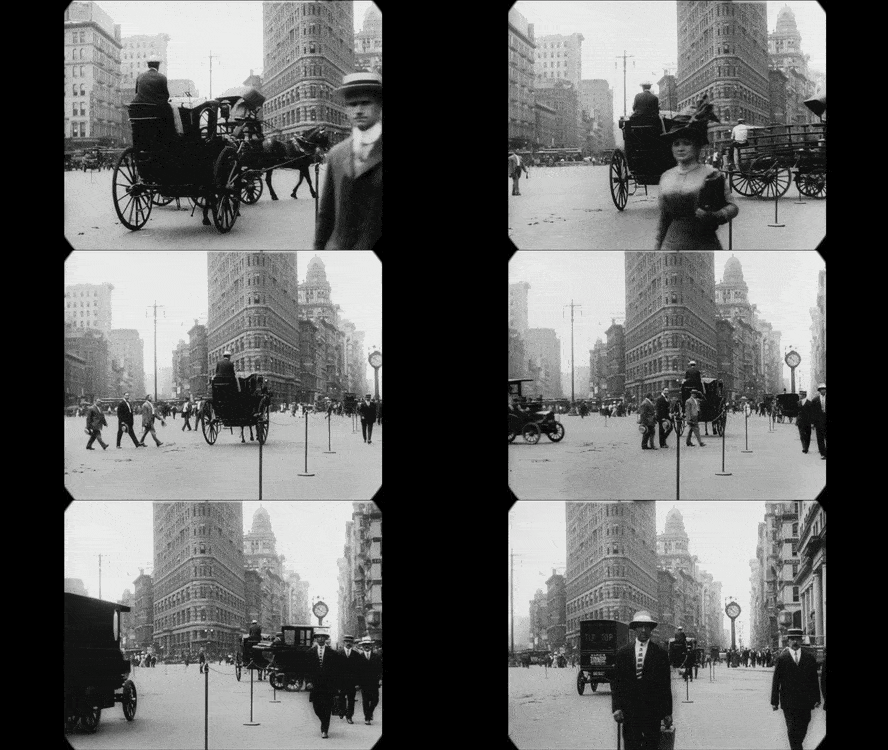
Slightly newer old New York.
Pre-Corona New York, New York.
This New York:
Because I just miss it so much. I miss lugging my laptop to cute little cafés and sitting in them for too many hours. I miss dipping into flower shop after flower shop on 28th Street. I miss eating Raisinets at Broadway shows. I miss the 123 and the NQR. I miss people screaming at each other on crowded sidewalks. And smiling at each other. And completely ignoring each other.
And I miss bakeries. Particularly this one, but also this one.
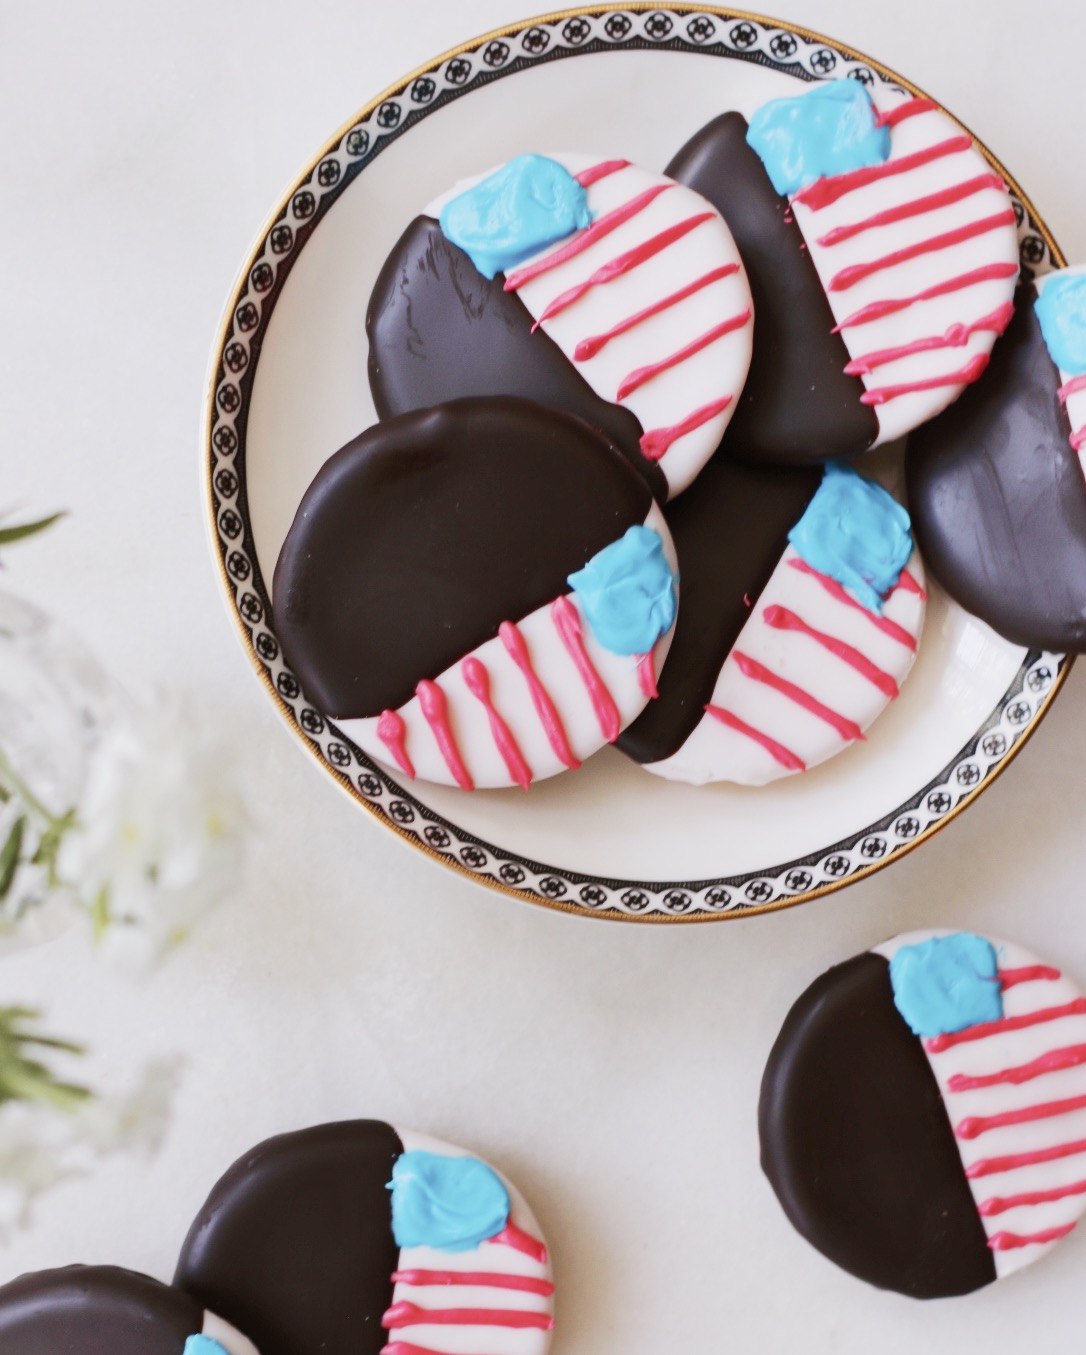
I’ve made these New York City-style black-and-whites before (see here, here, and here!) but I wanted to jazz things up a little for the Fourth. Several of my siblings are going to be in town next weekend (if you haven’t been following along on the ol’ Gram, I’ve been spending most of my time lately in Connecticut with my family) and they’re all big fans of the classic black-and-white, so this just felt like the perfect upgrade.
You’ll notice that the dough here is pretty un-cookie-like. Actually, I’m not sure I’d really call it “dough” at all. It’s more like a really, really thick cake batter that yields this perfect, 50/50 mix between a cake and a cookie. Not too chewy, but not too airy either.
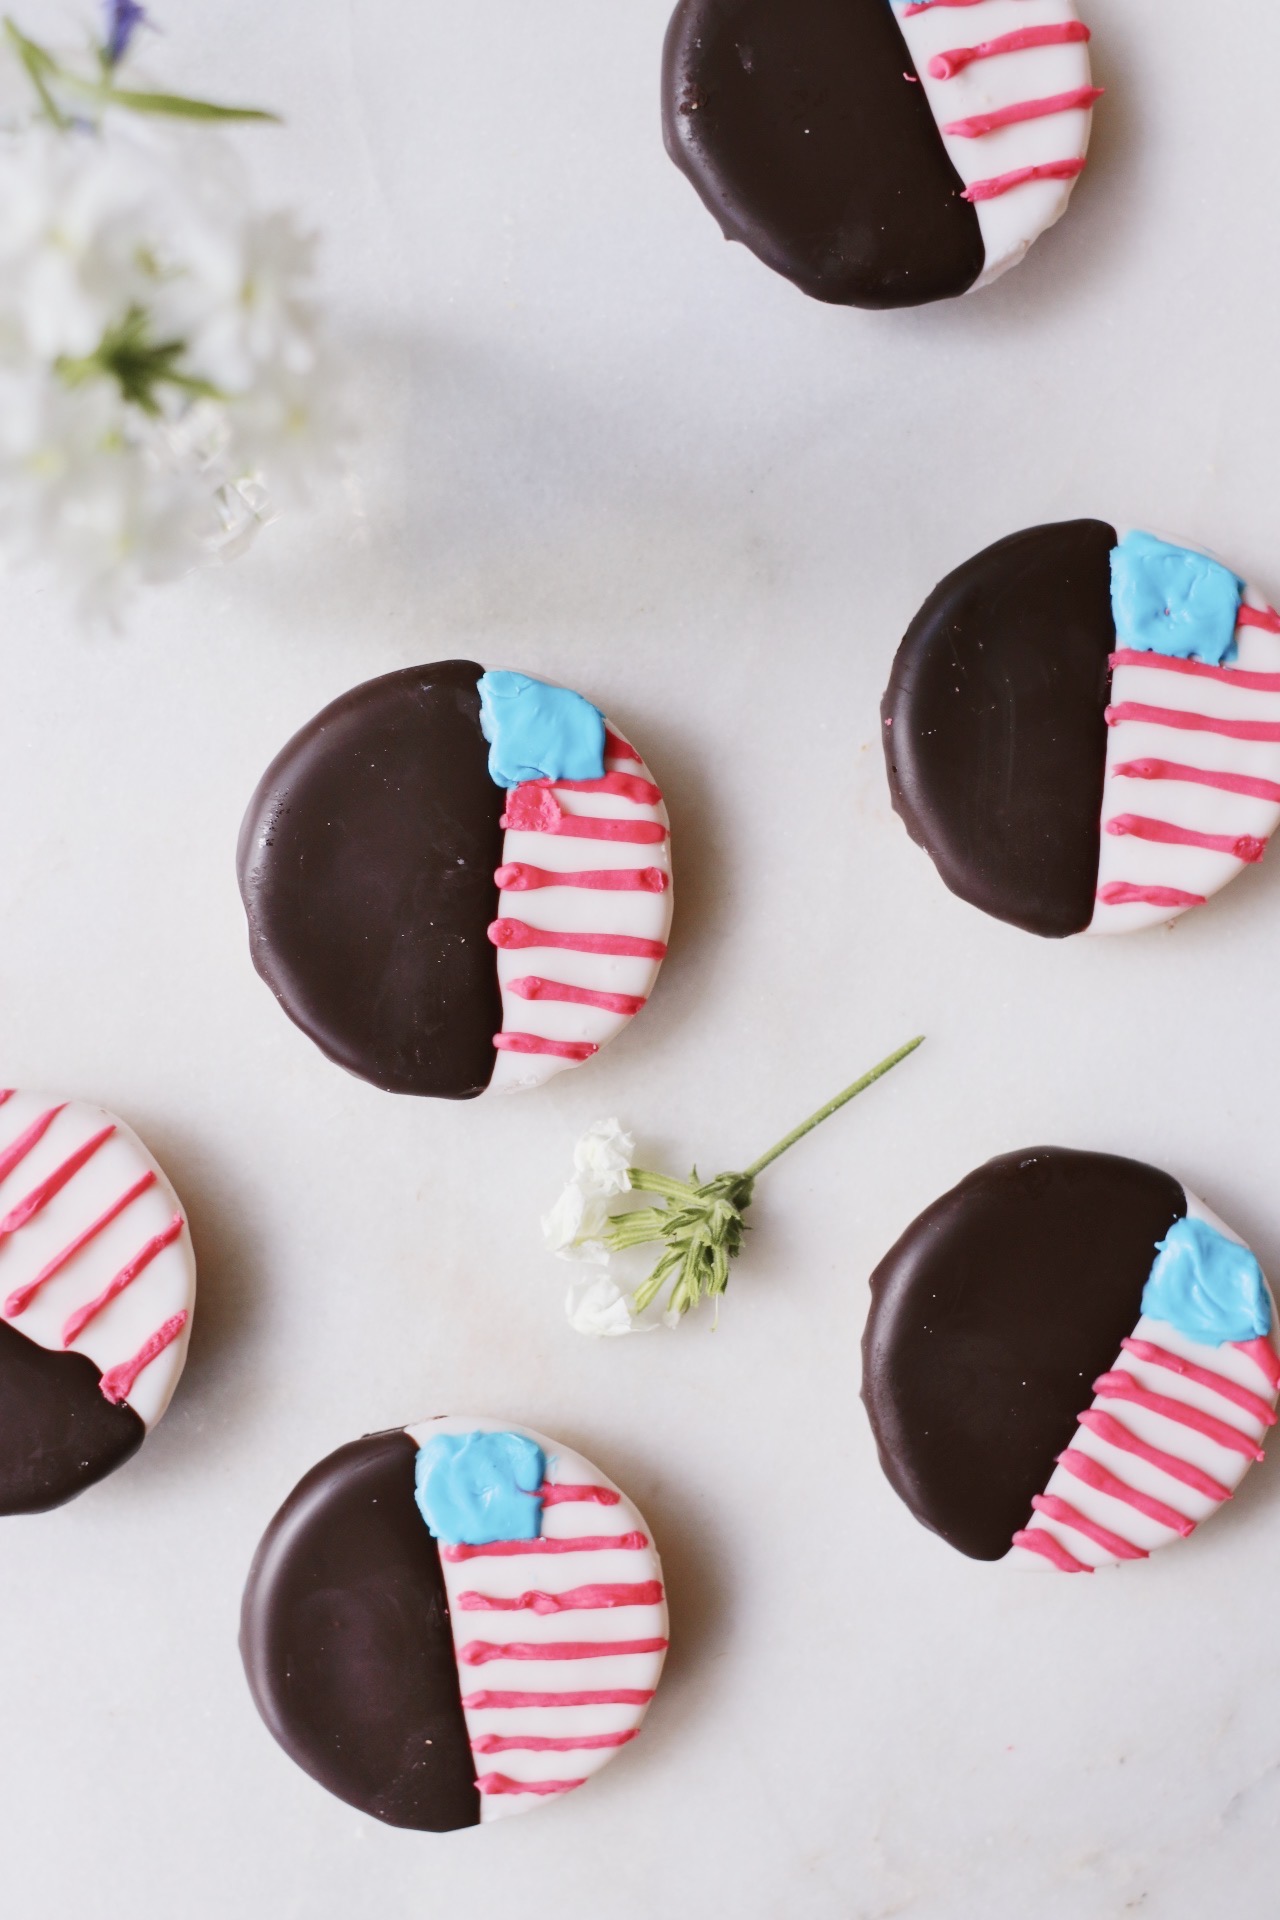
And then, of course, there’s the matter of the flag design.
At first, I made it a little (lot?) more complicated than it needed to be. Because initially I was very against piping on top of the glaze. Because that would require me to switch over to buttercream. And the thing is, the consistency of the icing on these guys generally has to be pretty specific in order to feel authentic—somewhere between a loose glaze and a thicker frosting. And so I really wanted to use that same icing in the details. But it’s not really…pipe-able.
Are you still with me?
Okay good.
So…SO…I decided instead to dip my fingers in confectioners’ sugar and carefully roll each of those little lines by hand using the same glaze-like icing recipe that sits on top of the rest of the cookie.
Yes. By hand. Each line. Just so that I could use the same traditional icing and not switch it up.
Here’s how that batch looked:
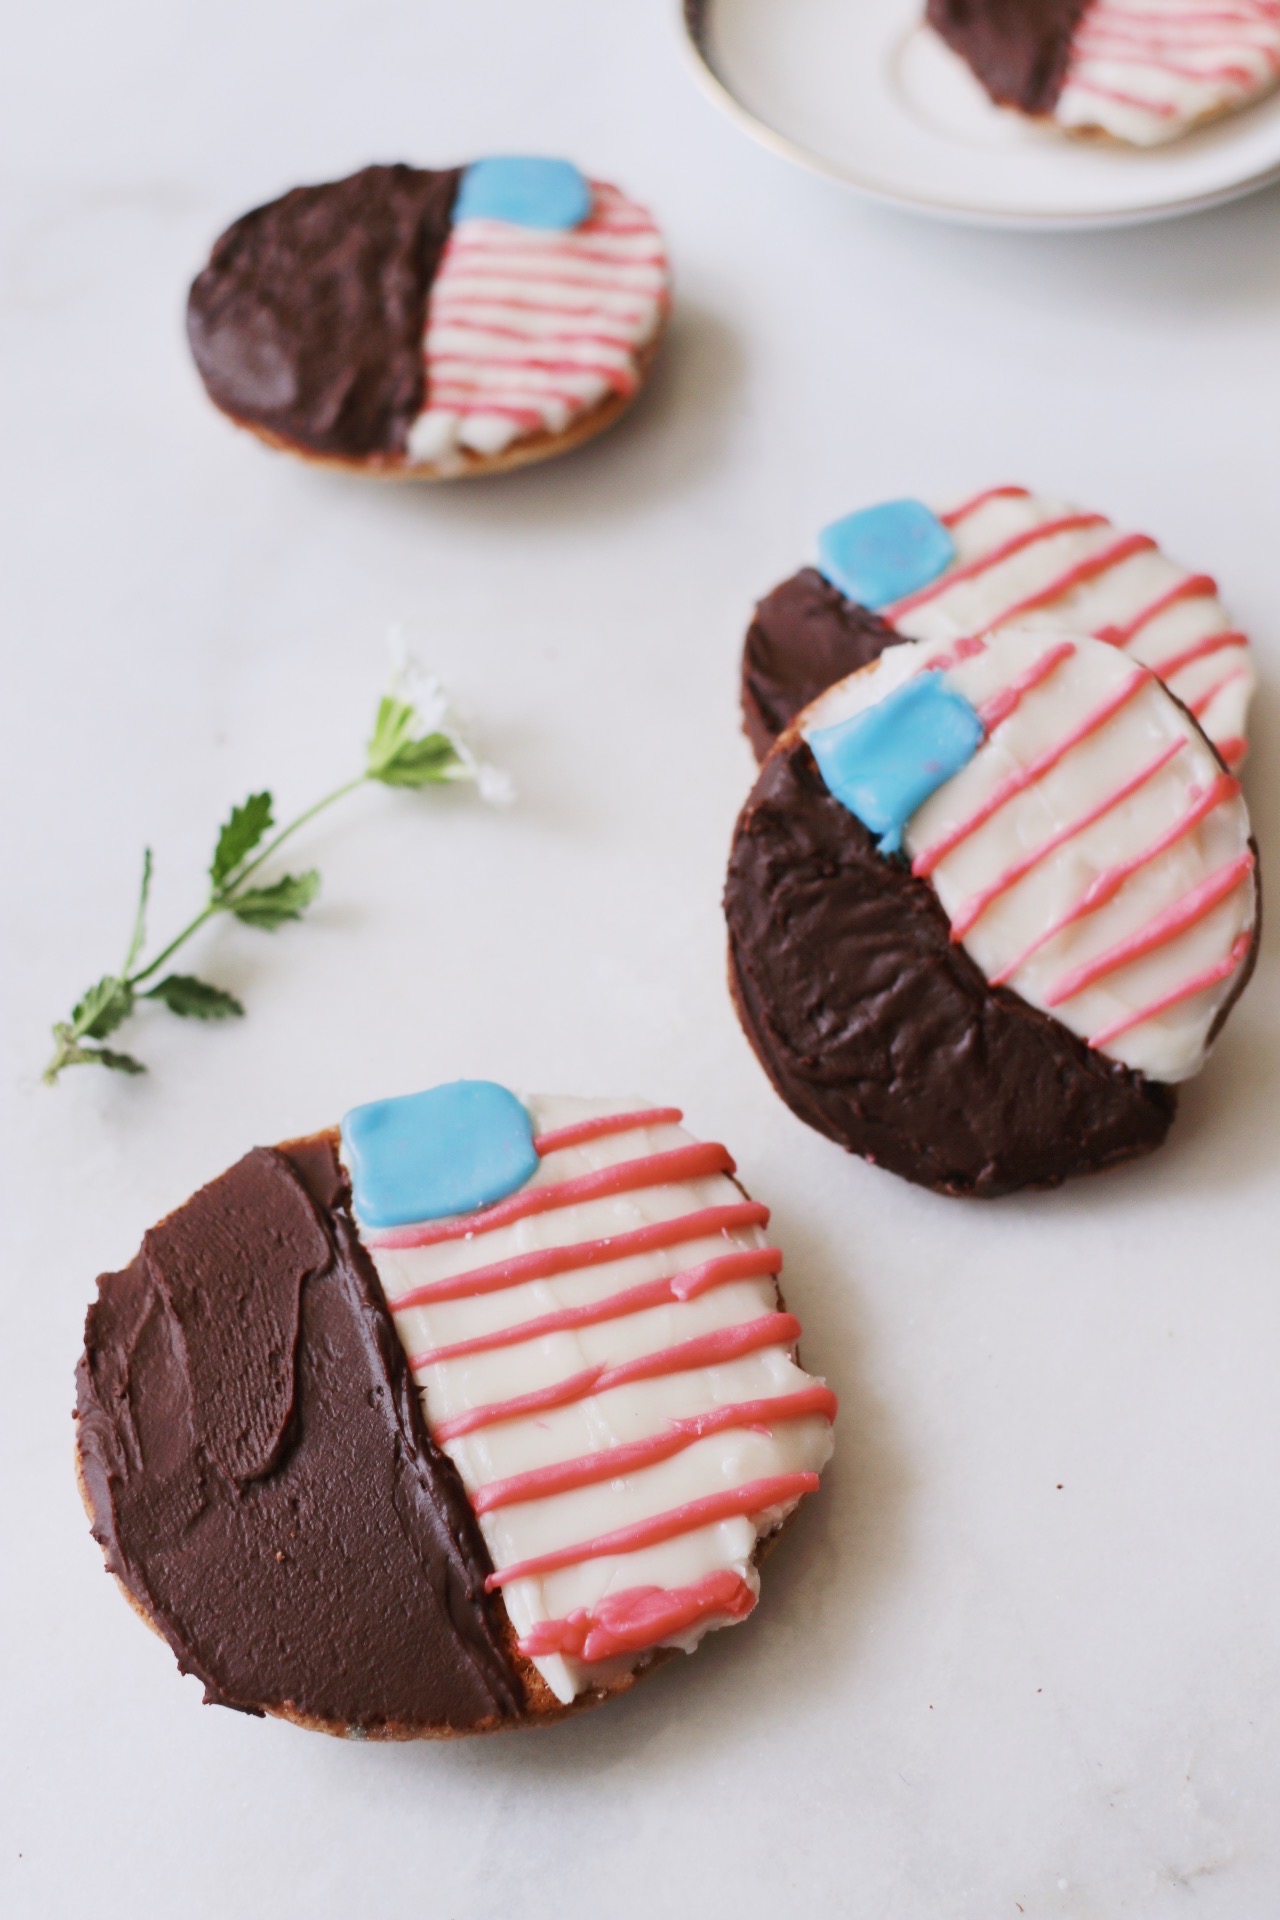
LIKE A DANG DISASTER.
So that’s when I decided that I very well could and SHOULD just add the flag details with a piping bag and buttercream after the rest of the frosting had set. This was, unsurprisingly, preferable. And prettier. And much less time-consuming.
And it also gave me a chance to fix the chocolate side, which hadn’t fared so well in my first attempt. (This tragic thing happened where I was multitasking and messed up the dry:wet ingredient proportions and the frosting wrinkled up and, well, have I mentioned it was an absolute disaster.)
So yes. I used buttercream. The end.
WAS THAT EVEN INTERESTING.
I hope so.
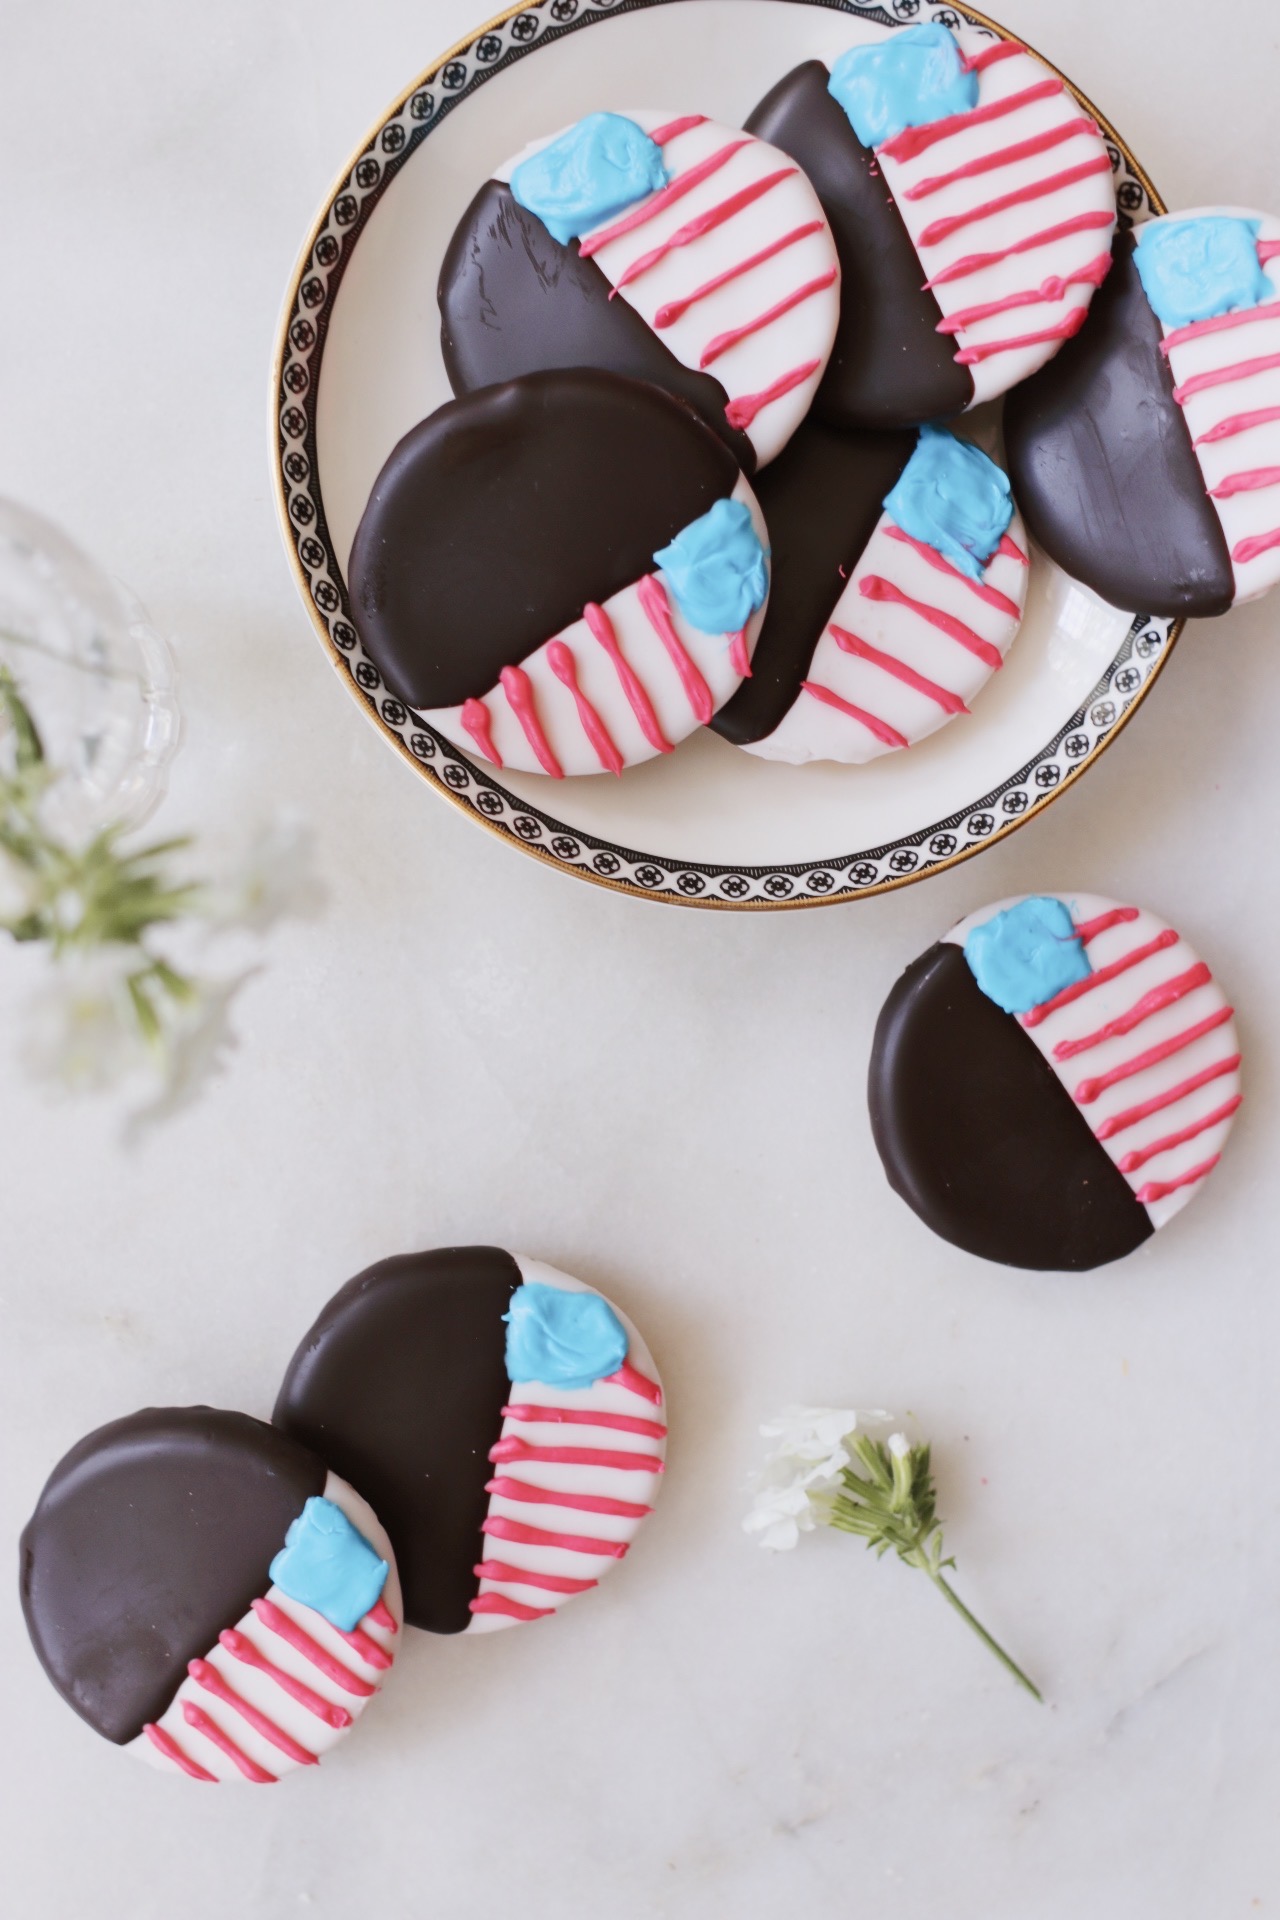
By the way…what are you all planning on doing for this very bizarre, socially-distanced Fourth? Celebrations with family? Flag sheet cakes? Fireworks at home (please don’t)? Nothing at all? I’m curious. These are strange, new times. Honestly, for me, as much as I’m looking forward to having my siblings with me…it’s difficult to imagine celebrating anything this year. Especially the state of our country.
Maybe we should think of these cookies as a very delicious representation of that little flag sticker we’ll get when we vote in November. That feels nice and hopeful.
Also, please do.
Vote, that is.
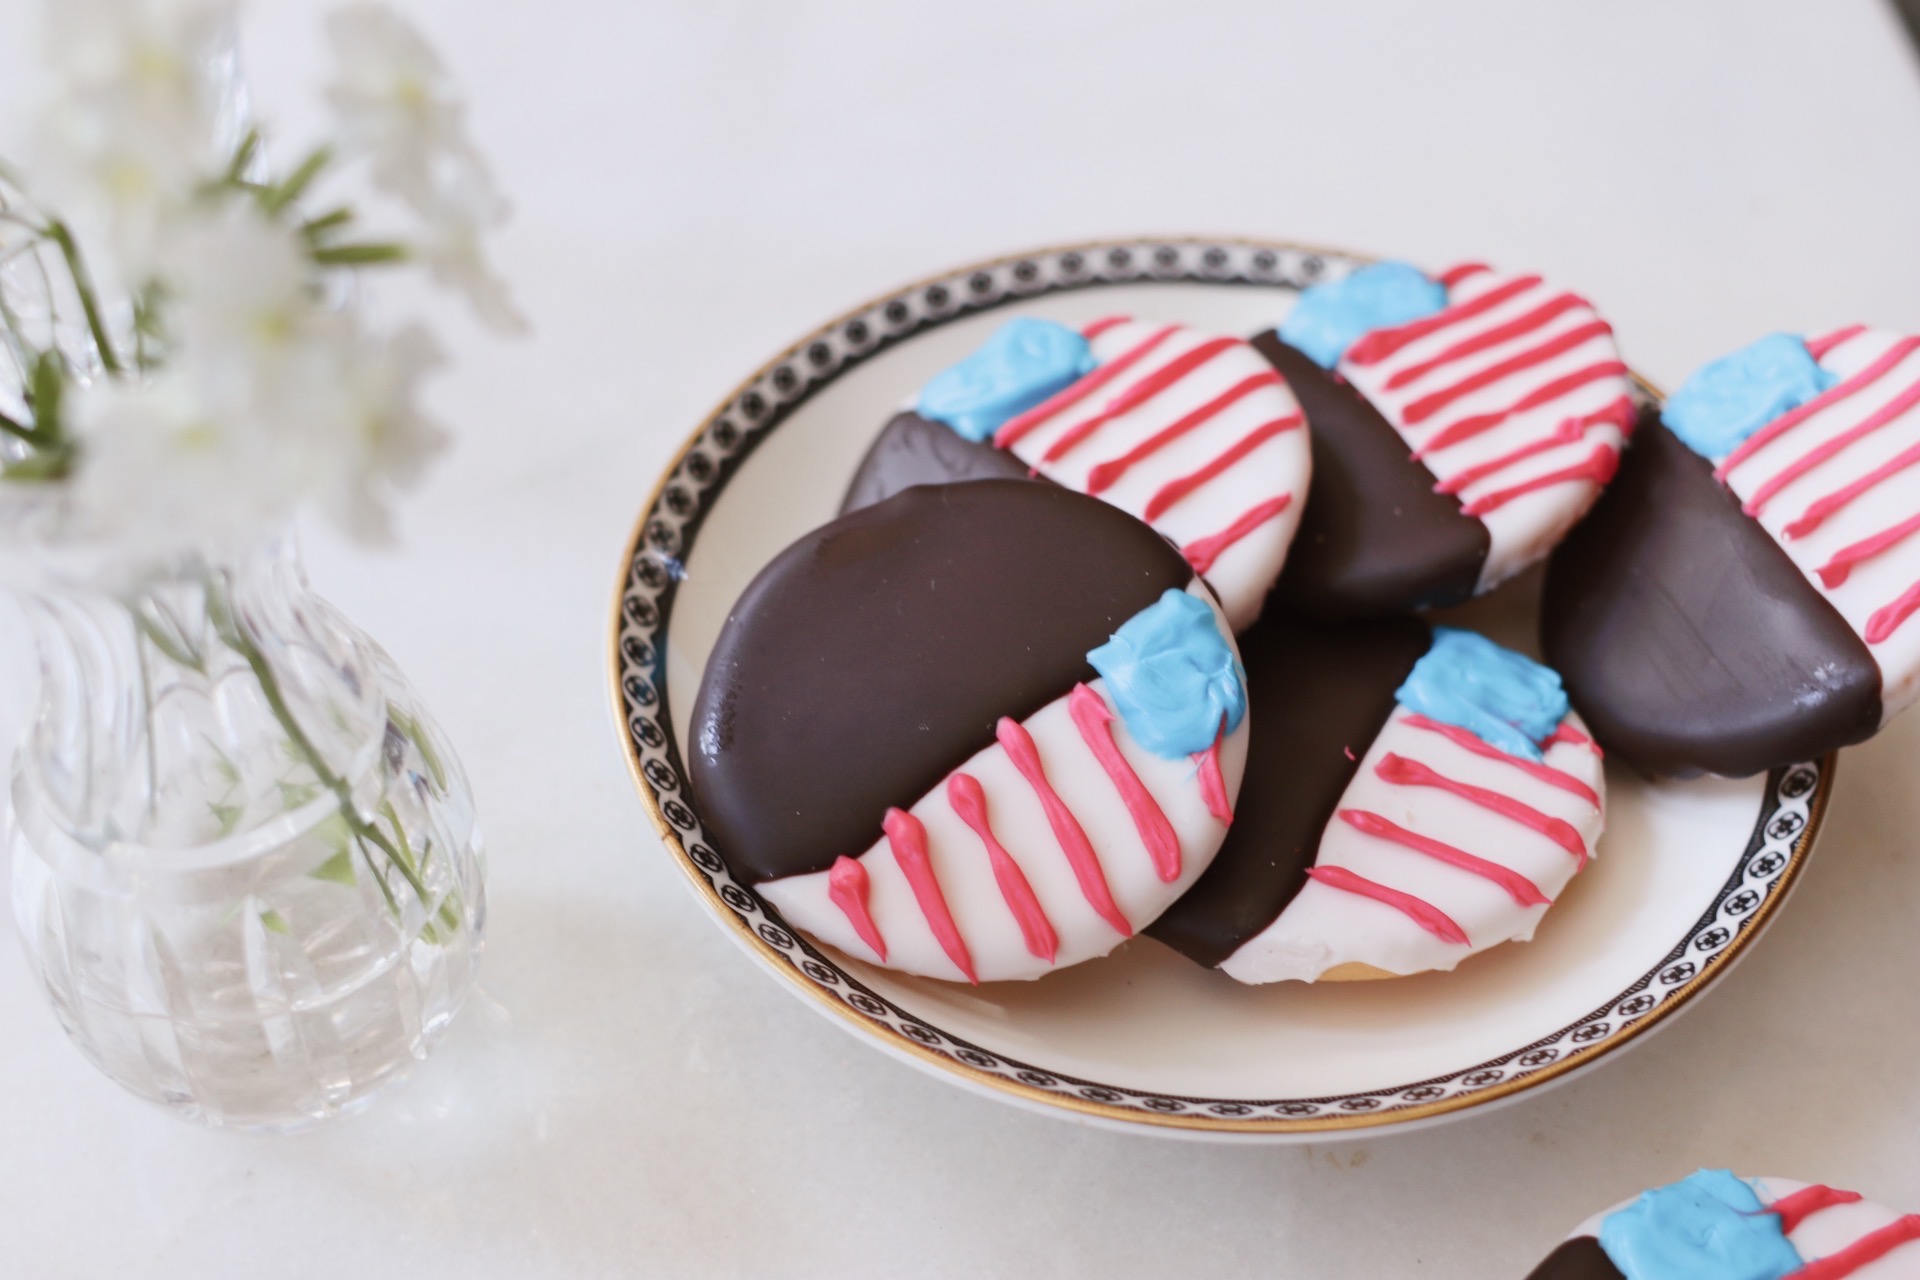
There are a few more fun things coming your way this week, so stay tuned for those. And don’t forget to drop me a line if you do end up making these or any of the other projects on the site right now! Always, always, always love to see your work.
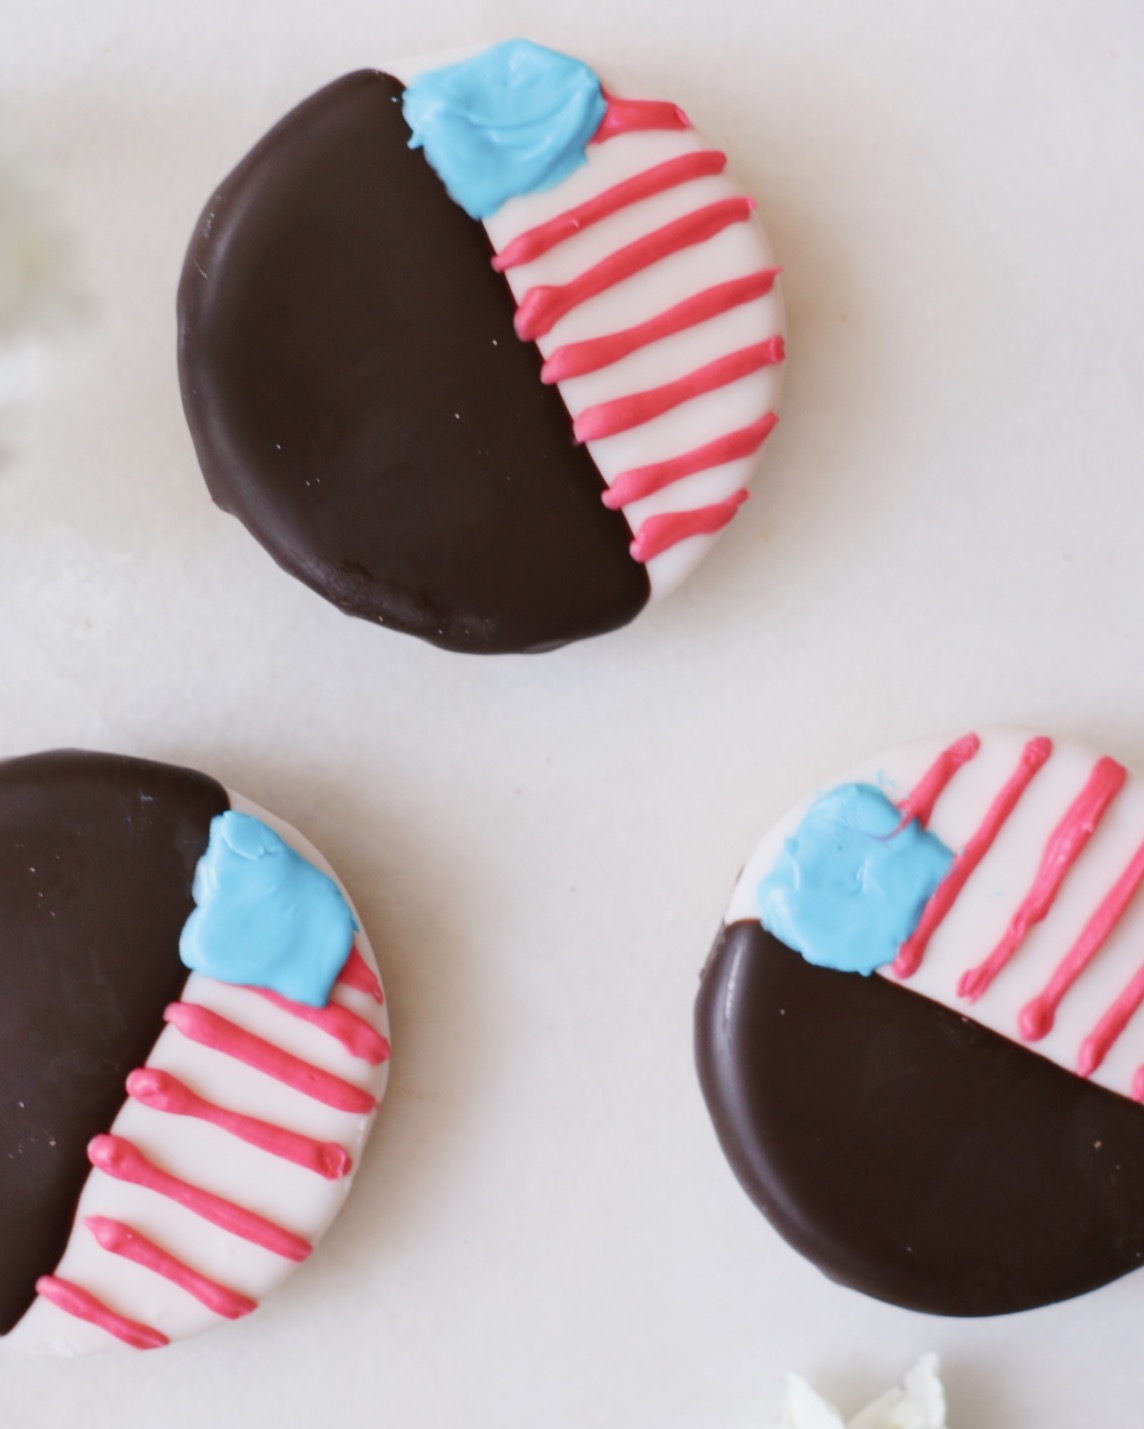
American Flag Black-and-White Cookies
Base recipe adapted from Sally’s Baking Addiction.
What You’ll Need:
For the Cookies:
- 1 and 3/4 cups (220g) all-purpose flour, plus more as needed (see note in recipe)
- 1/2 teaspoon baking powder
- 1/4 teaspoon baking soda
- 1/4 teaspoon salt
- 10 tablespoons (145g) unsalted butter, softened to room temperature
- 1 cup (200g) granulated sugar
- 1 large egg, at room temperature
- 2 teaspoons vanilla extract
- 1/3 cup (80g) full-fat sour cream, at room temperature
For the Black and White Icing:
- 5 and 1/2 cups (660g) confectioners’ sugar, sifted for that super-smooth consistency (measure before sifting)
- 7 tablespoons (105ml) whole milk, divided
- 2 tablespoons light corn syrup
- 1 teaspoons vanilla extract
- 1/2 teaspoon salt
- 3 tablespoons (18g) unsweetened natural or Dutch-process cocoa powder
For the Red and Blue Flag Design:
- 1 batch vanilla buttercream
- Red and blue food coloring (gel or liquid both work)
- A piping bag or plastic sandwich bag
What You’ll Do:
- Preheat oven to 350°F (180°C). Line two baking sheets with parchment paper; set aside.
- Make the Cookies: Whisk together the flour, baking powder, baking soda, and salt in a medium bowl; set aside.
- In a large bowl using a handheld mixer or a stand mixer fitted with the paddle attachment, beat the butter and sugar together on medium-high speed until smooth and creamy, about two minutes. Add the egg and vanilla; beat on high speed until combined. You’ll need to pause, scrape down the sides of the bowl, and beat again until combined. Reduce to low speed, then add the dry ingredients in 3-4 additions, alternating with dollops of the sour cream. Beat everything on low speed until combined and no pockets of flour remain. Batter will be extremely thick.
- Using a greased 1/4-cup dry measuring cup or a large greased soup spoon, drop mounds of dough about four inches apart on the prepared baking sheets (six cookies per sheet). Bake for 16-18 minutes or until the edges are lightly browned. Allow the cookies to cool on the baking sheets for five minutes, then transfer to a wire rack to cool completely before icing (this is important!).
- Make the Icing: In a medium bowl, whisk together the confectioners’ sugar, 6 tablespoons of the milk, the corn syrup, vanilla, and salt. This is your “base” white frosting. Transfer one cup of that base frosting to a separate, medium bowl, and add the remaining tablespoon of milk and the cocoa powder. Whisk until combined.
- Ice the Cookies: Flip each cookie over so that the flat side, not the curved side, is on top. Spread vanilla icing onto half of that flat side (a very thin layer is fine; this stuff is sweet!) It’ll look a little rough at first, but give it time—it’ll slowly “melt” and distribute more evenly, looking more and more like a real glaze. Spread the chocolate icing onto the other side of the cookies. Allow the icing to set completely, about one hour, before continuing the decorating process.
- Decorate the Cookies: Divide the buttercream frosting in half and collect each half to one of two small bowls. Add a few drops of red food coloring to one bowl and mix thoroughly to combine until you’re satisfied with the color (if it’s a little more on the pink side, that’s fine); add a few drops of blue food coloring to the other bowl; mix to combine. Fill two piping bags or plastic sandwich bags with each color of frosting, respectively; snip a very small hole in the corner of each bag with scissors, then pipe the frosting into the flag designs you see in the photos here.
- Serve and eat! Cookies will stay fresh in an airtight container at room temperature for two days or in the refrigerator for up to one week.
