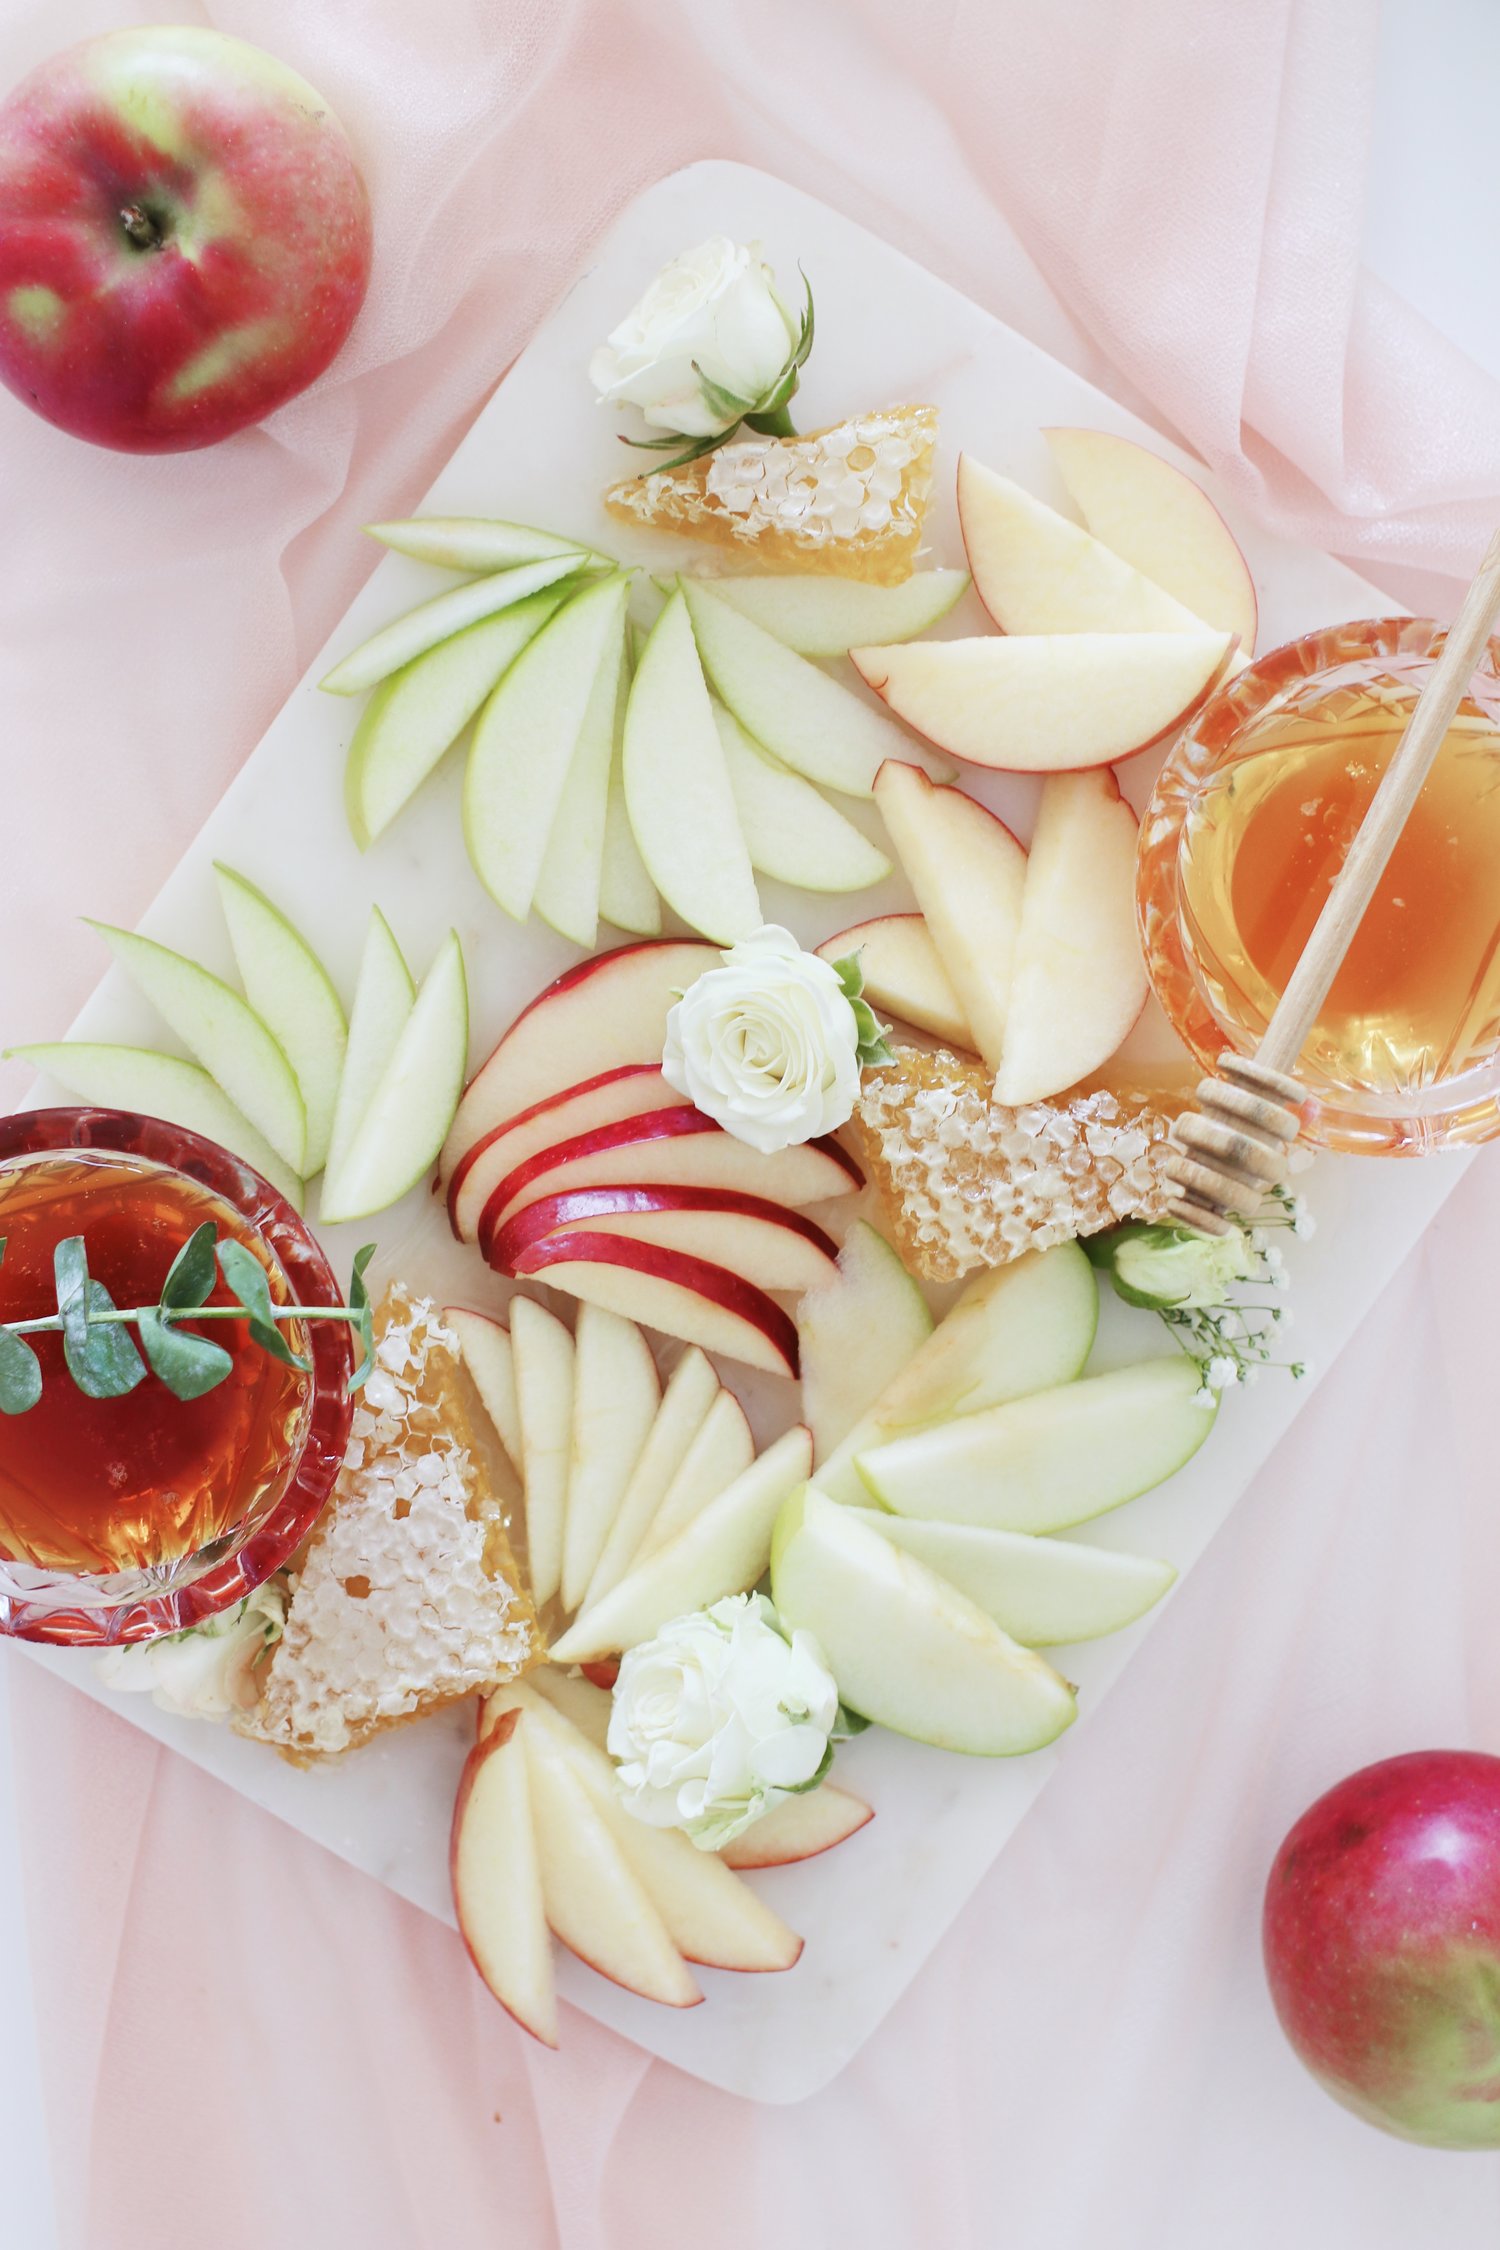
Raise your hand if you’ve ever felt personally victimized by a shoddy apples and honey display.

Well, I’m here to tell you that this year’s gonna be different.
Cause this year, you’re not gonna settle for subpar.
You’re not gonna toss a few browned apple slices onto a cracked dinner plate and call it a day.
You’re not gonna set out the bear-shaped honey bottle and try to convince your guests that they’re being treated to a “DIY experience.”
And you’re certainly not gonna do that thing where you bring home pears instead of apples because you got more than a little turned around in the bewildering labyrinth that is the produce section. (True story. Don’t want to talk about it.)
This year, you’re gonna make apples-and-honey MAGIC.
Here we go.
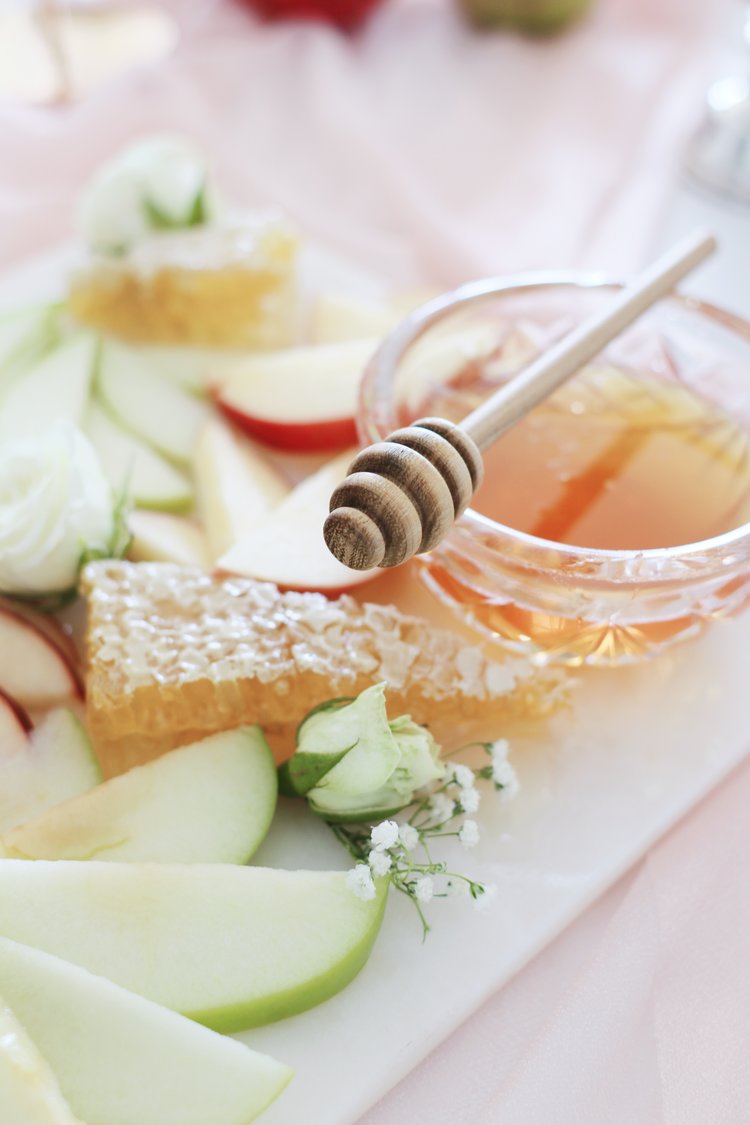
Below, I’m sharing a few personal, unofficial guidelines to the apples and honey game, and sharing exactly how I came to create this board of mine. I hope they’re helpful as you set out to make something beautiful for your own family…but truthfully, none of what I say here (or in any of my posts, for that matter!) is intended to be treated as a hard-and-fast rule, or something that you must do. They’re just jumping-off points, and you should totally jump right off and create something that’s uniquely you.
Because that’s really when things like this become fun.
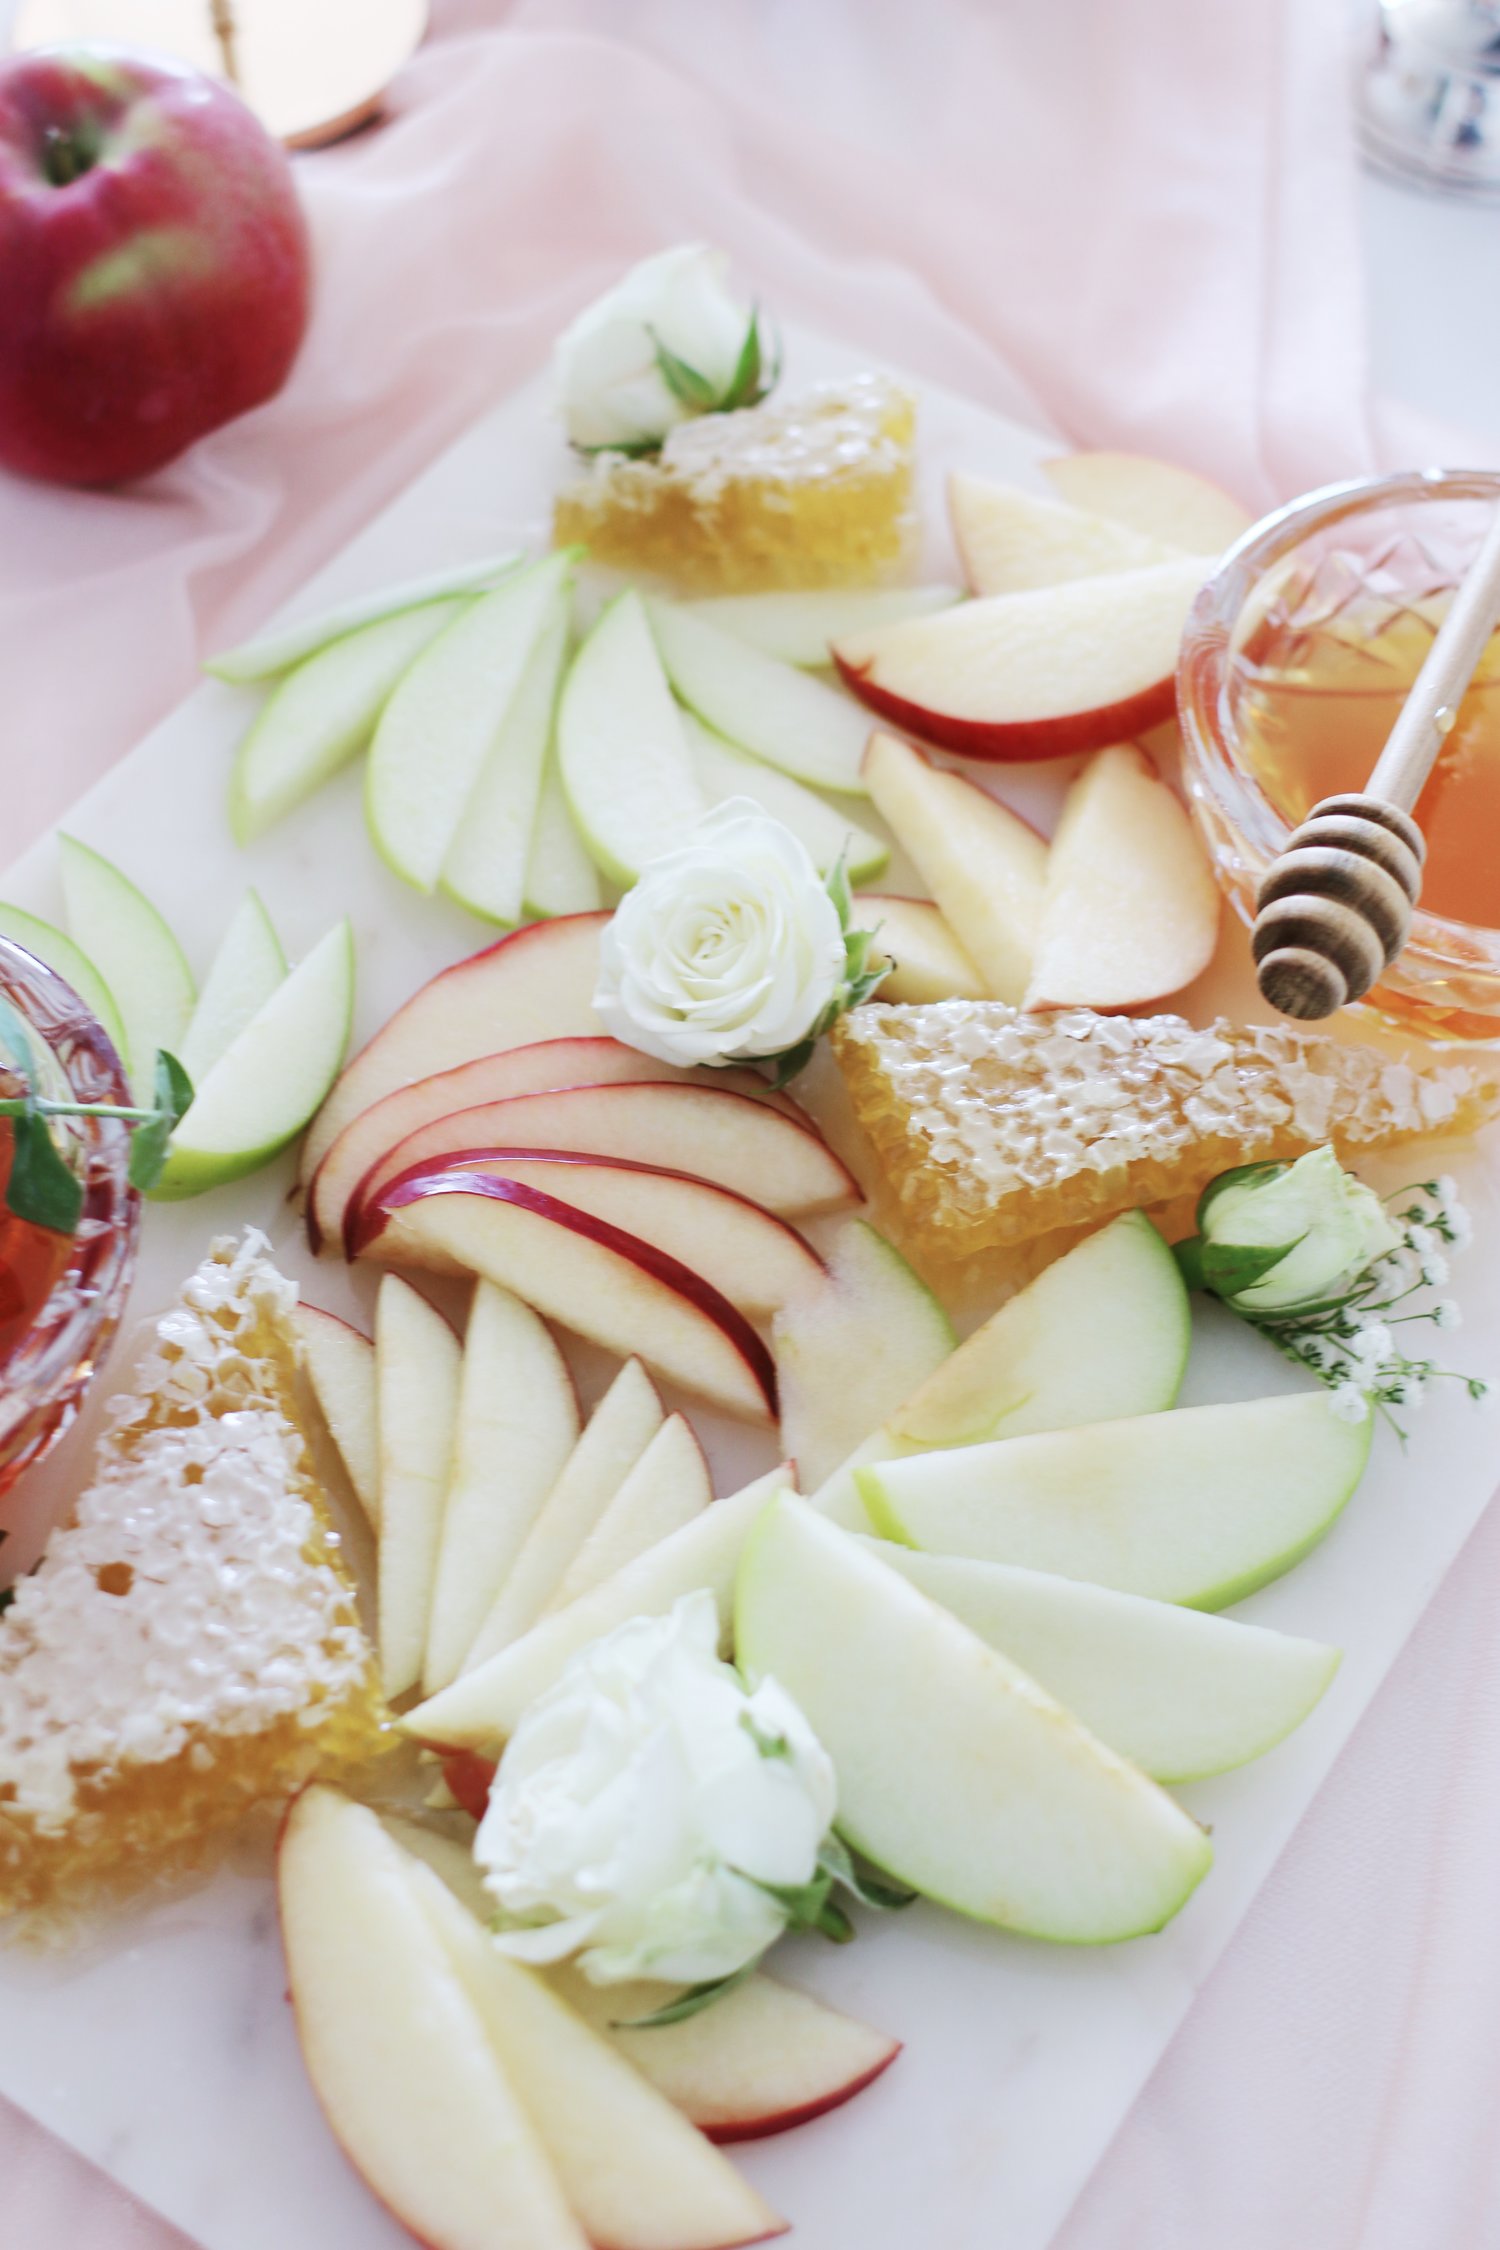
Consider getting fancy with your honey selection.
I am no honey snob. Really. REALLY. But! It’s always nice to support local makers, and raw honey generally just tastes better than the supermarket stuff. When you veer over to the artisanal stuff, you can find cool “flavors,” too—which, beyond being generally delicious, might manifest as different colors (bronze / gold / dark / light) once you’ve poured them into bowls. It all makes for a fun visual twist, and it can really help out with the overall appearance of your display. That’s what happened with the honey I used, anyway. (P.S. That sampler i’ve linked is enough to fill four appropriately small dipping bowls—a pretty good deal if you’re looking to try out something new!)
Lemon juice is your friend.
Fanning the apples out into cute designs, layering them on top of one another—that part’s easy enough (if comically time-consuming). It’s when you arrive at the next step that things tend to get…unfortunate. A minute or two passes, and your masterpiece is gone. Poof. Replaced with a few revolting brown blobs. Never to be seen again.
The cure: lemon juice! I recommend dipping the apples in a bowl of lemon juice before laying them out on the board, but you can also drip the juice directly onto them after you’ve placed each “section” of the design, if you’re so inclined. Just be warned: You may end up with a very wet, lemony mess of a board (or table!) if you go that route.
If you’re feeling particularly motivated / next-level / INSANE, you could also go absolutely wild and pour some of the lemon juice in a (clean!) spray bottle, then spritz the board as you go to ensure even coverage.
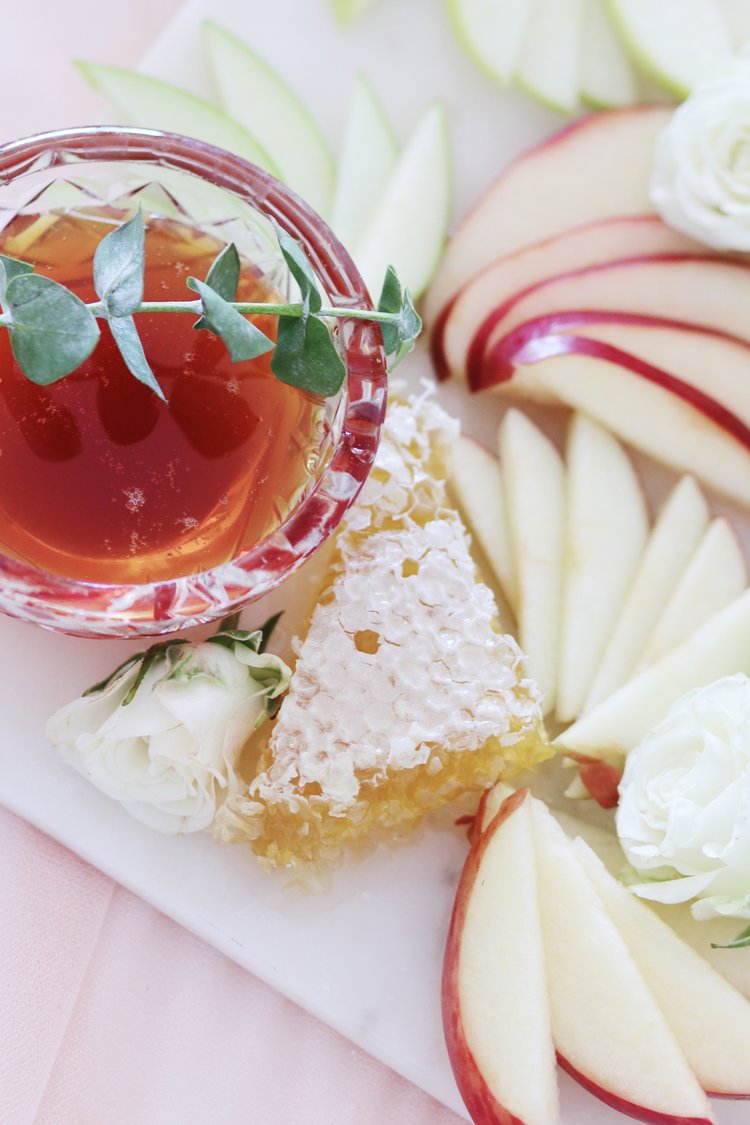
Start with a large, flat board as the “base” of your display (rather than, say, a dinner plate).
Making apples and honey look pretty is tricky enough as it is. Don’t make your life even harder by starting off on the bumpy, uneven terrain of a dinner plate. You want to start on a smooth, wide, and most importantly flat surface! If you’re interested, this is the marble board I used; it’s the same one you might have seen in my pink candy display post. It’s a little smaller than it looks, but it fits just enough.
Add honeycomb and garnishes to fill in the “blank” spots.
Honeycomb (cut into triangles to better mimic those Insta-famous cheese board we all know and love), a few flower buds placed here and there, and a sprig of eucalyptus are the finishing touches on my display. But the possibilities, as always, are endless. Fresh rosemary would look beautiful, or sage, or pomegranate seeds, or whatever else you’d like to add.
You could technically even add a larger “extra” item, like a bowl of chocolate sauce for a fondue-ish feel, or some caramels, or a few other fruits for dipping. To me, though, the idea of adding anything beyond honey and apples felt like it’d be a mistake. I didn’t want to take the emphasis off of the Rosh Hashanah elements, or turn it into a regular old, anytime-of-the-year cheese board. Let’s let the apples enjoy their much-deserved star turn.
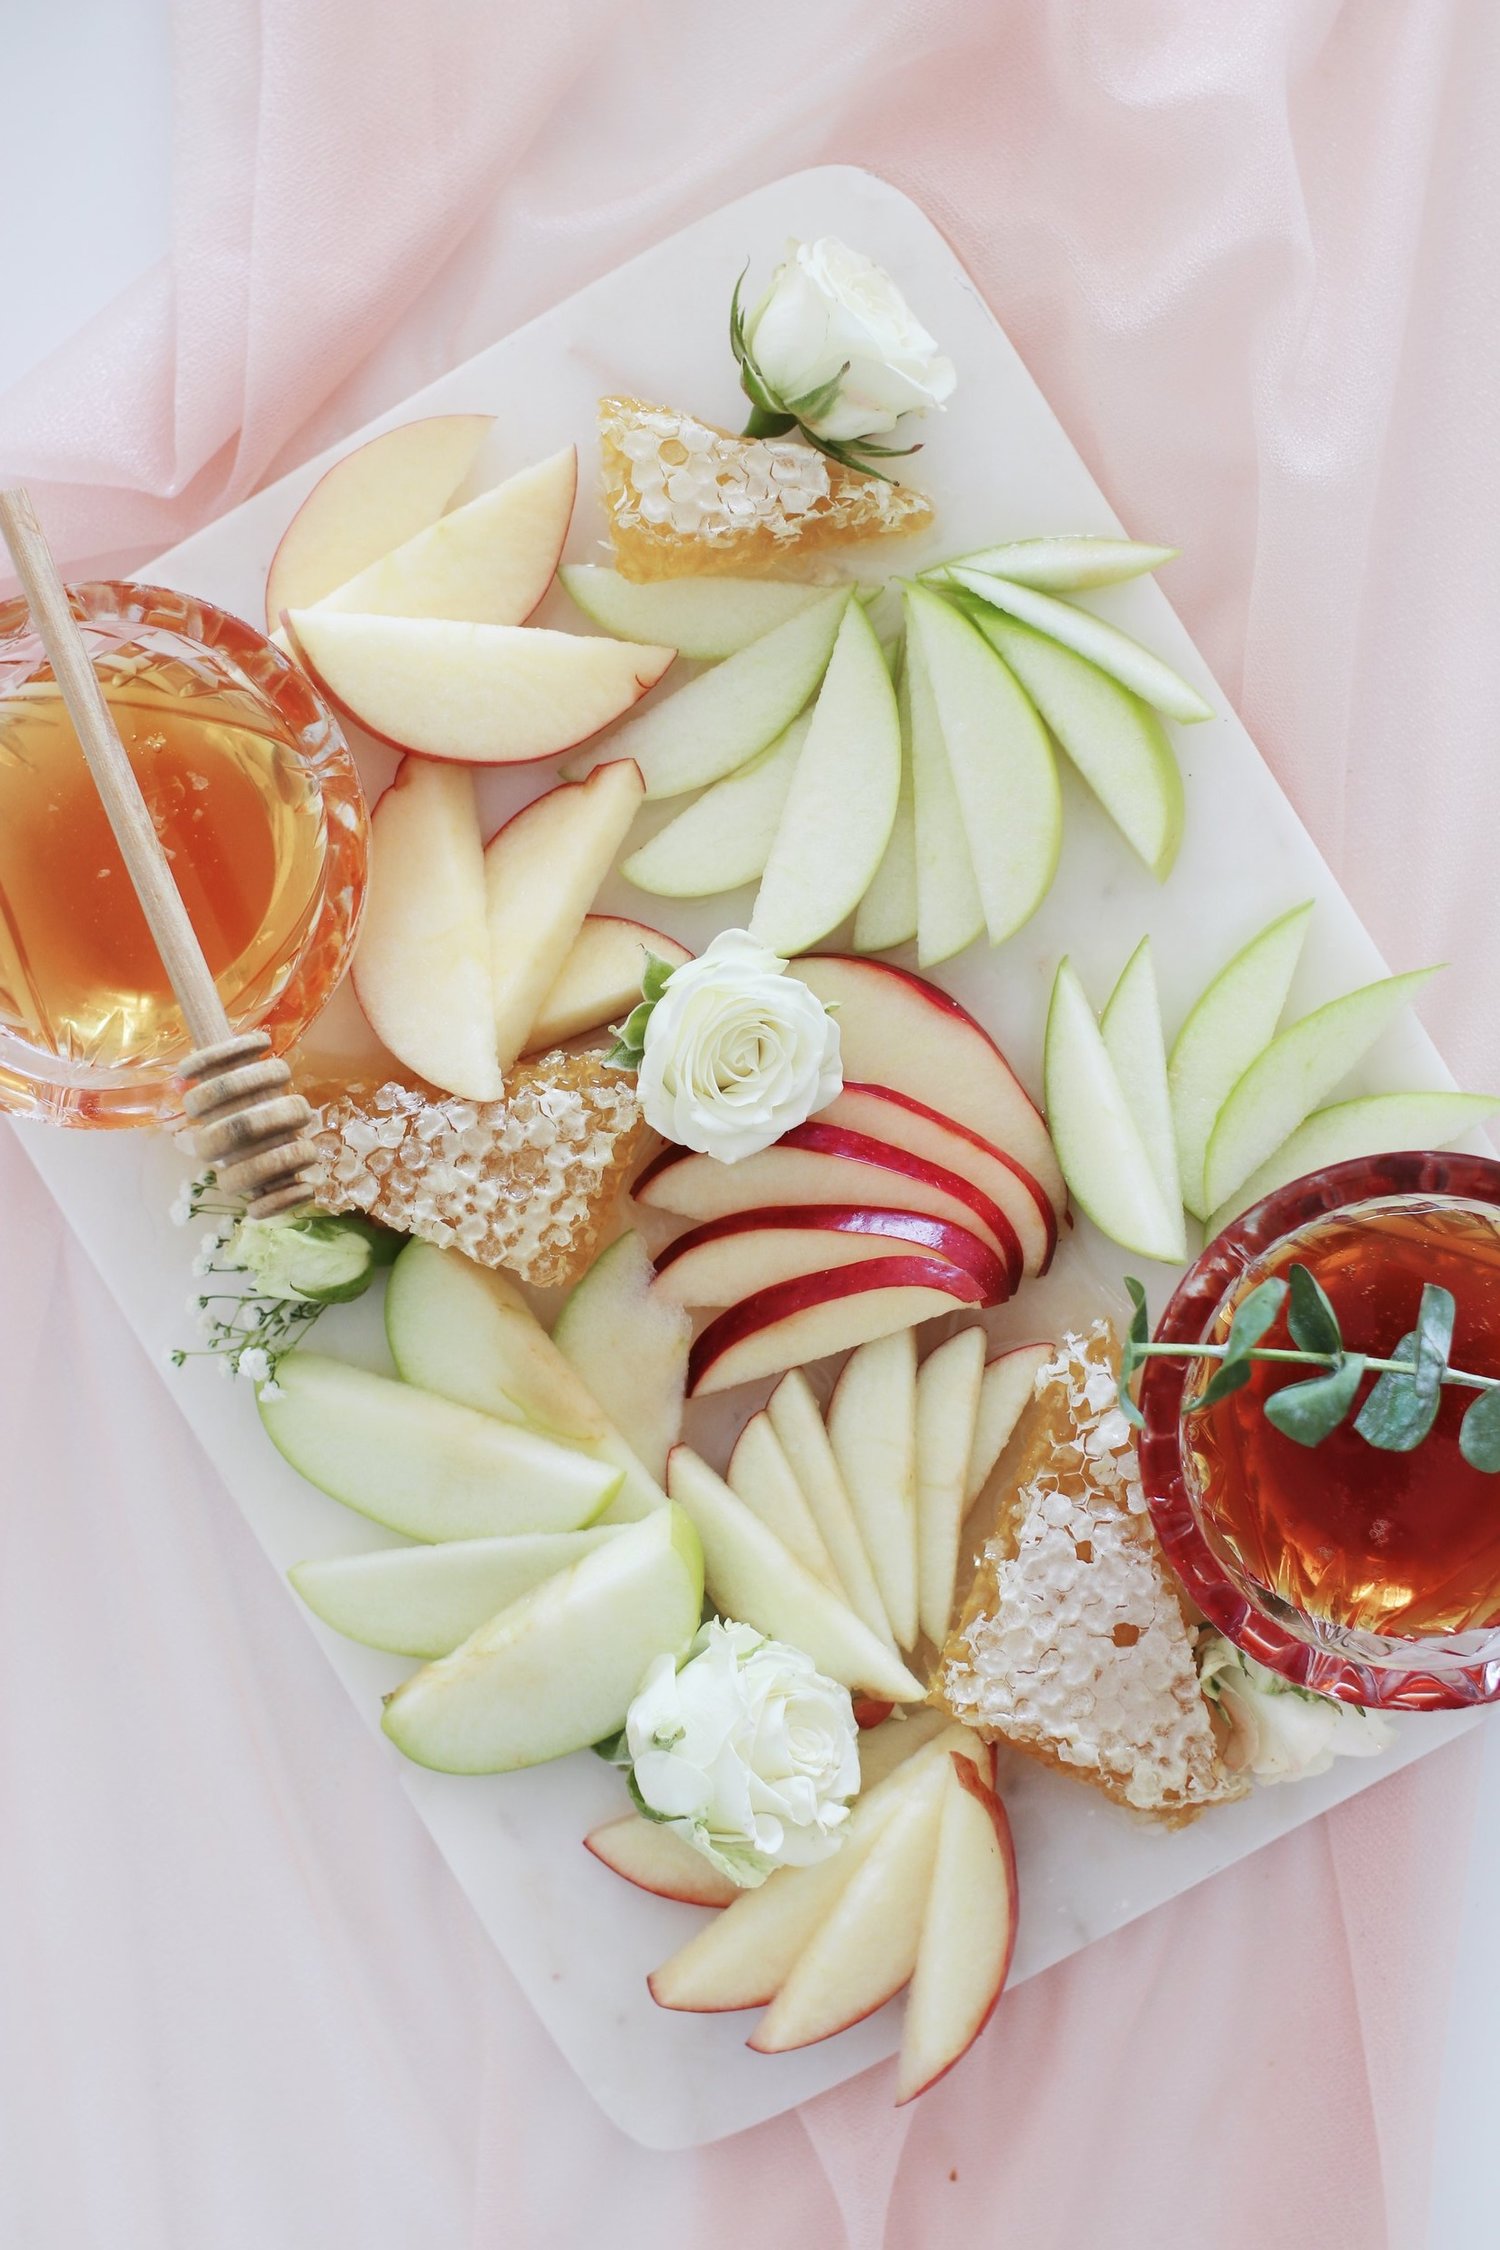
And that’s IT. I hope you love this simple idea, and if you do end up making anything similar for your own Rosh Hashanah celebrations, let me know over on Instagram or by leaving a comment down below! L’shana tovah!

Where do u buy honeycomb?
hi Julie! you can find it online, at most natural markets and health food stores (call ahead to ask, but here in New York City it’s relatively easy to find!), and sometimes (but not usually) at a few supermarkets. if it’s too late to order online for you, I’d try one of those health food stores, if you have one near you. good luck and thanks for reading!