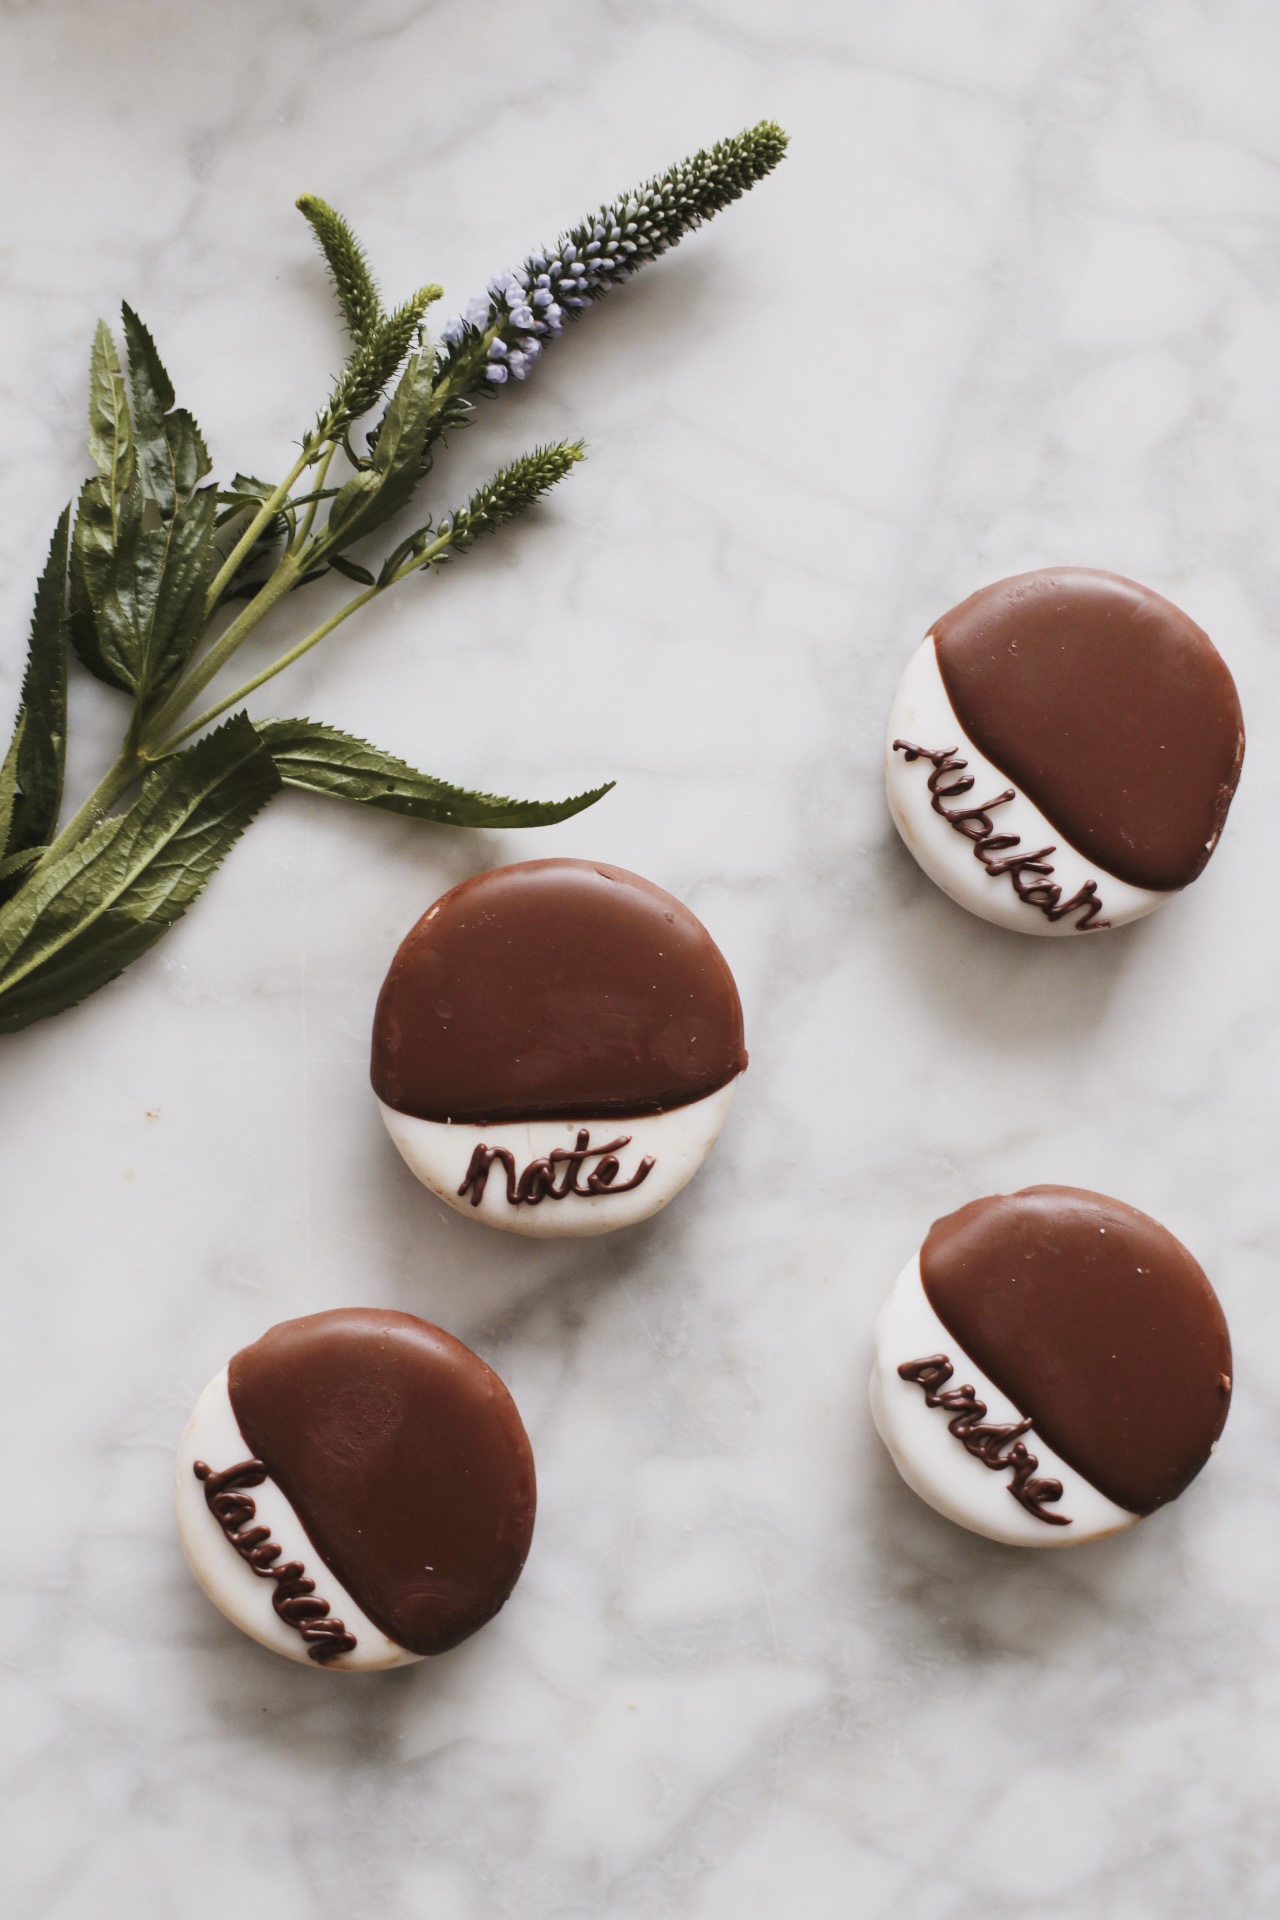
I’m officially fully vaccinated! Wheeee! And it’s a beautiful thing. As of this very morning, I’ve been bopping around town just like old times. Except there’s nothing to do and nowhere to go, and I still don’t want to talk to anyone or sit down or stand up or touch things or go indoors or outdoors or breathe through my nose or mouth.
Besides that, it’s just like old times.
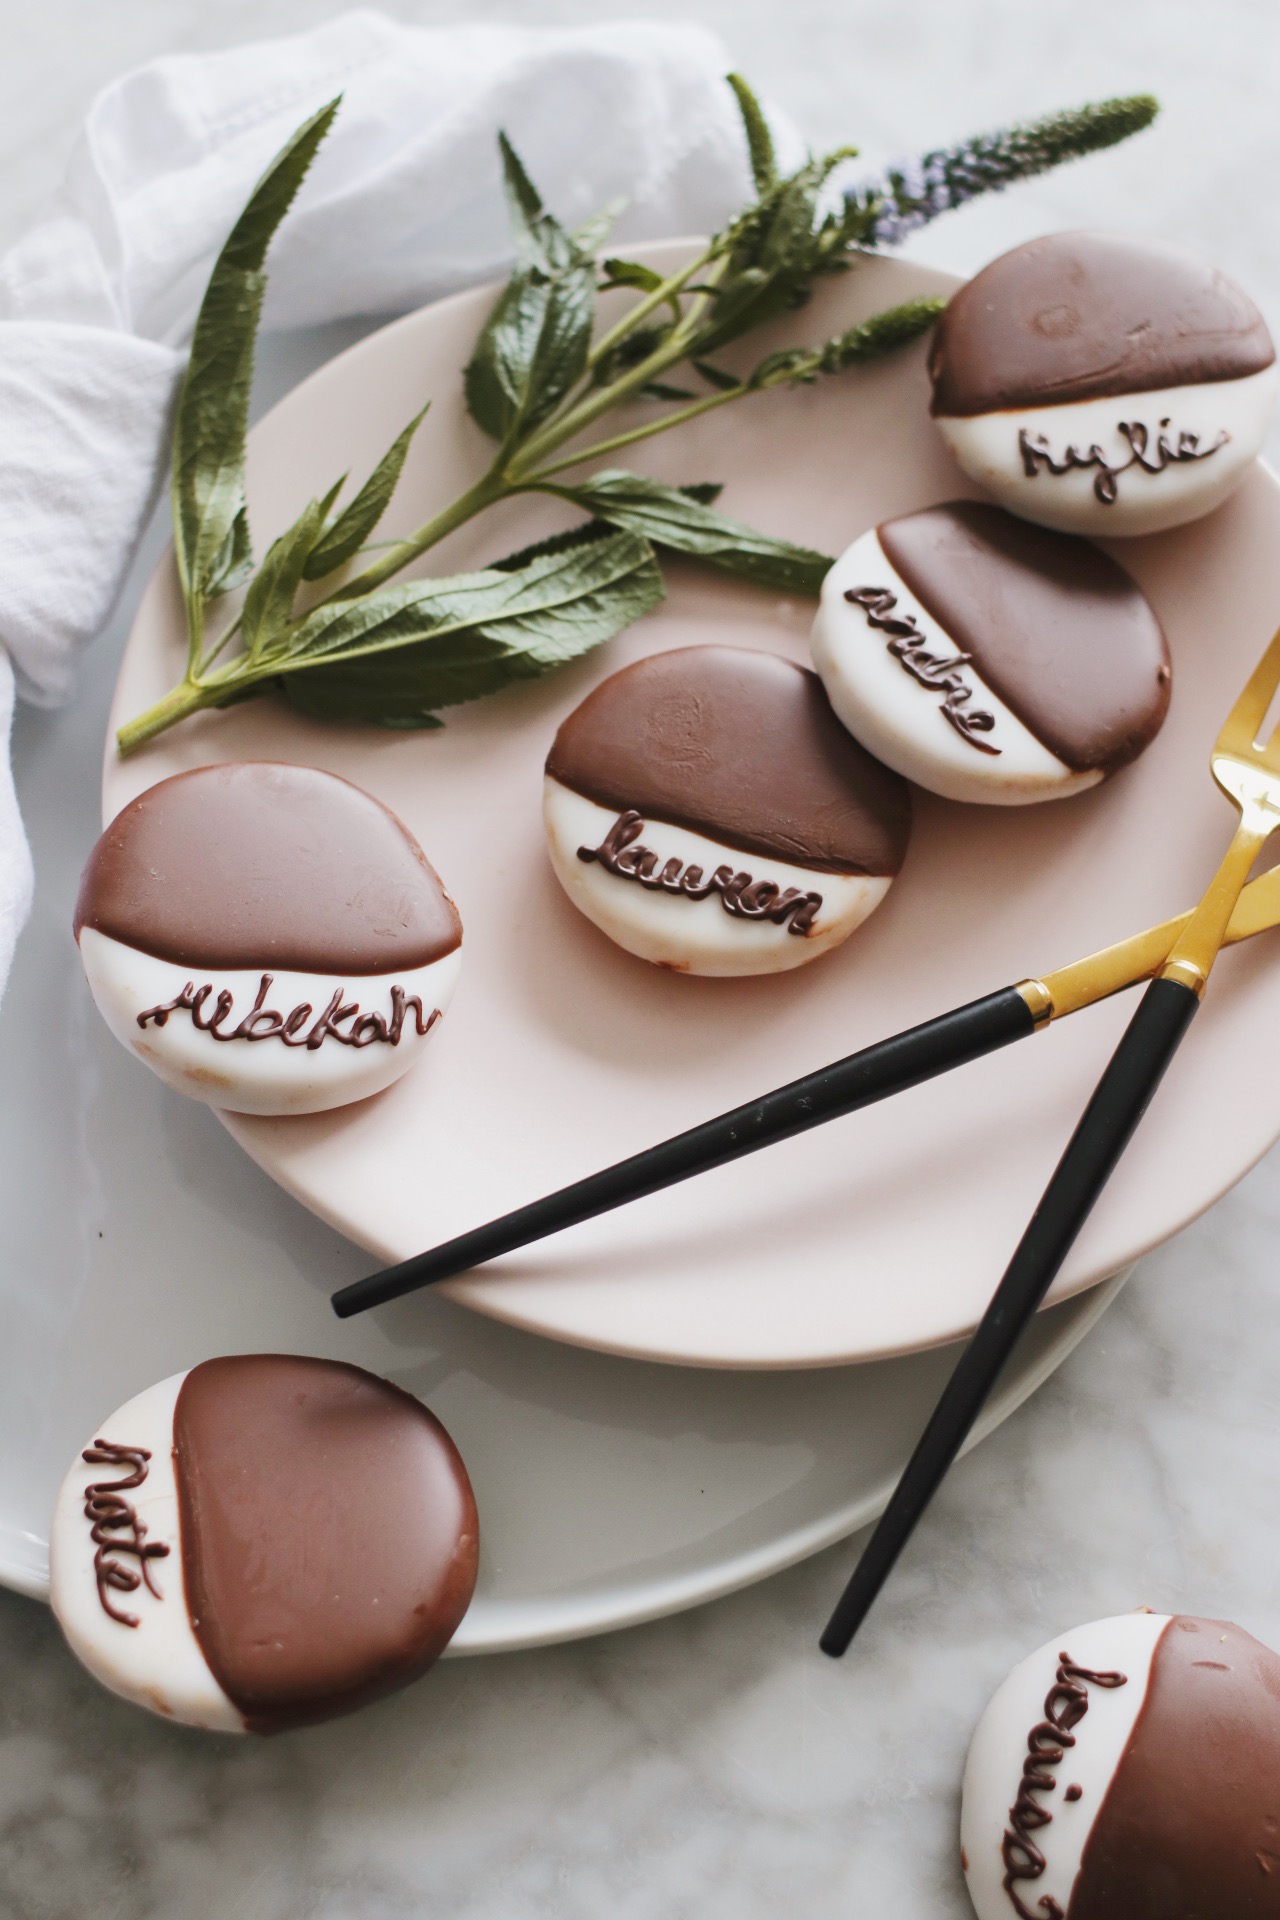
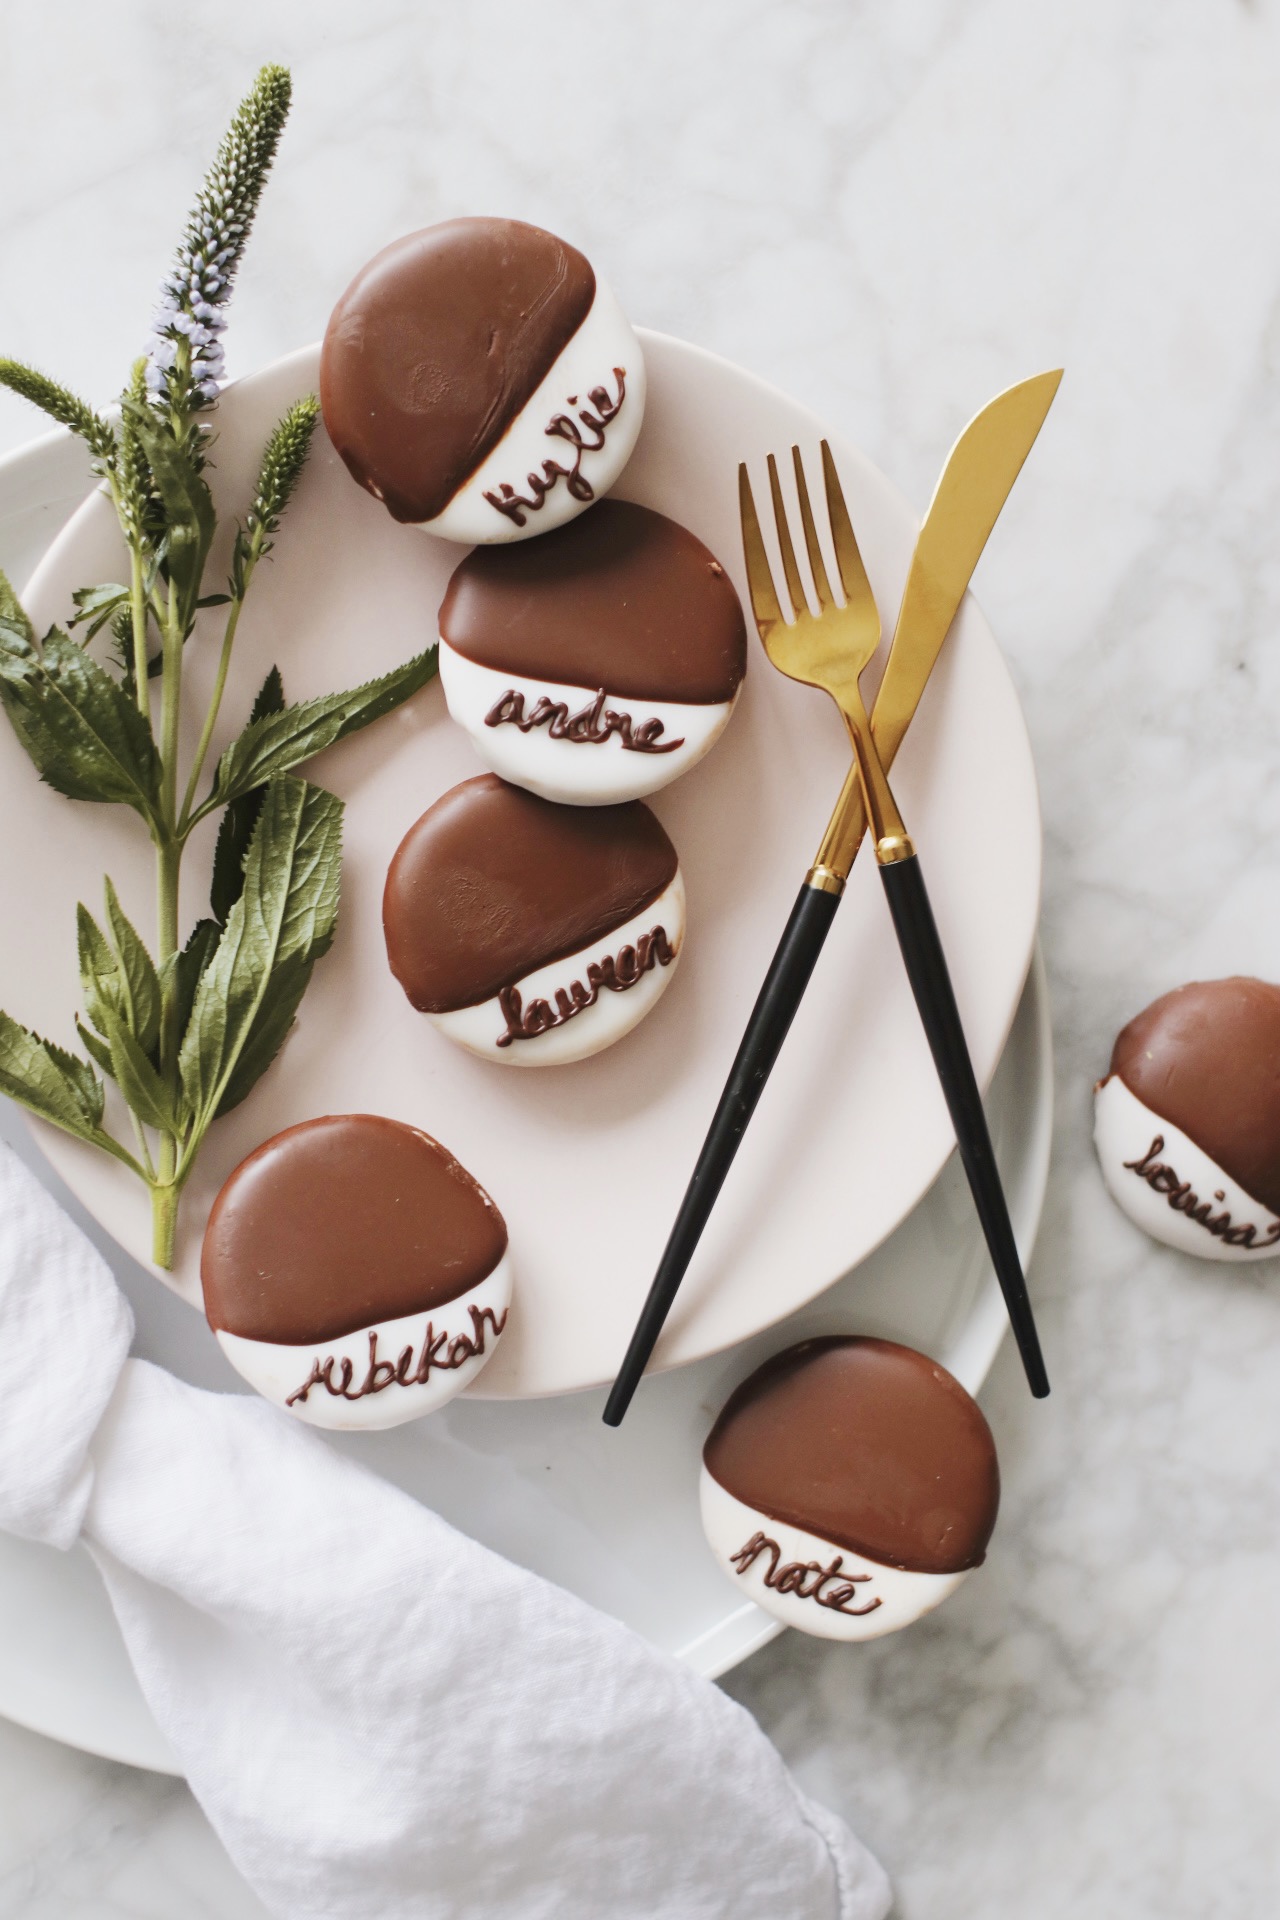
Anyway, I decided that this special, bewildering, very important but somehow wholly inconsequential occasion called for another ode to the neighborhood in which said bop is taking place: my beloved Upper West! And there’s no better way to pay tribute to the UWS than with a pile of soft, cake-like, black-and-white cookies.
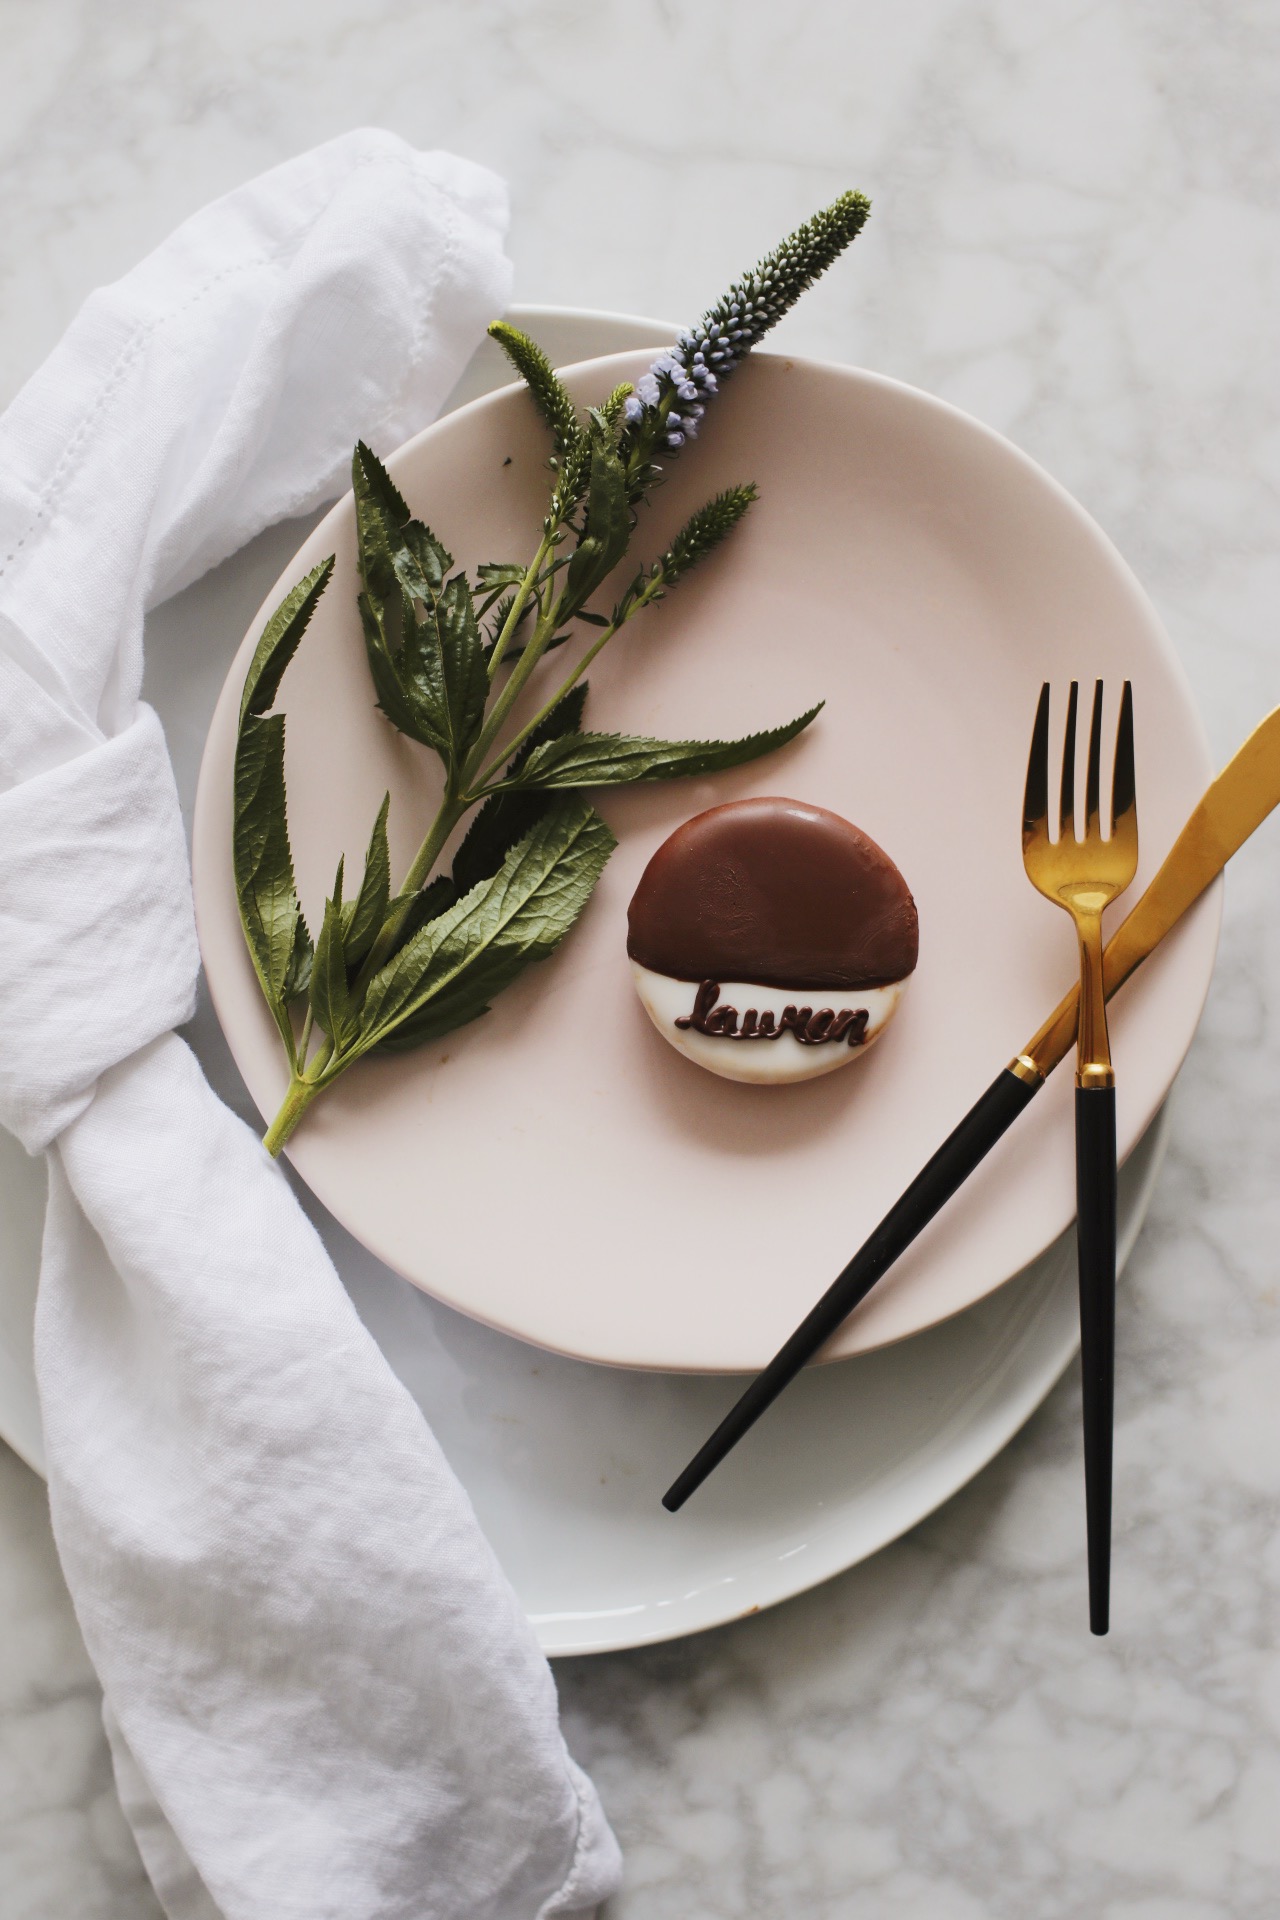
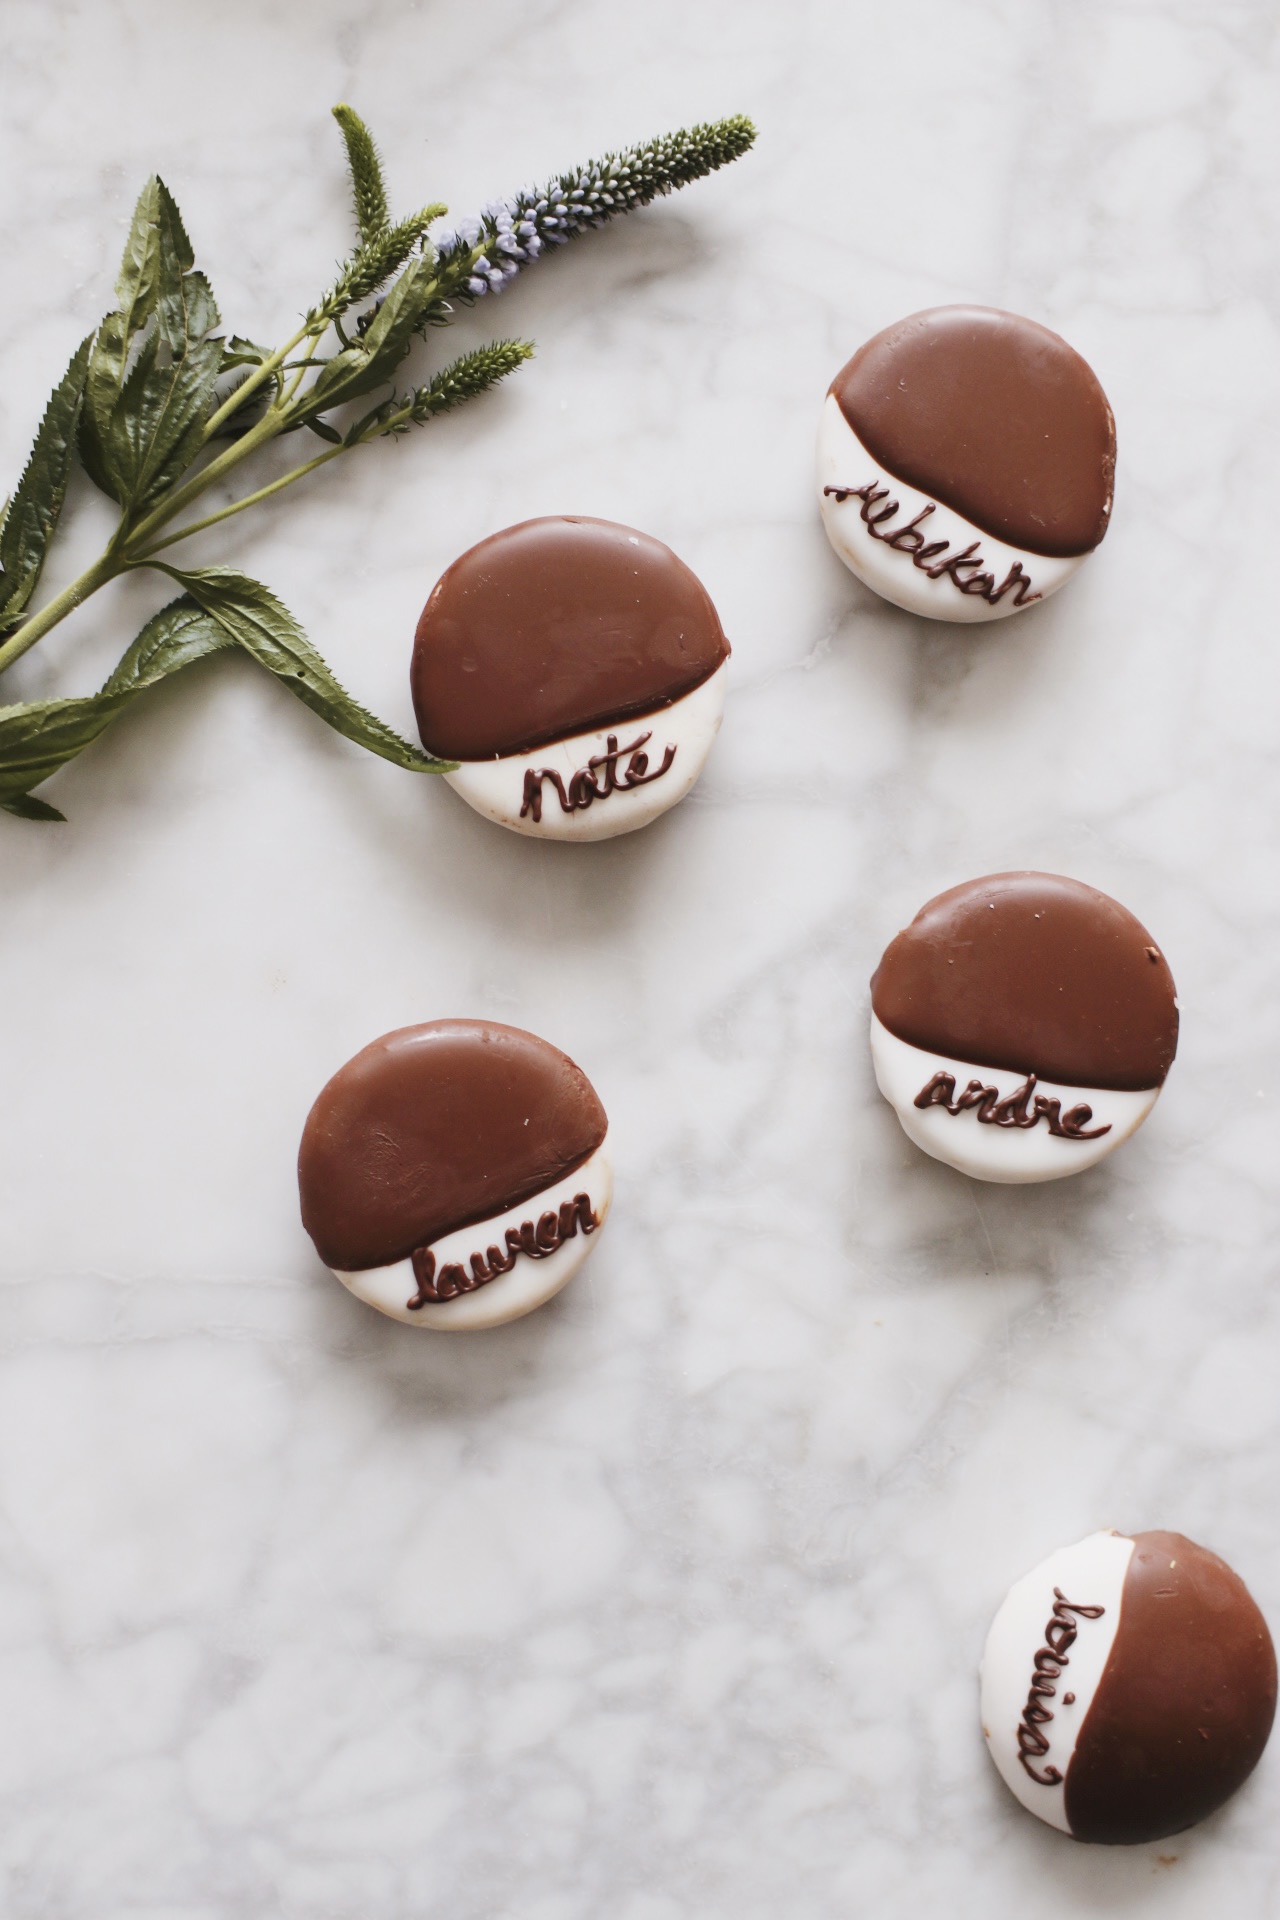
Naturally, I had to turn them into place cards for a Covid-style dinner party Read: an imaginary dinner party. Andre was a not-imaginary guest that actually attended. Thank you, Andre. The other names on these cookies are those of real human friends whom I would have liked to have invited, were it not for the ongoing global pandemic situation.
And Louisa…is a character on Jane the Virgin, which we were watching while I made these. I spelled her name incorrectly, though, which is deeply upsetting to me as someone who has spent her entire life correcting the spelling of her own name. Oh well. Sorry, Luisa.
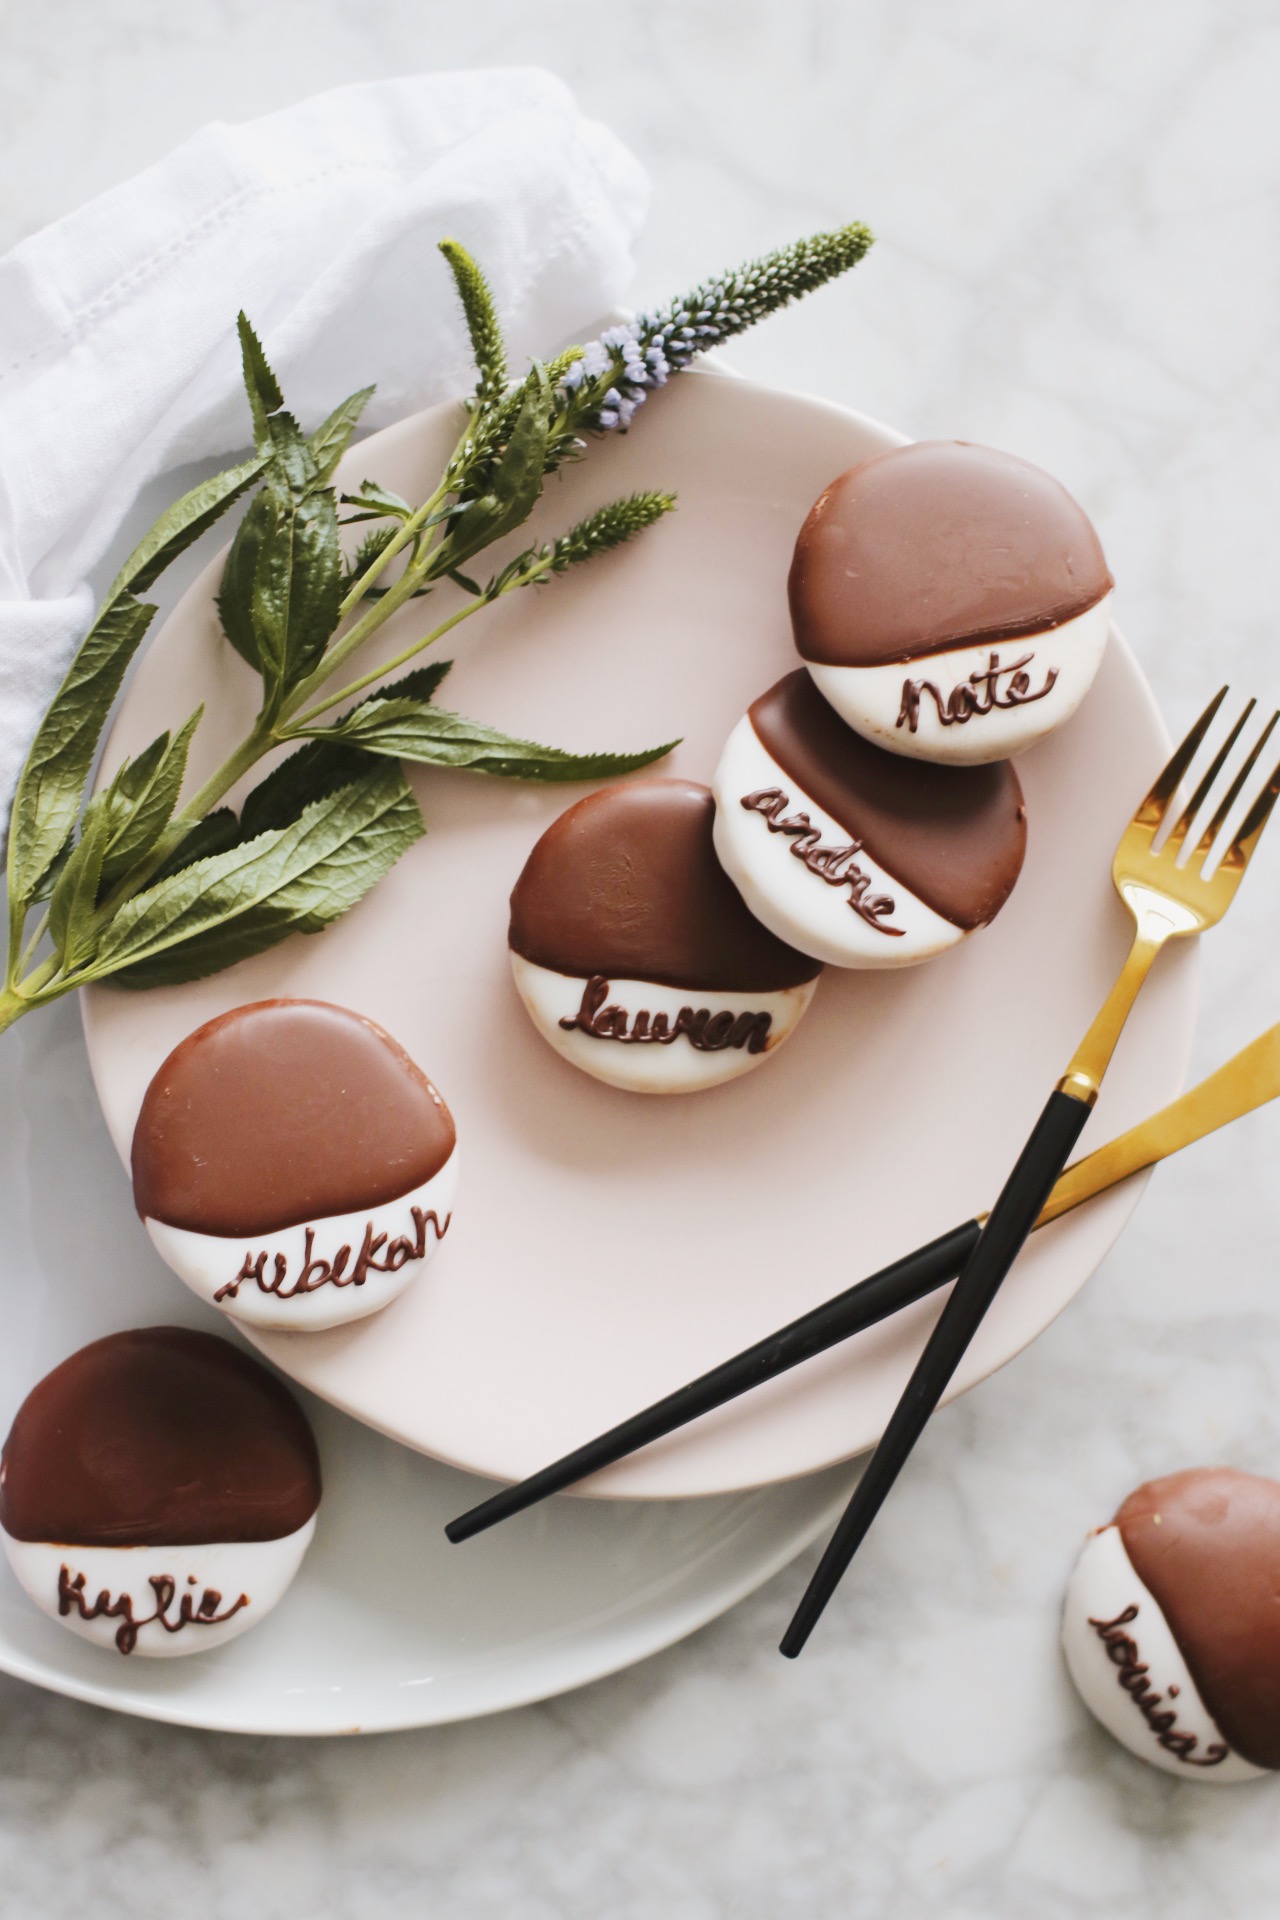
One more thing: If you can’t tell from the perfectly smooth icing job on these guys, I did not, in fact, make them. I bought them! And I suggest you do the same if you, too, want to use them for place cards—not because they’re difficult to make (see here!) but because they are a tiny bit time-consuming, like all homemade things. And I assume if you find this post in a year after 2021, you might actually be hosting a not-imaginary dinner party. So saving time with a store-bought base would not be a bad idea here.
To pipe the names on a batch of prepared cookies (make sure the icing is totally dry), place 1 cup of chocolate chips into a small, microwave-safe bowl. Microwave the chips in 20-second increments for about 1 minute, removing the bowl and stirring a little after each trip to the microwave. If it’s taking a while to melt and you need to continue microwaving, switch to 10-second increments. (Yes, chocolate can “burn,” and when it does, it gets sort of chalky and is rendered unusable. So keep an eye on your microwave!).
Next, spoon the melted chocolate into a piping bag or plastic sandwich bag. If you’re using a plastic bag, use scissors to snip a very, very small hole off of one of the corners. Like, barely there small. You can always make this hole bigger if you need to, but remember, the smaller the hole, the more precise your piped “handwriting” will be.
Pipe the names of your guests carefully into each of the cookie’s “white” space. Some tips here:
- This is fairly intuitive, but be sure to twist the top of the bag and use one hand to squeeze that area firmly to avoid spillage from that side of the bag. Meanwhile, use the other hand to hold the area a little closer to the bottom of the bag, near the area you just cut, to gently guide and direct the flow of chocolate.
- It can be a good idea to practice writing a few names on some leftover parchment paper, newspaper, or printer paper before getting started. You can even practice on a (very flat, not curved) dinner plate! This way, you can a feel for how fast/slow the chocolate is moving and how much pressure is required on the piping bag.
- If you do mess up a name (happened to me a few times!), just take a dry paper towel and carefully wipe away the majority of the chocolate, then use a second, ever-so-slightly damp (not truly wet; you run the risk of melting the icing and revealing the cookie beneath it) paper towel to gently smudge away at any remaining chocolate “ink.” Works like a charm.
- Cursive is encouraged—no matter how dismal your penmanship may be!—because it’s actually the easiest, best way to keep from interrupting the “flow” of chocolate between letters. I know that’s a bit counter-intuitive, but it’s really the easiest way to pipe.
Once you’ve completed all the names, refrigerate the cookies for about 30 minutes until the piped chocolate is firm, then place at each setting!
I hope you guys love this quick little tutorial. If you end up making these “place cards,” tag me on Instagram—I’d love to see!
