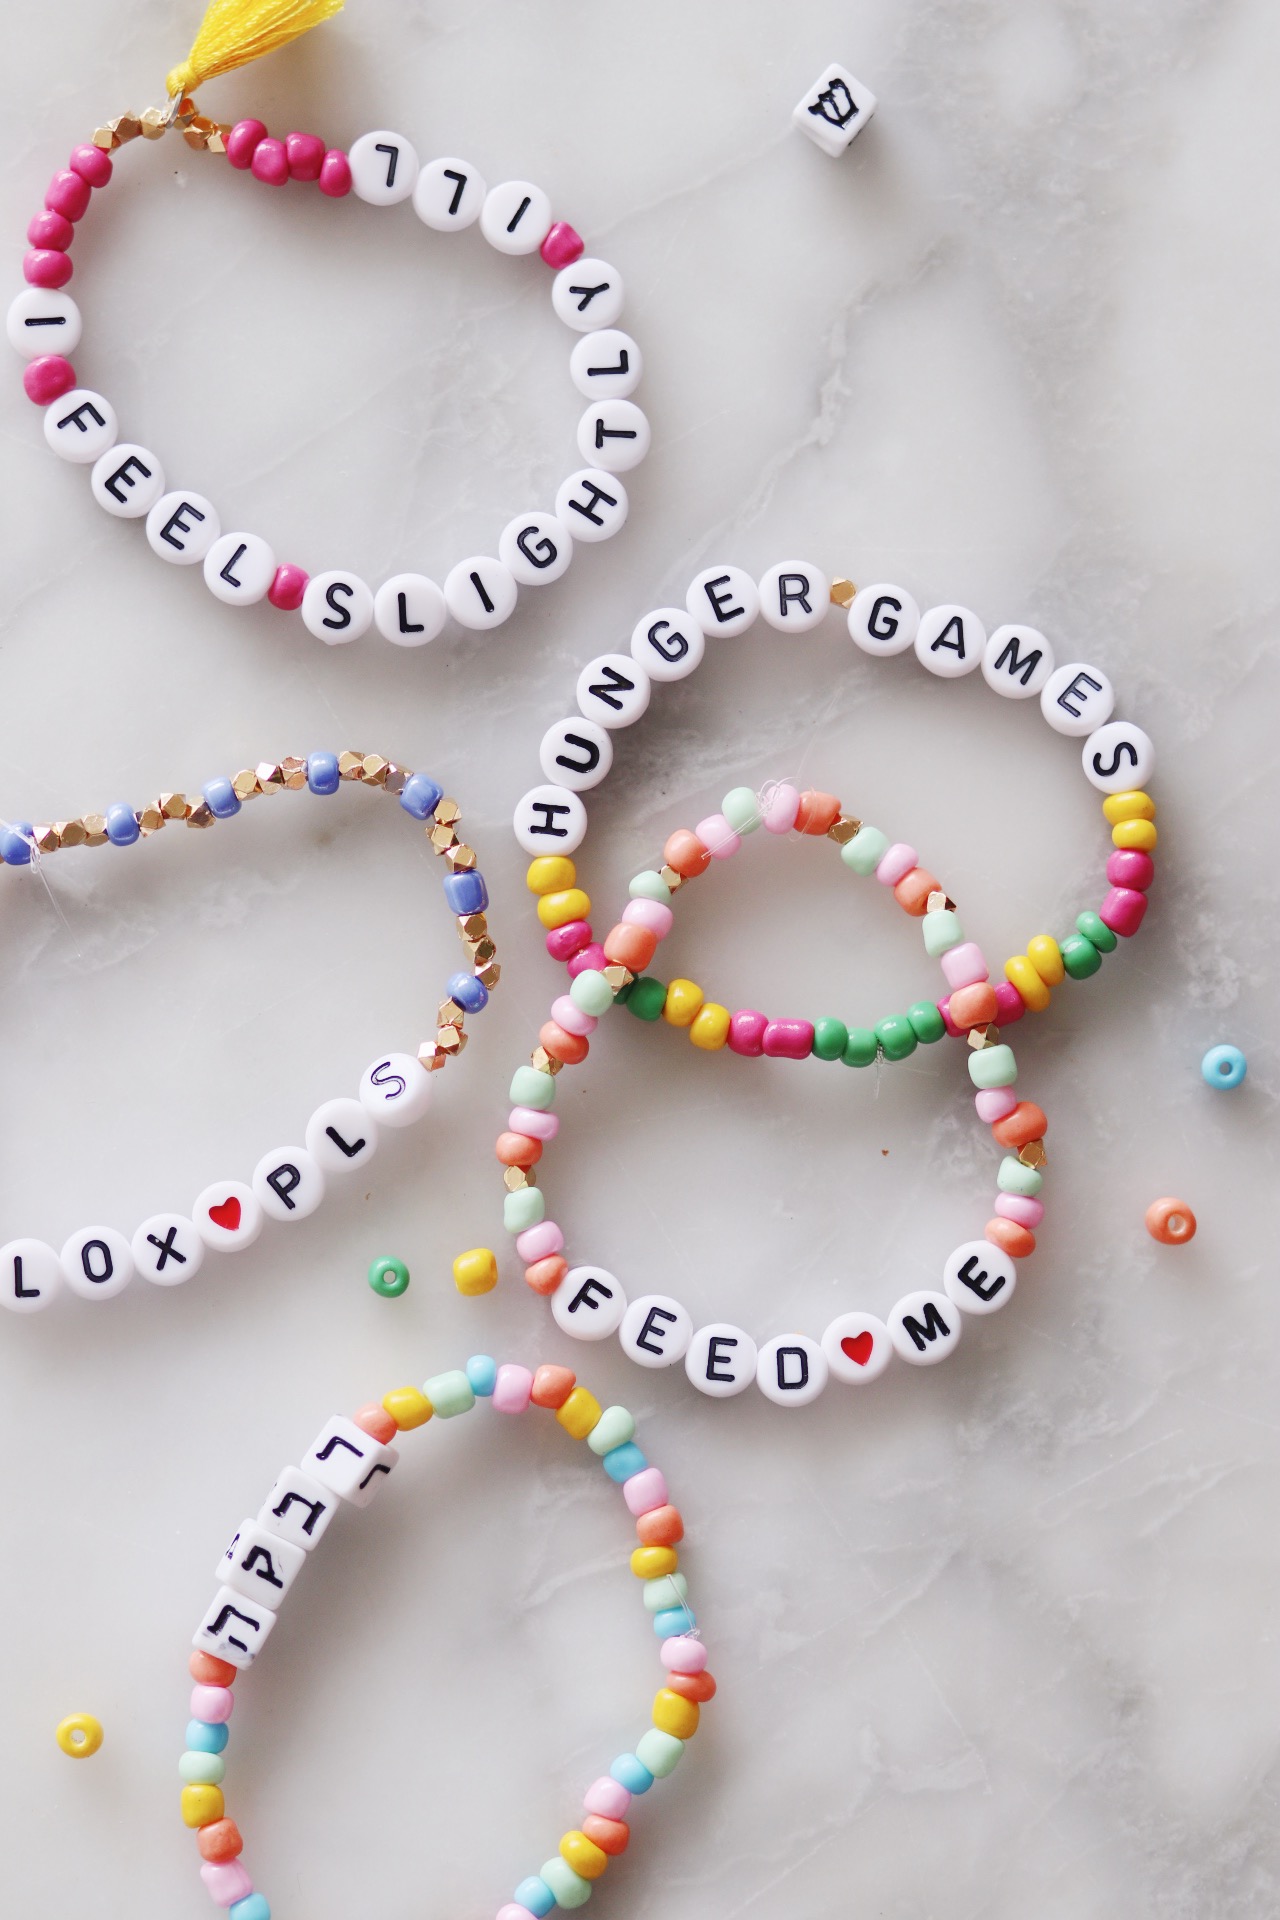
We’re hosting a little, family-only break-fast next week at our new place (of which I owe you so many photos—coming sometime after this High Holiday madness dies down!), and I’m very excited. Not just because I am completely, head-over-heels, deeply, truly, romantically in love with the apartment and how everything’s coming along there, but because it’ll be the first time I’ve hosted anything since before Covid. Craziness.
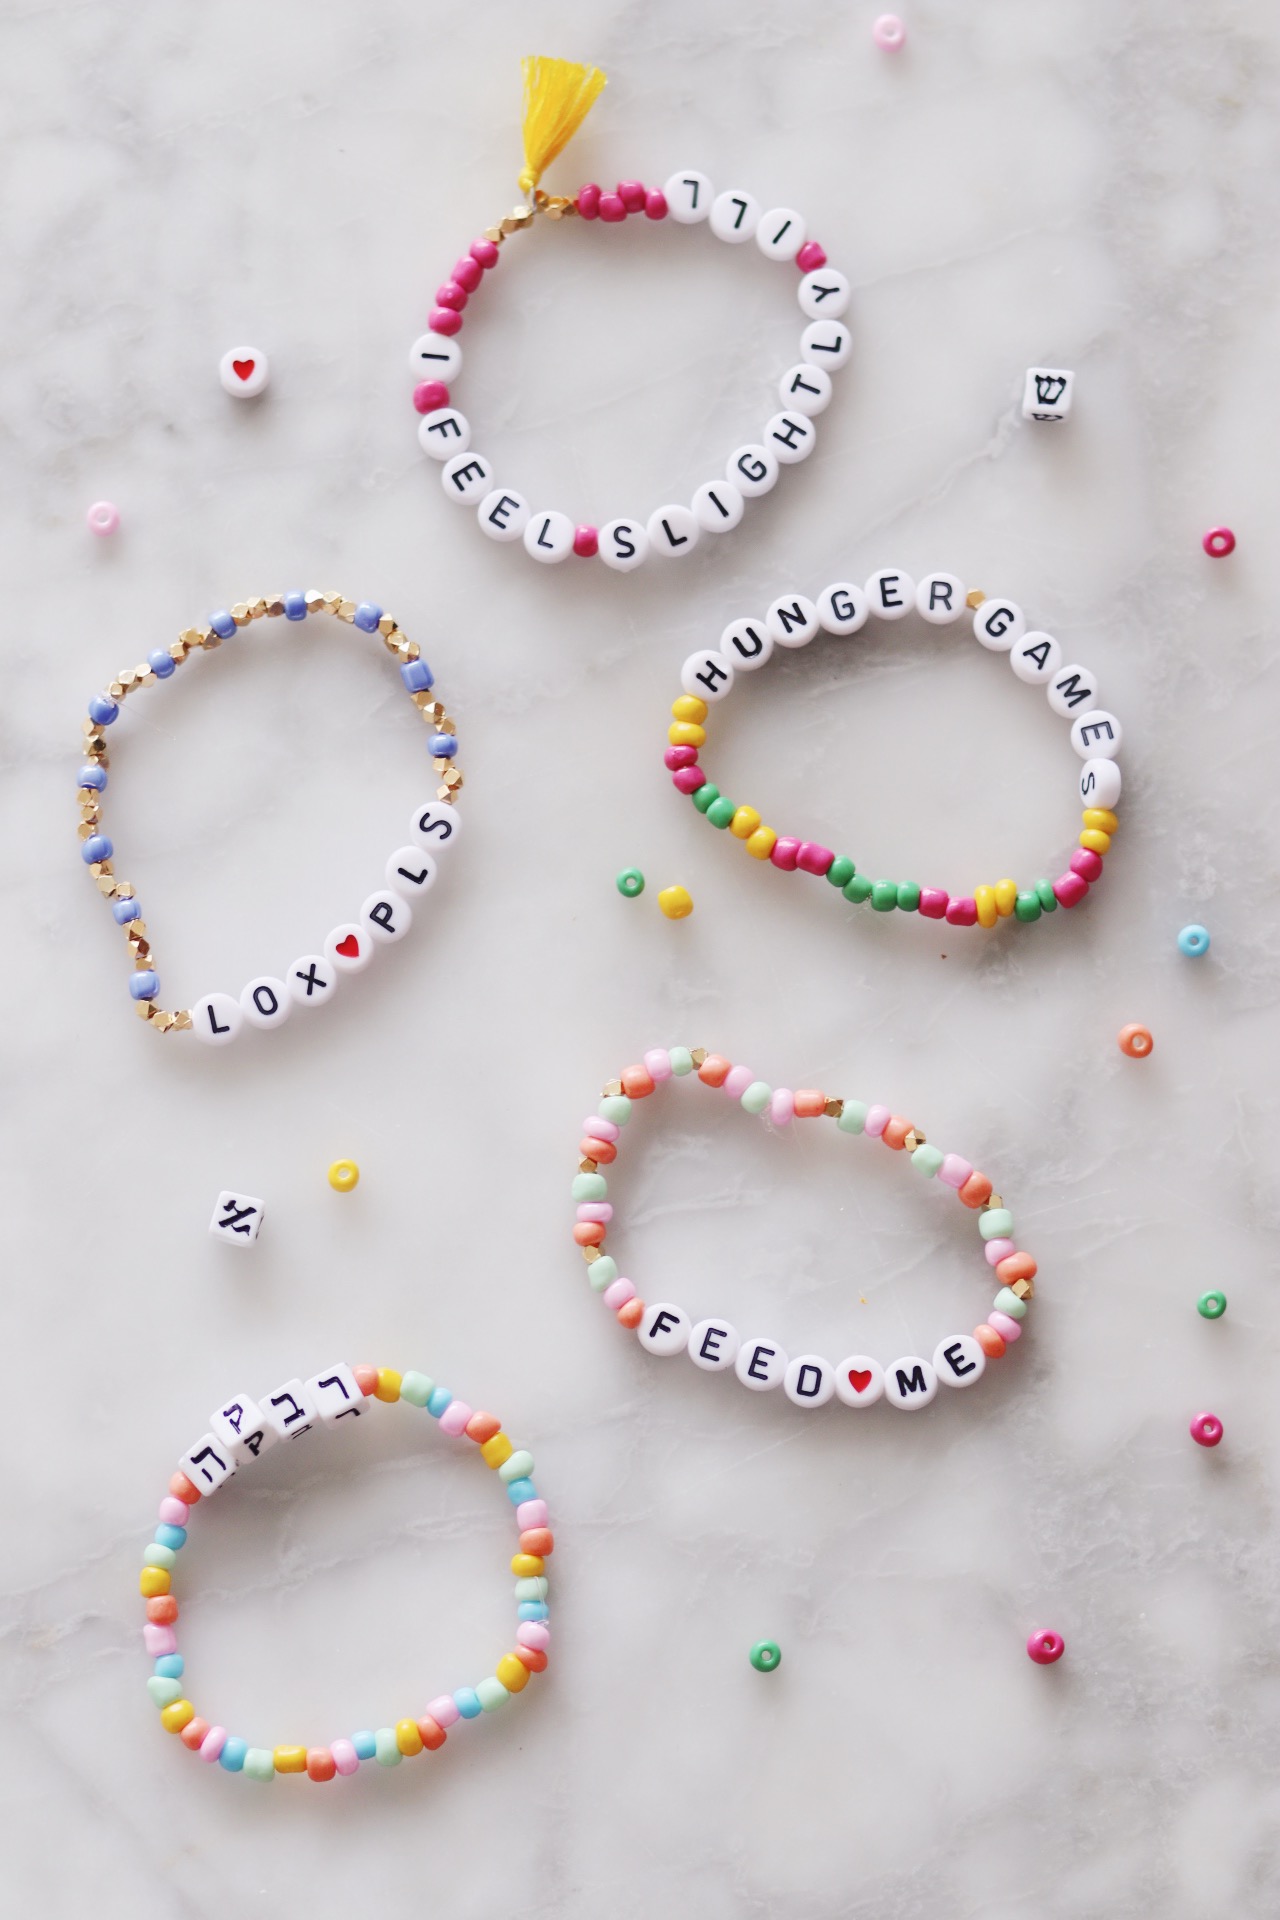
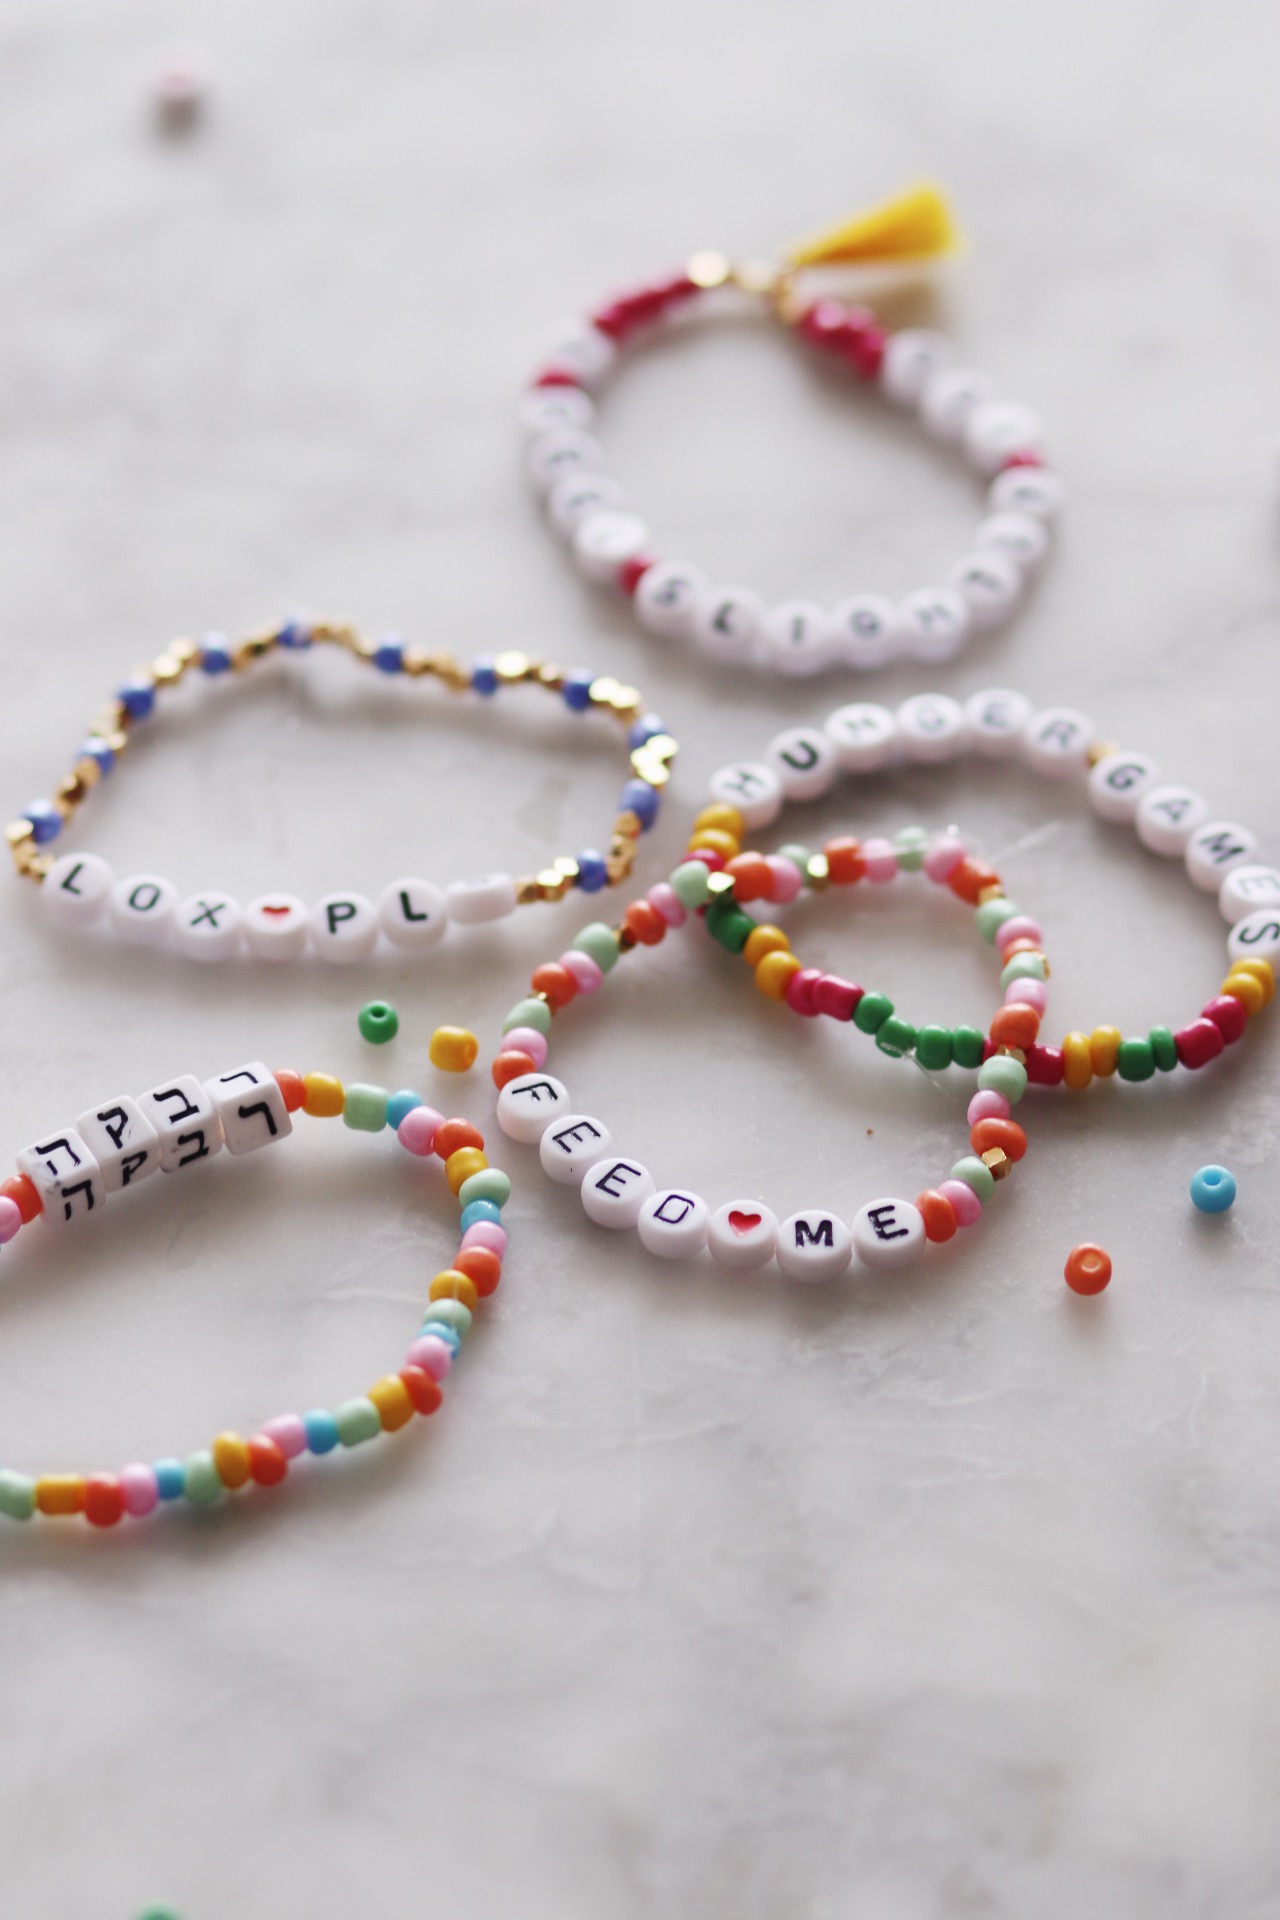
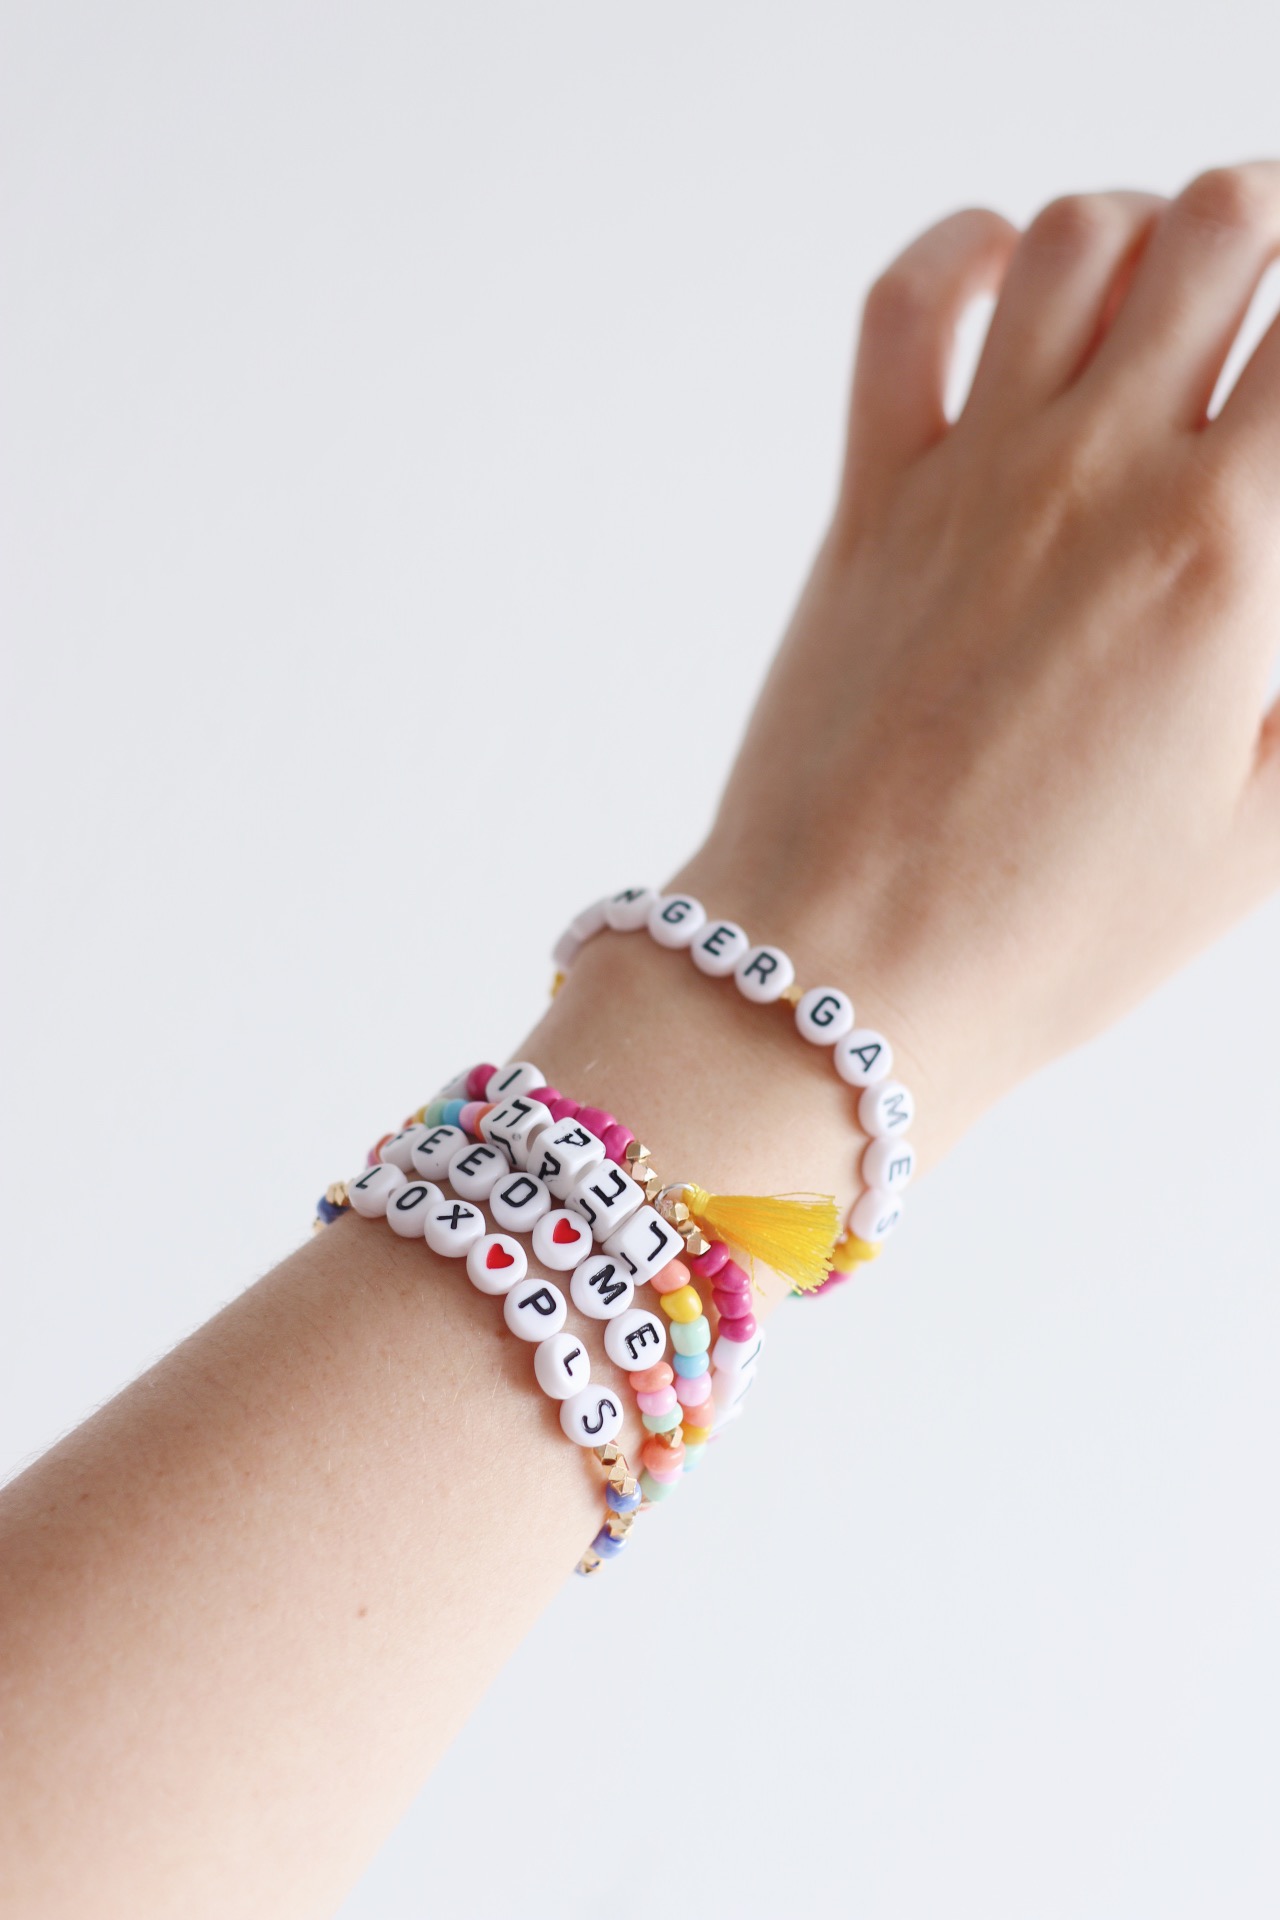
Naturally, I just had to do something special and out-of-the-box to mark the occasion—in addition to the expected schmeargasboard, of course. And these bracelets were/are it! They’re customizable, quick to make, inexpensive, and the easiest way to make your starving guests smile (besides, you know, feeding them).
Also, stretchy, beaded, nostalgia-inducing bracelets like these just so happen to be very “in” right now. Even I—a veritable grandma who uses quotations around the word “in”—have been noticing them everywhere. And there are tons of options available on Etsy, too! Including some very sophisticated black-and-white-and-gold options.
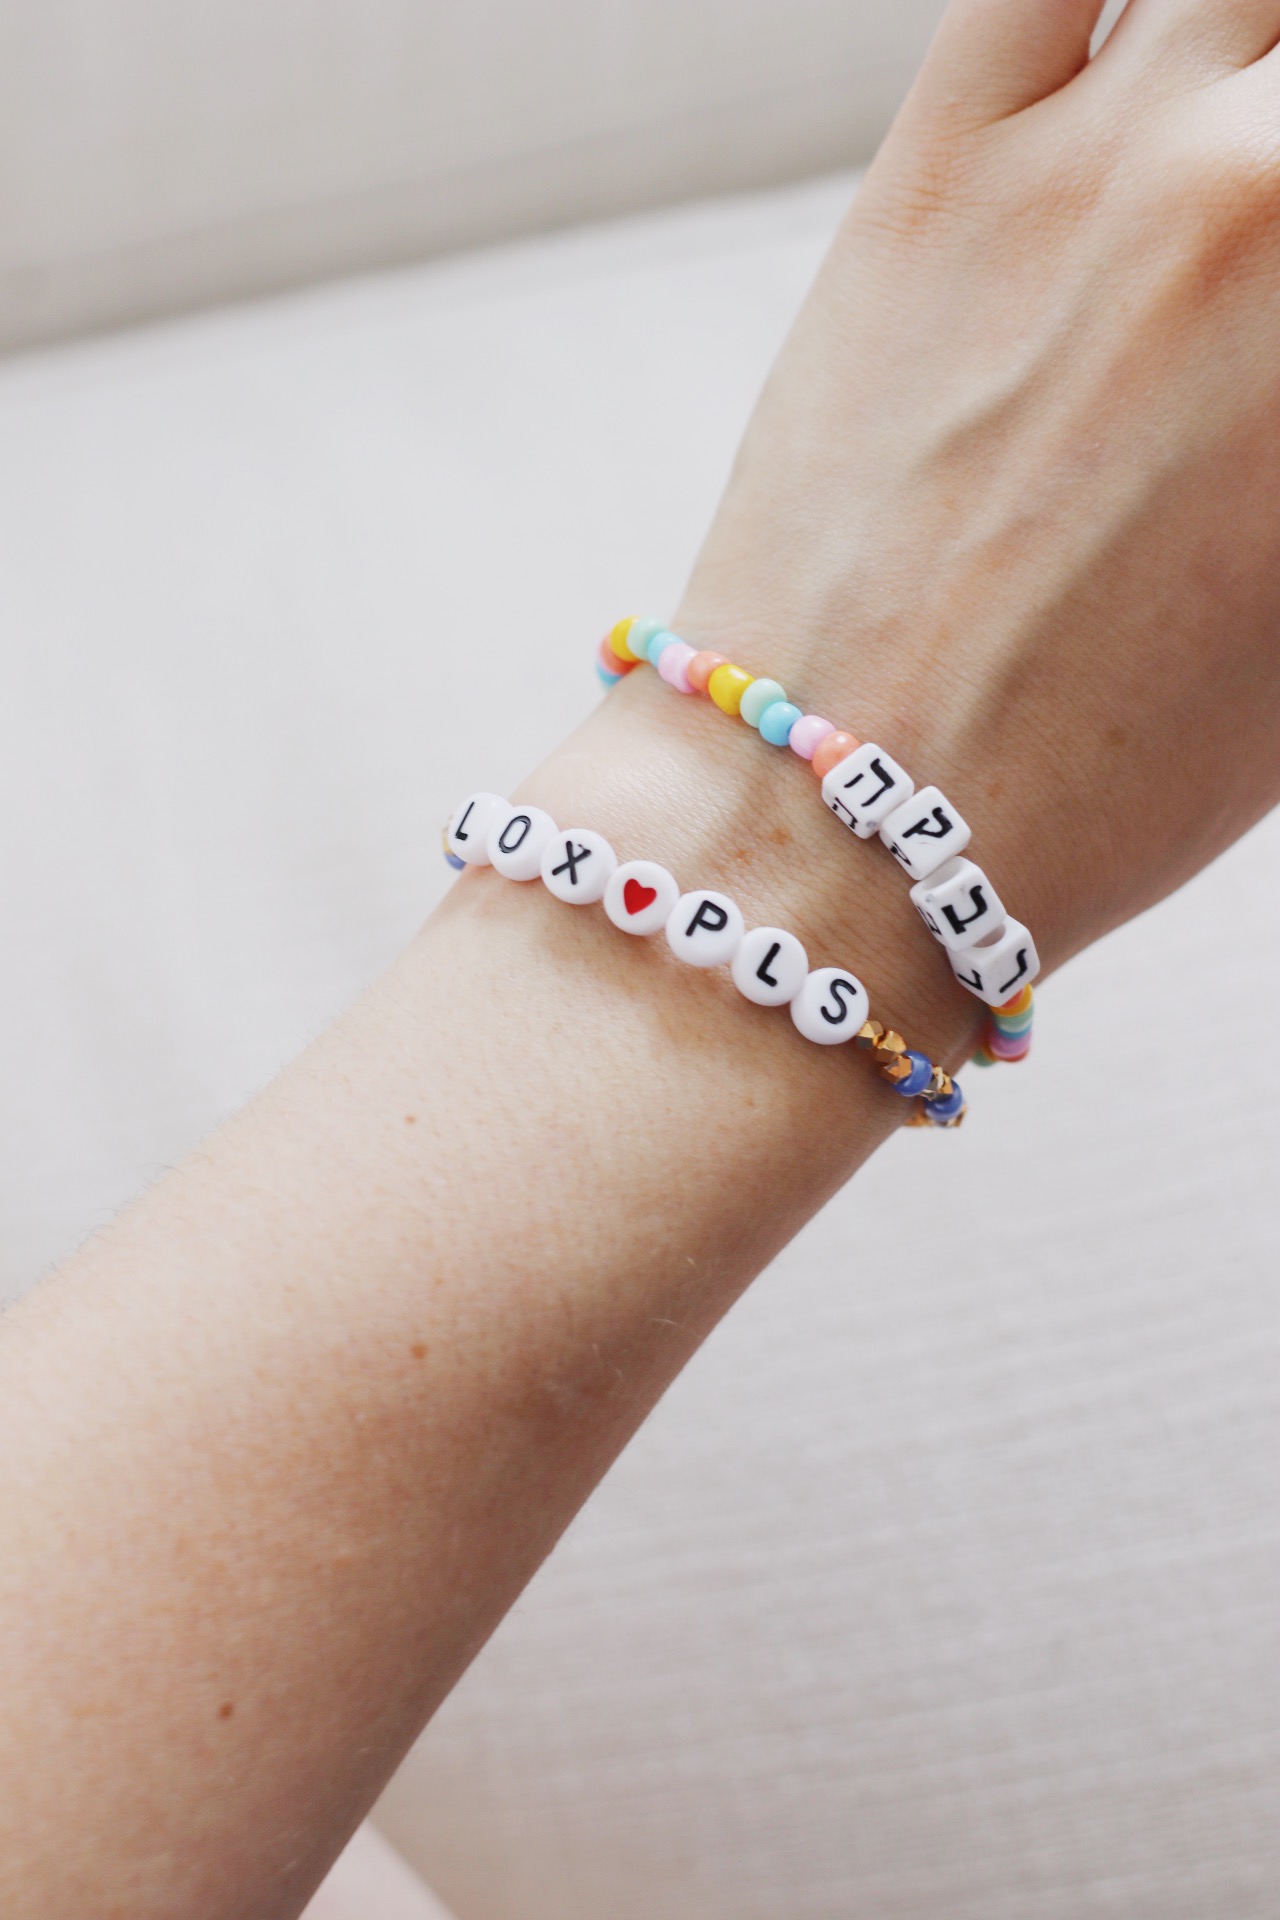
Honestly, the ones I’m sharing here are intended to be more of a funny, wear-it-just-for-the-day sort of thing—but thought I’d point out that they are totally acceptable to wear post-YK. And I feel like it’d be really fun to throw them in a stack of more legitimate fine jewelry. Right? But, again. Grandma.
Anyway, for this week, I simply plan to hand them off to everyone as they walk in the door and possibly leave a few extras by the buffet. Several of my nieces will be in attendance and I’m extra excited to see their reactions. Also, how cute are those Hebrew alphabet beads?! An incredible Amazon find.
Leaving you with a list of supplies and a short tutorial, all below! G’mar chatima tova, everyone—see you after the holidays with some new 5782 projects and all the apartment photos you could ever ask for.
What You’ll Need:
- Letter Beads: There are so many options to choose from, but I decided to go with this set I found on Amazon. Sadly, the Hebrew letters are sold out at the time of my posting this, but check here just in case.
- Colorful Beads and Spacers: I used this set of colorful beads and loved how each bead was sort of organically, unevenly shaped. I also opted for these tiny gold spacer beads (we’re talking REALLY tiny). They’re a little pricey, but I just couldn’t get over how pretty they were and I felt like they classed up the rest of the bracelet.
- .5mm Elastic Cord: I chose this one.
- Scissors
- Clear-Drying Glue: This brand worked well for me.
What You’ll Do:
- Select the beads you’d like to use and arrange them in order.
- Snip off a 12-inch piece of cord (you’ll want that extra room for tying off the bracelet at the end of the process and to give you a little extra working space). Tie a small knot at one end and secure it to your workspace with a piece of tape, or place it under a heavy object (a little riskier than the tape option, but works well, too!).
- Thread the beads onto the string. When you’re done, bring the two ends of string together carefully (it’s emotionally painful to drop your beads at this point and have to start all over, then tie them in a simple knot and pull to tighten. Create a second knot on top of the first for added security.
- Finally, guard your work surface with a piece of paper towel or scrap paper, then add a dab of glue to the knot and let it dry (leaving it for a few hours isn’t a bad idea). Then trim the excess cord and you’re done!

3 Comments