Some recipes are seasonal, some are special-occasion, and then there’s challah—always relevant, and always gone within five minutes of hitting the table. This challah recipe is the same pillowy-soft, slightly sweet loaf I’ve been posting about for years, just with a few updates as of May 2025: precise gram weights for consistency, no more bread flour so it’s even more approachable for new bakers (or tired ones)…but for the most part, it’s still the same reliable dough you’ve seen here fot years.
We go through a lot of challah around here—but I’m not baking it from scratch every Friday, and you don’t need to, either. I really implore you not to let the “weekly” aspect of the ritual deter or intimidate you. Once a month, I knead a big batch on a Thursday night after baths and bedtimes, allowing it to proof in the fridge overnight before baking it Friday morning; we reheat two loaves briefly in the oven in the late afternoon, and freeze the rest. So, most weeks, I just rely on that freezer stash. Baking challah doesn’t have to be a regular commitment to be meaningful, and even the supermarket loaves I ate with my parents and siblings growing up became imbued with an almost preternatural nostalgia that I carry with me to this day.
You’ll find my tried-and-true challah recipe below, alongside braiding techniques, make-ahead tips, and a few easy ways to make your loaves look bakery-beautiful.
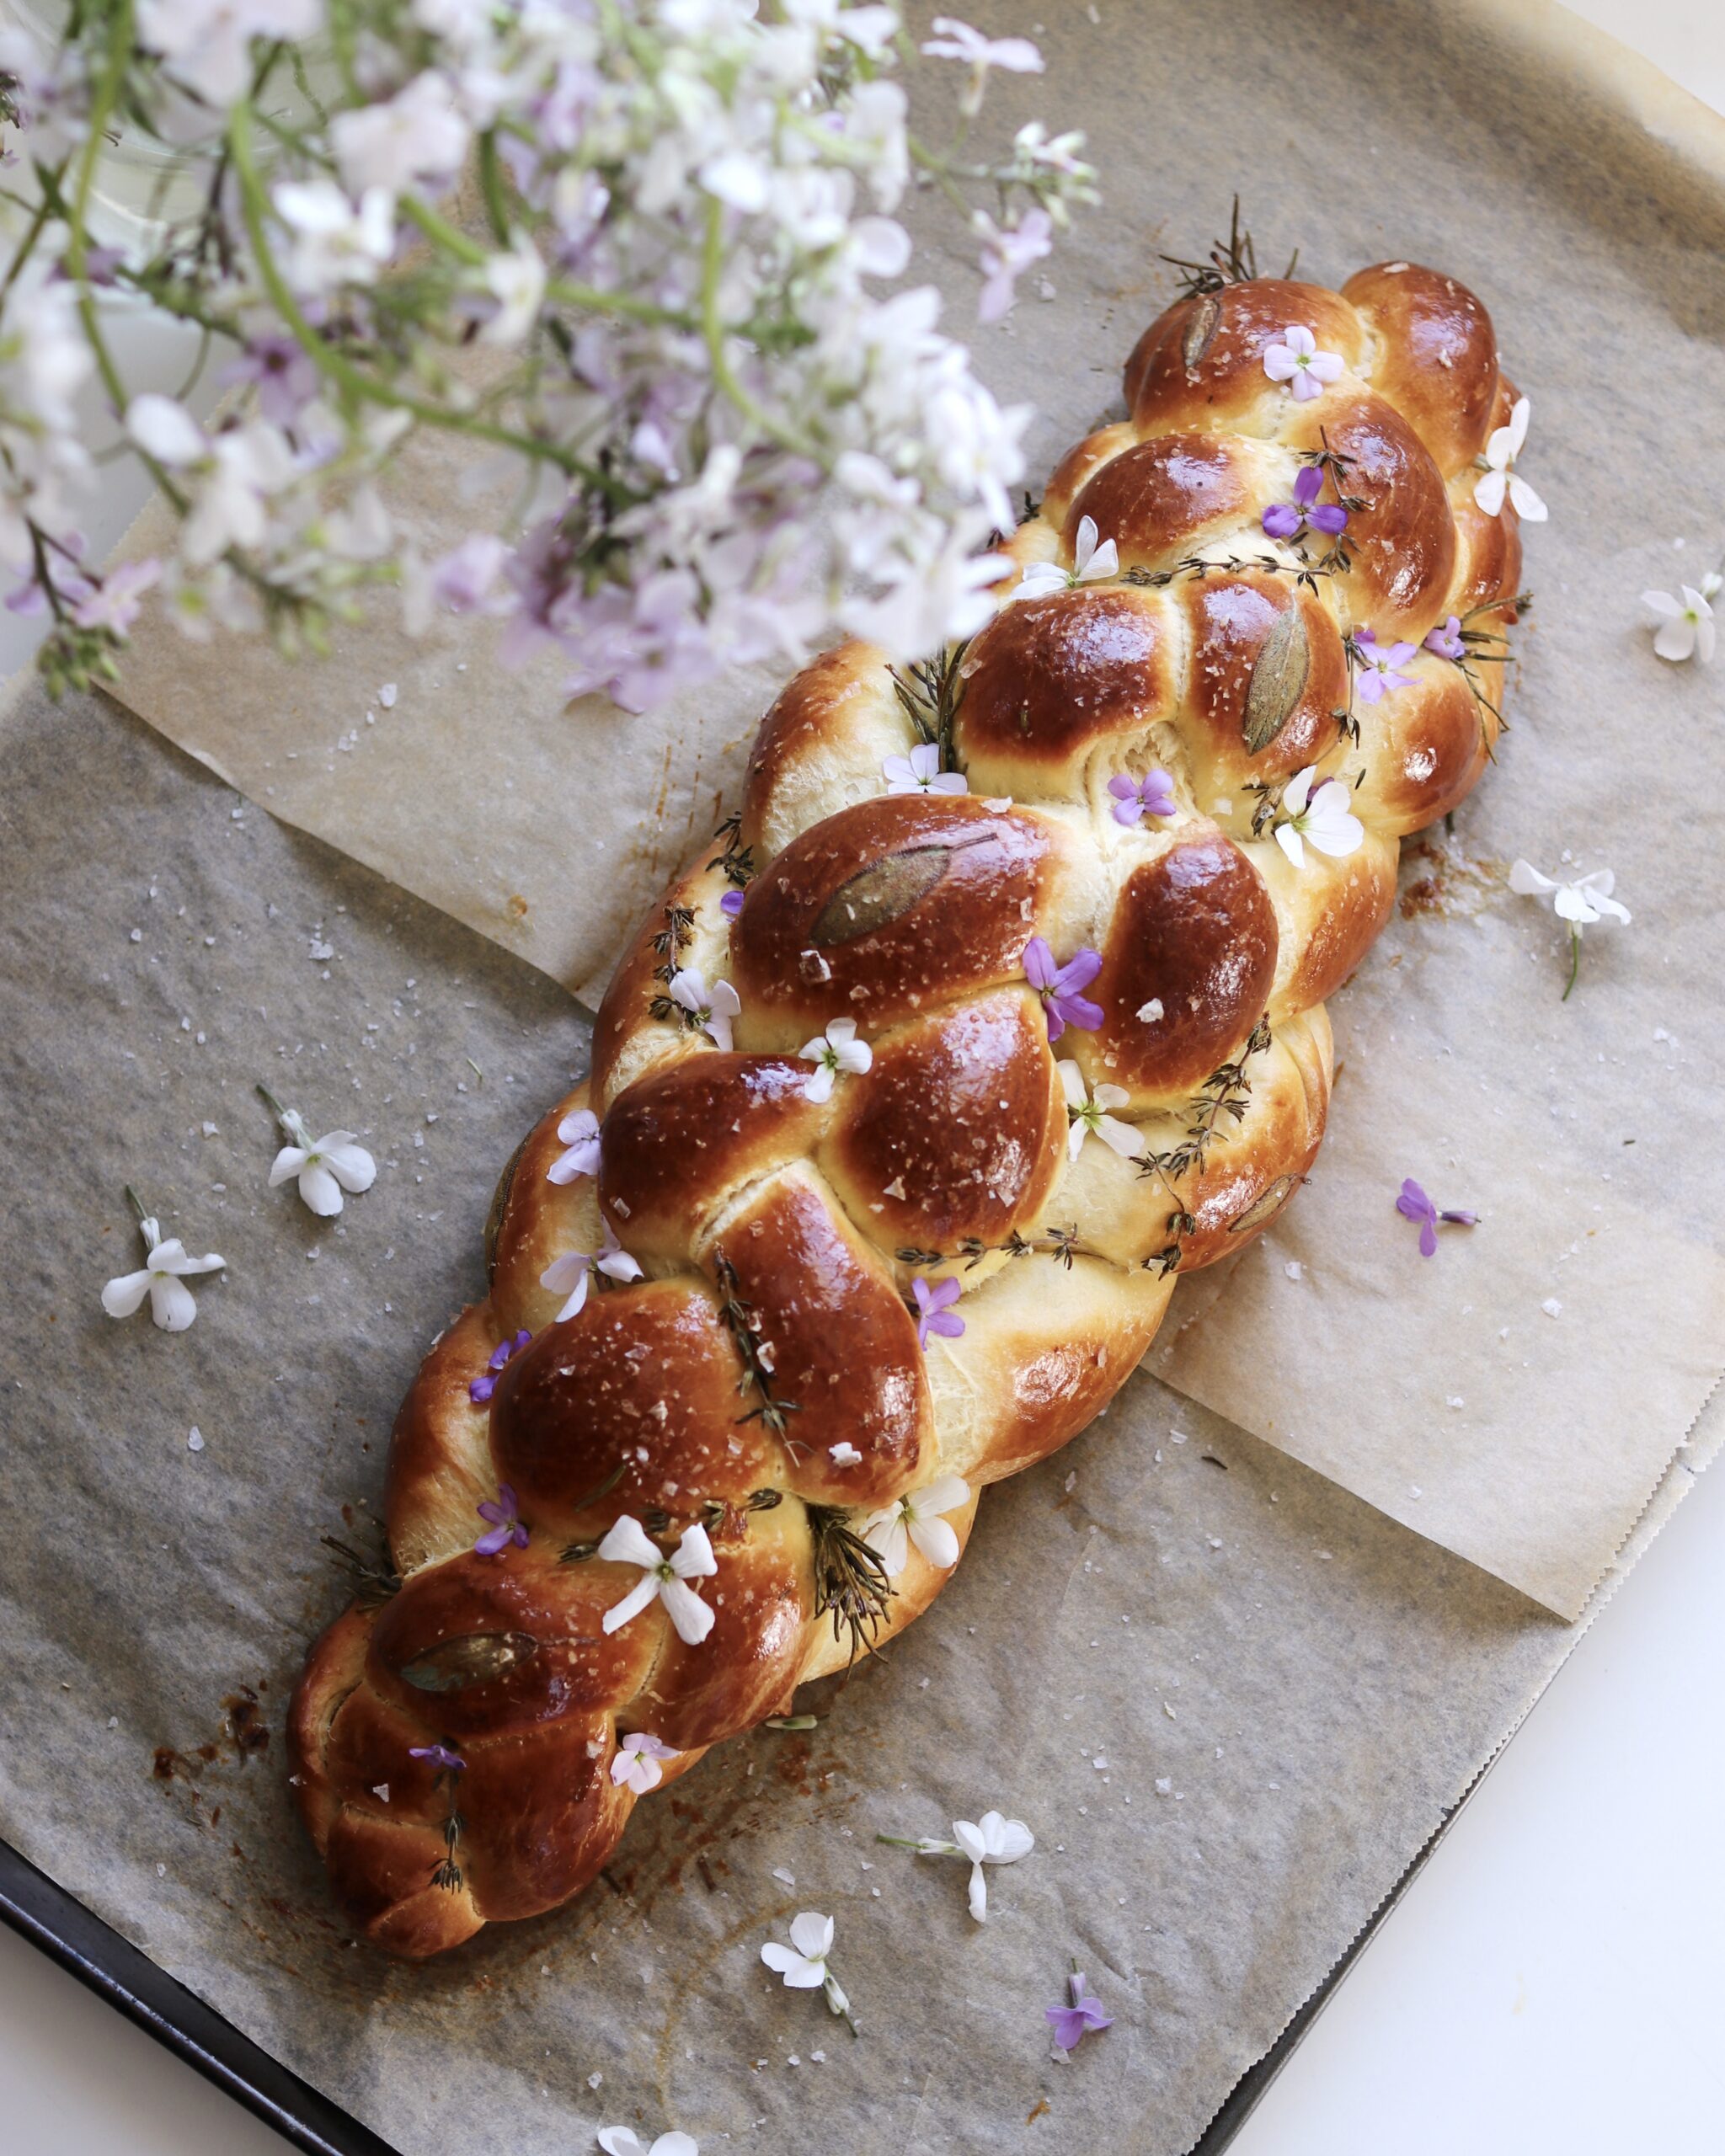
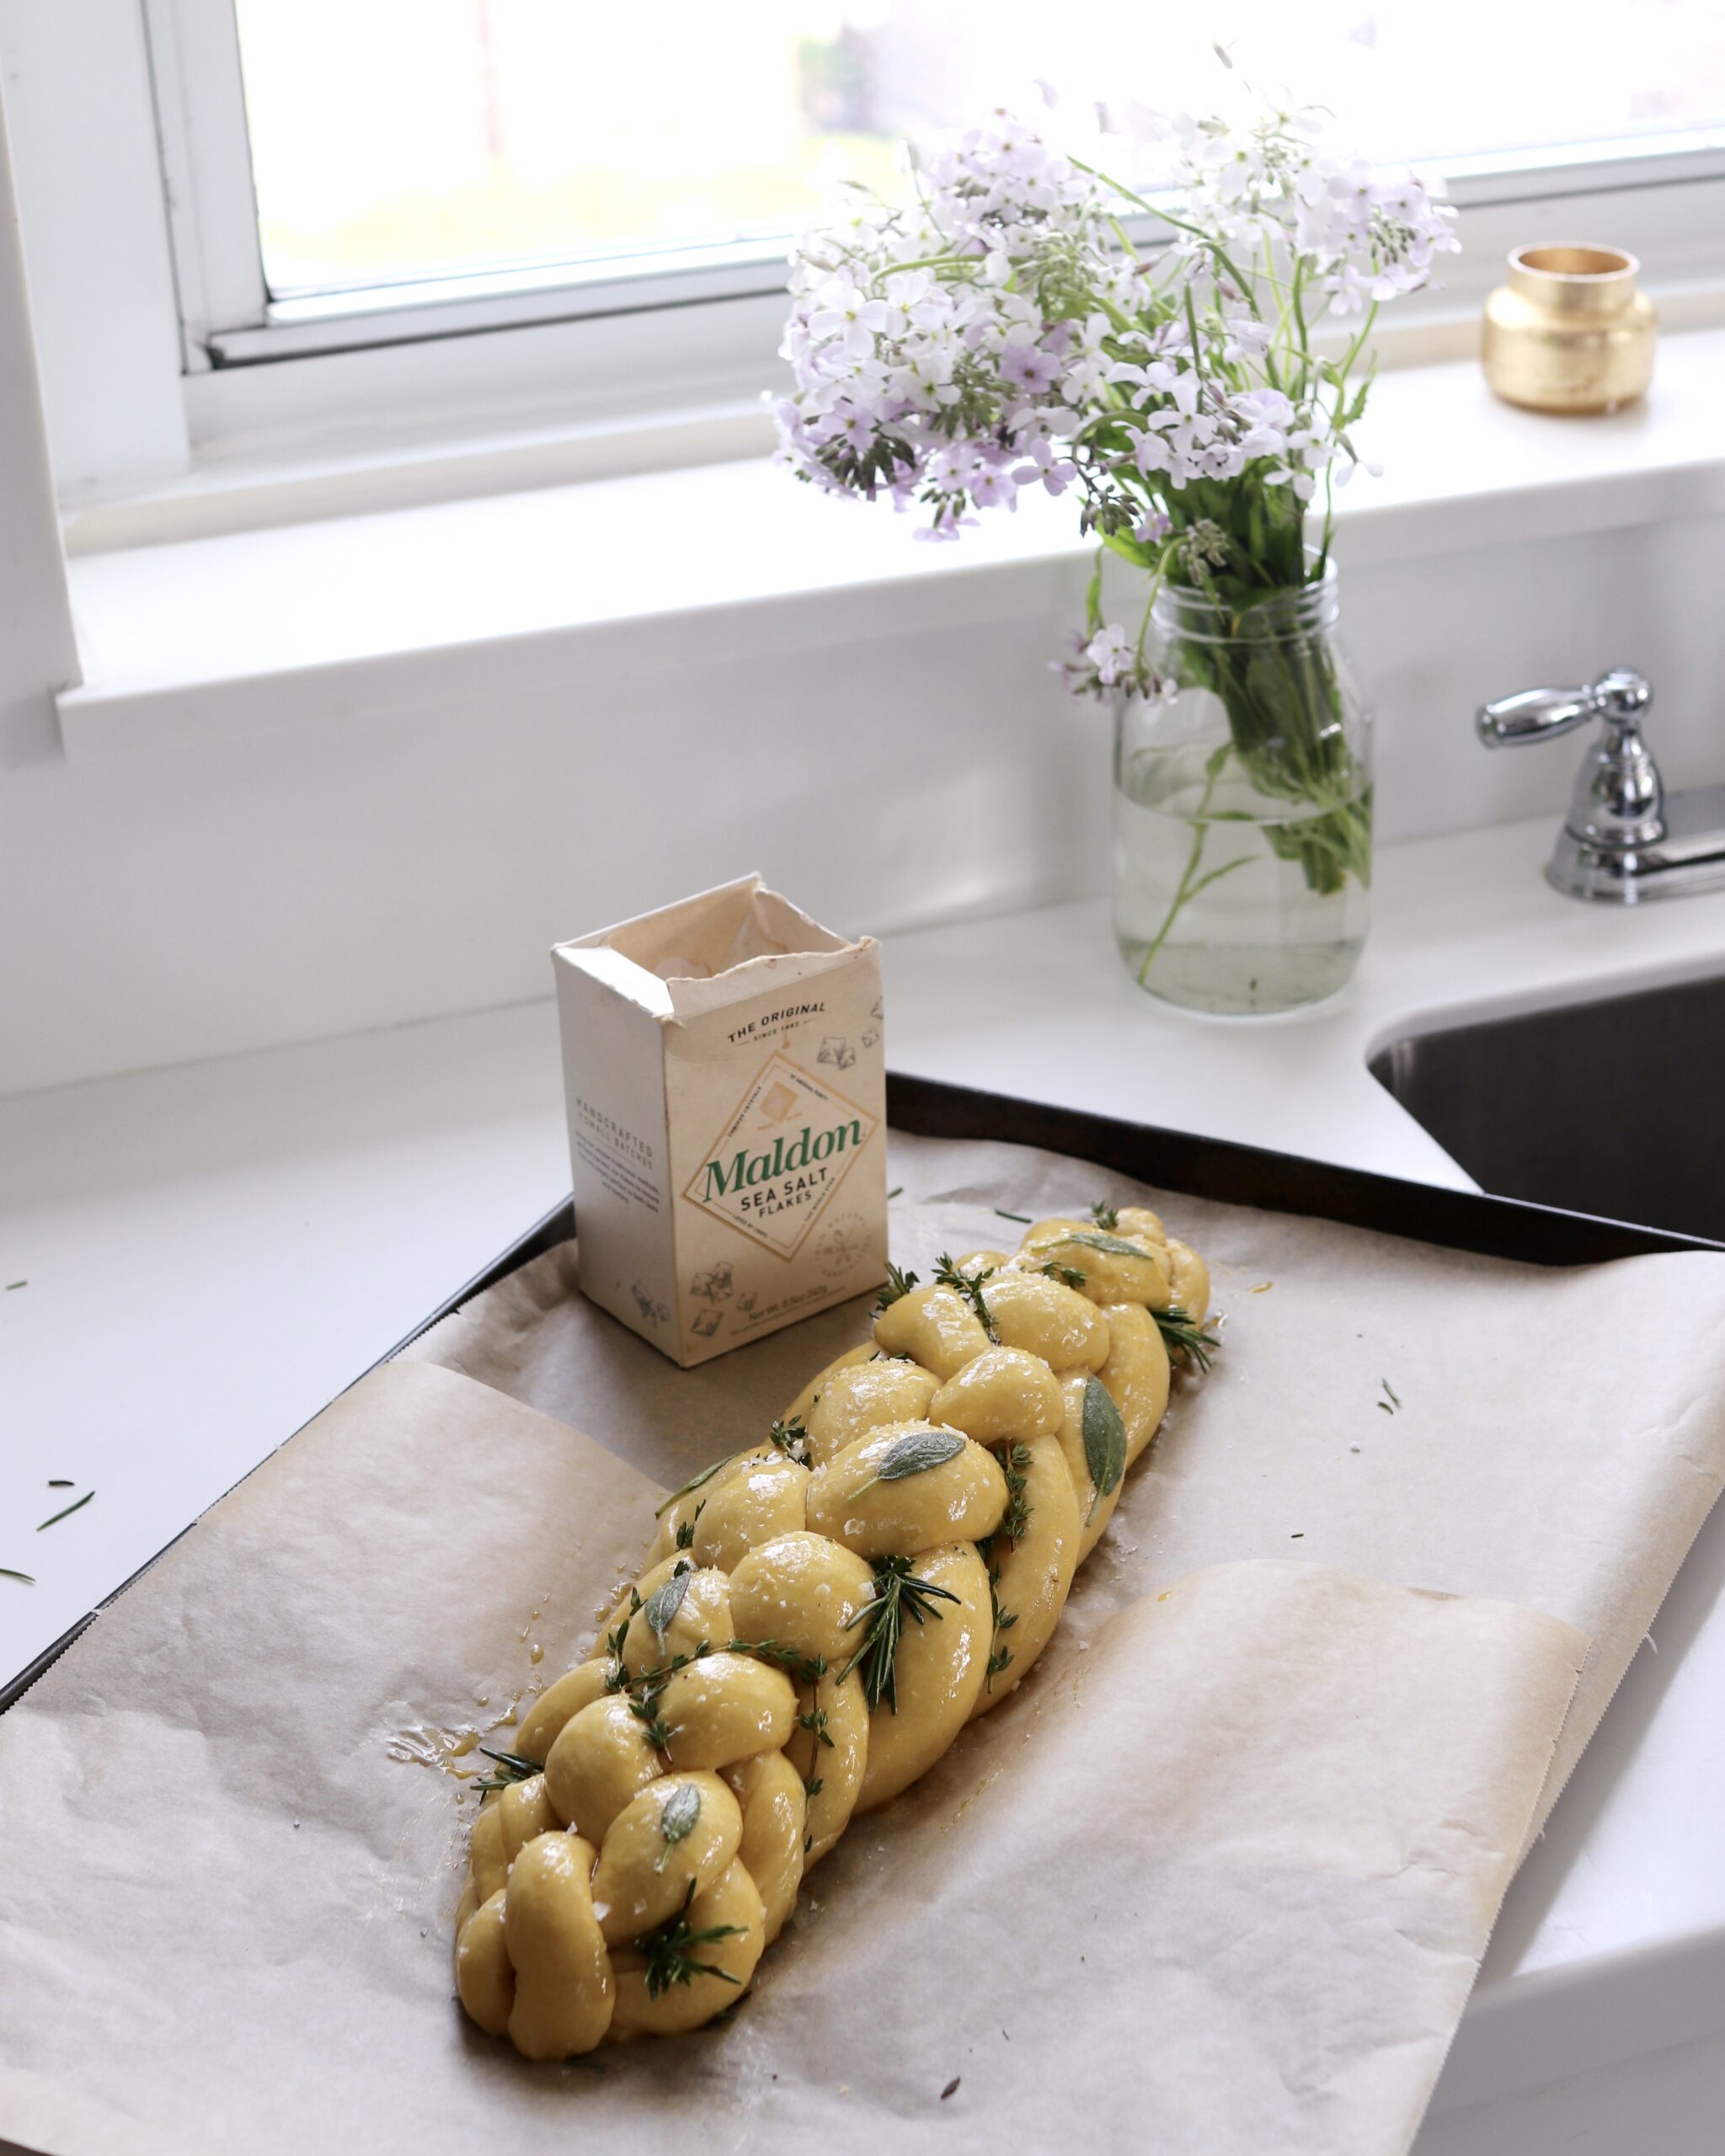
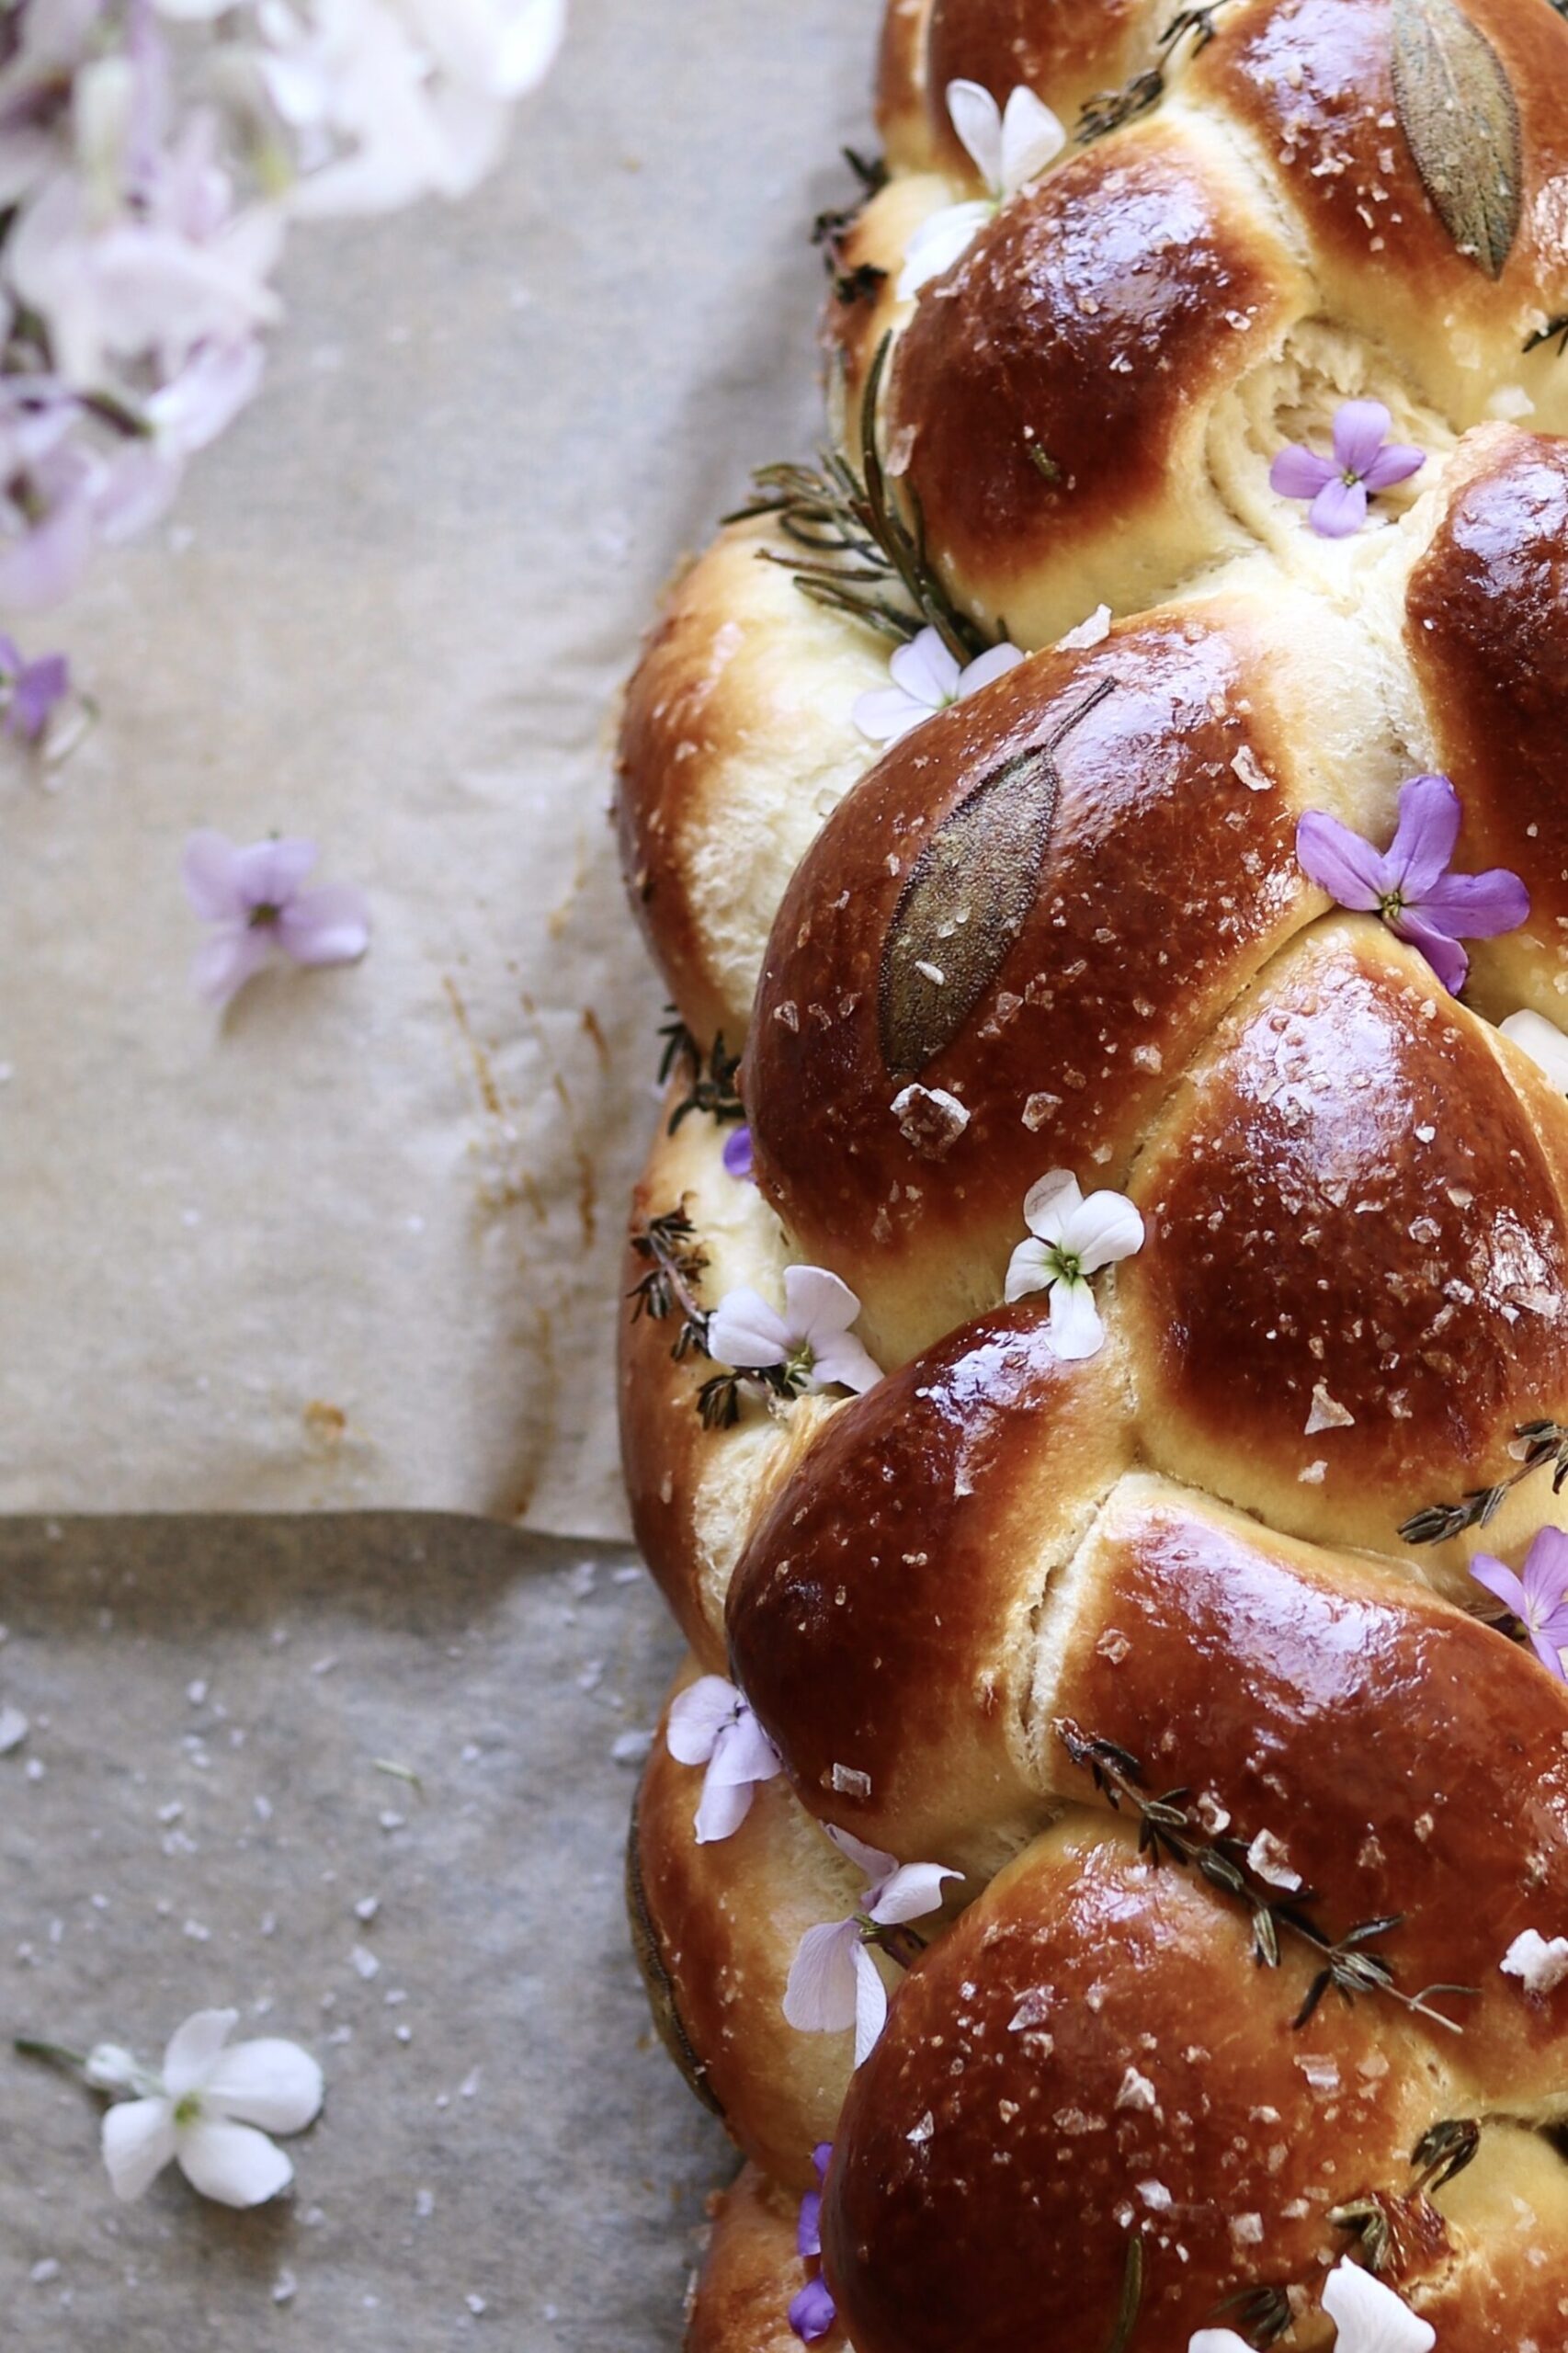
(Also, those little herbs and flowers aren’t included in the tutorial—but they’re easy enough to add! Just poke/layer on some fresh herbs after the egg wash step, prior to baking. If you want to use edible flowers, they’ll need to be added post-baking, just before serving.)
Personally, I like to mix the dough by hand (rather than in a stand mixer), especially since the batch size is pretty reasonable and the amount of flour here isn’t overwhelming. There’s something about getting your hands into things that brings a little more thoughtfulness to the entire baking experience. There are also so many wonderful, spiritual moments associated with the process of making challah, from the blessings that accompany it to its ritual “separation” (hafrashat challah), which actually necessitates some dough-in-hand action. Also, challah’s a pretty simple bread with minimal cleanup: just a bowl, a few measuring tools, and a quick wipe-down of the counter. For me, mixing by hand is not only more grounding—it’s genuinely the easiest, least fussy way to go.
Of course, while challah’s easy to make, it is time-intensive—though most of that time is spent waiting around for the dough to rise—so I’d recommend reading through the entire recipe so that you can plan your morning or afternoon accordingly. You’ll also want to prep your ingredients ahead of time so that everything’s at room temperature, and to ensure that you have said ingredients. Since time is a crucial component of bread-baking, you don’t want to be running out at the last minute to grab this or that ingredient.
Finally, there are so many wonderful little tips and tricks I’ve learned over the years that make a huge difference in the look and taste of the resulting loaves. For that reason, I’ve done my best to make the below tutorial really comprehensive and thorough (and, okay, a little wordy). Again, you can make sure you’ve got a grasp on all of these little details simply by giving the recipe a thorough read before you begin.
Never baked challah before? Please know that my first loaf looked a little like something out of a Tim Burton film. It’s all about repetition—the more you bake challah (or any bread, for that matter), the more opportunities you’ll have to fine-tune the little techniques that make it look and taste better. I still notice differences in my loaves from week to week. You’ll get it in time.


Classic Challah Recipe
- Total Time: 4 hours 35 minutes
- Yield: 2 medium loaves 1x
- Category: Bread
- Cuisine: Jewish
Description
A beautiful, classic challah recipe. It’s perfectly soft and pillowy, just sweet enough, and it browns beautifully, too. Yields two medium-sized loaves. Note: After many years of experimenting, I updated this recipe in May 2025 with a few small tweaks I think make it even better, including subbing out the bread flour entirely. Note: Salt volume equivalent is given for Diamond Crystal brand kosher salt only. Other brands will require separate conversions.
Ingredients
For the dough:
- 7g active dry yeast (2 1/4 teaspoons)
- 24g granulated sugar (2 tablespoons)
- 195g warm water (3/4 cup plus 1 tablespoon), between 100° and 110° Fahrenheit
- 585g all-purpose flour (4 1/2 cups), divided, plus another 50g (about 1/3 cup) for your work surface
- 3 large eggs, room temperature (you can warm them up quickly by letting them sit in a glass of warm water)
- 100g neutral oil (1/2 cup), plus a few tablespoons extra for kneading (some examples of neutral oil: canola/vegetable oil, avocado oil, sunflower seed oil, and grapeseed oil; olive oil works fine as a substitute)
- 85g honey (1/4 cup)
- 10g kosher salt (1 tablespoon)
For the egg wash:
- 1 large egg
Instructions
- Dissolve the yeast: In a large bowl, thoroughly mix together the yeast, sugar, warm water, and 130g (1 cup) of the all-purpose flour until all ingredients are incorporated and no lumps remain. Scrape down the sides if needed with a rubber spatula, then cover the bowl with a dish towel or piece of plastic wrap and let sit at room temperature for 1 hour. Within a minute or two, you should see some bubbling and a subtle beer-like smell—signs that your yeast is active.
-
Add the rest of the wet ingredients: When the hour is up, crack the eggs directly on top of the now-foamy mixture, then pour in the honey and oil. Rigorously stir the mixture together until thoroughly incorporated and perfectly uniform in color and texture.
-
Add the rest of the dry ingredients: Add the salt and the remaining 455g (3 1/2 cups) all-purpose flour (continue to retain the additional 50g, or 1/3 cup, for your eventual work surface). Use a wooden spoon to mix the ingredients together; you’ll have a (very!) disheveled-looking dough ball. It’ll be pretty messy at this point; not to worry; you’re on the right track.
-
Knead the dough: Generously dust your work surface with a few tablespoons of the reserved all-purpose flour. At this stage, I like to throw on a pair of latex gloves—optional, but helpful during those first few messy minutes. Turn the dough out onto the floured surface, sprinkle a little more flour over the top, and begin kneading by hand, about 2 to 3 minutes, adding more flour as needed. The dough will still be sticky at first, but it will begin to feel just a bit more cohesive and manageable. That’s your cue to switch to an oiled surface and oiled hands. Continue kneading for a total of 6 to 8 minutes, until the dough is soft, supple, and tacky—but definitely no longer sticky.
-
First rise: Lightly grease a large bowl with about 1 tablespoon of neutral oil—just enough to keep the dough from sticking as it rises. Shape the dough into a ball and place it in the oiled bowl, turning it once to coat. Cover and let rise at room temperature for about 1.5 to 2 hours, or until doubled in size. To check if your dough is properly proofed, give it a gentle poke with your finger. If it springs back slowly and leaves a soft, shallow indentation, it’s ready. (If it springs back very quickly, it’s likely underproofed—give it a little more time. If it doesn’t spring back at all, it’s likely overproofed—move ahead quickly.)
-
Divide and shape: Once the dough has risen, turn it out onto a large, clean work surface. Use a bench scraper or sharp knife to divide the rectangle into eight equal pieces—you’ll be making two loaves, each with four strands (you can also opt for a more straightforward 3-strand braid with a set of 6 total strands—3 and 3—but I recommend trying out the 4-strand braid!). Working one piece at a time, use a rolling pin to shape each triangle of dough into a flat rectangle (they’ll be slightly oblong; that’s fine). Then, use your fingers to carefully roll up each now-flattened dough portion into a snake-like strand. Continue rolling the strands to gently lengthen. You’re aiming for a final length of ~10-12 inches. Optional, but recommended: I like to cover the strands with a kitchen towel and let them rest for a few minutes before coming back to roll them out just a bit more. I usually get an extra inch or two this way, and it also gives the gluten a chance to relax—making the dough easier to work with and less likely to spring back.
-
Braid: Set four strands aside while you braid the first loaf. There are many ways to do a four-strand braid, but here’s the method I use: Pinch together the four strands at their tops to create the beginning of your weave. Then, mentally number each strand, with the leftmost strand acting as “1” and the rightmost acting as “4.” Note that these numbers are fluid; i.e. whatever strand of dough finds itself in “Spot 1” is now “Strand 1,” even if it was previously stationed in, say, spot 4. To begin braiding, first, bring Strand 4 over Strand 2. Then, take Strand 1 and bring it over your new Strand 3. Finally, bring Strand 2 over Strand 3. Continue braiding with this three-part pattern: 4 over 2, 1 over 3, 2 over 3. You’ll end up with a few stubby pieces hanging out; simply tuck these beneath the loaf. Repeat the process with the reserved four strands of dough to braid the second loaf.
-
Second rise: Transfer the braided loaves to two parchment-lined baking sheets and cover each loosely with a dish towel; let rise at room temperature for about 1 hour until puffy and slightly expanded in size. Preheat the oven to 350° Fahrenheit, then prep your egg wash by whisking the egg in a small bowl.
-
Egg wash and bake: About five minutes before the rise is finished, use a pastry brush to coat the exterior of each loaf with egg wash, making sure to get into all the nooks and crannies. When the loaves have fully risen, give them a second brush with egg wash before baking. Bake for 35 to 40 minutes.
-
Let rest and serve: It’s tempting to dive right in, but let the loaves rest for at least 20 minutes—they’ll still be finishing on the inside, and too hot to slice cleanly anyway. Then, tear or slice and serve warm.
Notes
- Making the dough ahead of time: You can absolutely make challah dough in advance. At the end of Step 5, simply cover the bowl with plastic wrap and refrigerate overnight for a slow, cool rise. In the morning, let the dough come to room temperature before continuing with Step 6—it should feel soft and pliable again.
- Substituting active dry yeast for instant yeast: For the purposes of this exact method/recipe, I don’t recommend it. If that’s all you have on hand, do a quick search for an instant yeast challah recipe instead!
- Letting the dough rise too long: Generally speaking, if you let the dough rise for a little too long here or there (5, 10, 25 minutes), it shouldn’t be a huge issue—so don’t sweat it. What’s more, the times shared in this and other challah recipes are actually just estimated averages; depending on the altitude and temperature of your home, more or less time will be required anyway for an “ideal” bake.
- Toppings: If you’d like to top your loaves with sesame seeds, fresh herbs, and the like, do so just before baking, after the egg wash (the wash will help any toppings adhere).
- Serving idea: If serving several hours after baking, pop the loaves back into the oven for a quick reheat; just make sure you keep the temperature low, only throw them in for up to ten minutes, and (please) don’t forget about them!
I’m a retired food journalist and chef. I began tackling bread after selling my catering business six years ago.. I always had a pastry chef, so I never tackled breads. Challah is my favorite and I found your recipe today; I was looking for a nice Jewish girl for insights. Couple of questions. I am a traditionalist and believe Jews would have used olive oil (and honey). Also, how do you feel about overnight second rise, mainly for baking schedule? I’ve noticed most enriched doughs are done in no more than four-hour window. Thanks for your wisdom.
Doug Mead
Everything is great except it’s too much salt. 1 tsp would be enough.
★★★★★
Thanks so much for the feedback, and so sorry for the late reply! 🙂 This recipe uses Diamond Crystal kosher salt, which is significantly less salty by volume than Morton and other brands (the two are not interchangeable 1:1 in recipes). I often find myself adding a sprinkle more at the table, so definitely adjust based on your preference + chosen brand going forward!
I made this exactly as written. I made a single, large round 12-strand braided loaf. The Challah is delicious. The inside is pillowy. The outside has a lovely texture. It made a beautiful loaf. Because it was large I used an instant-read thermometer to make sure the center was done. I had to bake it an extra 10 minutes, tented with aluminum foil so the top didn’t get too brown. This recipe is a keeper.
★★★★★
hooray! thank you so much.
Hey Rebekah, your recipe is my absolute favorite. I’m confused by the update however because you don’t mention how much bread flour to use. Thanks!
Hi Hannah! Thank you so much for the kind note, and so sorry for the confusion! I (gasp!) actually removed the bread flour from the recipe over the past few months to make it more approachable for more people. I’m constantly asked about subbing out the bread flour, so I decided to simplify and rework the liquid quantities to match the hydration needs of all-purpose flour alone. You can go ahead and use only AP now, or shoot me a DM if you’d like the old recipe to save!
Thank you for this tutorial. I really want to try this, because I’m old, and Jewish, and think I should. However,
I disagree with your final step, cutting. Challahs are made to be grabbed and pulled apart.
★★★★★
An excellent recipe. The dough yielded makes a very satisfying single loaf, and we’ve used the base recipe (with adjusted bake times) for braided rolls and long braids as well.
The recipe itself is very easy to execute, and the time waiting for rises only adds to the excitement.
★★★★★
I was storytelling my kids it was about challah so then. They asked me to make it for them now i will try this recipe it sounds good and foolproof ❤️
★★★★★
a litte confused. I am trying to dbl [2x] the recipe. This calls for 5 cup of reg AP flour. But in the instructions you say put 1 cup initially in with the yeast and then, in a step further down, you say add teh remining 1 1/2 cups of AP flour and all the bread flour. Shouldn’t it be “the remaining 3 1/2 of AP flour….”
Hi! Ah yes, this can definitely be confusing. I actually flagged this in the notes above the recipe, because the “2x” button only updates the ingredient list, not within the step-by-step instructions. So, if you’re doubling, you’ll need to manually double the amounts in the instructions too (like the initial flour amounts). 🙂
sorry. I meant 4 cups {i cup + 4 cups to make 5 cups AP FLOUR..[NOT counting what you will need to sprinkle on the working surface……
This challah is perfect! I have been looking for a smaller challah recipe and this hit the mark. Its soft, airy, slightly sweet, and delicious !I made some cinnamon sugar and placed it inside my strands of dough and it’s a perfect fall challah.
★★★★★
I made this exactly as written. I normally use fresh yeast but bought some dried yeast (newly bought). It bubblex up wlin the initial stage when mixed with the flour and sugar. Kneaded it but it simply didn’t rise. Can I use fresh yeast for this recipe?
Hi! I’m sorry to hear that and can’t be totally sure what happened there – sometimes bread dough just has an off day, and it can be hard to pinpoint exactly why. I’ve made this for years with active dry and so have so many others, so I’d definitely say to give it another try – I really hope it works out this time!
Rebekah–I followed the recipe almost exactly (didn’t do the 2nd rise/rest of the “ropes”). I kept a small portion out (tithe-like) but then taste tested because these will be gifts. WOW–best, moistest Challah I’ve ever made!! Thank you for this recipe!!
★★★★★
I made my first ever Challah using your recipe in fact this was my first attempt to make bread period and it came out beautifully. It was easy to follow along and all the tips and tricks helped me when I struggled. I only wish I could attach a photo as I am so proud of how lovely my loaves look!
★★★★★
I have instant yeast and not active dry yeast. How much instant yeast do I use?
Hi! This recipe is really designed around active dry yeast, especially with that first proofing step. While instant yeast and active dry yeast are generally interchangeable, I’d recommend following a recipe written for instant yeast from the start to get the best results. Hope this helps!
Came out amazing, so many compliments!
★★★★★
Hi Rebekah!! My bread turned out really dense after I followed the instructions. Should I add less flour and maybe stir it in? I am totally lostttt but I am also bad with bread dough texture.
Shabbat Shalom to you!! Thank you for this recipe!
Hi and thank you so much for the comment! Hm, I can’t pinpoint for sure what the problem is, but a couple of thoughts: It *could* be the flour; flour absorption varies with humidity, climate, brand of flour, etc. so it really helps to go by feel as well as measurements – I always look for a dough that feels soft and just slightly tacky but not sticky. Or it could potentially be an issue with kneading (you want to really build that elasticity). Or it could be proofing time (you want to give it plenty of time to rise until it’s nice and puffy). Sometimes things take longer/shorter depending on your kitchen temperature. You’re not alone in this – bread dough is such a learning curve, and challah especially takes a little practice to get a feel for the texture. Every batch teaches you something new. Lemme know how it goes if you do make it again! 🙂
this food is very delicious thank you for making this delicious recipe
This bread was fantastic! My family loved it, and we are self proclaimed bread eating experts. Lol
Simply delicious. I have not let my yeast “wake up” that long before but it really showed up in the flavor. The braiding instructions were simple and it just came out great. Thank you so much. We will use this recipe again and again.
★★★★★
Hi Rebakah!
Let me say I am not a baker. I once tried to make bagels and they turned out like tire irons! I followed your recipe to a tee, not expecting much, I must confess. The result was phenomenal! Exactly like yours! Not difficult at all, but the one thing I will say is that your braiding video on Instagram was so fast, I could not keep up. I needed my daughter to do it right, but it turned out more than right! Thanks sooooo much!
★★★★★