(But no wax. Just chocolate. I promise.)
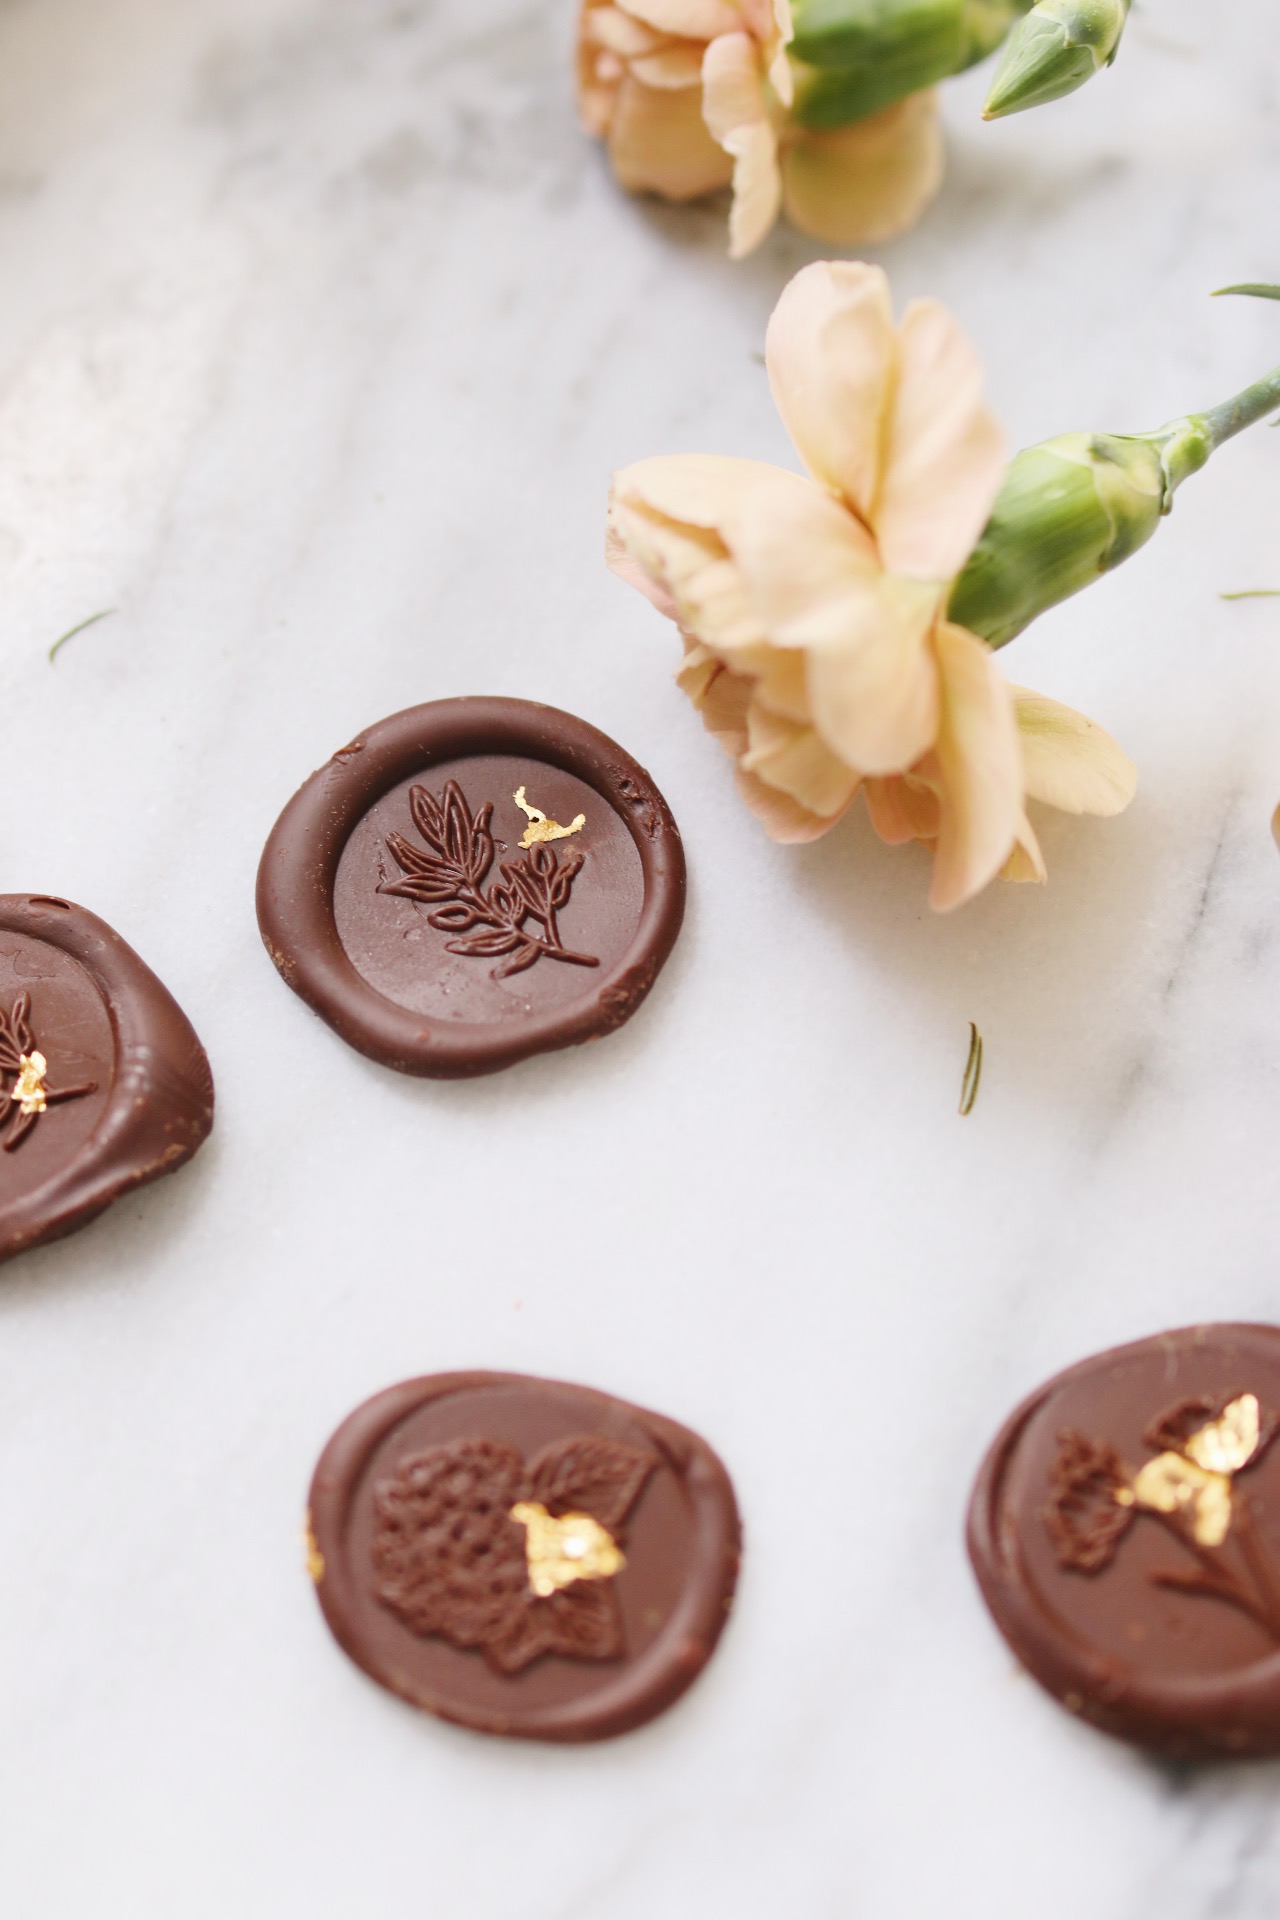
Yes, the gold is real gold, and yes, it’s really EDIBLE! I mean, I hope it’s edible. Cause I ate it. It’s also not super expensive. Mine was $8 for 12 sheets (you can find the little packs at baking stores or on Amazon), which felt worth it for me, personally: This project used up two-ish sheets, and this other project from last week used four, so I’ve still got a bunch left over. It would be kind of expensive if you only planned on using it for a single project, I suppose. But it adds such a special, striking detail to any recipe or dessert…so in my opinion, it’s a worthwhile investment!
(I will say that it’s also not worth buying unless you read about how to use it first, because if you just pick it up and get it everywhere, you will totally waste it and that’s just sad. It gets stuck to your fingers really easily and once it’s plastered onto your hand, it’s not really usable.)
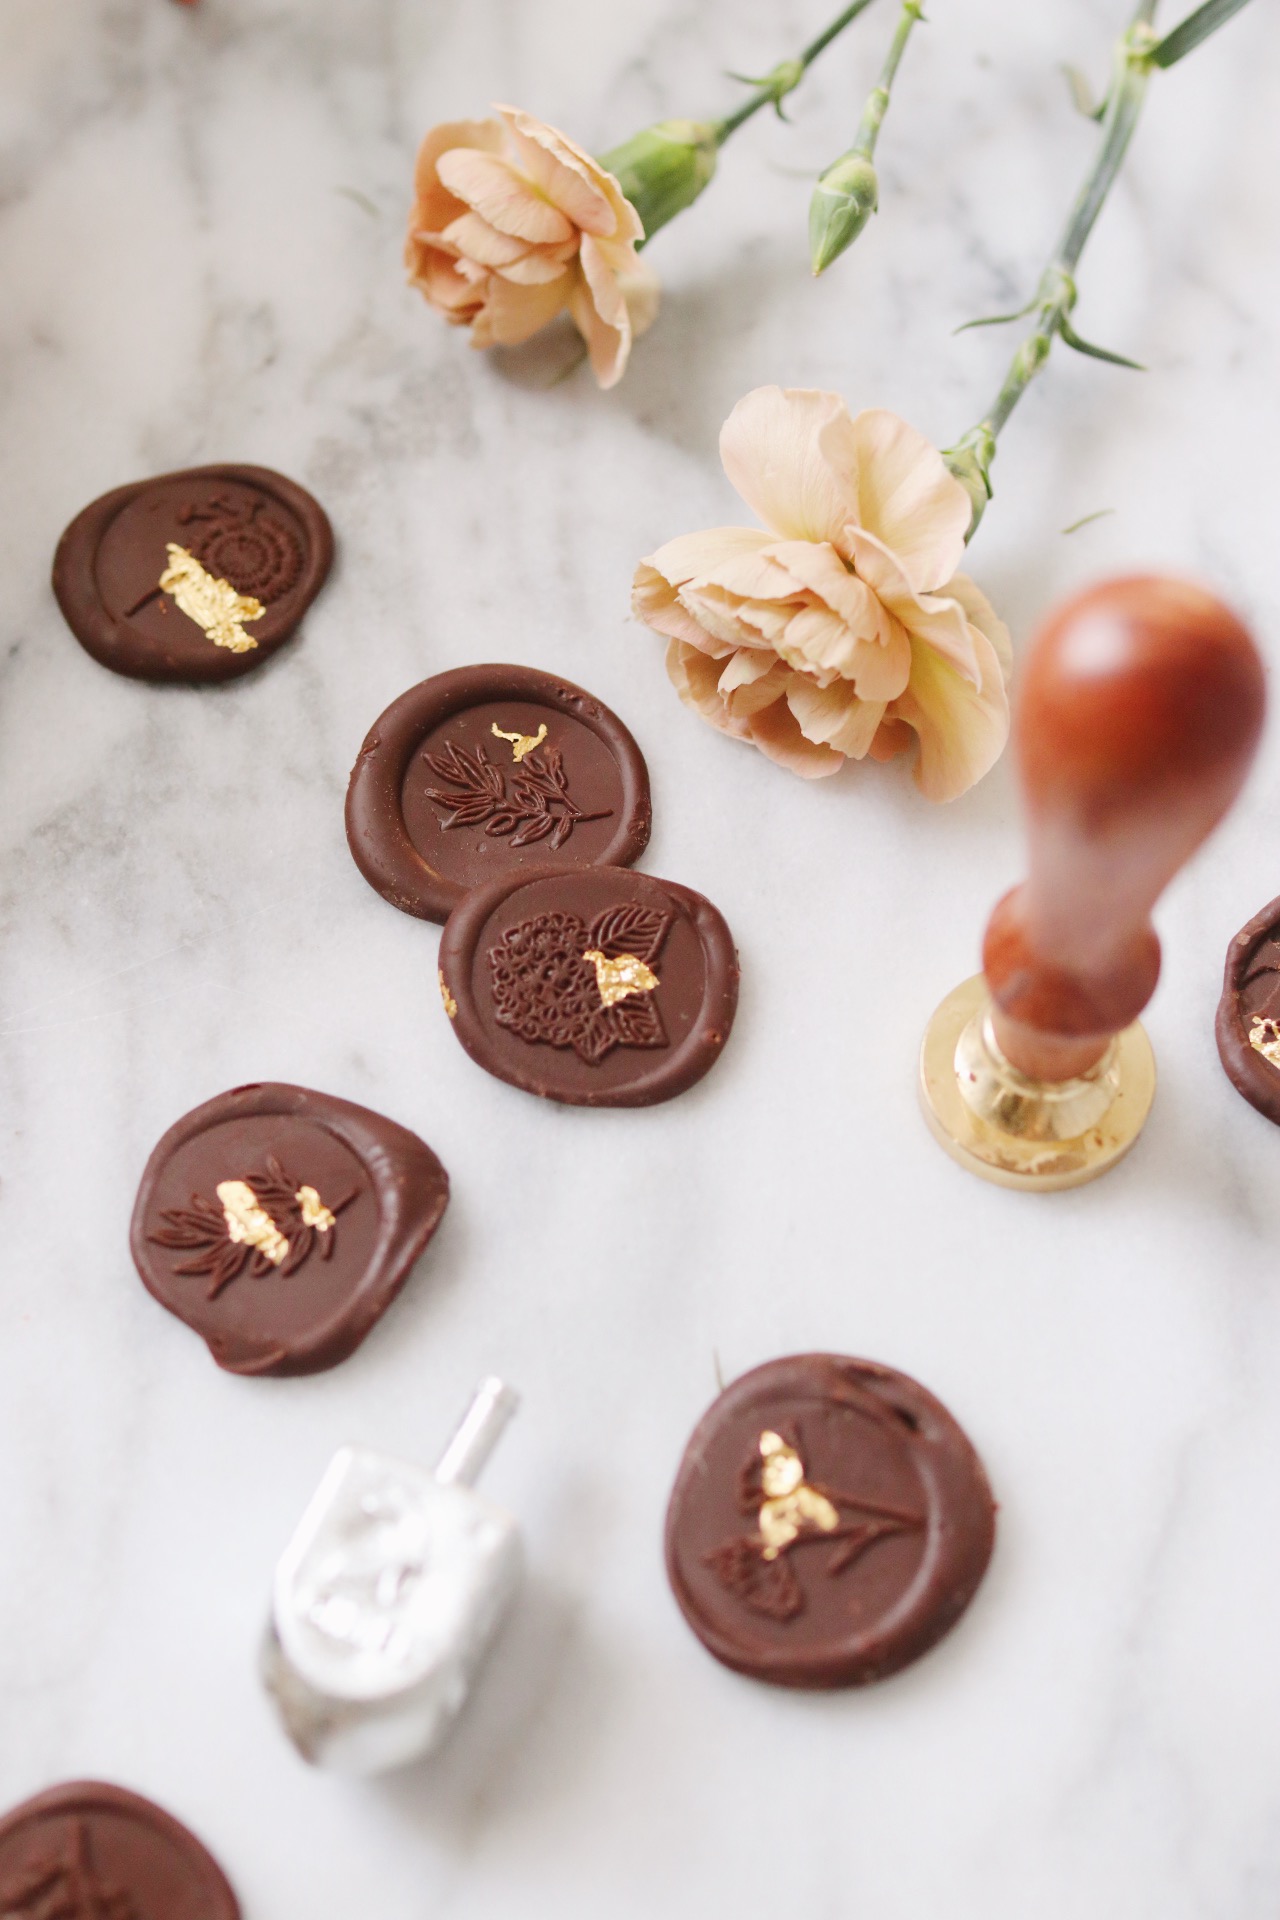
Oh my. I still haven’t even talked about what’s even going on here!!!! Okay: These are little gelt-like chocolates that I’ve been meaning to make since 2019. I have a comically long list of ongoing project ideas and these have been on it FOREVERRRRR. I finally tried my hand at wax sealing for the first time this past fall for this fun Rosh Hashanah project, and I knew this would be the next project I’d tackle. I also wanted to use up the leftover edible gold from that other project I mentioned (last week’s semi-homemade sufganiyot!). And that’s how we landed here!
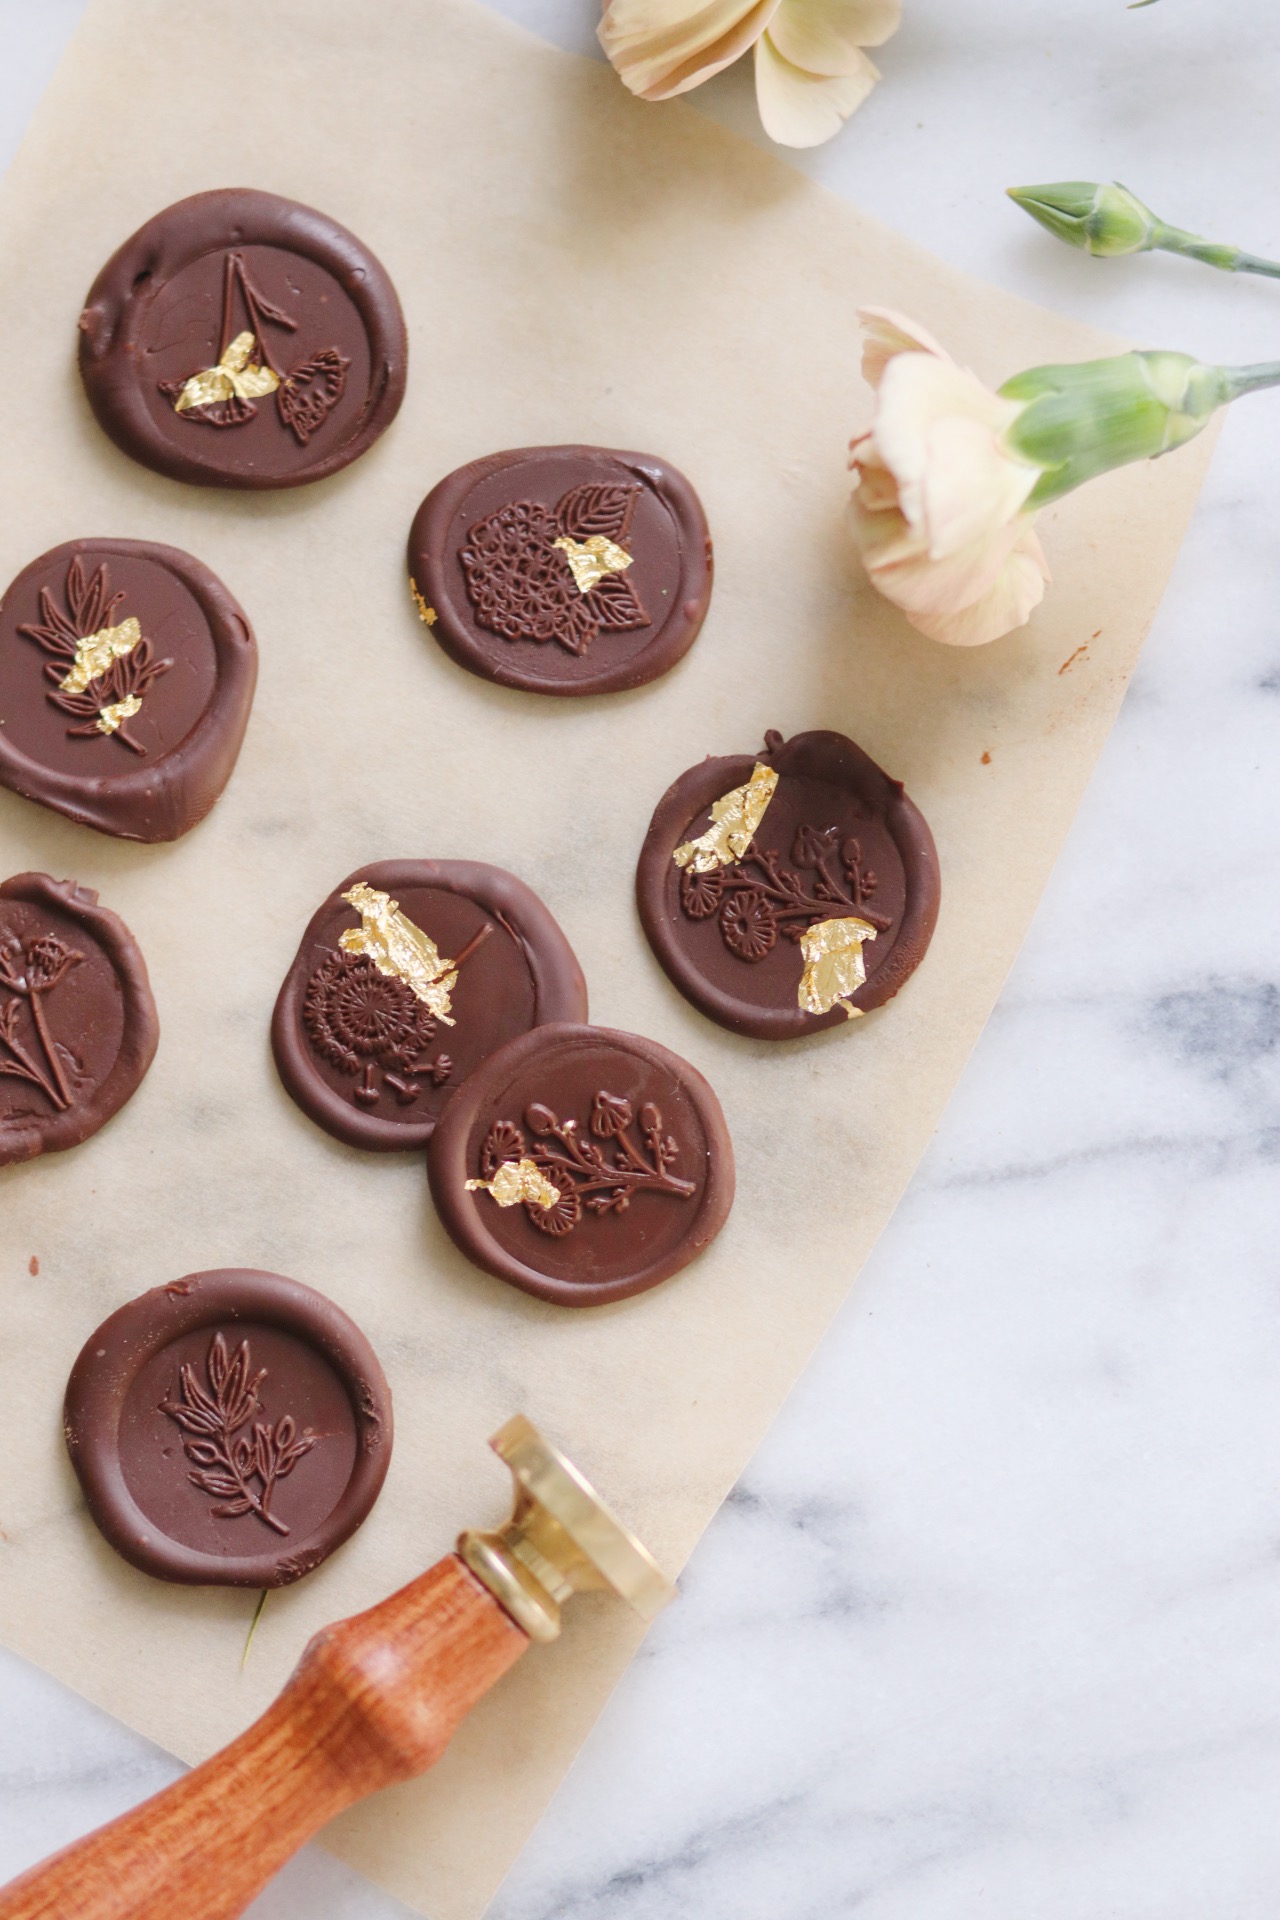
I could have opted for molds to make those pretty designs—and in fact, if you’re in a hurry or need to make a lot of little chocolates at once, that’s definitely a better bet for you—but I think there’s something particularly beautiful about both the process and end result of the wax seal method. Not only do these guys look different than the molded chocolates (they’ve got that little overflow part, and they really look like wax seals!), but they’re also very rewarding to make. Plunging an ice-cold wax seal stamp into a warm pile of chocolate is just about the most satisfying thing ever.
Once you get the hang of it.
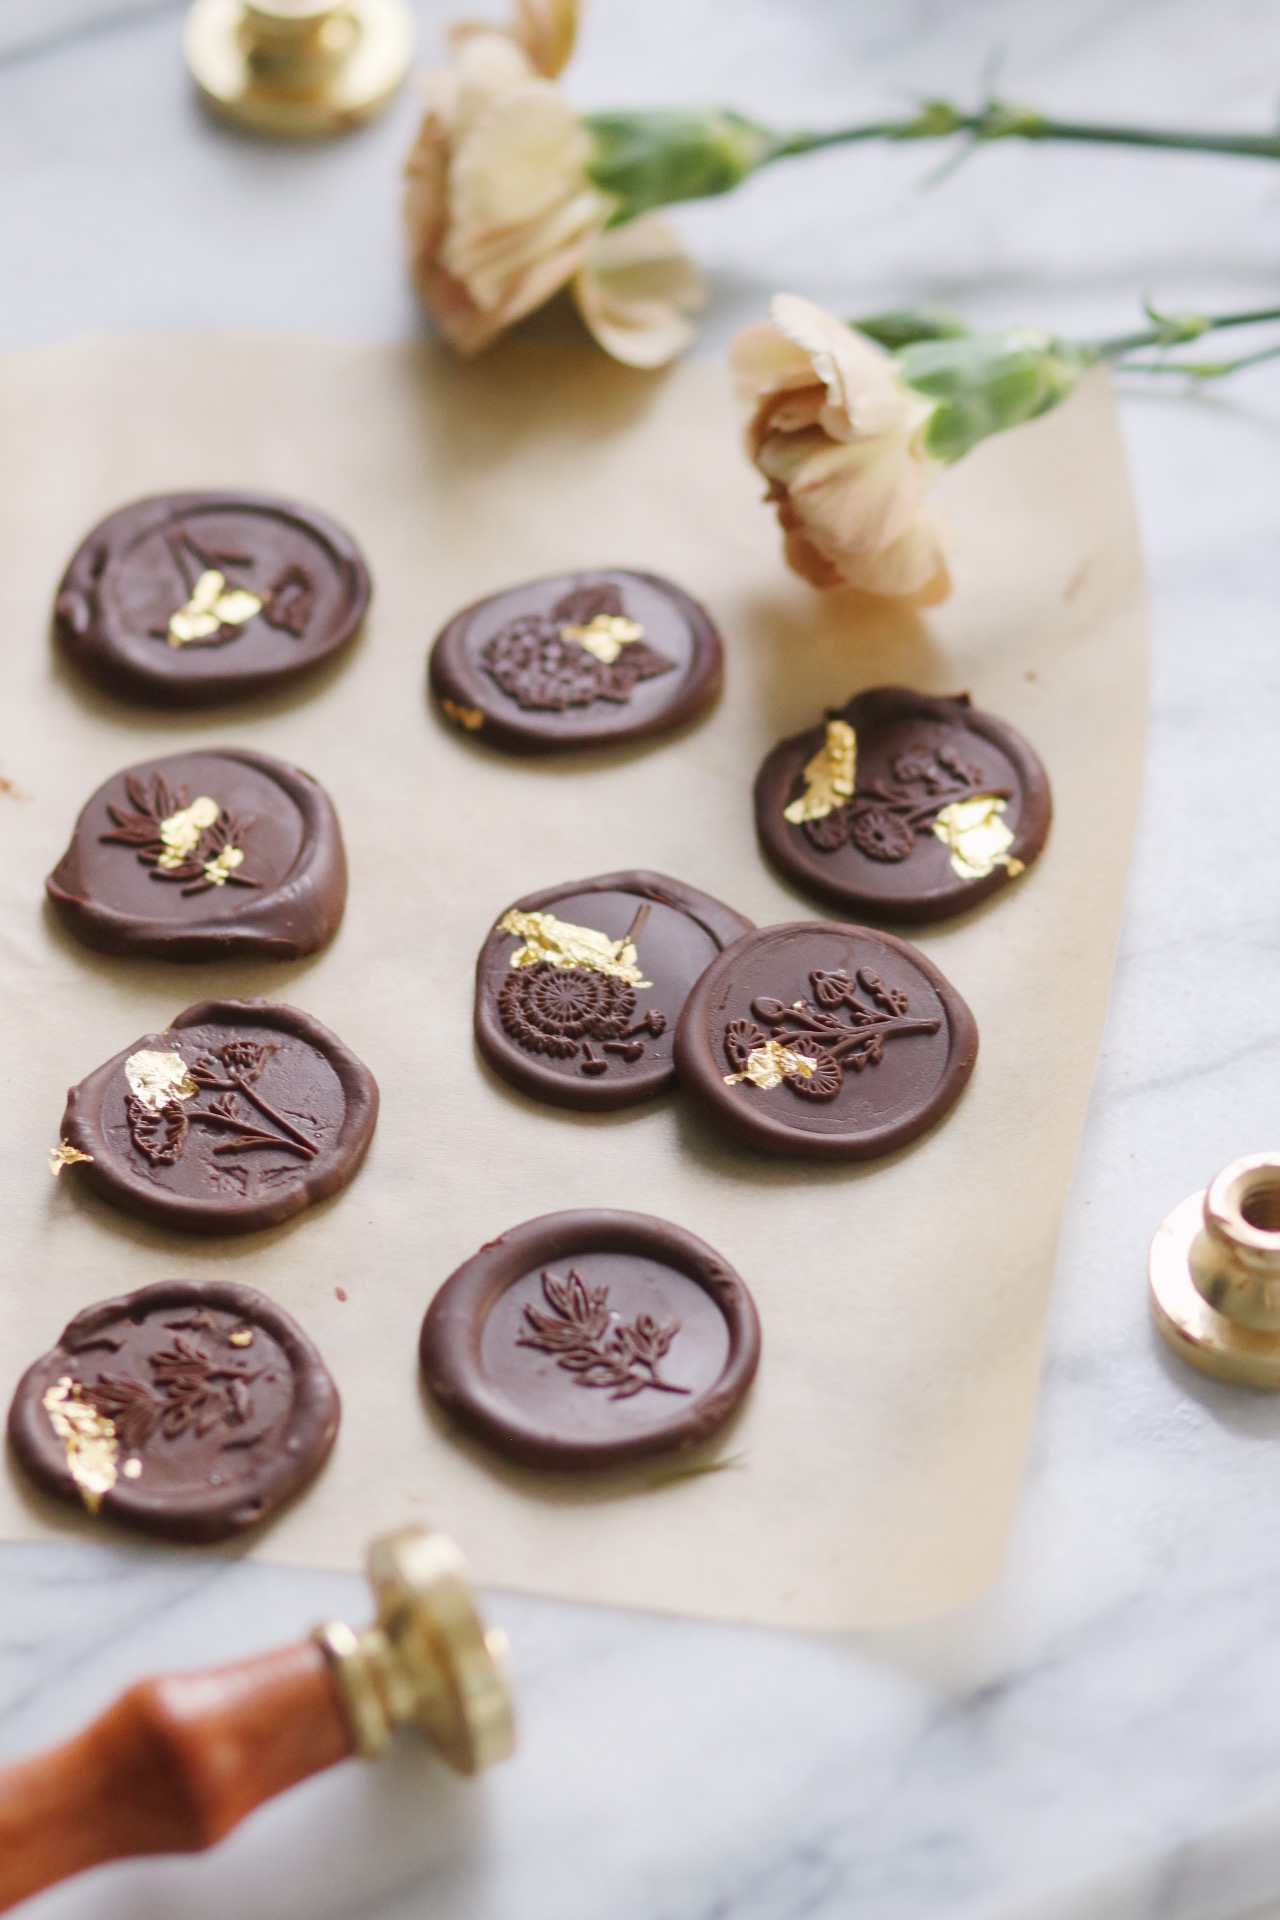
See, these are easy to make, but you need to reeeeeally follow the directions. Big mistake thinking I could wing it. I could only find a few tutorials online, and even followed to a T, they just didn’t work for me. Nope, chilling the stamp for a while in the freezer is still not enough to make perfectly embossed stamps! I was left with a lot of weirdly shaped chocolate lumps and a sink full of metal stamps to clean.
But! Don’t give up hope just yet. I tried over and over for a long time, tweaked my method a bunch, and eventually got the results I wanted. For starters, I realized that if I put a marble pastry board into my freezer and used it as my surface, the chocolate behaved a lot better because it was cooled from both below and above. That was one of the most important tweaks, I’d say.
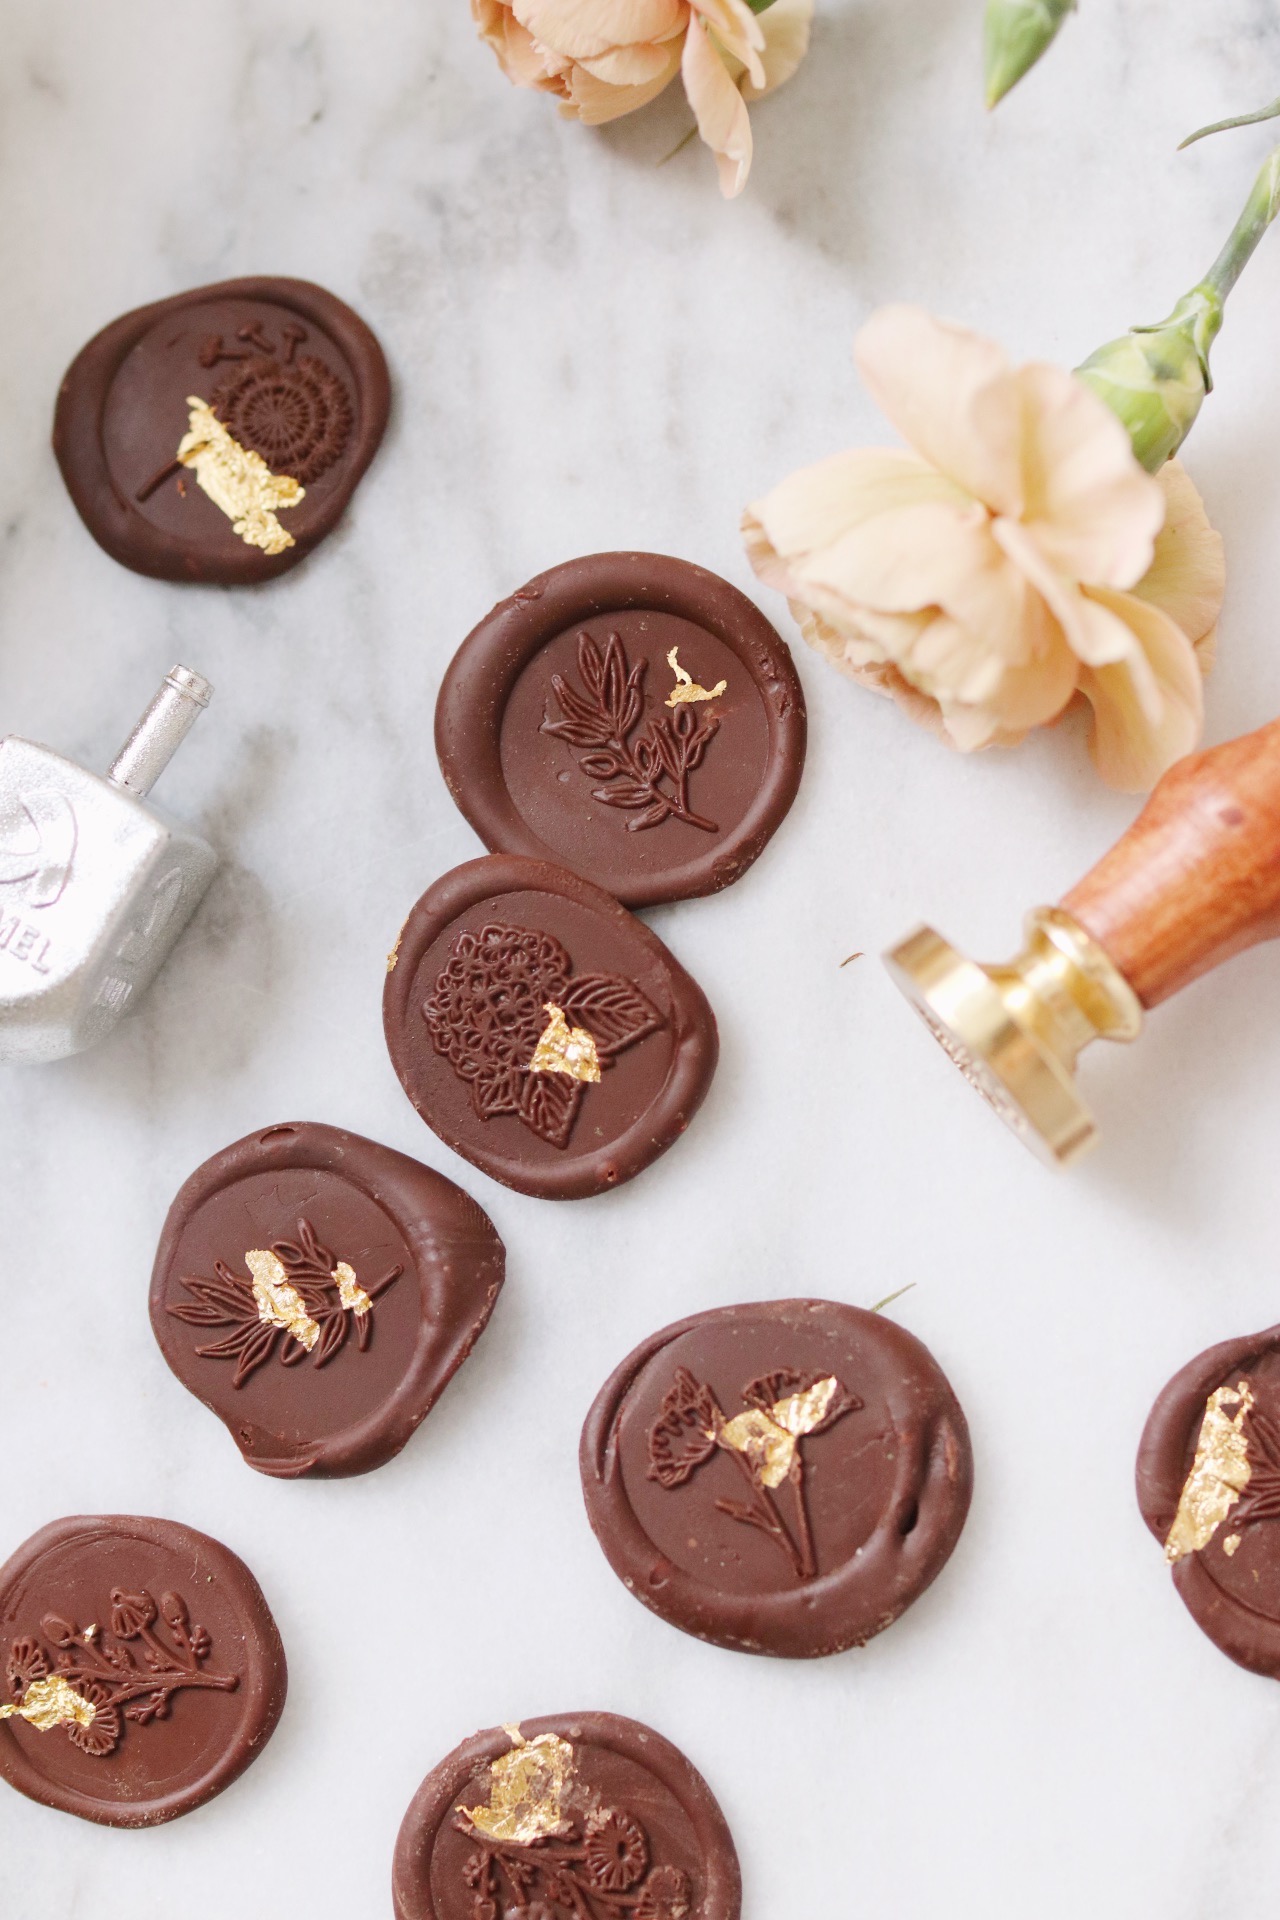
There are a few others to tell you about, but I’ve thrown all of them into the instructions below! Bit of a long tutorial for a 1-ingredient project, but I really wanted to give you all of the tools to help you succeed so you don’t end up spending as many hours as I did on these.
Alright. LET’S DO IT:
DIY Chocolate Gelt Wax Seals
- Yield: 15–25 chocolate seals 1x
Description
These little chocolate wax seals are so fun and satisfying to make! I suggest reading through all the instructions before starting the process just to make sure you have all the correct tools and materials on hand—but if you do, you should be good to go. Have fun with it and make them your own!
Ingredients
- 1/2 cup semisweet chocolate chips
- Parchment paper or a silicone baking mat
- A stone pastry board or metal platter (or other work surface that is small enough to be placed into a freezer and thoroughly chilled)
- Parchment paper
- A small bowl filled with crushed ice
- A dish towel or a few paper towels
- Edible gold foil sheets
- Hobby/craft tweezers (for lifting and placing the gold foil)
- Metal wax seal stamps (plural!) with designs of your choice; you’ll need to have more than one on hand because you’ll only be able to make a few stamps at a time before needing to put the stamp away to chill again
Instructions
- Place the pastry board and wax seal stamps into the freezer for at least 30 minutes to chill.
- Melt the chocolate chips in a double boiler or in the microwave (microwave in 20-second increments to avoid over-melting and burning the chocolate or making it chalky). Let the chocolate sit in the bowl for at least 2 minutes before using, just so it’s not suuuuper hot.
- Remove the pastry board from the freezer; line with parchment paper or the silicone baking mat. Next, spoon the melted chocolate into a piping bag (or sandwich bag with a small corner snipped off) and pipe small dollops onto the parchment, or just use a small spoon to place it directly onto the parchment/baking mat. Either works; it really just depends on how much precision you want.
- Add flecks of edible gold leaf to each dollop of melted chocolate using your hobby tweezers. You can also just use the tips of your fingers, the way I did in the video within this post; it’s technically not recommended because the gold leaf can be difficult to work with and get stuck on your fingers.
- Remove the wax seal stamps, plural, from the freezer—do this at the last possible second to preserve as much coldness as you can! Pressing gently but firmly, place them straight down into the chocolate, all in one motion (i.e. try not to do any wiggling around or circular motions; you want the first thing the stamp touches to be immediately cooled and imprinted, so you don’t want to move around the chocolate too much). At this point, most tutorials suggest waiting 5-20 seconds before removing the stamps—that didn’t work for me, and I ended up waiting between 40 and 60 seconds, on average. Then, I gently coaxed the stamp off of the chocolate by holding the parchment down around it.
- Immediately place the just-used stamps into the waiting bowl of crushed ice, then wait until they’re thoroughly chilled and ice-cold before beginning on a new batch. I read that you can sometimes stamp 3-4 seals before needing to put the chill the freezer again; that didn’t work for me. I had much better results when I just used multiple seals to get through a batch quickly, and then waited several minutes for them to chill again. The designs just don’t seem to make their way into the chocolate without the help of really cold stamps. (This is also why I suggest starting with a small batch of melted chocolate, only 1/2 cup! You can add more as you go, if necessary.)
- Once the stamps are completely chilled, repeat the process to whip up a new batch of seals! Tip for removing the stamps from the bowl of ice: Use a paper towel or dish towel to wipe off any condensed water droplets/any form of moisture before placing it into the chocolate; these will register as parts of the seal design and get emblazoned into the chocolate as well.
- Refrigerate or freeze the now-finished chocolate wax seals until ready to use. Because they may get melty, I recommend using them individually, rather than lumping them together into a pile or throwing them into a gift box (for instance, use them as cupcake toppers or as part of an edible place setting!).

★★★★★
Thank you! This is super helpful.