
Okay, I’ll be honest here: I really didn’t expect this project to work. Something about throwing a metal cookie cutter into a hot frying pan feels dubious at best, ya know?
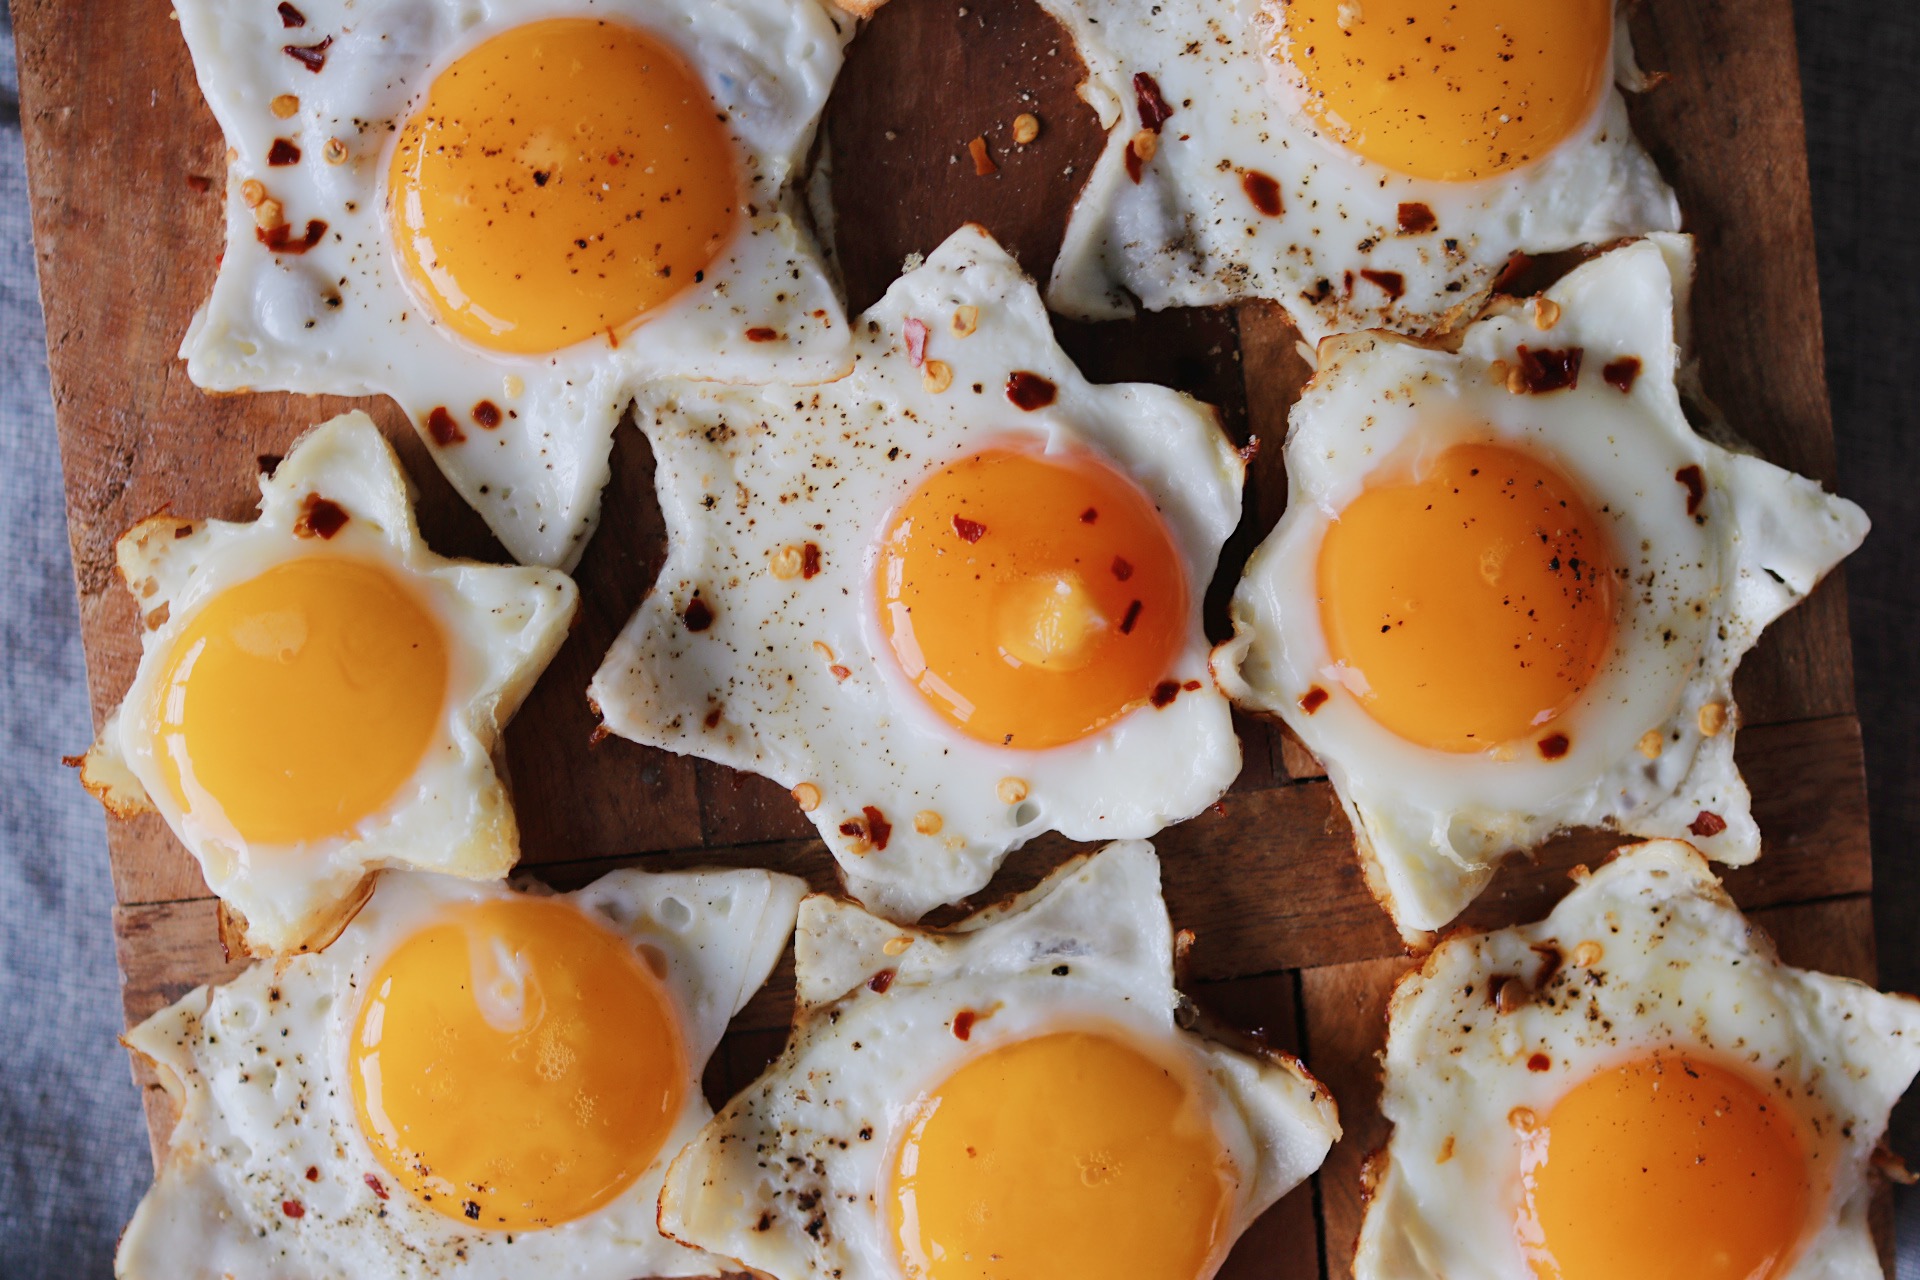
But…it did work!! And breakfast will never be the same. Eggs will never be the same. *I* will never be the same.
(By the way, if it’s been a minute since you last visited the blog, you should know that I originally developed these for my Hanukkah brunch tablescape with Pottery Barn! You can check that out over here.)
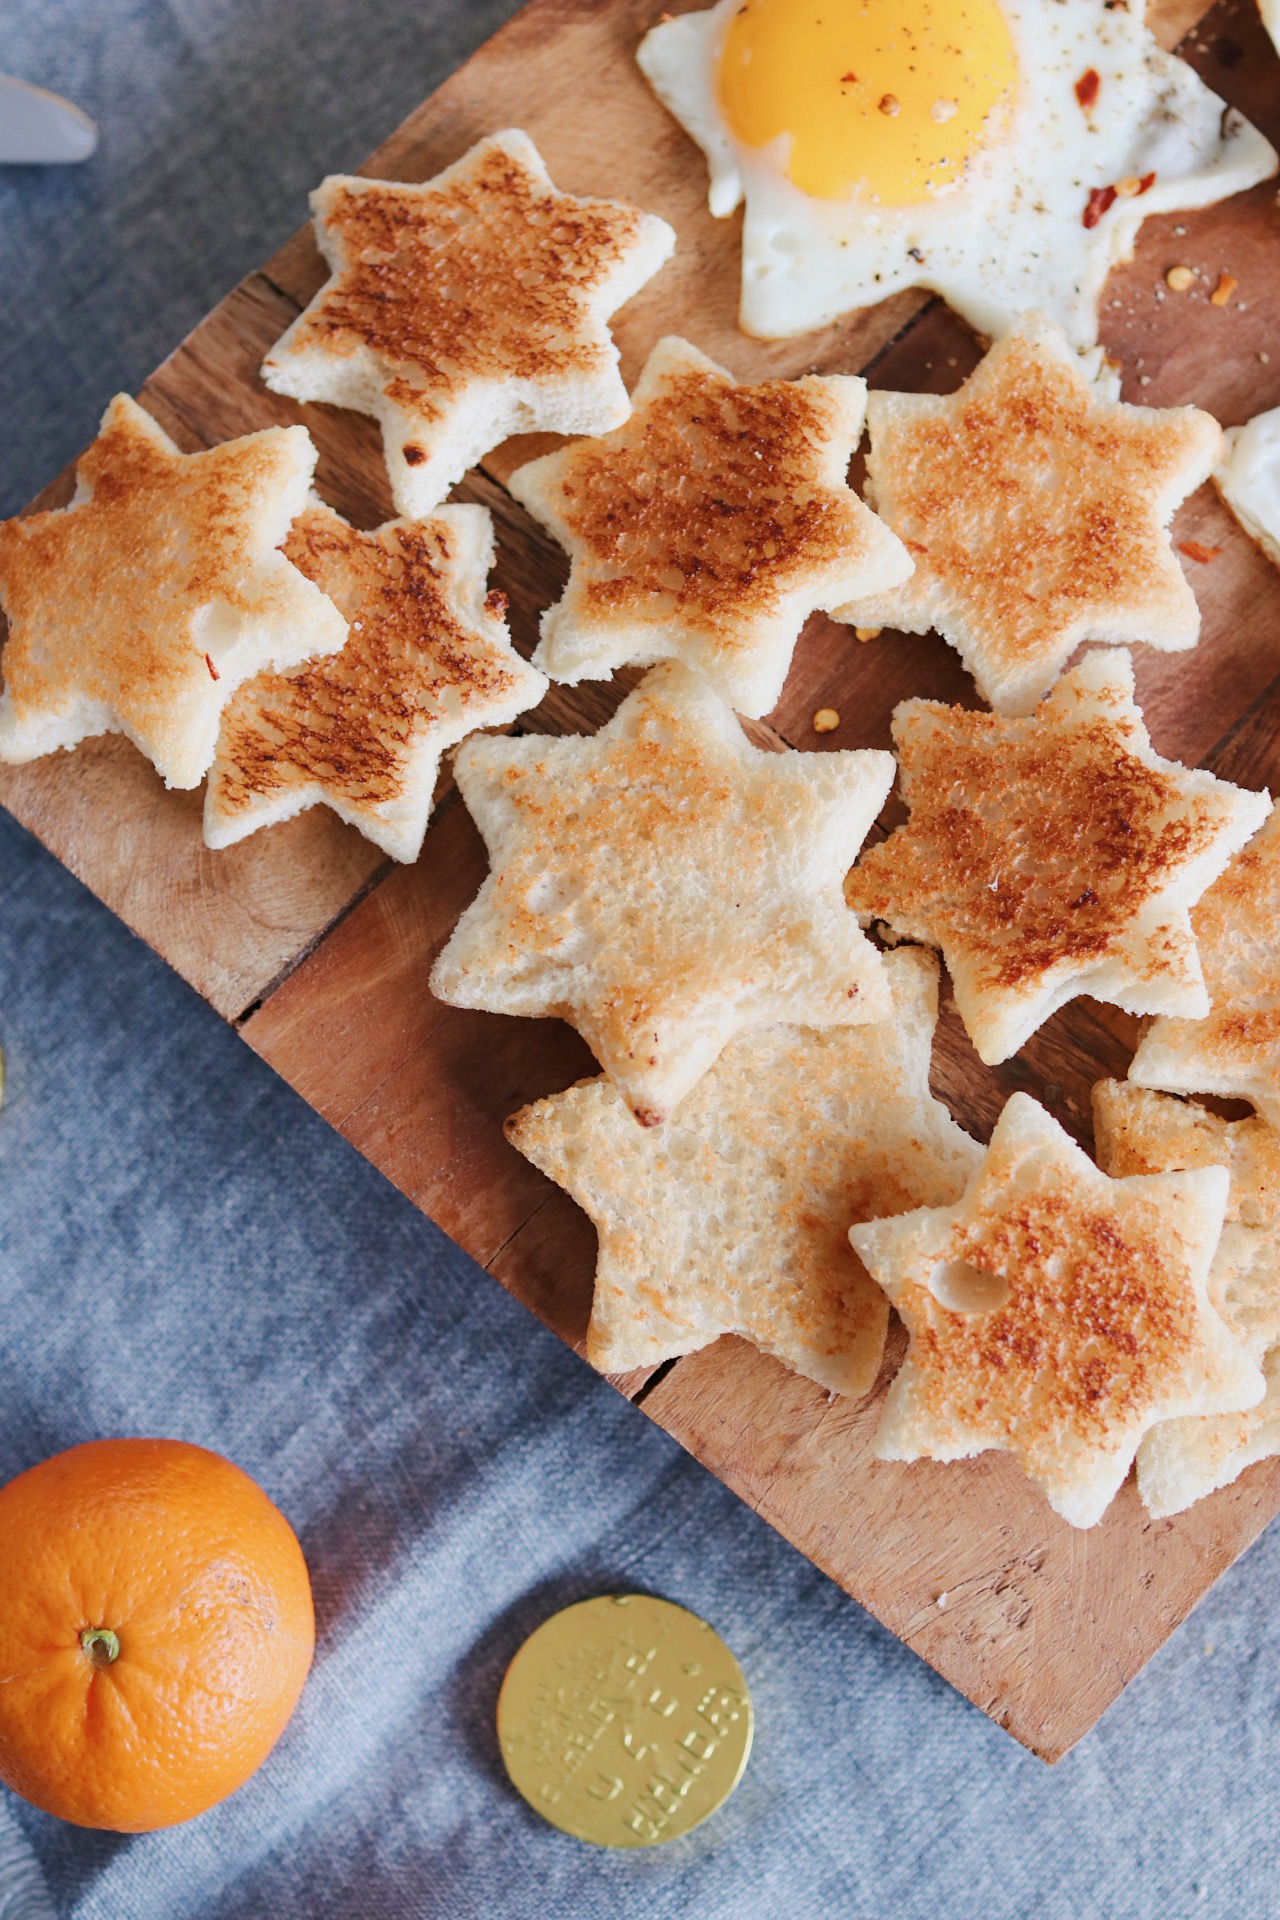
As for those little toast points, well, they were more of a happy accident. I had initially intended on doing a Hanukkah-inspired egg-in-hole situation—you know, where you take a piece of bread, cut out the center with a cookie cutter, and crack an egg in the middle. Suffice it to say, that one did not work out the way I’d planned. 😬 I mean, it worked enough that it was edible (and even delicious!), but it came up a little short in the cuteness department.
So I moved onto Plan B, which was this whole egg situation—and realized those toast scraps would work well alongside them.
And that’s how this all came to be.
I’ve included a quick tutorial below along with some tips for making these without too much trouble. As always, I hope you’ll drop me a line on Instagram if you’re inspired by anything on my brunch table!
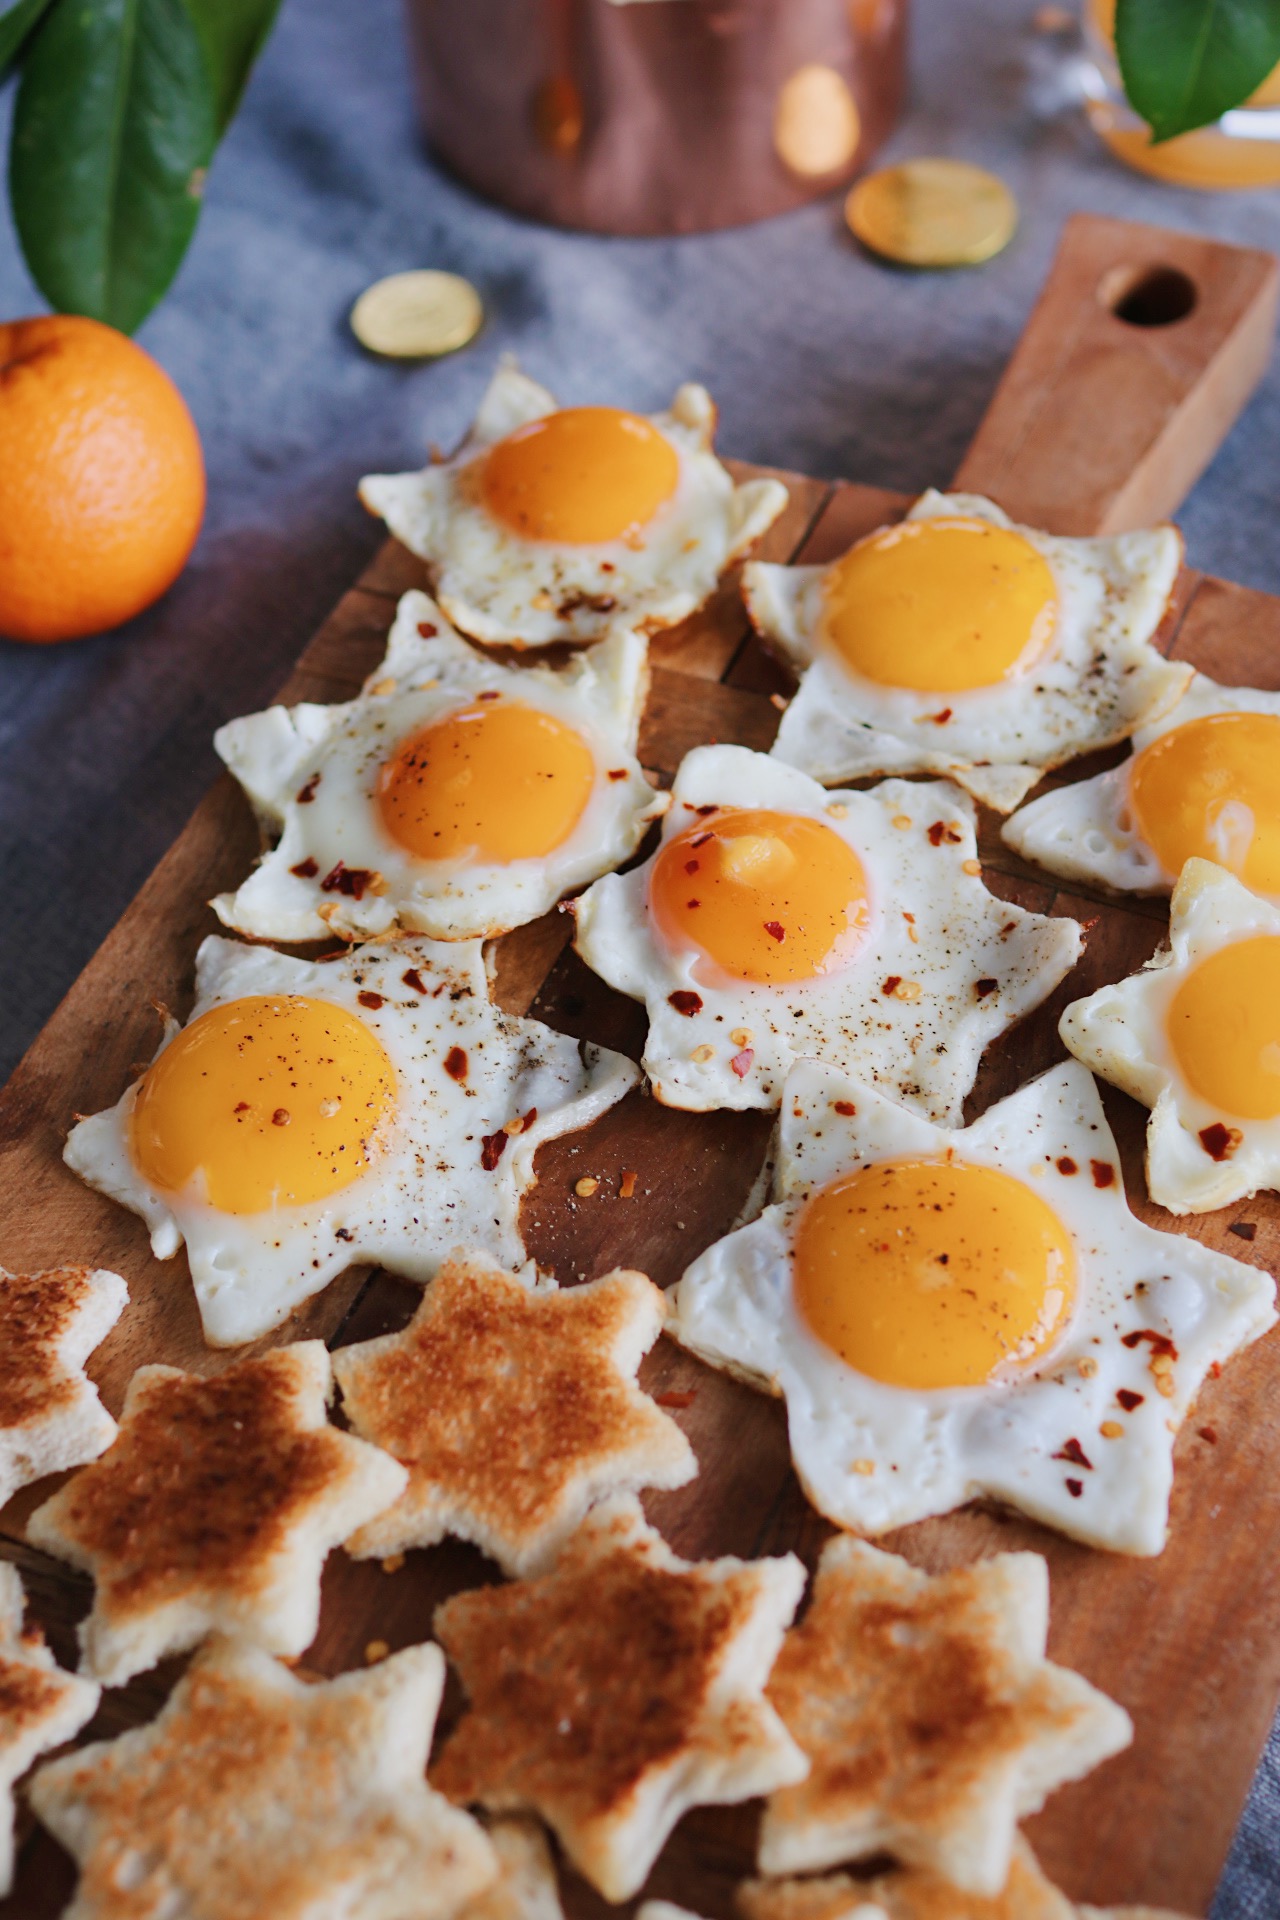


Cookie Cutter Eggs and Toast
Description
The simplest way to upgrade a brunch spread—with cookie cutter eggs! Below, I’m sharing all of my tips and tricks for perfectly shaped eggs every time. Well, almost every time. Perfectionists, beware: A little bit of trial and error should be all but expected here.
Ingredients
- Eggs
- Olive oil, for the pan
- Cookie cutters in a simple, not-too-intricate shape of your choice (or fried egg molds)
- Nonstick cooking spray (or any grease of your choice, but you’ll really have to get into the cutter!)
- Heat-safe gloves
- Salt and freshly ground pepper
- Sharp paring knife
Instructions
-
Working with one egg at a time, carefully crack the egg into a small ramekin or mini bowl.
-
Coat a nonstick skillet with a thin layer of olive oil; heat over low heat.
-
Once the skillet is hot, place the cookie cutter into the pan; spray generously with cooking spray to ensure that the eggs won’t stick to the cutter.
-
Pour the egg into the cookie cutter, then cover the pan and cook for about 1 minute or until the whites have just begun to set. Don’t worry if any egg escapes; you can trim that with your paring knife later (if a lot of egg escapes, though, you may just have the wrong size cutter).
-
After a minute, you’ll put on your heat-safe gloves, remove the cover of the pan, press down on the cutter to give the shaping a little help before gently picking it up and removing it from the pan (careful; it’ll be very hot!). The idea here is to remove it before the eggs have set fully so that they’re still slippery enough to “let go” of the edges. You may have to experiment a little to find the sweet spot when it comes to how long to let the cutter stay in; the eggs can’t be too raw or they’ll lose their shape as soon as the cutter is gone, but they also shouldn’t be so cooked through that they grip onto the cutter.
-
Once the cutter has been removed from the pan, return cover and continue cooking the egg on low heat until egg whites have completely cooked through. Remove with a spatula, season with salt and pepper (I also threw some red pepper flakes on top!) and set aside while you work on the next egg. I ended up using a sharp paring knife to trim any excess and fine-tune my shapes before plating. Serve hot!
Notes
For star-shaped eggs, I love these cutters because they come in many different sizes, allowing you to select the one that works best for your eggs and pan.
