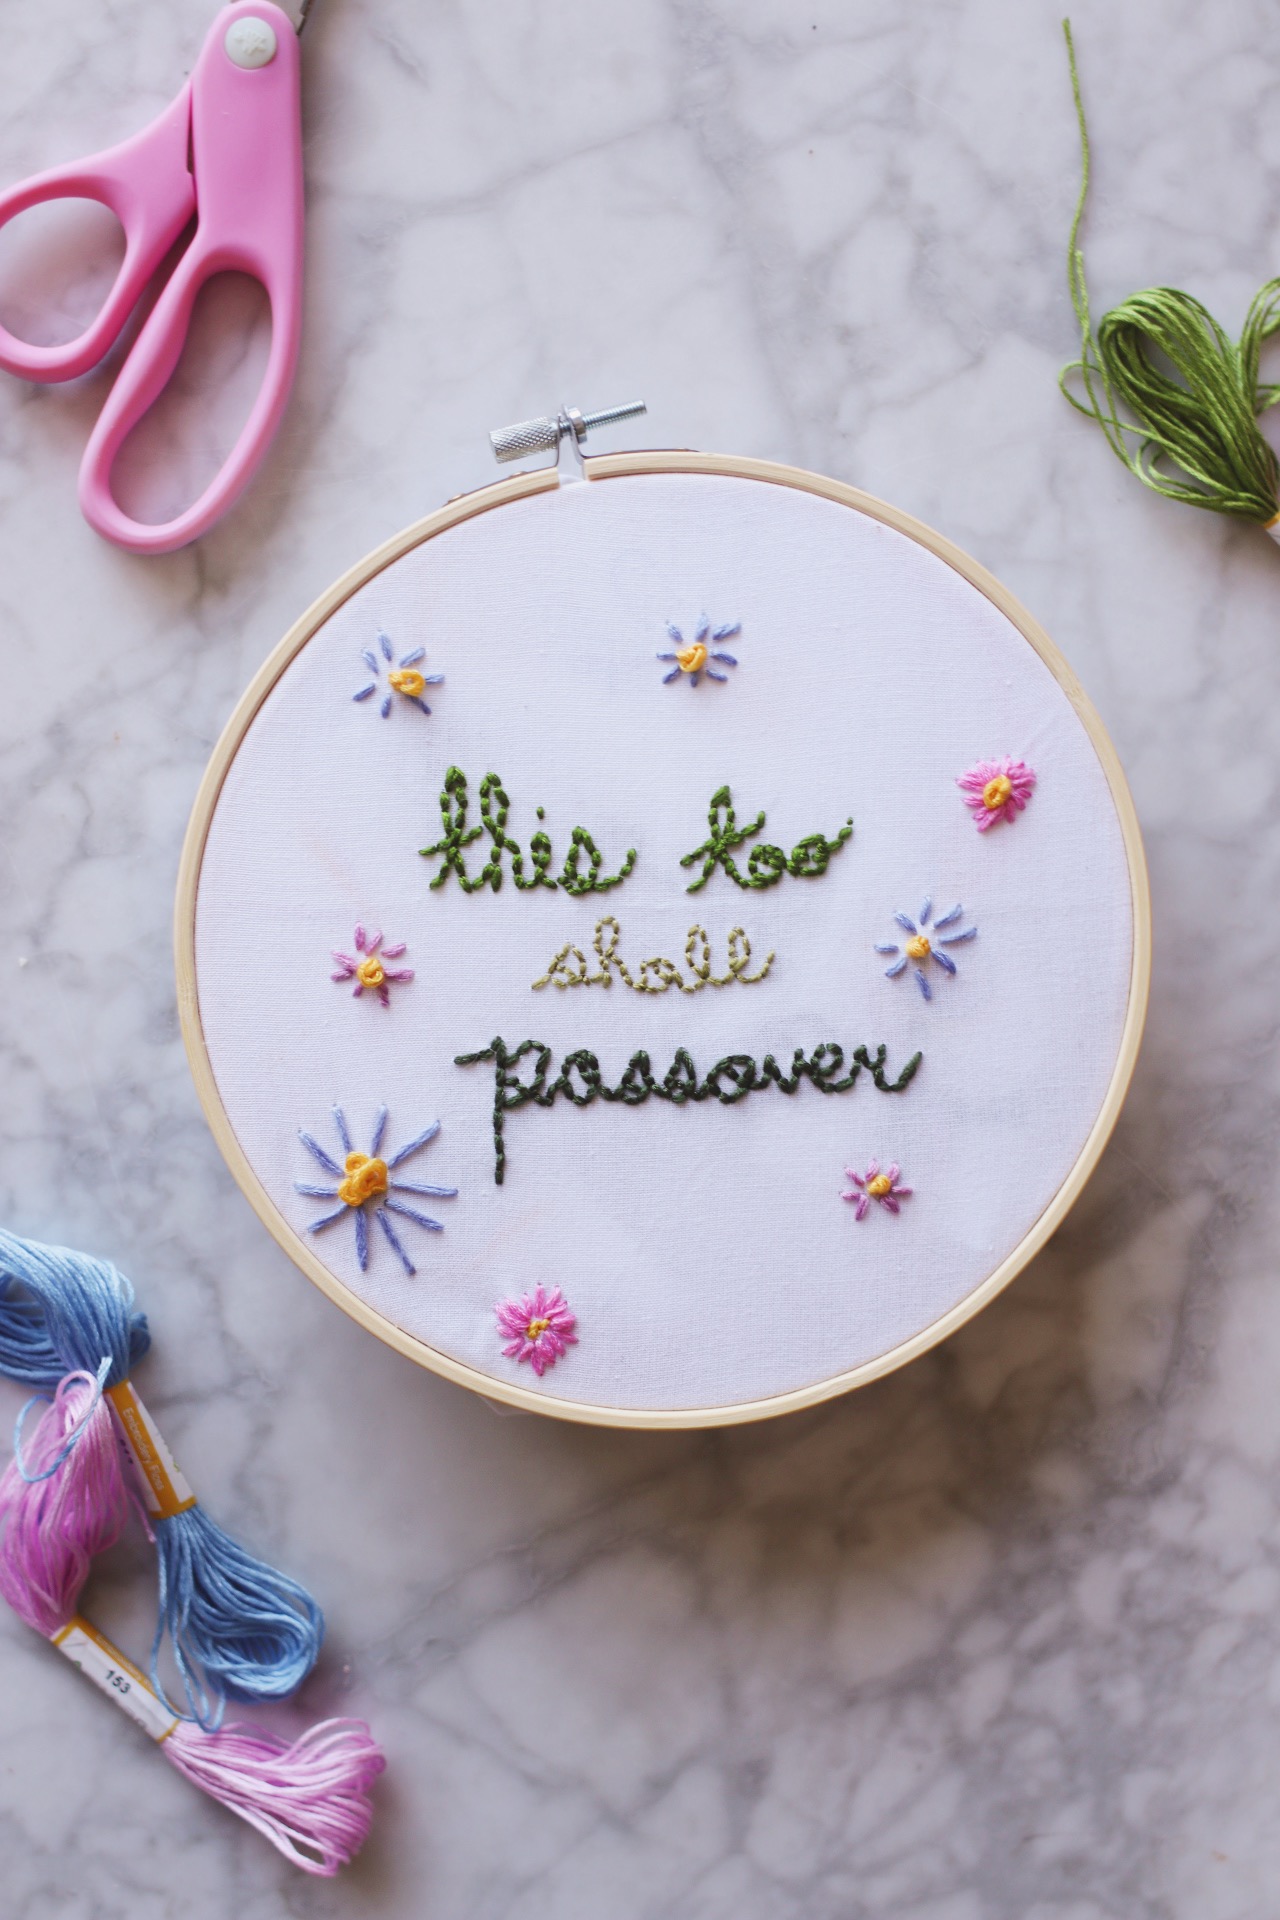
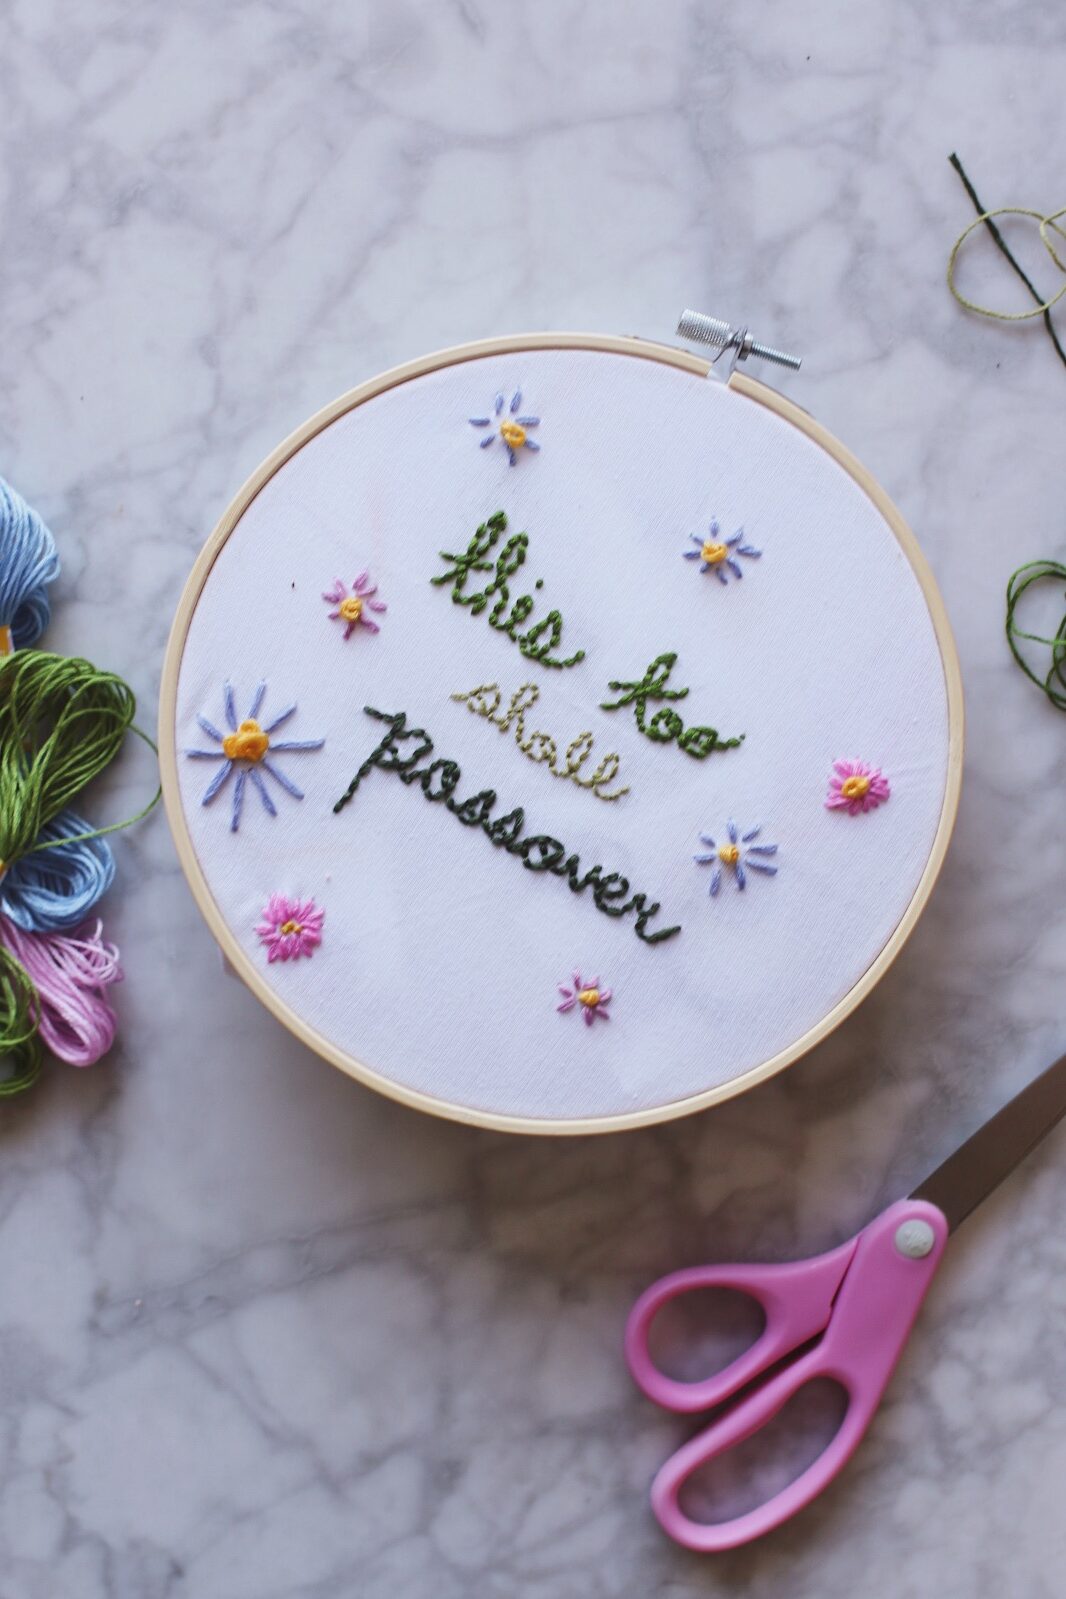
These matzah covers are surprisingly simple, so relaxing to make, and an excellent gateway into the wider world of embroidery. I originally made and published this project during a rather grim, pandemic-era lead-up to Passover 2020, and unfortunately, the inscription feels all too fitting again in 2024. But you can write whatever you want—no allusions to horrific world events required. And you can get the job done with nothing more than a sharp pencil, some inexpensive embroidery floss, a basic embroidery hoop, and a large-eye needle. Oh, and a 15-inch-by-15-inch linen napkin serves as the base here, which means you don’t even need to trim any fabric to size to get started. Find the full tutorial below, and as always, let me know if you end up trying this!
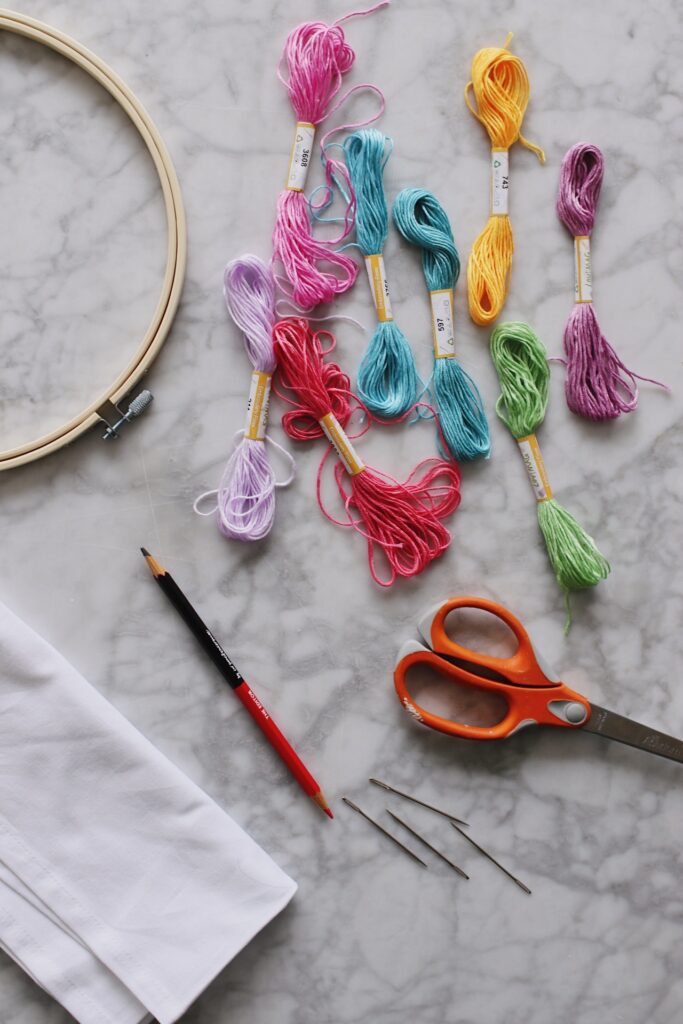
Start by gathering your materials! You’ll need:
- A sharp pencil (you can use a chalk pen if you prefer, but I found it made a simple project unnecessarily complicated)
- A notebook and pen
- An embroidery hoop
- Embroidery floss in 5-10 colors of your choice
- Scissors
- A few large-eye needles (always good to have extras nearby)
- A piece or several pieces of fabric to work with; for this project. I recommend sourcing a few square linen napkins to practice on and/or to build your final product; ideal size is around 15″x15″. Remember, if you want to eventually embroider directly onto an existing matzah cover, you’ll still want to practice on another piece of fabric first…maybe even several times over.
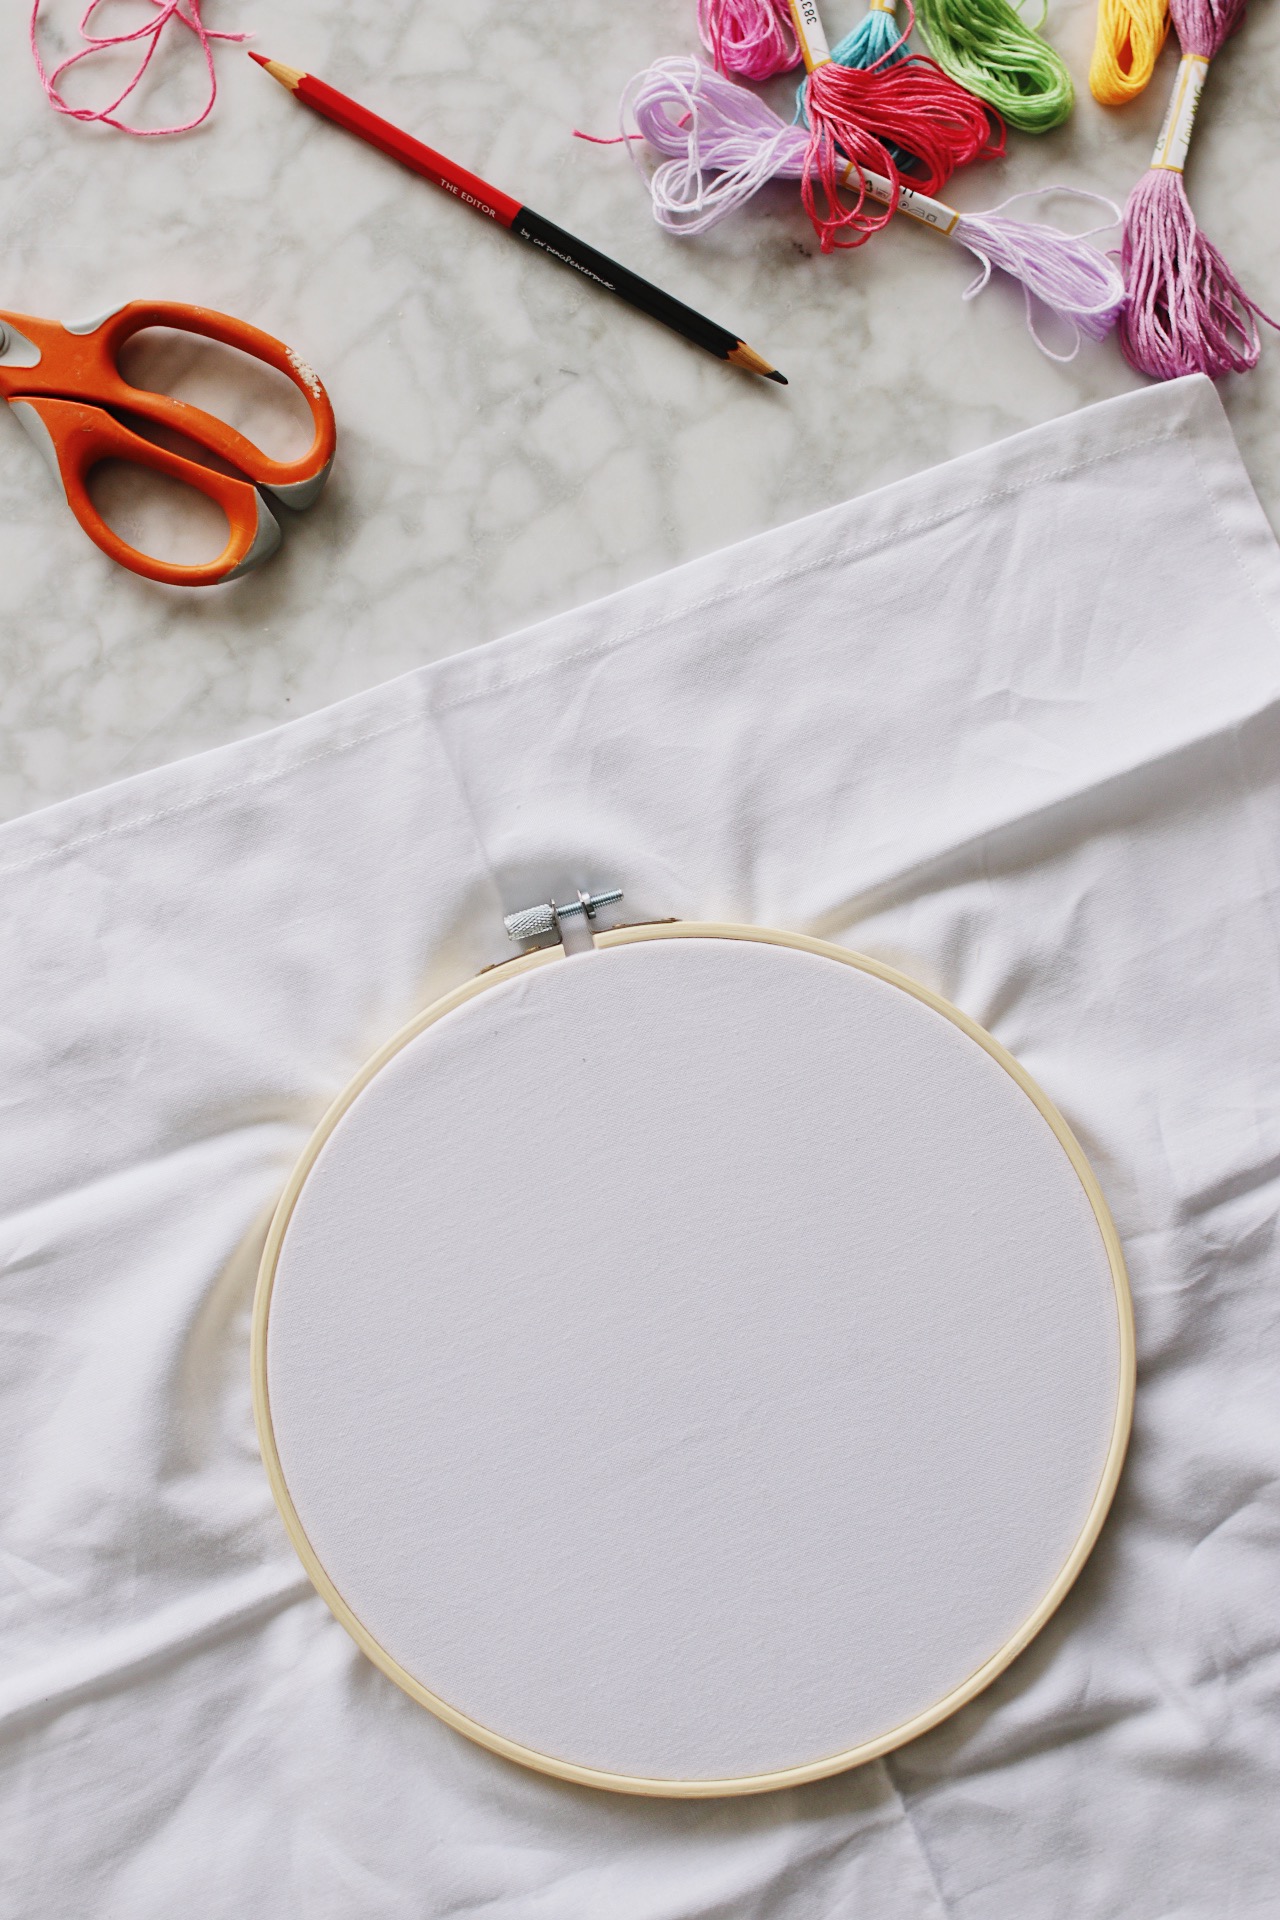
Fit the fabric into your embroidery hoop! If you’ve never worked with a hoop before, here’s what to know: You’ll notice you really have two hoops inside of one—a slightly smaller “inner” hoop and the large outer hoop. Adjust the screw on the outer hoop just until you’re able to slip the inner hoop out (no need to unscrew it all the way.) Separate the two pieces, then place the inner hoop on a tabletop or other flat surface with any “This Side Up” markings facing up. Lay your napkin over the inner hoop, then place the outer hoop back on top.
What you don’t want to do next is quickly tighten everything up and then pull the fabric to adjust it. That’ll damage your final product a little and put too much wear and tear on the fabric. Instead, working incrementally and slowly, adjust the screw to tighten the hoops, then pull the fabric gently toward the edges, then adjust again and pull outwards again. Try not to yank.
When it feels right, do one last gentle, even pull around all sides to make sure it’s taut and flat.
Next, using your pen and a blank piece of paper or notebook, draw the words as you’d like them to appear on your final matzah cover. Note that this text will serve as a guide for sizing and formatting, but it won’t make an appearance on the final product. You may have to do this a few times until you’re satisfied with how the words and letters look. Think carefully about how you want each letter to curve, where you want openings in the cursive, whether you want to use cursive at all, etc.
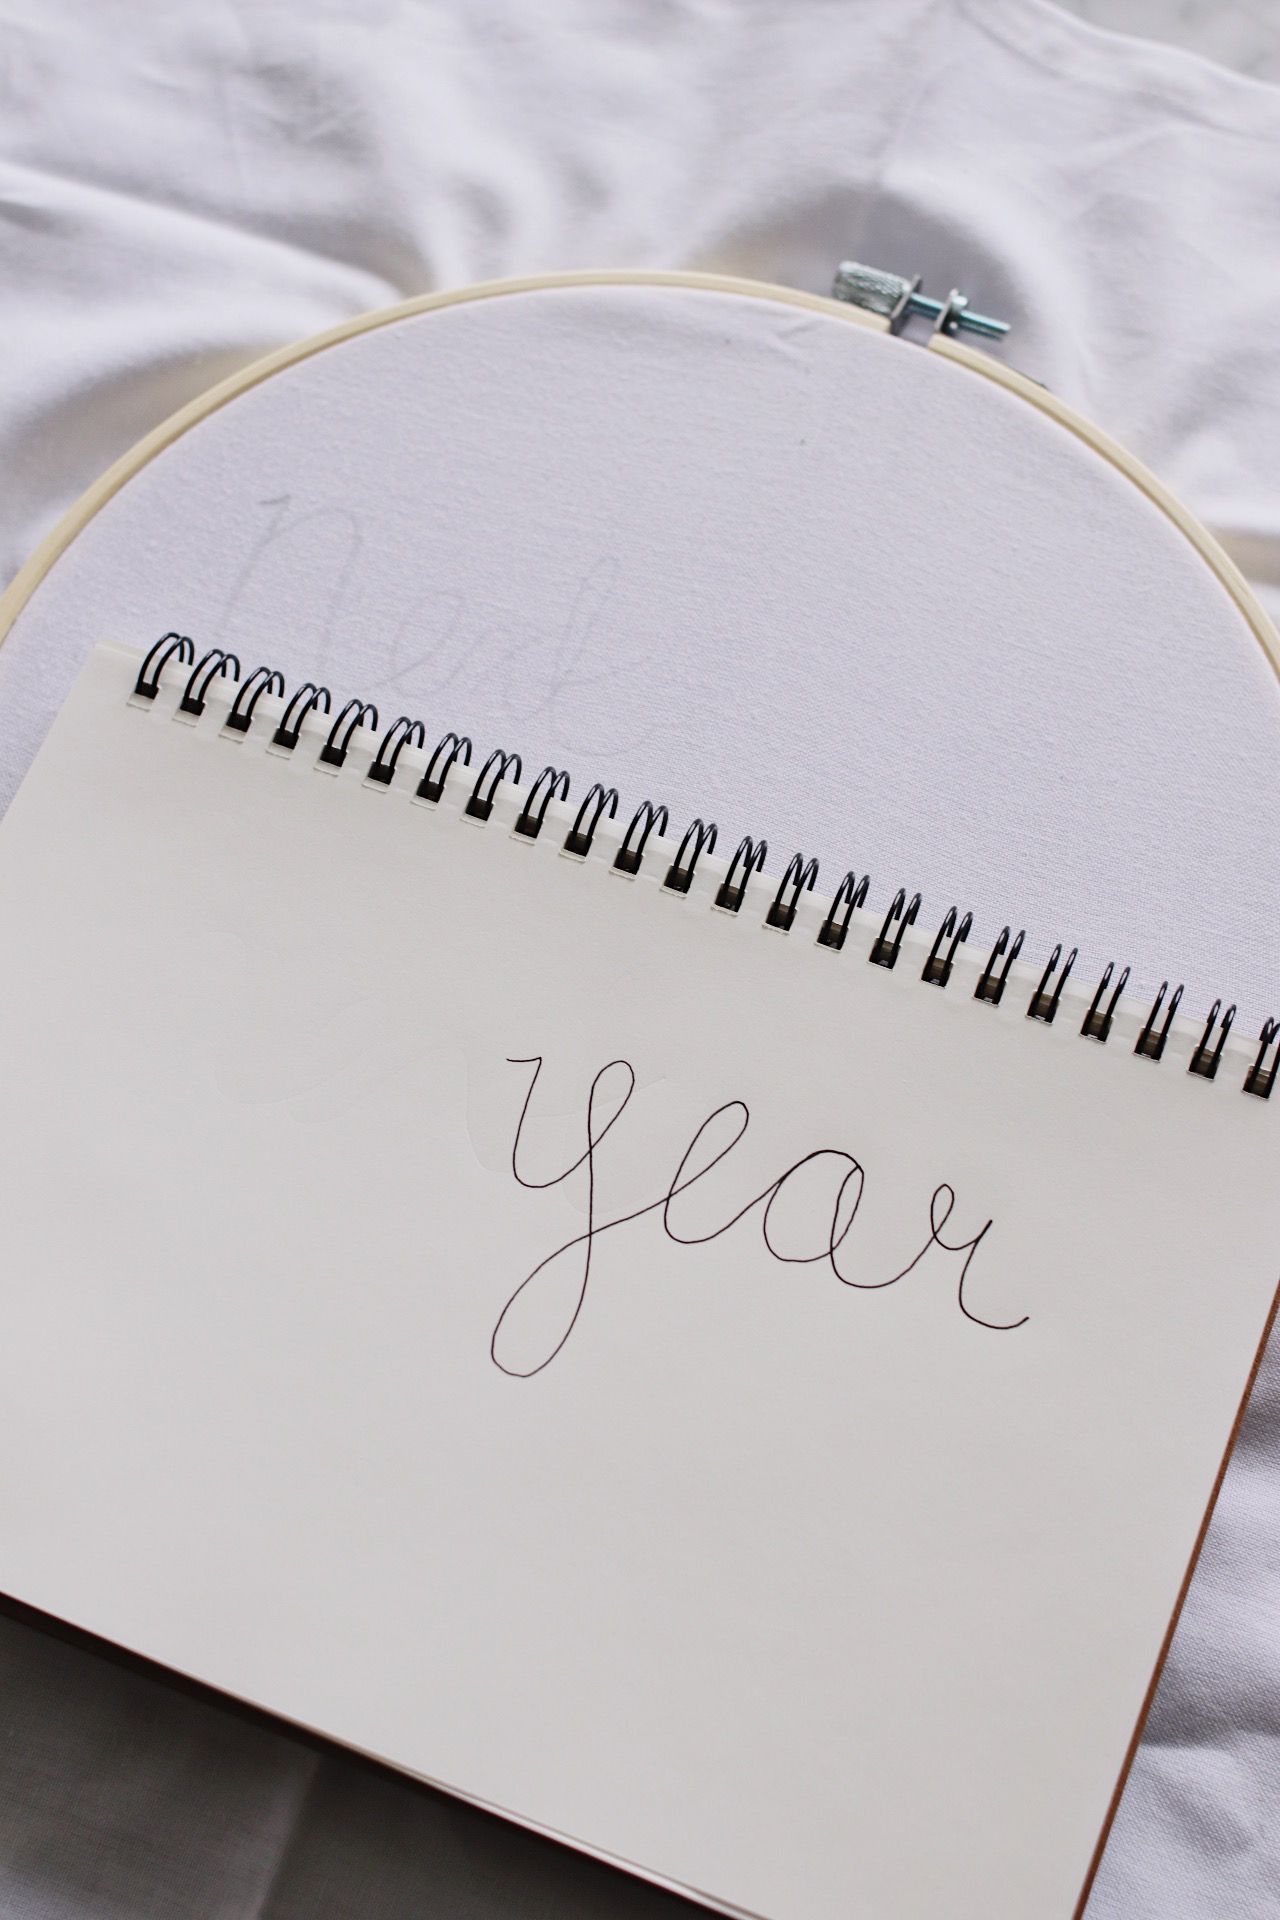
One thing to note with the handwriting element here: if you want any curves within your cursive—for example, a looping lowercase “l” like the ones I used in the word “shall”—give yourself a little bit of extra “breathing room.” There’s no need to overthink it, and most of this is only to be learned through trial and error, but you wouldn’t want to place those curves super close together; otherwise, you’ll have trouble later on winding your way through each word.
At this point, you have some options:
- Experienced embroiderers will carefully transfer over their “draft” text onto the fabric (or use Stitch-n-Tear), then get to work tracing it with their needle and floss.
- Another option is to place your paper “template” underneath the embroidery hoop, beneath the fabric. If you used a thick pen or marker, you should be able to see it through the fabric, and you can go ahead and trace it from above with chalk or a sharp pencil.
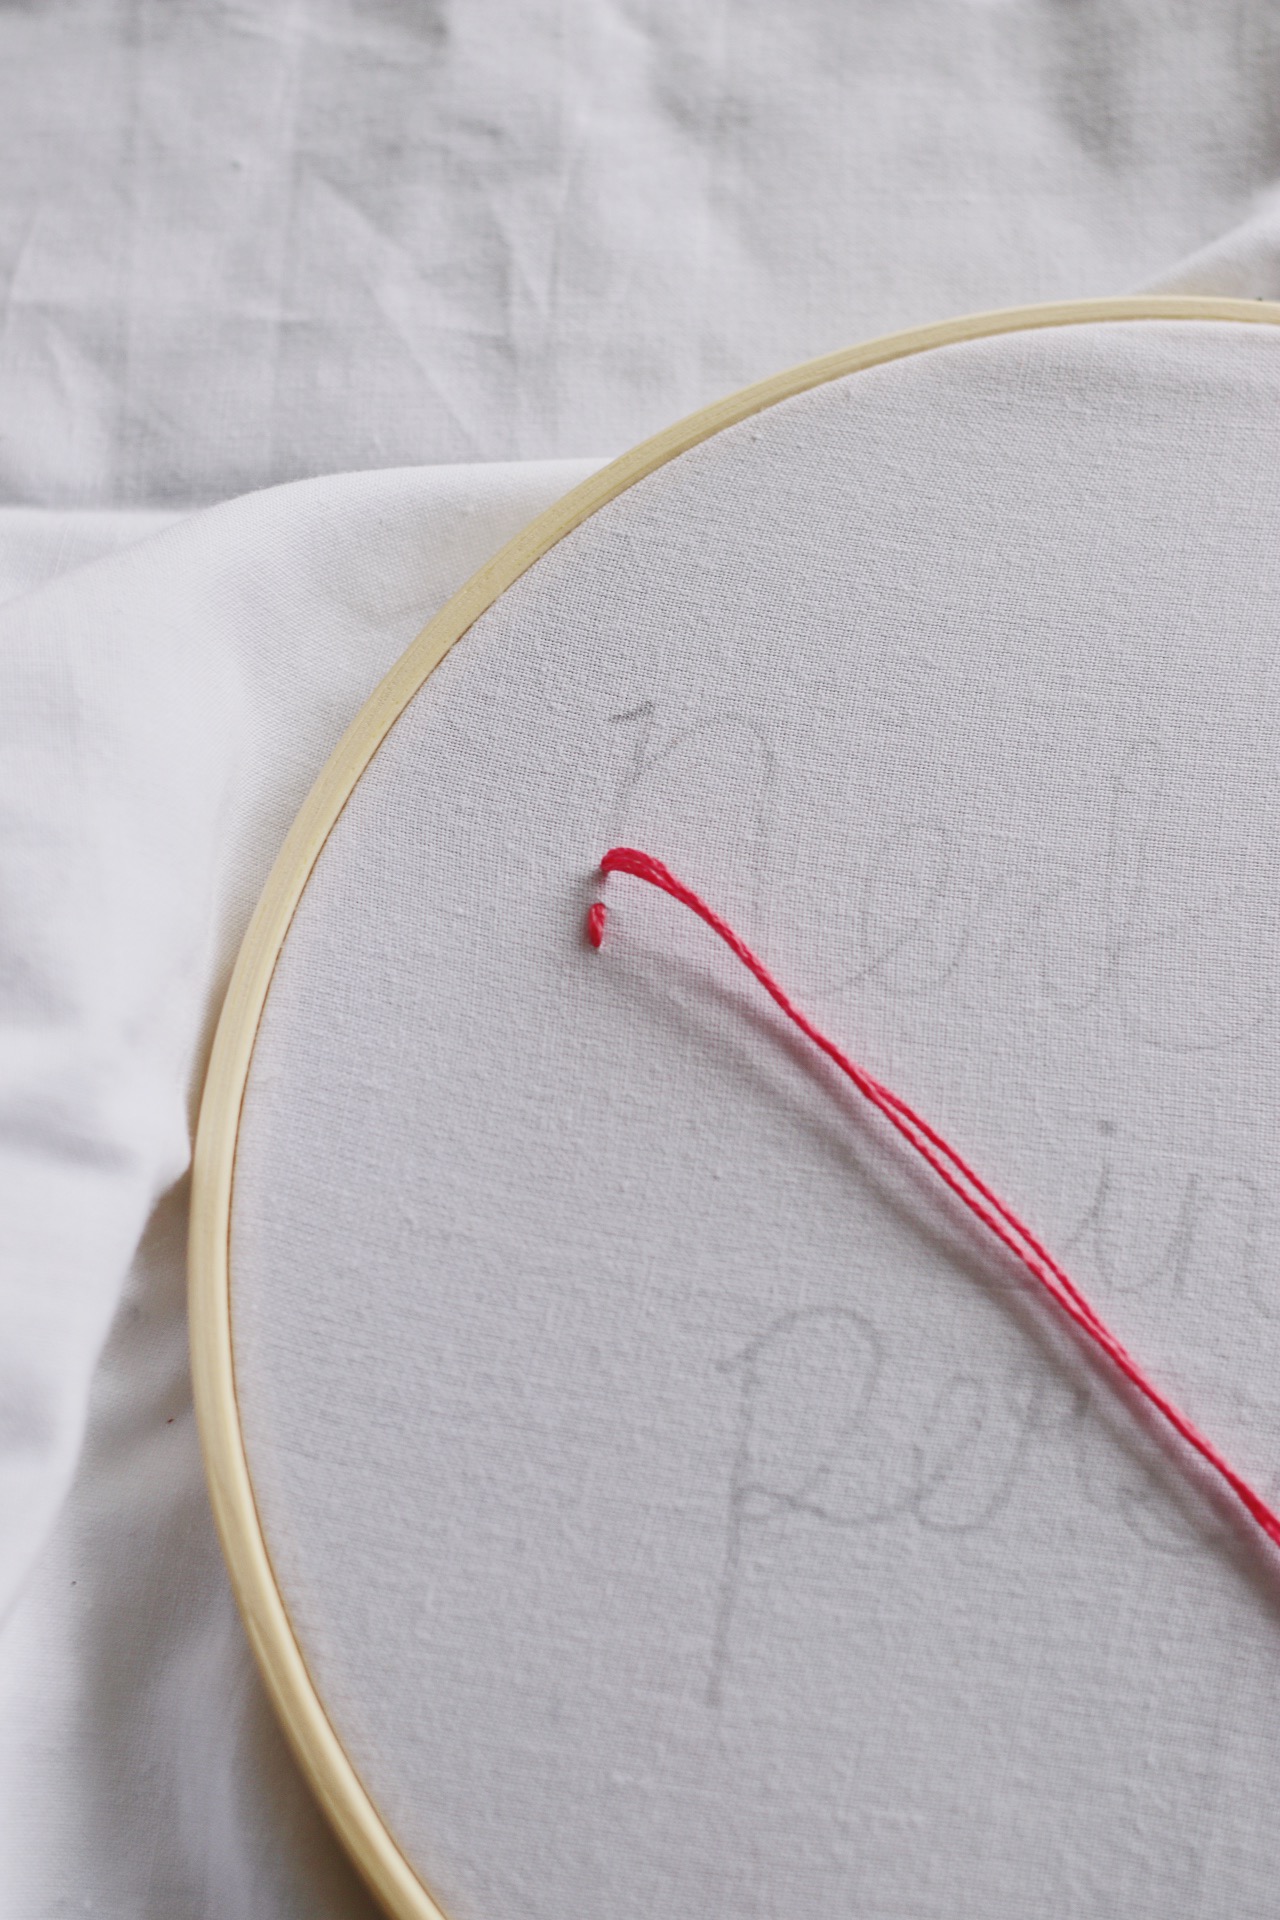
- Then there’s what I did! I’m partial to the slightly messy, homespun look of a true freehand style, and it’s so fast. So I simply kept my notebook nearby to reference sizing and lettering style, but otherwise, once I was satisfied with how the text looked on paper, I pushed that out of the way and just moved on over to my fabric. I then got to work copying over the letters as they appeared in my notebook using a sharp pencil. In other words, I winged it.

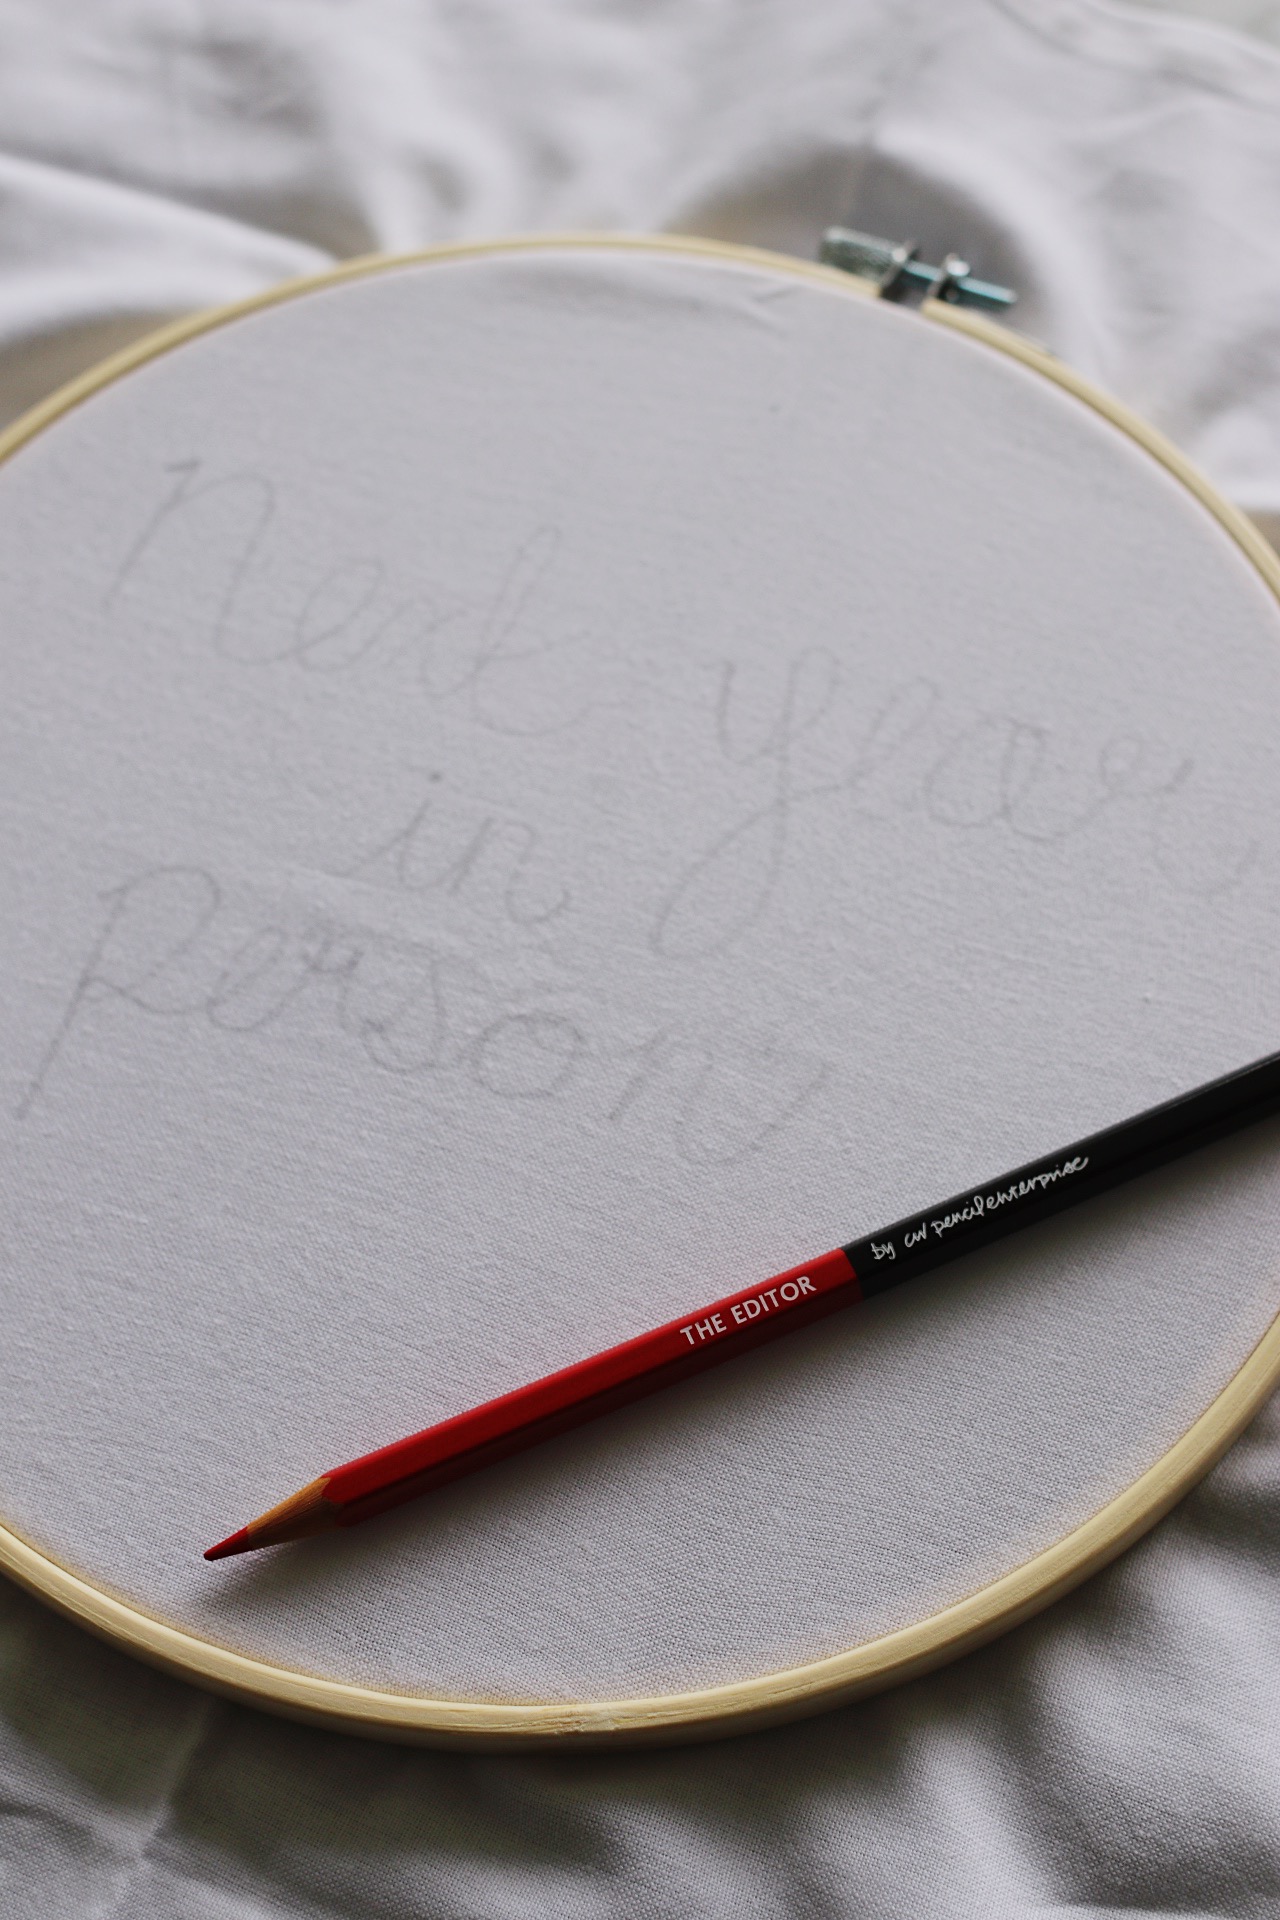
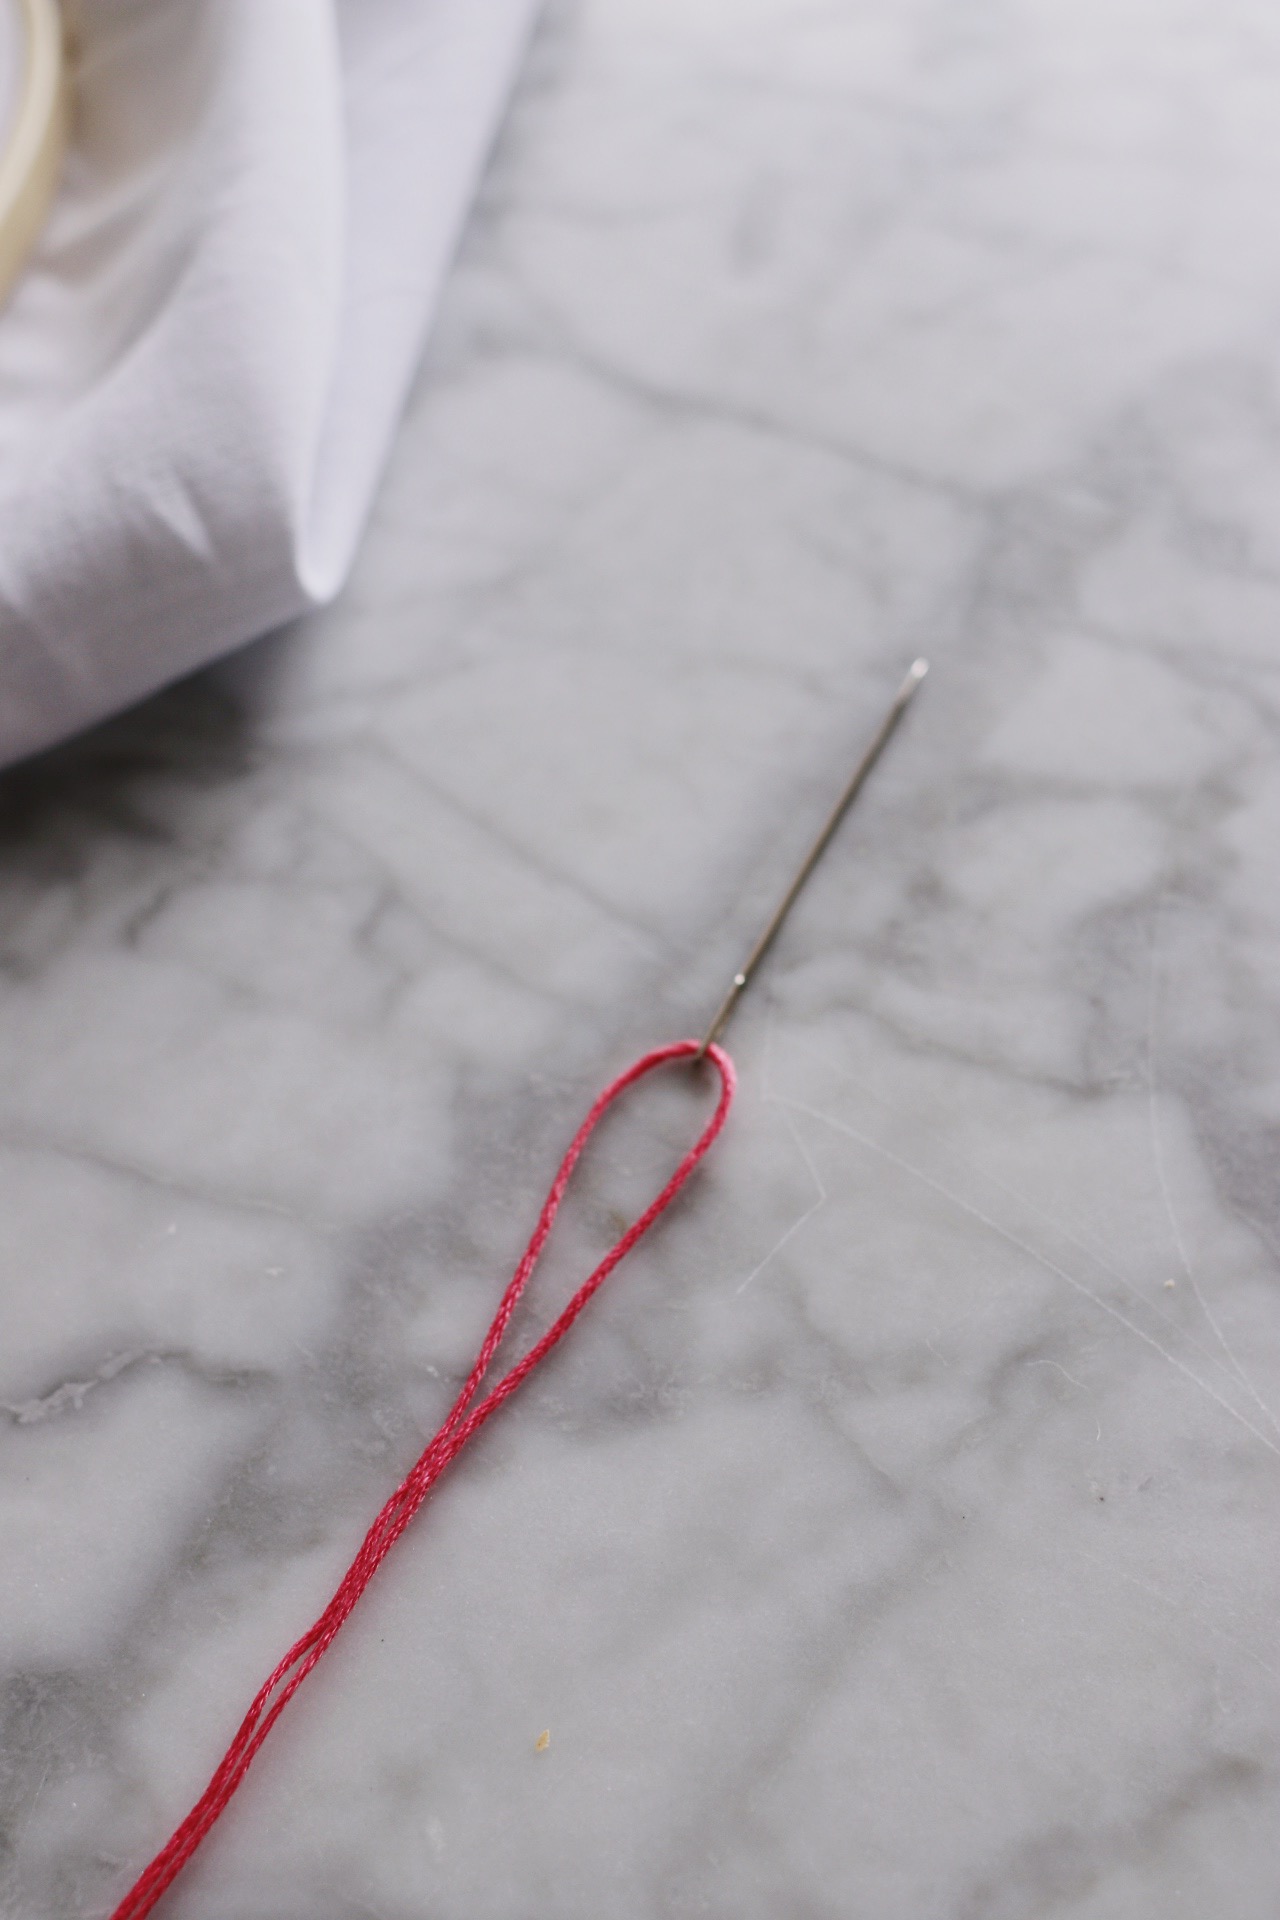
Time to start embroidering! Thread your needle with a foot-long piece of floss in a color of your choosing. (You can separate floss strands to do this; that’s recommended if your fabric is thinner and more susceptible to breaking. Personally, I prefer the look of these words with the chunkier, still-intact floss.)
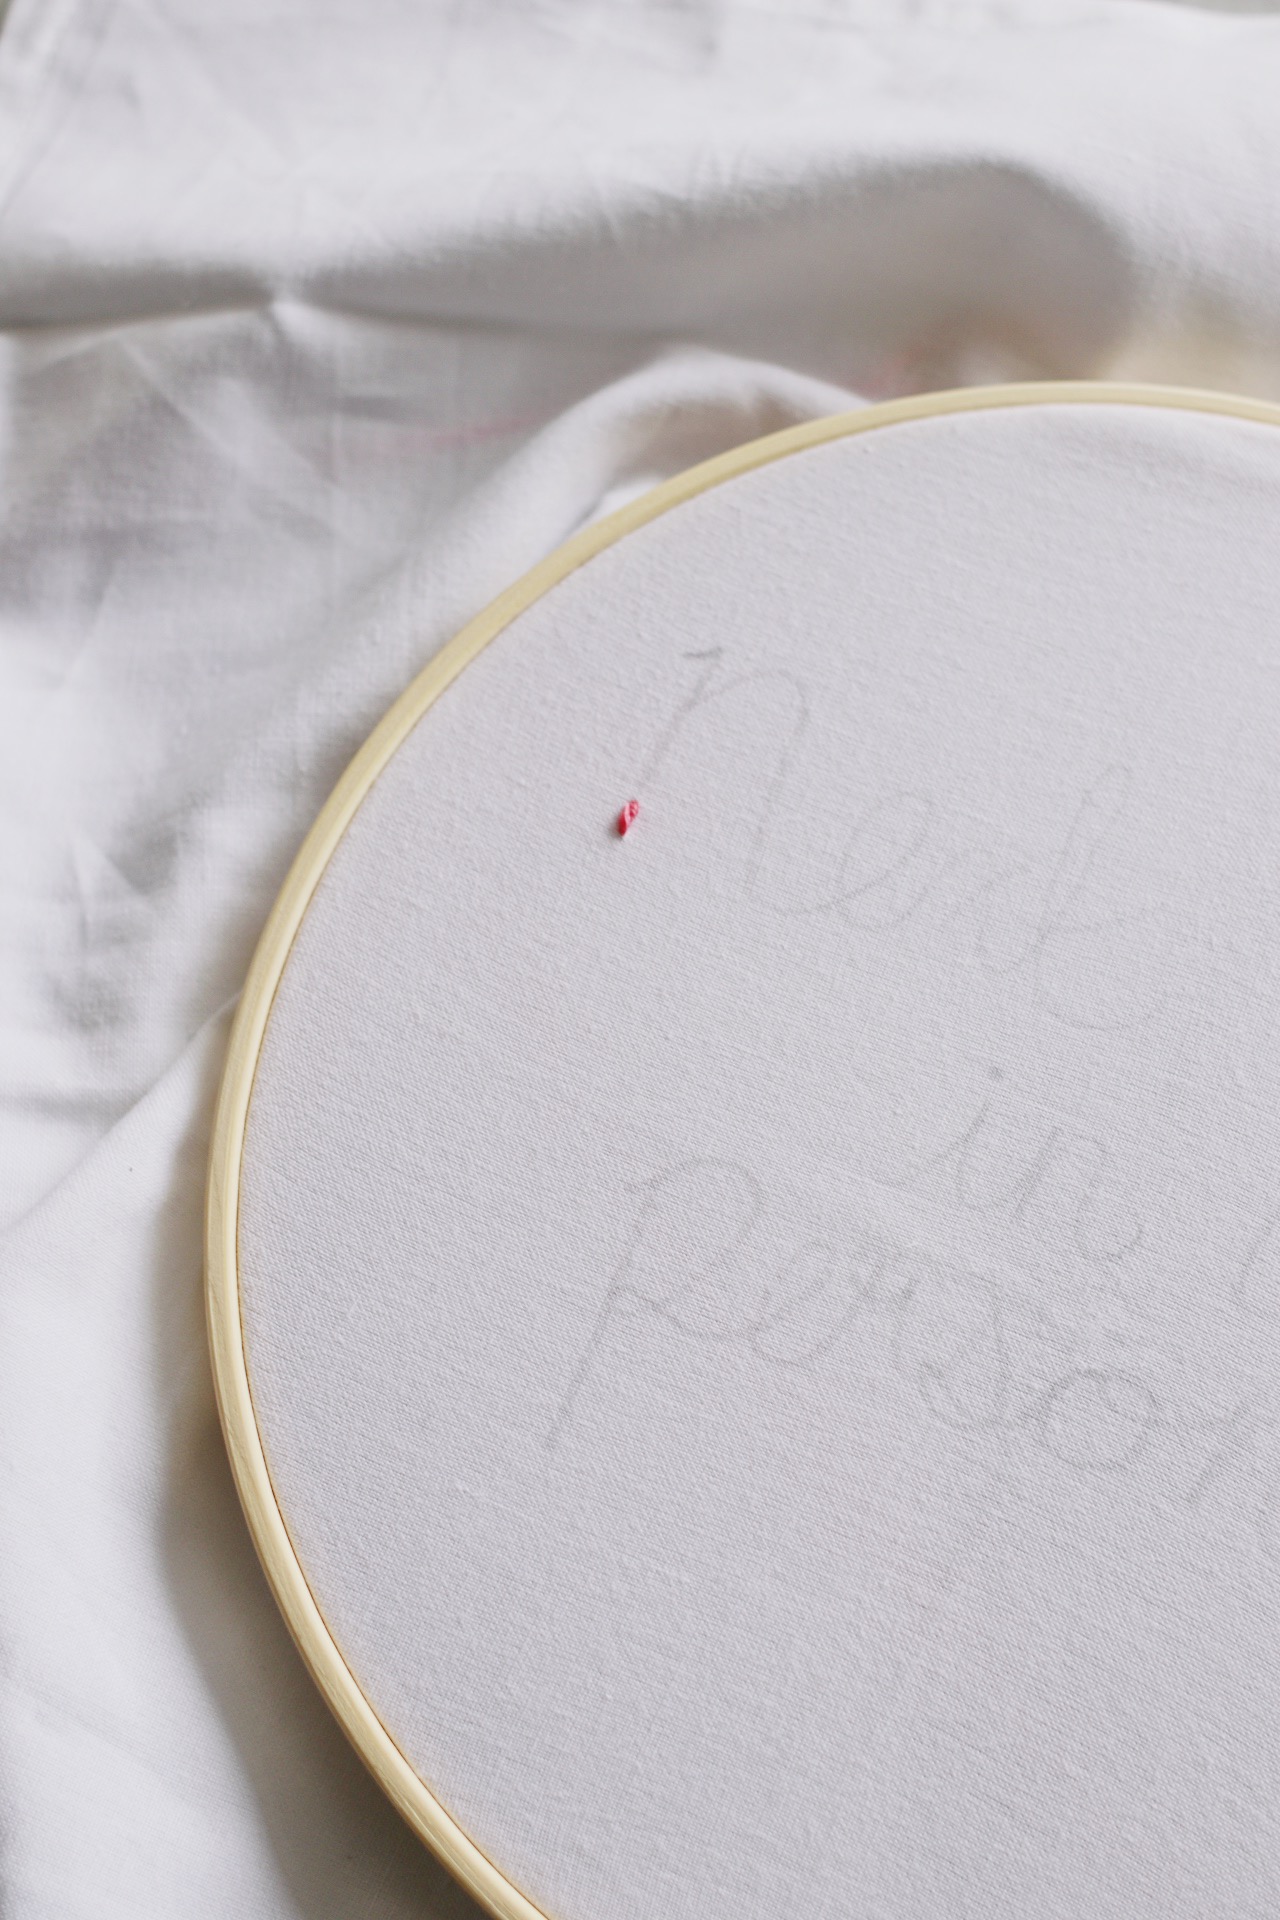
Make your first stitch! Come up through the back of the fabric at the bottom of your first letter (or wherever you’d like to begin on that first letter—doesn’t really matter!) then make a straight stitch (or “sewing stitch”): straight back down into the fabric again. You’ll use this same stitch any time you start a new piece of thread.
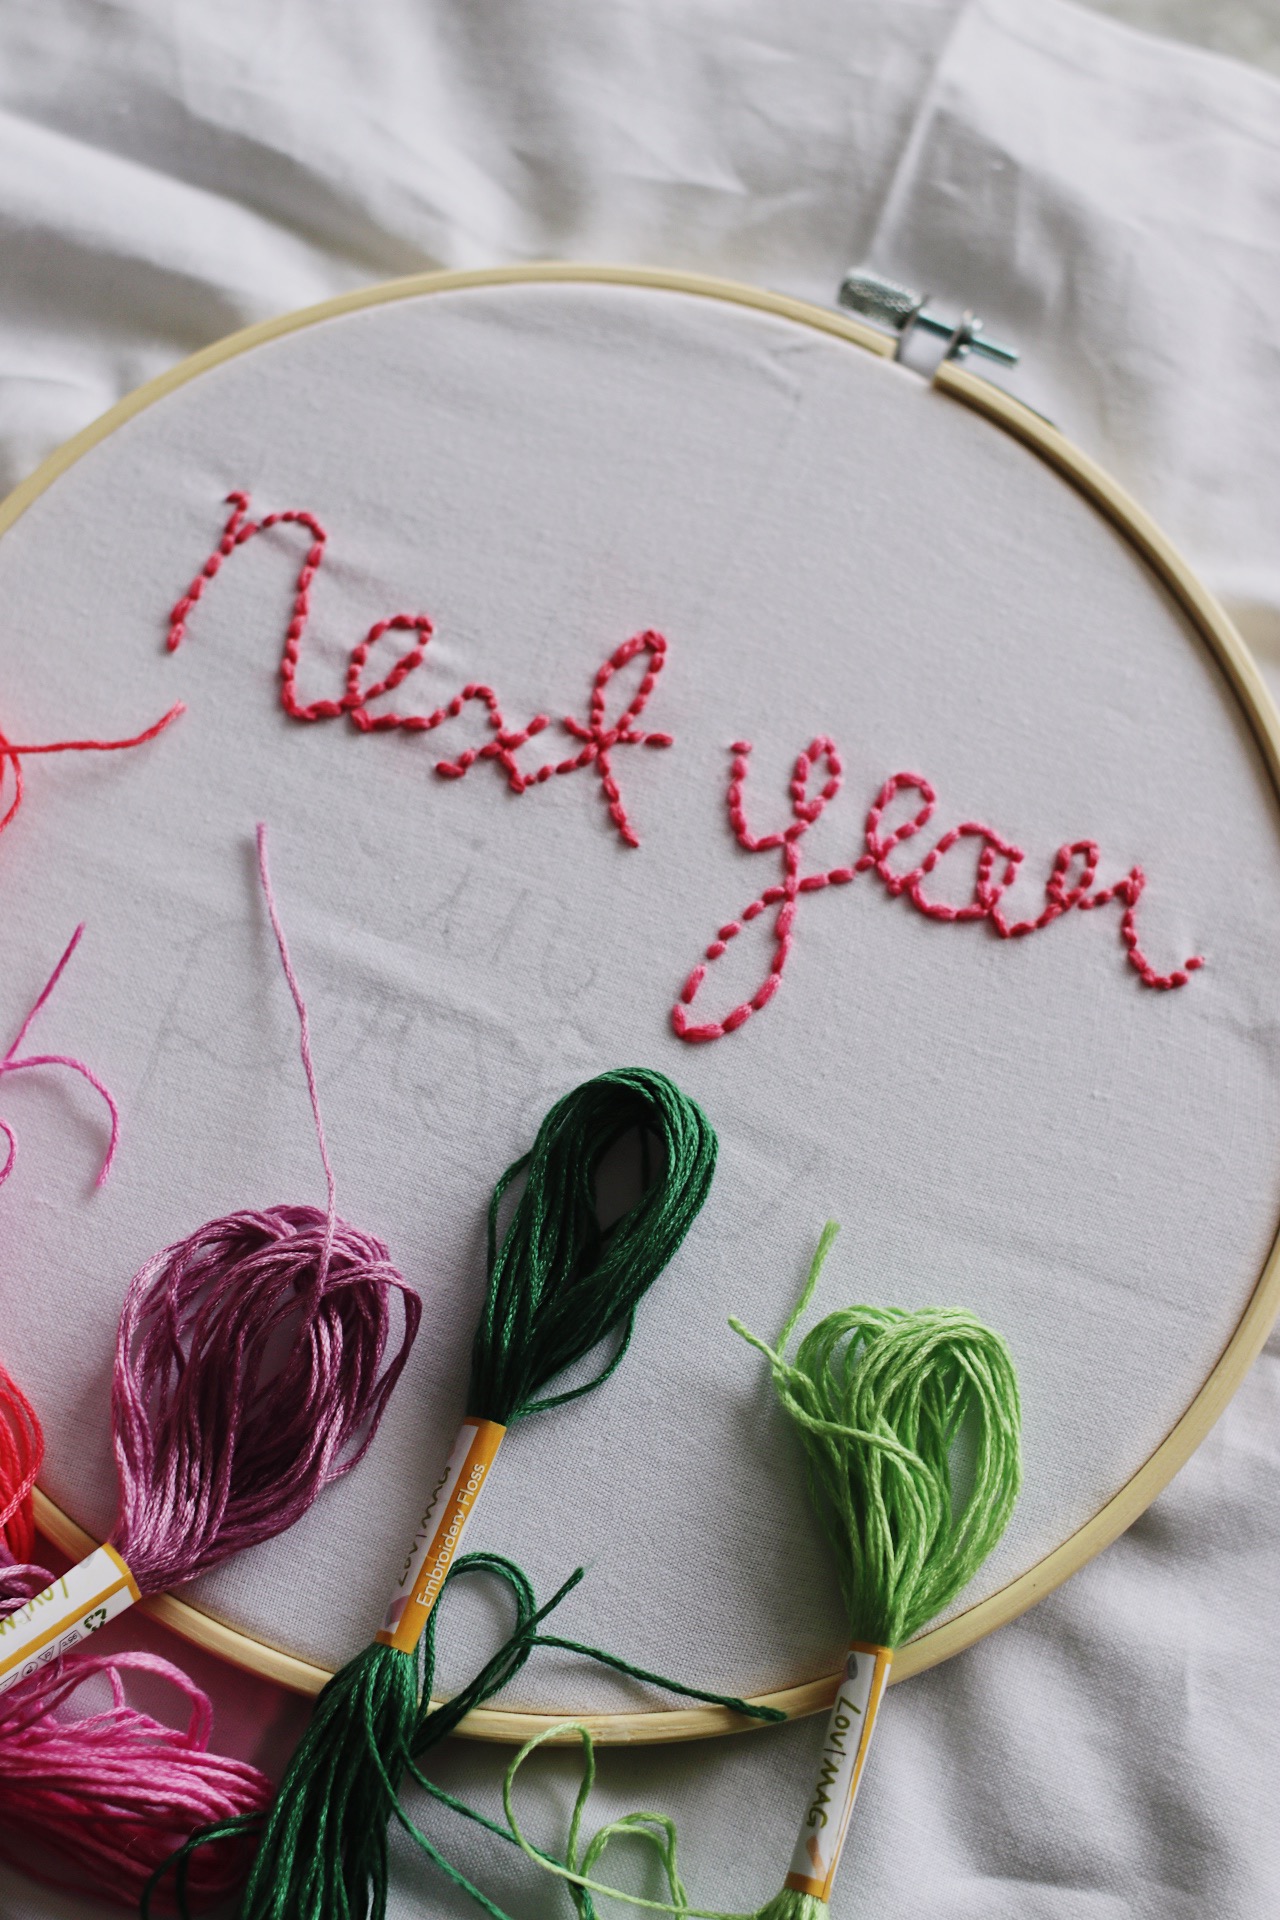
But for your second stitch and all other continuous stitches, you’re going to use a backstitch. Here’s a helpful video tutorial. It’s fairly simple, though: You thread the needle up through the point at which you’d like the next stitch to end. Then, come back down right where the previous stitch ends.
Each time you’ve used up a length of floss, simply tie a knot in the back of your hoop and move onto a new piece. Use the same technique to freehand some colorful florals here and there, if you’re so inclined.
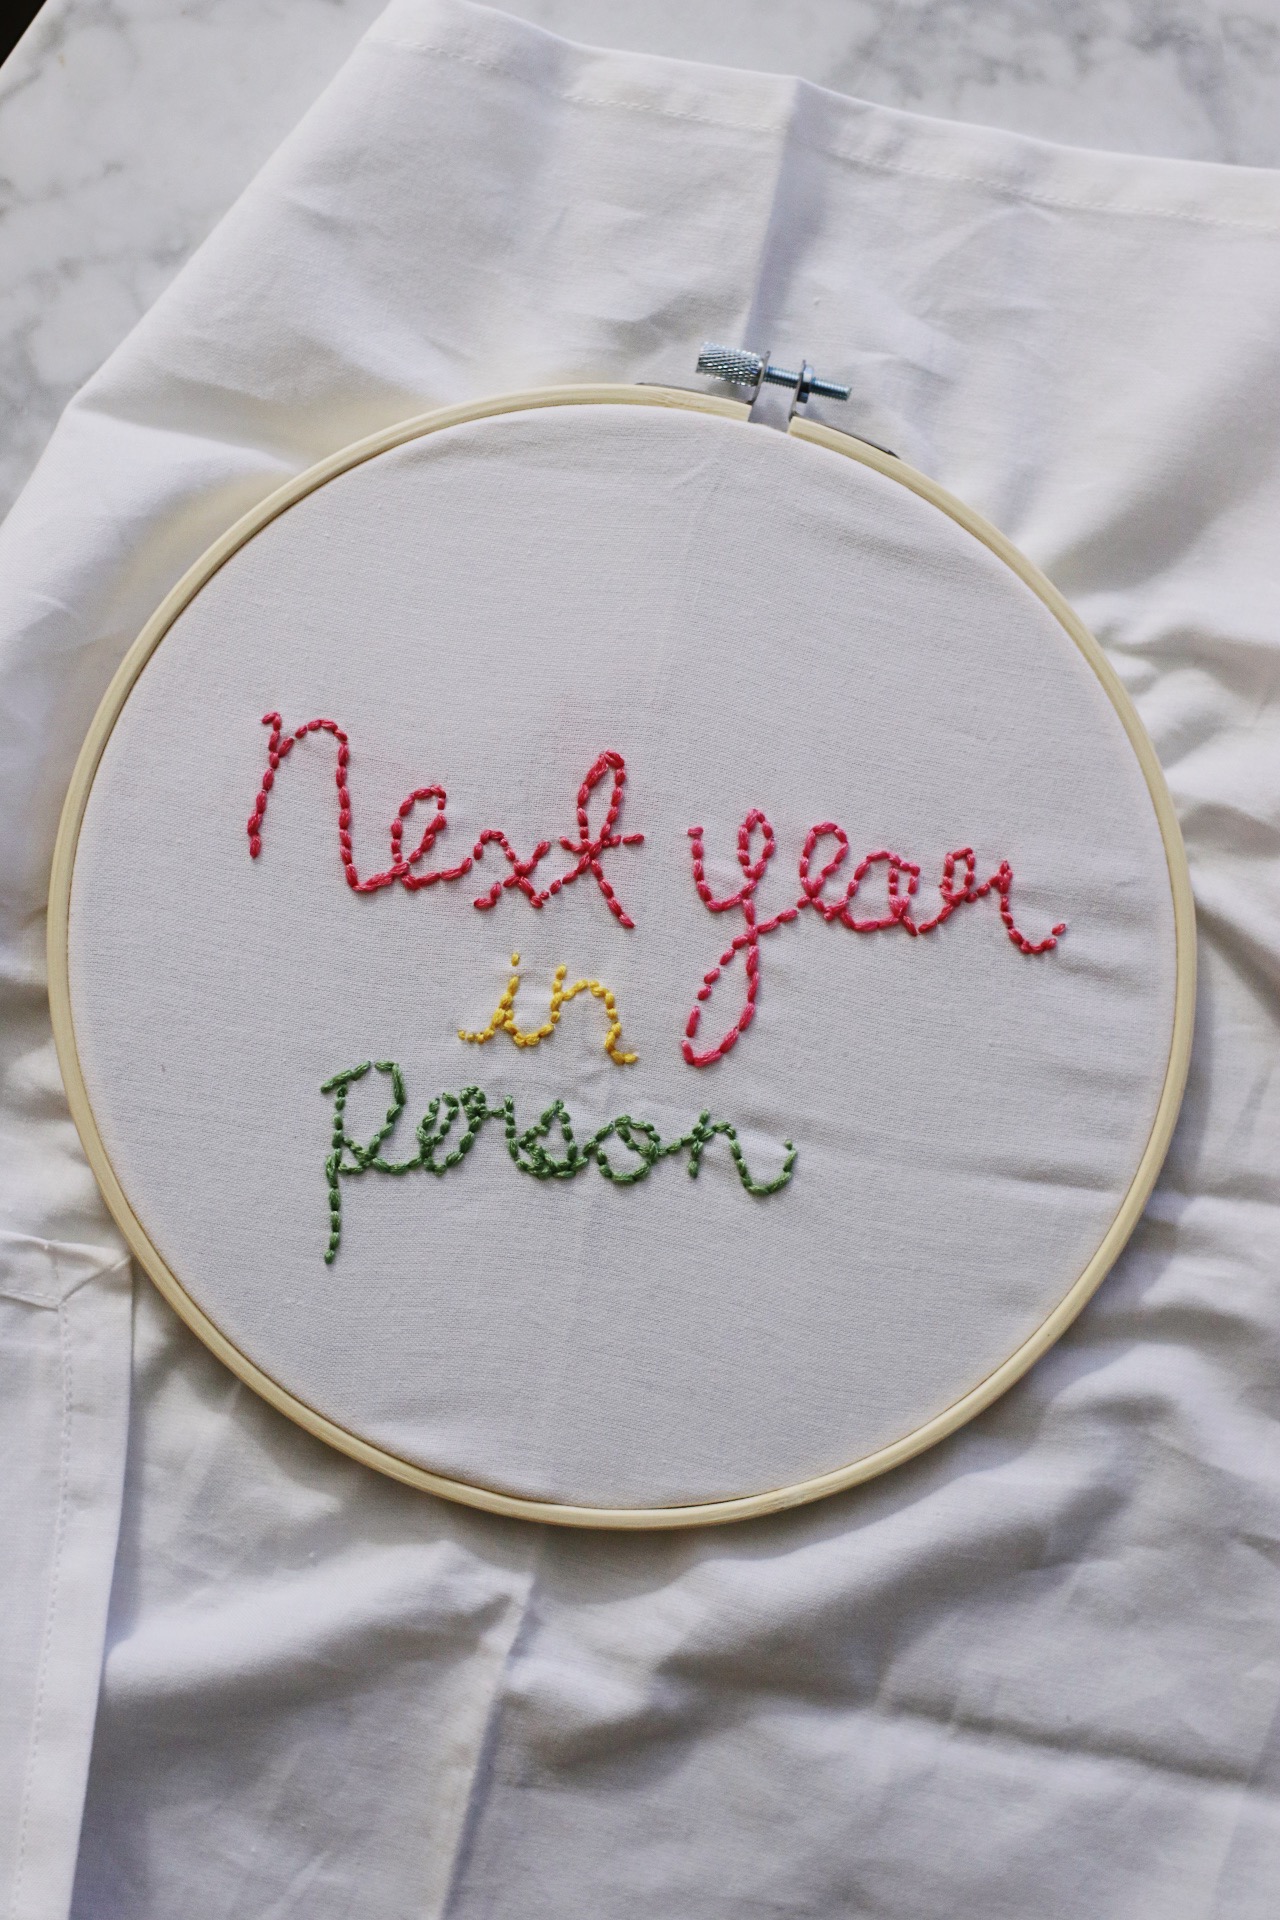
And that’s it! I hope this is helpful to some of you, and as always, feel free to tag me in any photos of your creations on Instagram—I’d love to see what you come up with.

Hi Rebekah, I’m a huge fan of your blog! I’m working on an embroidered matzo cover similar to yours (I don’t think I can attach a picture here, but I’ll tag you on insta when complete) however, I didn’t see instructions on how to make the pockets underneath (all the matzo covers we’ve ever used in our family had some kind of pocket or layers of fabric underneath to put the middle matzo etc…) am I missing something or is this meant to just be one ply? Thanks! And thanks again for all the gorgeous Jewish holiday content you create – your blog is one of my favorite spaces on the internet!
thank you so much for the comment and all the kind words!! I actually didn’t include pockets here, but you’re right, there absolutely should be – guess I’ll need to give it another go for 2022 and update the tutorial! 🙂 if you have any success with that or want to offer other suggestions, please DM me on Instagram; I’d love to hear. and thank you AGAIN for the nicest comment!