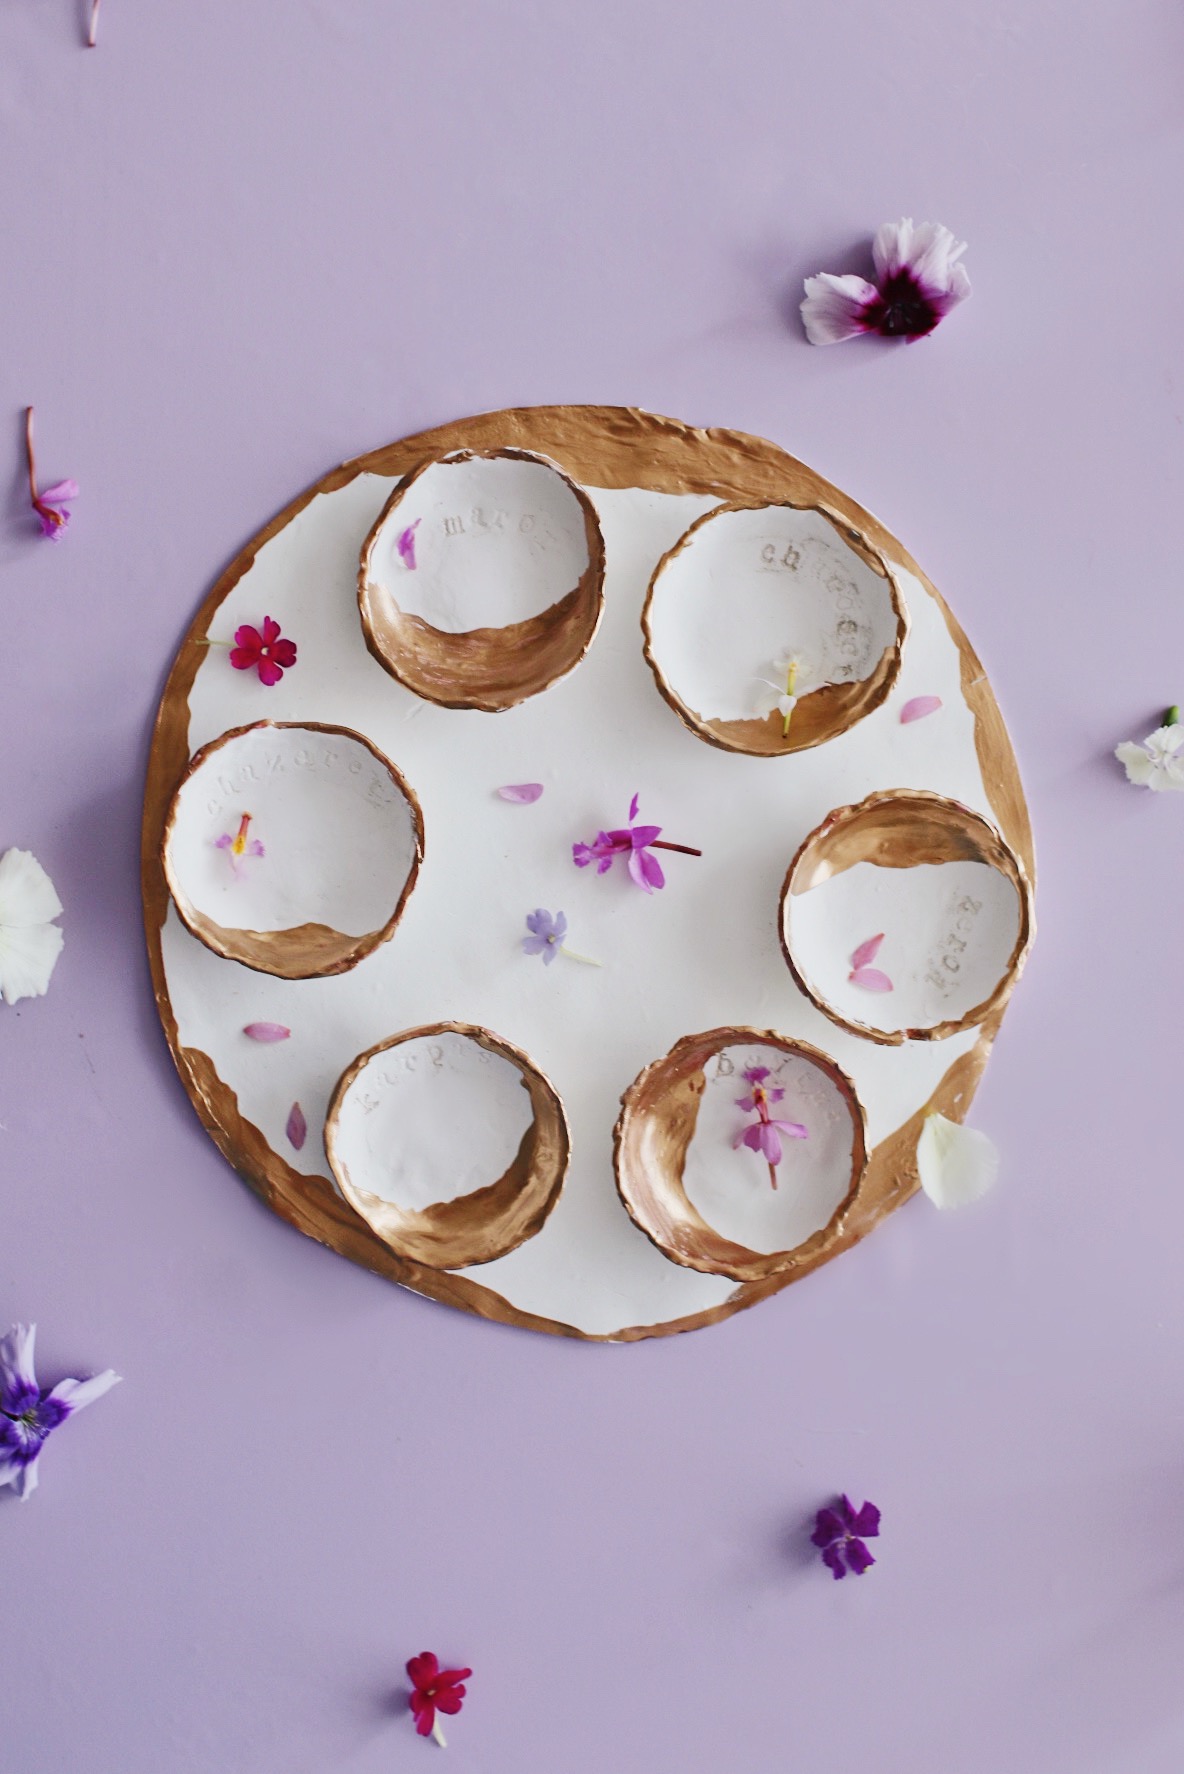
Last year, I shared this DIY watercolor seder plate with you guys…and this year, I decided to upgrade things with some polymer clay! The full tutorial is over on HGTV.com, but I thought I’d share a few extra notes here for anyone trying this at home. Scroll to read ’em, and as always, if you end up making this, let me know or tag me on Instagram!
Uneven, organic-looking edges are a good thing! At least, they are in my book. I love how simple and unrefined the final product is here. And with the paint, too…go ahead and let all the happy accidents happen! I’d initially intended for the gilding to be much more subtle, appearing just around the edges of the plate and bowls, but I accidentally dripped some of the paint into the center of one of the bowls 🙈 and the only solution was to make it look like it wasn’t accidental by dragging some more of the paint down into the bottom of each bowl. I love the asymmetrical end result waaaay more than what I set out to create. Just goes to show ya!
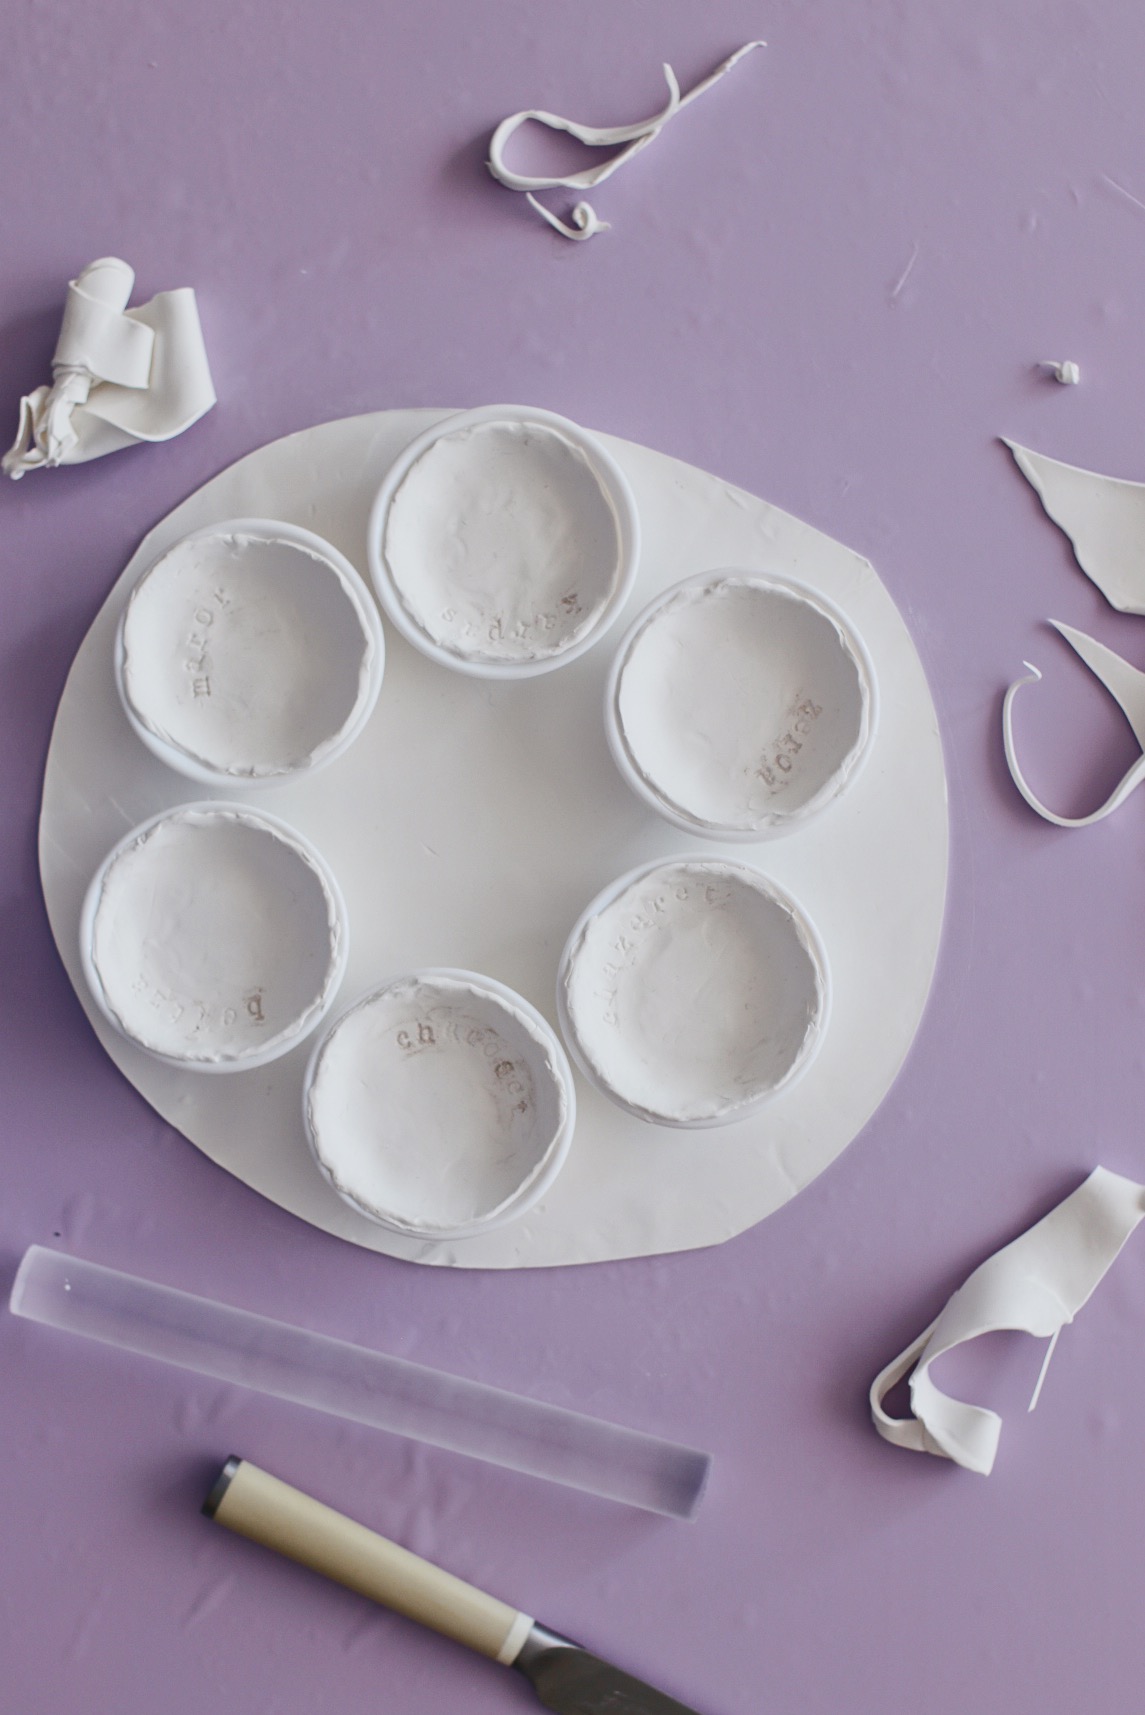
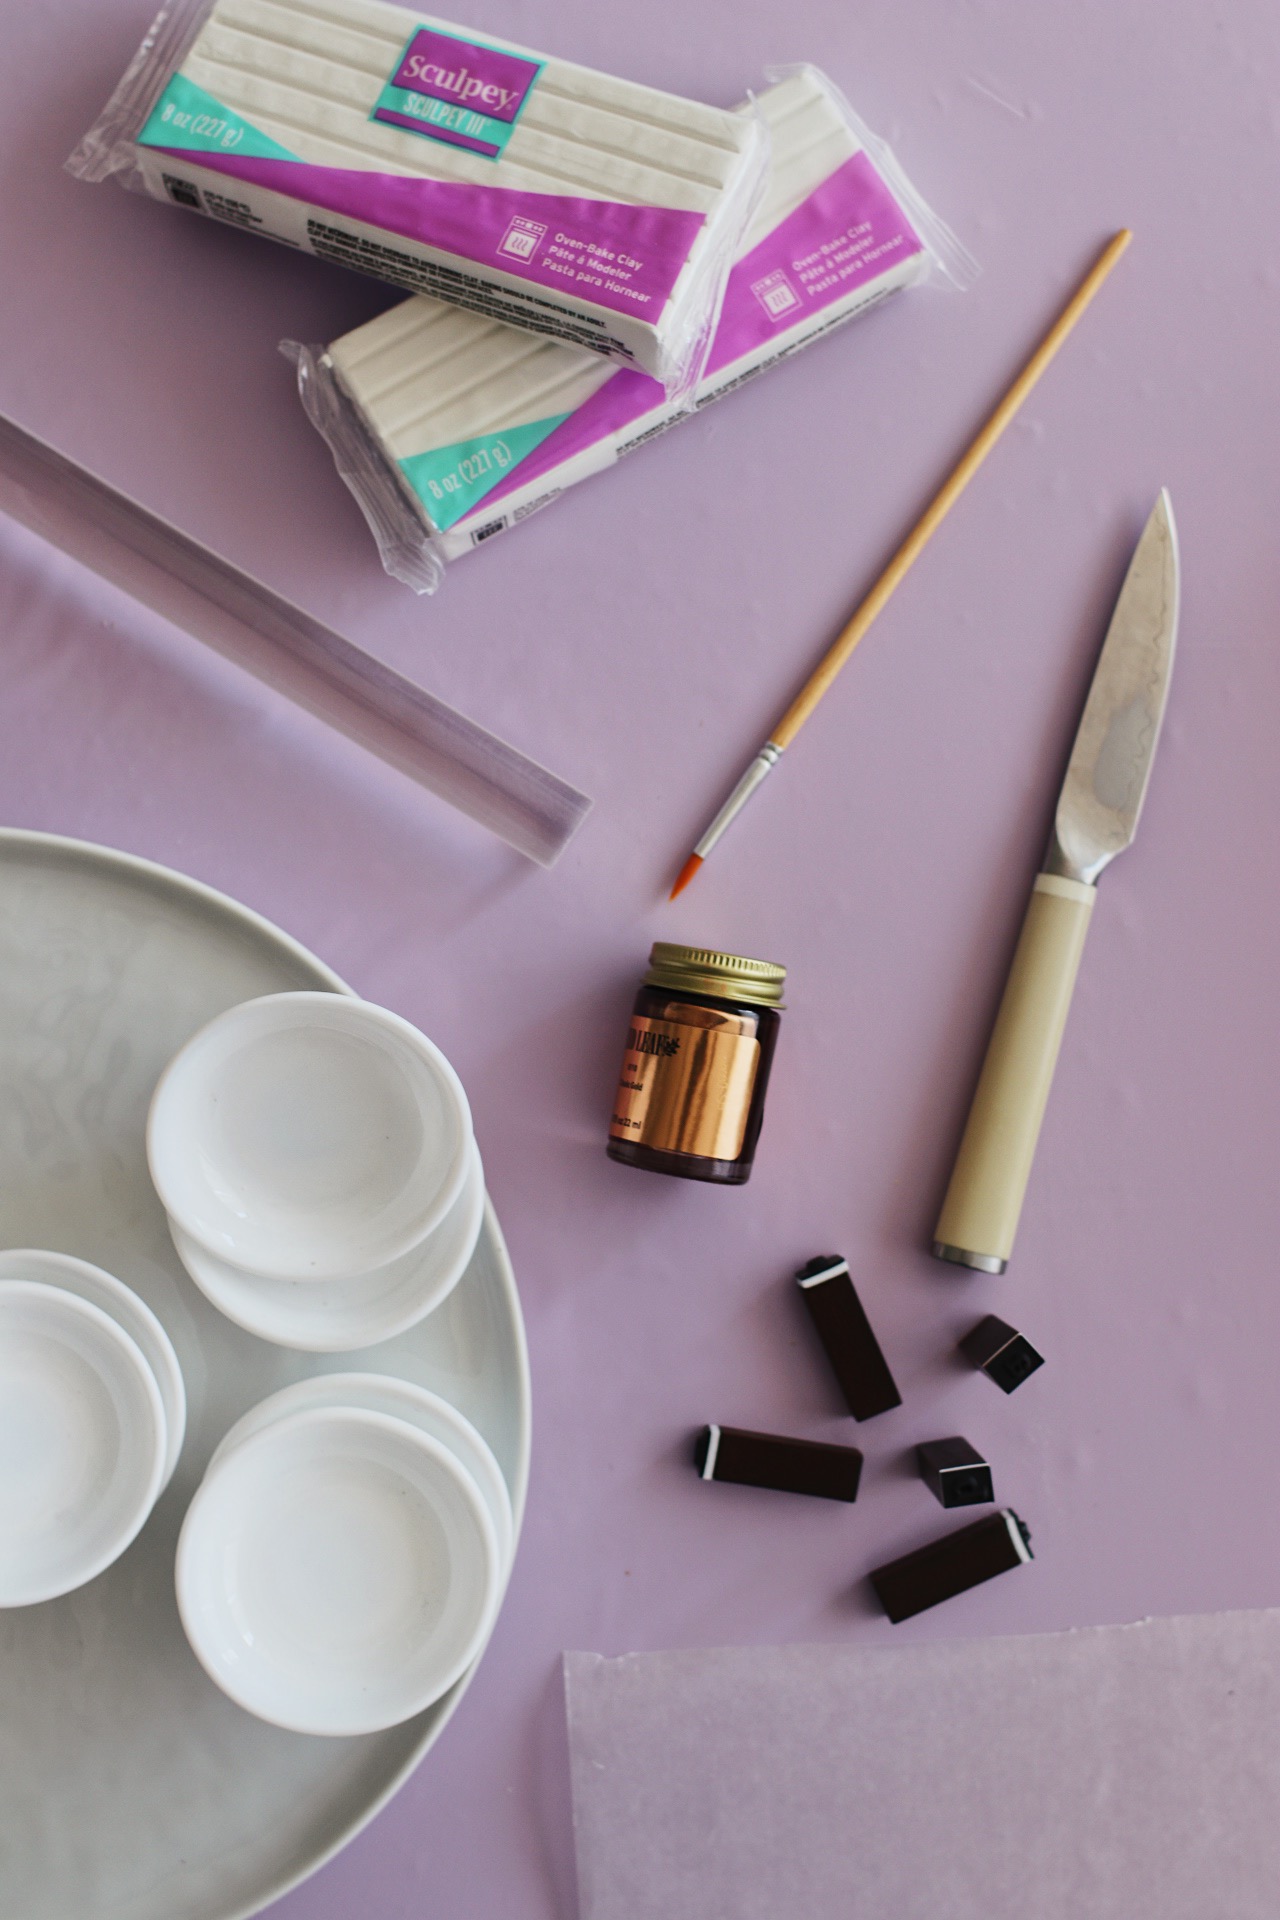
Don’t have oven-safe bowls—or don’t have enough of them? Not to worry: You can get the job done by molding your bowls in small bowls, then un-molding them before baking begins and just placing them straight onto the baking sheet. This does increase the chance that they might deflate a little in the oven, and it’s definitely not the most fail-proof method, but it’s an option if you’re unable to find oven-safe vessels to house the clay in.
These bowls are not food-safe. I repeat: They’re not food-safe! Yes, even if you have a food-safe glaze, a base of oven-bake and air-dry clay means that your creations will never be truly, for sure, FDA-approved food-safe. Important to note, especially if you have kids around—even though you’re definitely not supposed to actually eat the symbolic items on a seder plate anyway (shank bone, anyone?).
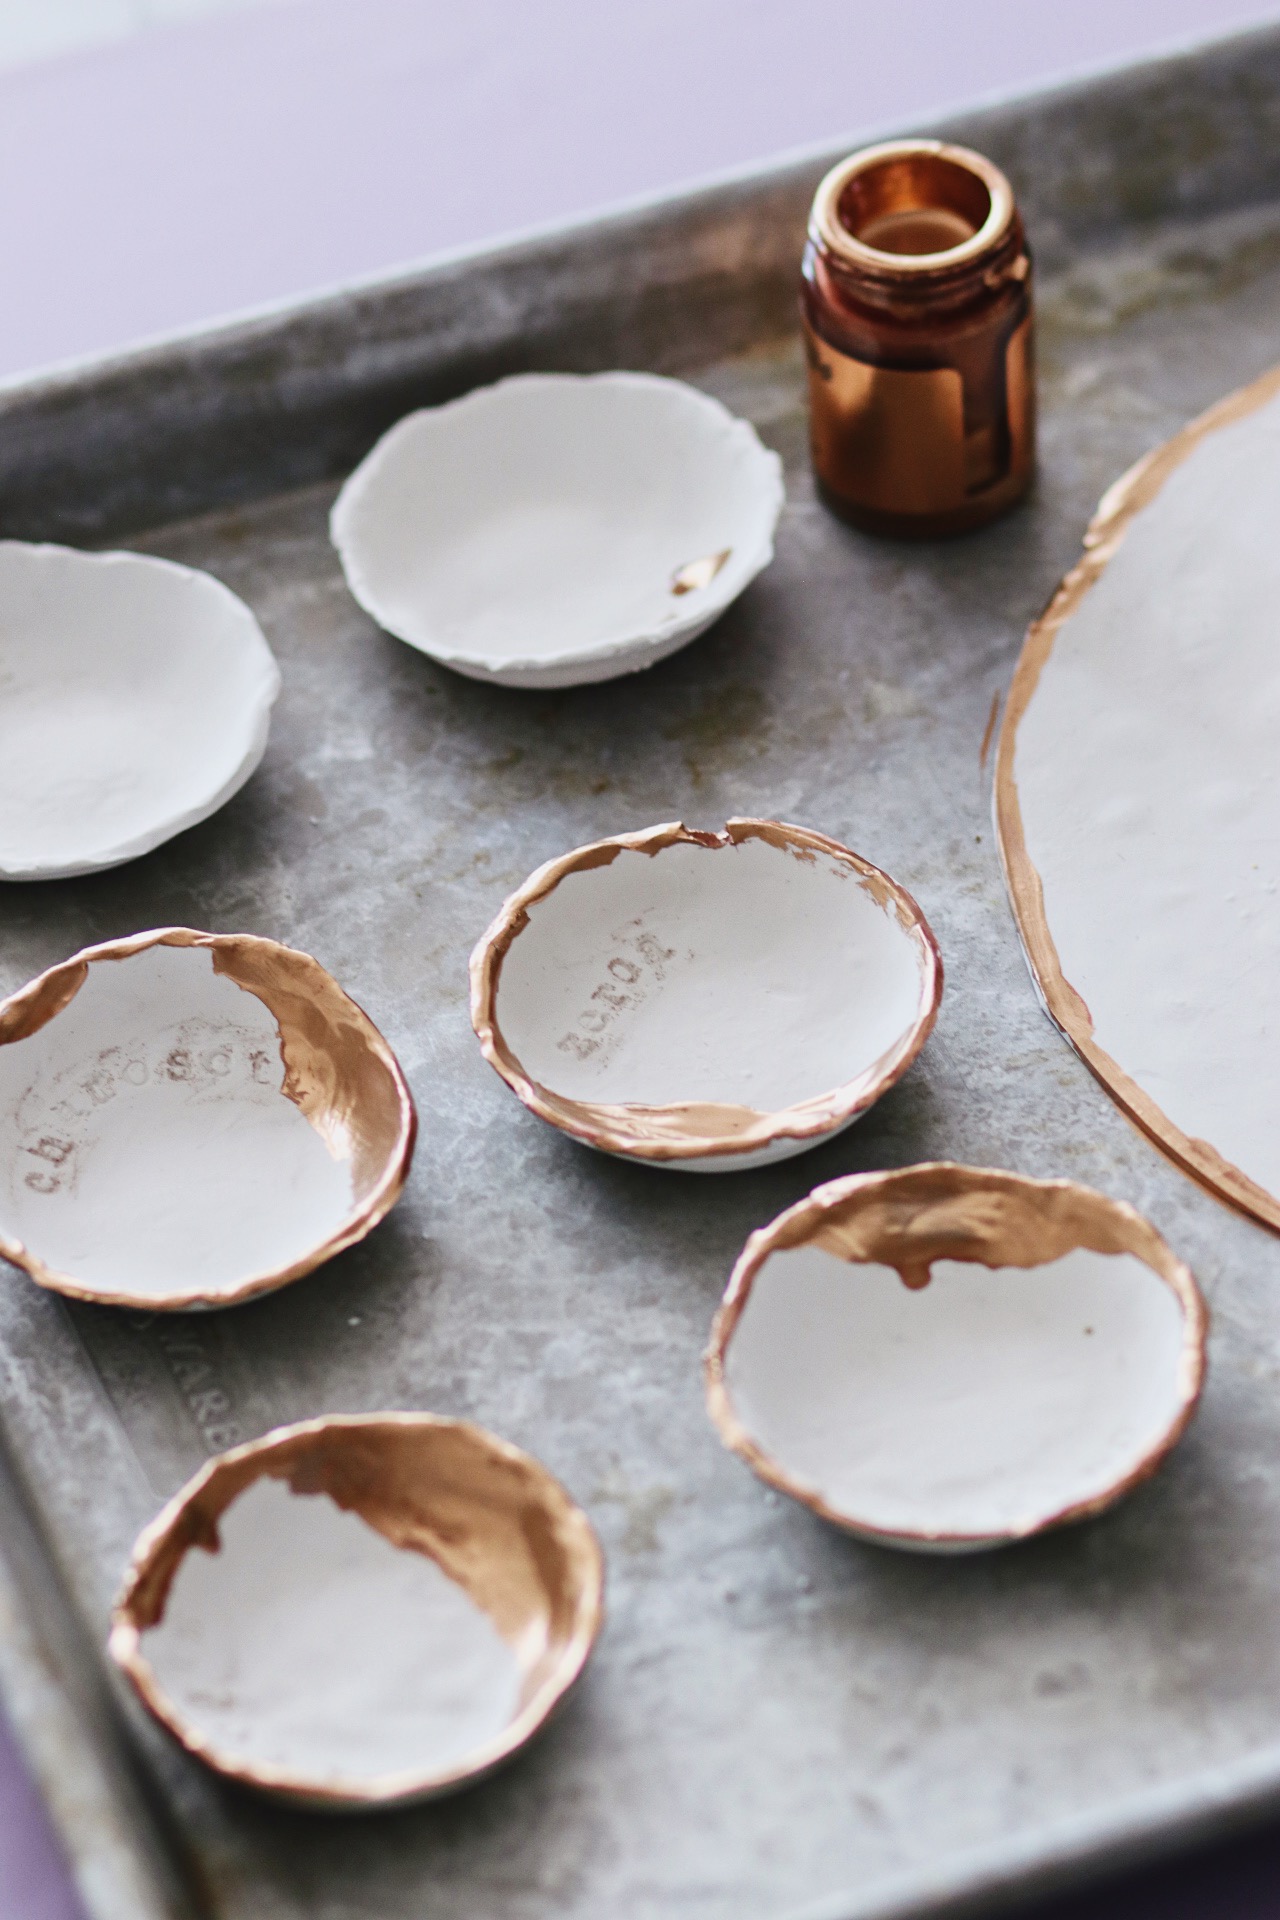
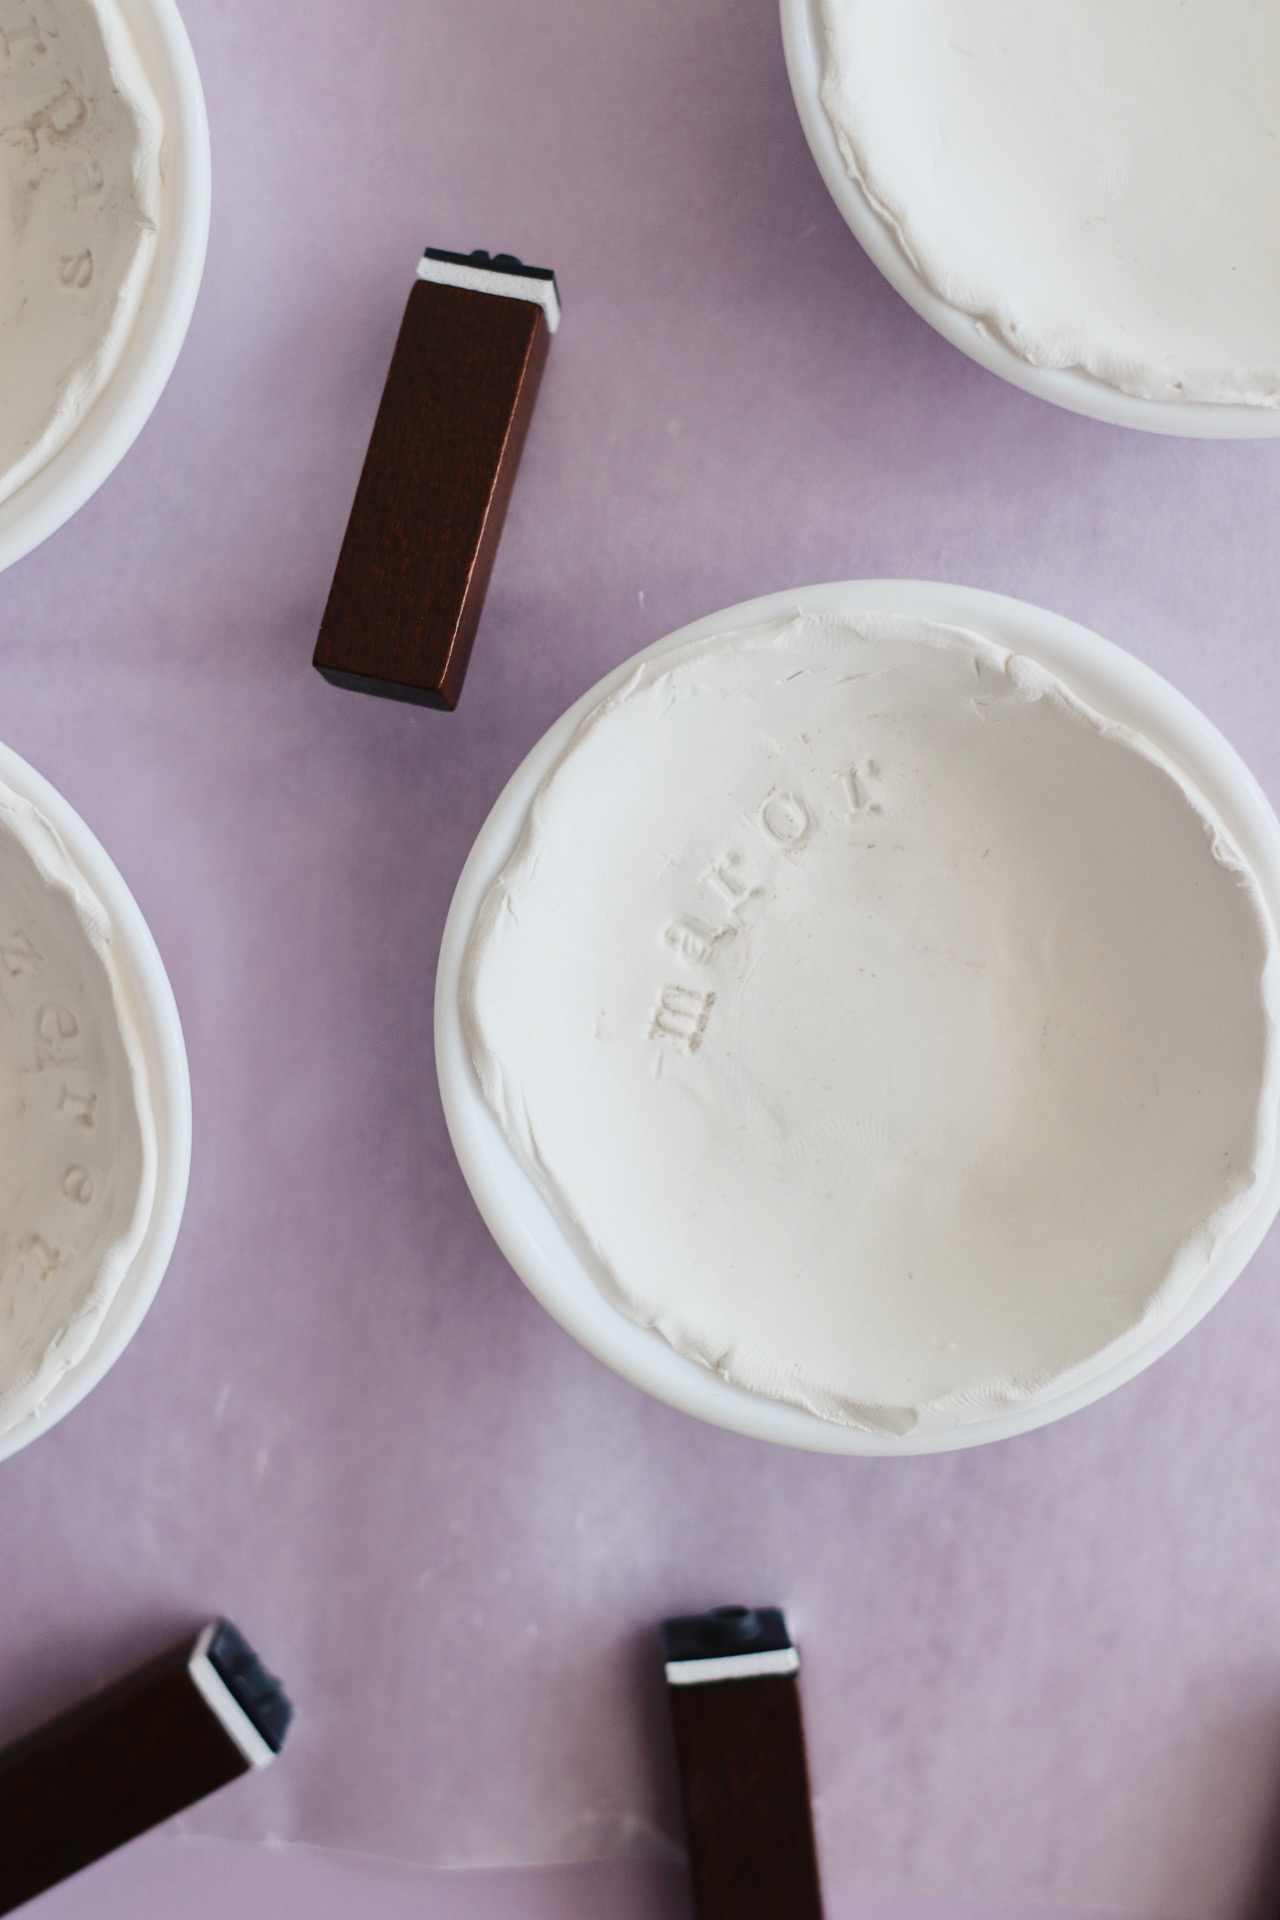
If you have imprint stamps, those are better to use than rubber stamps. I discovered this a little too late, but I’d really recommend using stamps like this instead of stamps like this for this particular project. The rubber tends to get stuck in the clay and isn’t the easiest to work with, though it does work just fine if that’s all you’ve got.
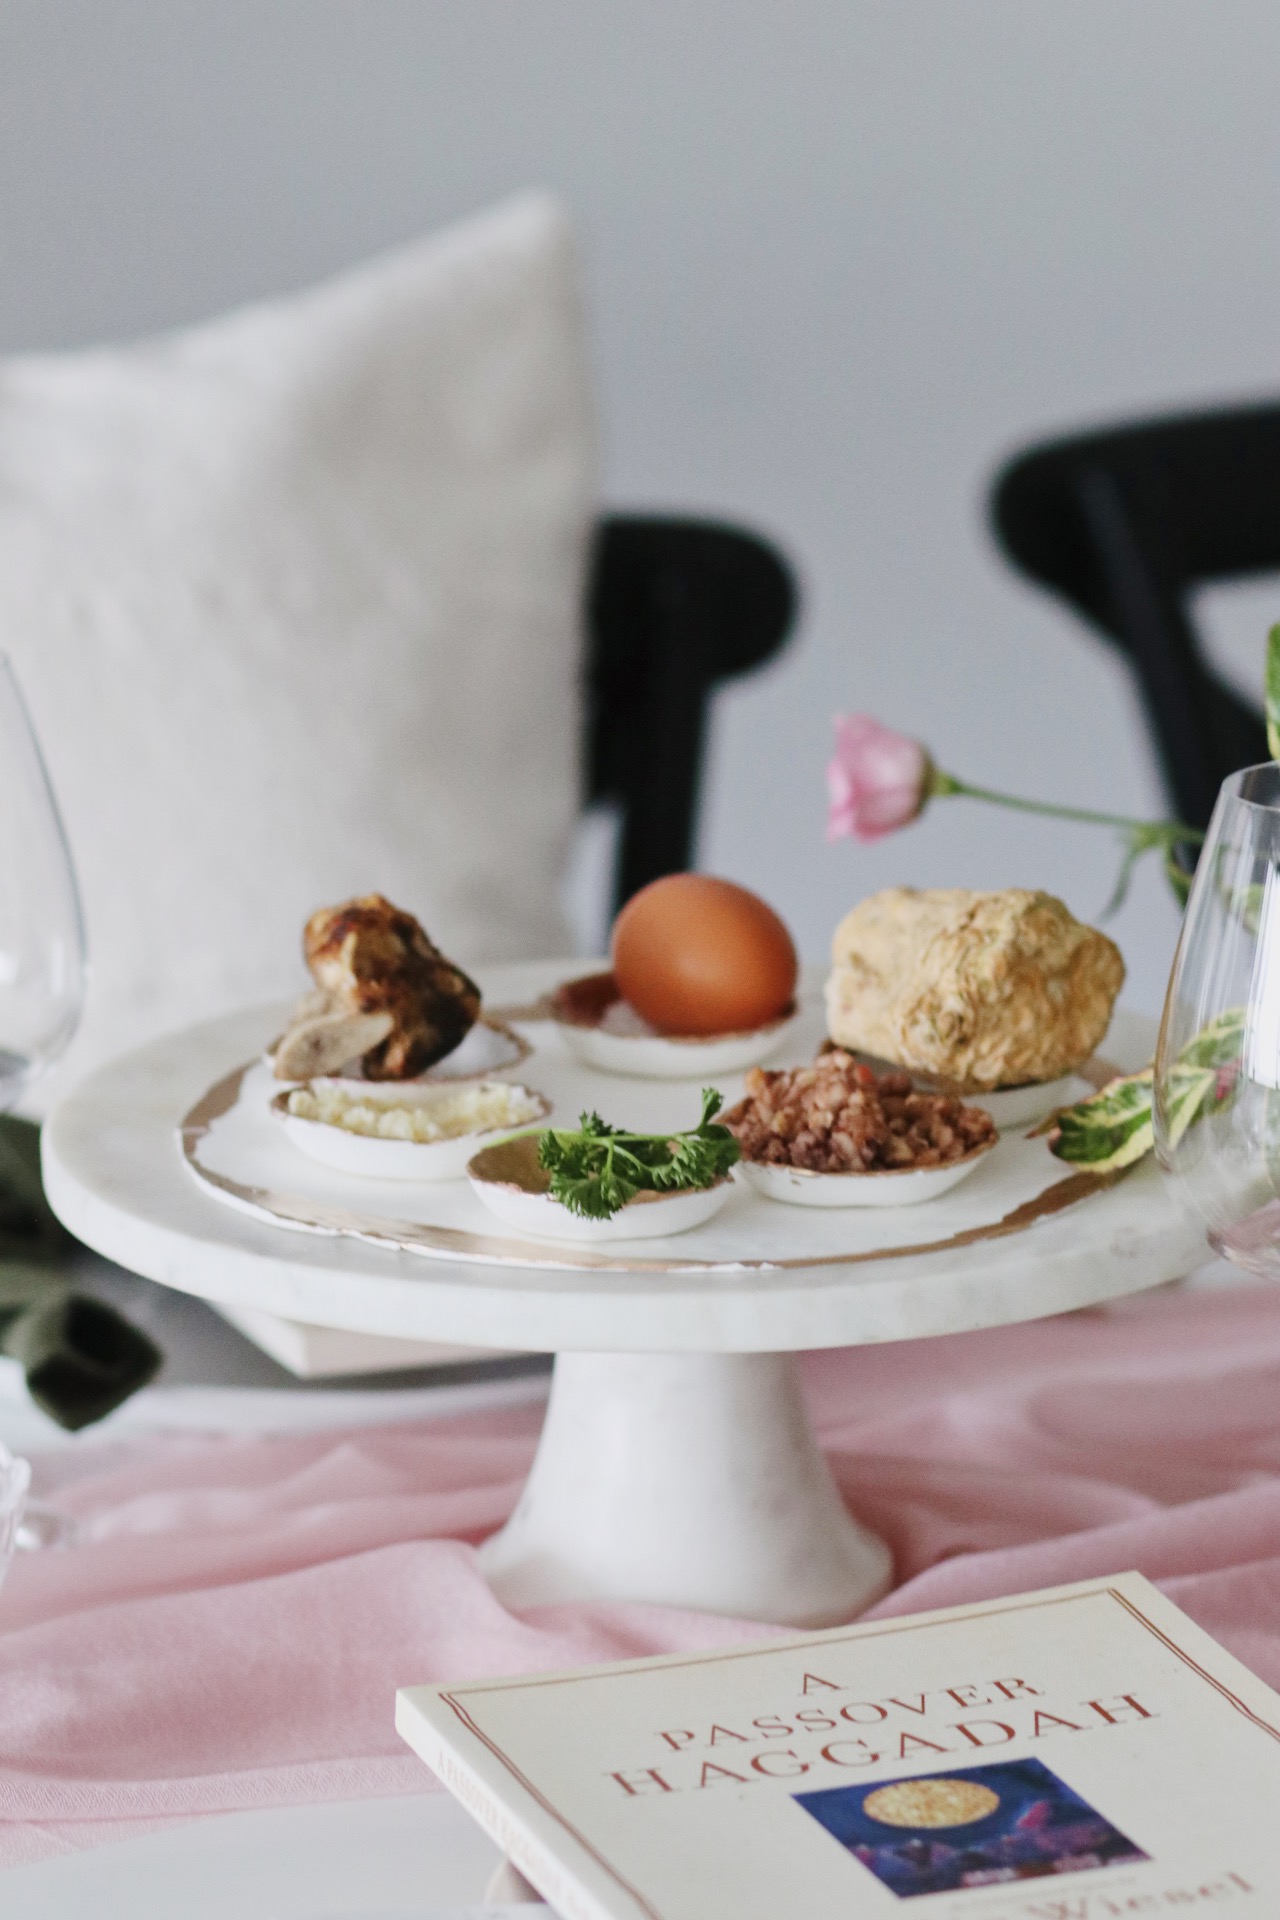
And that’s it! Again, for the full tutorial, you’re gonna wanna head to HGTV.com. Can’t wait to see all of your creations in just a few weeks!
