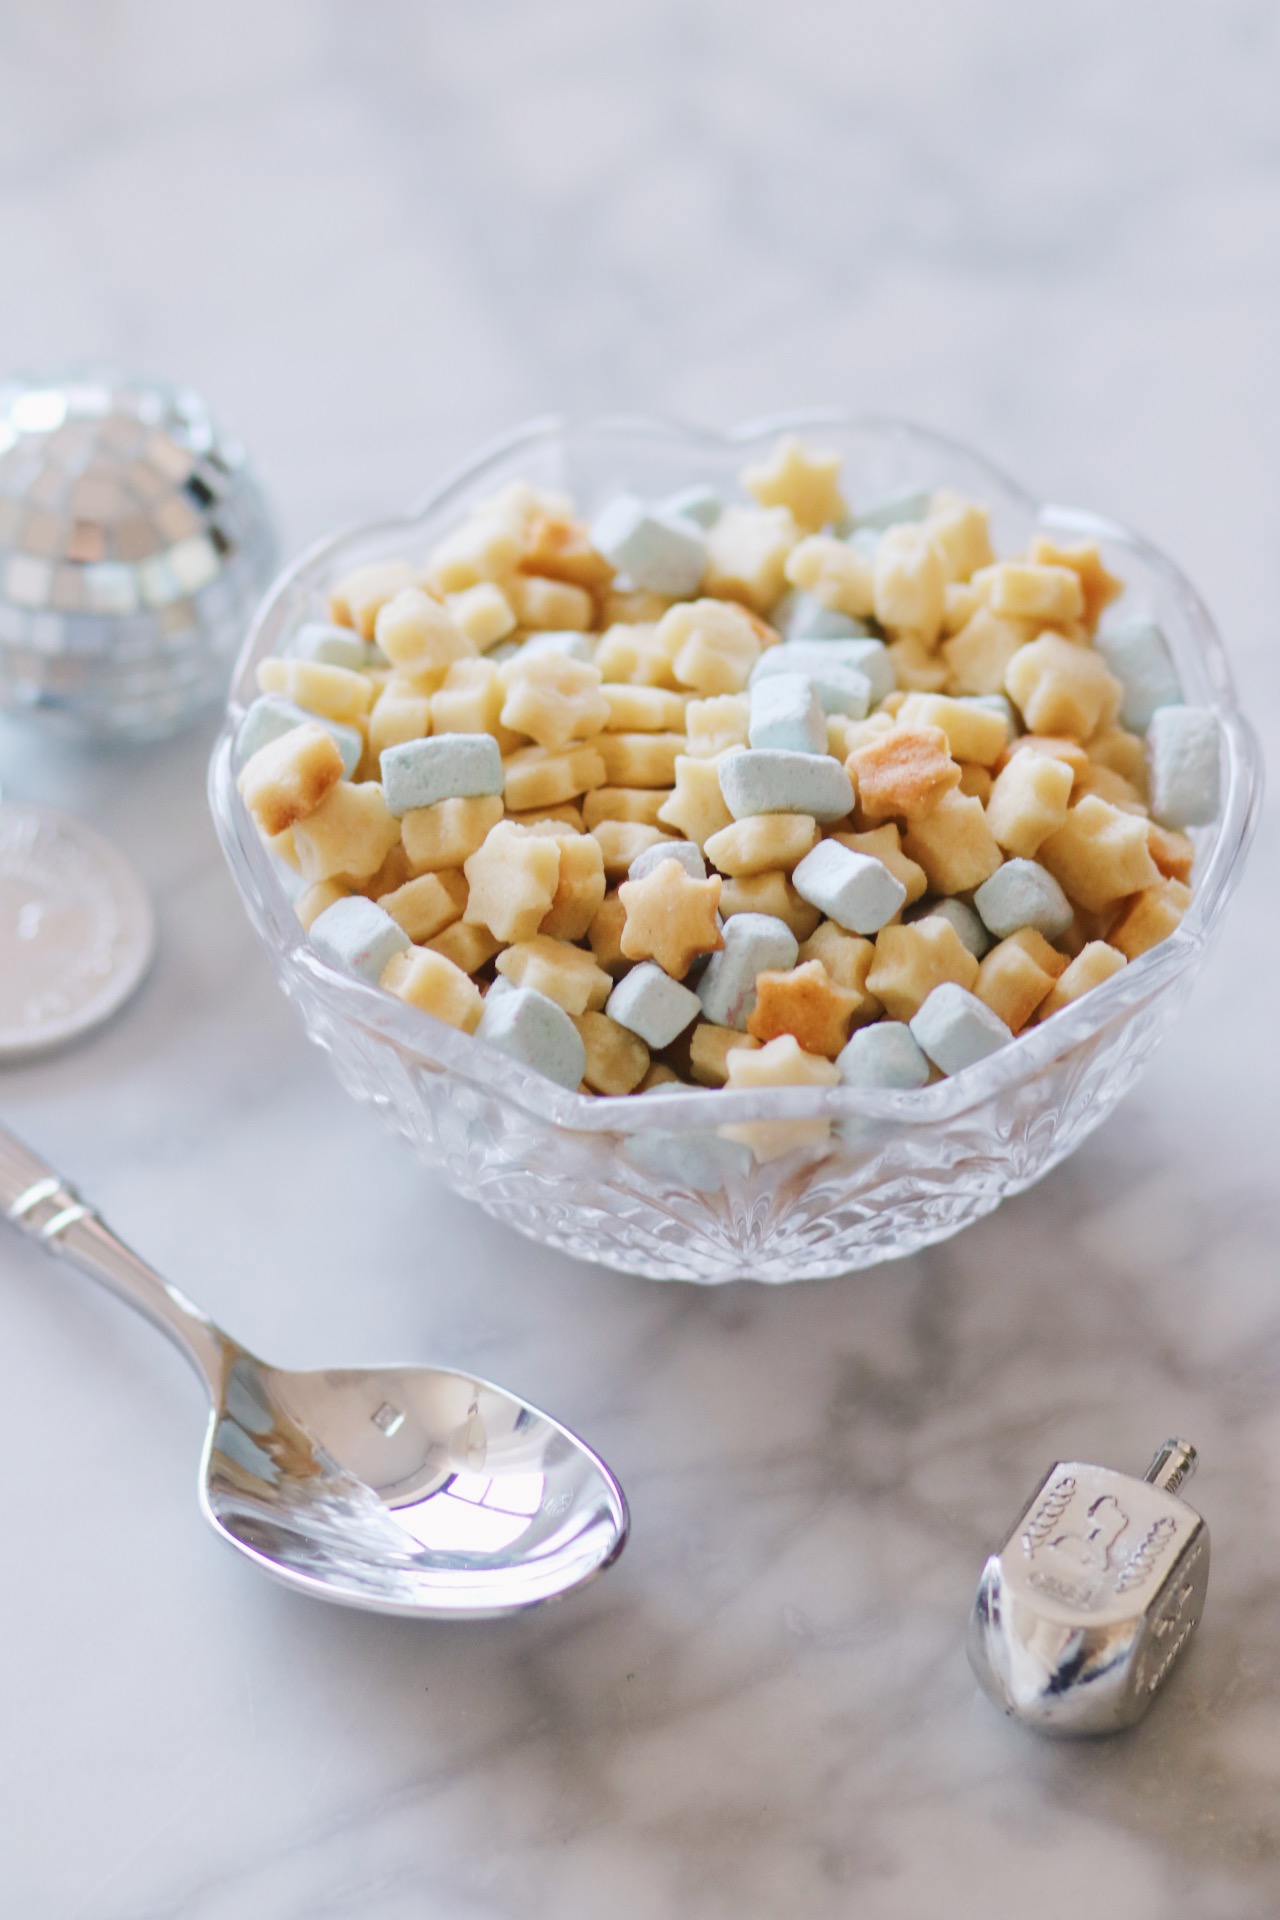
Things that are difficult: Holding a very heavy camera in one hand and pouring milk with the other.
Things that are not difficult: Making this cereal!
Trust me. I have accomplished both. And only one gave me nightmares.
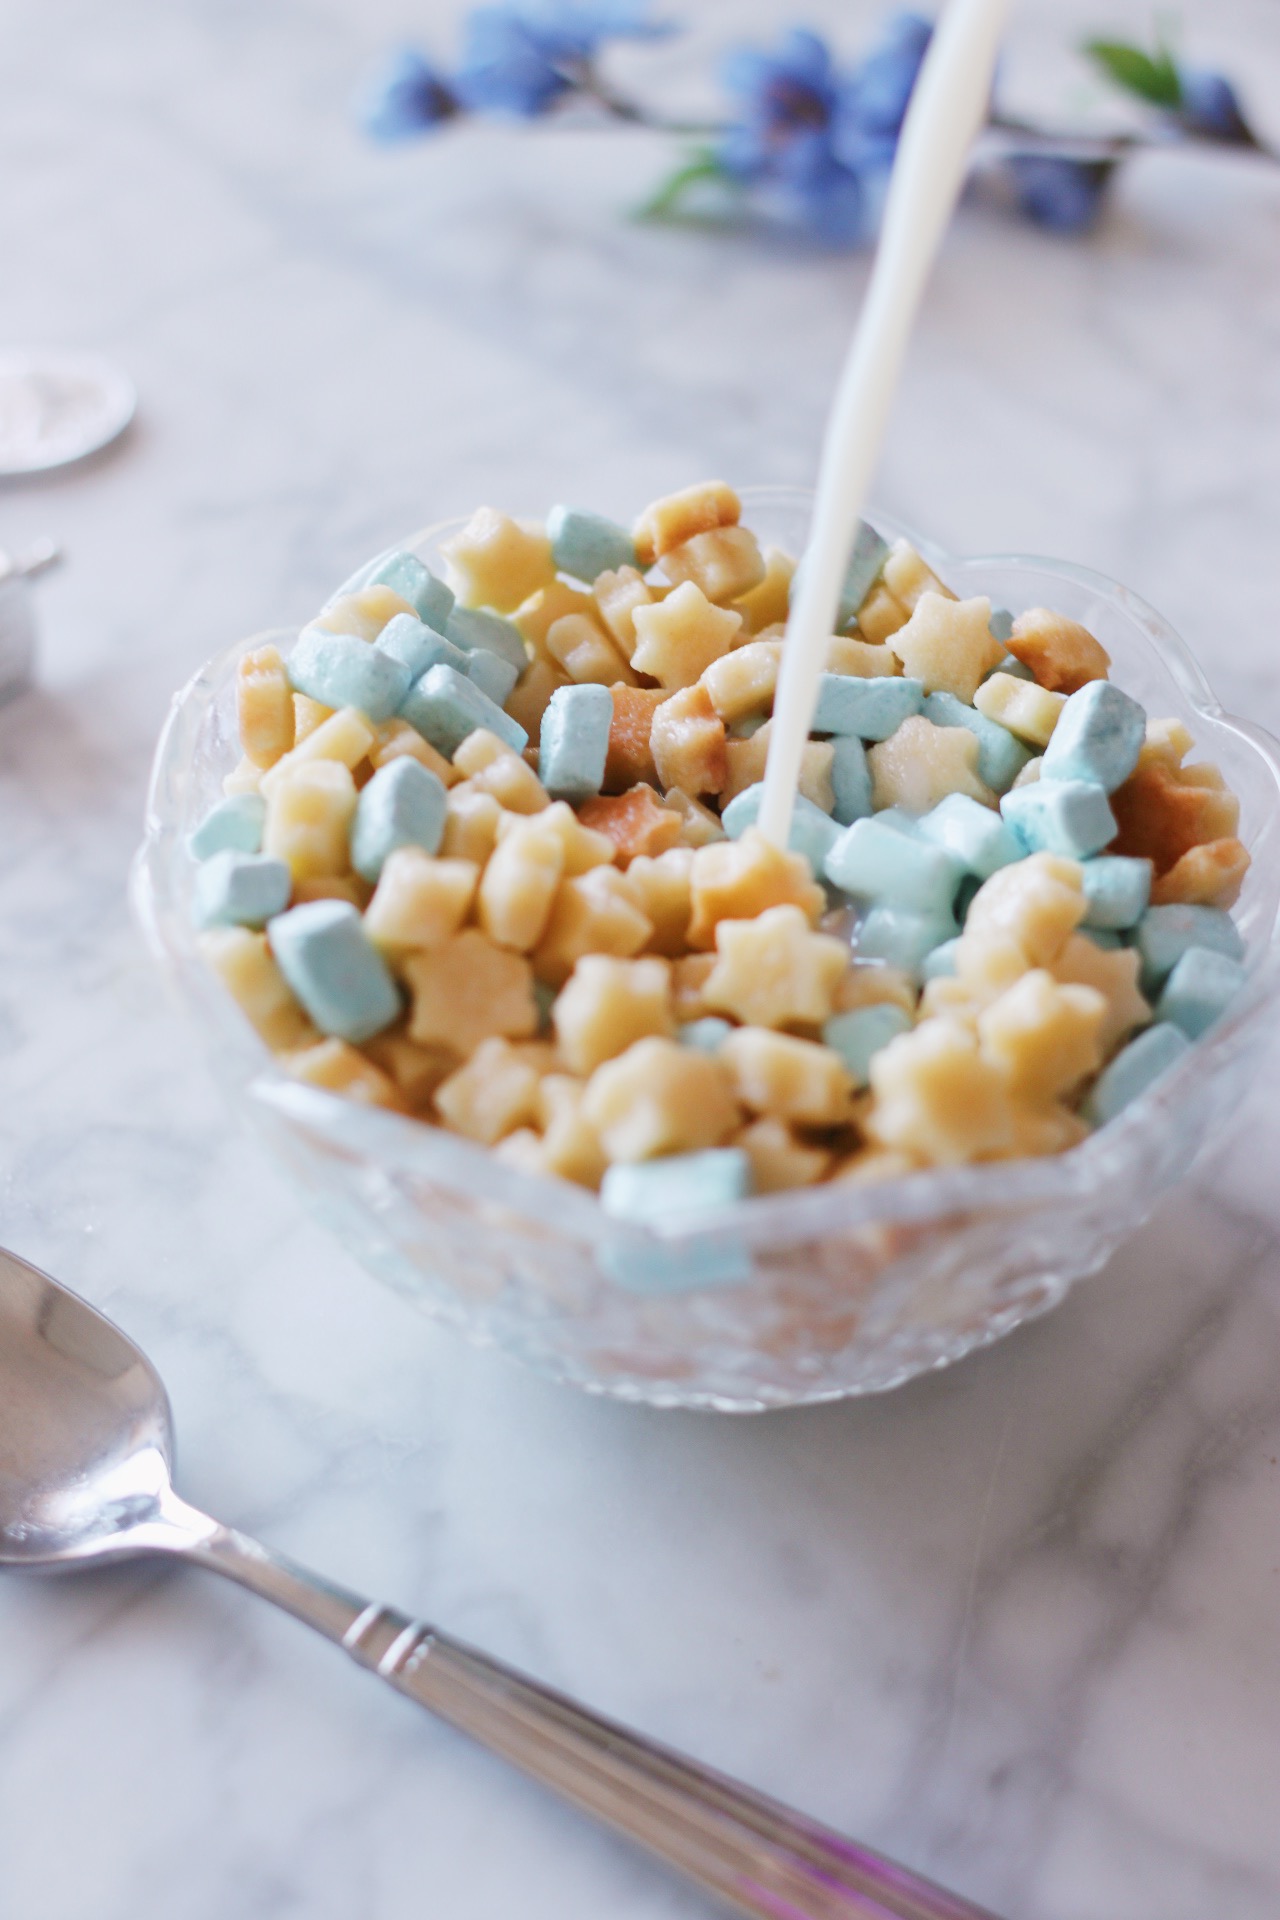
I must admit that I’m so very curious to see how this particular cereal experiment is received by the internet. Aka you! Because it was you, after all, that first inspired this bowl of sugary goodness. I learned this past May that you really, really love cereal (mini rugelach cereal for the win!). You also seem to enjoy frenetic Reel videos of any kind and just about anything involving the Parent Trap soundtrack. NOTED.
SO.
Here we are, cereal-ing once again. My goal with this particular recipe was to make it 1) slightly less time-consuming, and 2) a little more kid-friendly.
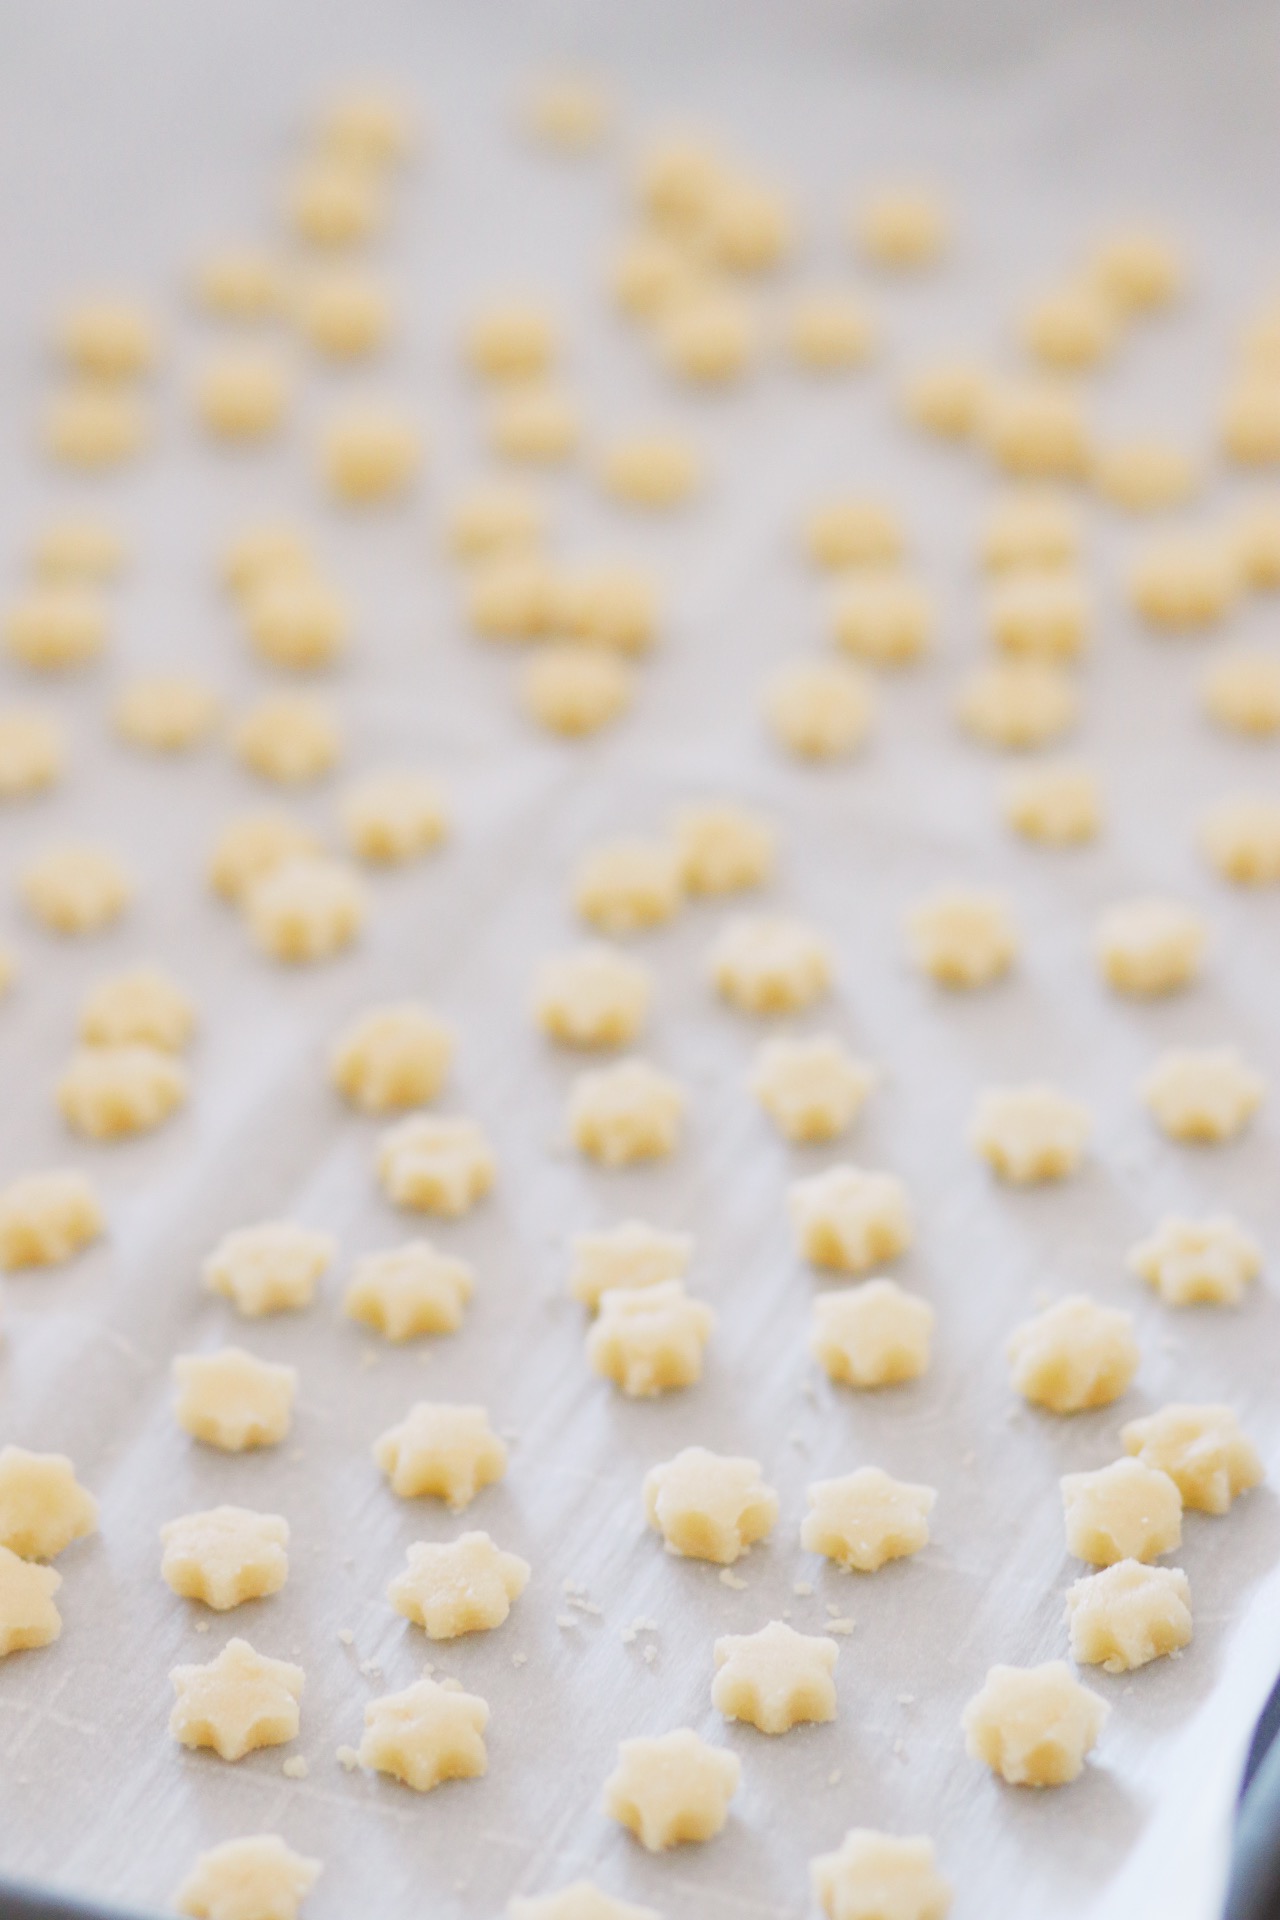
On the saving-time-and-therefore-sanity front, we’re in business. Because, unlike the rugelach cereal, this Hanukkah cereal requires a very short list of ingredients. And those individual star cereal pieces are punched out quickly, one after another, using a mini cookie cutter. (The rugelach, on the other hand, required individual rolling and egg wash and sprinkle-sprinkling and, well…it was a journey.)
On the kid-friendly front, we’re ALSO in business. I get a lot of DMs these days asking for more kid-inclusive crafts and tutorials, and I felt like heading back to the world of homemade cereal would be a good place to start. Kids + cereal = YES. But also, those cookie cutters I mentioned make it really easy for your kids to jump in and help out with both the making and eating of this cereal (with some parental supervision during the actual baking part, of course). It’s pretty hard to mess up tiny sugar cookies.
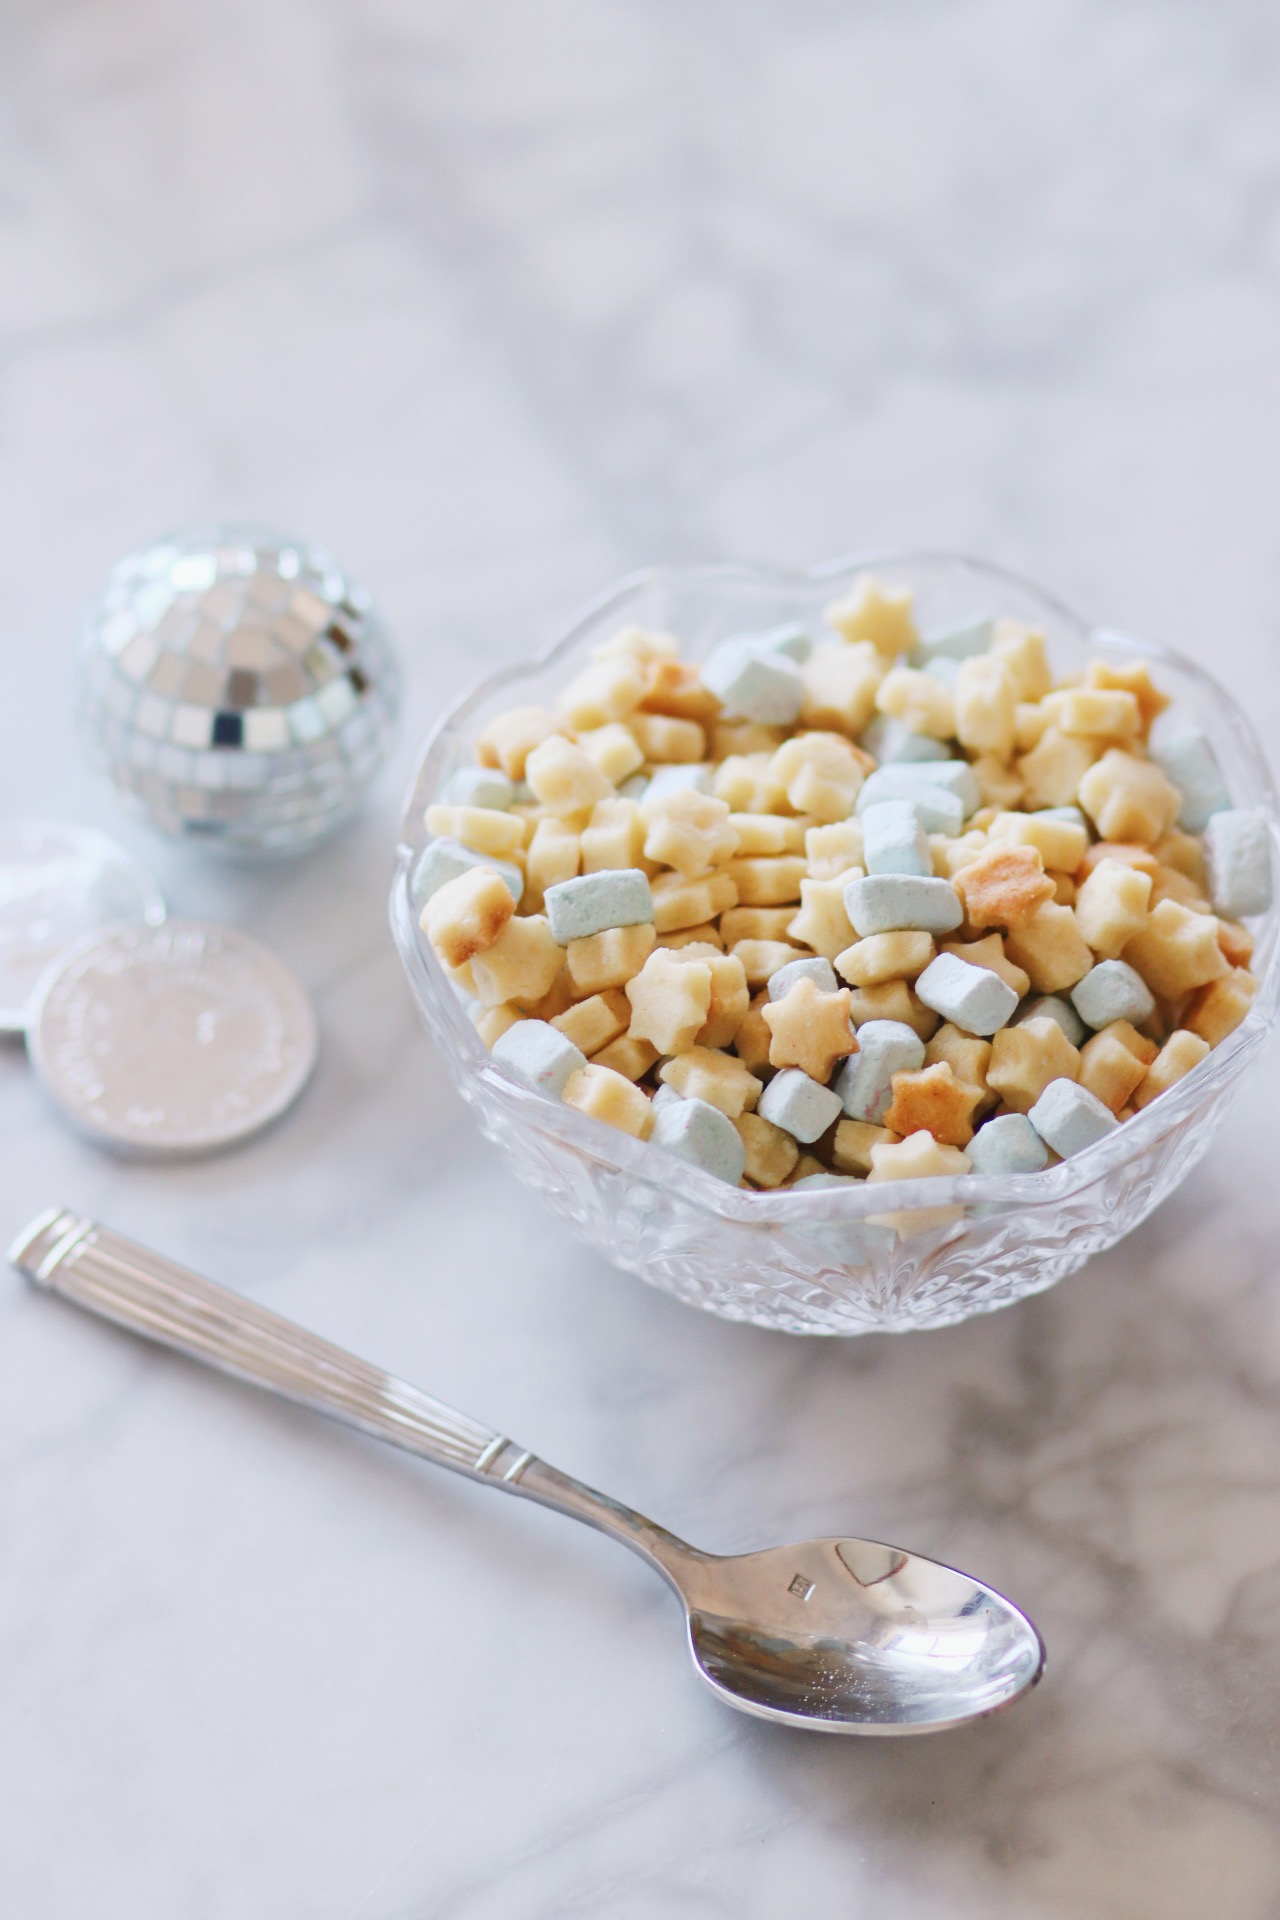
I’m super happy with how this project turned out. It’s quick, it’s cute, and something about those tiny little Stars of David just makes my heart sing. Also, if you make a big (read: quadruple) batch, your kids (or you!) can have it every morning of Hanukkah.
I mean, it is a special occasion, after all. And special occasions call for cookies for breakfast.
For those of you who don’t have kids and aren’t quite as mesmerized by the sheer adorability of this situation, I get that making your own cereal is kinda like, huh? You did WHAT?! WHY?!
Because of happiness and cuteness, that’s why.
Anyway, haters gonna hate. The rest of us will be over here eating the world’s cutest cereal.
Tutorial below!
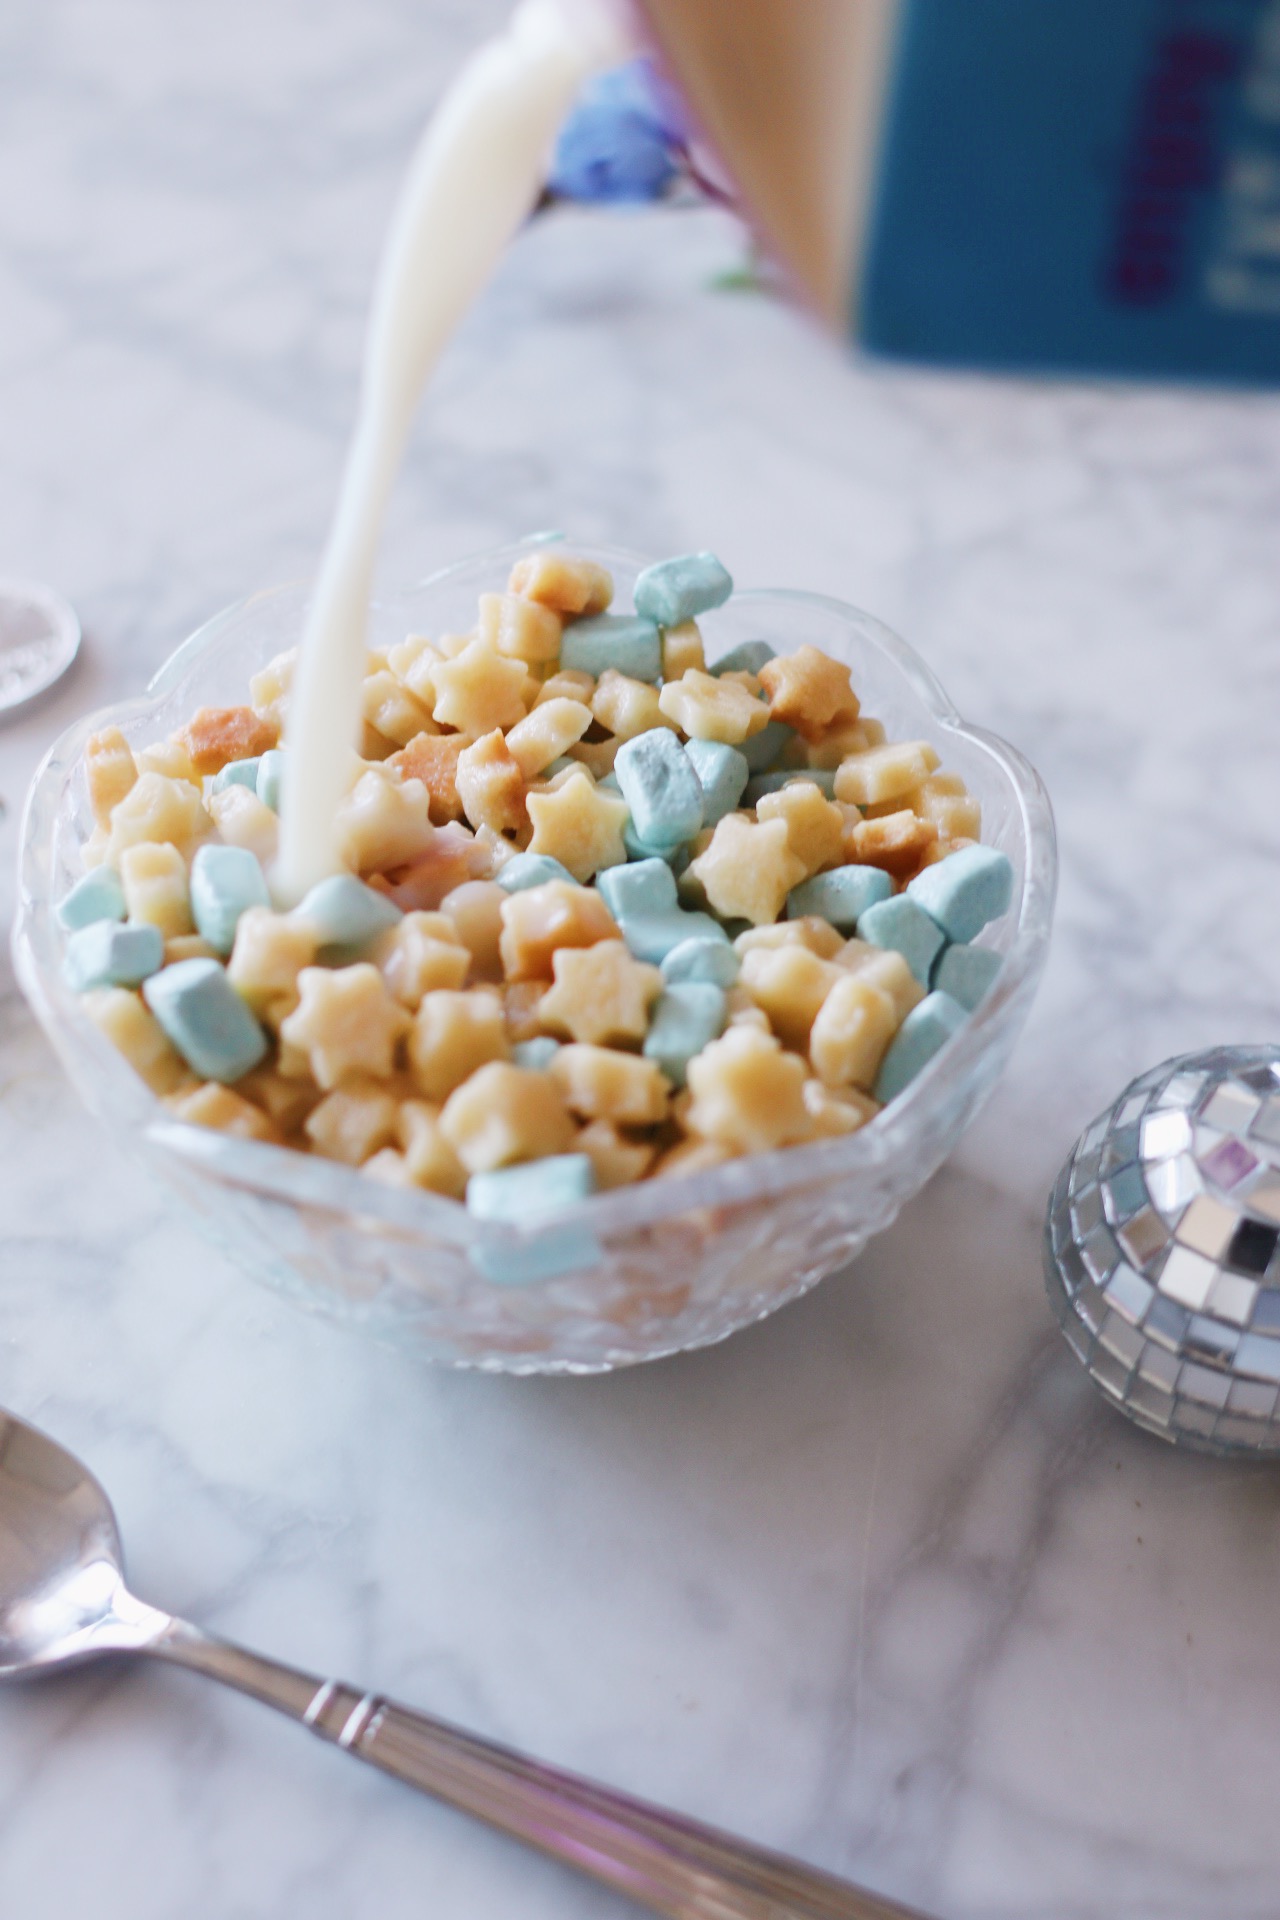
DIY Hanukkah Cereal
Makes two medium-sized bowls of cereal (this is an approximation because all bowls are different sizes)
What You’ll Need:
- One batch of Sally’s sugar cookie dough (make the recipe through step 2—and begin with my Step 1 below once your dough is chilled! The only difference: Rather than rolling to 1/4″ thick, you’ll want to roll it to about 1/8″ thick; you may need more than two baking sheets in order to accomplish this.)
- Miniature Star of David cookie cutter
- 2 cups blue dehydrated marshmallows or kosher mini marshmallows (you can make your own, too)
- Milk!
What You’ll Do:
- Preheat the oven to 350°F.
- Make the star-shaped cereal pieces: Once your dough has chilled, use a miniature cookie cutter to cut out as many star-shaped pieces as you can. You can re-roll the dough “scraps” to make sure you don’t waste any. Arrange on several parchment-lined baking sheets, making sure none are overlapping or touching (but it’s okay if they’re close together; they won’t expand much during the baking process). Bake for 7-9 minutes or until lightly browned (since the pieces are so small and can burn easily, you’ll want to keep a close eye on them). Let each batch rest on its respective baking sheet until it’s fully cool.
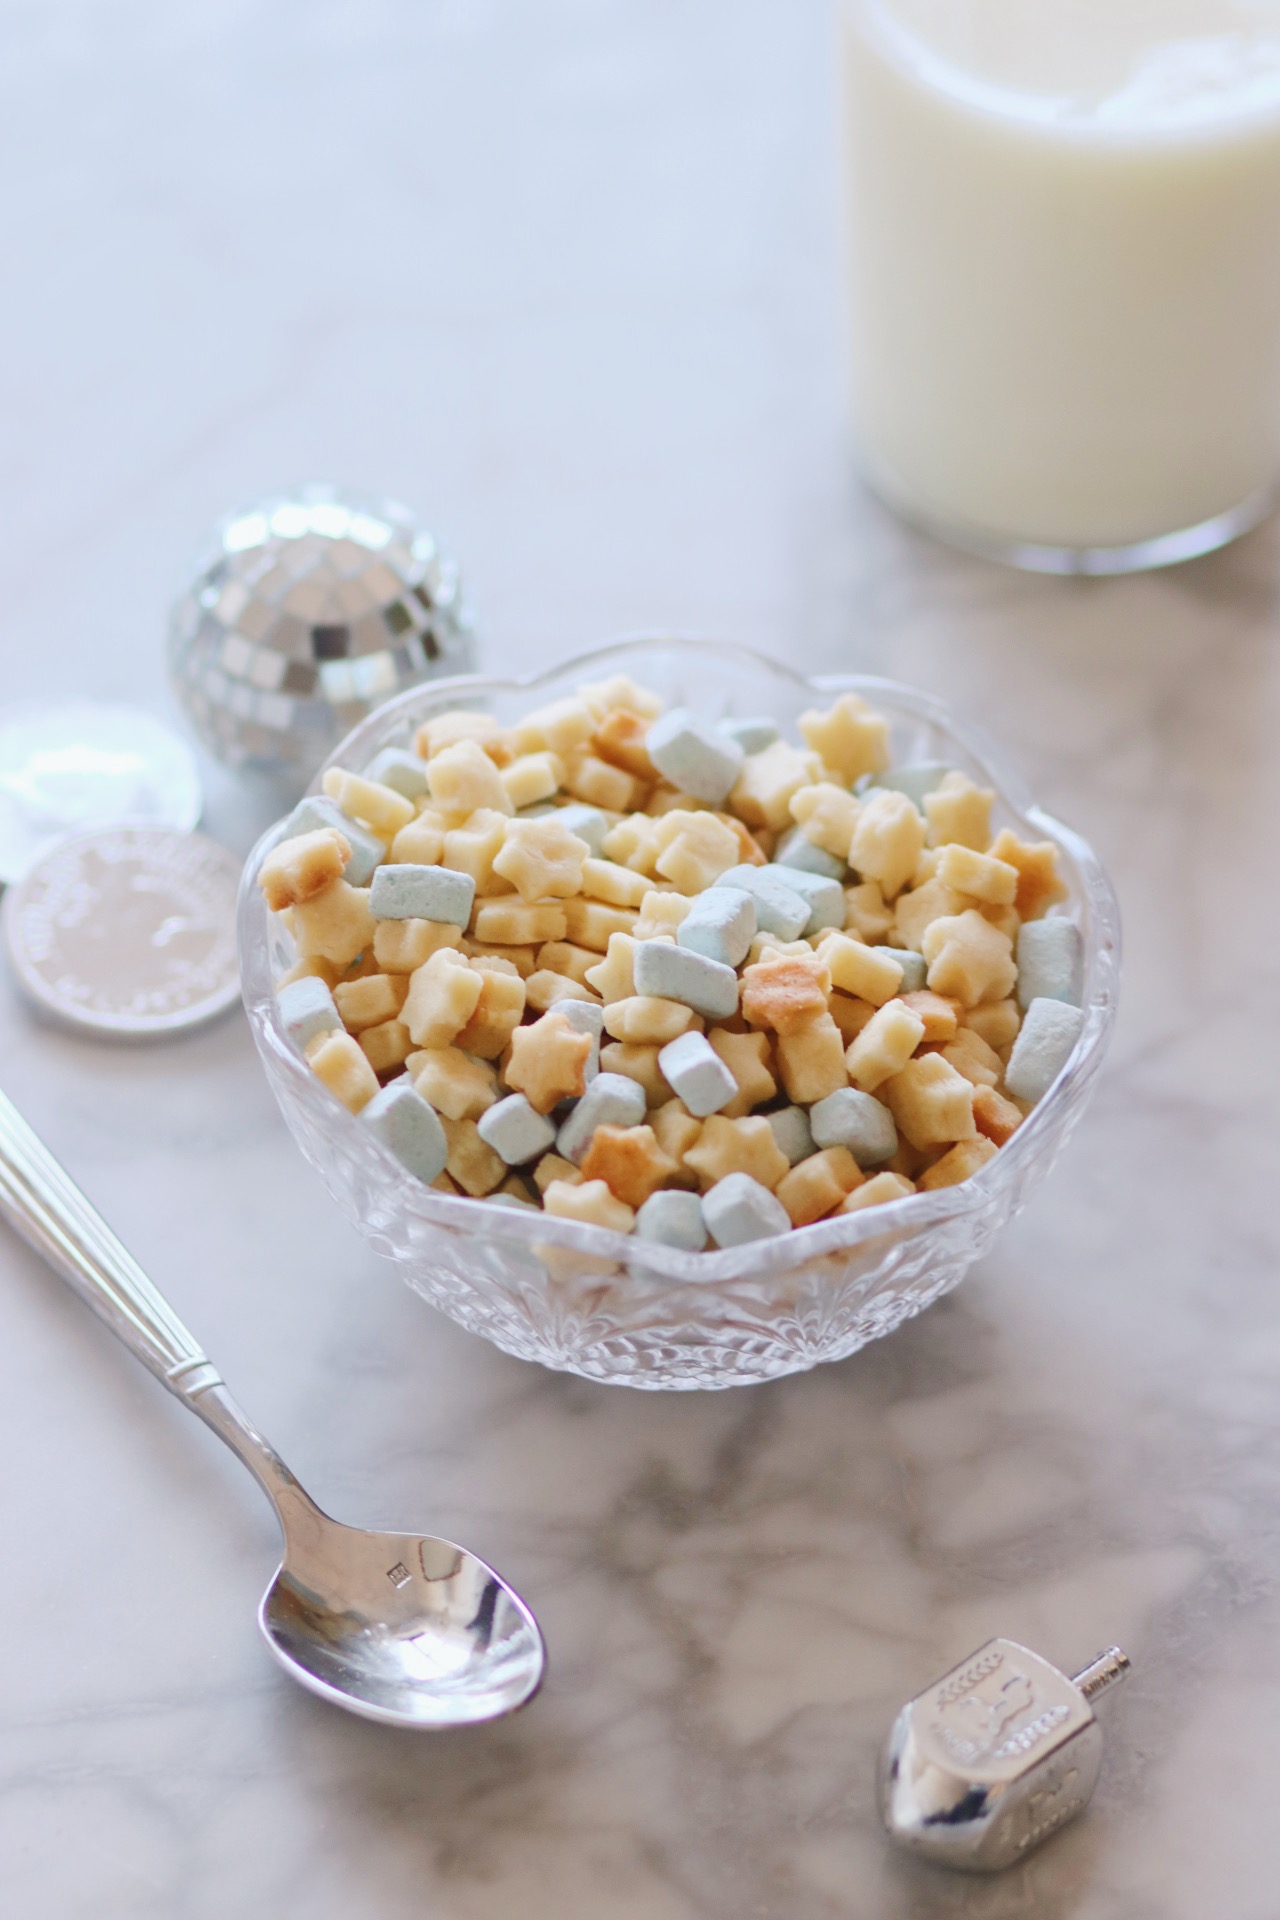
- Combine the star-shaped cereal pieces with the marshmallows. Store tightly covered for up to 5 days at room temperature or for up to 10 days in the fridge.
