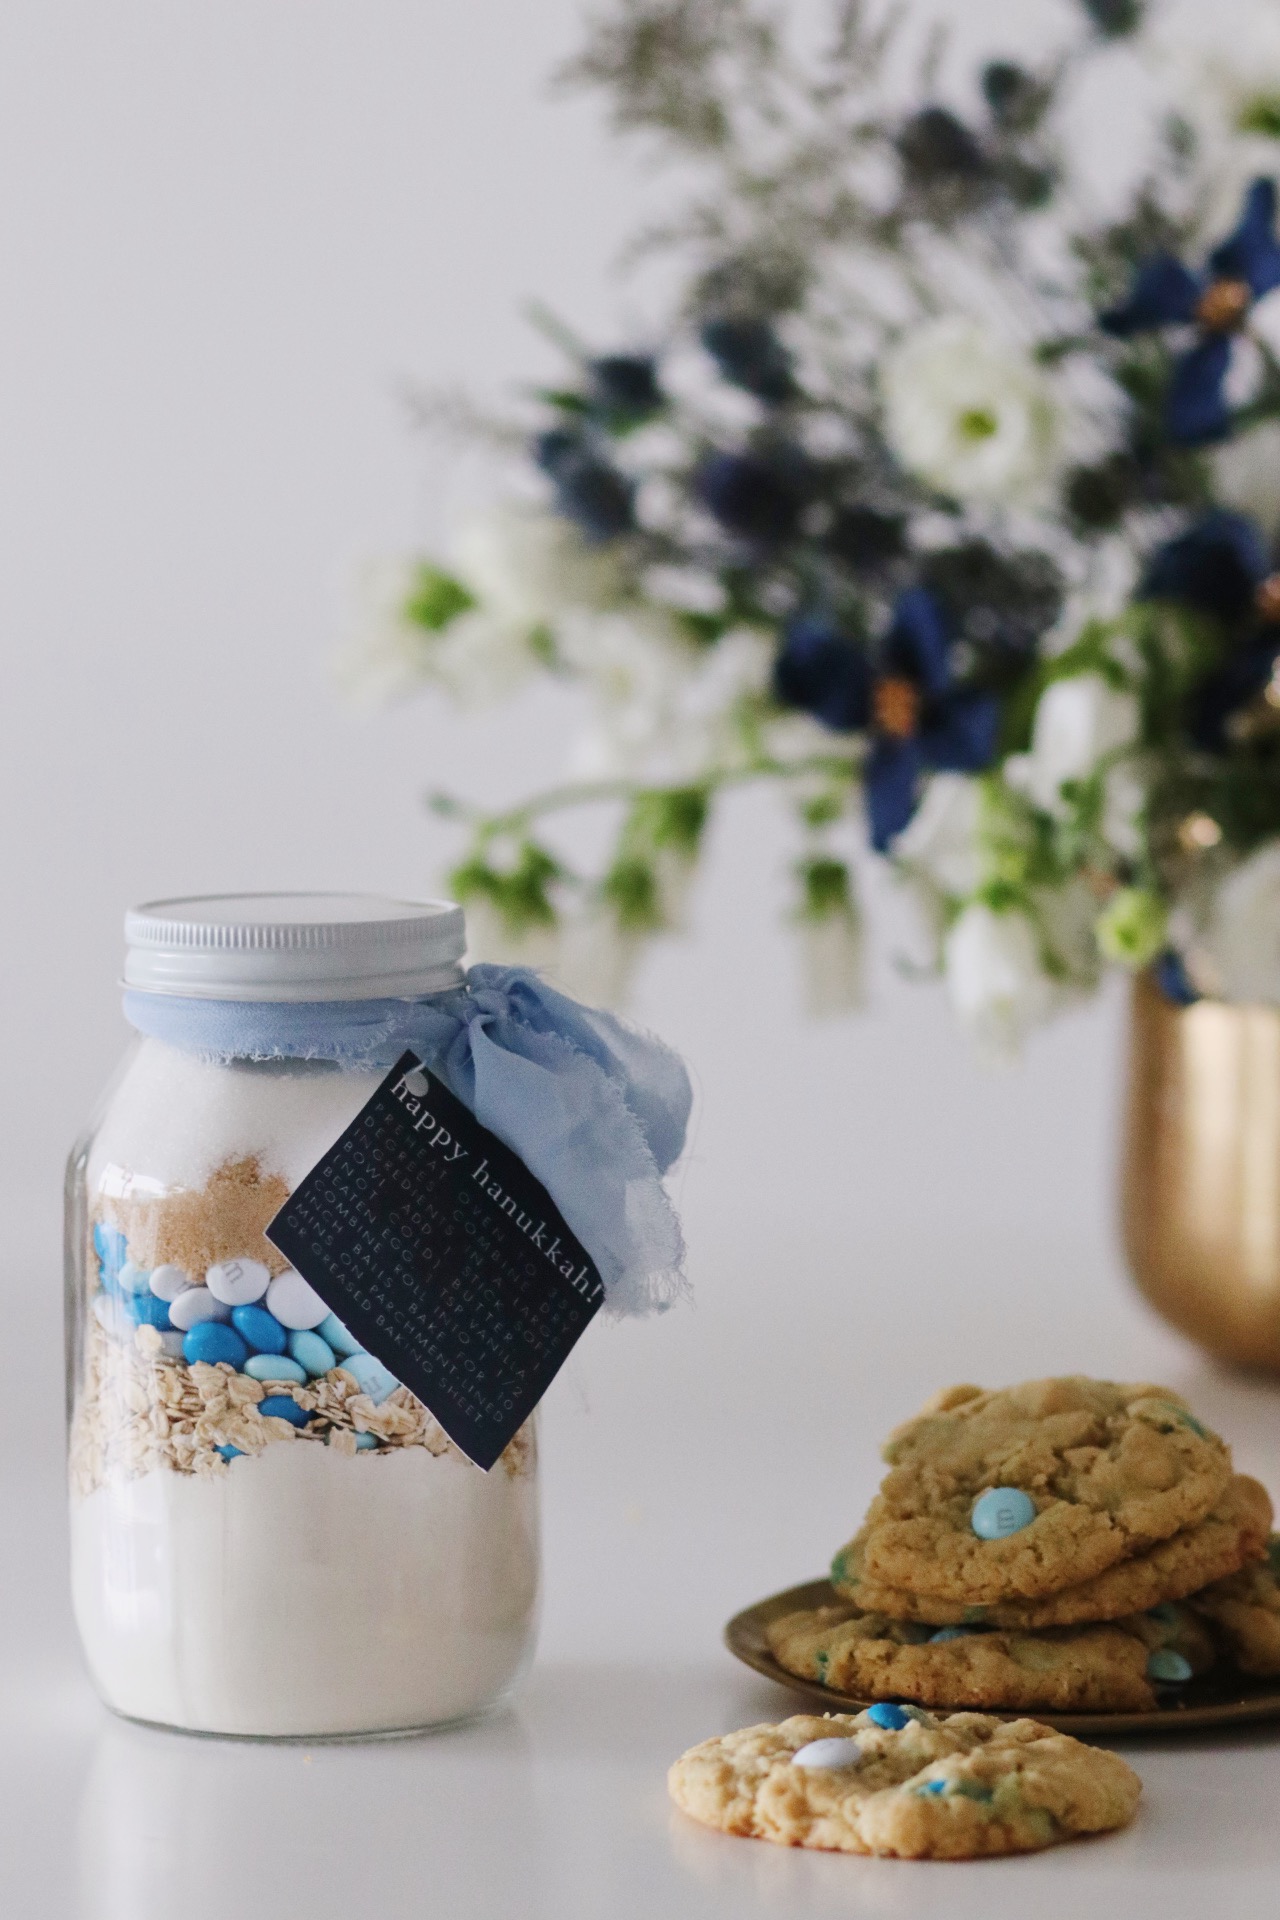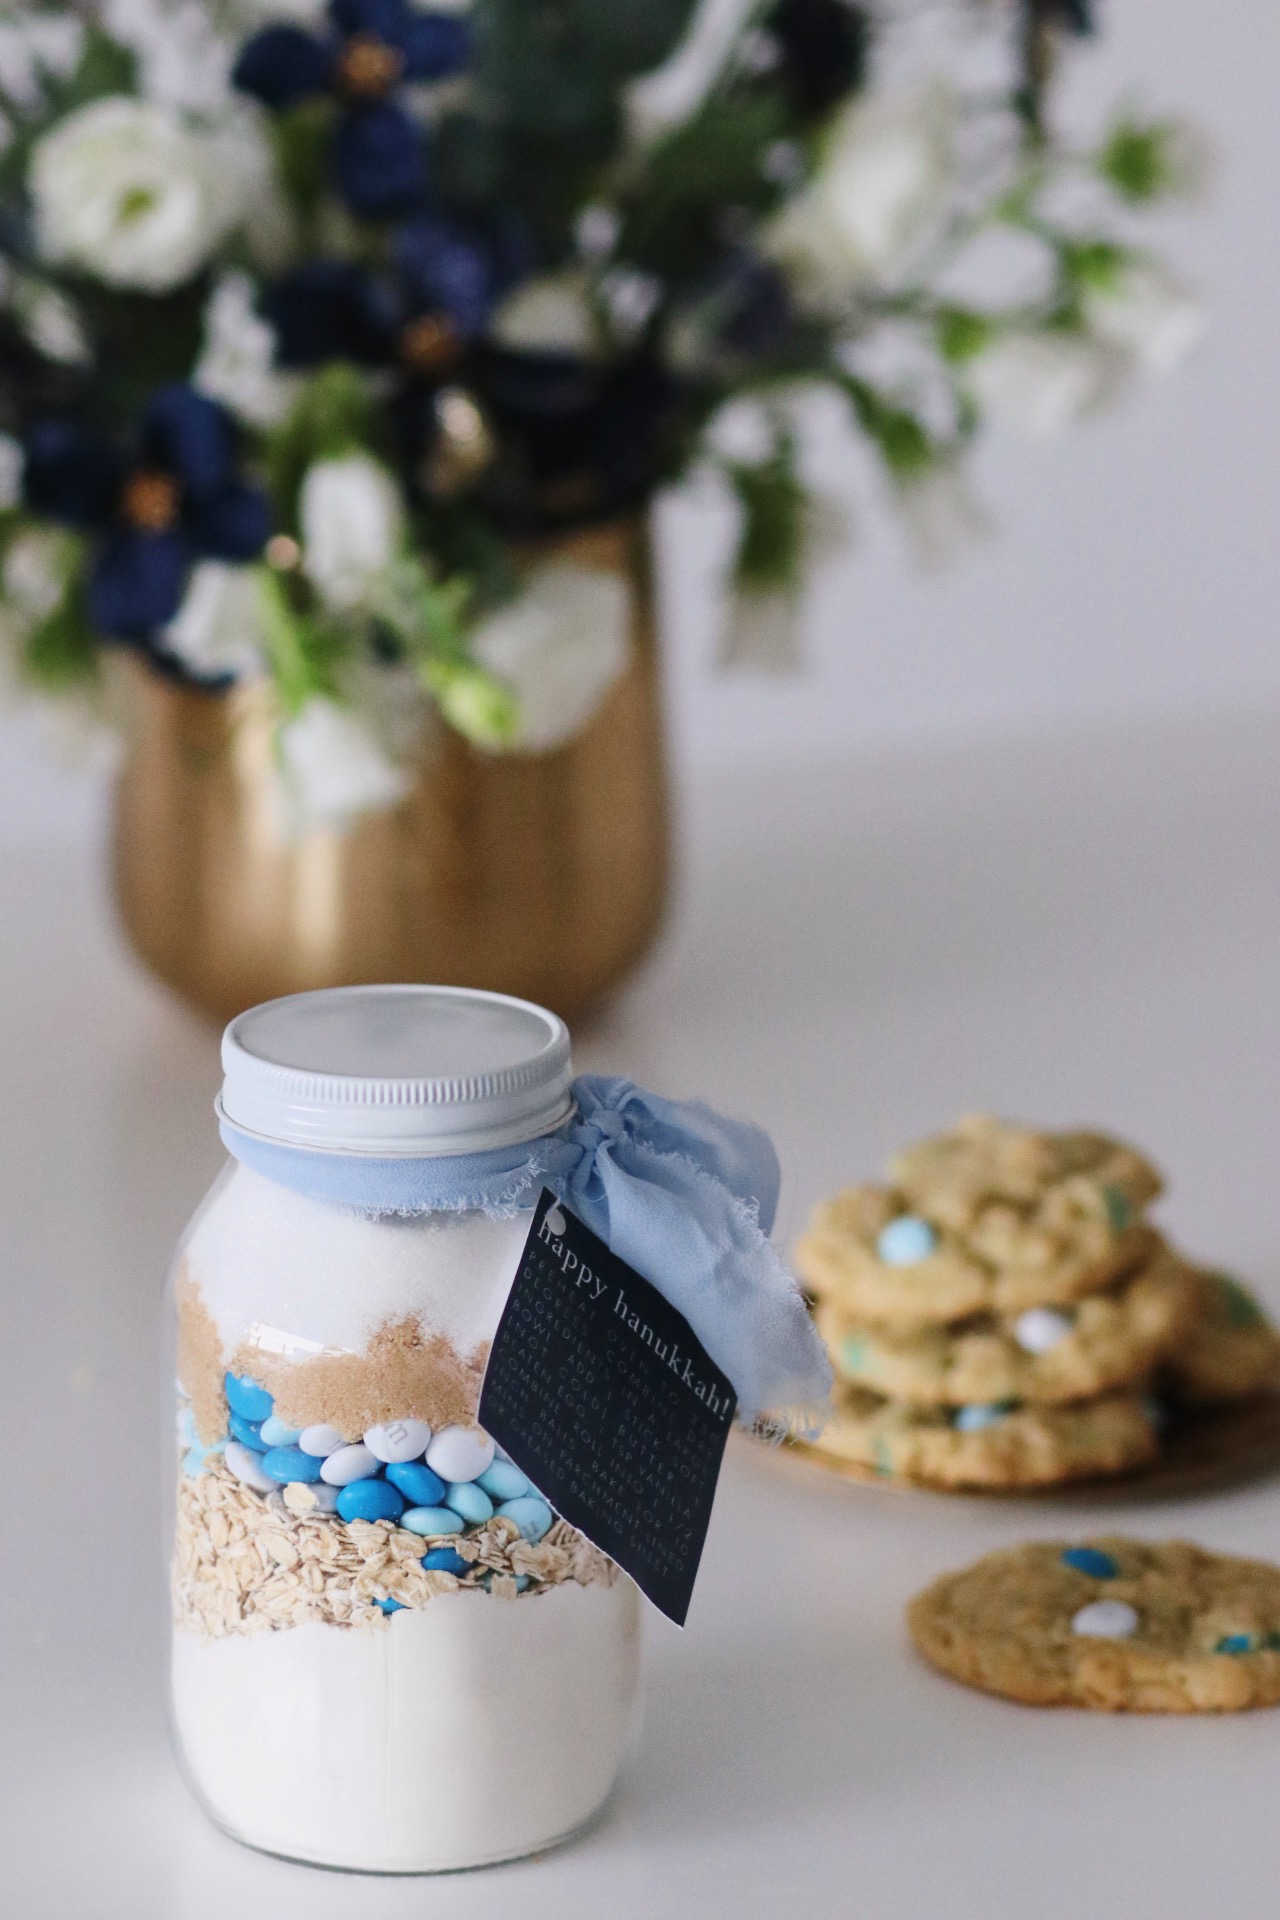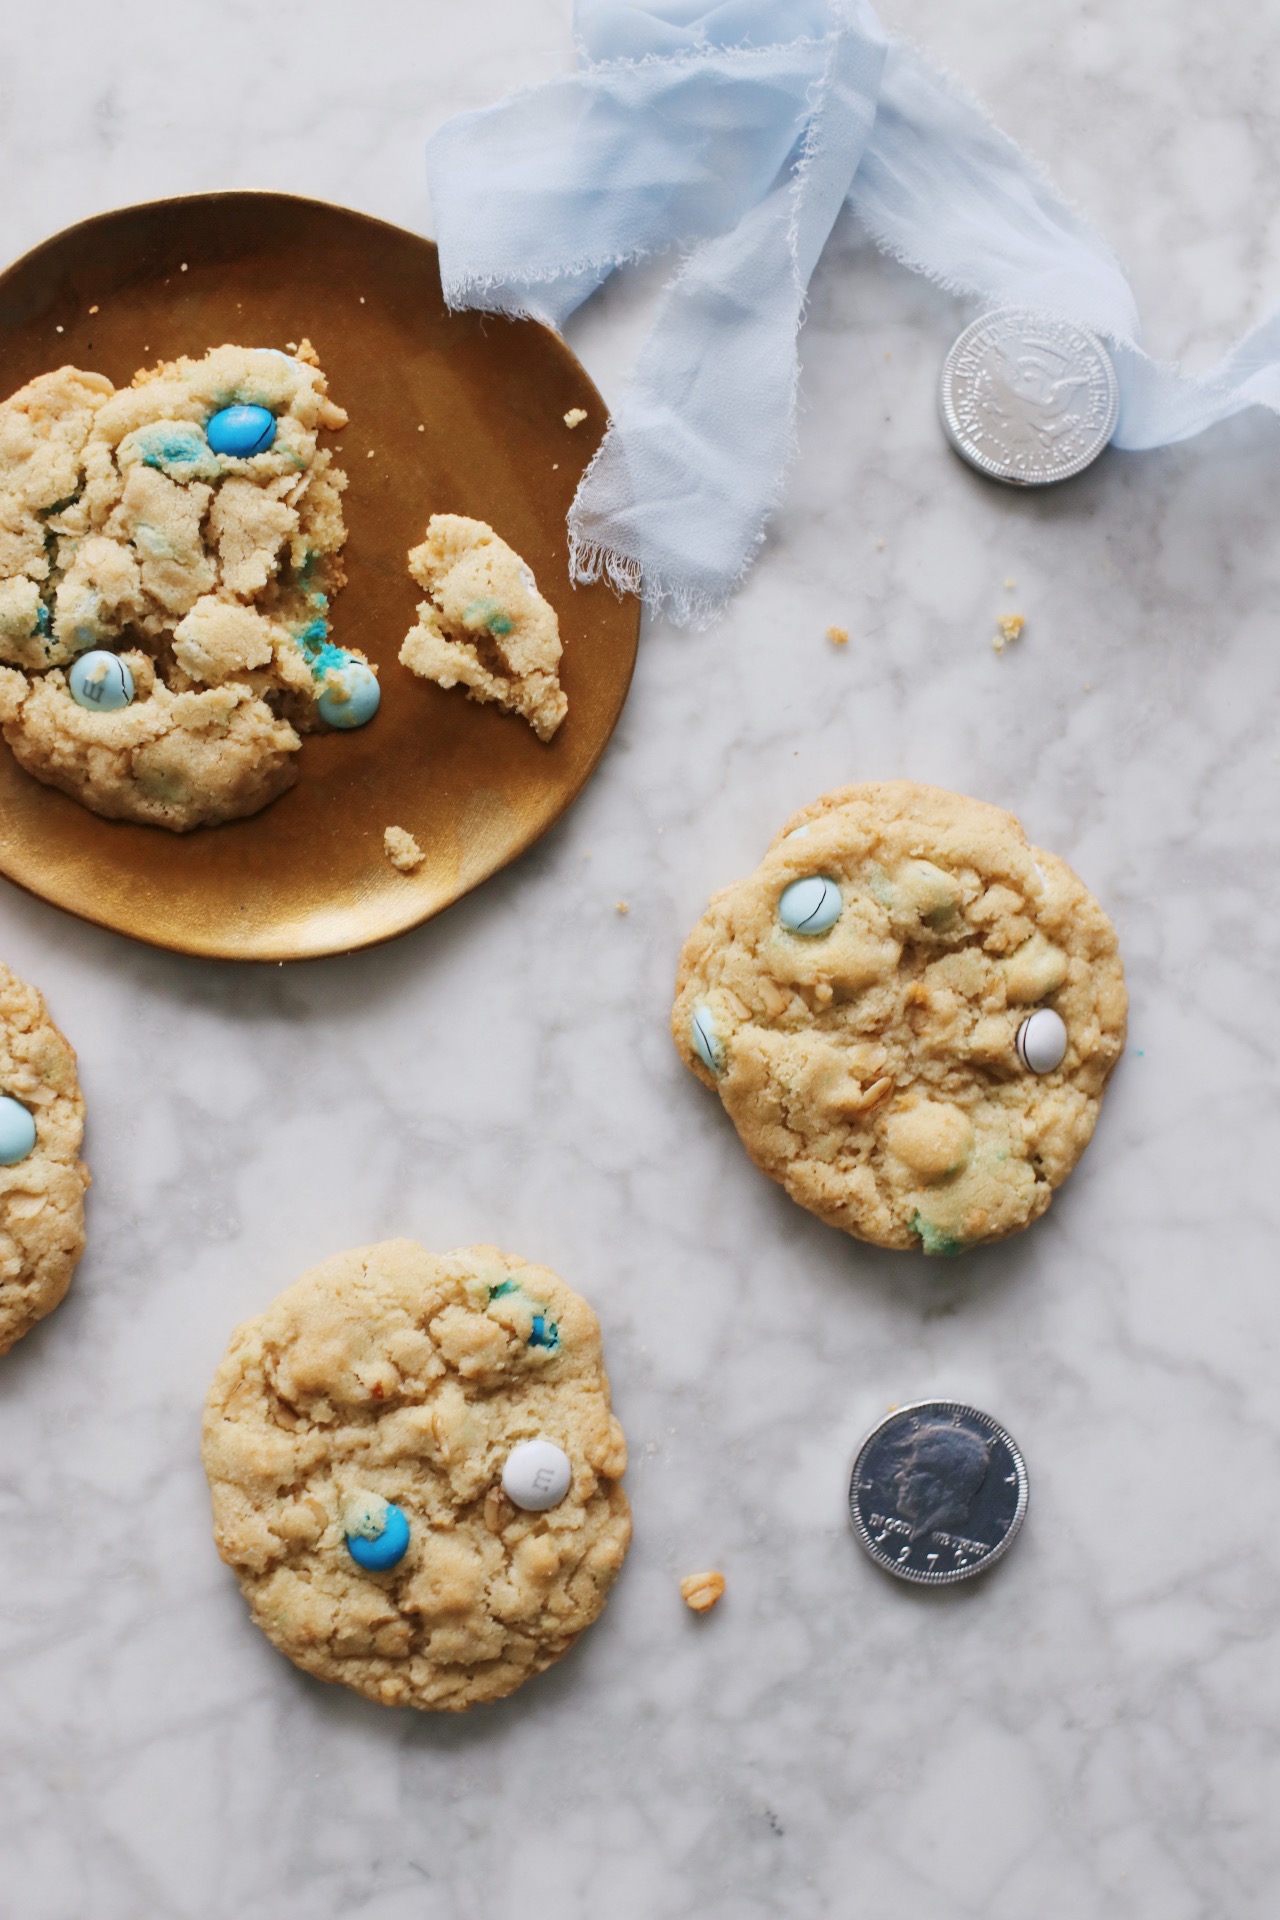
All the deliciousness of homemade cookies without having to actually bake anything! That’s what these are. Because maybe you don’t like to bake. Or maybe you broke your oven last week and nearly burnt your apartment down after reading a magazine article that claimed you could melt wax off of a menorah by warming it up in the oven.
Okay, in this unnamed magazine’s defense, they said to set the oven to 150, use protective gloves, and place a baking sheet, cotton rag, and aluminum foil beneath the menorah. Here’s what I did: None of that. Absentmindedly set the oven to 350. Menorah went in on its own. Baking sheet who? Protective gloves what?
An INFERNO ensued.
I have had better moments.
Suffice it to say, these no-bake beauties will once again be my go-to. And wouldn’t they make a very cute gift?
Find the tutorial, printable labels, and the full recipe below!


Hanukkah M&M Cookie Mix
Adapted from Bakerella.
What You’ll Need:
- A 1-quart Ball jar (Tip: Use the smooth jars they sell specifically at craft stores—that way, there’ll be no patterned glass obscuring the view inside the jar)
- 1 1/3 cup all purpose flour
- 1 teaspoon baking powder
- 1 teaspoon baking soda
- 1/4 teaspoon kosher salt
- 1 cup rolled oats (also called “old-fashioned oats”)
- 3/4 cup blue and white M&Ms (I got them at a local candy shop where they sort the candies by color, but you can also find them at party supply stores, too, or sort out the blues from a regular bag of M&Ms)
- 3/4 cup semisweet chocolate chips (optional)
- 1/2 cup light brown sugar, packed
- 1/2 cup granulated sugar
- Labels
- Ribbon (I’m a sucker for chiffon, but you do you!)
What You’ll Do:
- Using a spoon or small funnel, layer the ingredients into the jar in the following order, and PACK ‘EM IN. (The order in my photos works, too, but it resulted in the granules of sugar falling into the air spaces in the oats…sigh. this is better engineered for success!):
Bottom layer: Flour, baking powder, baking soda, salt.
Second-from-bottom layer: Oats!
Third-from-bottom layer: M&Ms.
Fourth layer: Brown sugar.
Fifth and final layer: Granulated sugar. - Top with the jar lid, making sure it’s really well-sealed.
- Add labels and ribbon! Print out these labels onto thick card stock (I printed them at my local office supplies store), cut them out, and use a hole punch to create a small opening in the upper left or right corner of each (it’s okay if it’s a little close to the words; you’ll still be able to read it!). Thread baker’s twine through that opening; tie around the lid of the jar. Finish with a small bow.
- Add a larger chiffon ribbon around the jar lid to finish off the gift. Share with a friend! The recipe is listed on the printable labels, but here it is just in case you want to try making these cookies yourself: “Preheat oven to 350 degrees. Combine dry ingredients in a large bowl. Add 1 stick soft (not cold) butter, 1 beaten egg, 1 teaspoon vanilla. Combine. Roll into 1 ½ inch balls. Bake for 10 minutes on a parchment-lined or greased baking sheet.”
