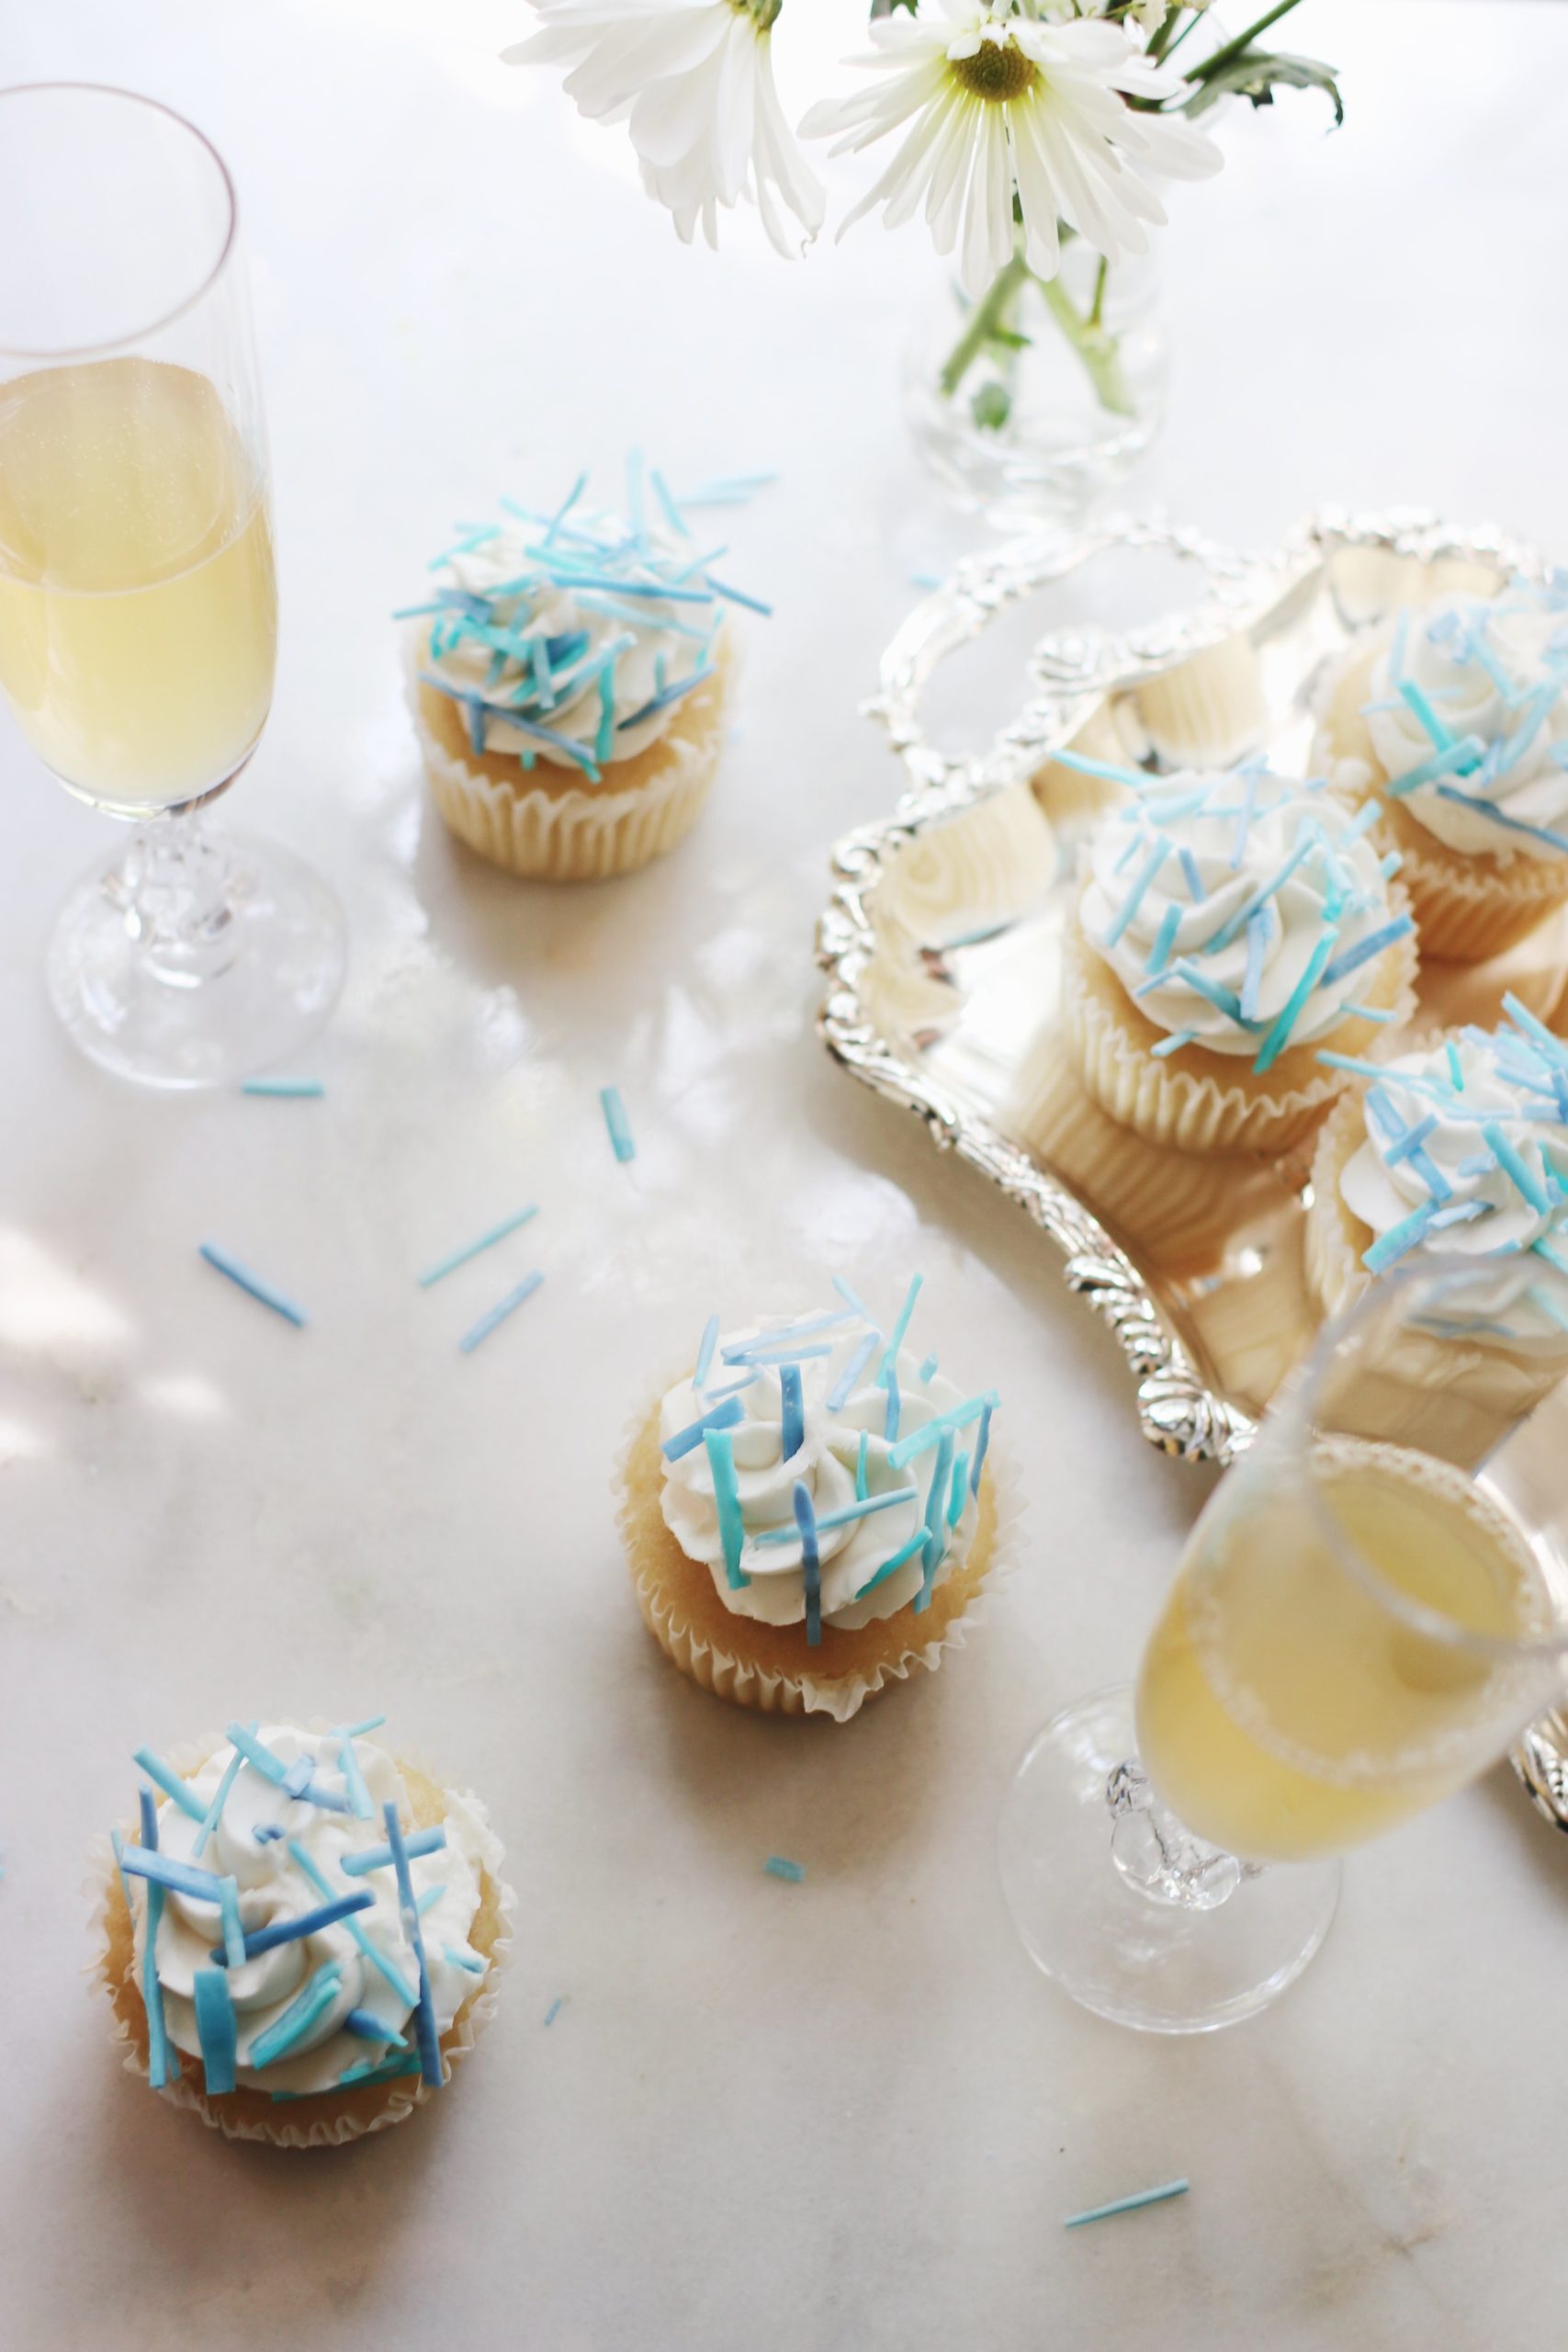
yes. really. DIY SPRINKLES!!!!!!!!!!!!
as in, sprinkles you make yourself. sprinkles from scratch. homemade sprinkles.
for those of you who haven’t yet catapulted yourself out the nearest window: hello! i know what you’re thinking. who needs to make sprinkles from scratch?! and WHY? (and how?!) but mostly, why?
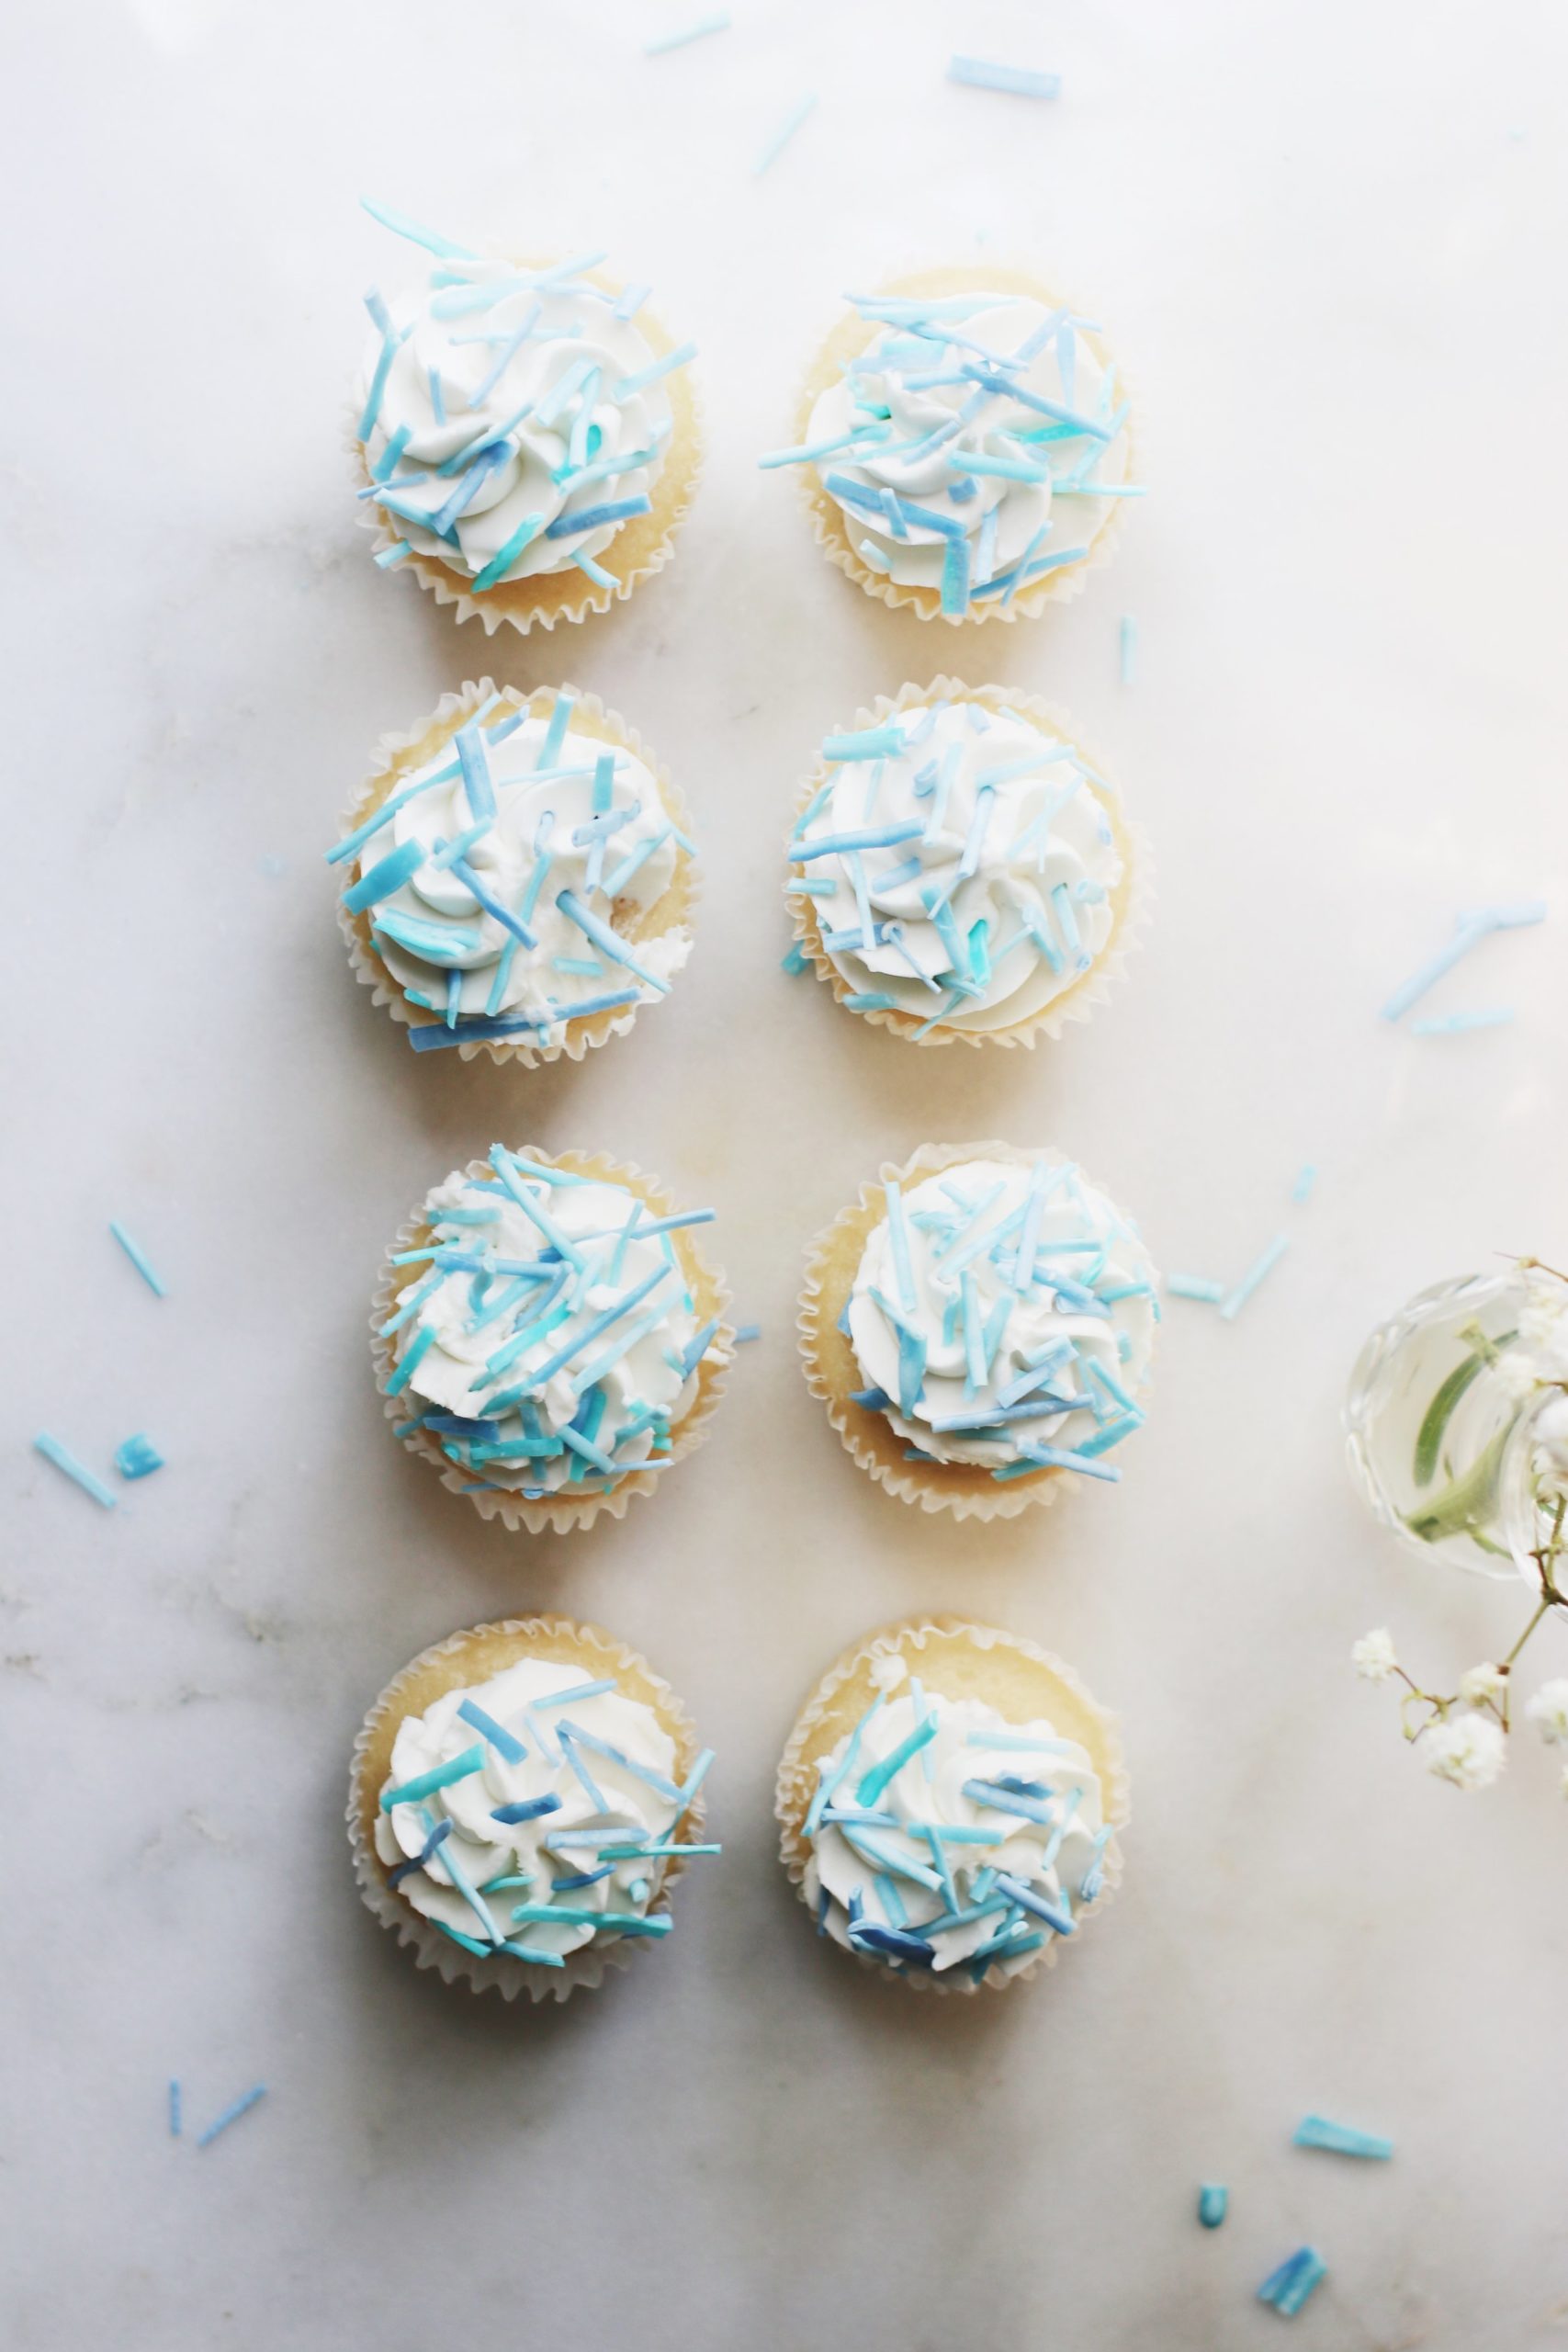
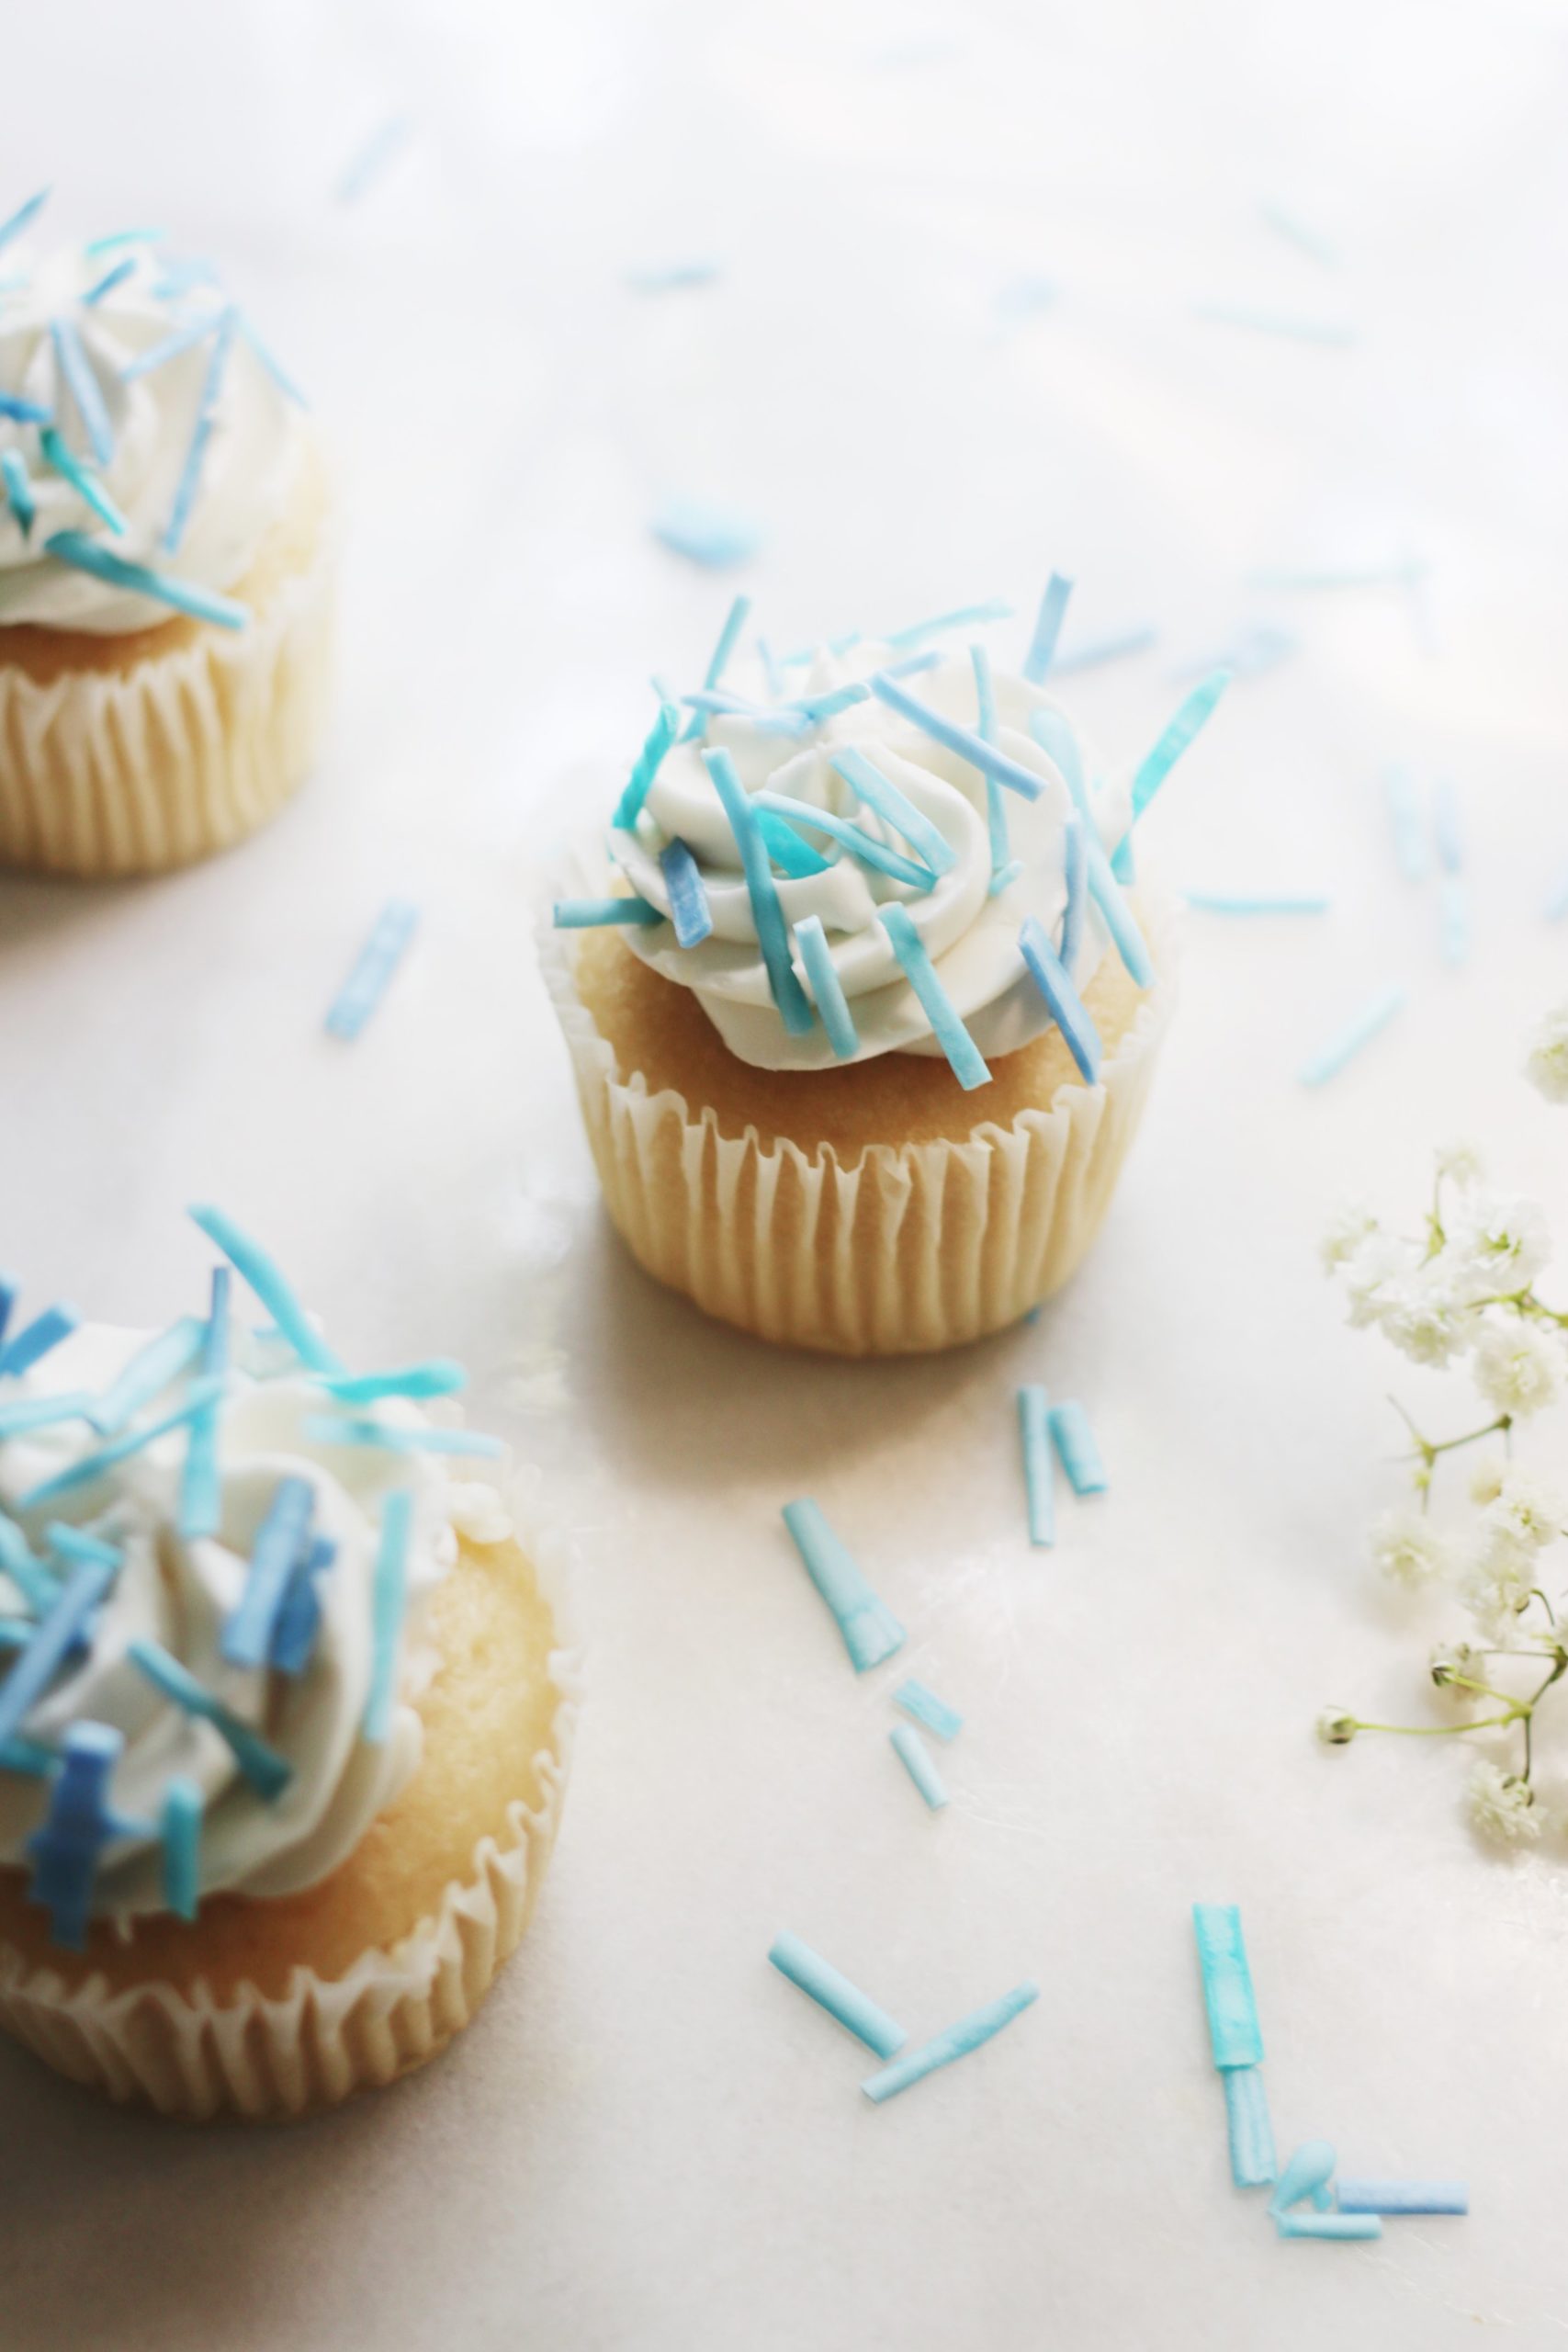
friend, i’ll tell ya why. because sprinkles from scratch are different from ordinary sprinkles. they’re humungous, for one thing, which just makes them all the more adorable. but they’re also customizable, meaning you can match them to whatever party theme or holiday decor you’ve got going on. you can make sprinkles to match your wallpaper. your plates. your hair. your CAT.
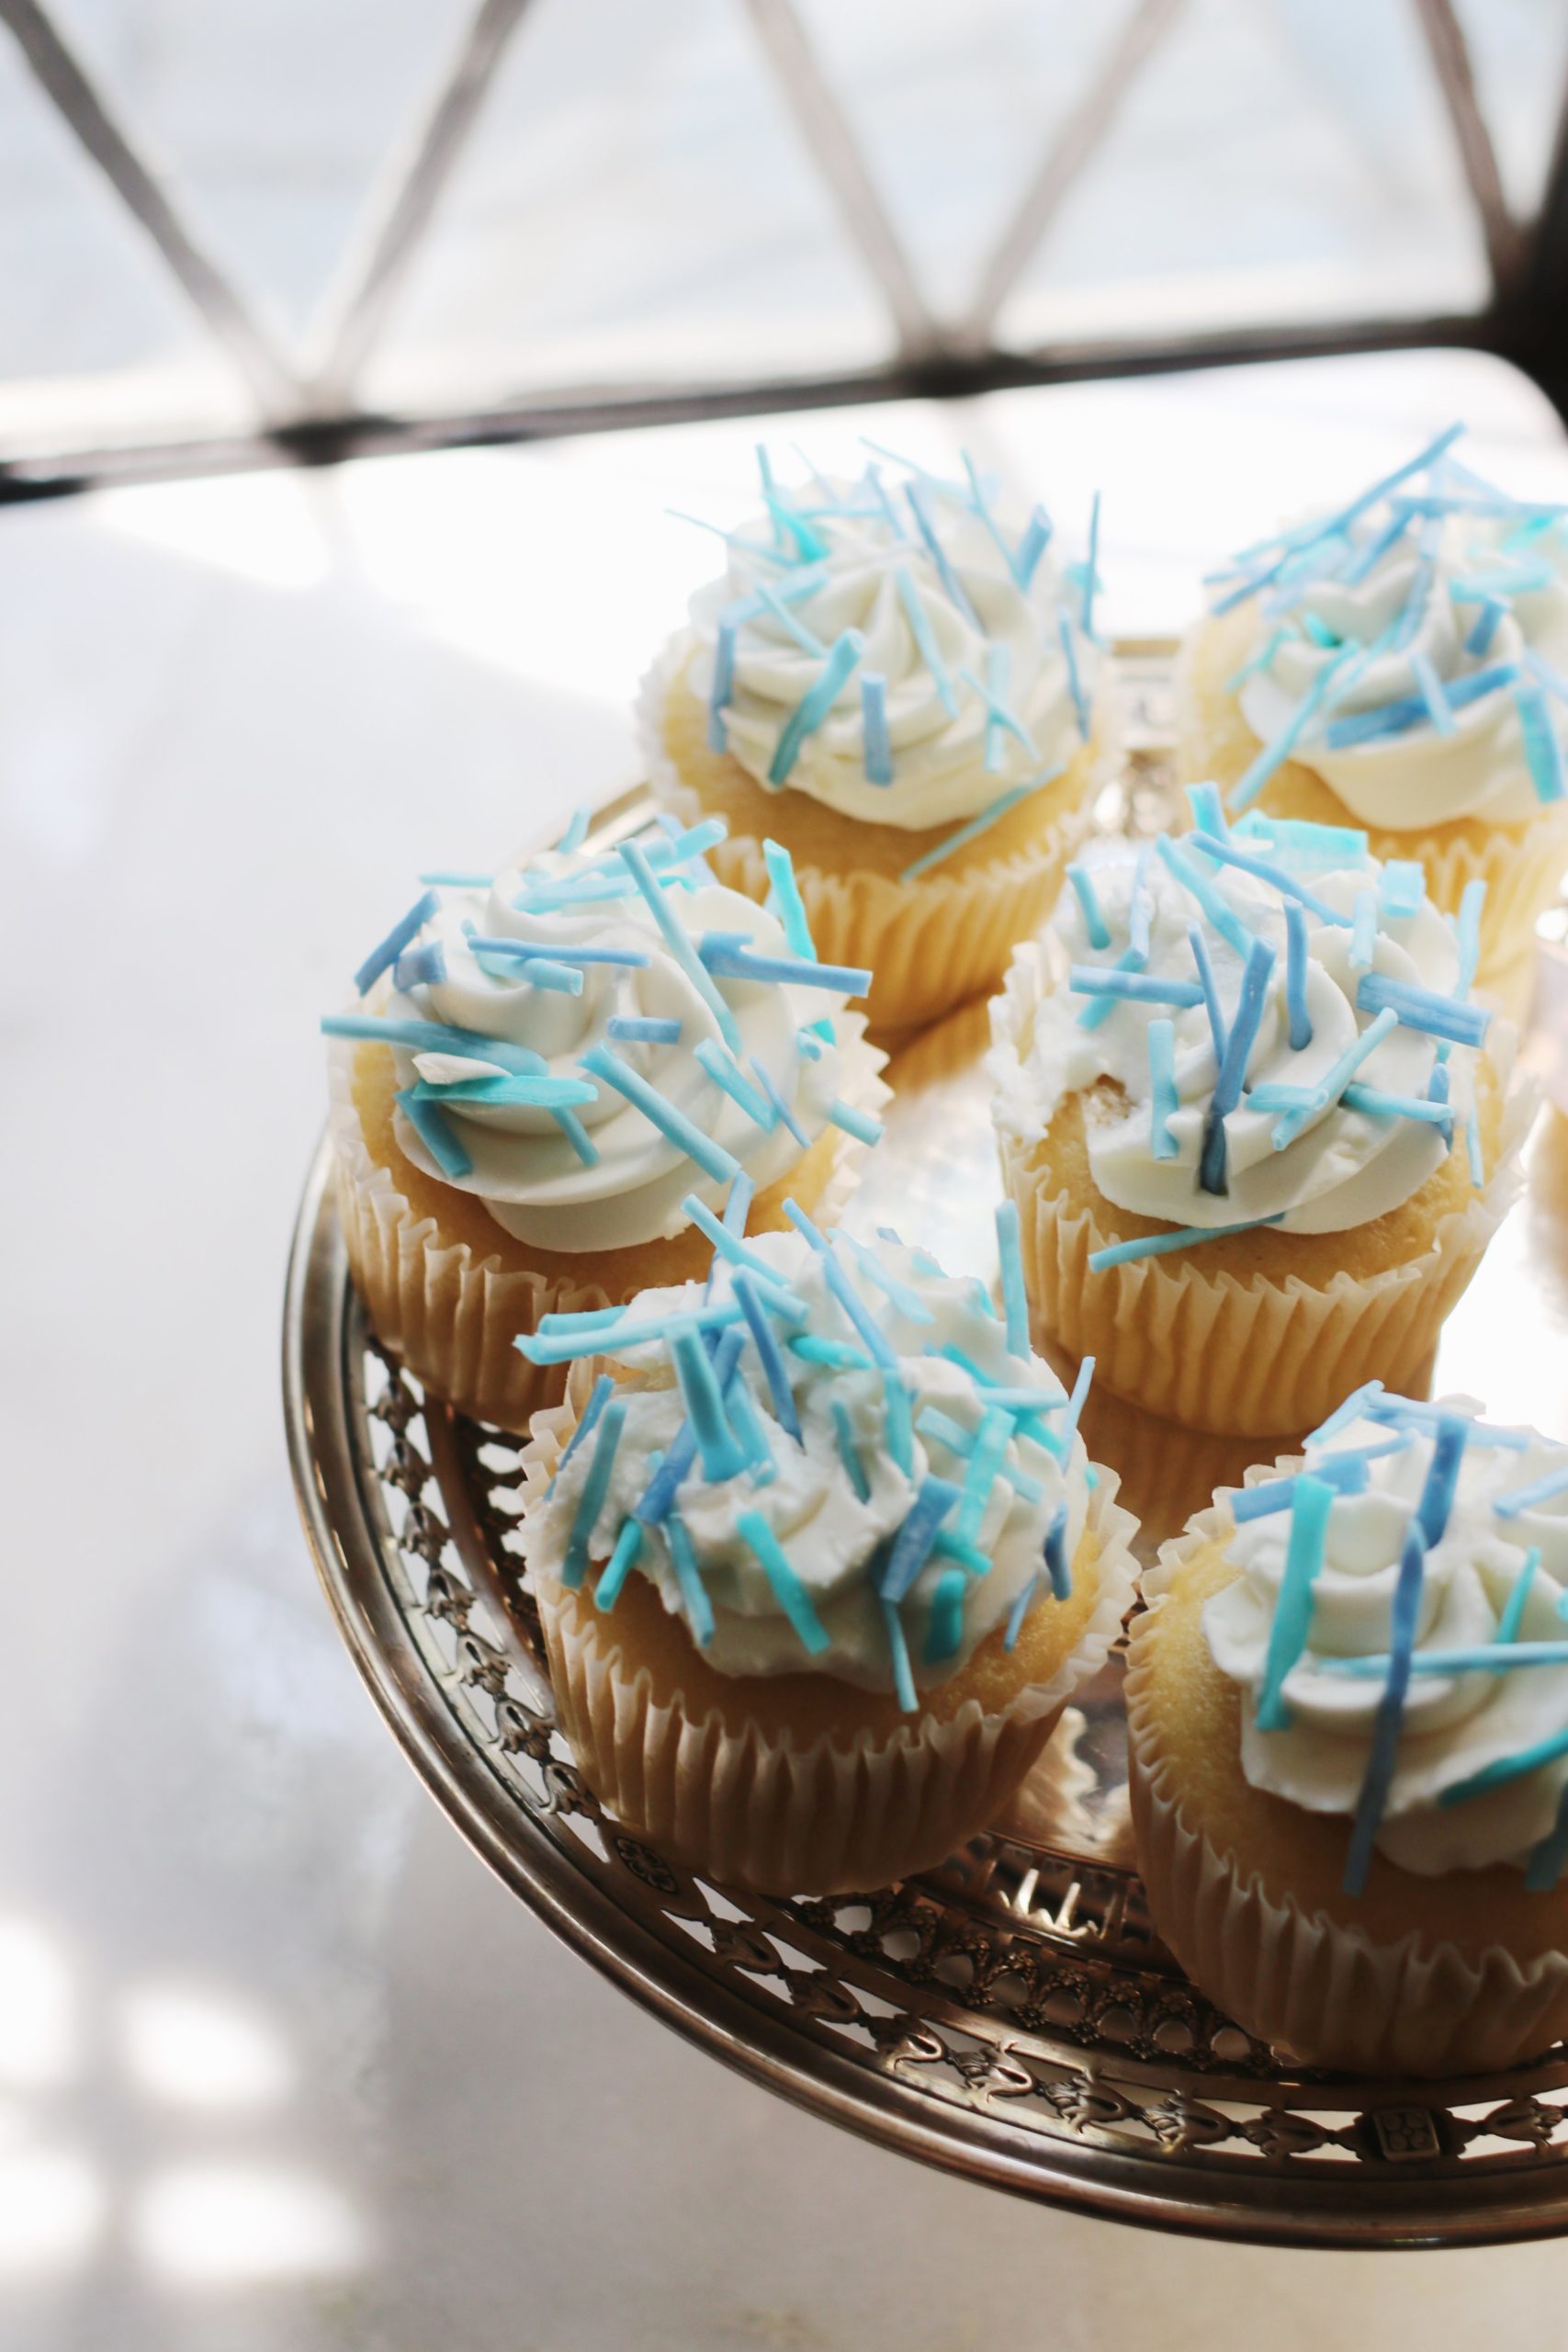
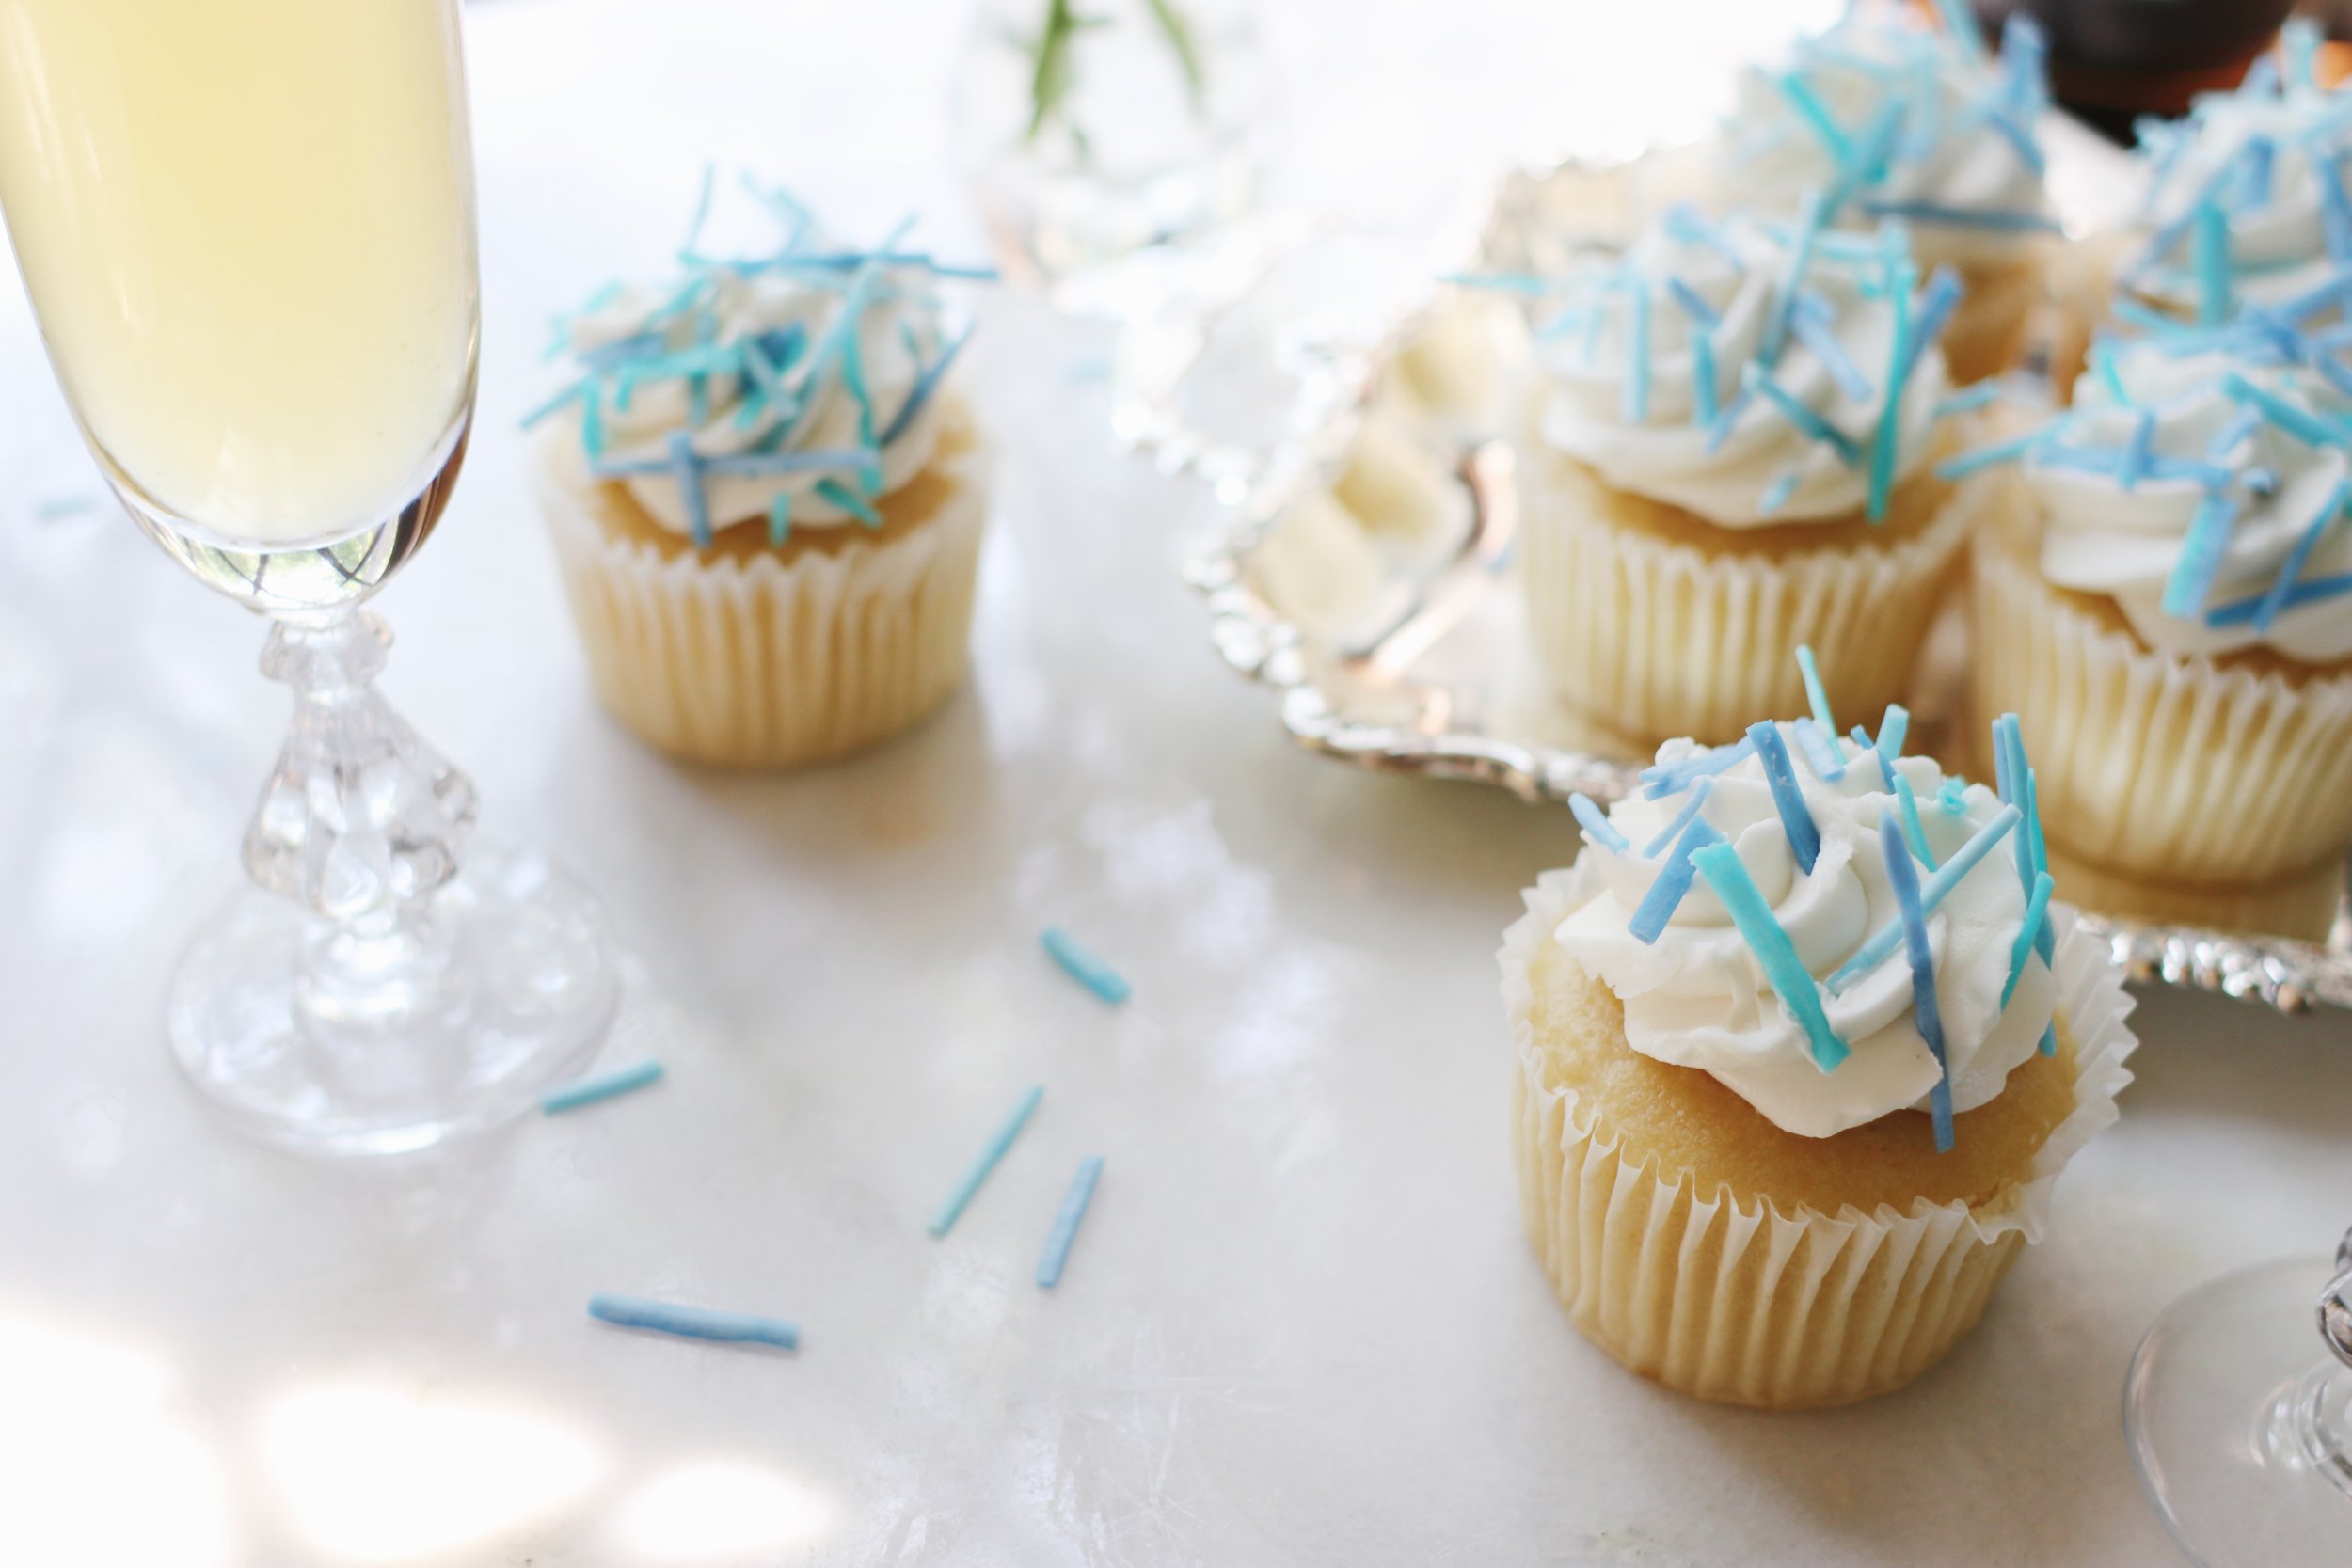
they’re easy, too. like, practically impossible to mess up. if you do mess up, however, you can just toss (or eat) the tiny messed-up pieces, and your party guests will be none the wiser.
BRILLIANT.
oh, and homemade sprinkles actually taste good. novel concept, right? i don’t mean to hate on store-bought sprinkles—in fact, i’m normally a bit of a devotee—but i so prefer the chewier, less crunchy consistency of the homemade ones. they’re just a little more pliable. like fondant. which makes sense, since they’re not so much “sprinkles” as they are “dried-out royal icing.”
in fact, that’s…exactly what they are.
but i think we can agree that “dried-out royal icing” doesn’t have quite the same ring to it.
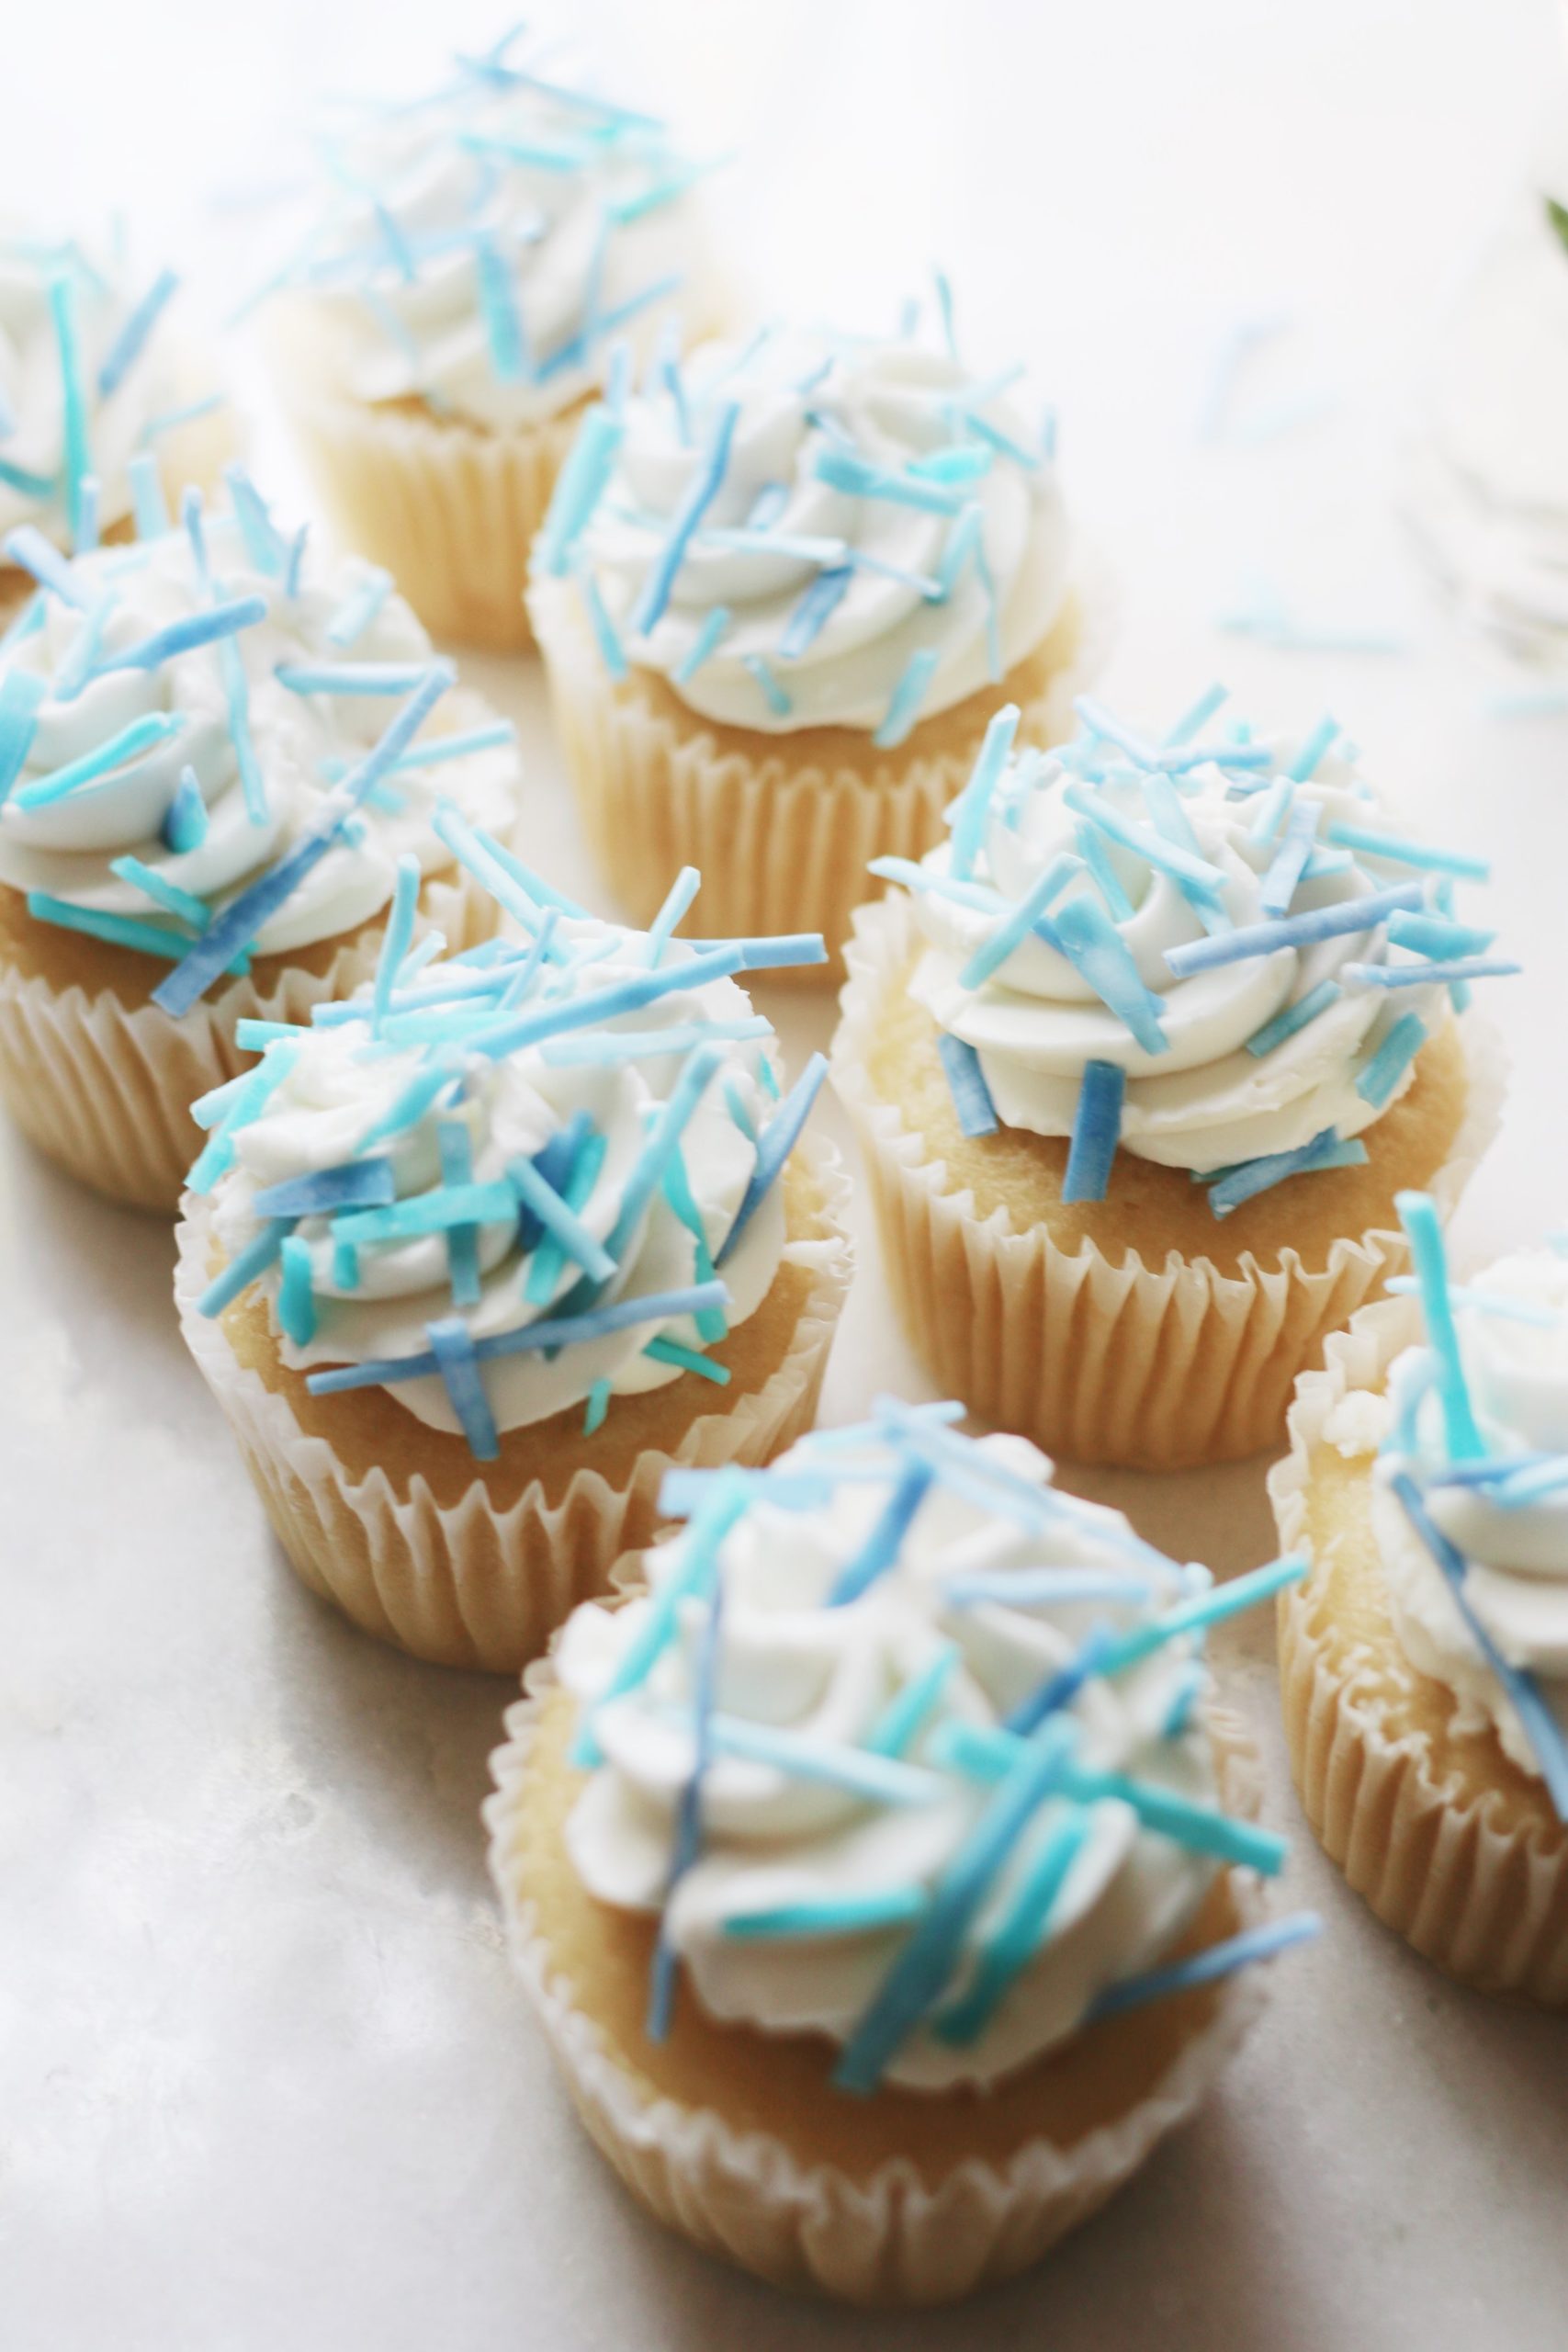
DIY Sprinkles
The base recipe here is republished from Martha Stewart Living, with the colors skewed toward Hanukkah festivities. You can also watch my friend Lindsay make a batch of sprinkles in the Martha test kitchens over here!
what you’ll need
- 1 1/2 cups confectioners’ sugar
- 1 tablespoon light corn syrup
- Splash of vanilla extract
- Neon food coloring (or regular will do if that’s what you’ve got!)
what you’ll do
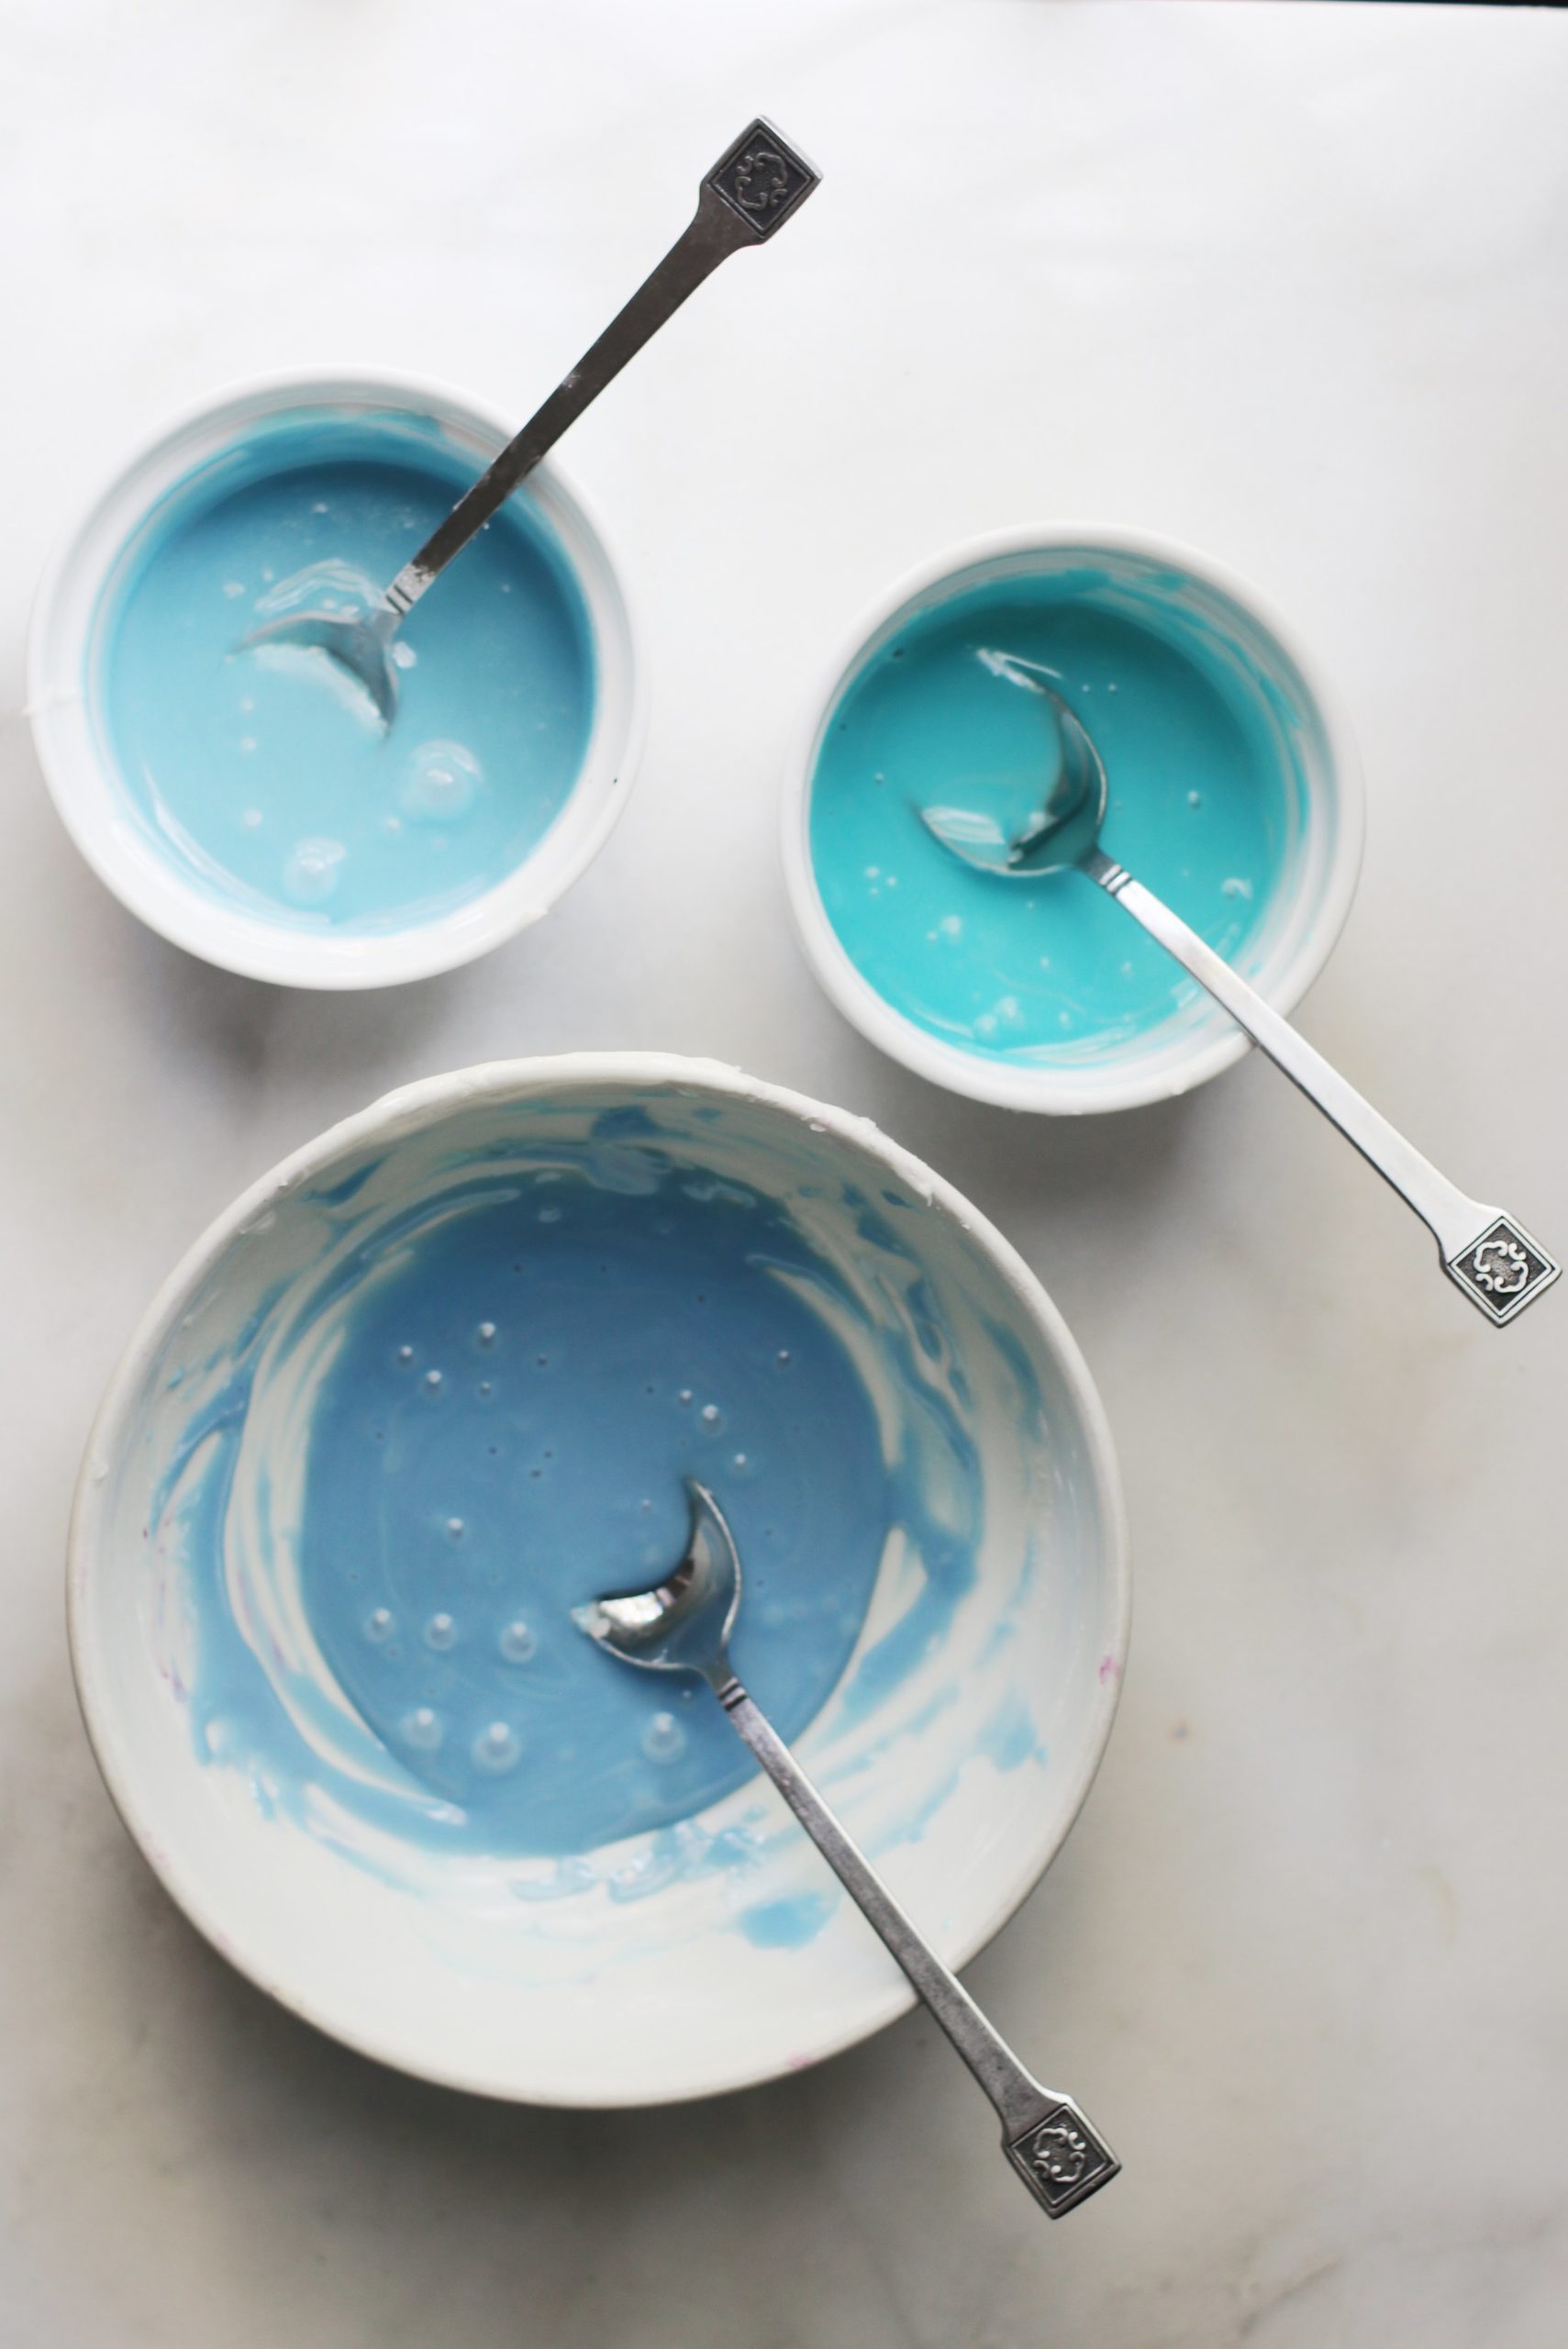
- Combine all of the ingredients in a bowl along with two tablespoons of water. Stir slowly until the mixture has “the consistency of glue.” If it seems too thick, you can add more water if necessary, 1/4 teaspoon at a time—but be careful, as it’ll probably turn “watery” very quickly, and then you’ll have to start all over to ensure the right proportions! (For the record, mine was just fine without any added water, so that’s truly optional!)
- Divide into three small bowls; tint with food coloring to create three distinct looks. be sure to start with just one drop at a time—the food coloring is powerful stuff, especially agains the white backdrop of the icing mixture. I used a few drops of the blue neon color (no more than two) for the first mixture, then did a mixture of blue and purple for the other batches.
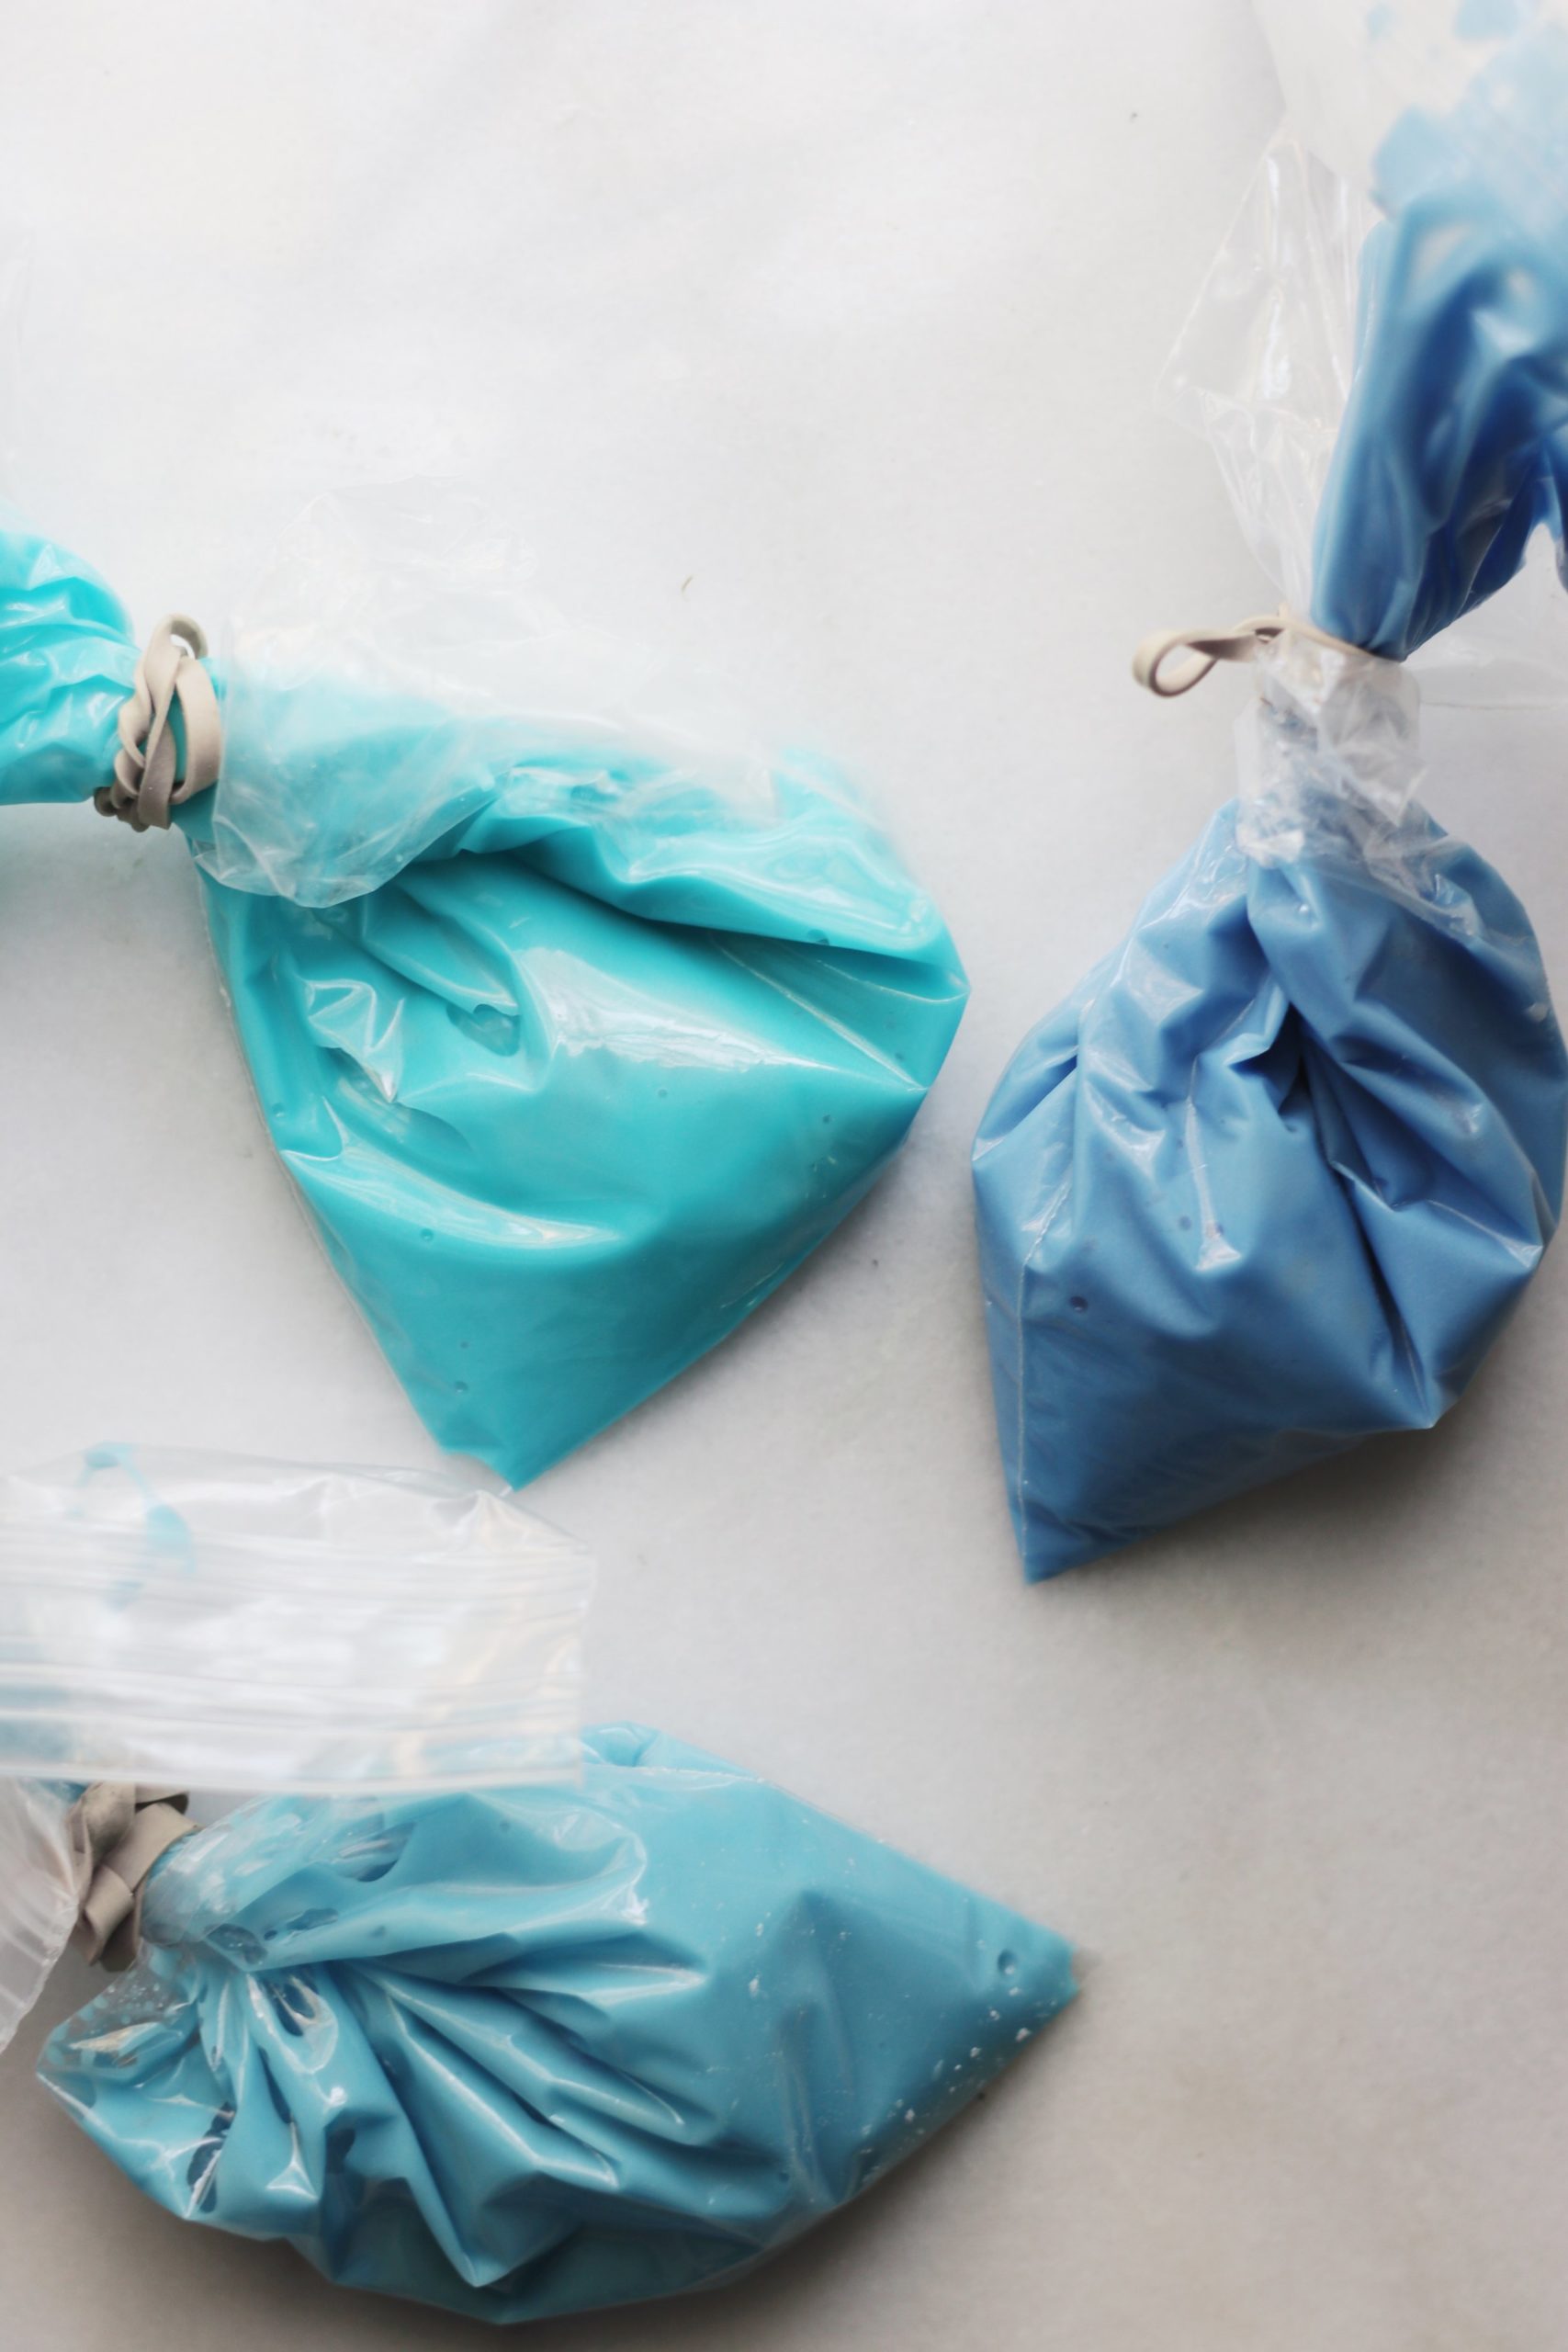
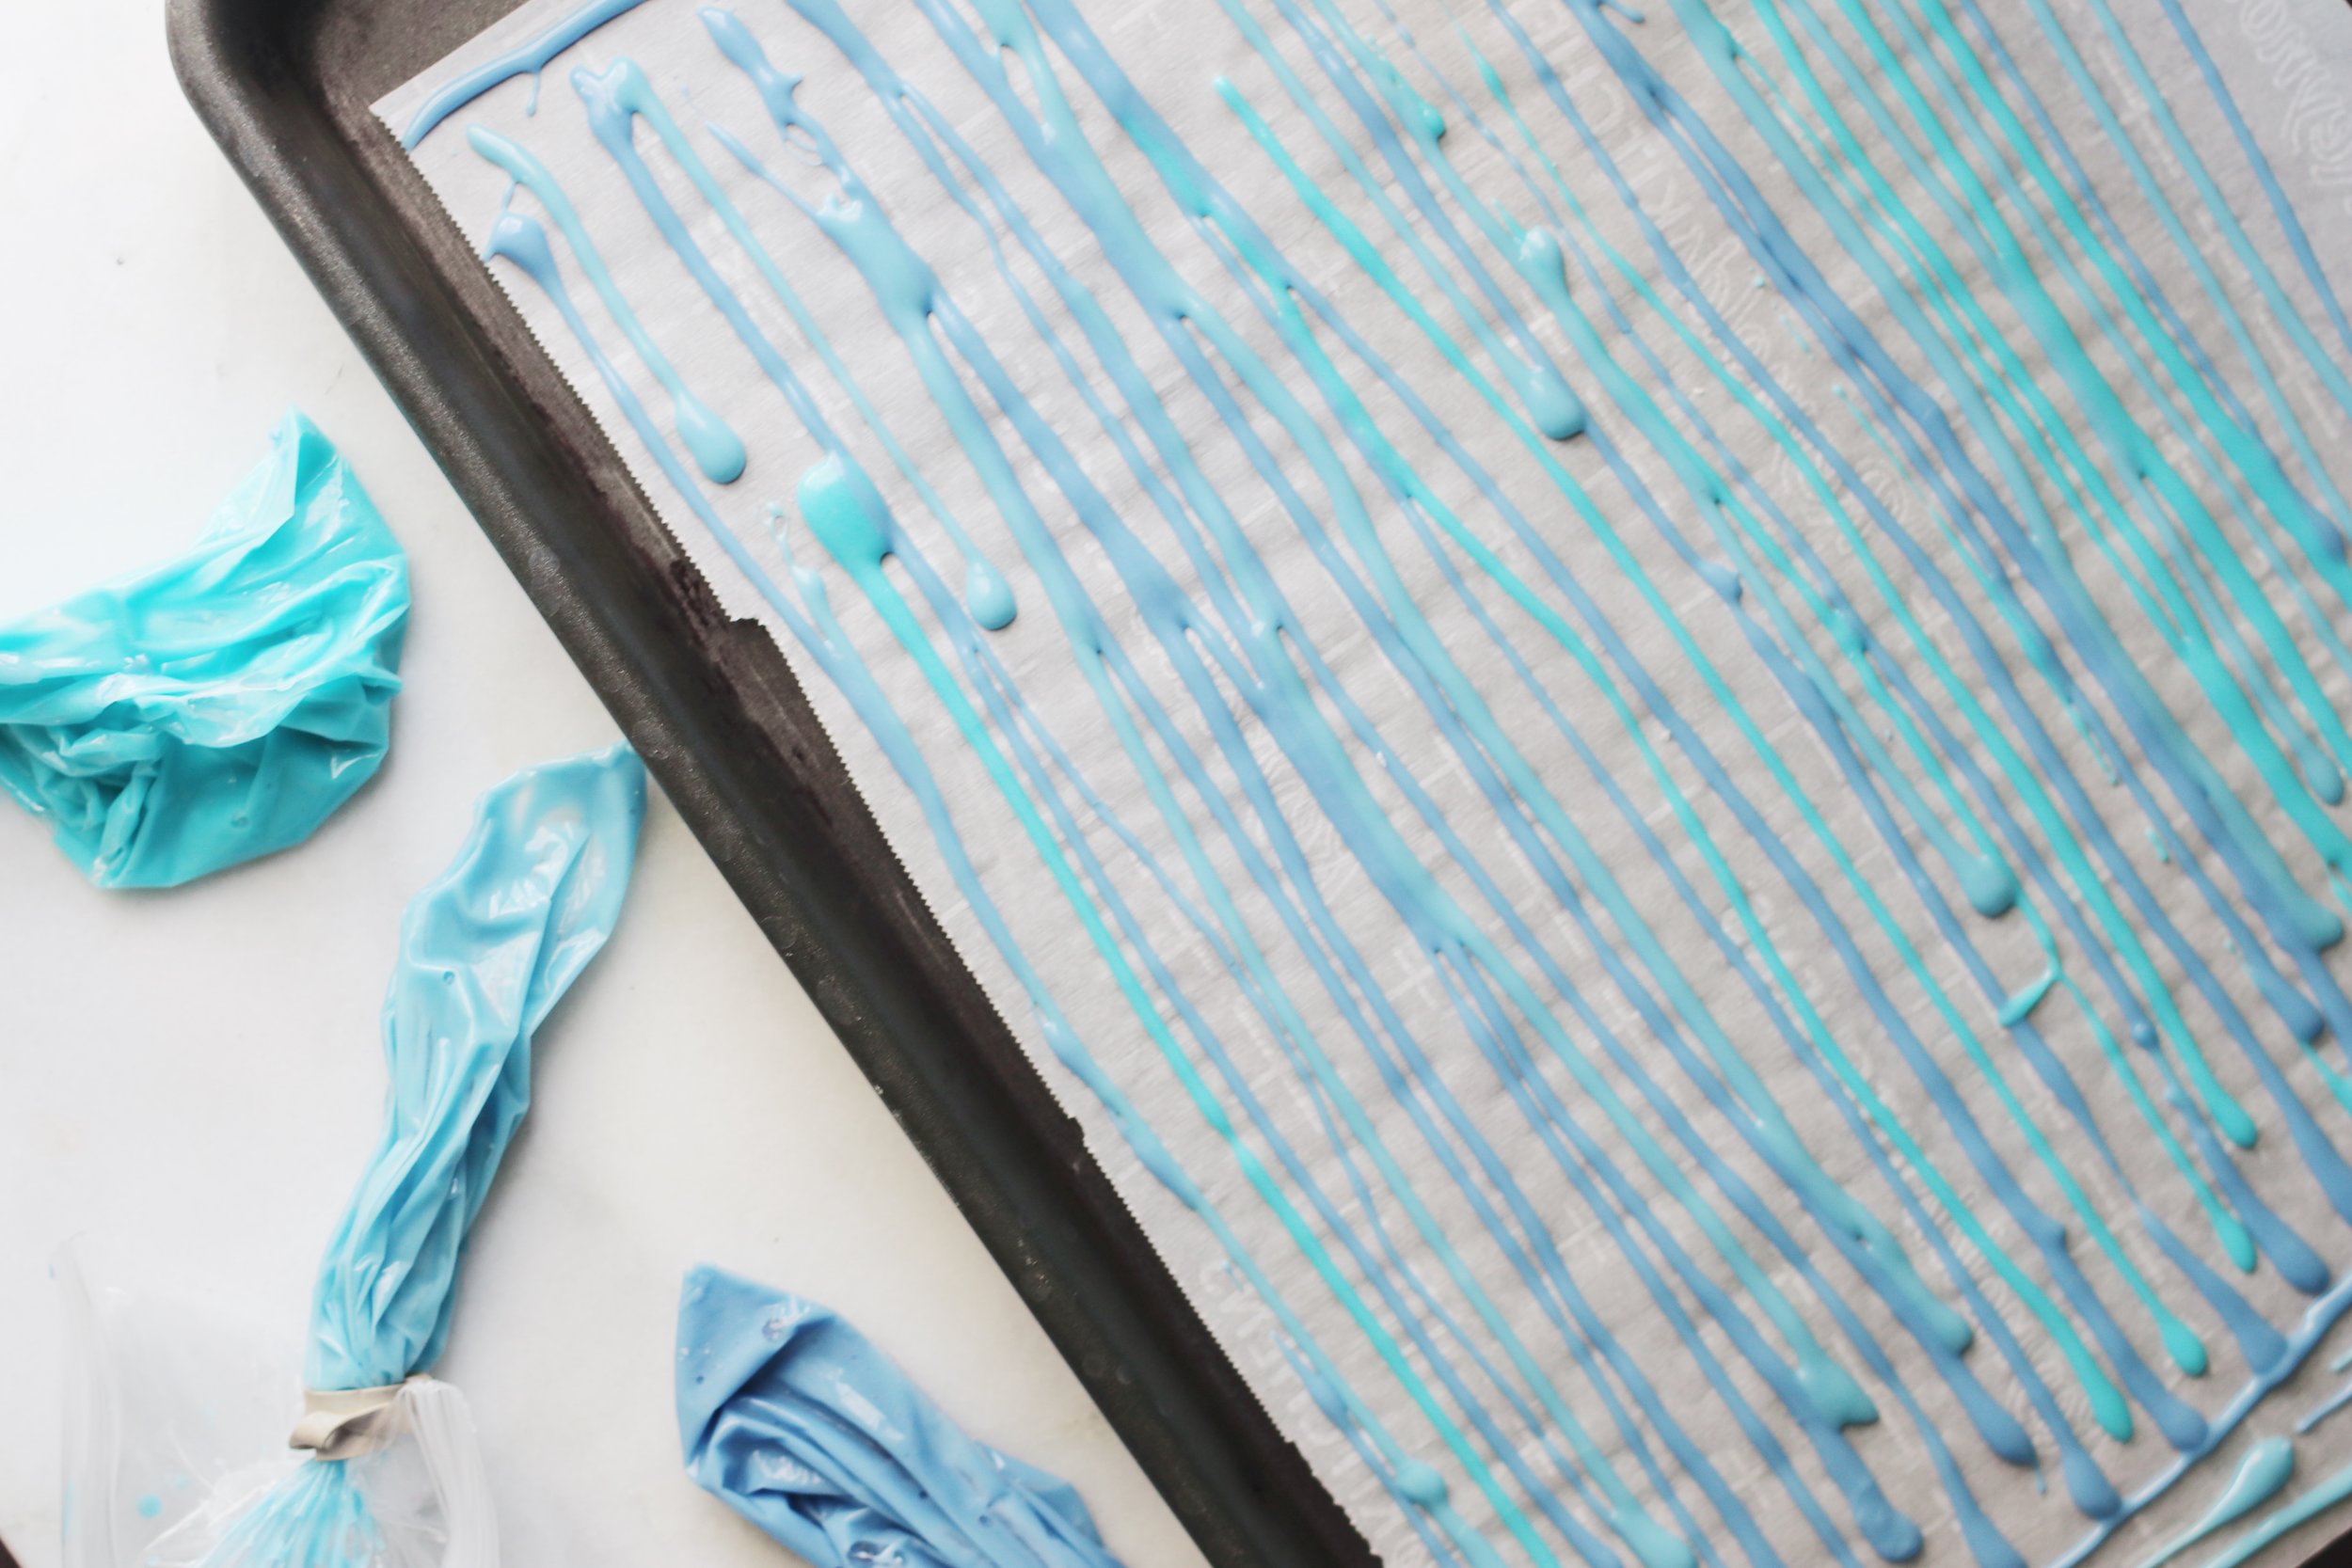
- Pour each mixture into its own pastry bag (or Ziploc bag, as I did!). Snip the smallest, tiniest hole at the end of the bag, then pipe long, thin lines onto parchment-lined baking sheets.
- Let the lines stand uncovered, at room temperature, until very firm (for me, that was overnight). Once they’re dry, break them up into small pieces—but not too small, because you want people to notice the fun, different size. Then decorate as you normally would, and enjoy!

I made these with my little cousin. Fun project for littles and has a really cute, vintage-y vibe. Plus they taste wayyyy better than ordinary sprinkles!
These are the easiest sprinkles I have ever made! I agree with the comment from Julia, they also taste the best. I made a test batch, and was so impressed I’ll be demonstrating how to make them (giving you full props, of course) for my Temple’s Sisterhood.
Made a batch. It was SO easy! Everyone was impressed how great they looked, and especially delicious! Made two more batches and gave them out as Chanukah gifts.