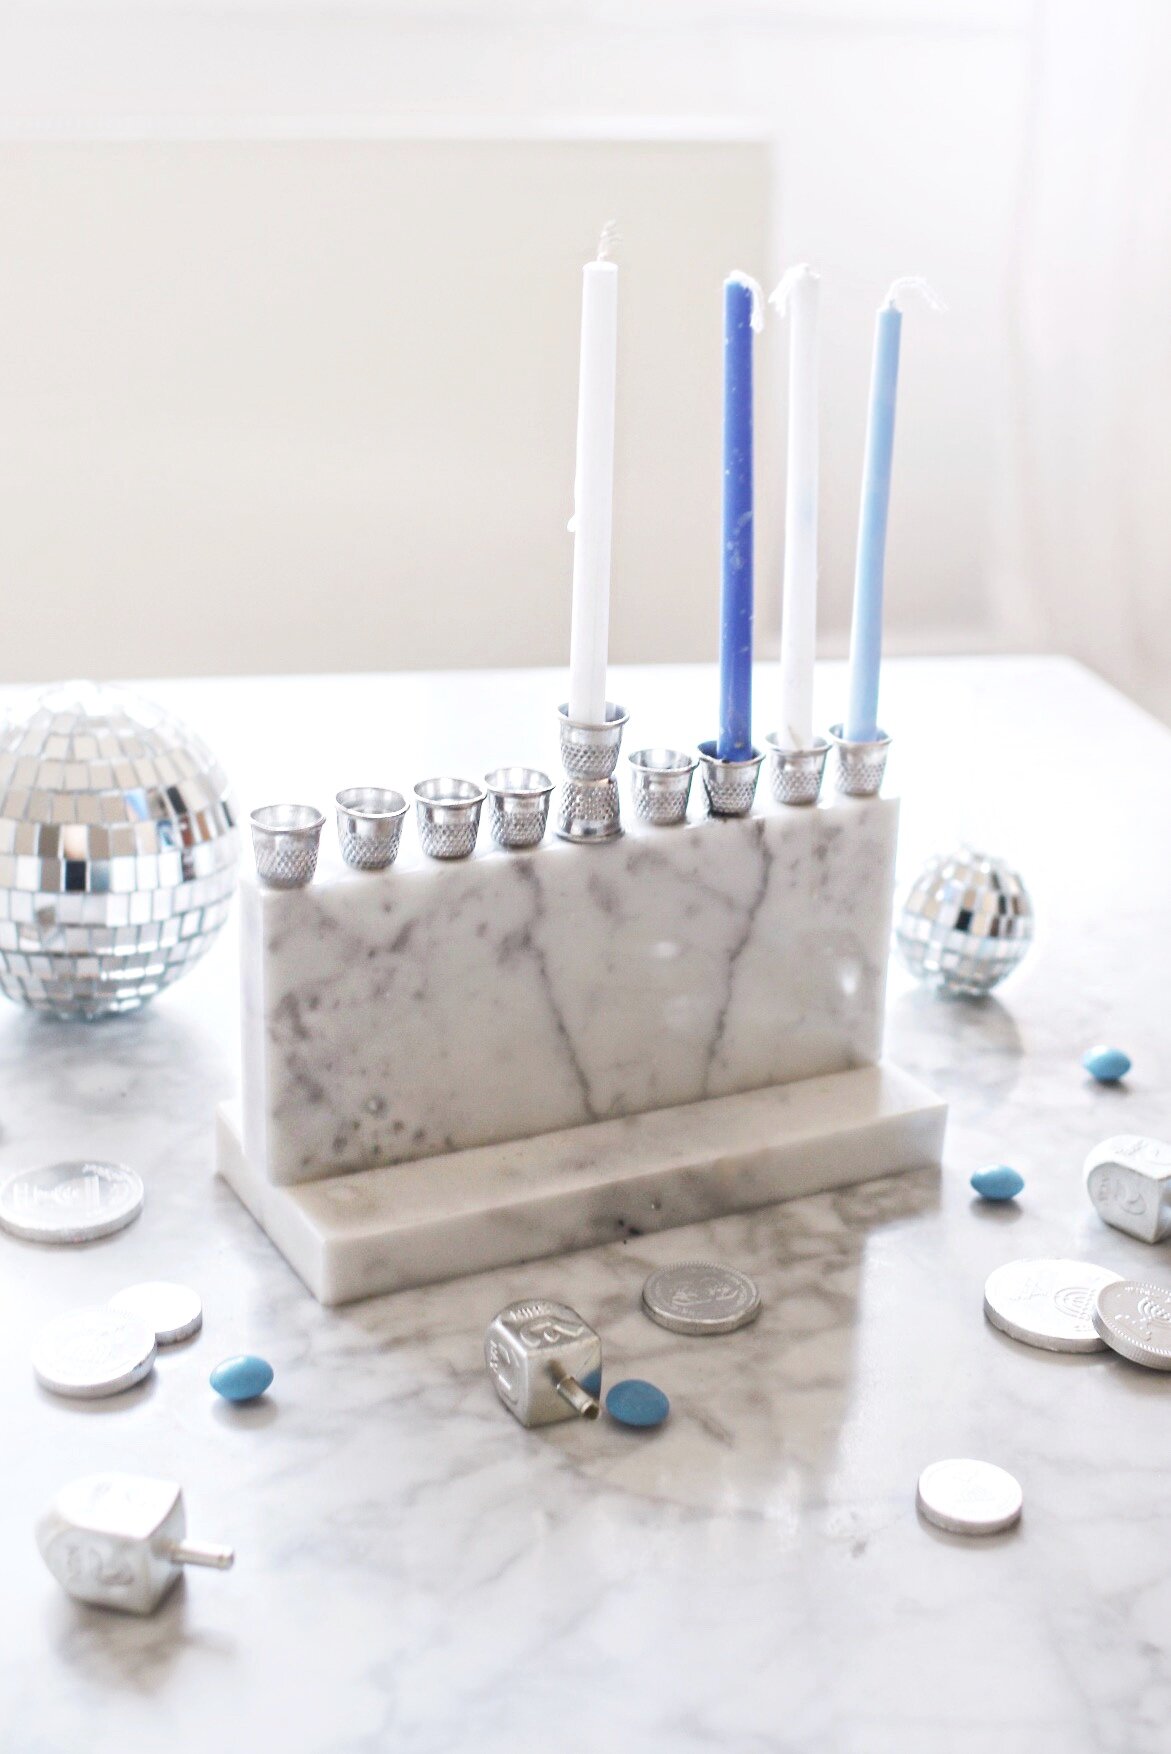
To properly tell the story of this DIY menorah, I’ll need to take you all back in time…to October. Because that’s when I first spied this fancy-as-heck marble menorah. It was stunning. It is stunning. And I’m sure it’s worth every penny.
But that’s a lot of pennies. And after staring at it for a few minutes, I had one of those “I could probably make that” moments.
The rest is shiny, marble-y history.
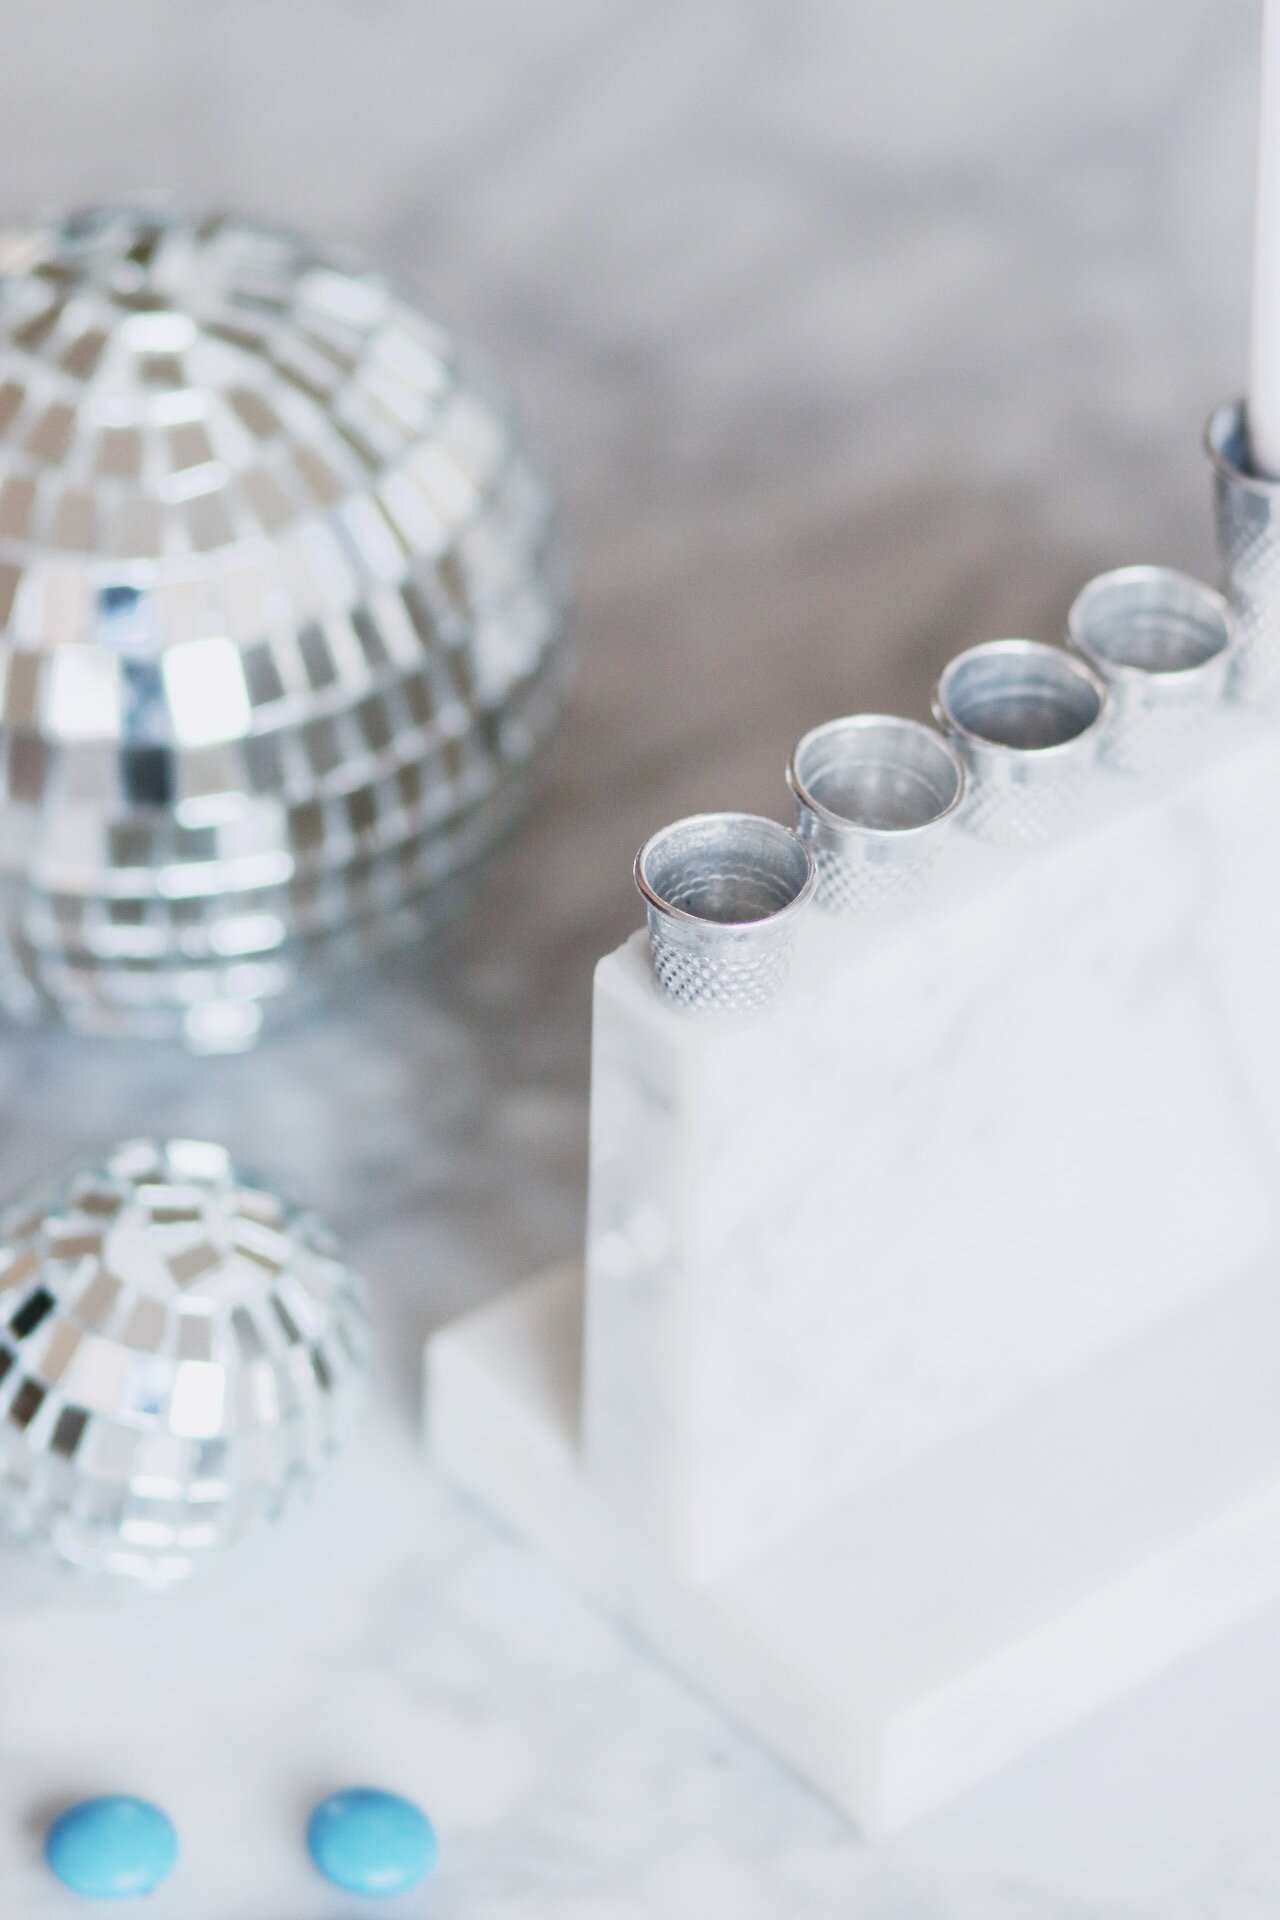

Of course, I couldn’t actually replicate that exact menorah. I mean, marble isn’t something you can just pick up and start chiseling away at. But I knew I could at least get close to the general idea of it.
And so began the weekend project to end all weekend projects.
Yes, there are tons of ways to fake a marble exterior—polymer clay, vinyl stickers, etc., etc. but that’s not what I wanted. I wanted the real stuff. I wanted a Michelangelo moment of my own, peeps. There’s something about the heaviness and sturdiness and look of real marble that you really can’t beat.
Here’s how I made it happen:
A word of caution, though!
This was really more of a personal experiment, and is, admittedly, not a perfect tutorial. There are some dubious instructions about forcing your candles to fit into the holders that’ll probably make you laugh. (Melted wax for the win!) This is all just to say that I hope you won’t make it halfway the tutorial and suddenly realize that this is not exactly the quick-and-easy project you thought it might be.
However!
All that said, it’s still a decidedly fabulous option for under $15—and even if it ends up just being the centerpiece of your Hanukkah table, it’s worth a go.
DIY Marble Menorah
What You’ll Need:
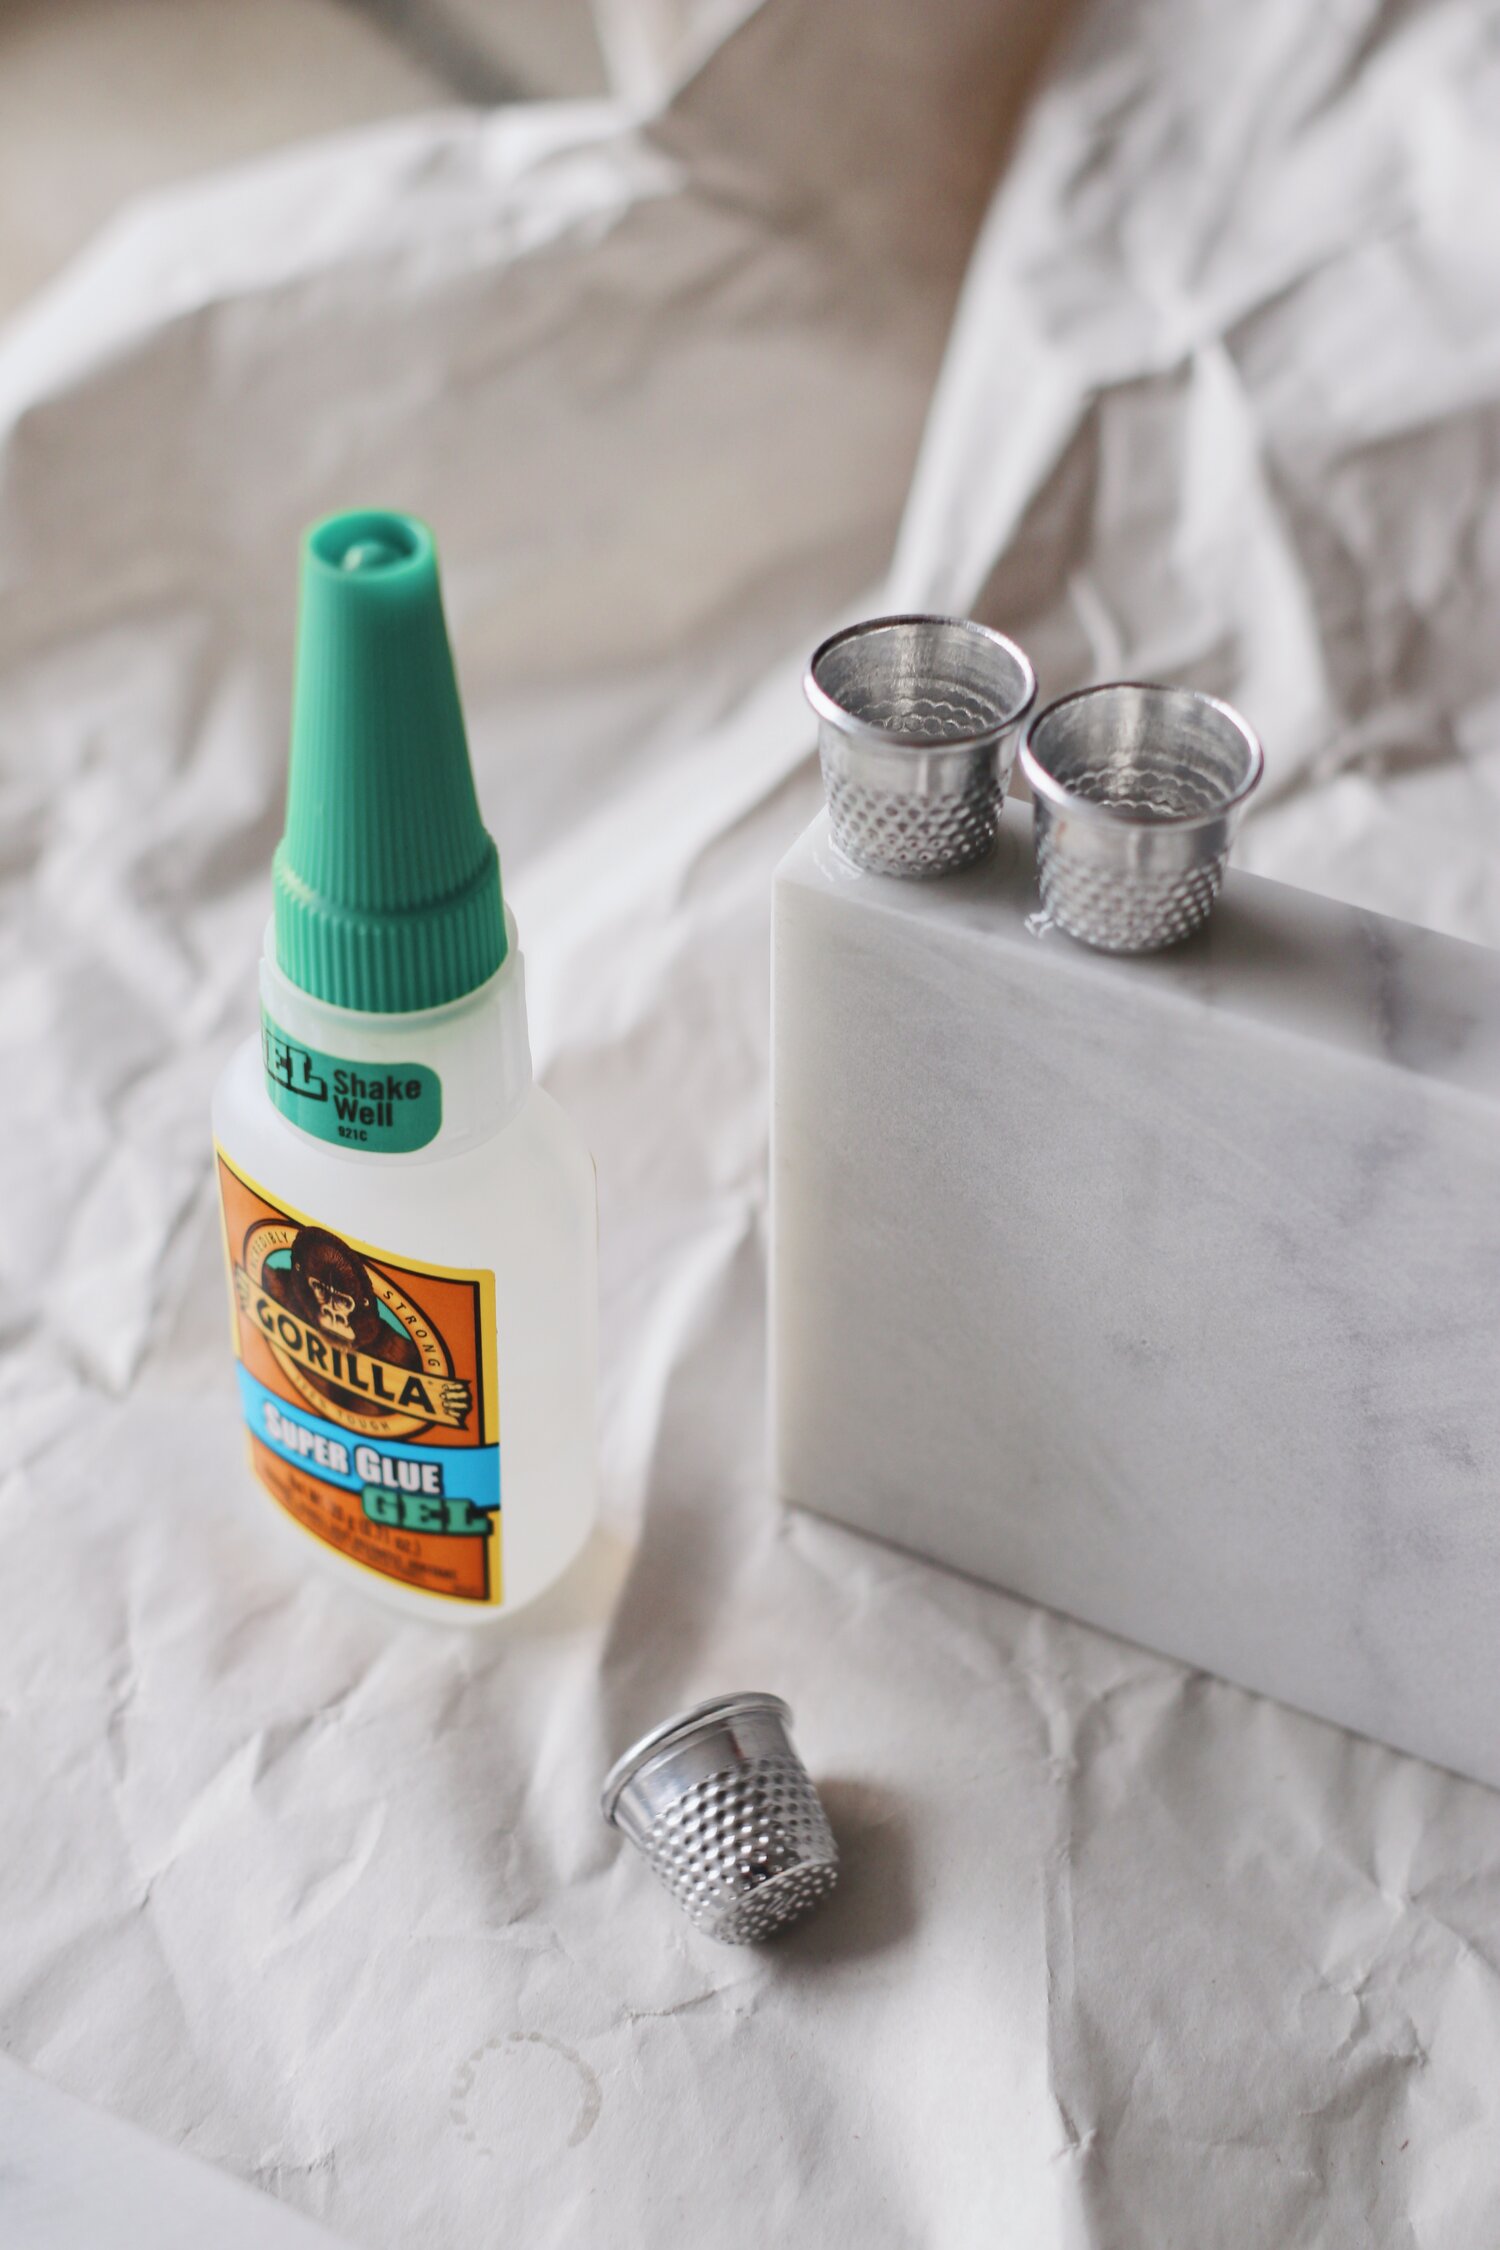
- 2 pieces of scrap marble with long sides measuring at least 7″ (I found mine on Etsy via Studio Nu)
- A set of at least 10 silver or gold thimbles measuring .75 inches on the bottom (vintage thimbles would look gorgeous, too!)
- Clear Gorilla Super Glue Gel
- Hanukkah candles (+ a few extras for melting…I’ll explain!)
- Matches!
- Prep your space!
Begin by prepping the surface of your workspace with newspaper or other scrap paper so as to avoid getting glue on your furniture or floors. You might even want to wear a pair of latex gloves—Gorilla Glue is NO joke.
You can also take a look at your marble at this point and identify whether you’ve got a “shiny” and “dull” side; ideally, these will match up so that both shiny sides are facing up and at a viewer, while more coarse or dull marble is facing away. - Glue your foundation.
Begin by applying one thin, light coat of gorilla glue to the bottom of the long side of one of the pieces of scrap marble, then affix it to the *center-middle* of the wide, flat side of the other piece and press down firmly for at least 45 seconds. (You can measure out said center-middle of the marble with a ruler if you’re so inclined, but I just winged it and was satisfied with the results.) Two key things here: 1) knowing where you’re going to attach the two sides, and 2) pressing down firmly and not moving after you’ve applied the glue. - Prep your thimble candle-holders.
First, you’ll want to prep the thimbles for later use with candles! Using two spare candles (Hanukkah or taper or birthday candles, whatever you’ve got on hand!), fill each thimble’s bottom with a thin layer of wax. Light one candle using a match, then use its flame to light the bottom of the second candle, holding it directly over the thimble and letting the wax slowly drip into the bottom of the thimble. (You might need more than one candle to fill all the thimbles.)
Next, line up all the wax-filled thimbles (there should be eight, plus two for the shamash center or “attendant” candle holder) on the top of your menorah base. This way, you’ll be able to see exactly how much room you need for all of them. As you can see in the photos, I had to space them out with a bit more room between them in order to reach the “ends” of the marble base and not cluster them too heavily in the center. - Glue the thimbles.
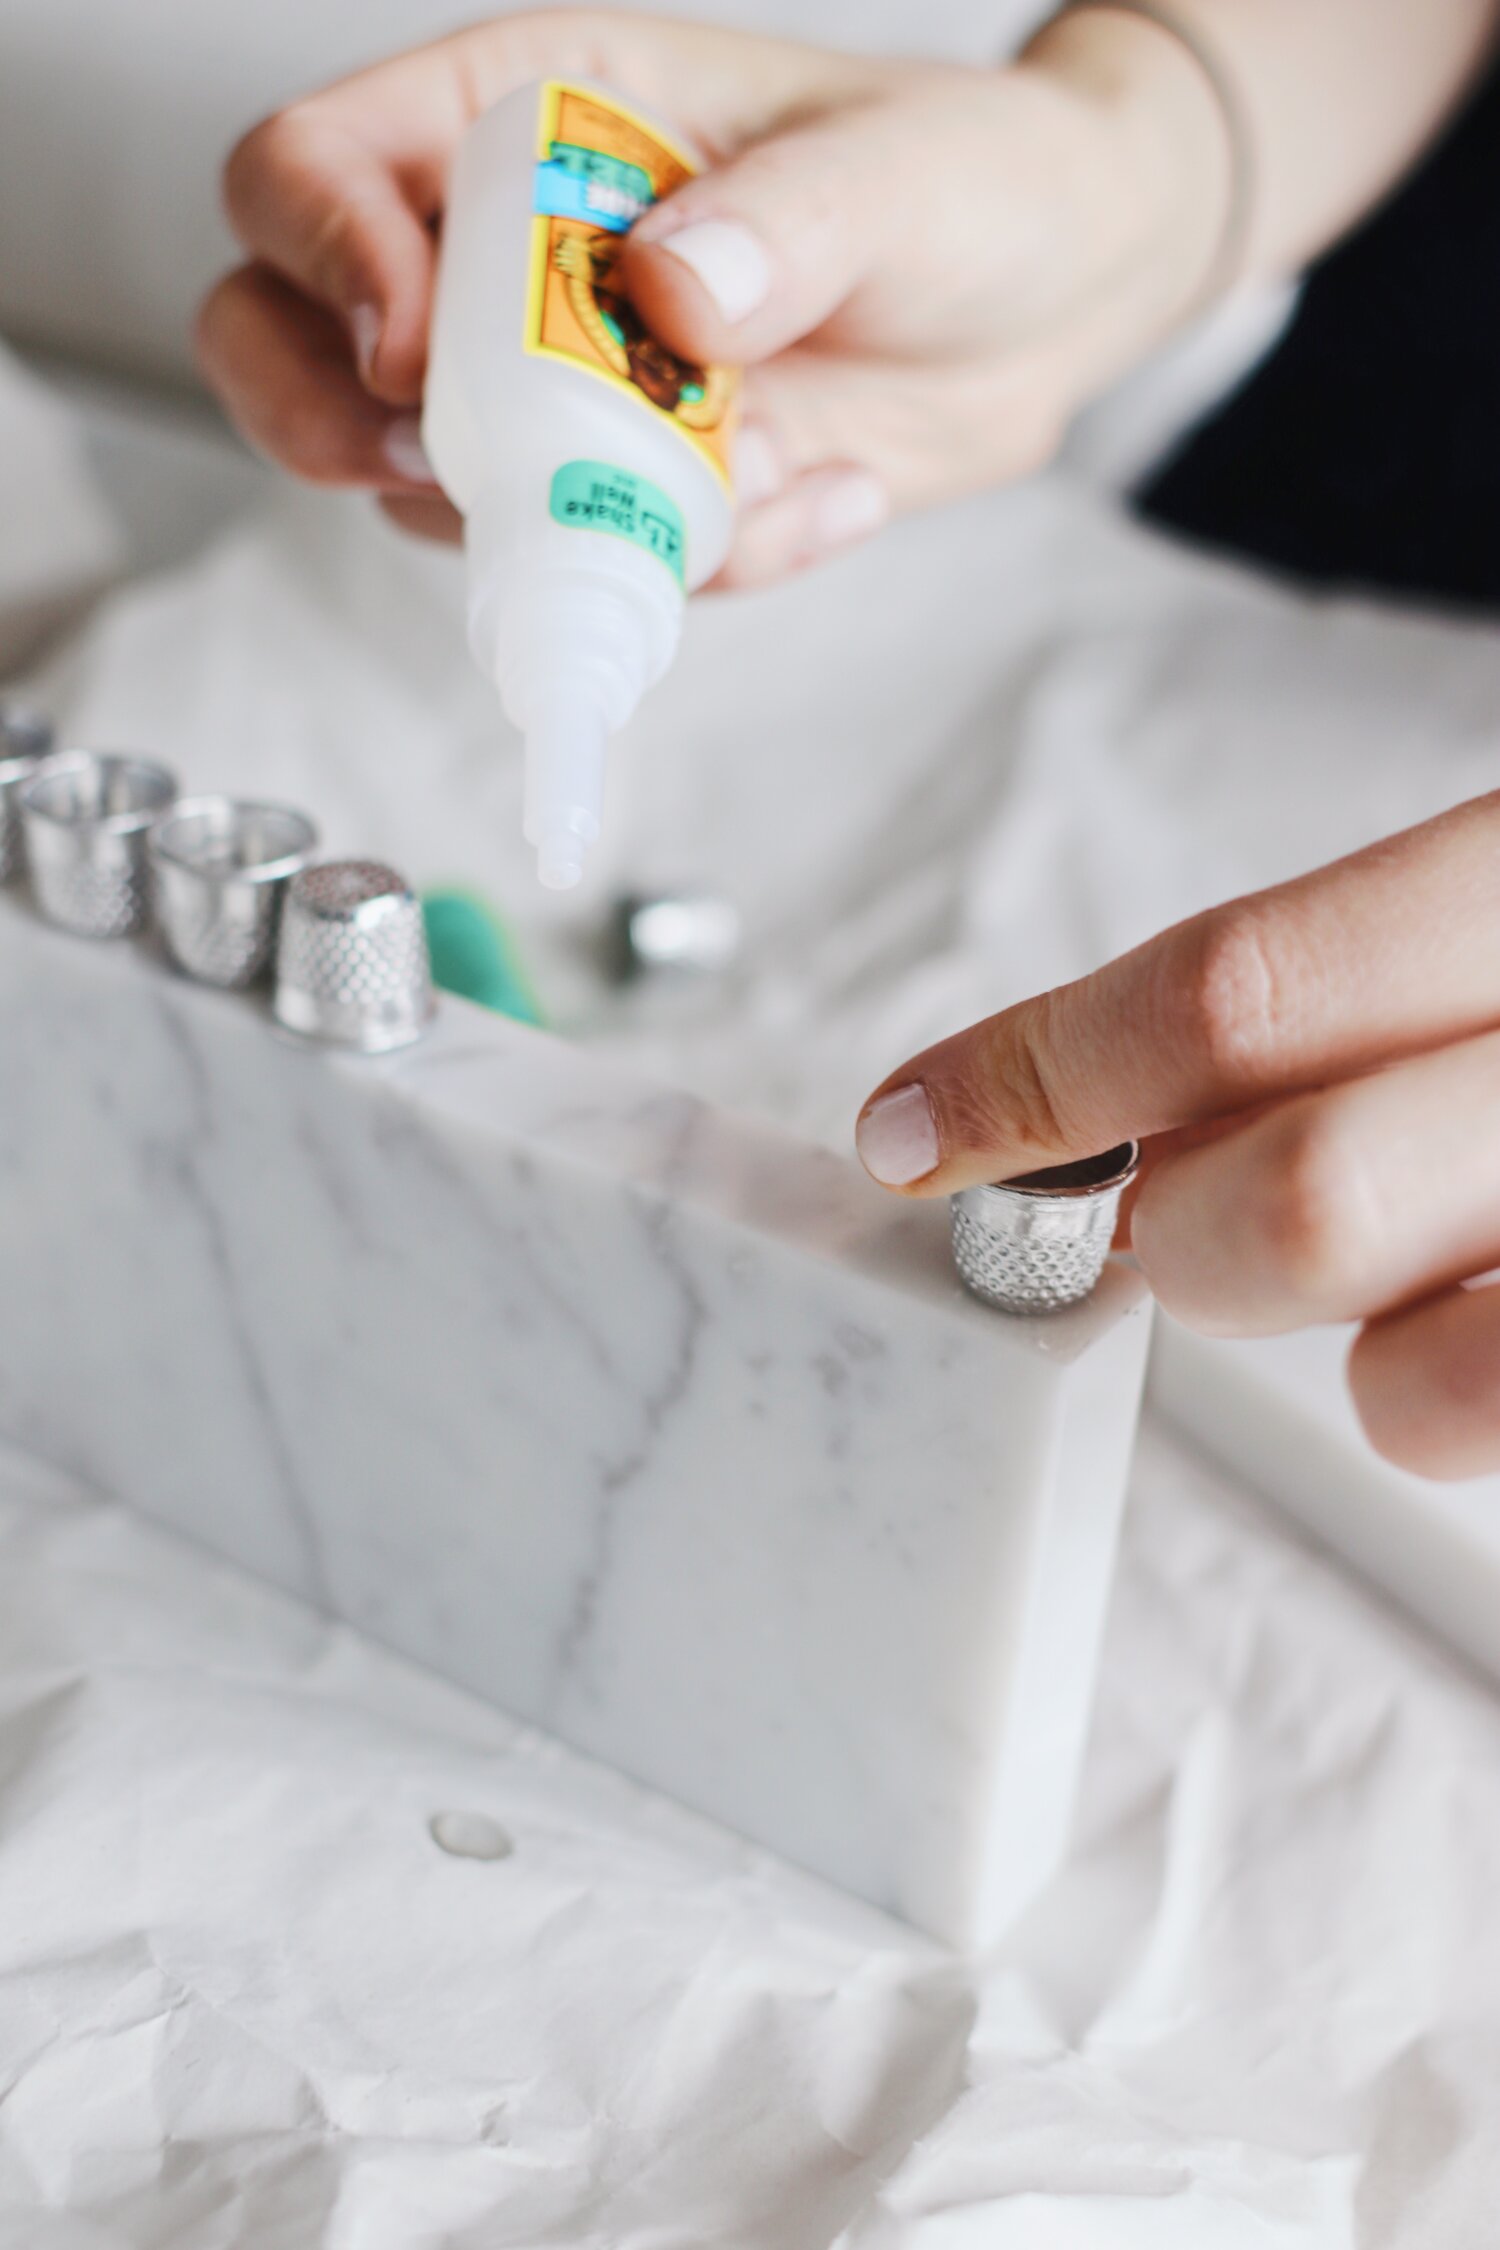
One at a time, lift each thimble from its designated spot on the menorah and apply a sizable, but not messy, dot of glue beneath it on the marble (you’ll want it to reach the edges of the thimble once pressed down, but not overflow outside of the thimble and become visible). Then press down firmly, trying not to allow the thimble to wiggle at all, and hold in place for at least 45 seconds. Continue to the next, and do the same thing! When you get to the shamash holder, apply the glue to the circumference of the thimble’s rim, then hold in place on the marble. Wait at least 10 minutes to be sure it’s fully dried, then apply the same dot of glue to the “top” flat part of that thimble and affix a second “right-side-up” thimble on top of it. Move on to the last 4 thimbles, working the same way. - Let it dry.
You’ll want to wait to add your candles for at least a few hours, if not a full day. Sit back and admire your creation and don’t touch it! If any of the thimbles appear to be unstable or—gasp!—fall off, don’t fret; just re-apply a dot of glue and press down firmly again to re-affix. - Add candles.
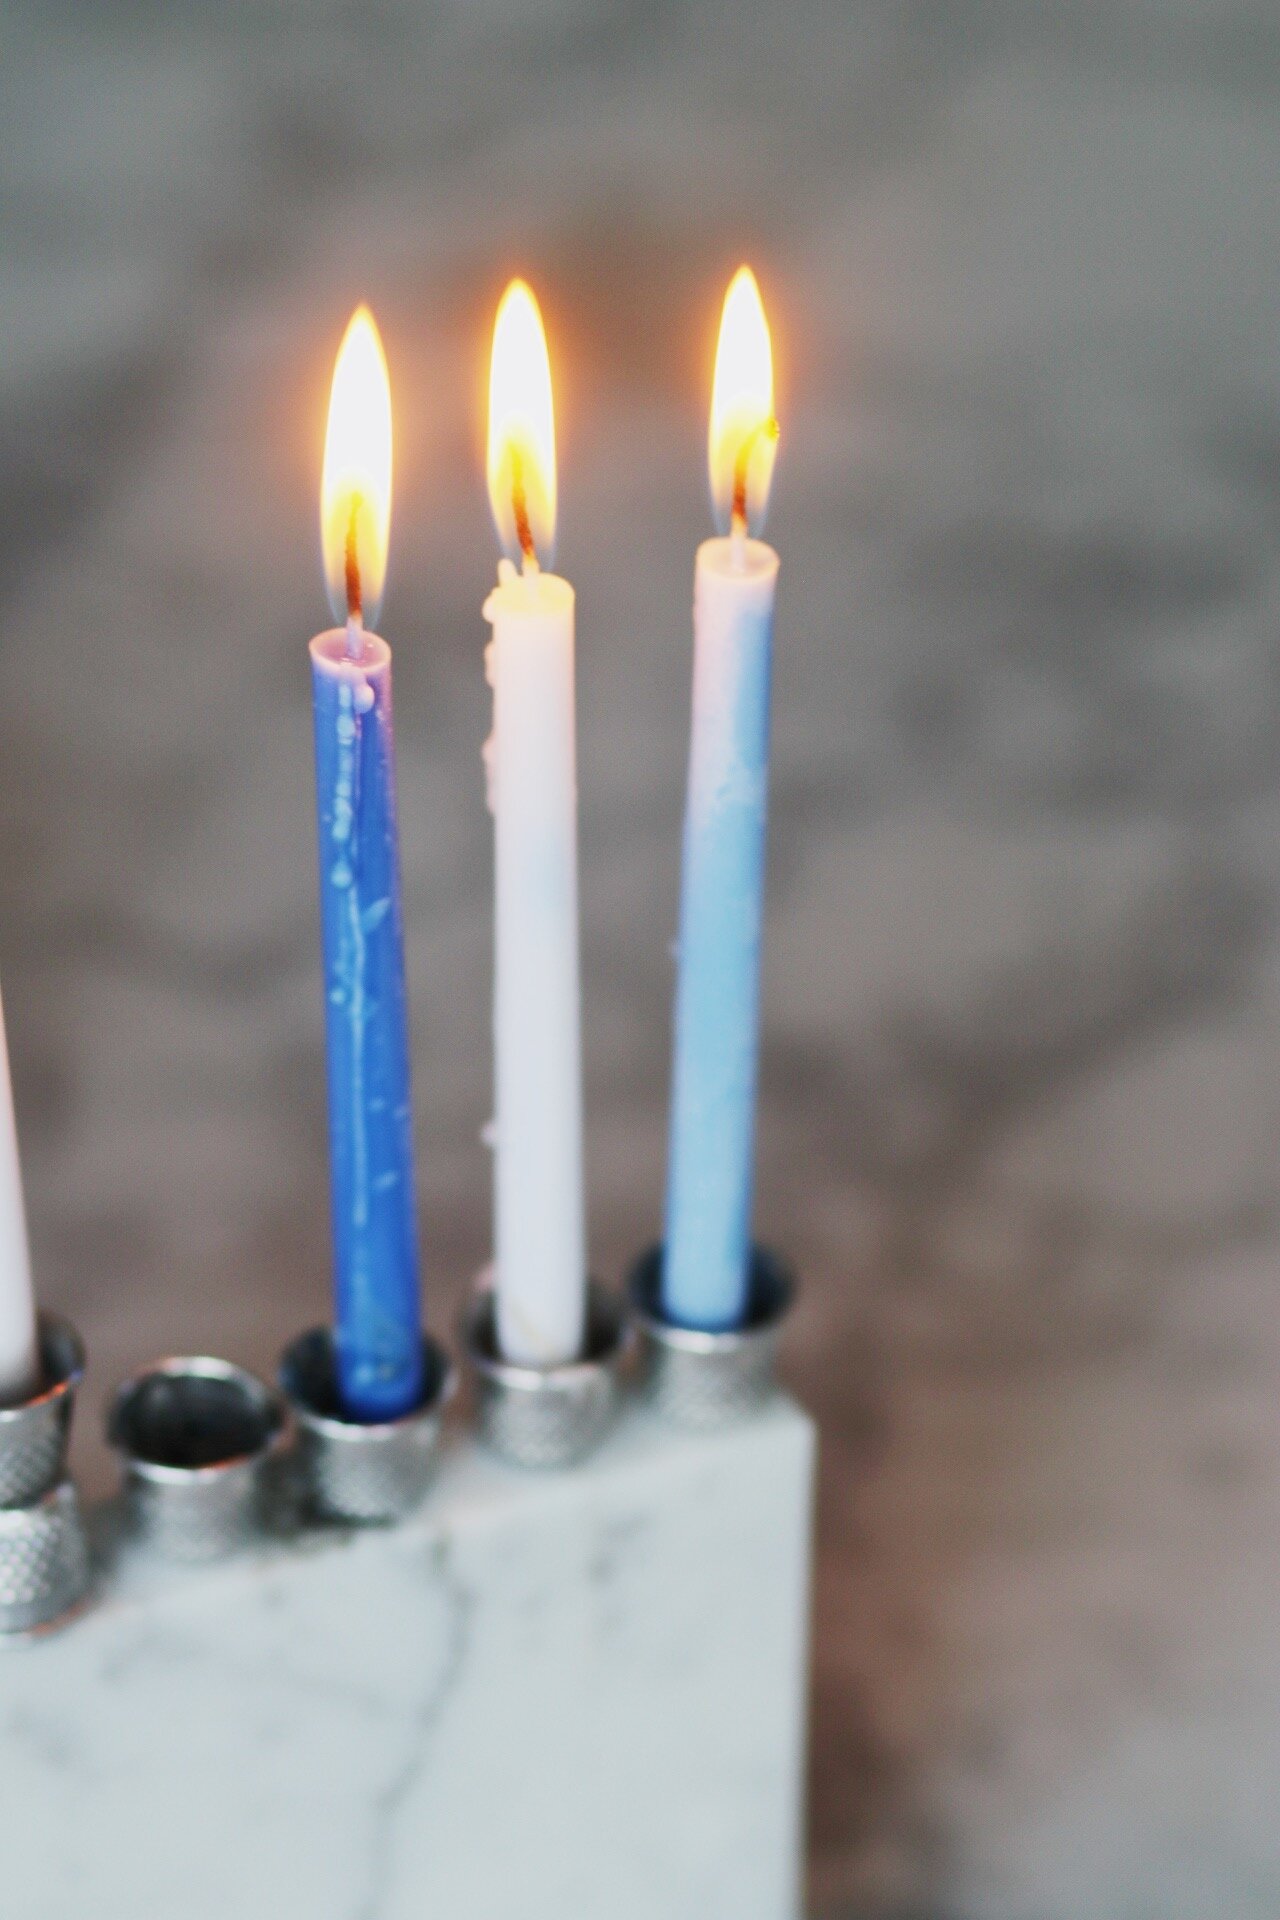
Okay, this is where things get a little dodgy. You can do one of two things: Use BEESWAX candles, which can be easily tapered and molded at the bottom to fit a larger holder like these thimbles, or you can briefly melt the very bottom of any candle you’ve got on hand and press it carefully into the wax you filled each thimble with earlier. i went with the latter, but only because the beeswax candles I ordered never arrived. Oh, Covid era. Sigh. Would LOVE to hear how you guys handle this.
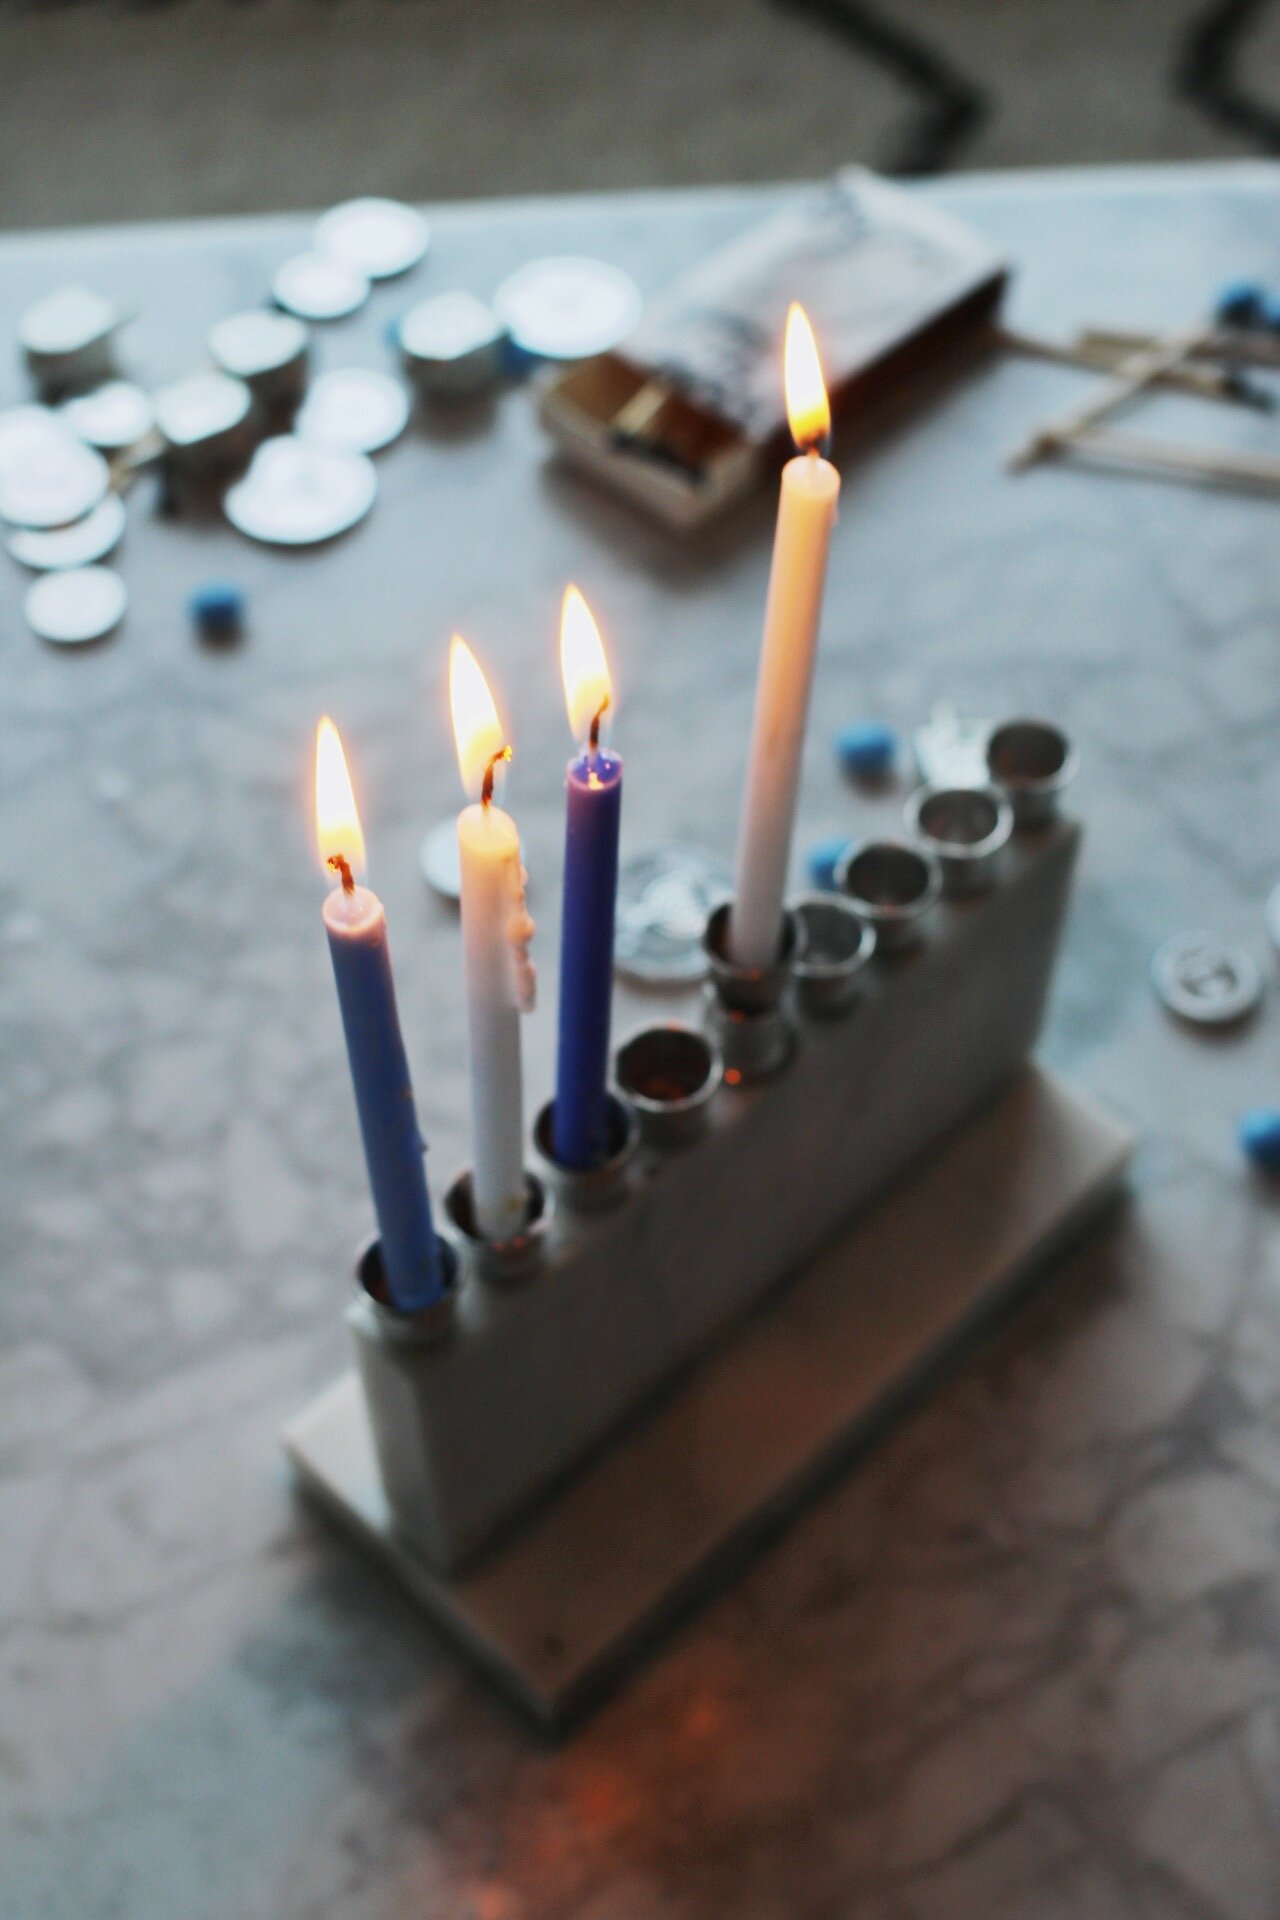
That’s it! Display, photograph obsessively, light, enjoy.
Happy Hanukkah!

Love this!
Super Idea, this will make my menorah a special item my family.