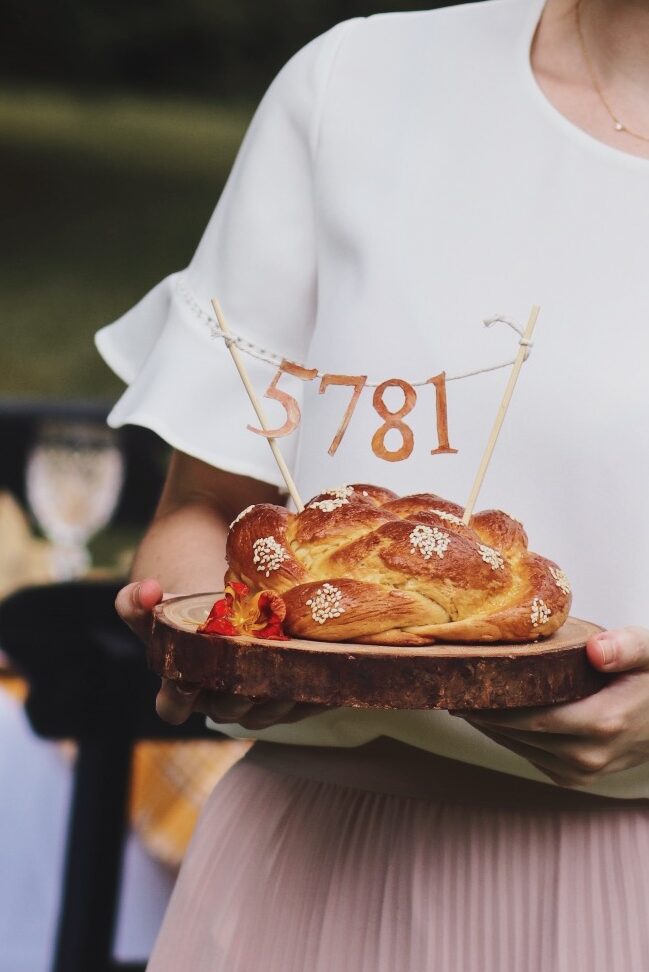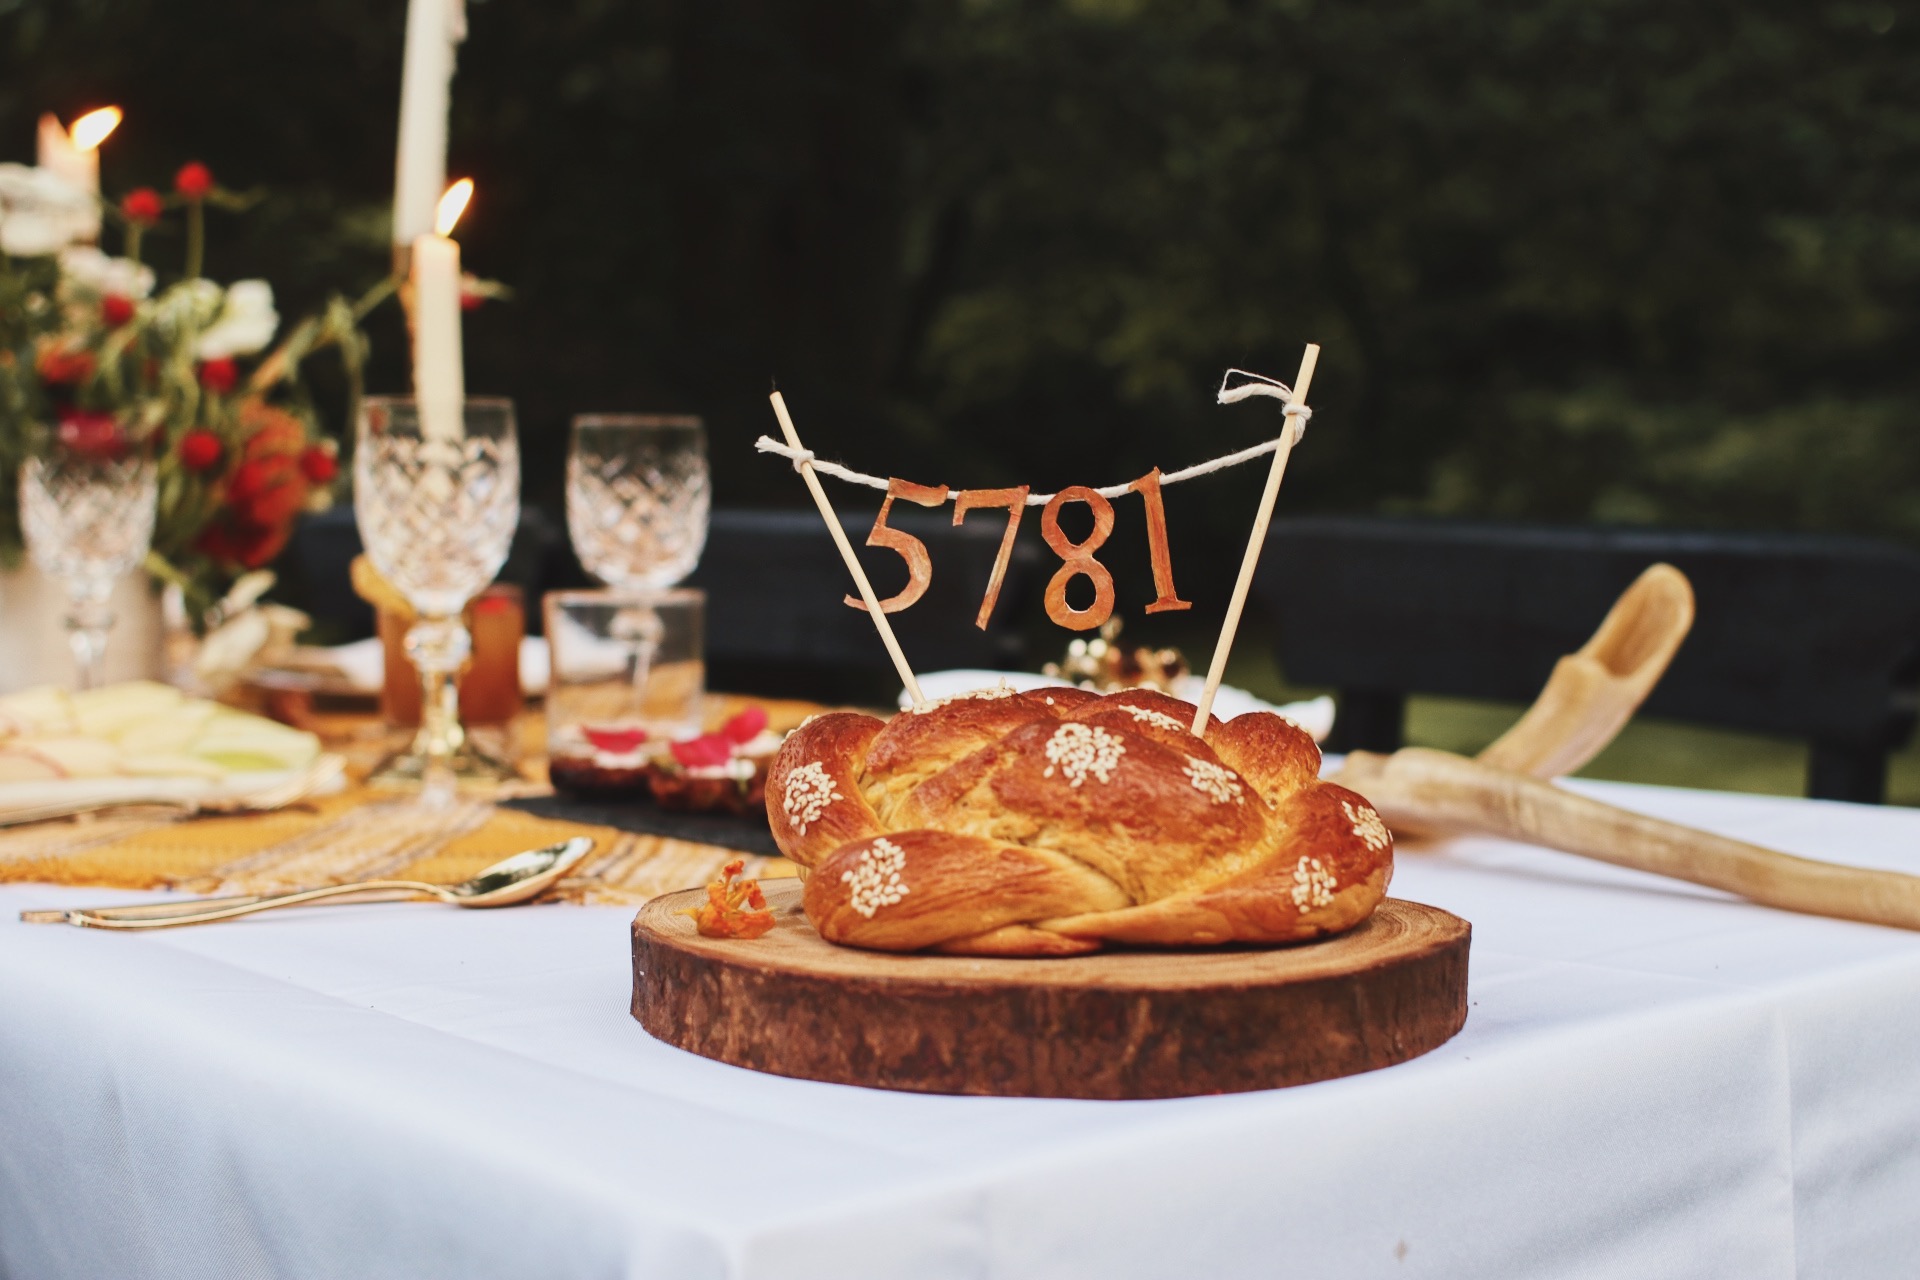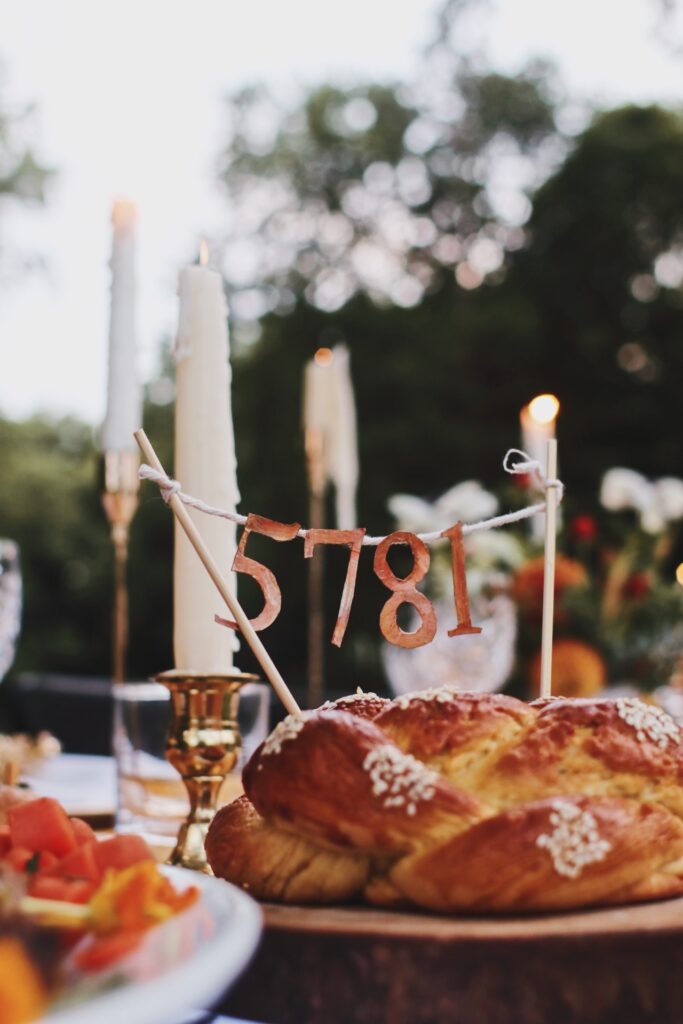
Here’s my latest 5781 goal: Make challah toppers a thing. Because I’m more than a little bit in love with how this one turned out.
ISN’T IT SO FUN!? It is. It’s so fun.
I need to get out more.
We all need to get out more!
It’s 2020.

But…really, this was so, so simple to throw together, and it added so much JOY to the overall look of my table. Also, you don’t have to be a baking pro to bring this challah upgrade to life. Not that you ever have to be a baking pro to make a challah, by the way; it’s one of the easiest, most straightforward bread recipes out there. Truly. But what I’m saying is, with this DIY, you could easily turn even a store-bought challah into something special and exciting.
Prettier Friday nights without ever having to turn on your oven!
It’s downright magical.


For once in my life, I’m going to get to the point and just show you how to make this thing, because, friends, I have so many of these Rosh Hashanah posts to write this year. Whew. Kind of went overboard with the projects for 5781. But in a good way. But still. WHEW.
So. Scroll a little bit more, and find the tutorial at the bottom of the page. Alllll the Rosh ideas and projects can be found right here, by the way.
L’shana tova!

What You’ll Need:
- Regular computer paper + access to a printer!
- Heavy-stock watercolor paper or thick cardstock
- A lightbox (or you can just trace without any fancy equipment)
- Watercolor paint OR acrylic paint + a brush
- Cooking twine (note that this is not the same as baker’s twine, which is super pretty but a little too thin for our purposes)
- Short (~6-10″), thick wooden skewers or kabob sticks
- Glue gun + glue sticks
What You’ll Do:
- Print out a “draft version” of the numbers “5,” “7,” “8,” and “1” in an extra-large font onto a piece of regular computer paper.
What do I mean by “draft version”? Well, this part takes some trial and error. You’ll want to make sure the numbers aren’t huge enough to totally eclipse a smaller challah, but you also don’t want them to appear TINY in relation to a larger challah (hence no template here). And different word processing platforms yield numbers of different sizes. So you’ll have to play around with font sizes until you get it just right.
My other tip for this first step is to select a “sans serif” font, as in, one without a ton of fancy extra curves and decorations on every character; that’ll be harder to cut out in the end. - Once the size feels right, use a light box to trace them onto watercolor or cardstock paper. Then, cut them out by working your scissors along the perimeter of each carefully.
- Paint the letters using either acrylic paint (that’s what I used) or watercolors in the colors of your choice.
- Cut a length of cooking twine that’s about double the amount you think you’ll need (remember, those double knots on each wooden skewer are going to take up quite a bit of twine). Lay it on a flat surface, then use your hot glue gun to dot a small area on the back of each letter and affix them, one at a time, to the center area of the twine. Hold them in place for 15-20 seconds to make sure they’re dry before moving onto the next number.
- Attach the twine to the skewers as shown in the photos here: Tie two double knots, respectively, on the left and right sides of the skewer toward its upper portion.
- Poke them into a baked challah at the highest “peaks” of the loaf (so as to hide the majority of the length of the skewer and bring the numbers a bit closer to the challah; you don’t want them soaring too far above!). Share and eat! (The challah, not the skewers.) (Yikes.)
