The idea for these edible groggers came to me when i scrolled past a “shakashaka” cookie on instagram. Yes, that’s the real name for this technique. How’s that for an onomatopoeia?! If you don’t believe me, google it and revel in hundreds of equally fun recipes.
It just blew my mind that 1) there’s such a thing as clear-ish candy glass?! (More on that later!) And 2) You can use it to create a baked good with a window. A window into another world.
…OF SPRINKLES.
It’s pure magic, peeps. Pure magic.
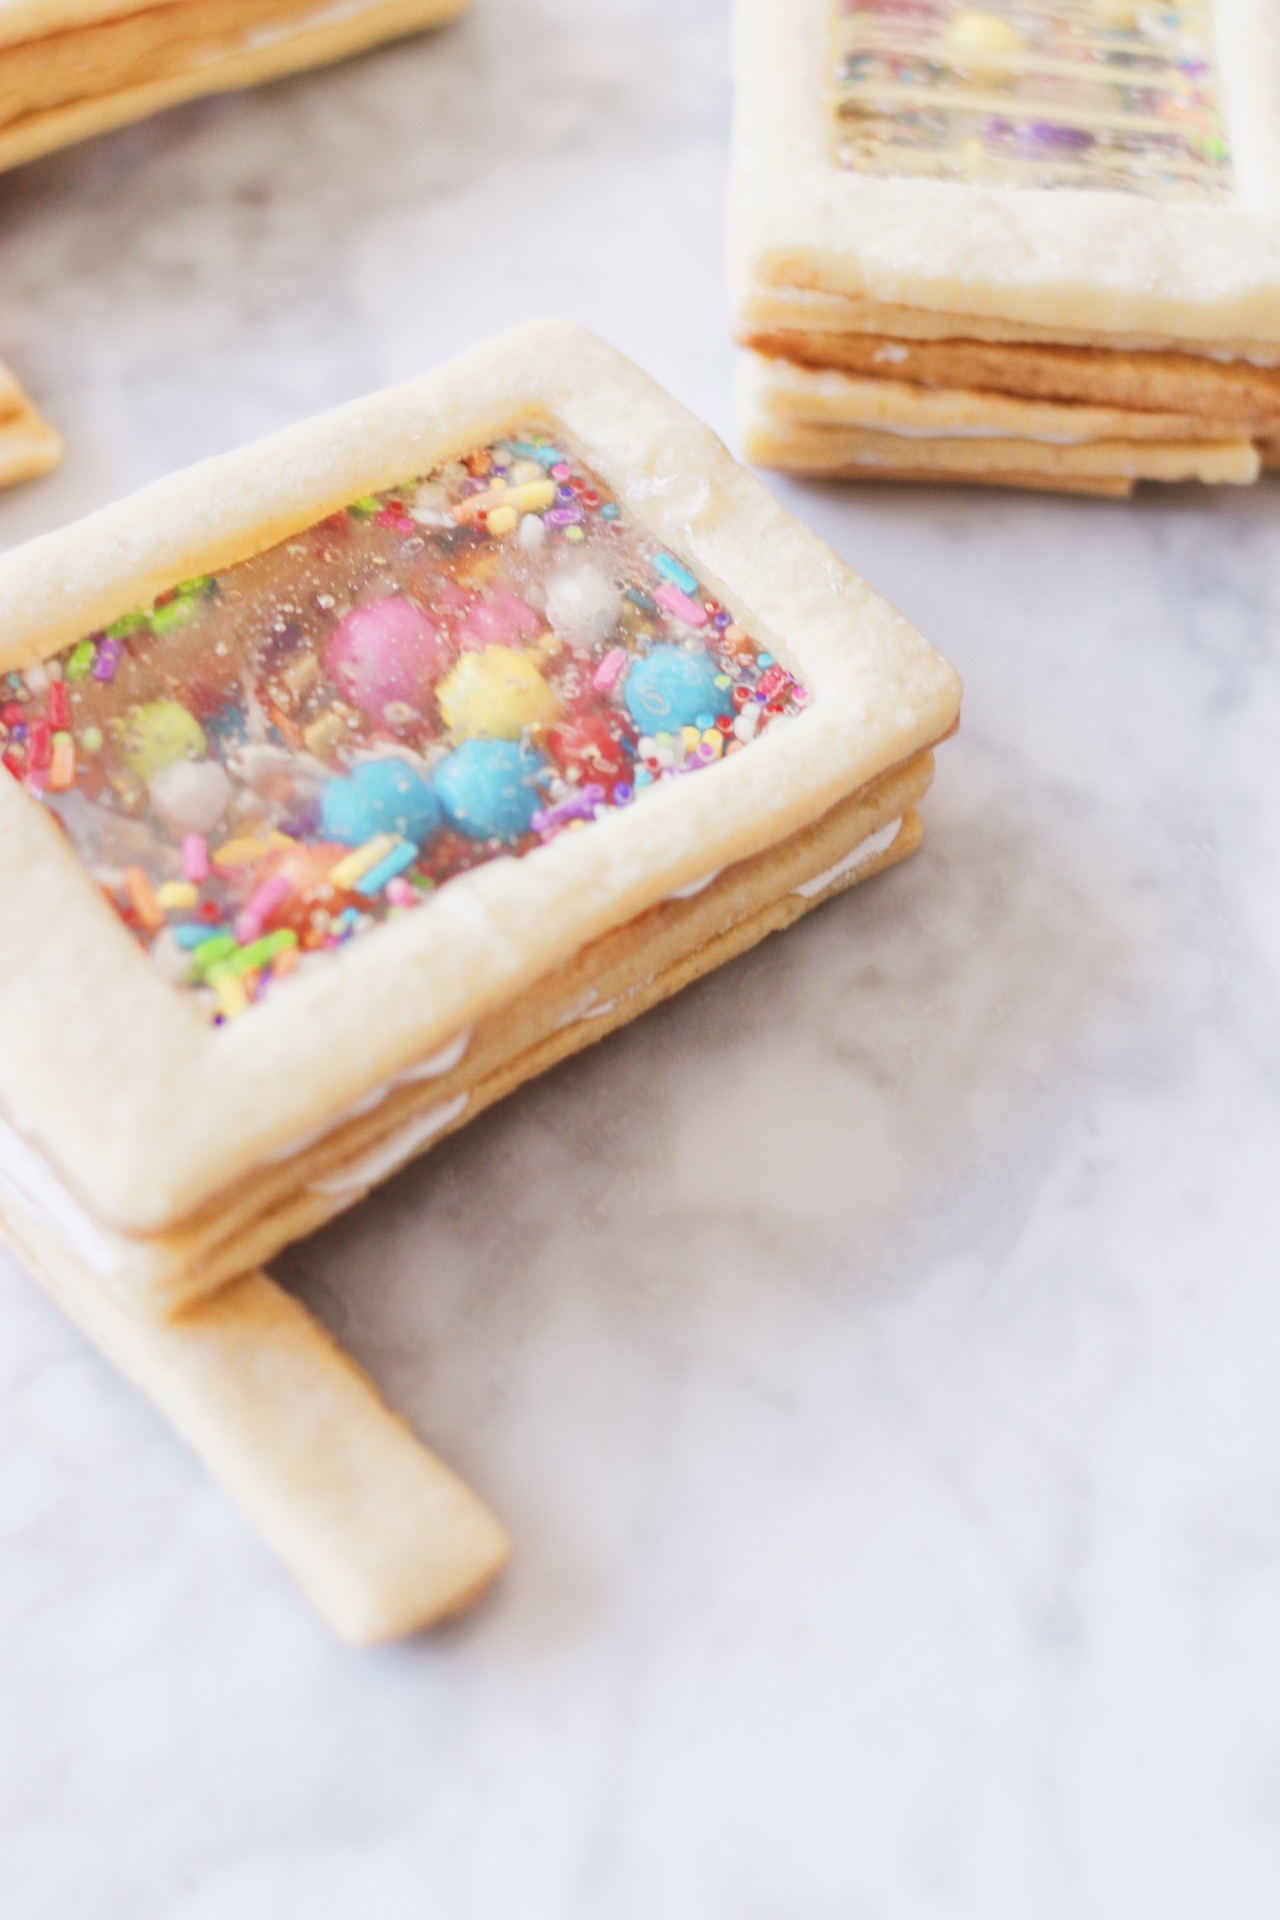

Anyway, I knew I’d have to try and make a batch myself. And after realizing that the floating sprinkles within each cookie could create a tiny but audible racket…I had a lightbulb moment and decided to craft them into groggers.
Thus, these noise-making beauties were born.
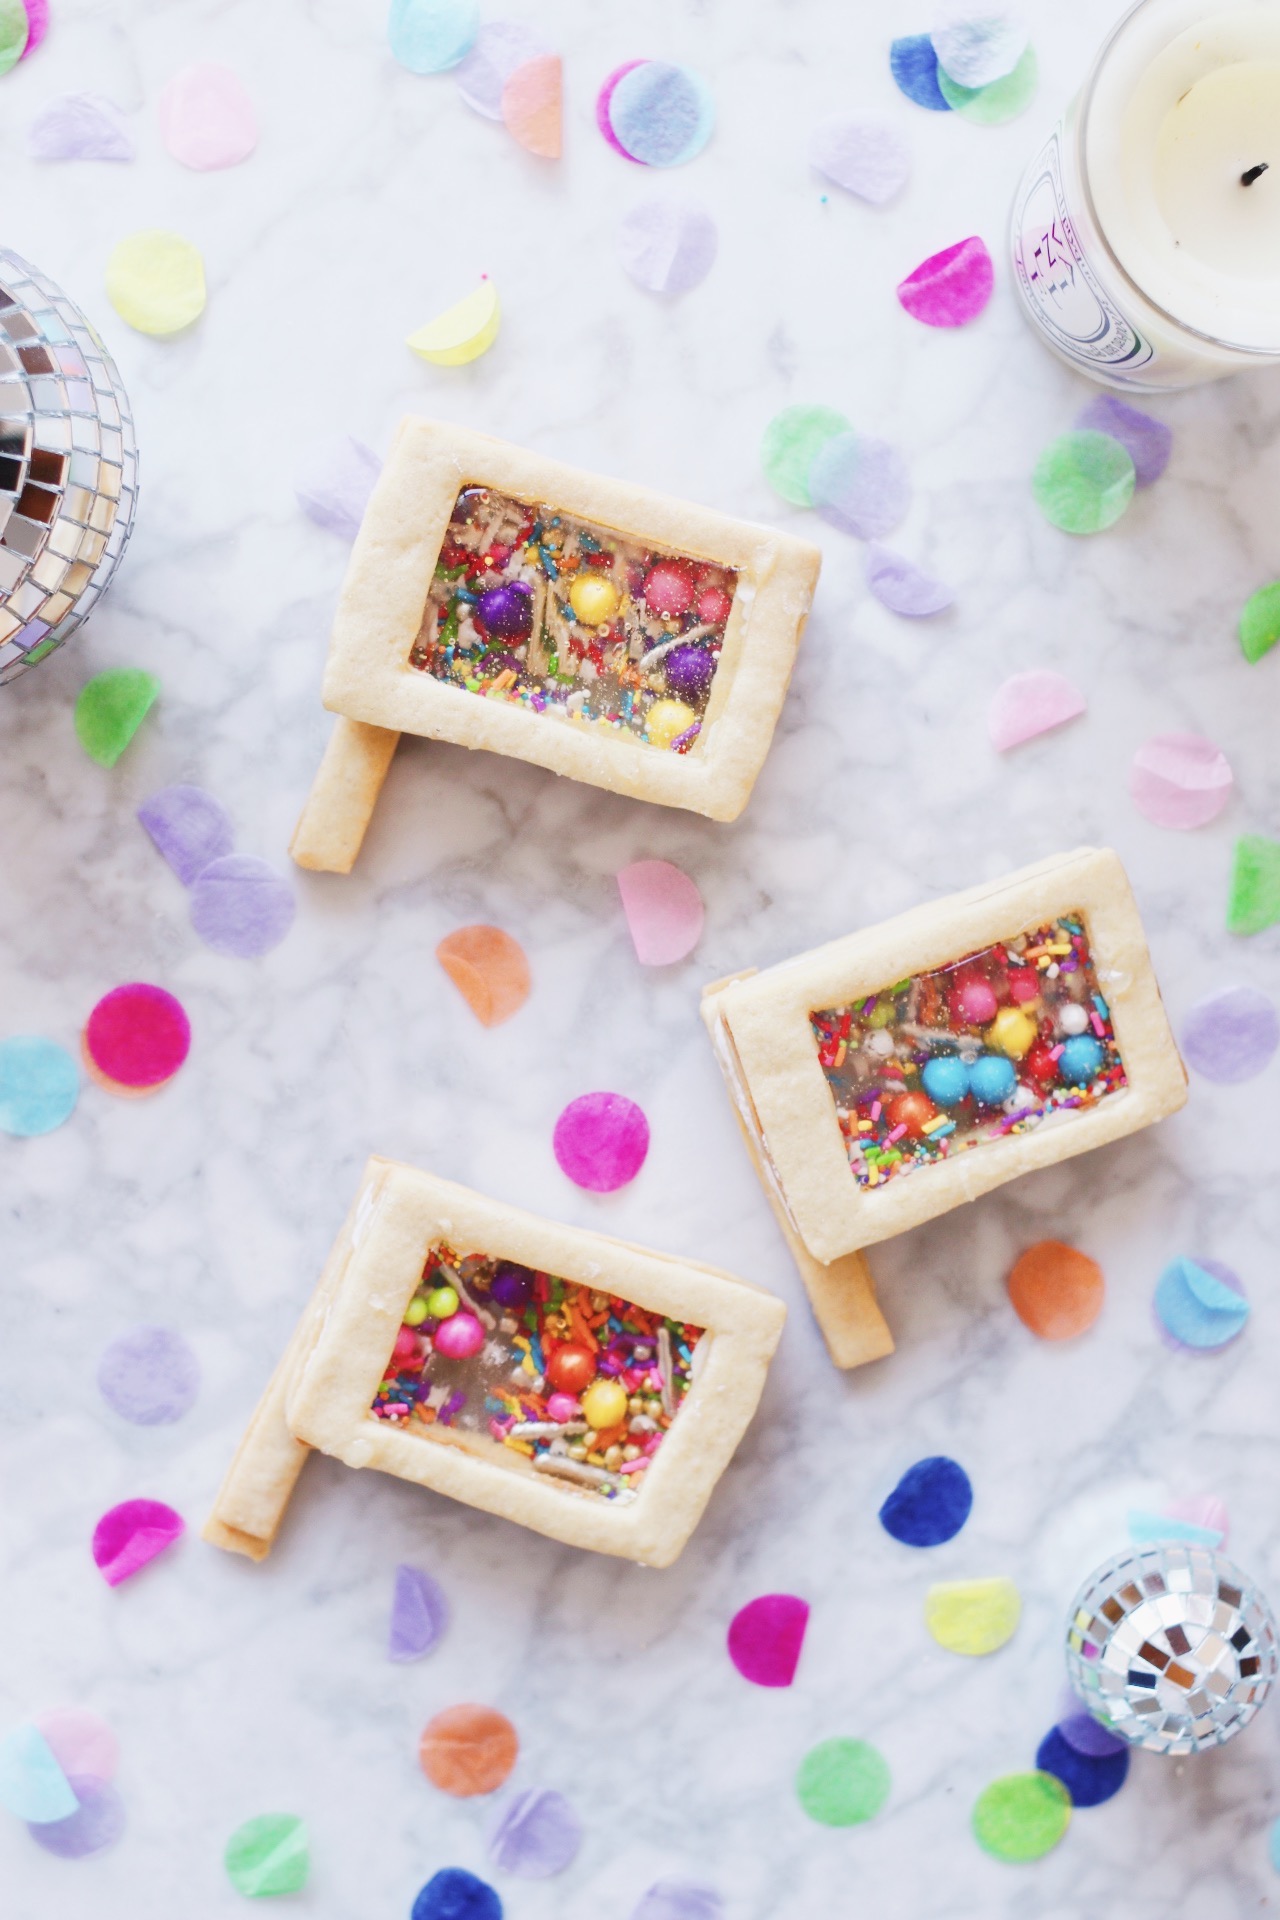
Of course, it wasn’t all that easy to go from cookie idea –> actual cookie. First, I took some time to look into isomalt, the compound that’s used to create that see-through “glass” layer in each cookie. Turns out it’s a beet-derived sugar substitute that’s often used by pastry and cake artists to create over-the-top decorations. After it’s melted, it hardens at room temperature and becomes nearly transparent. Oh, and there are many kosher-certified brands out there!
Hilariously / terrifyingly, I also found out that eating isomalt in large quantities can seriously irritate your stomach and result in gastrointestinal distress. So. Just keep that in mind. 😅

The question remains: where the heck can you actually pick this stuff up?? As I found out, isomalt is available at many specialty baking stores…and online. That’s the route I took.
If you’re nervous about working with isomalt, I’ll start by saying…don’t be! (Besides, you know, the gastrointestinal distress part. Gotta say that freaked me out too.) Working with it was surprisingly easy. As long as you read through the directions before using it and follow them carefully, you’ll be good to go.
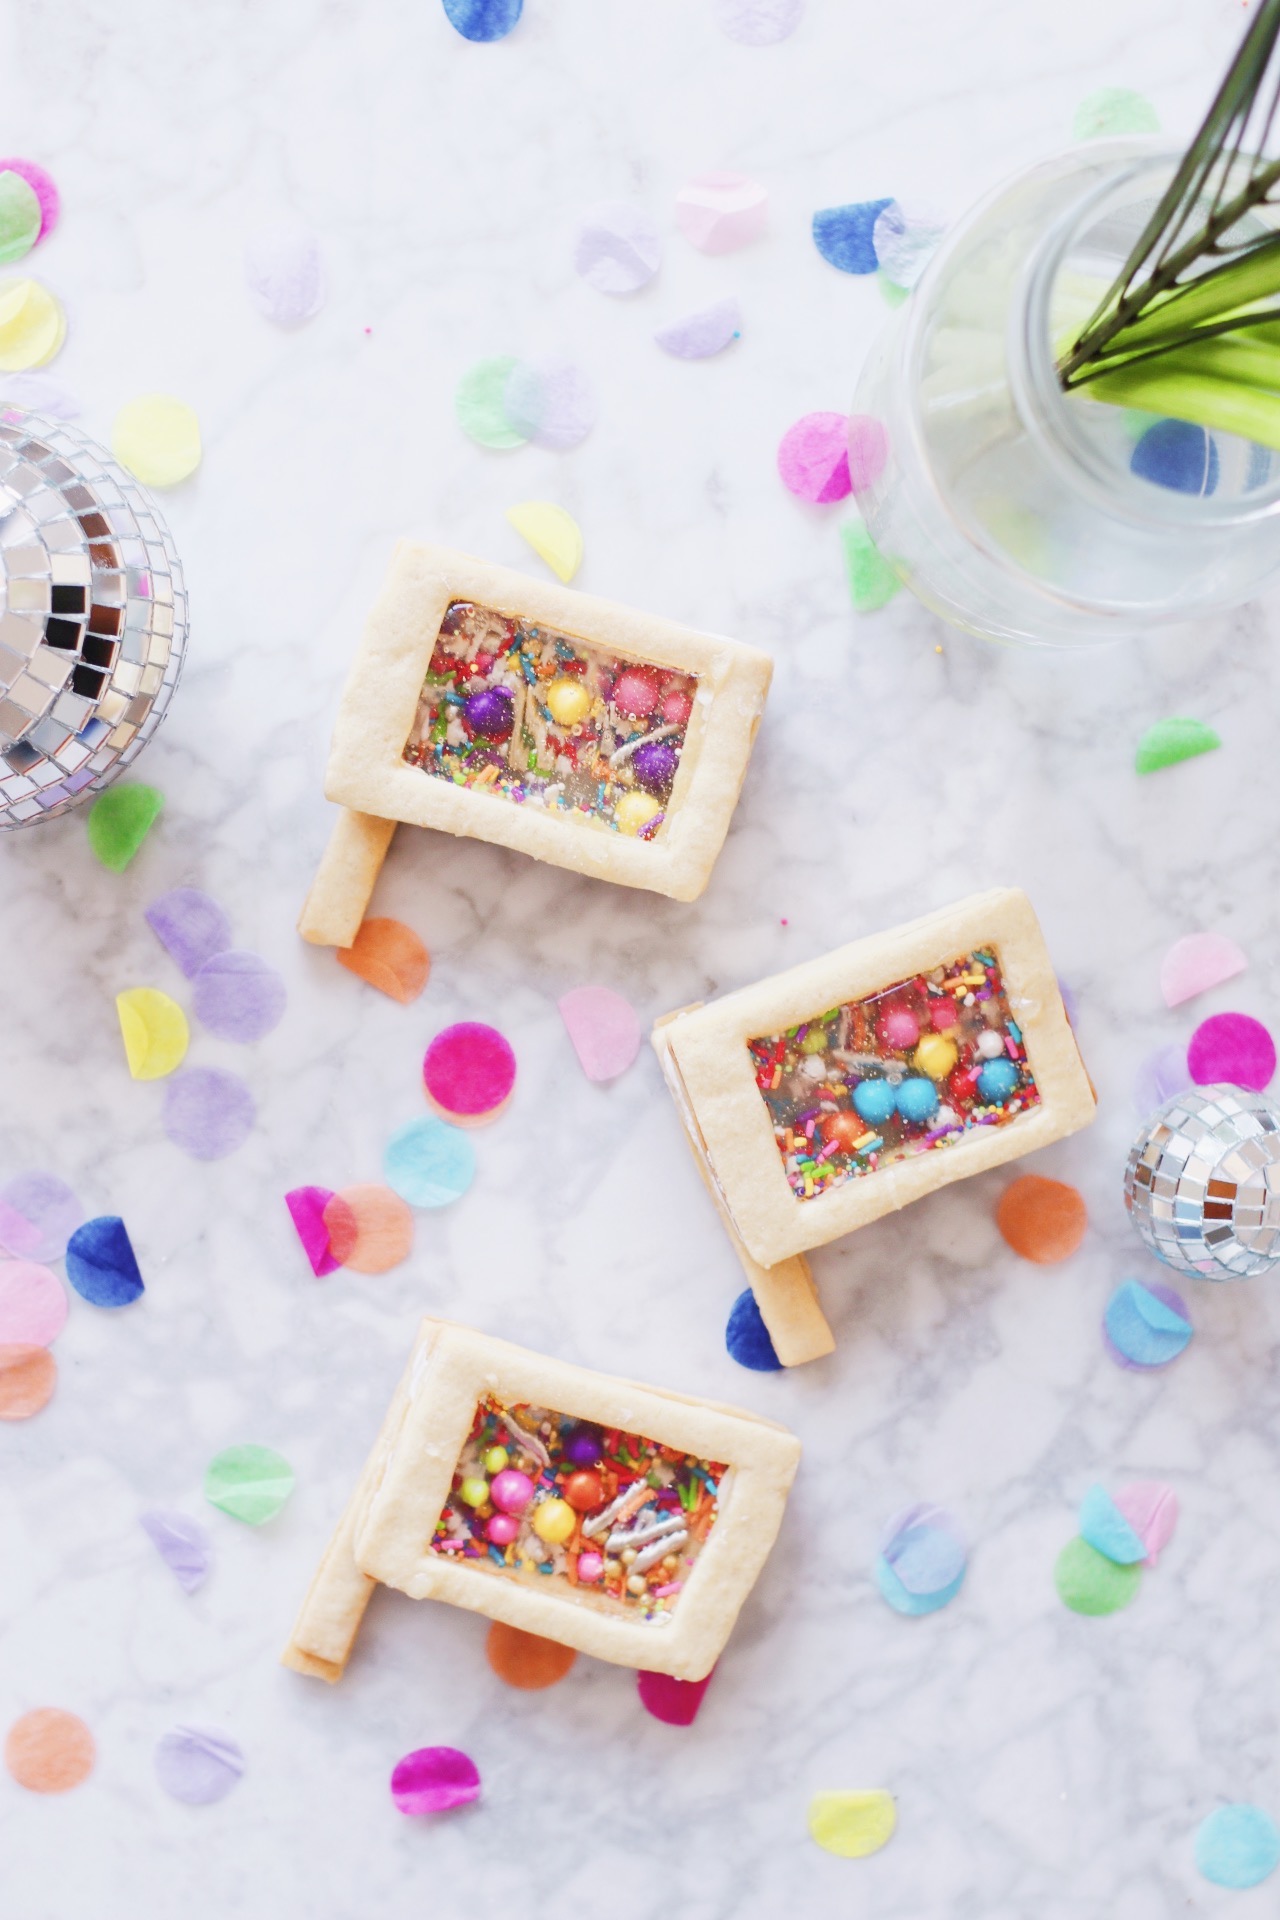
Still scared? Here’s the thing: You don’t actually have to use isomalt to create a clear cookie center. Plenty of recipes I found online mentioned using crushed-up clear mints instead—this brand was the most popular choice. it won’t be quite as clear, but it’ll do the trick. You could also try jolly ranchers if you’re making these guys last minute, and don’t mind a little color, and want something that’s really easy to source. Yet another alternative would be to use isomalt, but in a different and possibly easier way: I found instructions for microwaving it here, if you’re more comfortable using that than a stove and oven.
If you DO, however, want to stay the course and try it out the old-fashioned way, here’s how to make the magic happen:
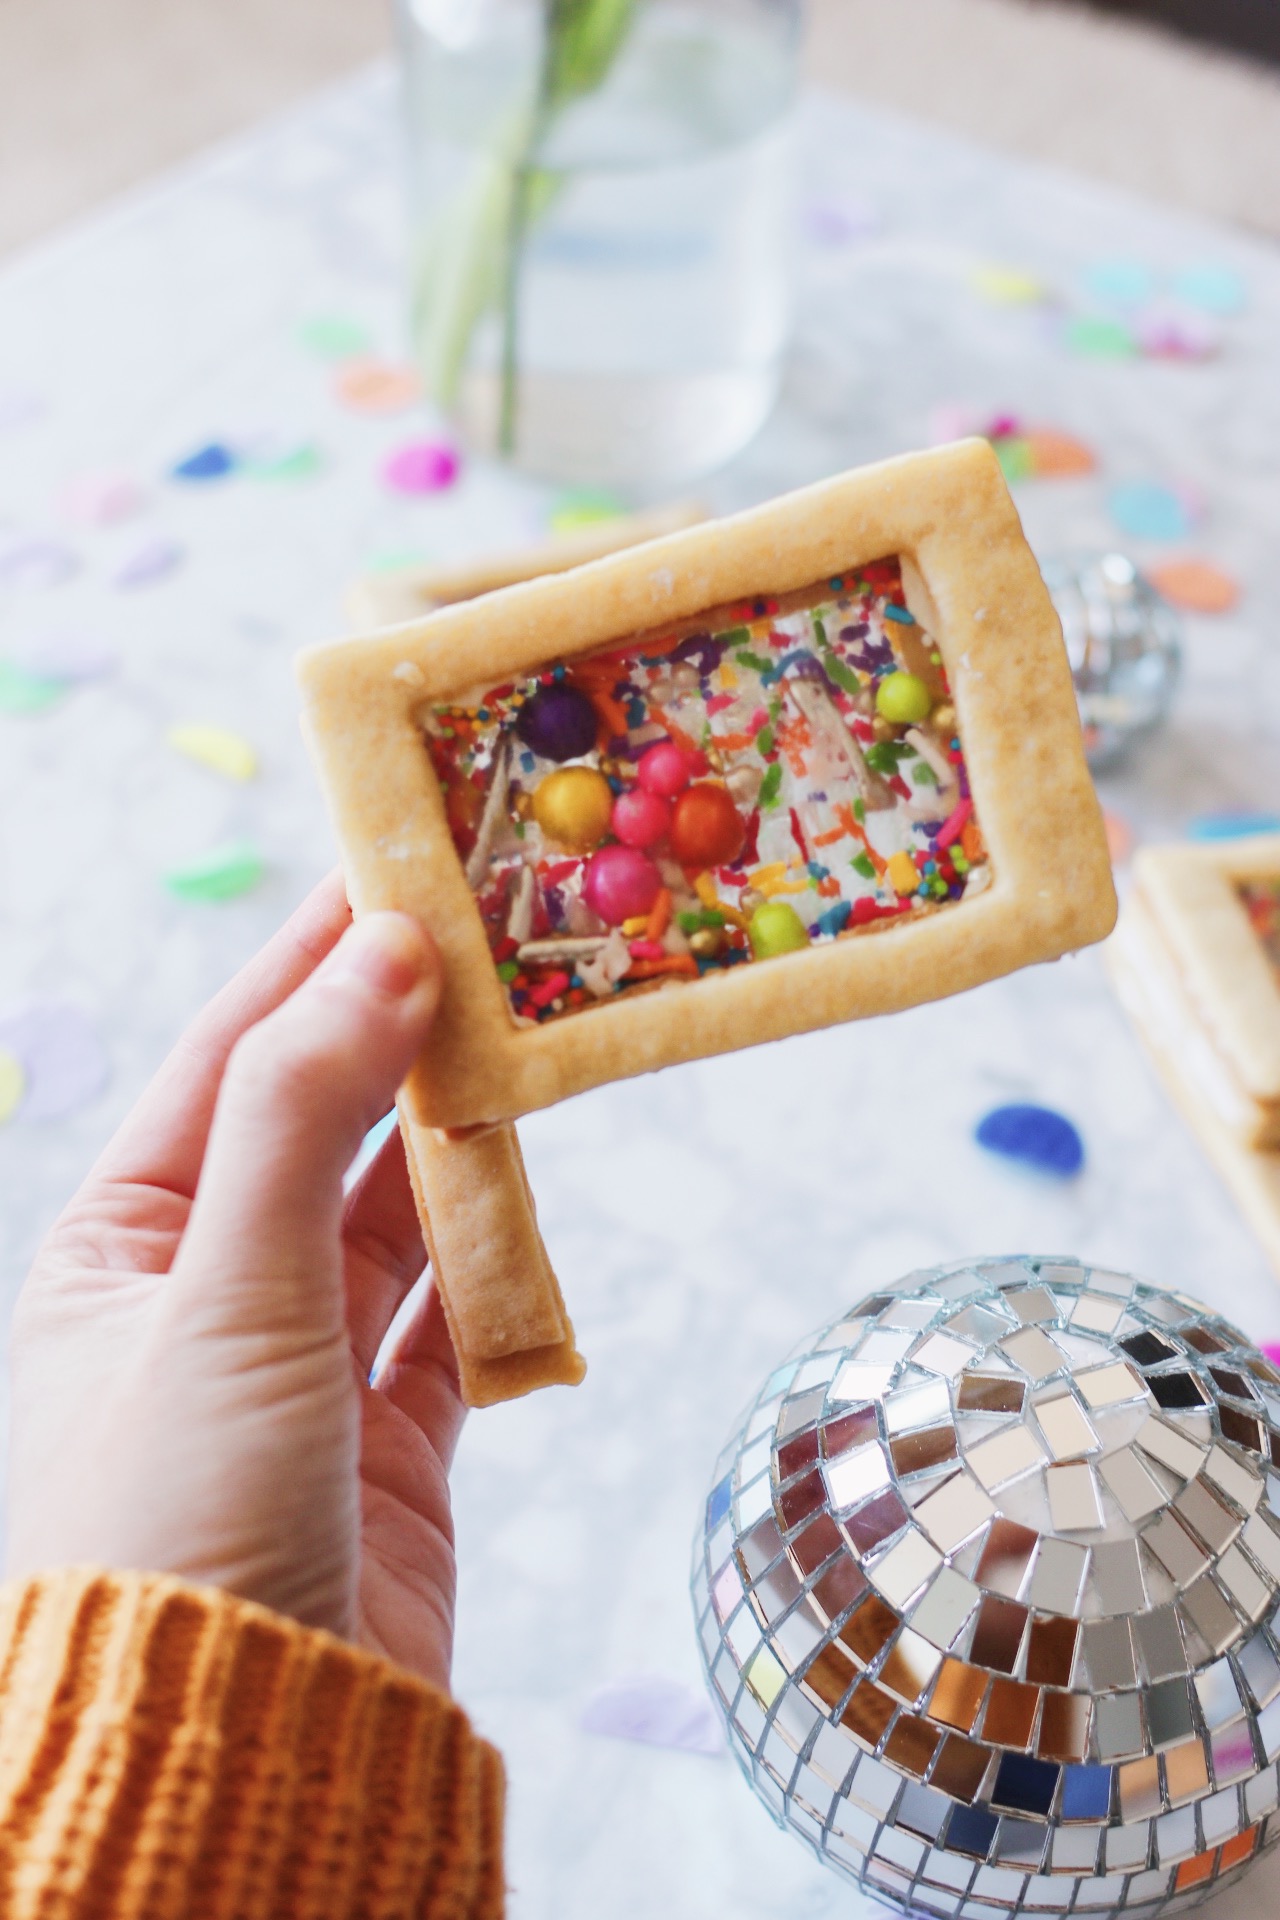
A Comprehensive Guide to Working with Isomalt and Making Edible Groggers
First, prepare your materials. You’ll need:
- 1 batch of your favorite sugar cookie dough
- Nested rectangular cookie cutters (I used the largest two in this set)
- 1 batch of royal icing
- Sprinkles! (this rainbow one is the exact brand I used; you could also use any very small, hard candies that’ll make noise when you shake the final grogger and fit within the cookies. Like mini M&Ms.)
- 1 cup isomalt crystals (I used 1 cup and was able to make three cookies—you’ll understand in a moment why each cookie is actually a trio of cookies and therefore requires quite a bit of isomalt)
- 1/8 cup of water (aka 2 tablespoons) for every 1 cup of isomalt you use (so, for my 1 cup of isomalt, I used just 1/8 cup of water, or the equivalent of 2 tablespoons of water)
- A small and very clean oven-safe pot (any foreign materials / dirt can cause the isomalt to turn yellow)
- A clean metal spoon
- A sheet of totally flat, un-creased parchment paper

Cut out and bake the cookies.
To make one of these edible grogger cookies, you’re going to need a total of THREE sugar cookies. This is because the final cookie is actually a layered stack, in which the bottom and top cookies are filled with isomalt and feature that fun “clear glass” design. The middle cookie is not filled. It’s just there to provide a little bit of extra height so that your sprinkles have space to move around inside of the other two cookies. Otherwise, they’d just get smushed in there.
For my purposes, I actually went with FOUR cookies because I rolled them pretty thin and my sprinkles were enormous…so I wanted to give them even more room to roll around in there.
After making note of the above, you can roll out the dough of your favorite cut-out sugar cookie recipe (here’s mine, but you can use any recipe that keeps its shape as it bakes). Cut out your desired shapes, then create a second cut wherever you’d like the hole for the isomalt to be (in the case of the grogger cookies, that’s two rectangles—one larger, and one slightly smaller within it). Easiest to use the set of nesting cookie cutters I mentioned above, which are sold together.
You’ll also want to cut out several grogger “handle” shapes. I eye-balled it and used a knife to cut out 6 thick (thick!) rectangles for my grand total of 3 grogger cookies. Making a few extra “handles” is a good idea; these are a bit flimsier and might break, so it’s nice to have extras on hand.
Still with me? Cool. Bake and cool the cookies.
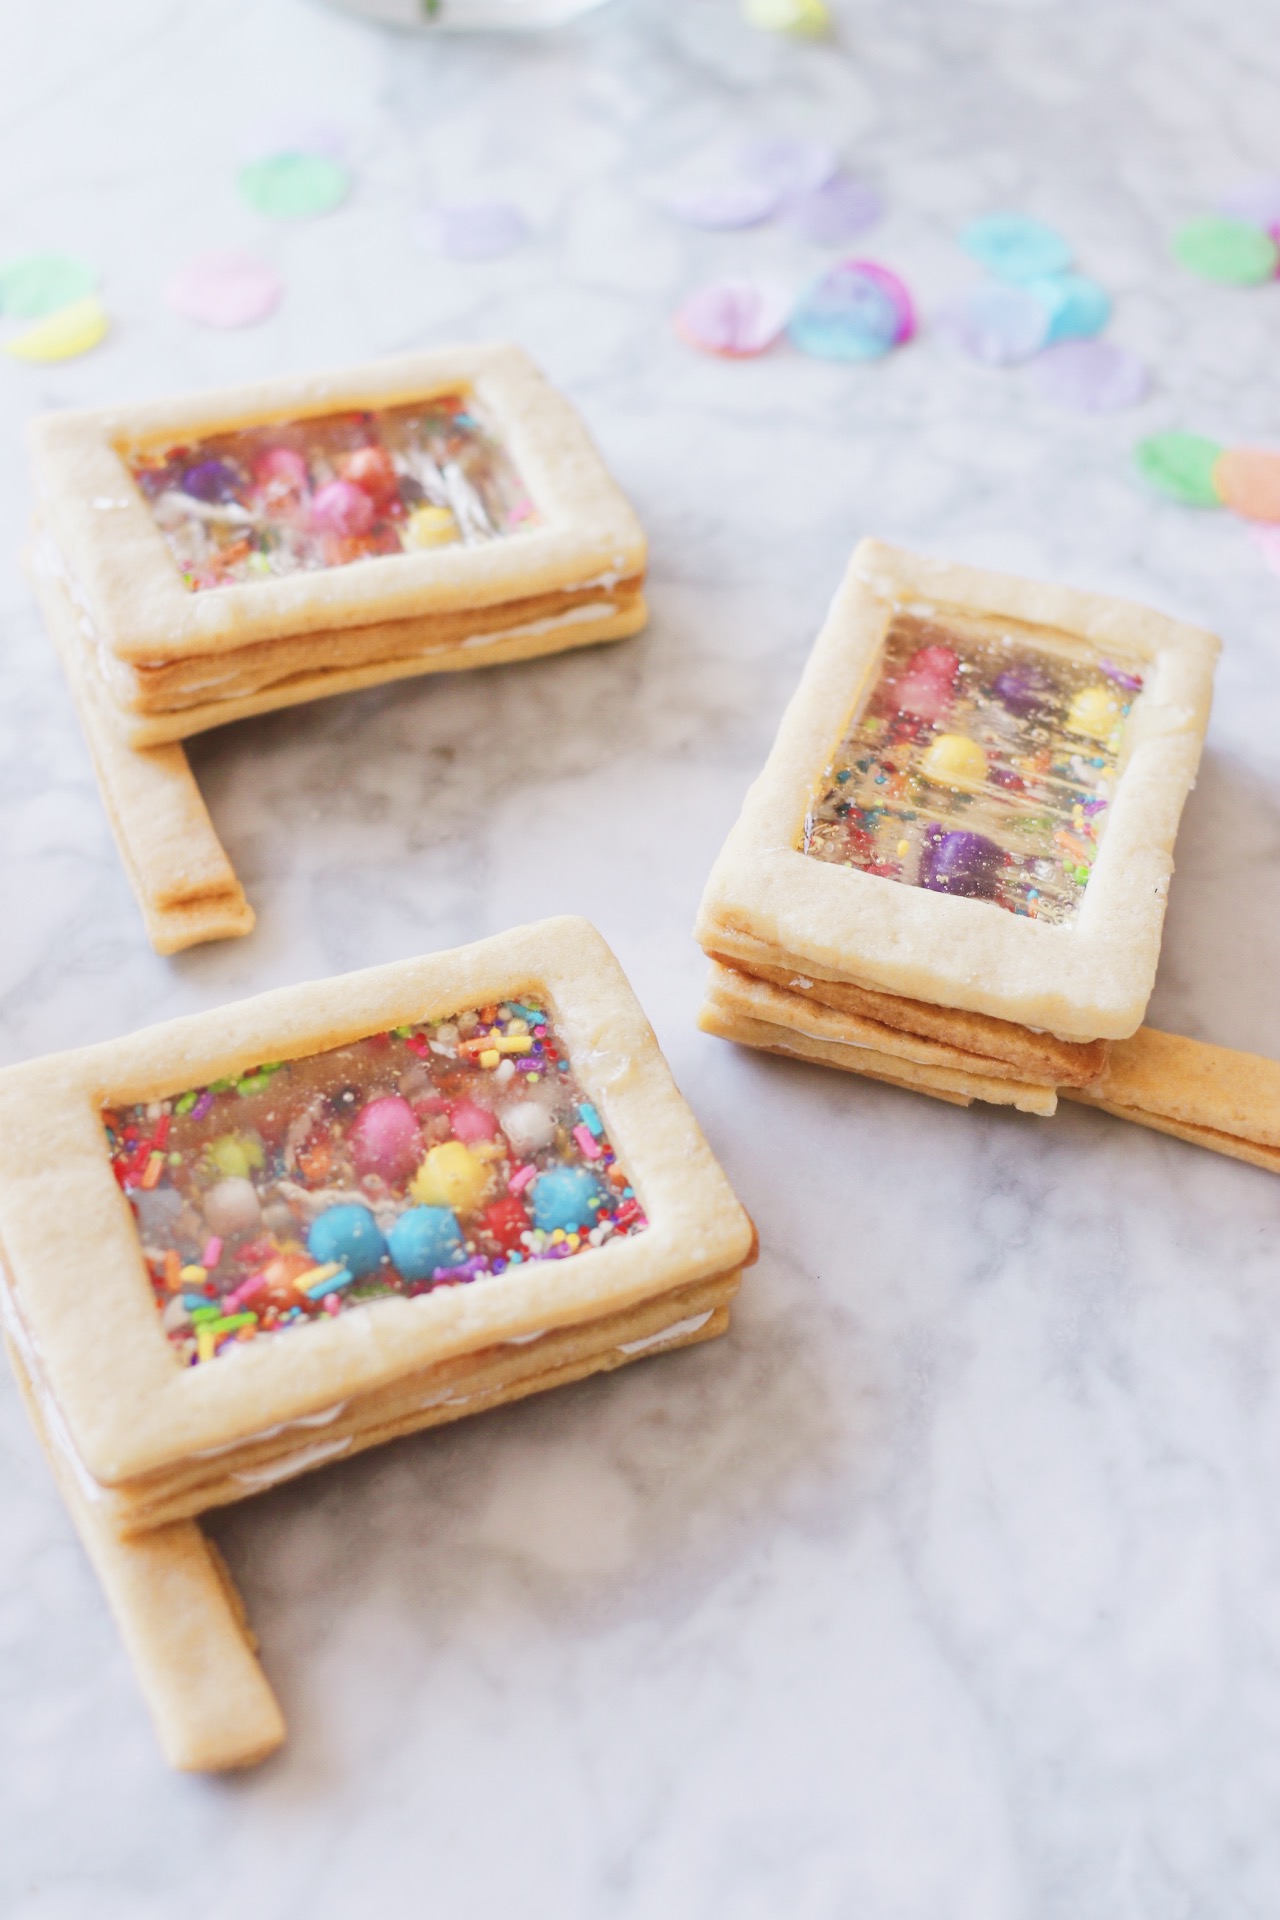
Once the cookies have cooled, get them prepped and ready for the isomalt.
Put 1/3 of the batch aside—those will be the “un-filled” ones. Place the rest of the cookies onto your clean, un-creased parchment paper (remember, any extra crumbs on this paper might get absorbed into the isomalt coming its way!).
Melt the isomalt carefully, properly, and safely.
First of all, safety note: isomalt gets extraordinarily hot and you should be extremely careful when heating it! Best to get kids out of the kitchen while this is happening, and just be very cautious not to burn yourself with the mixture.
I also highly recommend reading this whole section BEFORE beginning to work with the isomalt to be sure you have all the proper tools and equipment ready to go. It’s a fast, finicky, delicate process; you don’t want to be rummaging around in your kitchen while this is all going down.
To begin, preheat the oven to 265 degrees Fahrenheit.
Pour your isomalt crystals into a small, oven-safe pot and spread them out somewhat evenly.
Next, place the pot over medium heat and resist the urge to touch or adjust the isomalt crystals—no stirring! Wait for the crystals to melt all the way.
Once all the crystals have melted and the isomalt appears to be bubbling throughout / boiling, carefully remove the pot from the heat. I simply moved it to another burner for a minute or two.
You’ll want to watch the bubbly mixture as it slowly calms down off the heat. When all the bubbles disappear, you can bring the pot back over to the initial burner and begin the heating process again.
Once the pot’s back on the heat, you can add the water a little at a time and quickly stir after each addition—maybe 1/4 of a tablespoon at a time. It’ll react a little to the water being added and get sort of steamy / continue to bubble—that’s normal.
Place the pot into the now-heated oven for 10 minutes. This allows the bubbles to get out of the final mixture—otherwise you’ll end up with a bubbly, un-clear final look.
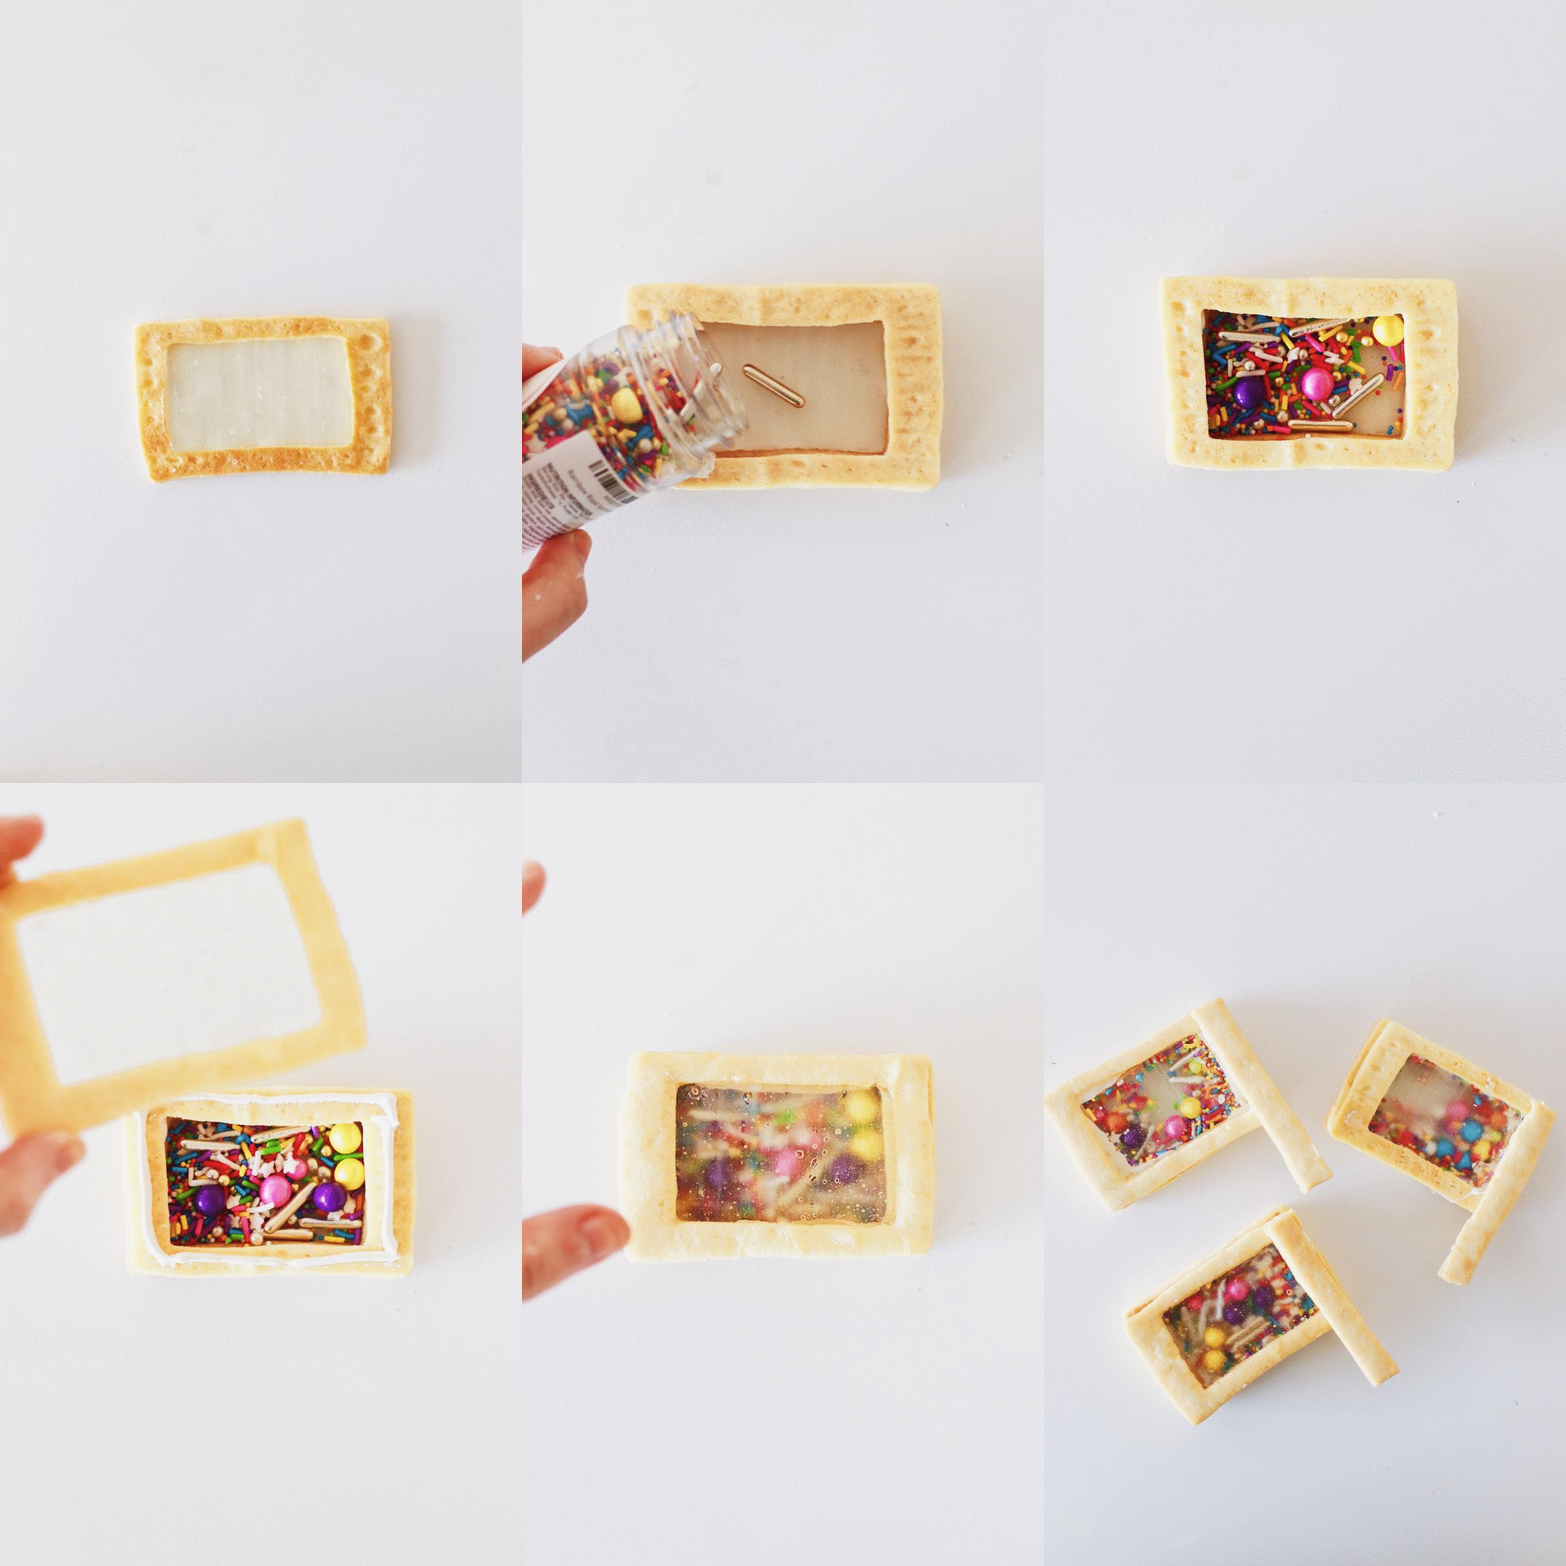
Pour the isomalt into the cookies!
Using a large spoon and working fairly quickly, but not so quickly that you pour isomalt all over the place, pour the isomalt into the holes of each of the waiting cookies. Better to start with too little of the mixture and work your way up than to accidentally pour isomalt all over the entire batch. You can use the tip of the spoon to gently coax the isomalt into the corners of the cookie, if it’s not making its way there on its own.
If the isomalt begins to harden up again, you can always place the pot back in the oven for a few minutes to liquify it once more.
After the pouring process is done, leave the cookies in place for at least 30 minutes without touching them so that the isomalt can fully harden. Then, carefully peel them off of the parchment paper and observe the beautiful final look.
YOU DID IT!!!
Almost.
Assemble the groggers.
Place one of the isomalt-filled cookies onto a flat surface. Pipe or apply a careful, clean line of royal icing to the perimeter of the cookie. Make sure not to get any icing onto the window itself—otherwise your sprinkles will stick.
Add one of the hollow cookies on top of it, pressing gently to stack.
Fill with sprinkles!
Pipe a line of royal icing to the perimeter of the top of the hollow cookie. stack your last filled cookie on top.
Carefully flip the grogger over. pipe one last line of royal icing to one side of the rectangle, then attach a “handle” cookie. Wait for the entire thing to set—overnight is a good idea.
PHEW. You’re done.
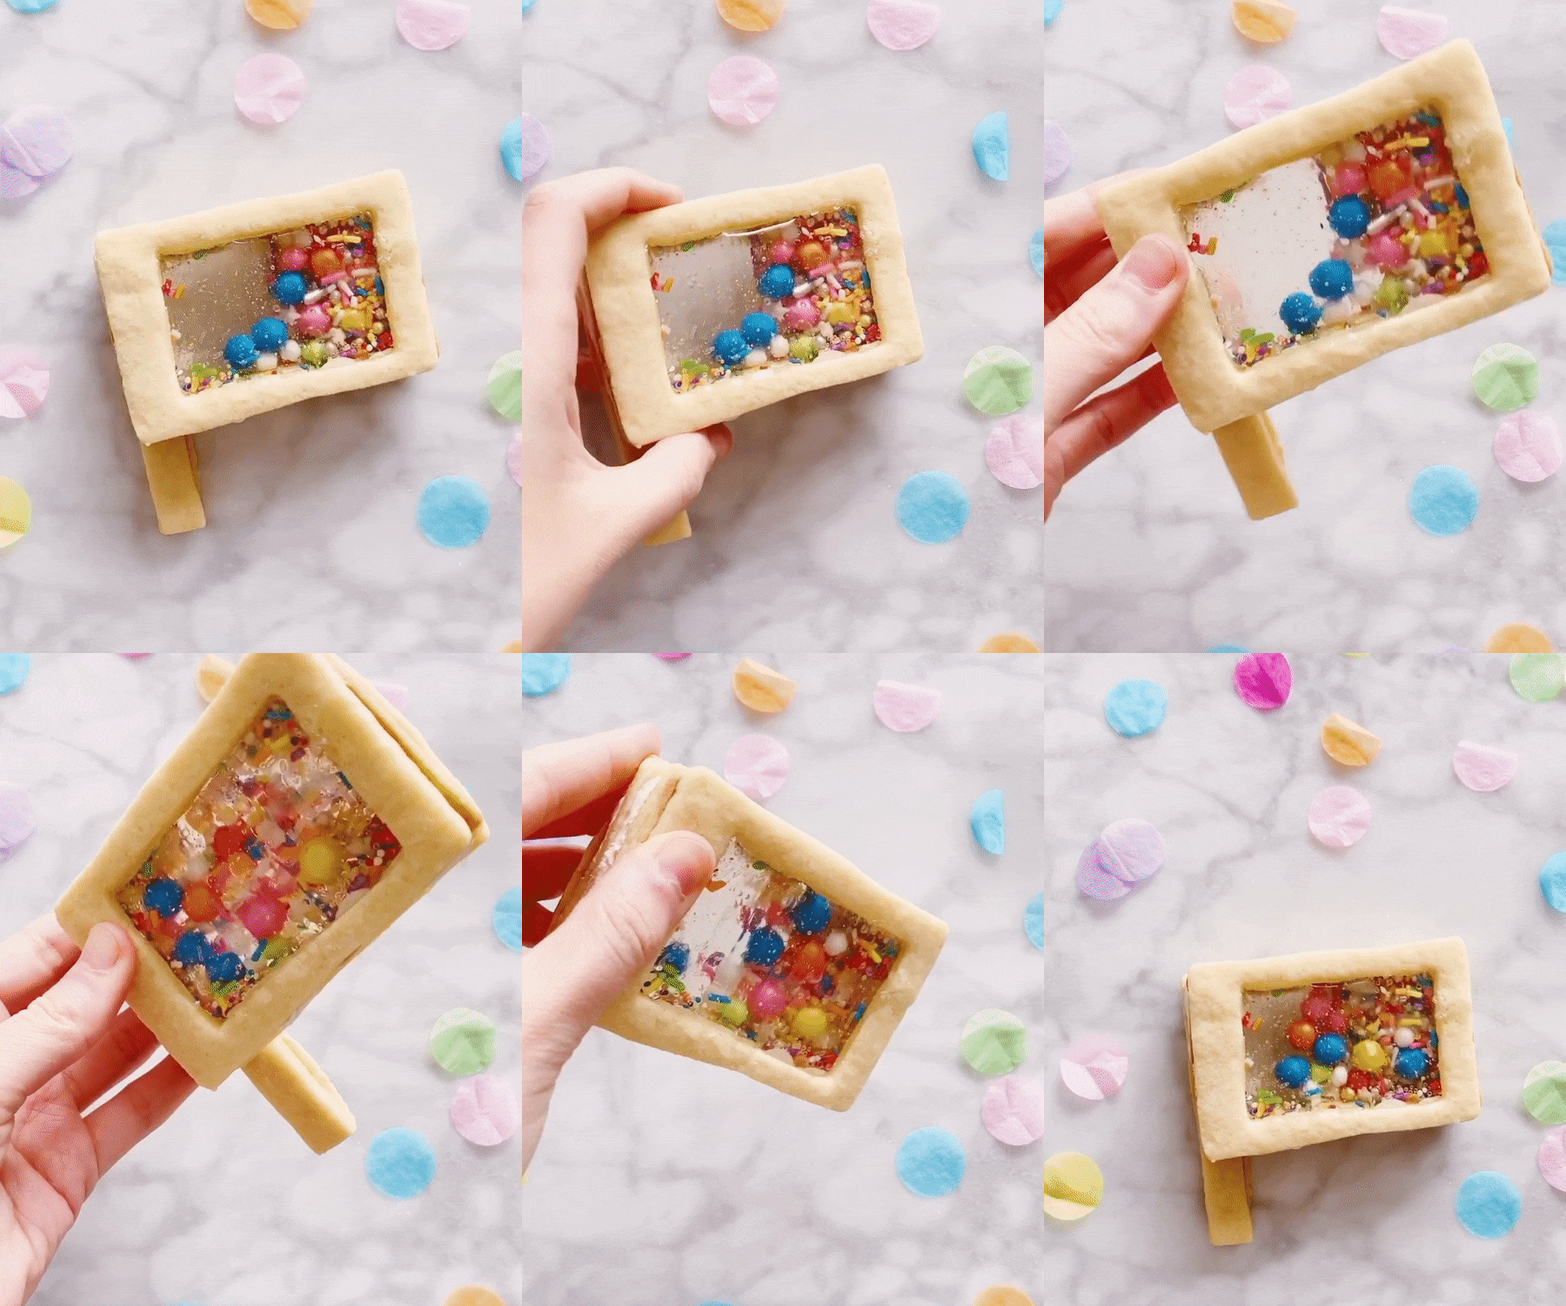
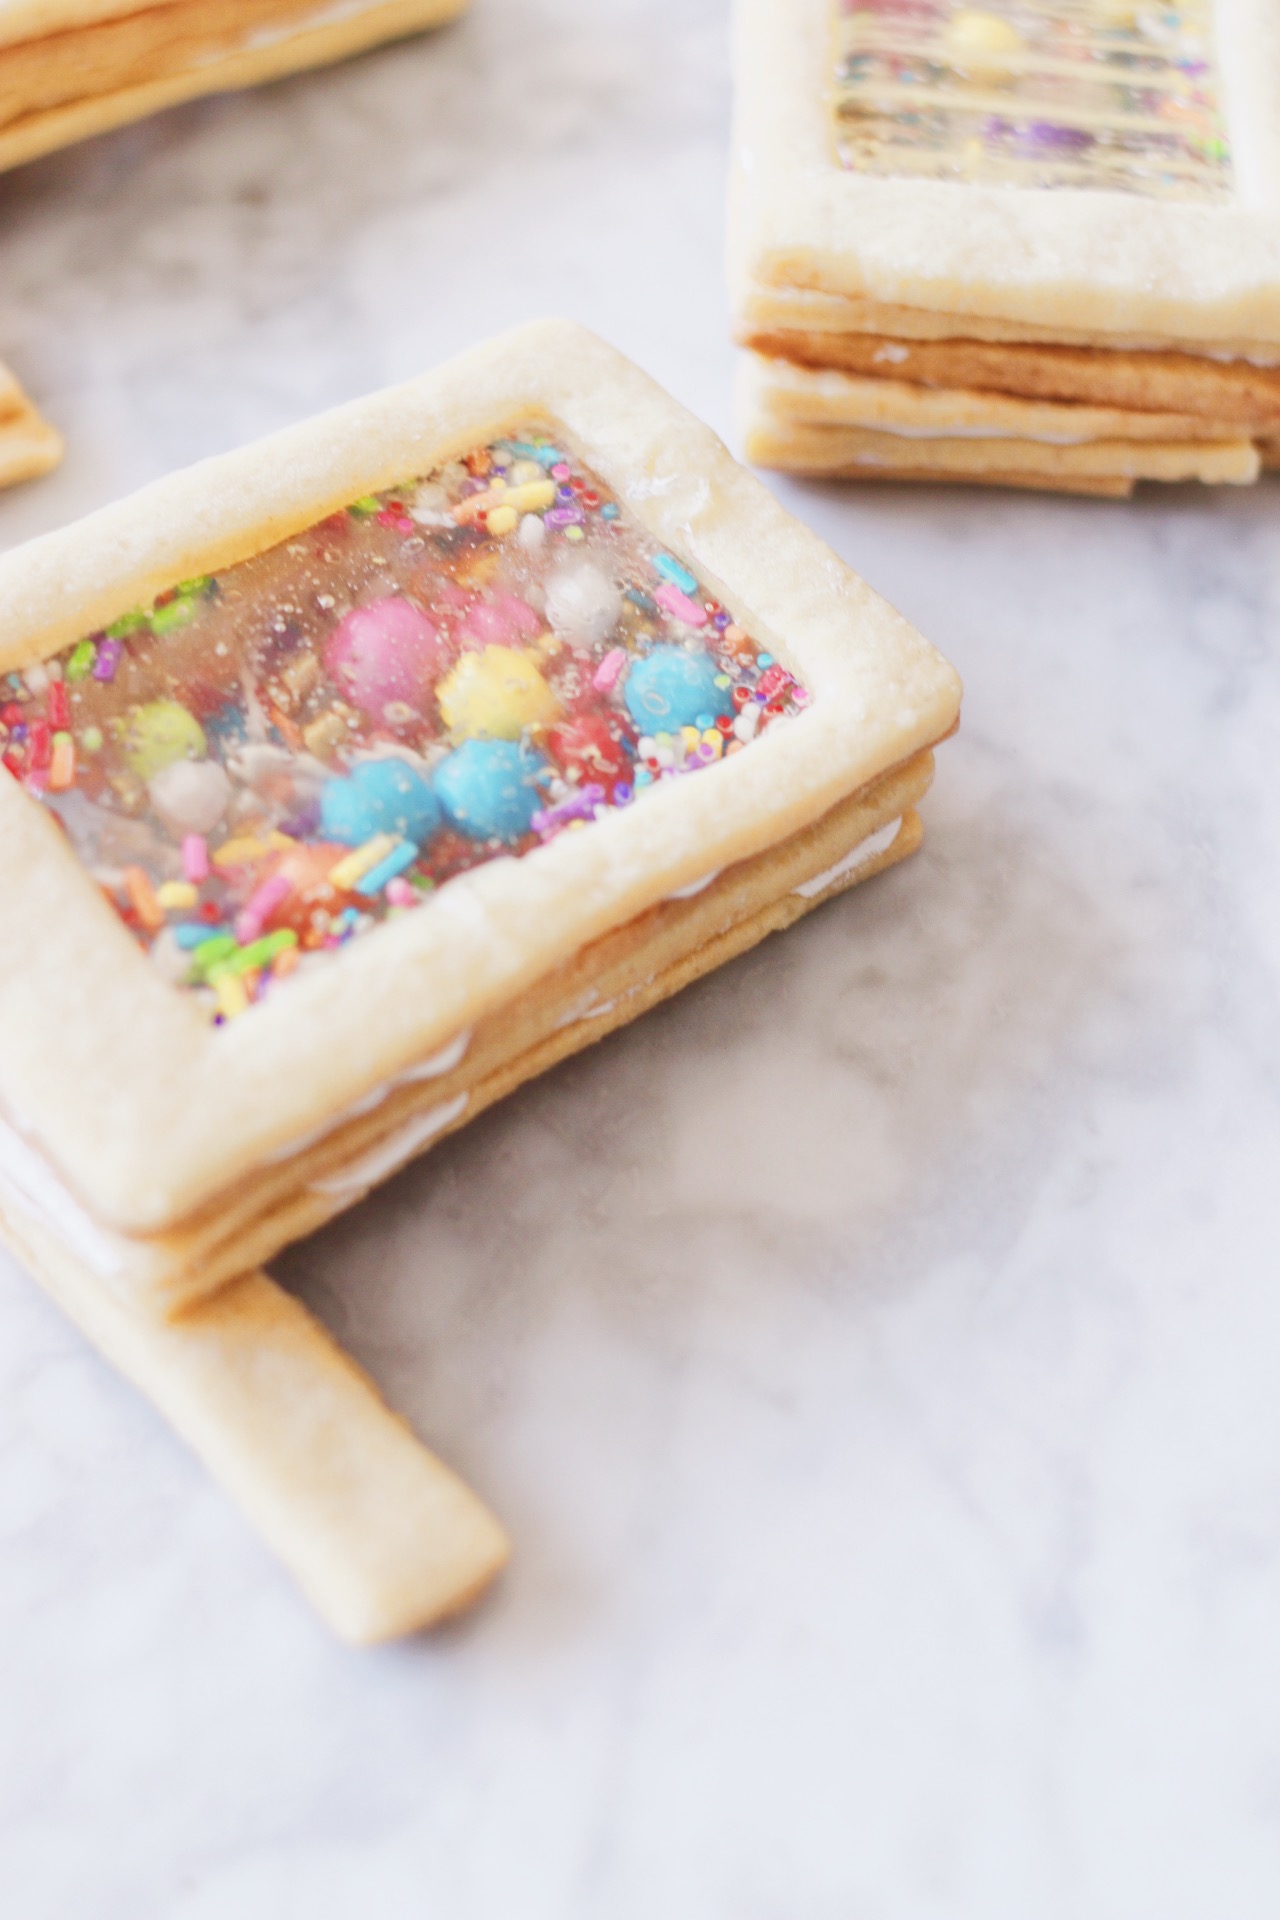
Pick them up by the sprinkle-filled end (the handle might be too fragile to actually hold all that weight!), Shake them carefully, admire your handiwork, give them as favors, use them as table decor, eat them, stare at them, whatever! Enjoy!!

Does the isomalt bother your stomach once it’s hardened? How much is ok? Or will they look too amazing to actually eat?
(I just ask bc I have a child with a sensitive stomach)
Thanks!!!
Hi!! Excellent question. Hate to be the bearer of less-than-wonderful news, but yes, as noted above, eating the isomalt in even moderate quantities can result in “gastrointestinal distress” (am very thankful to *NOT* have learned this from personal experience, and just from researching before making these guys!!). I hope that’s helpful, if depressing. If you’re worried about kids eating them (and not just eating the cookie around them!), I suggest using clear mints instead. The final product won’t be quite as crystal clear, but it’ll get the job done and taste great! I believe I linked more info about that within the post. Feel free to DM me on Insta with any further questions! Xx
https://hungryhappenings.com/snowflake-filled-snowman-cookies/
Wanted to share the link to one such recipe that uses clear mints instead, in case it’s helpful! Have fun and chag sameach! 🙂
I just love these cookies and would like to make them for a Chabad Purim party. Are all the sprinkles you use certified kosher?
Thank you,
Bonnie
hi Bonnie!! I’m so sorry for my delay. I don’t believe they are – I’m kosher style, not fully kosher. but I’m sure you can find similarly beautiful kosher options; please let me know if you have any success with that and feel free to report back with a new brand!
Wanted to do this for a kids party – 6 year olds. Can they decorate these after assembled? Would royal icing be a good idea ?
love that! just be careful because the isomalt is very dangerous (it’s molten sugar) and can’t be poured around children, so i’d have the cookies premade if i were you. definitely would be fun to decorate, and royal icing would work perfectly. enjoy!
You have one batch listed in your instructions, but you only made 3 total groggers. Did you have dough left over? I want to make these with my daycare class but I don’t know how much dough I would need. What would you recommend?
I wouldn’t recommend this with a daycare class because the molten sugar is really dangerous, and yes! only 3 total cookies from all that because each finished “grogger” is constructed from three cookies, plus a handle. apologies for the late reply!