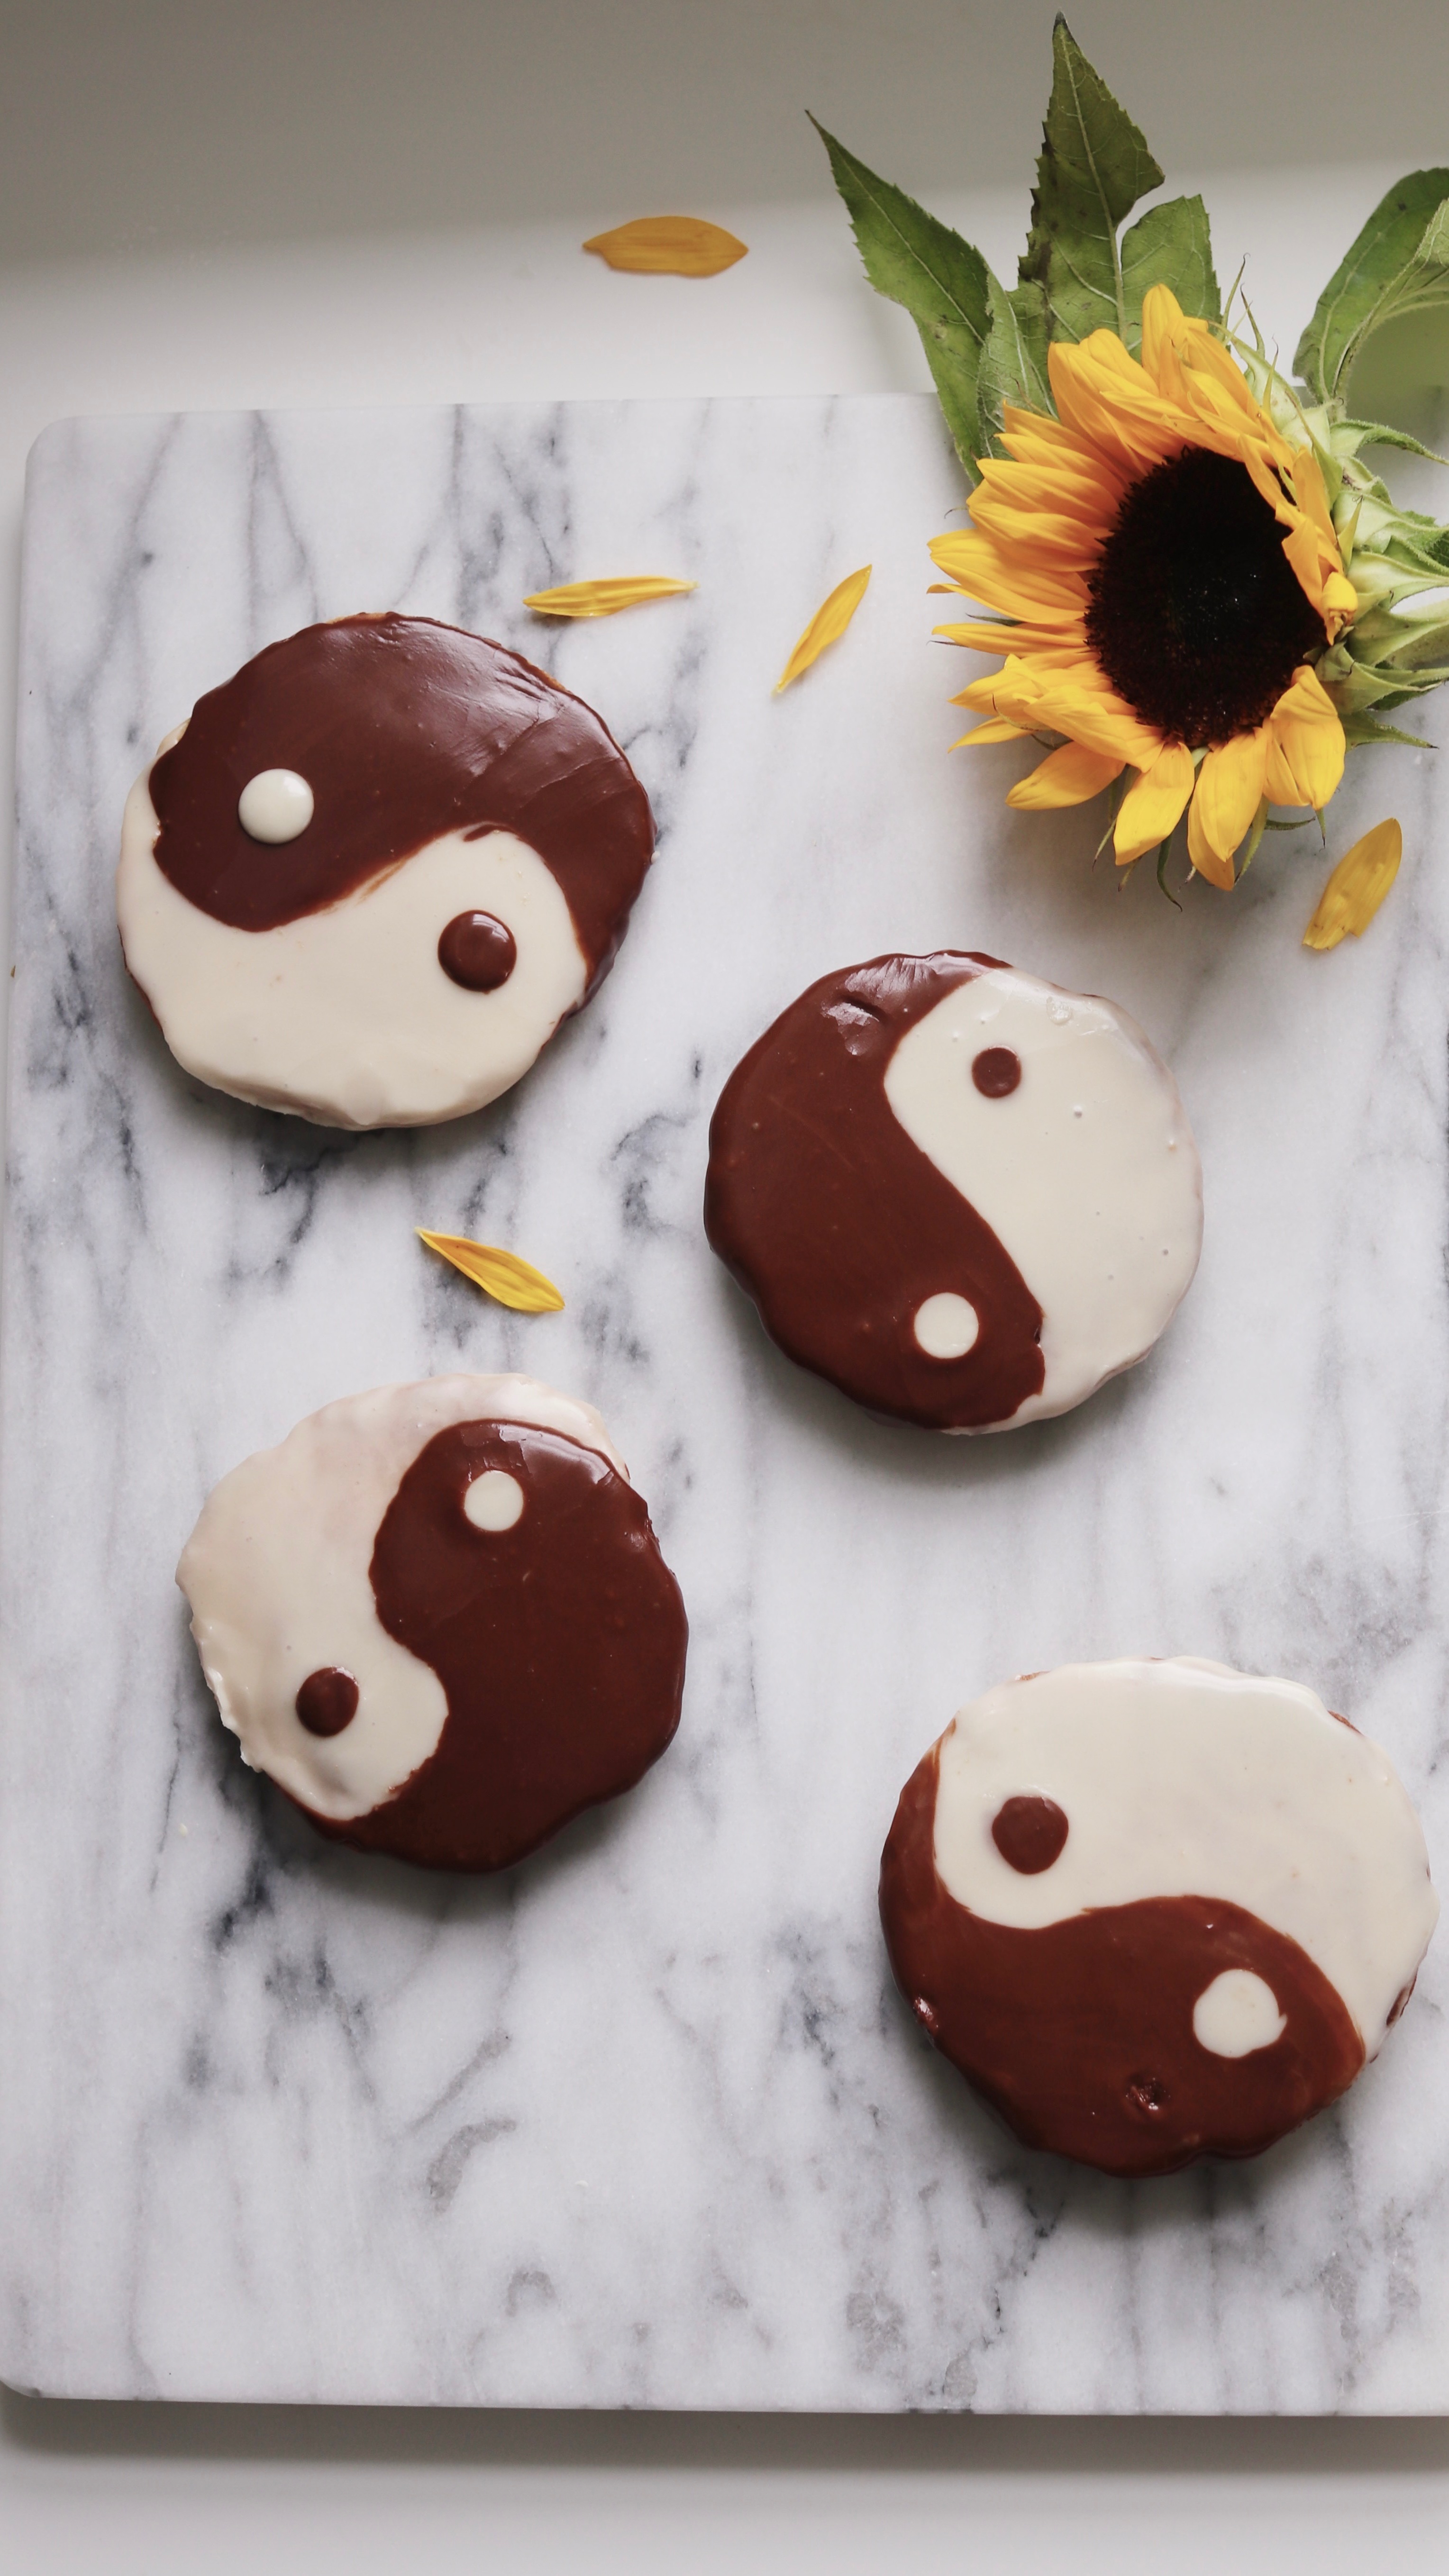
I’m starting to think I should devote an entire section of the blog to black-and-whites. I’ve made so many different versions over the years: pink-and-whites, Halloween black-and-whites, black-and-white cookie place cards, edible flower black-and-whites, Super Bowl black-and-whites (a personal favorite)…and on and on. I’m telling you, there have been many iterations. This latest design actually started out as a just-because batch—plain, original, no-frills. But then I got excited and threw in a yin-and-yang design and now there’s no going back.
(This sort of thing happens often in my kitchen.)
I have always loved the yin and yang symbol and the incredibly thoughtful Chinese philosophical concept of interconnectedness that it represents (actually, funnily enough, one of the first photos I ever posted on Instagram all the way back in 2012 (!) was an illustration and a description of this design). This video does a beautiful job of explaining the complexities and intricacies of that concept.
Of course, you could also just be here for cookies. If so, scroll for the full tutorial. And give me a shout on Instagram or TikTok if you end up making these!


Enlightened Black-and-White Cookies
Description
Classic, light and fluffy black-and-whites with a thoughtful design. Icing recipe adapted from Preppy Kitchen; base cookies via Sally’s Baking Addiction.
Ingredients
For the cookies:
- 1 batch of Sally’s black and white cookies (don’t make the icing!), baked and cooled
For the icing:
- 2 cups confectioners’ sugar, sifted to remove lumps (sift after measuring)
- 2 teaspoons lemon juice
- 2 tablespoons water, plus more as needed
- 1 tablespoon light corn syrup
- 1/2 teaspoon vanilla extract
- 3 tablespoons cocoa powder
Instructions
- Bake the cookies according to the recipe linked above. (Don’t make the icing that accompanies the base cookie recipe.)
- While the cookies cool, prepare the icing by mixing together the confectioners’ sugar, lemon juice, water, corn syrup, and vanilla until smooth (I prefer to use a hand mixer for this because the icing can get very, very thick). Regardless, though the finished icing *should* be thick, you will likely need to gradually add more water, a 1/4 teaspoon at a time, to get it to a spreadable consistency.
- Transfer about half of the icing to another small bowl, then stir in the cocoa powder and a few teaspoons of water until you reach a consistency similar to that of the white icing.
- Once the cookies have cooled completely, place them flat sides up, then use the tip of an icing spatula to carve into the cookie and map out the overall design, sort of like a blueprint that’ll help guide you in the icing process. Then, spread white icing over half of that blueprint and chocolate icing over the other half, as pictured. Before the icing firms up completely, add one small circle of chocolate icing in the white icing half and vice versa. It’ll slowly melt into the existing design in a really beautiful way.
- Let the icing continue to firm up for at least 15 minutes before enjoying (that will give the design a chance to set). Then, serve and enjoy, or keep in an airtight container (outside of the fridge, at room temp) for up to two days.
