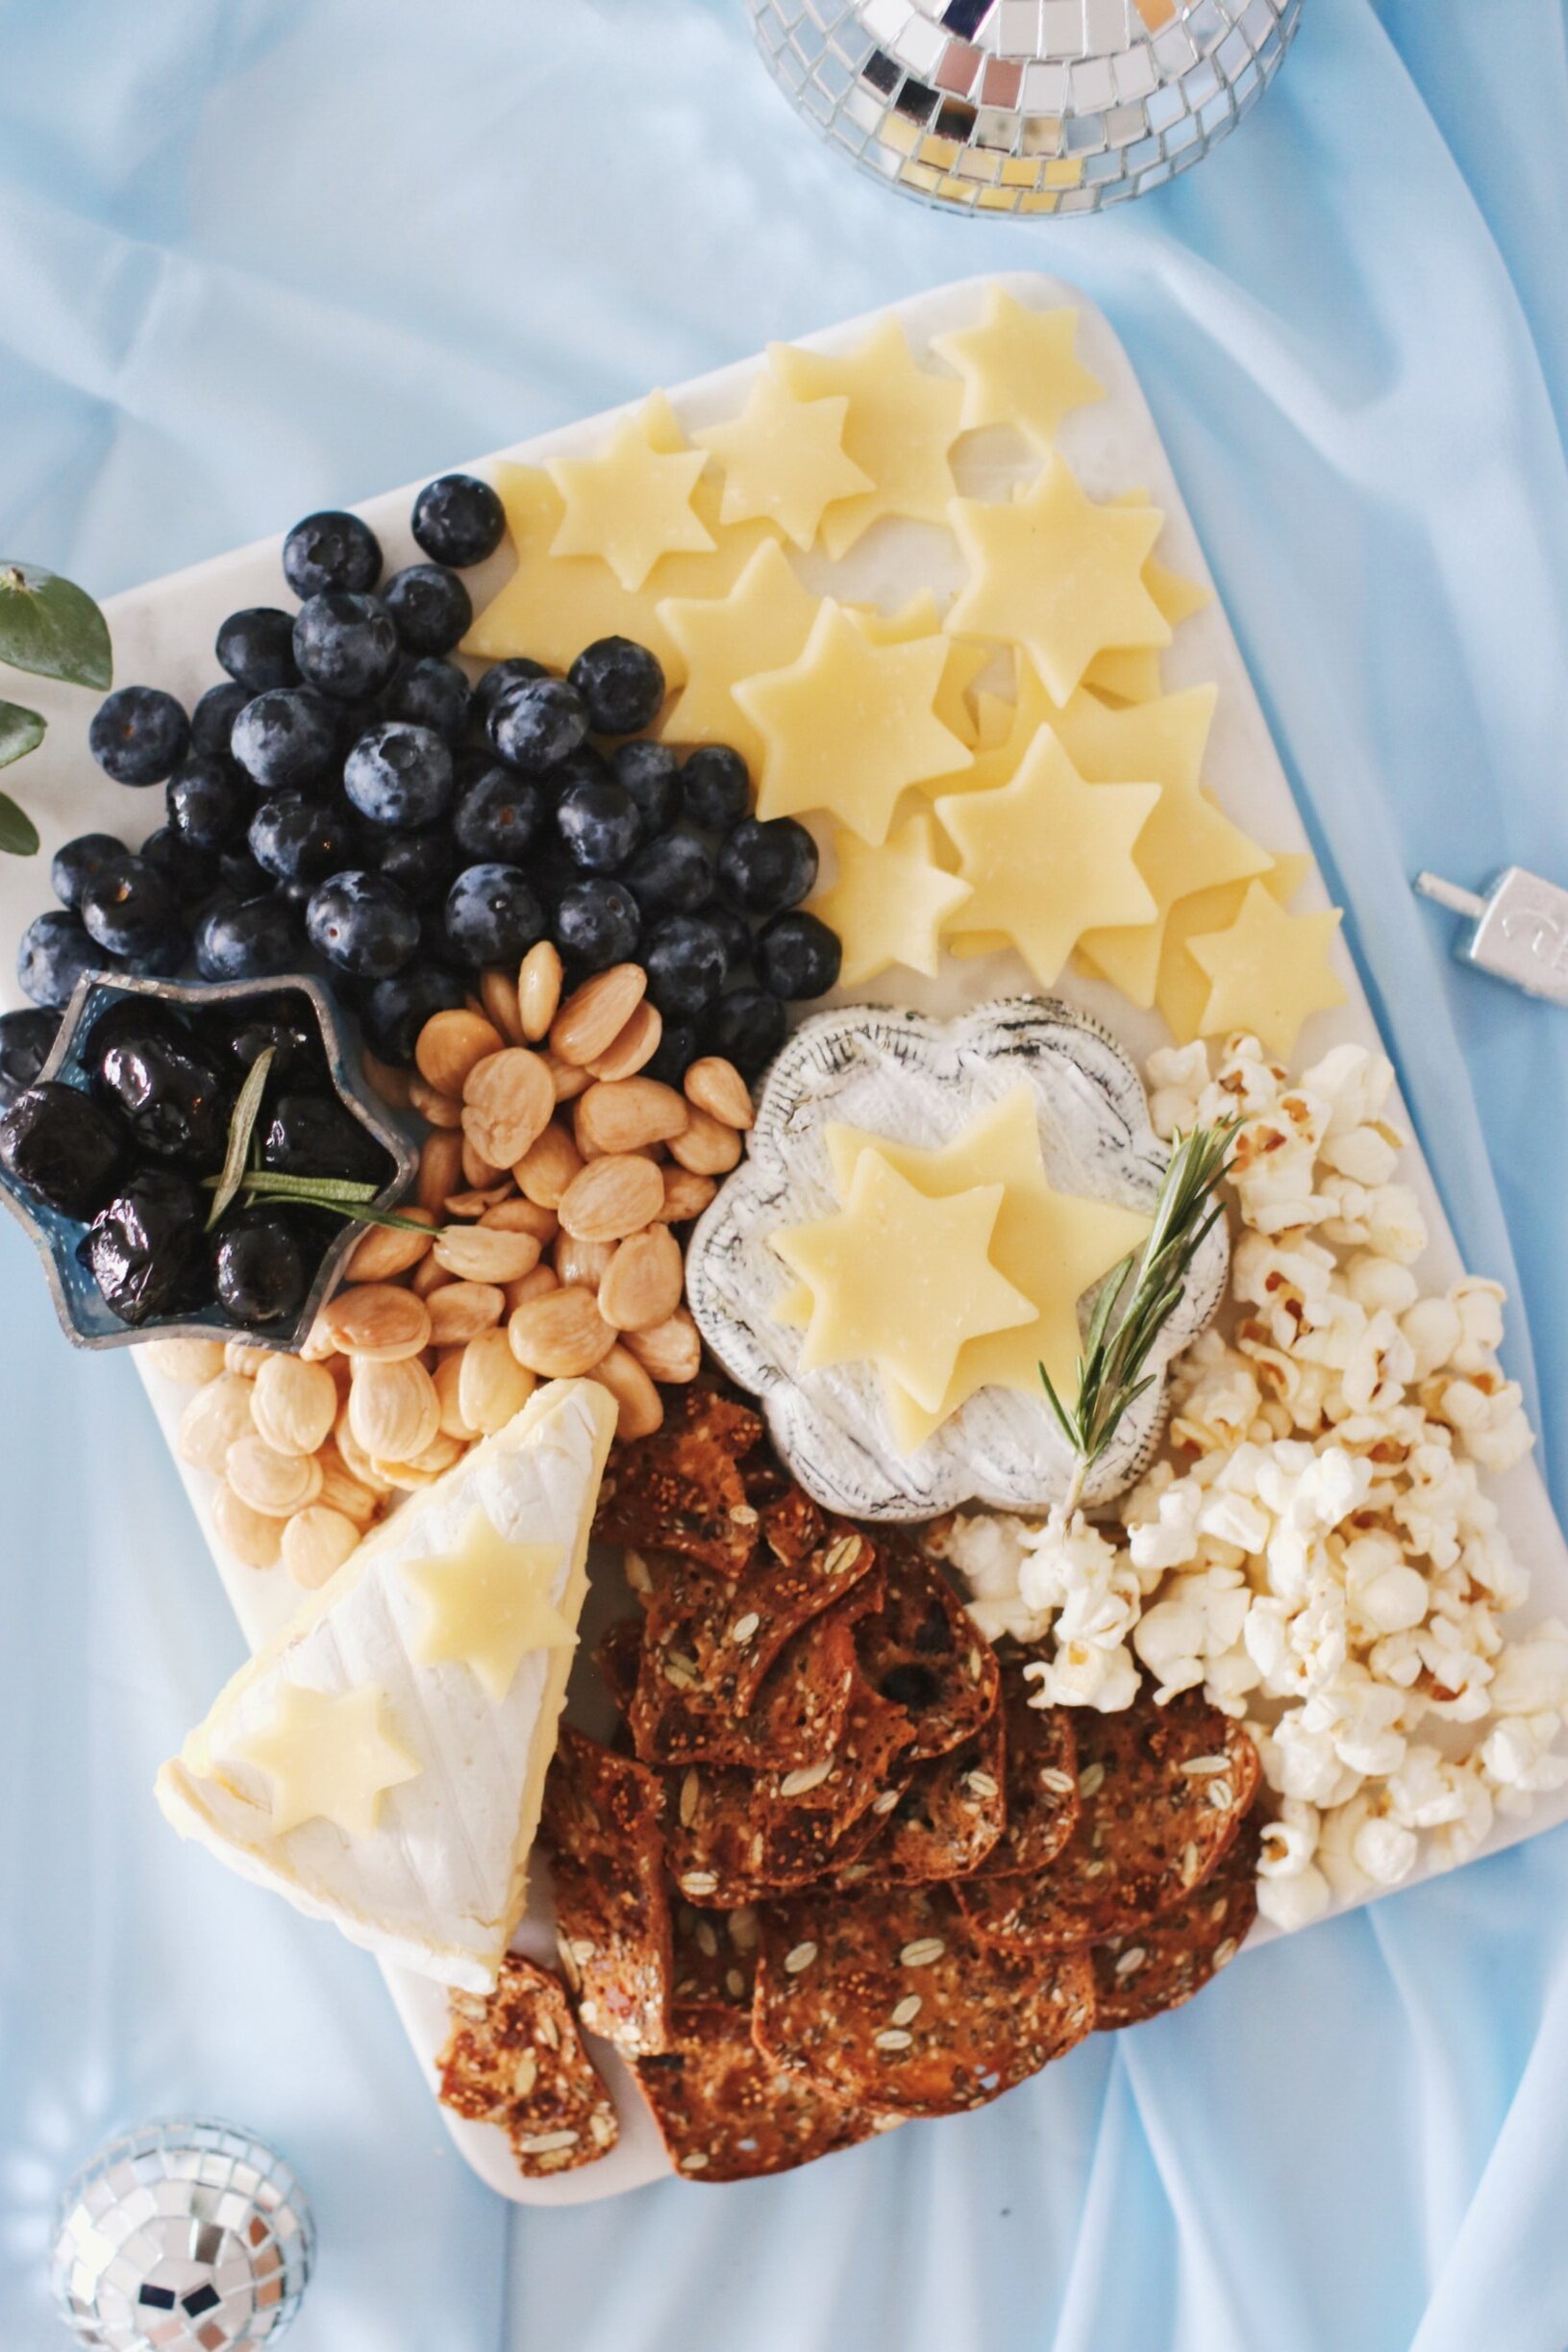
There’s a reason cheese boards have become so popular over the past few years—they’re easy to throw together, require no cooking or baking skills whatsoever, are a fabulous blank CANVAS on which to unleash all your latent creativity, etcetera, etcetera.
Also, cheese.
What’s not to love?
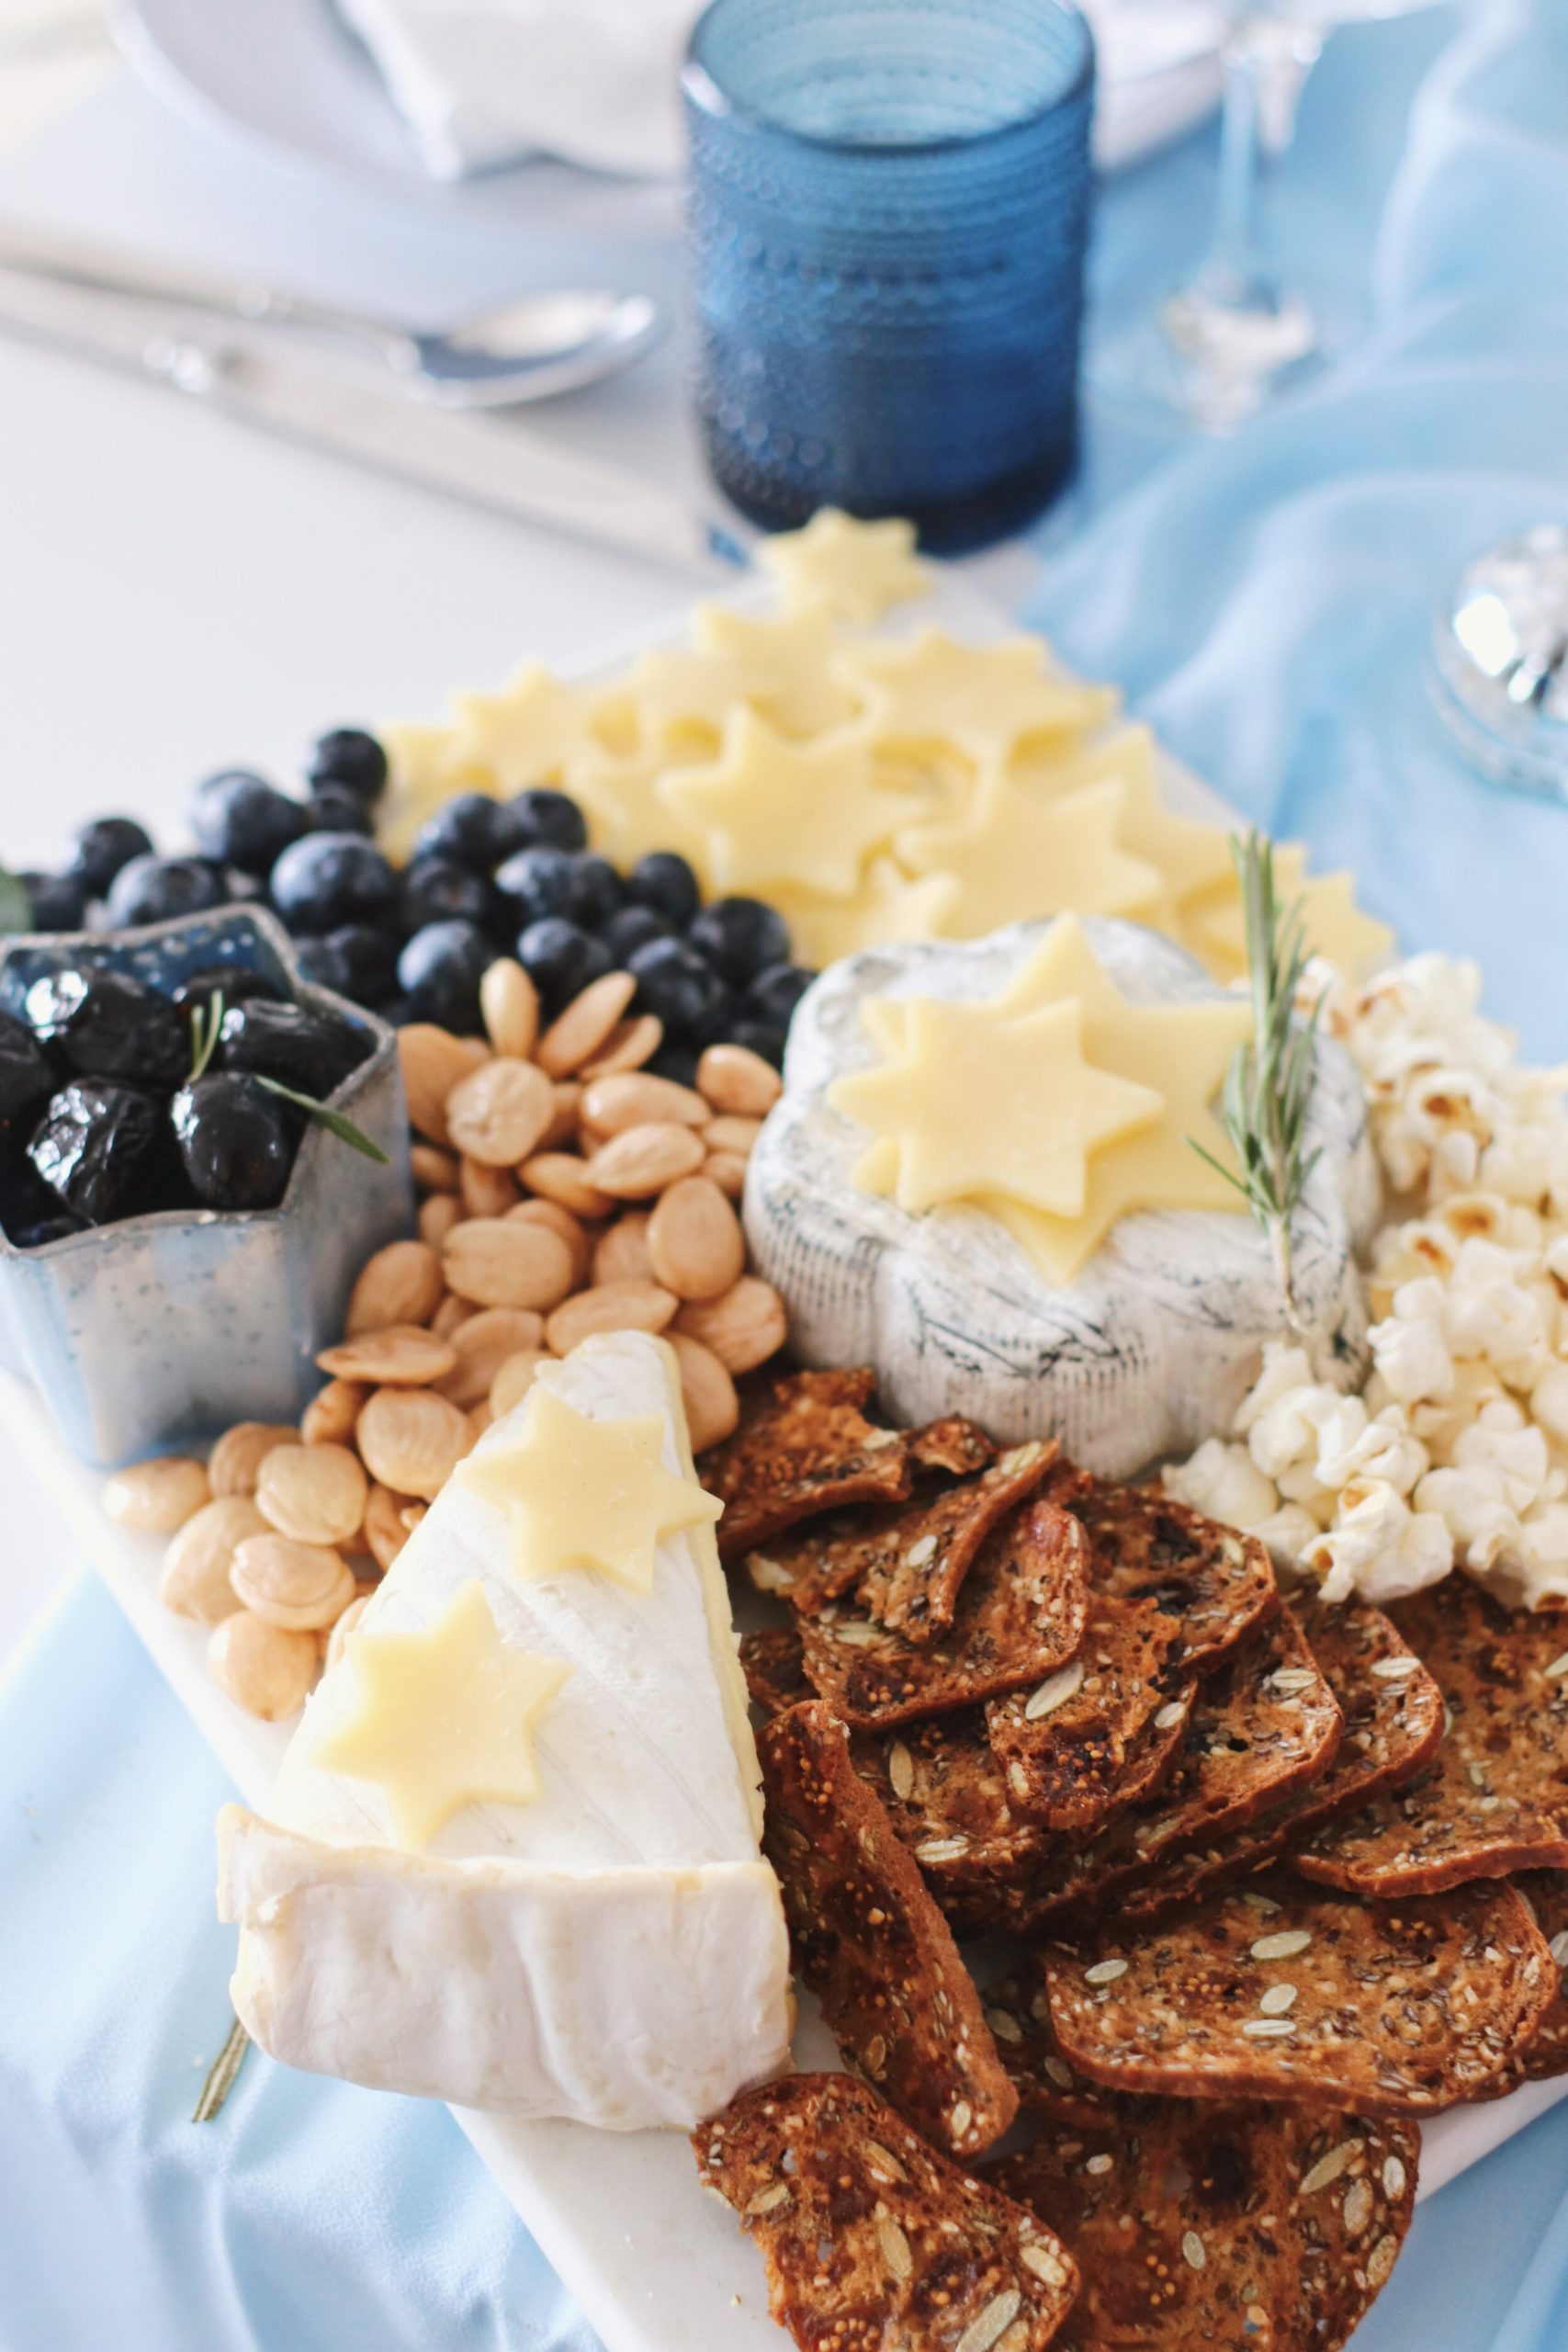
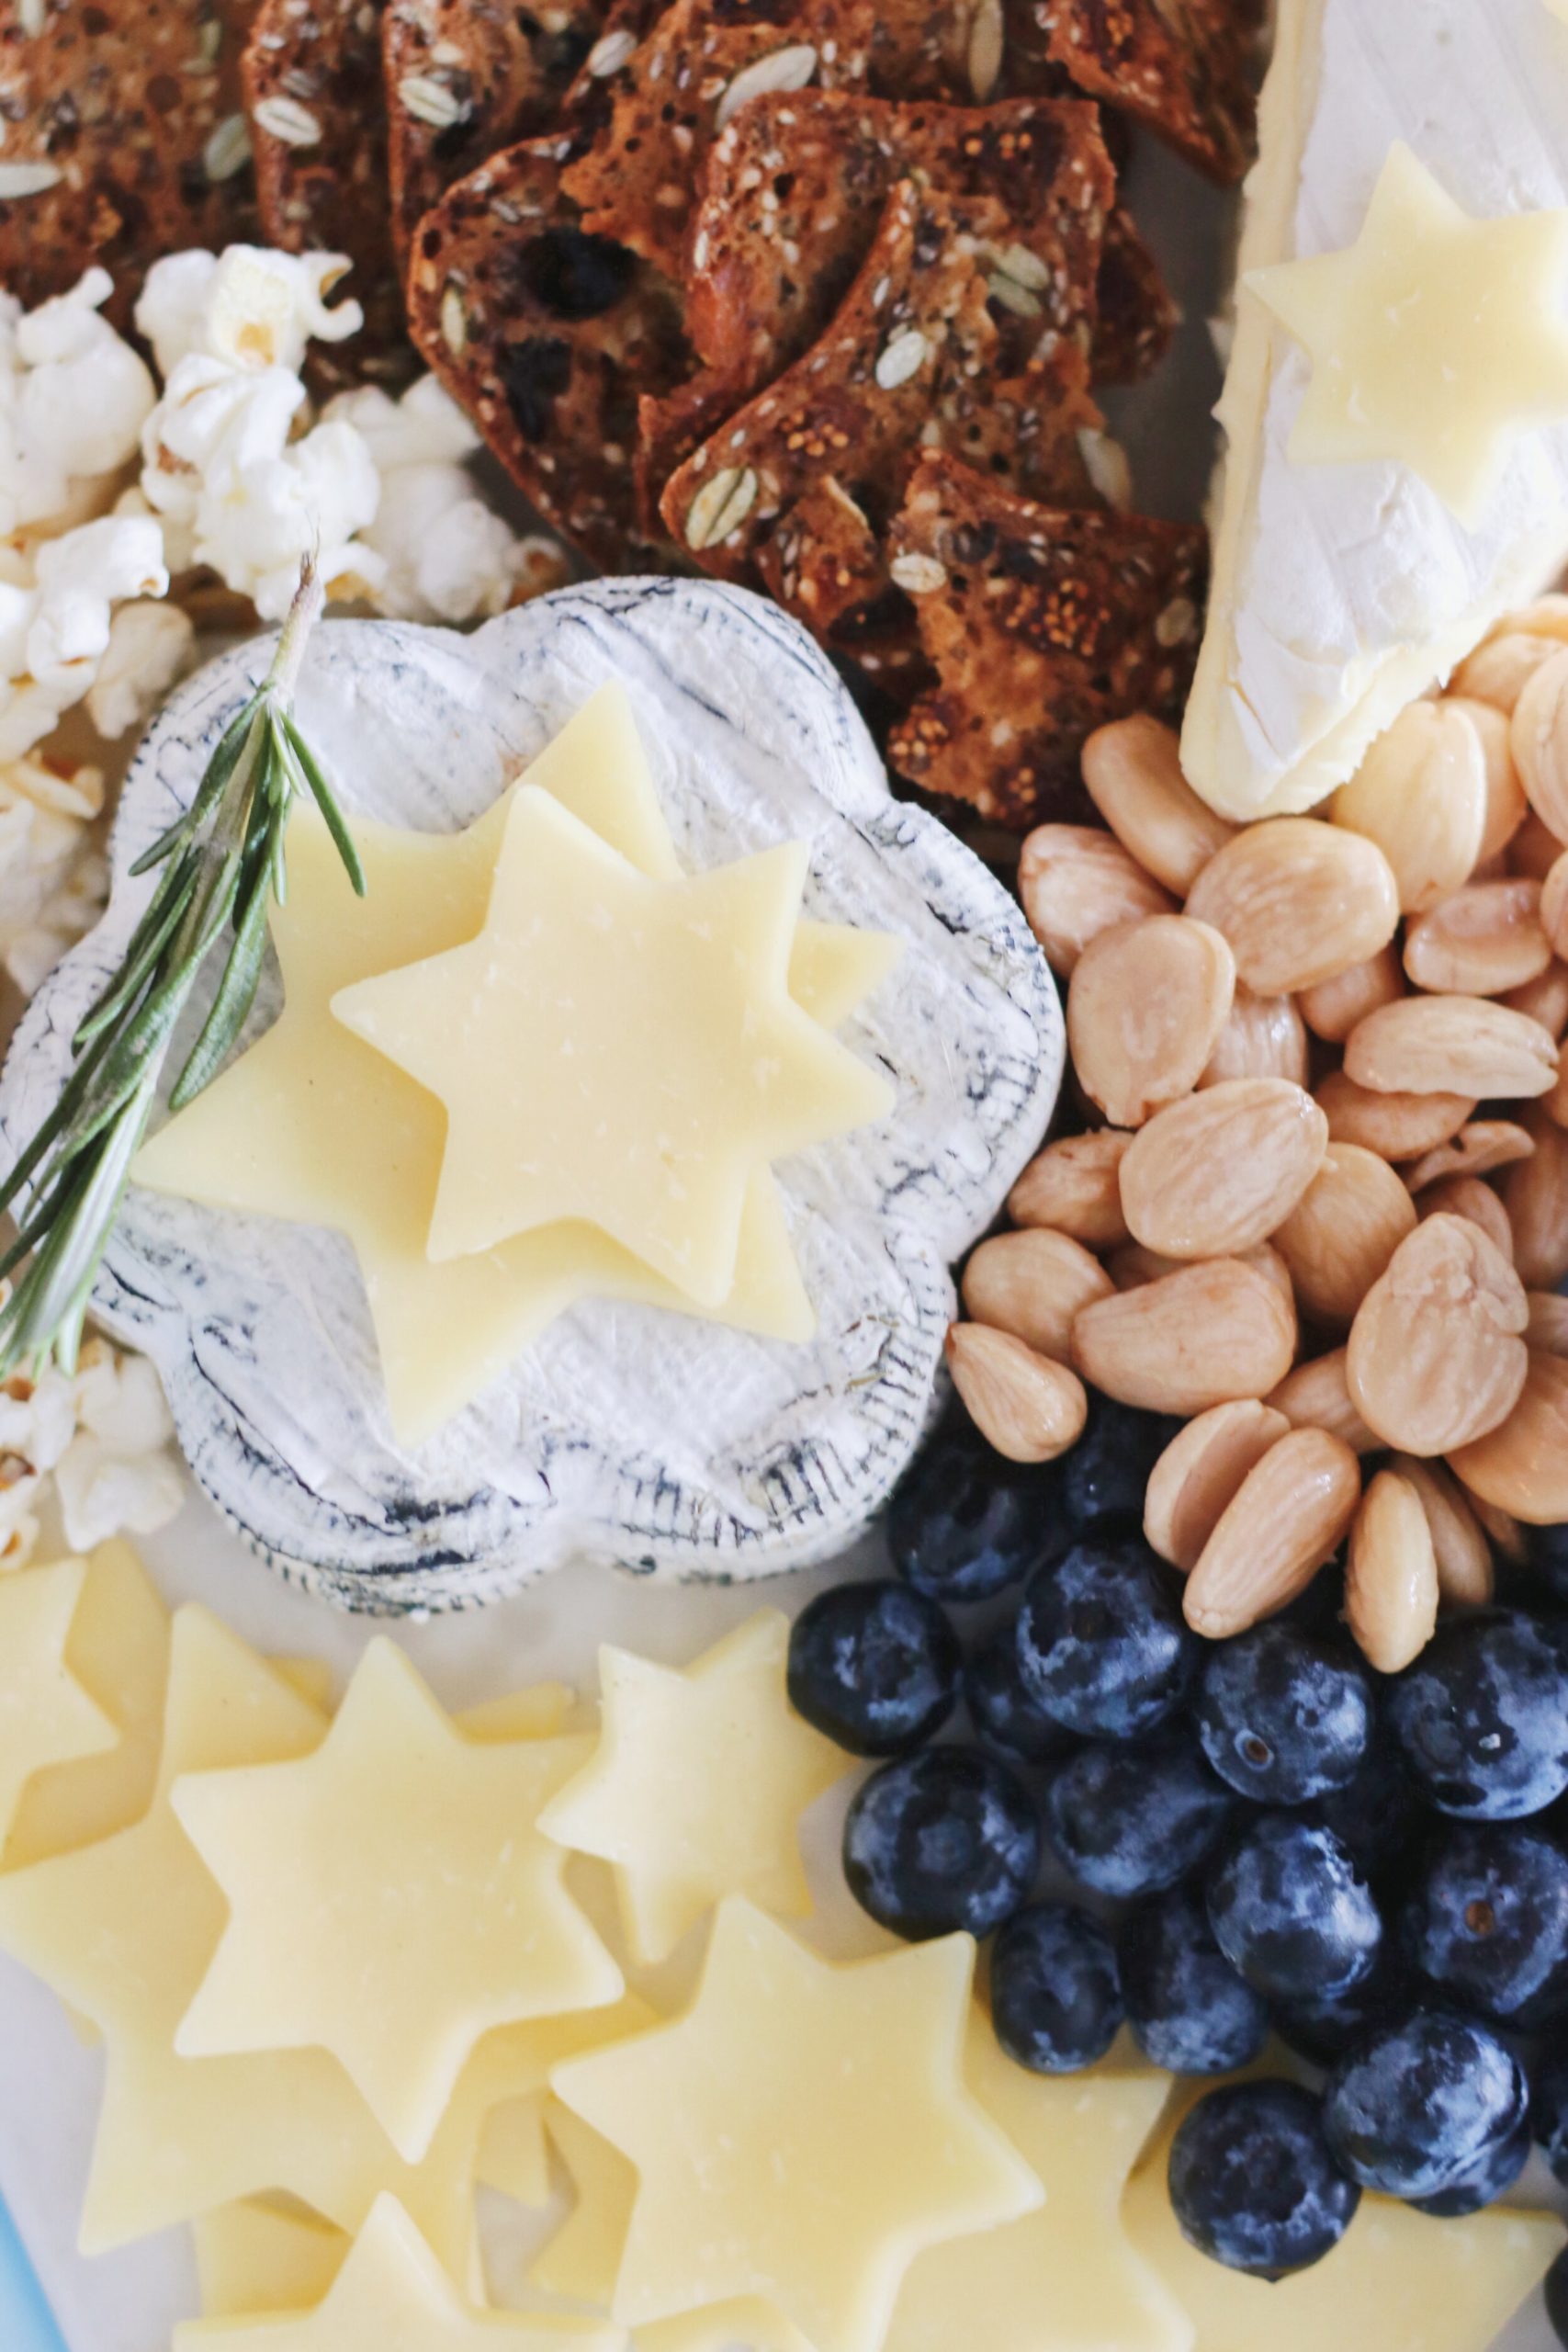
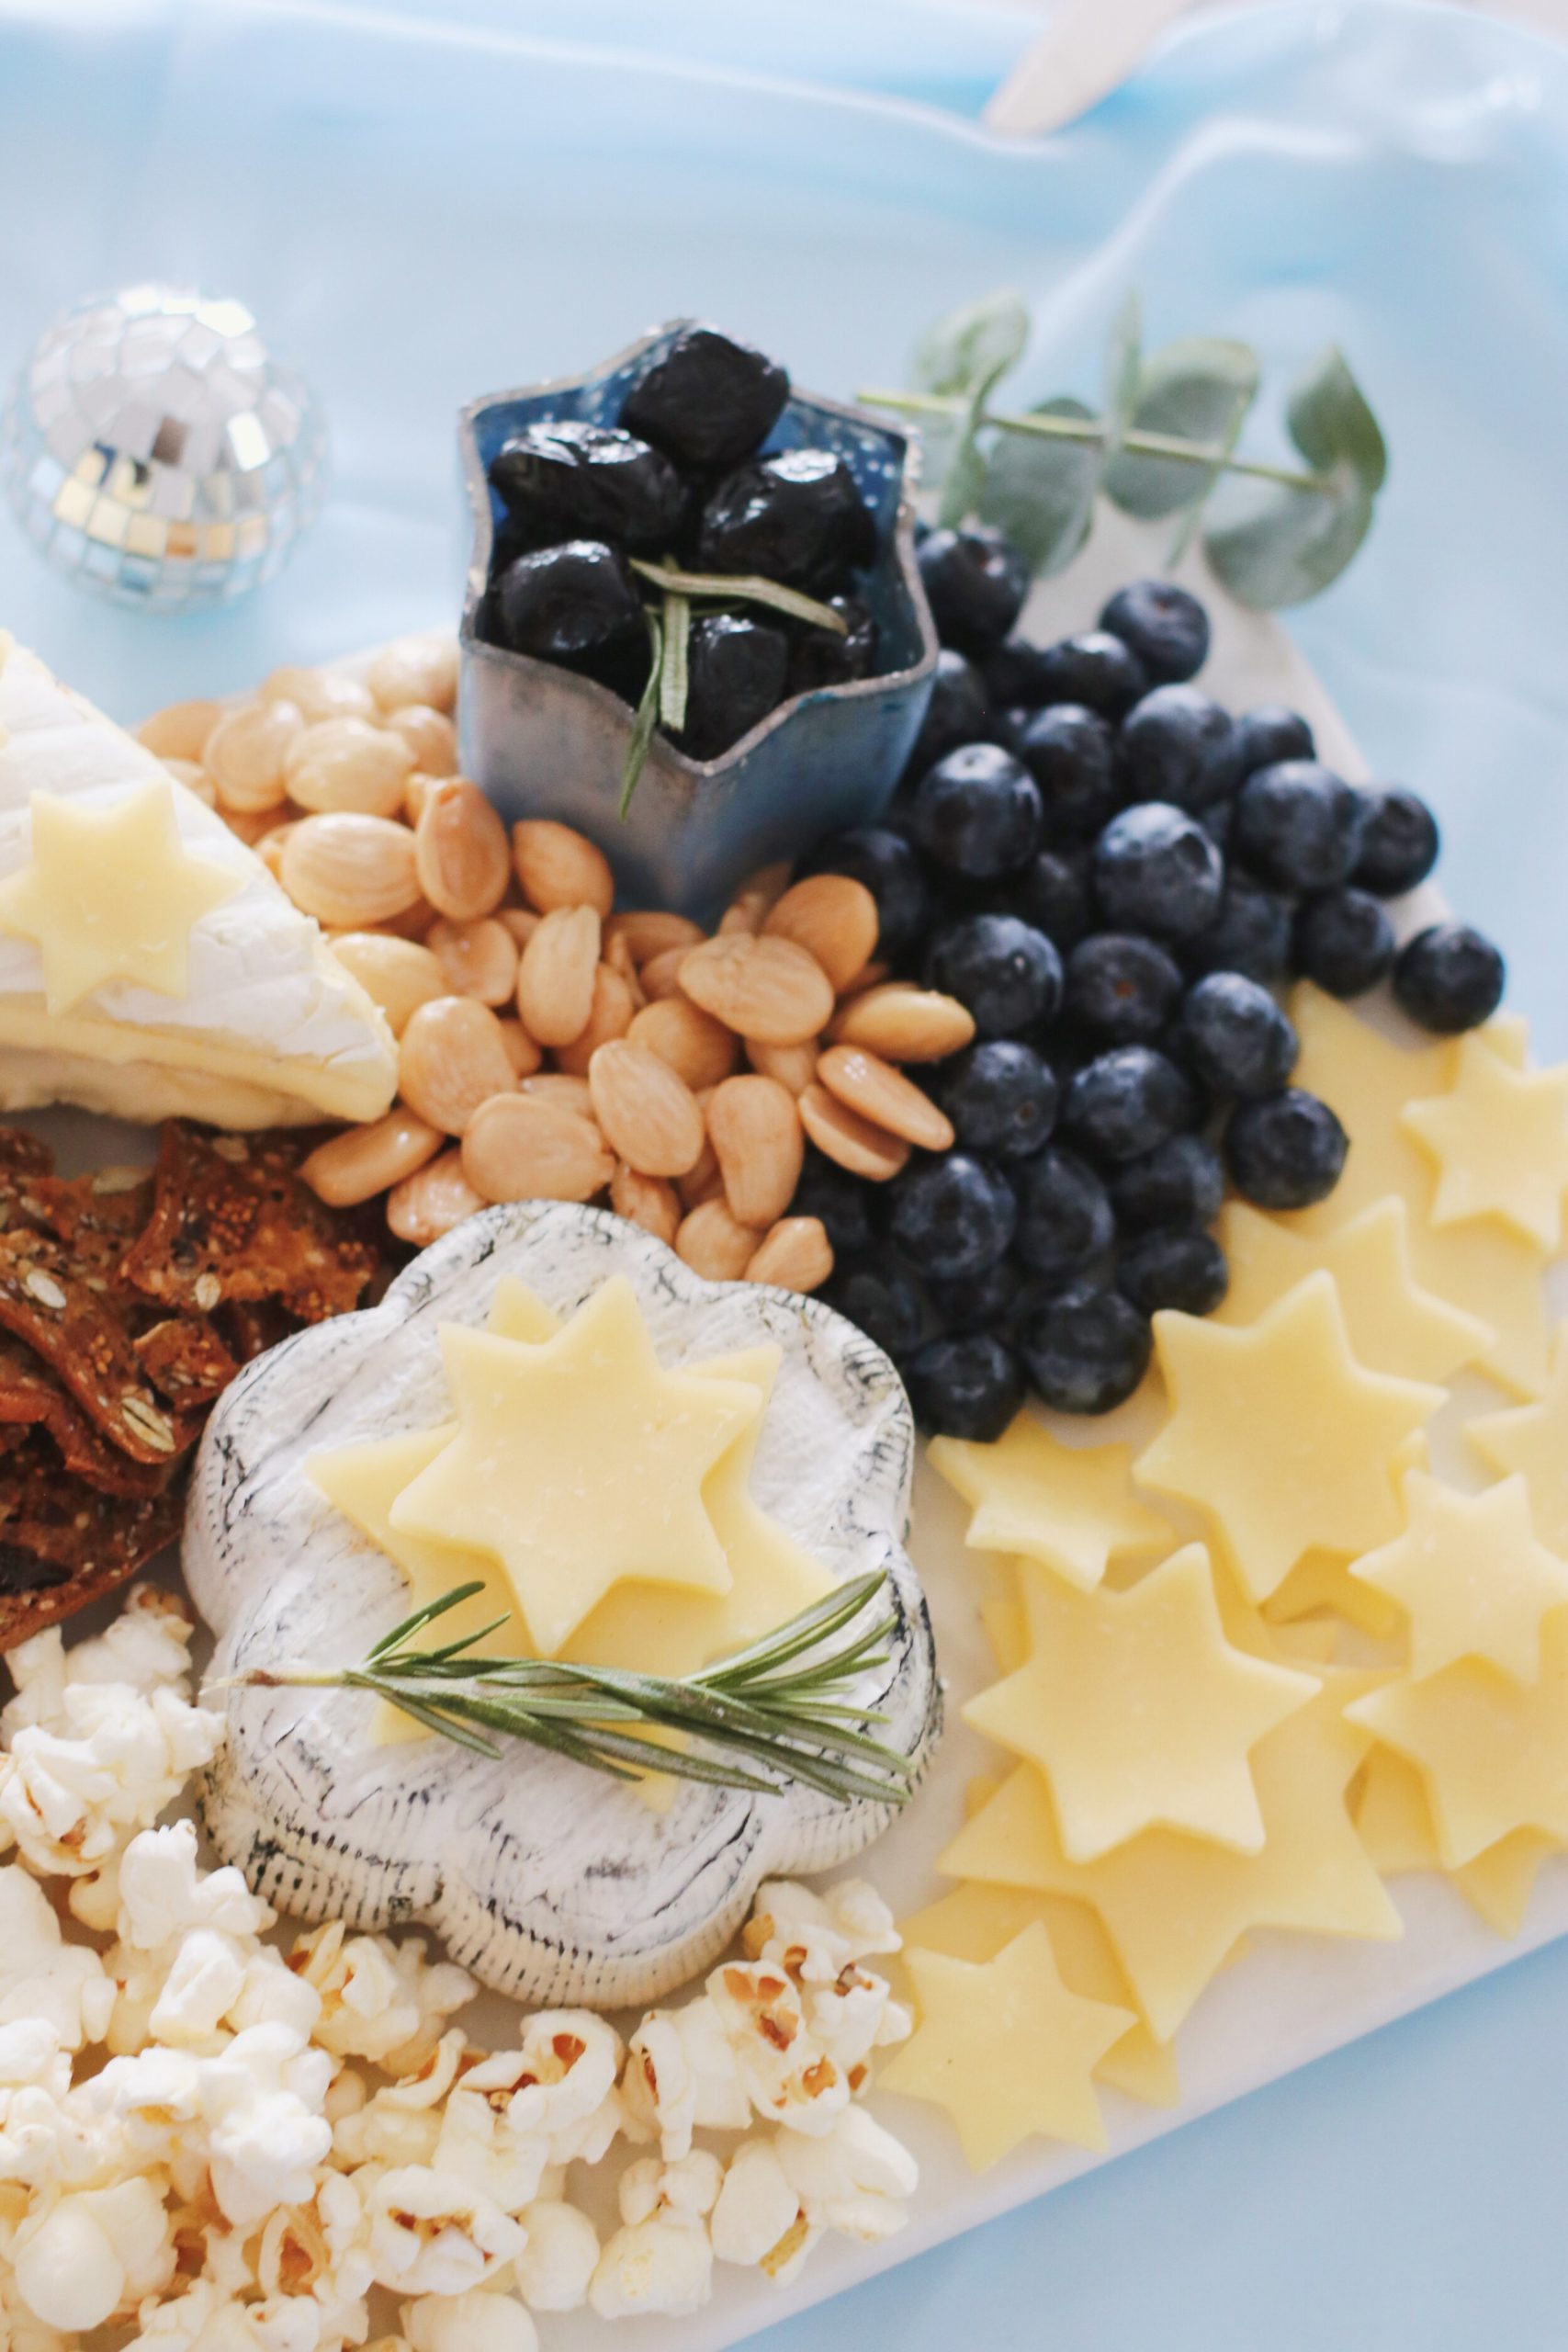
This year, I decided to create one specifically with Hanukkah in mind, sourcing all the pretty white and blue and golden-beige colors you see here, plus some deeper browns in the form of crackers (which match perfectly with latkes!). I think that is, after all, the best place to start when you’re dreaming up something like a cheese board—with a color palette. Then, i used cookie cutters to create those cheddar Stars of David (Star of Davids?!) that i scattered on top of the other ingredients.
Below, I’m sharing a quick tutorial on how to put together a Hanukkah board of your very own. As with everything I hsare here, I hope you’ll remember that this is solely intended to be a jumping-off point for your own creative adventures and not a strict you-must-do-this-and-that rulebook. I’m hoping my board inspires you to create something fun and different at your Hanukkah parties and get-togethers this year, but it doesn’t have to be exactly what I did—the sky’s the limit when it comes to what you can conjure up on a board!
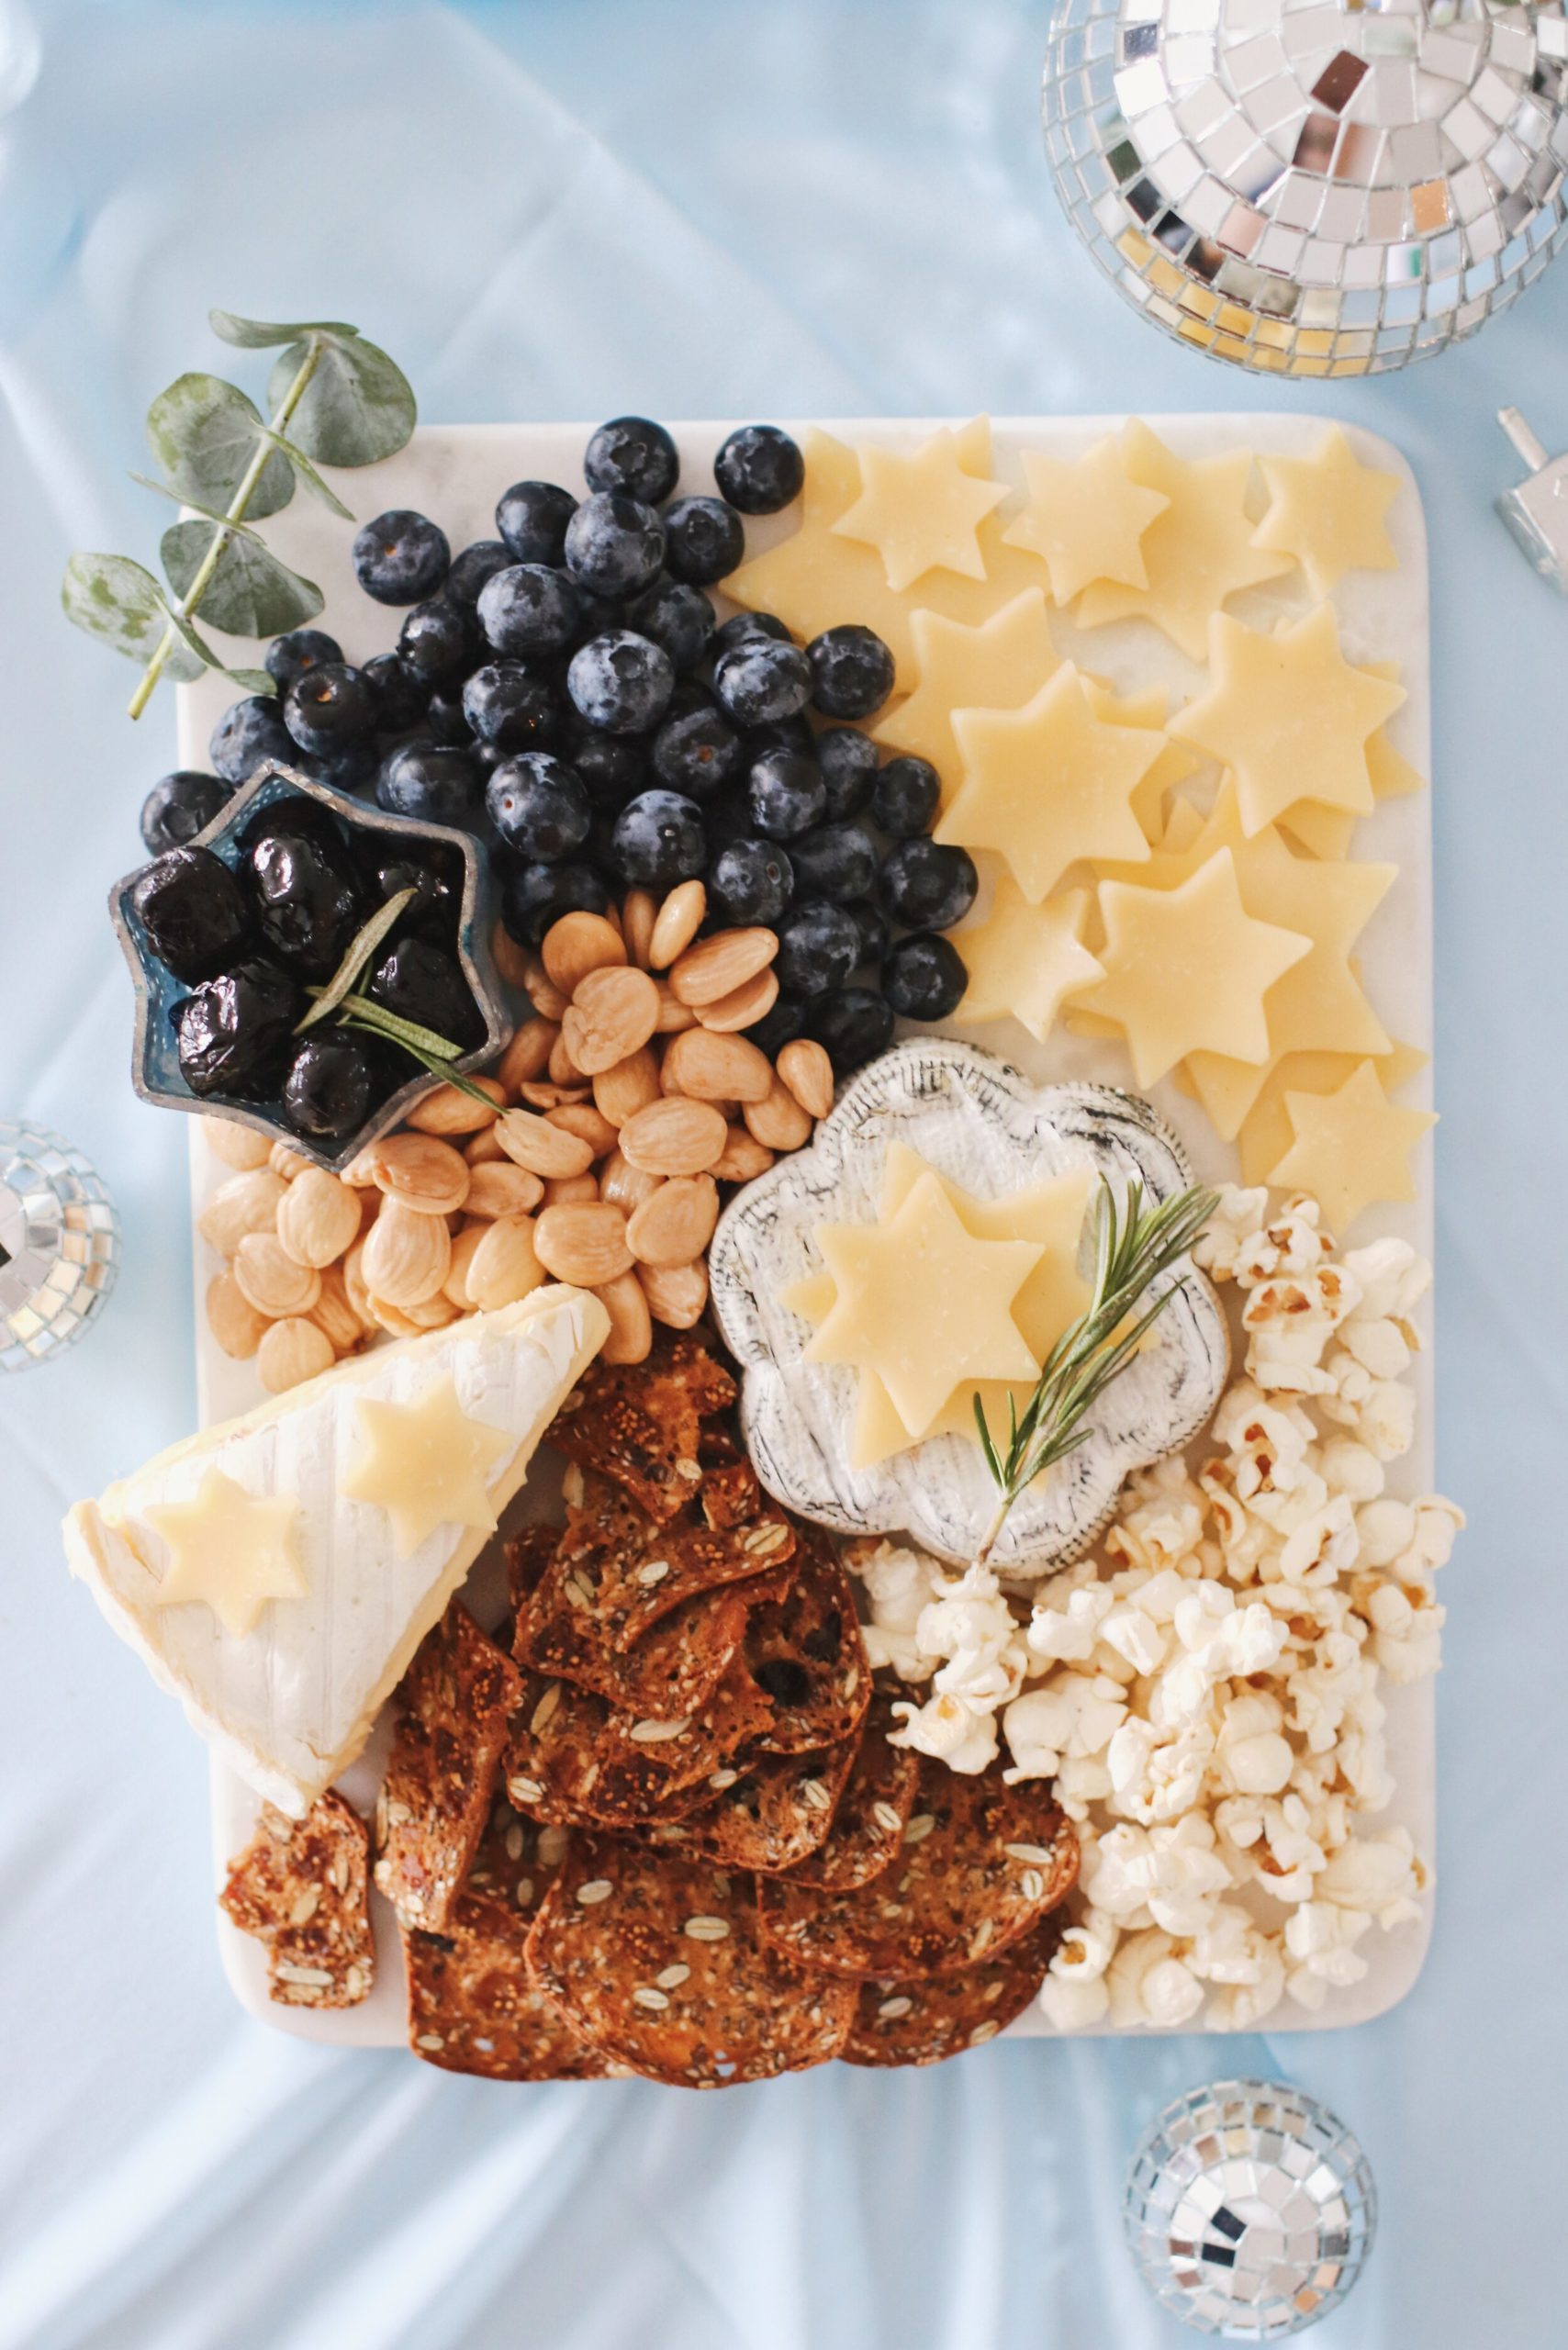
Hanukkah Cheese Board
Description
A super simple idea for livening up your Hanukkah parties this year—a Hanukkah cheese board! Have fun with it.
Ingredients
- Marcona almonds
- Black olives
- Blueberries
- 3+ cheeses, including any thick-sliced cheddar from the deli counter or dairy section at your supermarket (I went with saint albray—that’s the flower-shaped cheese!—and brie in addition to the cheddar)
- Popcorn
- Fresh blueberries
- Crackers
- A selection of greenery / herbs, to use as a garnish
- Extra-small Star of David cookie cutters (this is the set I own)
- A small bowl or two for housing any “wet” ingredients (like the olives); I used these Magen david votive holders from Peace Love Light Shop as bowls, and am OBSESSED with the result
- And, of course, a cutting board or cheese board (i.e. not a plate with raised edges; that shape tends to make things difficult to place)
Instructions
- Use cookie cutters to cut stars from the sliced cheese (I opted for three different sizes because it felt more visually interesting, but that’s not necessary!). Place the cheeses on the board; you can also add a few of the stars on top of the other cheeses to tie the whole “theme” together.
- Build out from there, following my lead or going your own way entirely! The only real tip I can offer here is to not be afraid if things look “messy”; that, to me, is a nice organic-looking touch you can really only get from a homemade board, and it’s just par for the course. In fact, it’s what I like about these boards—they look lush and rich and overflowing and also sort of dilapidated.
- Finish with garnishes here and there, and add a few serving utensils (and possibly a small bowl for olive pits, if the olives aren’t pitted).
- Cheese is generally served at room temperature, not cold, so if you’ve got guests coming over, leave the board out for about 30 minutes before they arrive. Enjoy with lots of friends!

One Comment