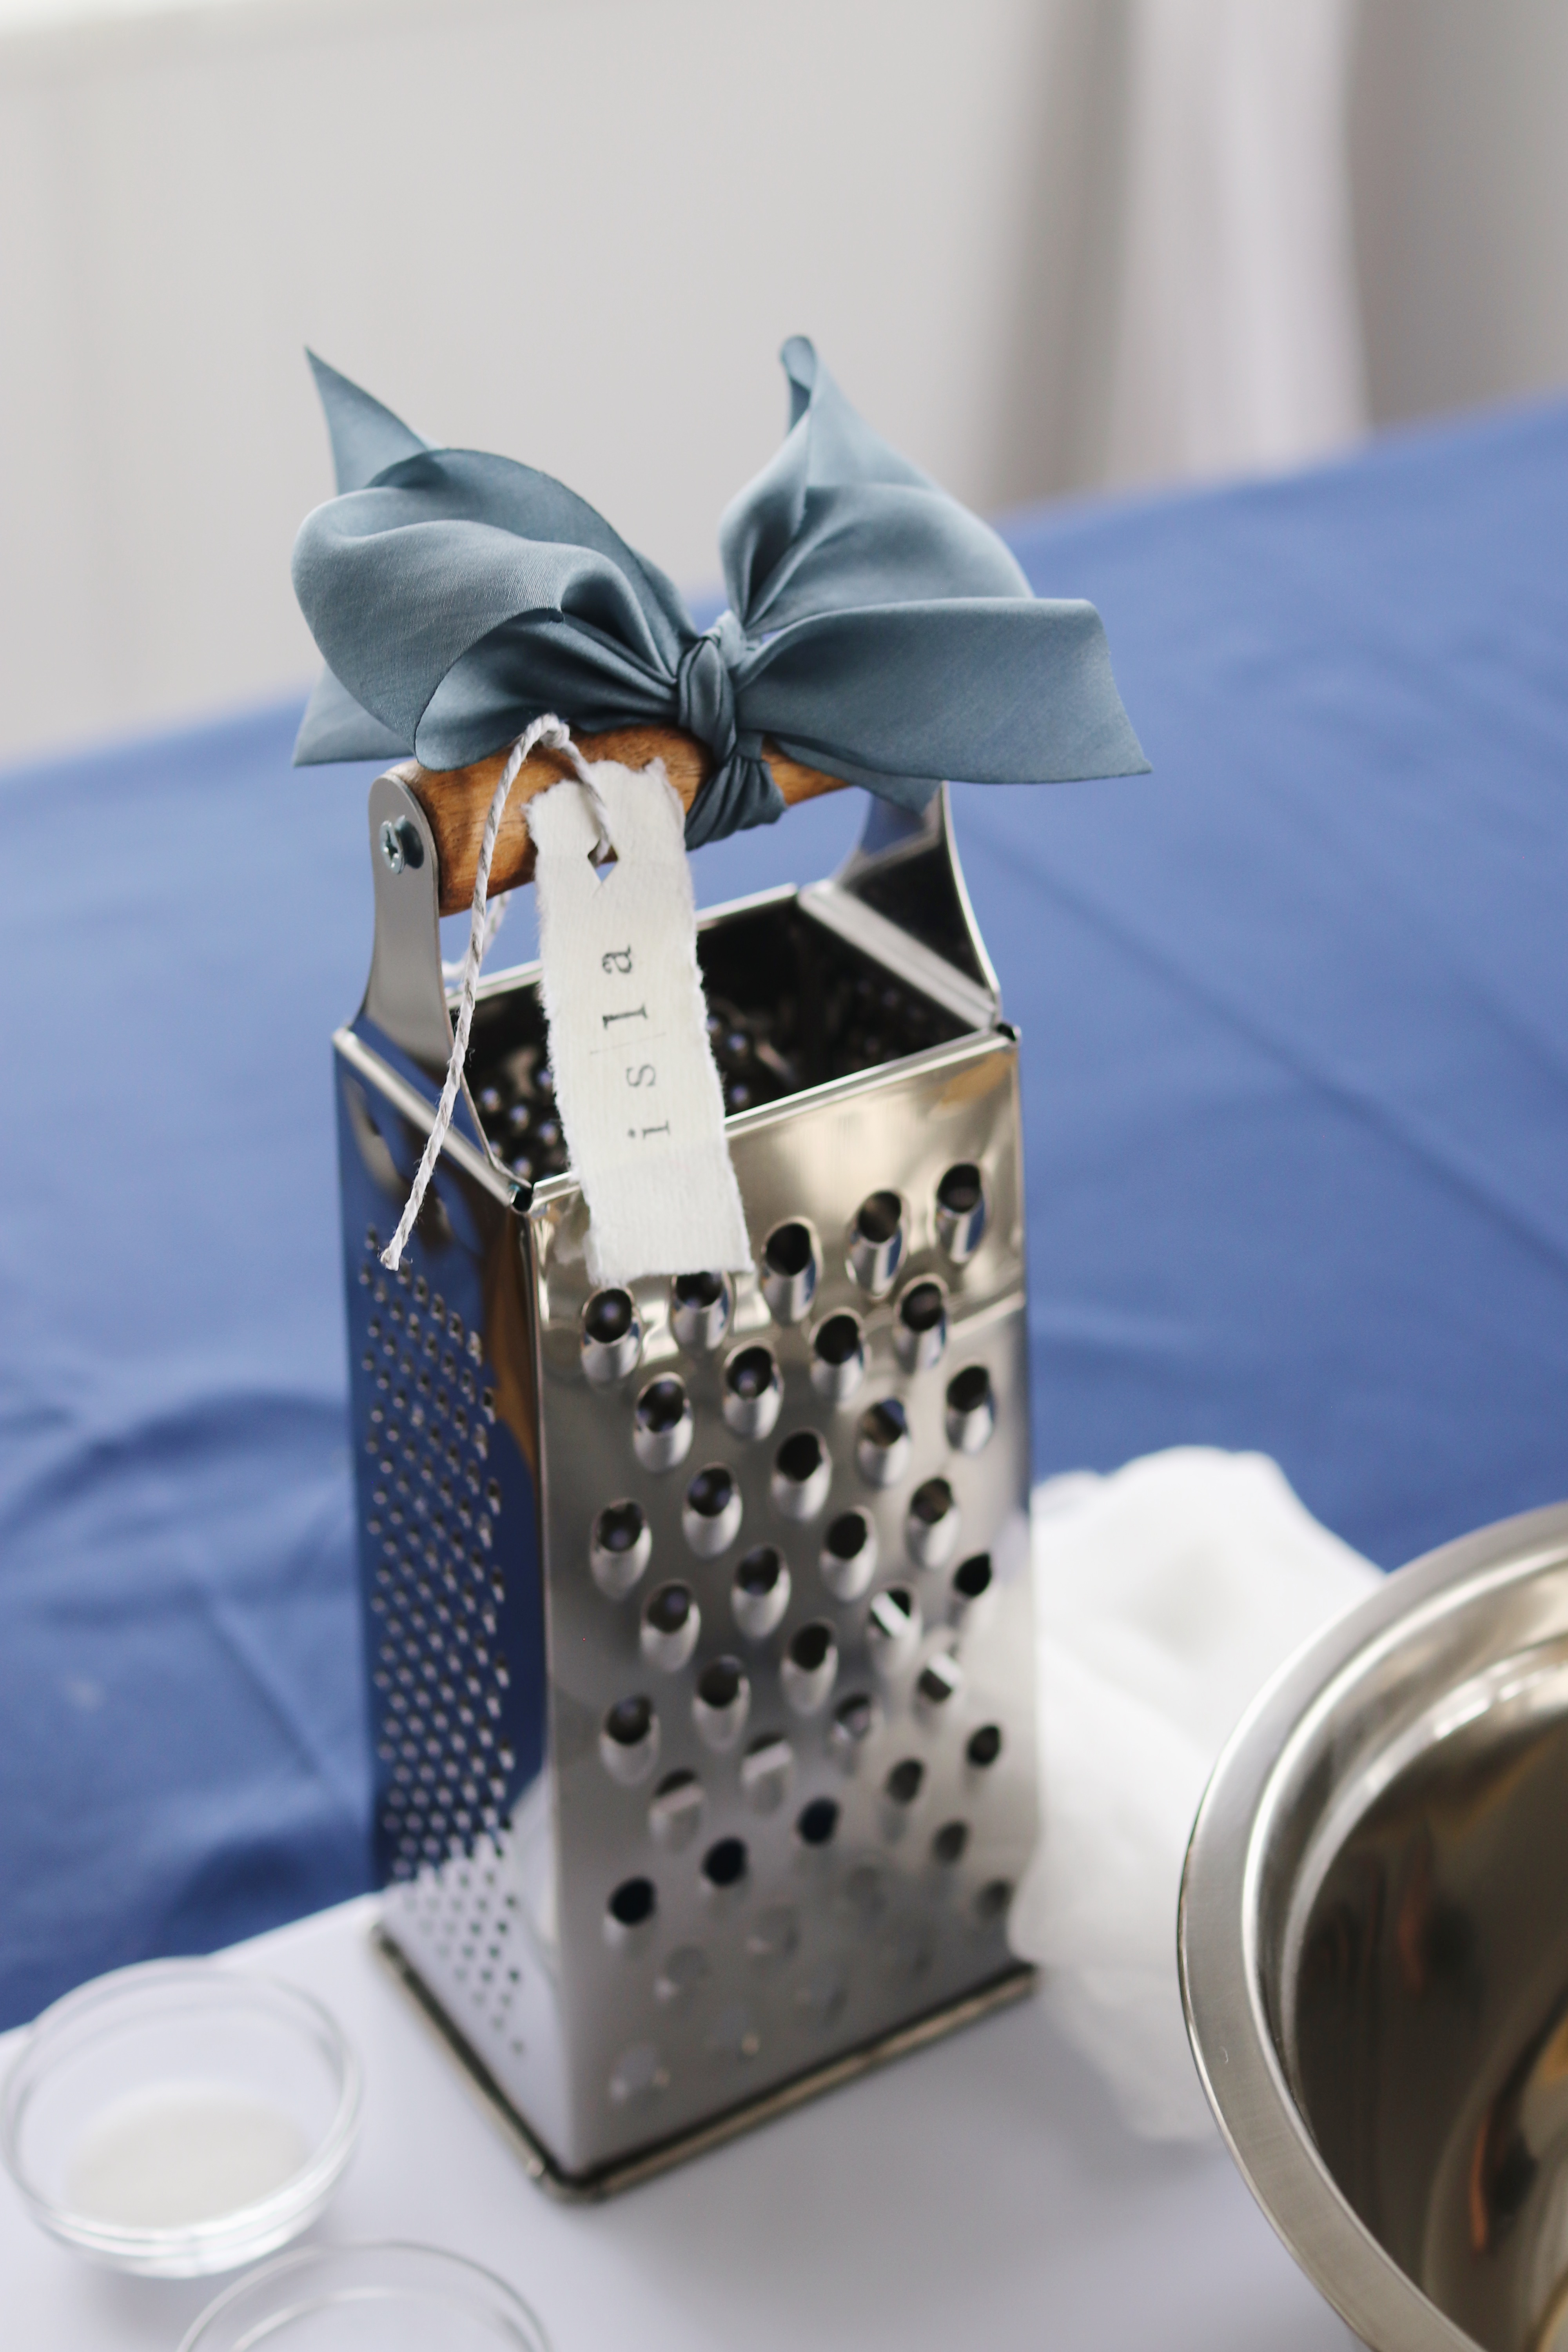
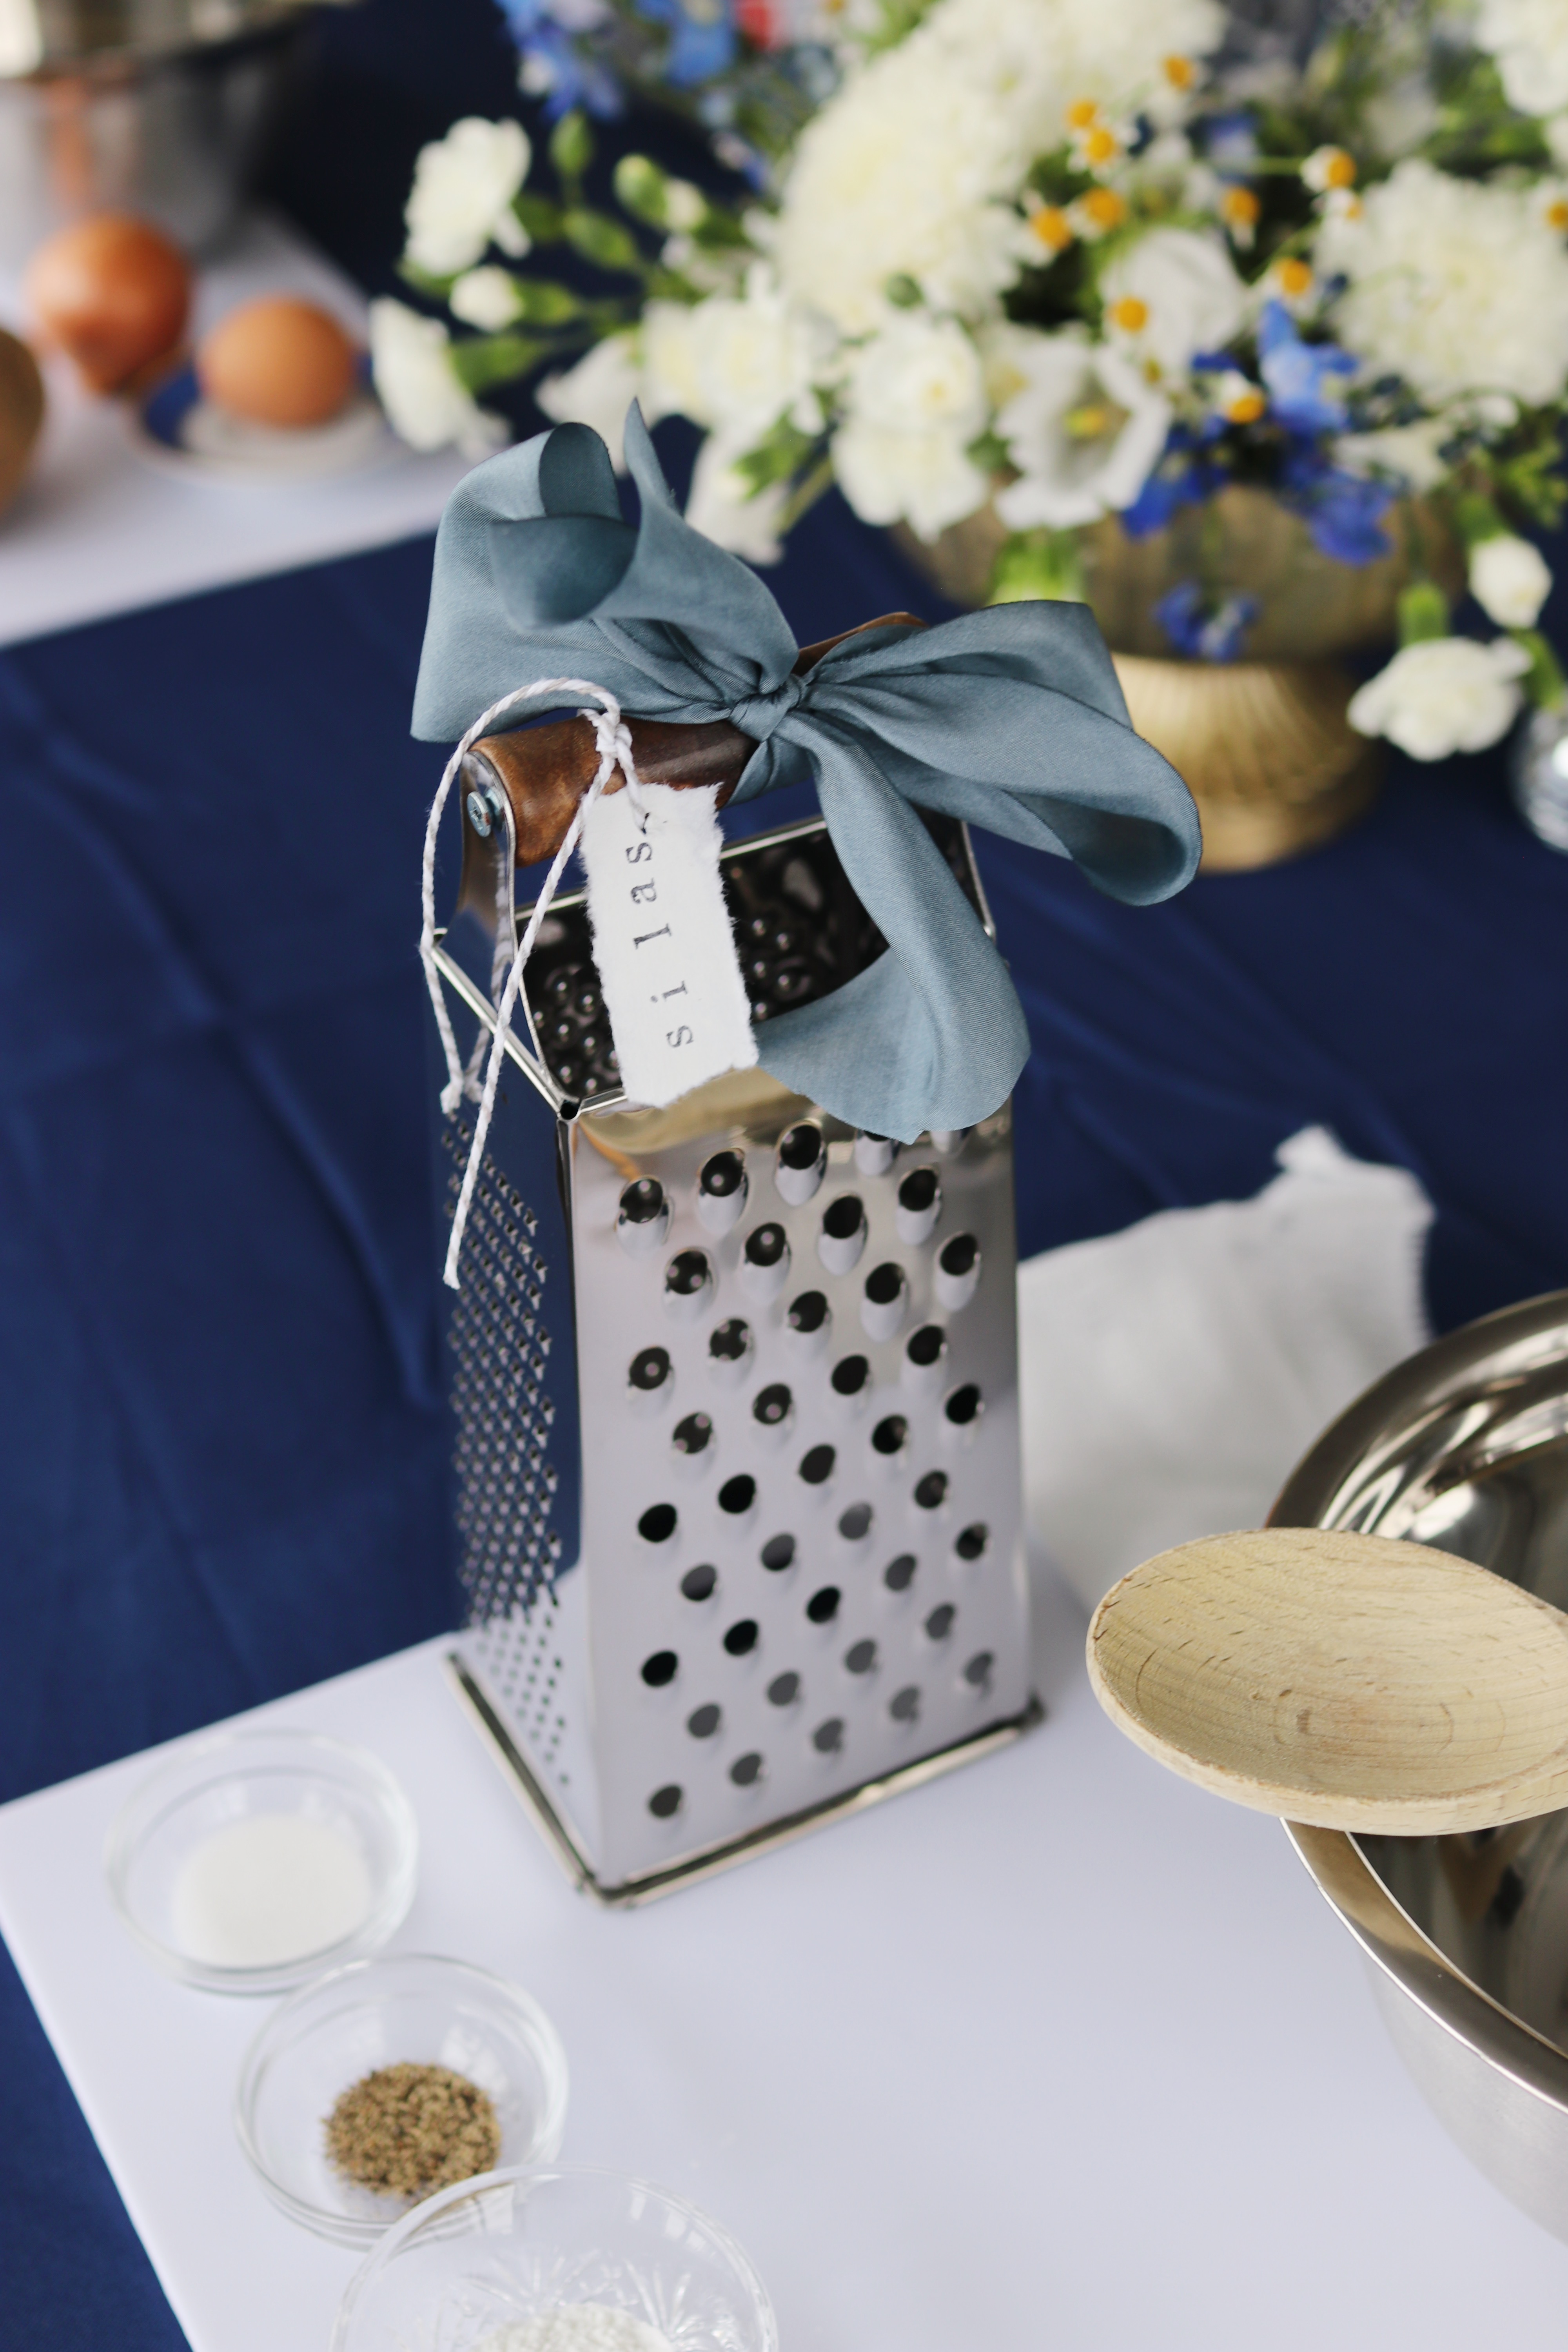
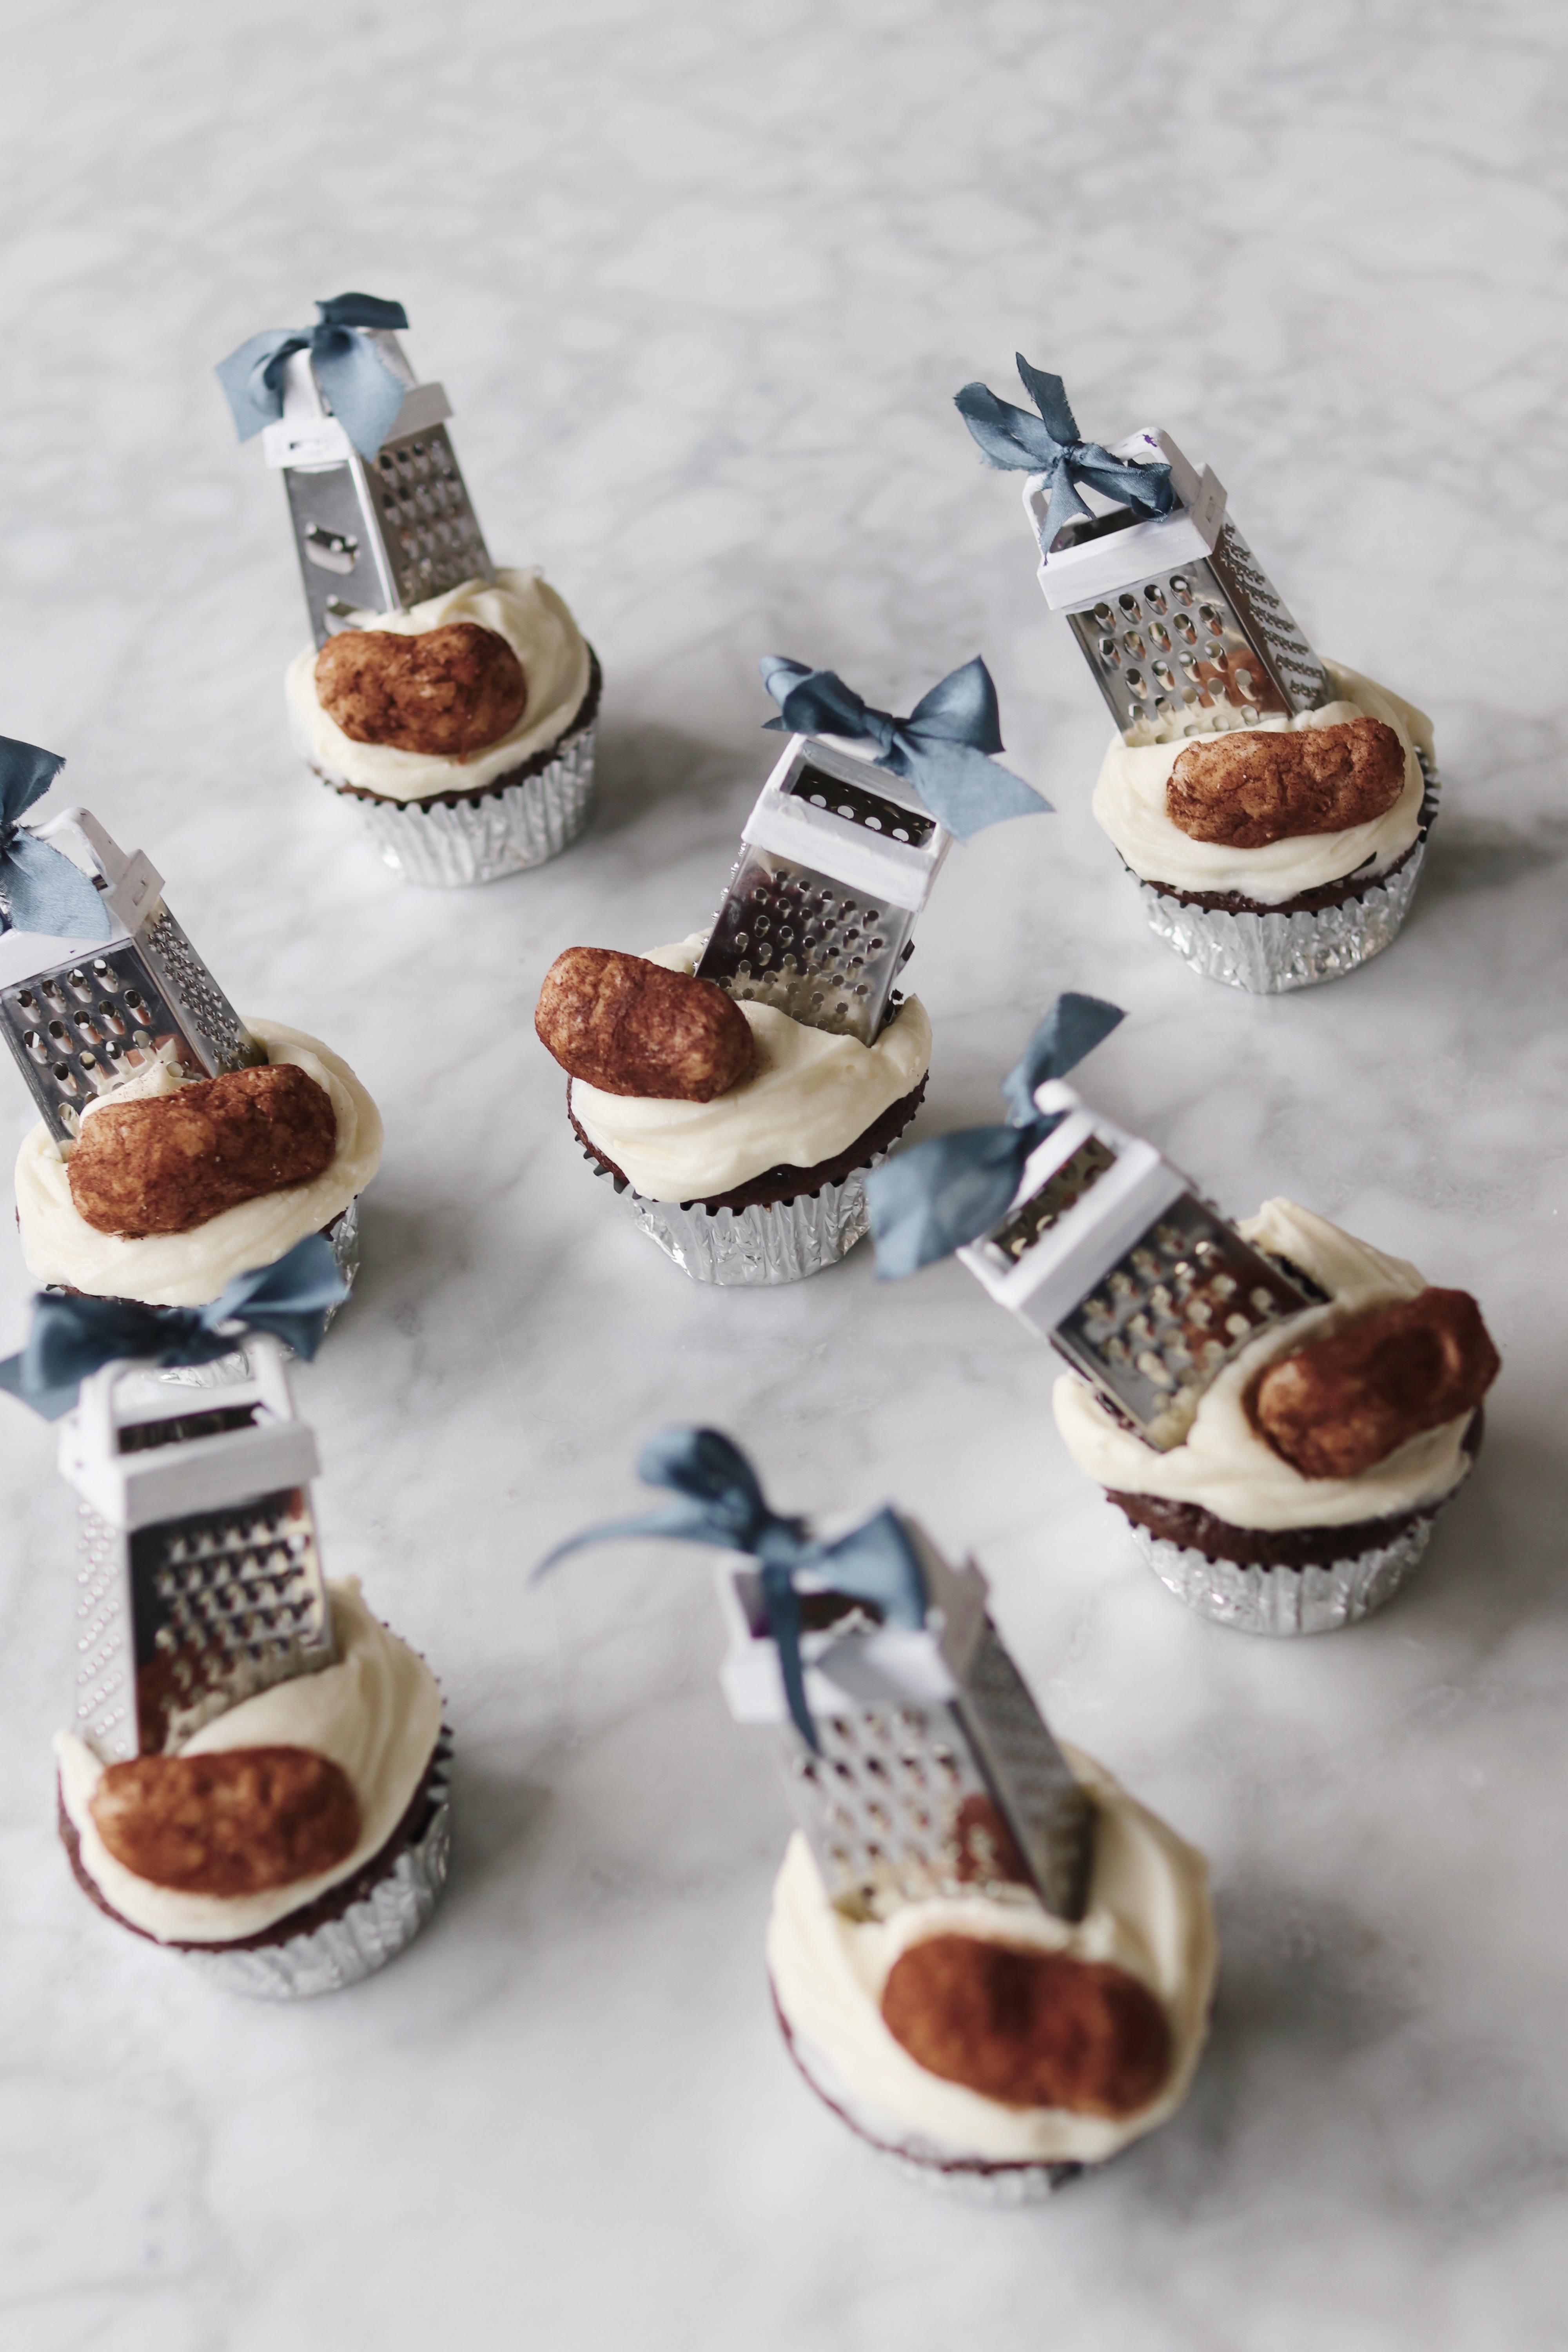
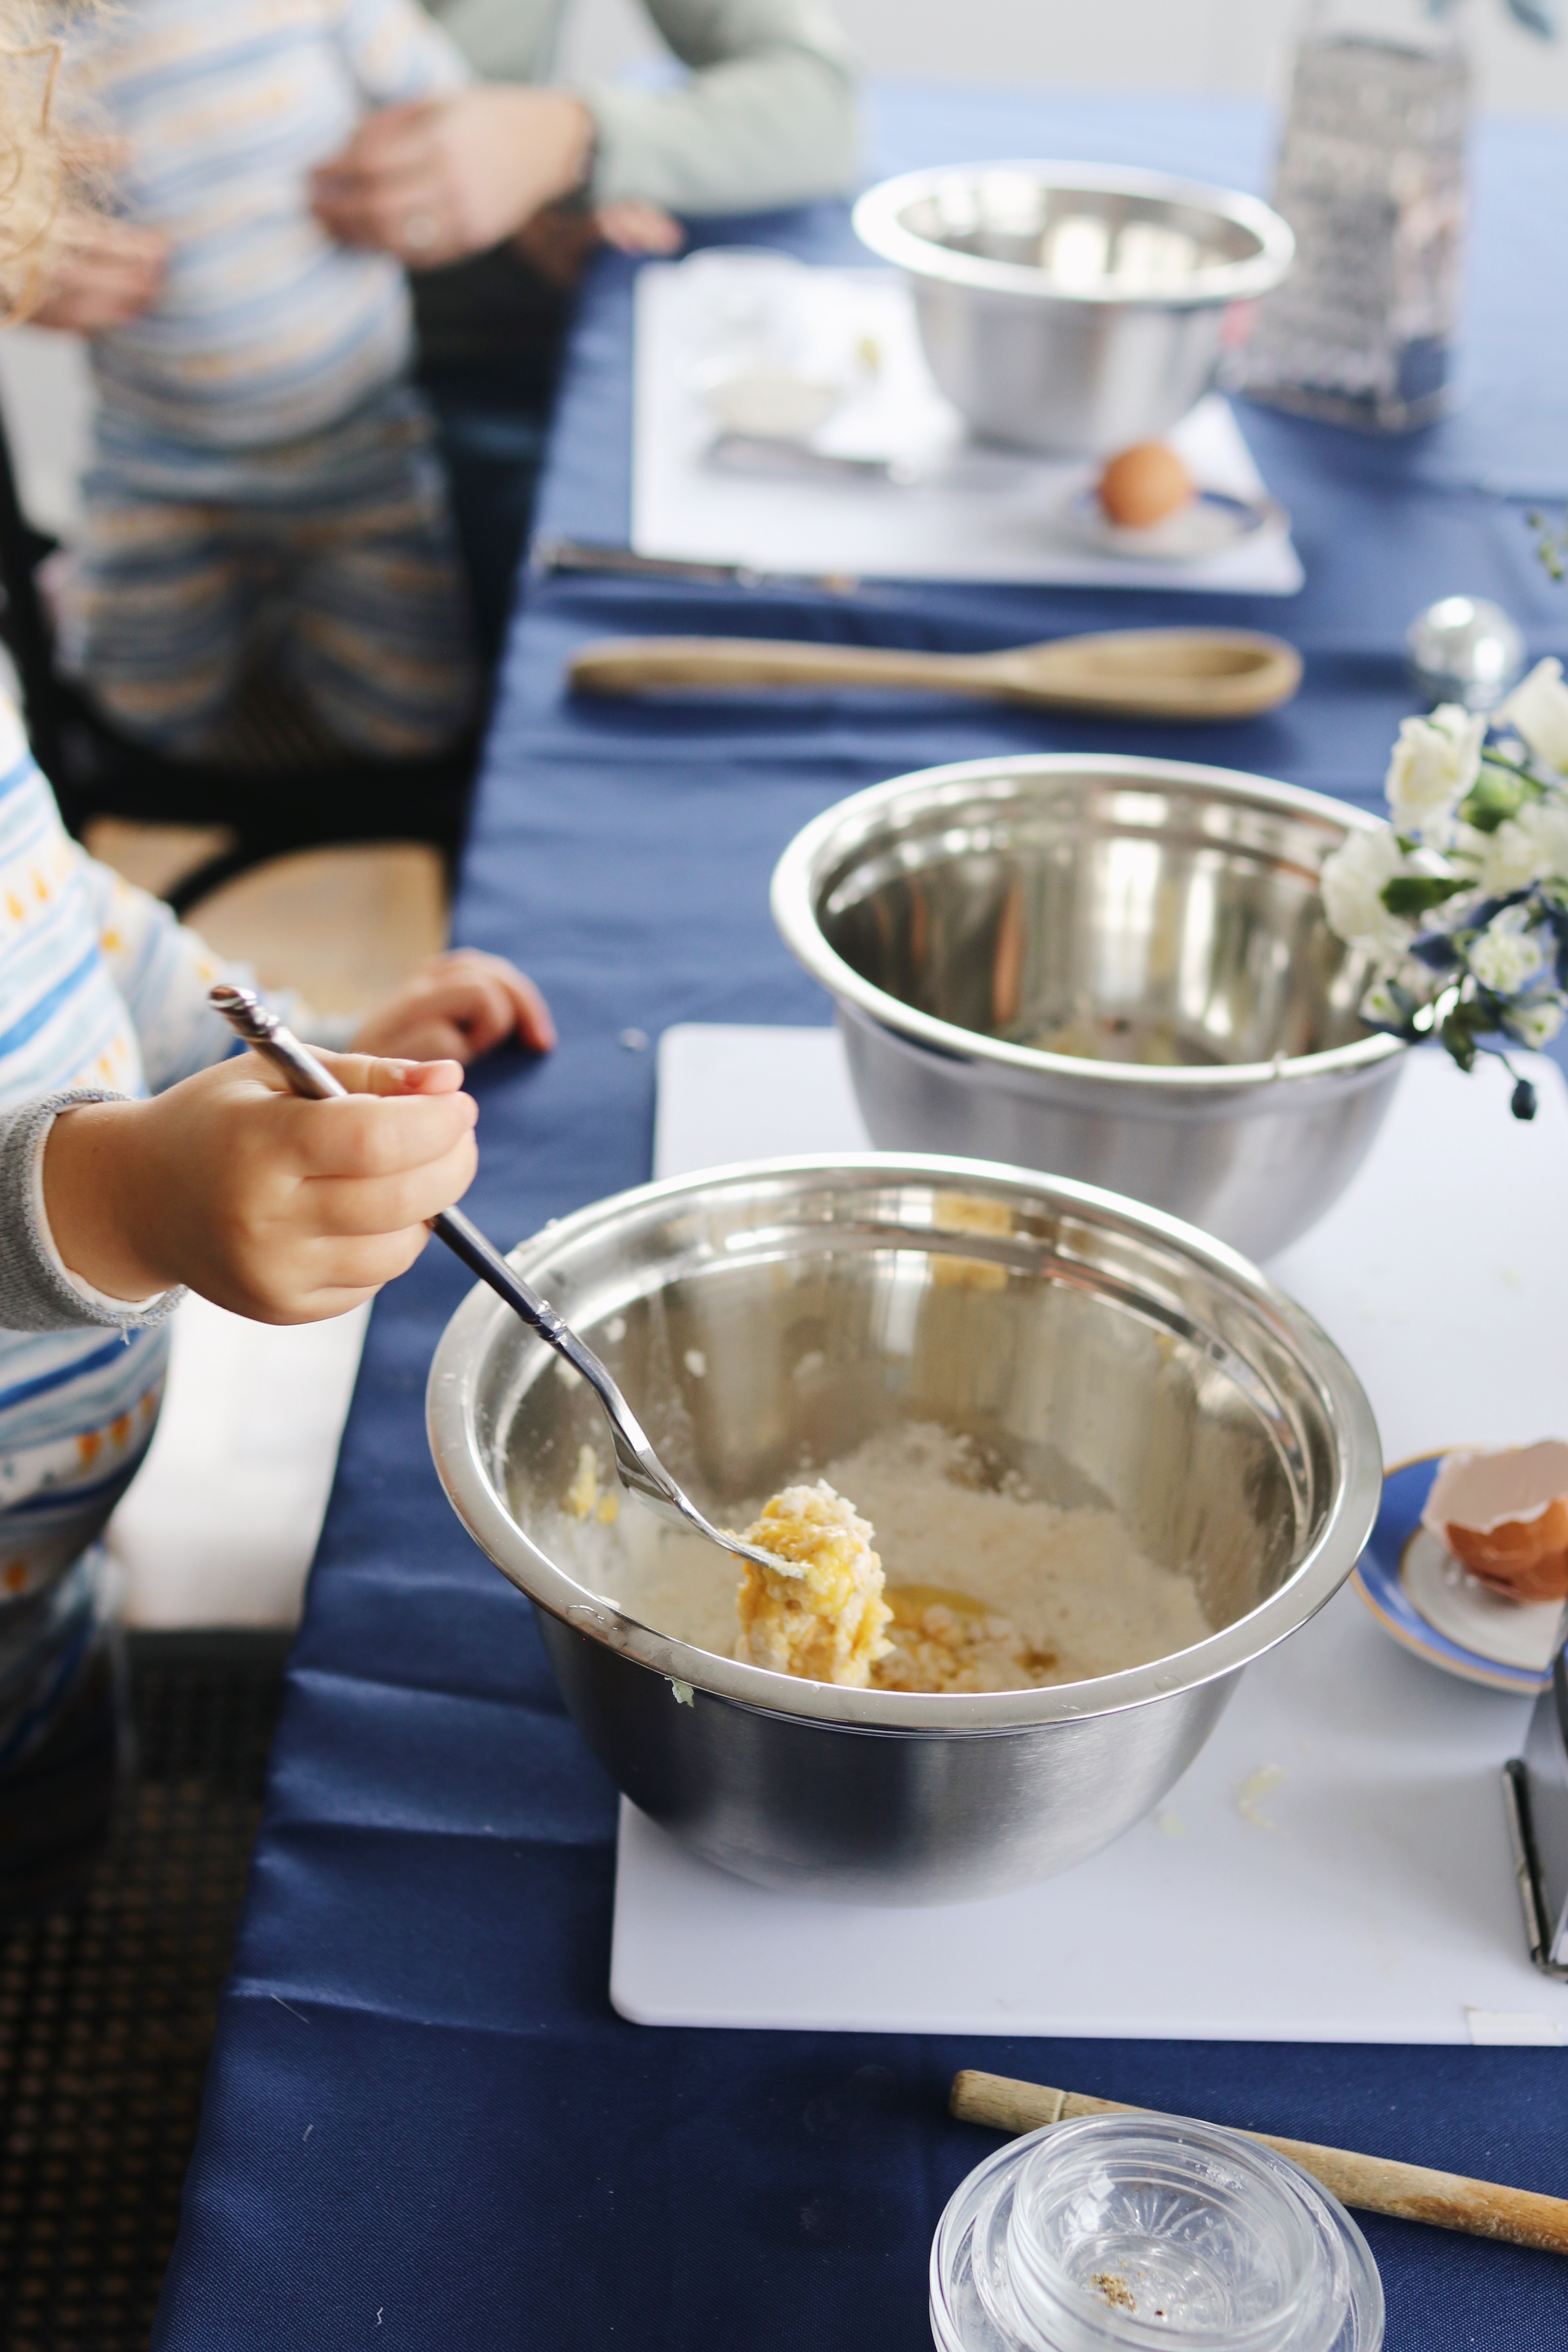
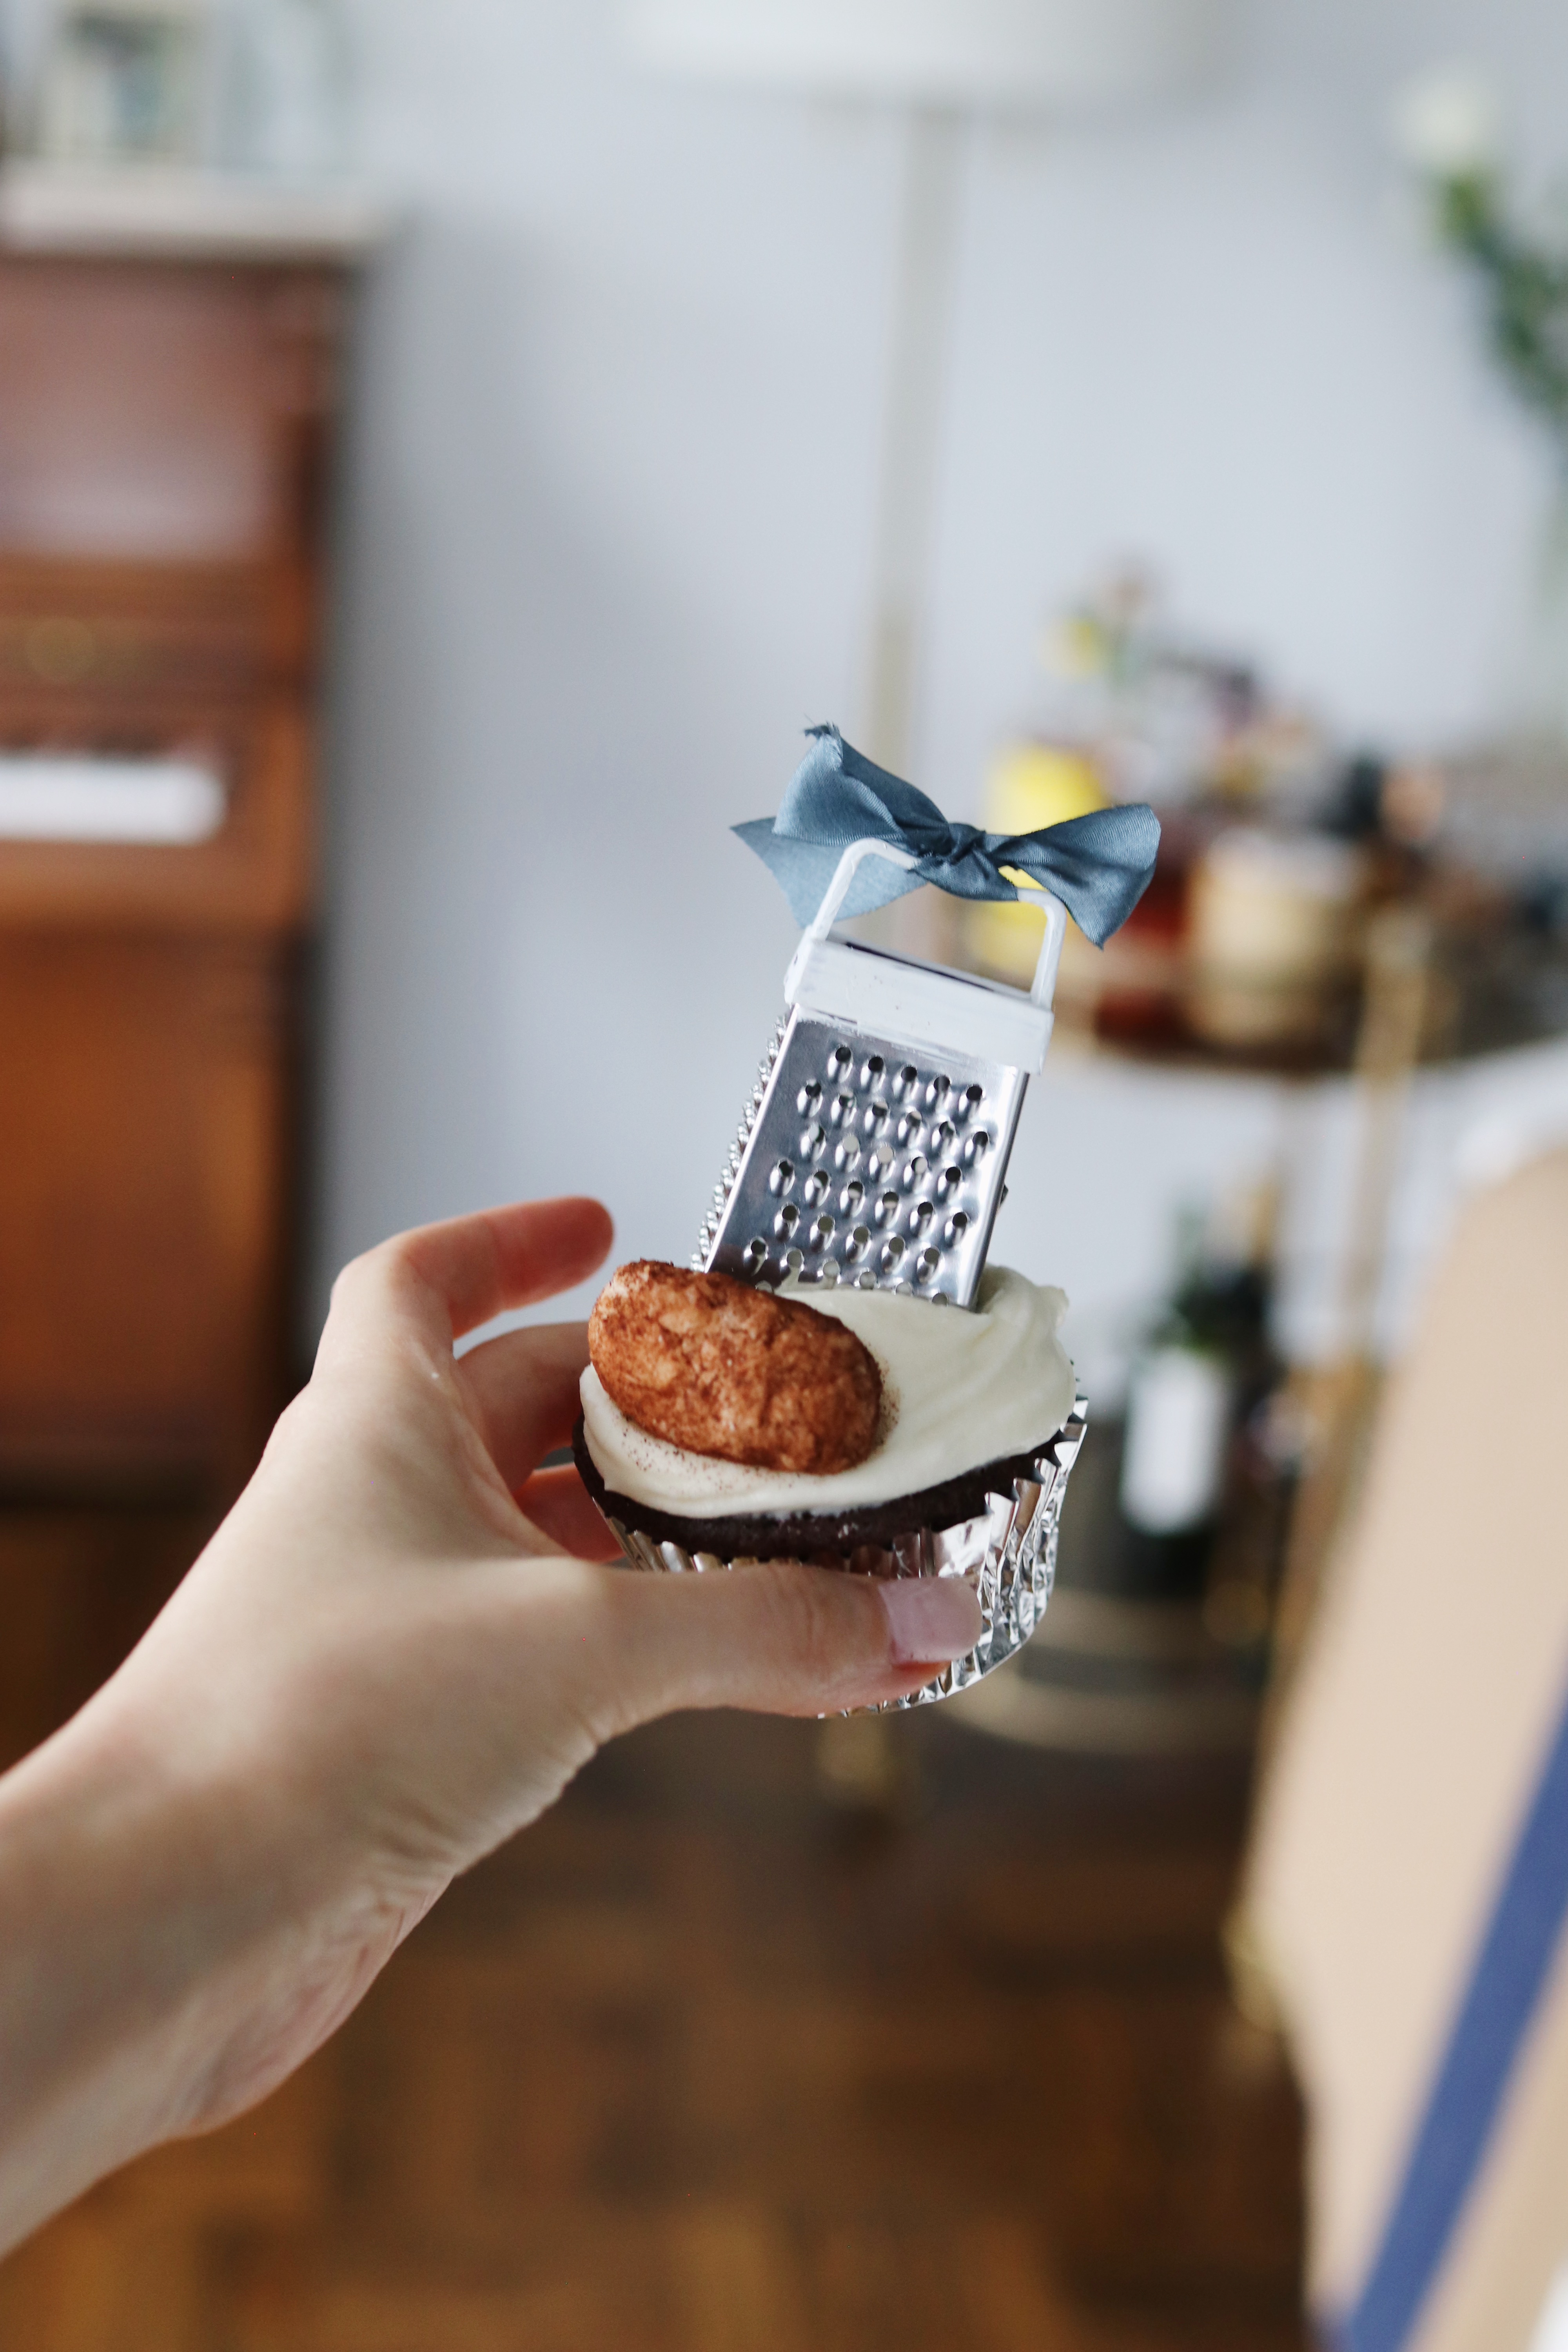
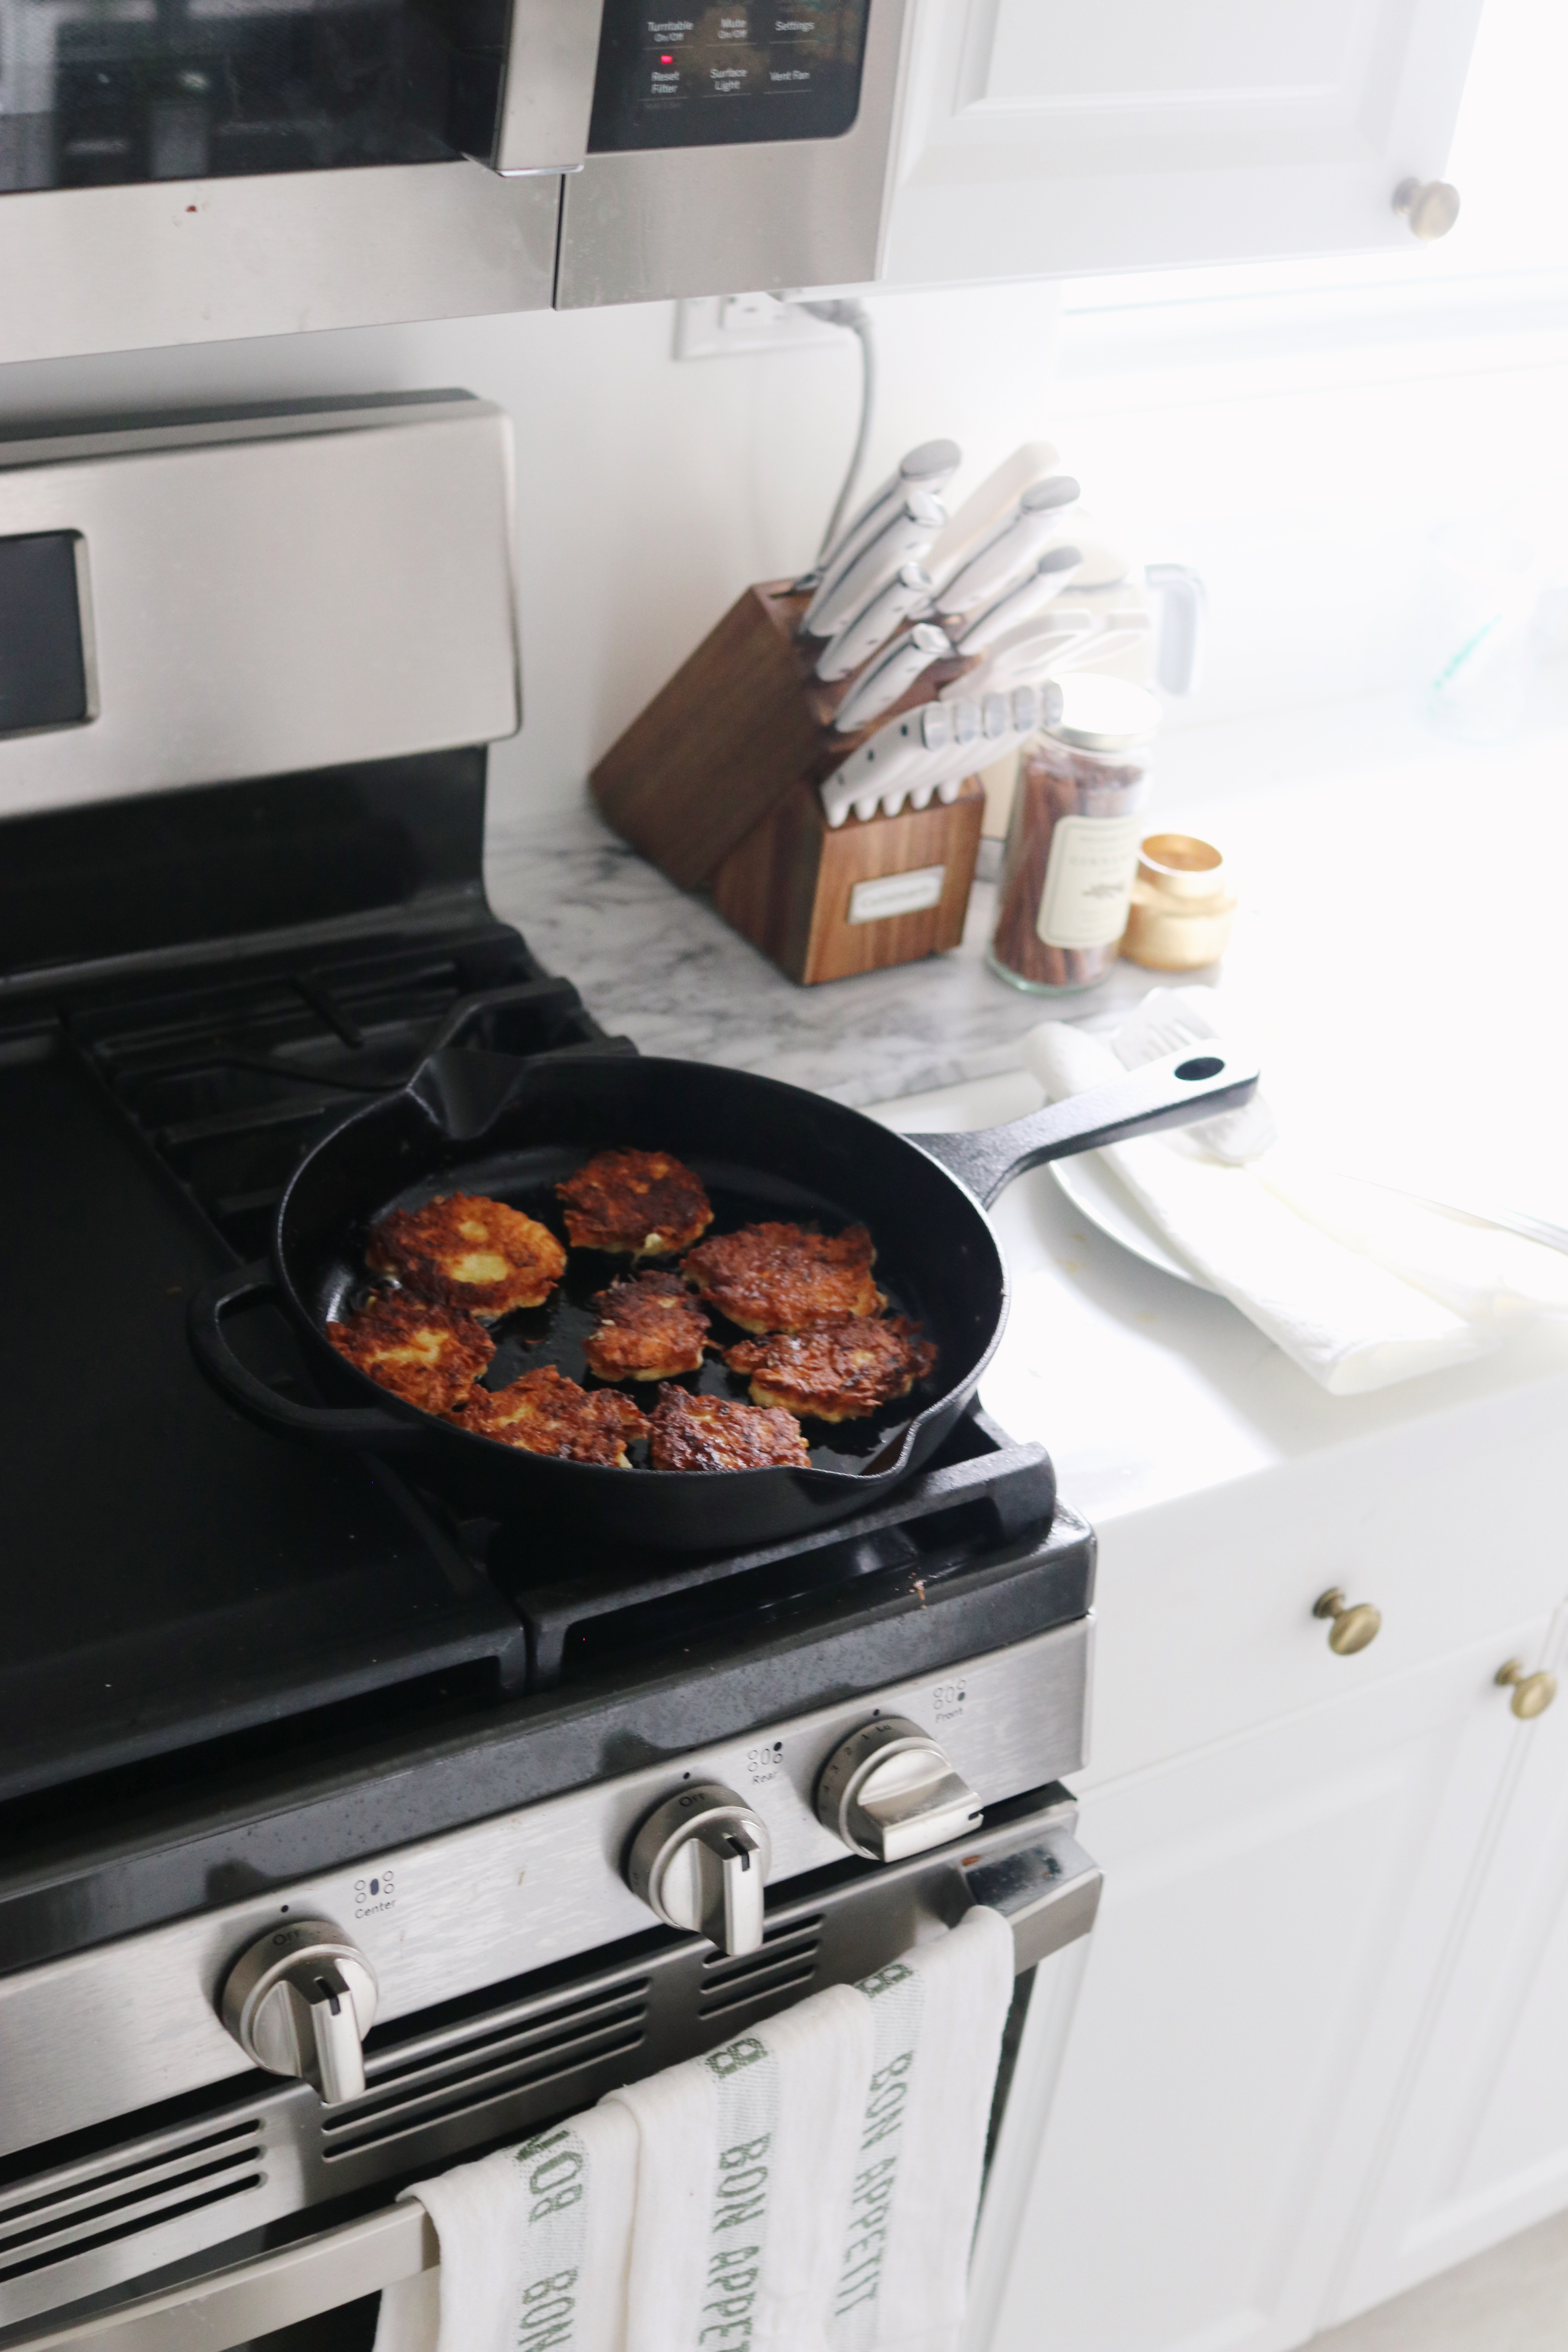
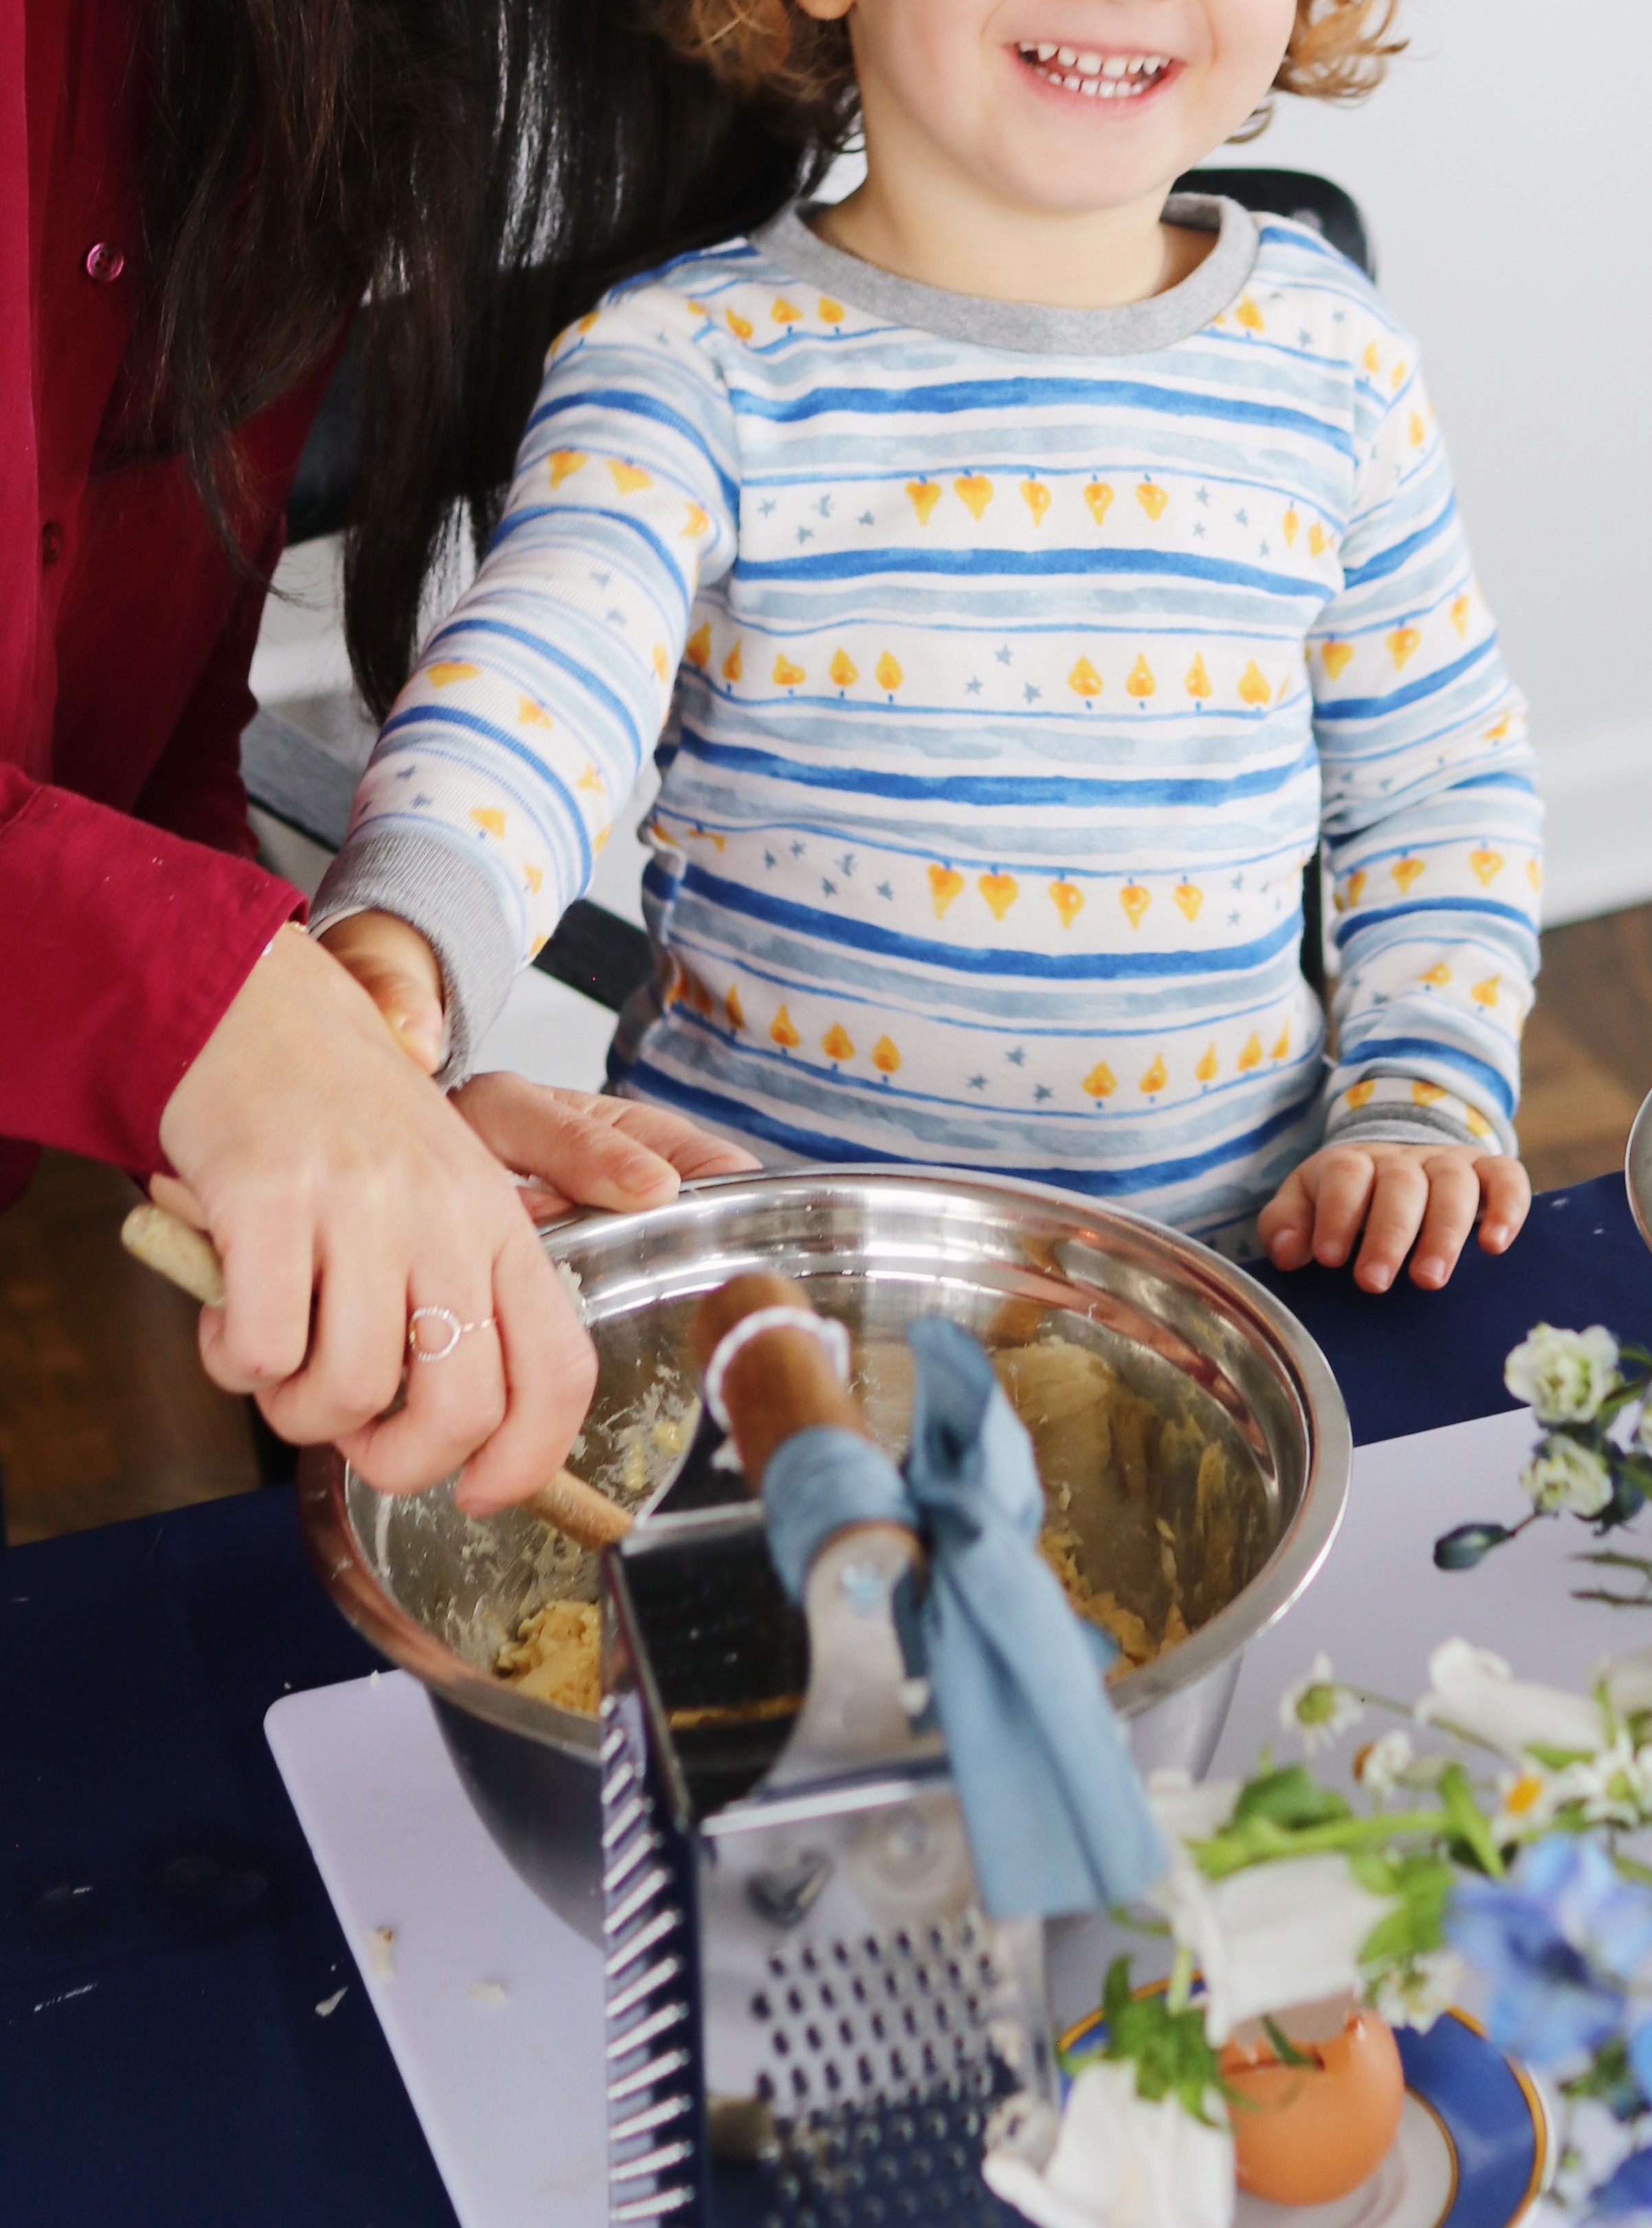
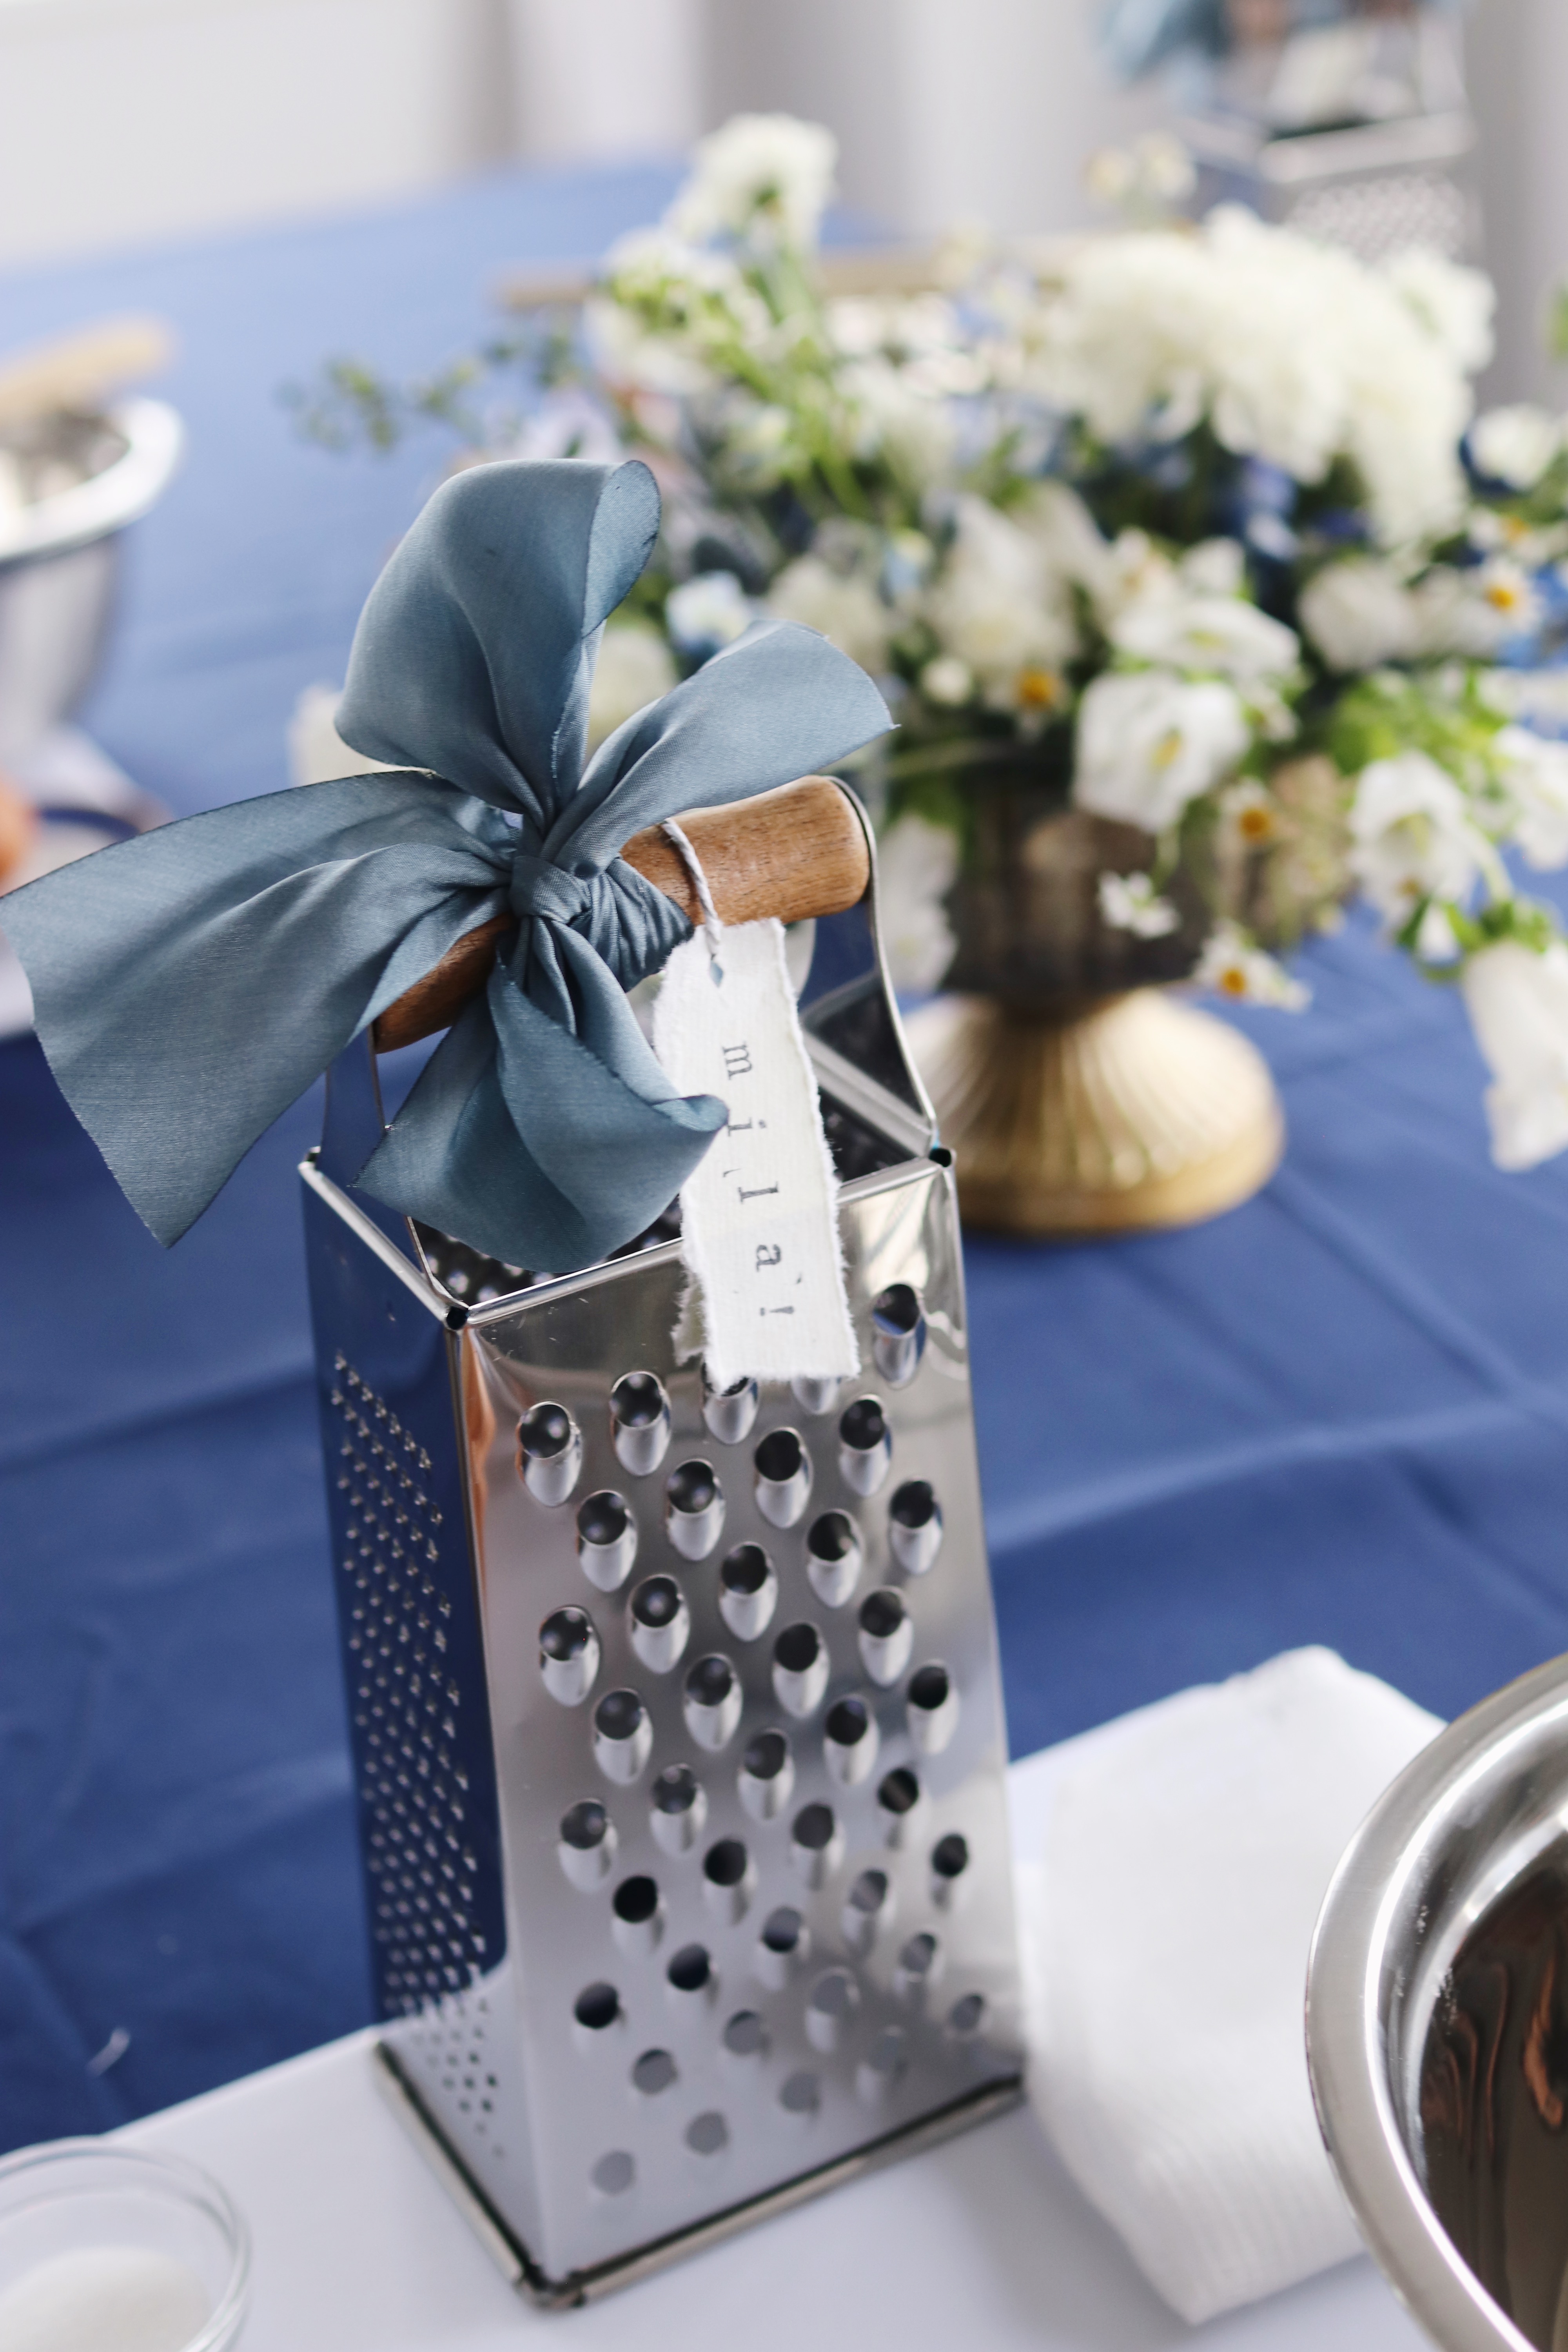
The mini graters! The normal-sized graters! Sigh. I just love it all so much. In fact, I think this latke-making shindig was, on the whole, one of the more memorable, wonderful Hanukkah parties I’ve hosted in the past few years (here’s last year’s Hanukkah brunch with Pottery Barn, my olive-oil tasting tablescape with Crate and Barrel, and the previous year’s tie-dye table with HGTV). There’s just something about zillions of nieces and nephews running around in Hanukkah pajamas that makes everything…better. Also, I highly recommend hosting parties where your guests are tasked with making their own food. Lot less work on your end. (Bit more resentment on theirs, though.)
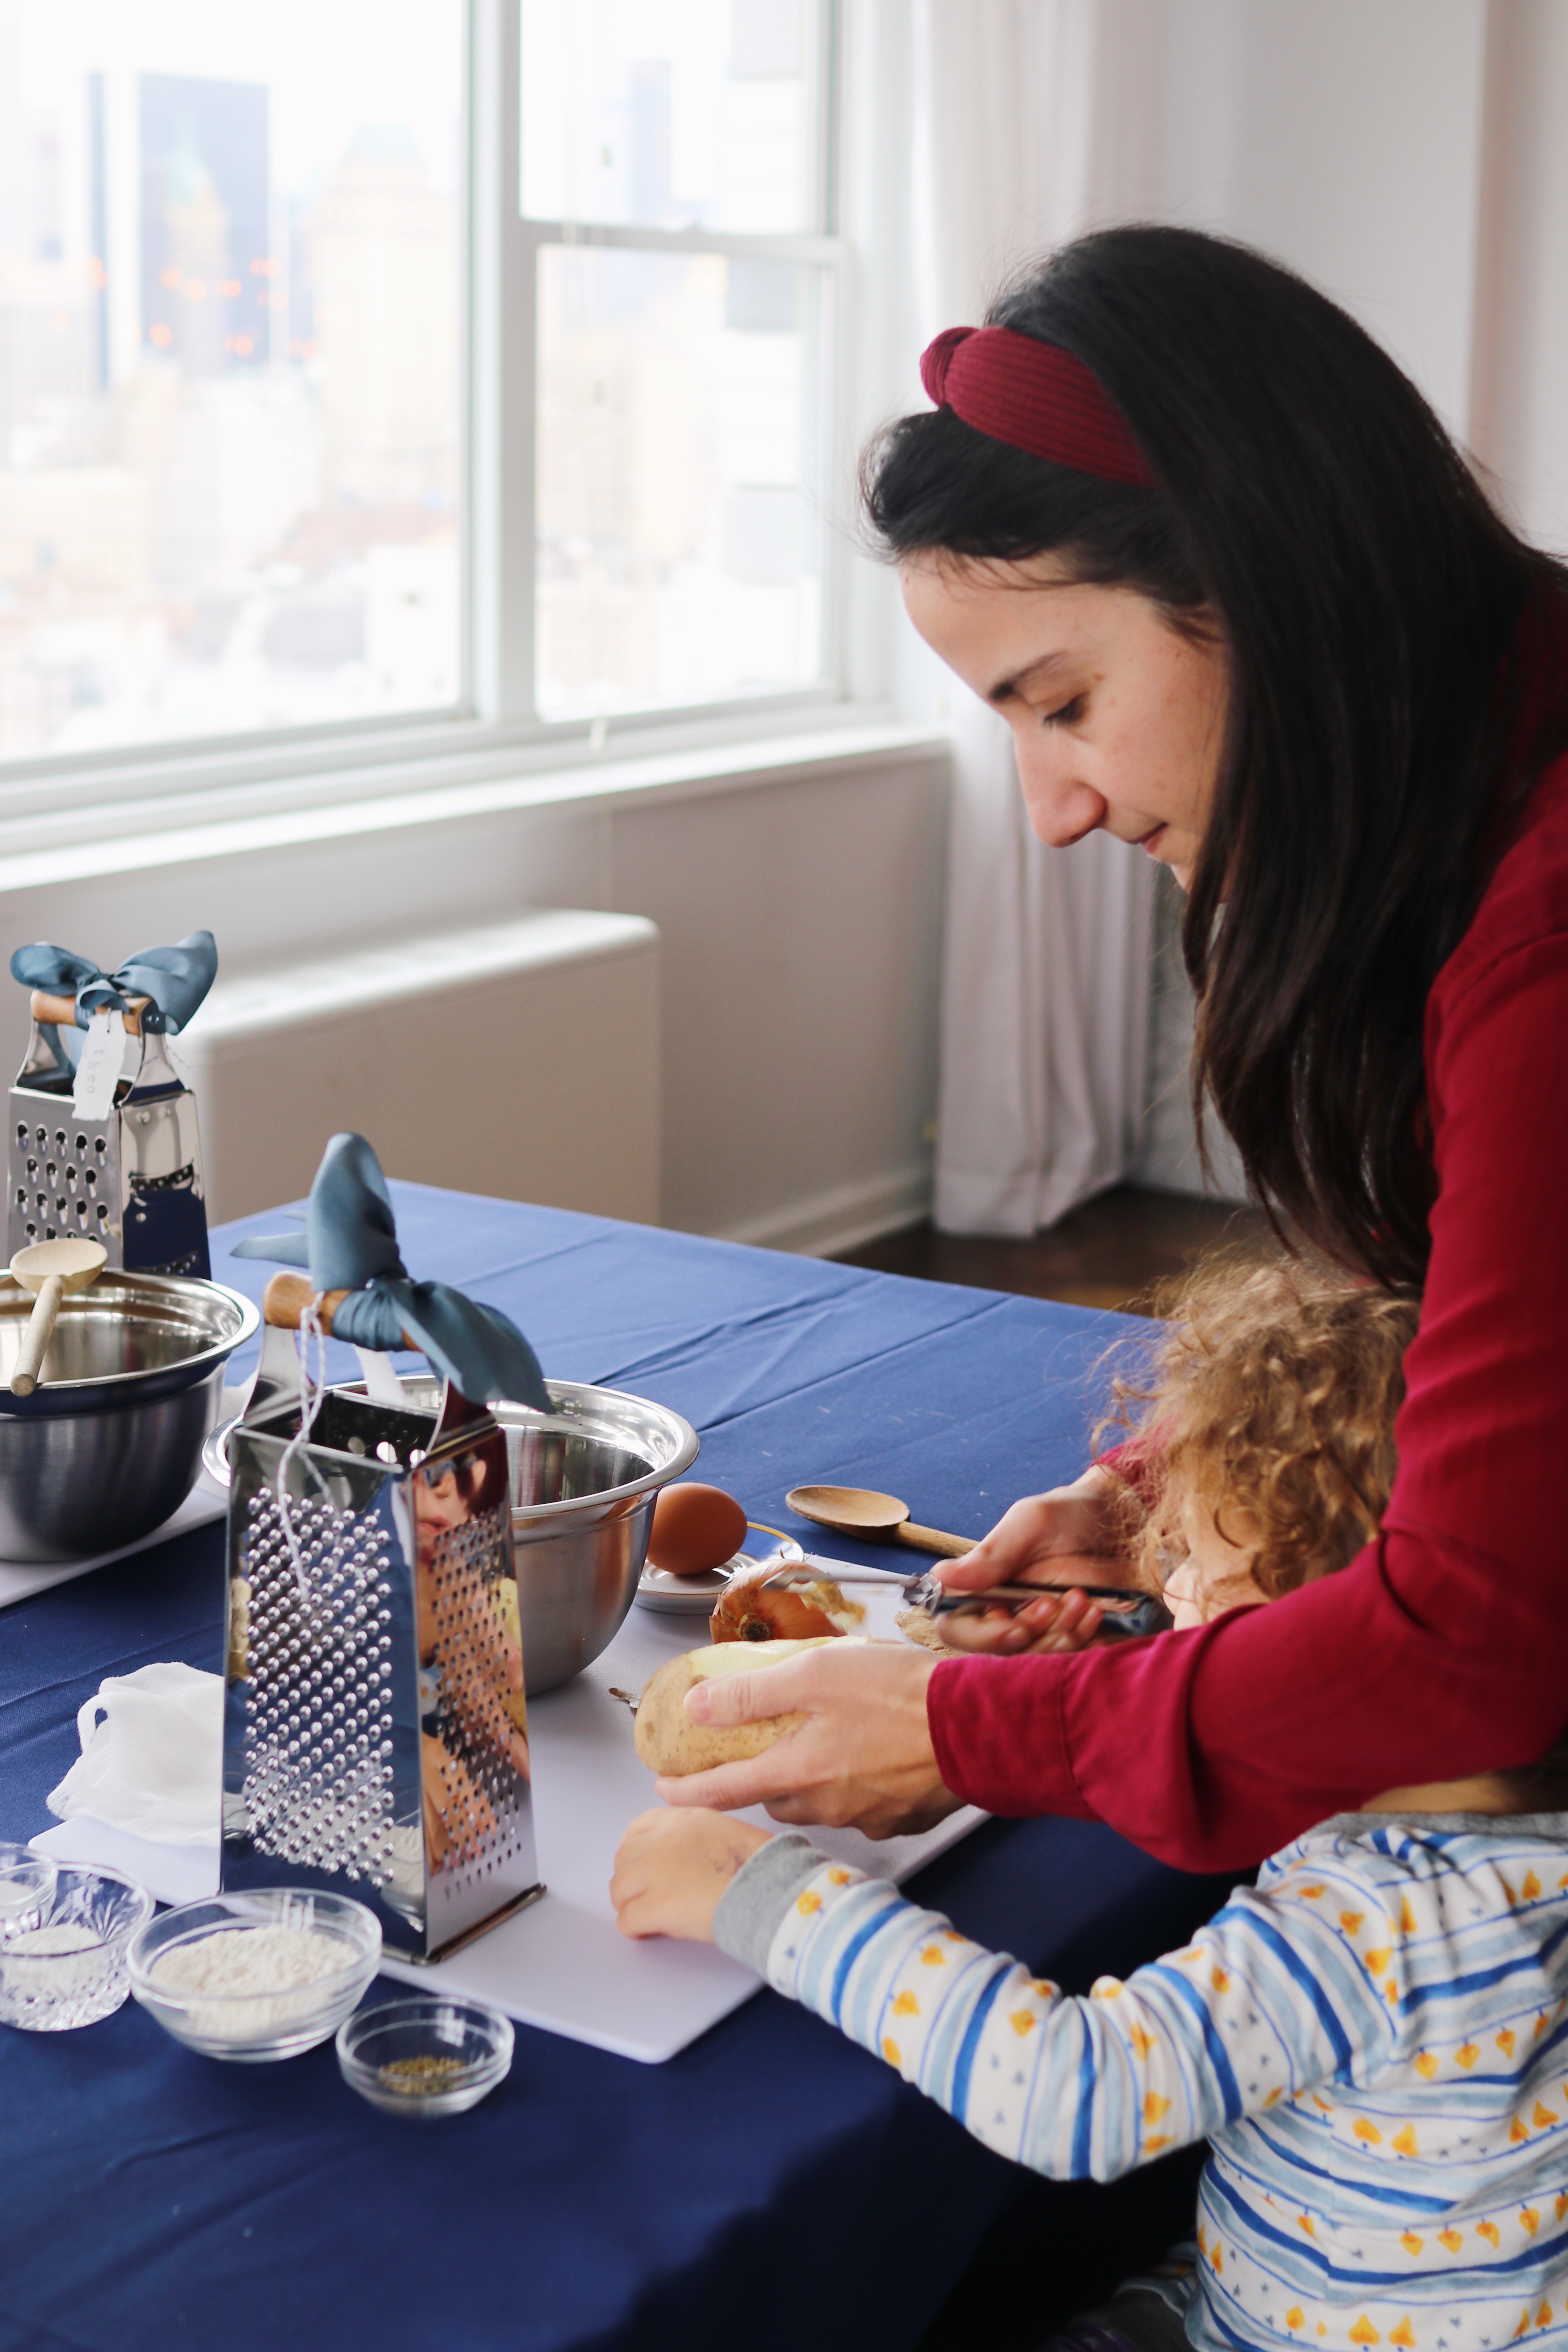
In all seriousness, I love the idea of getting people really involved in the entire cooking process—all the way from the grating to the frying. That said, upon my own guests’ arrival, I did realize that I had chosen perhaps the least kid-friendly activity of all the “do it yourself” activities on the PLANET. In addition to the aforementioned grating and frying, latkes involve slicing, peeling, and a whole slew of other very dangerous gerundial nouns involving sharp objects.
Whoops.
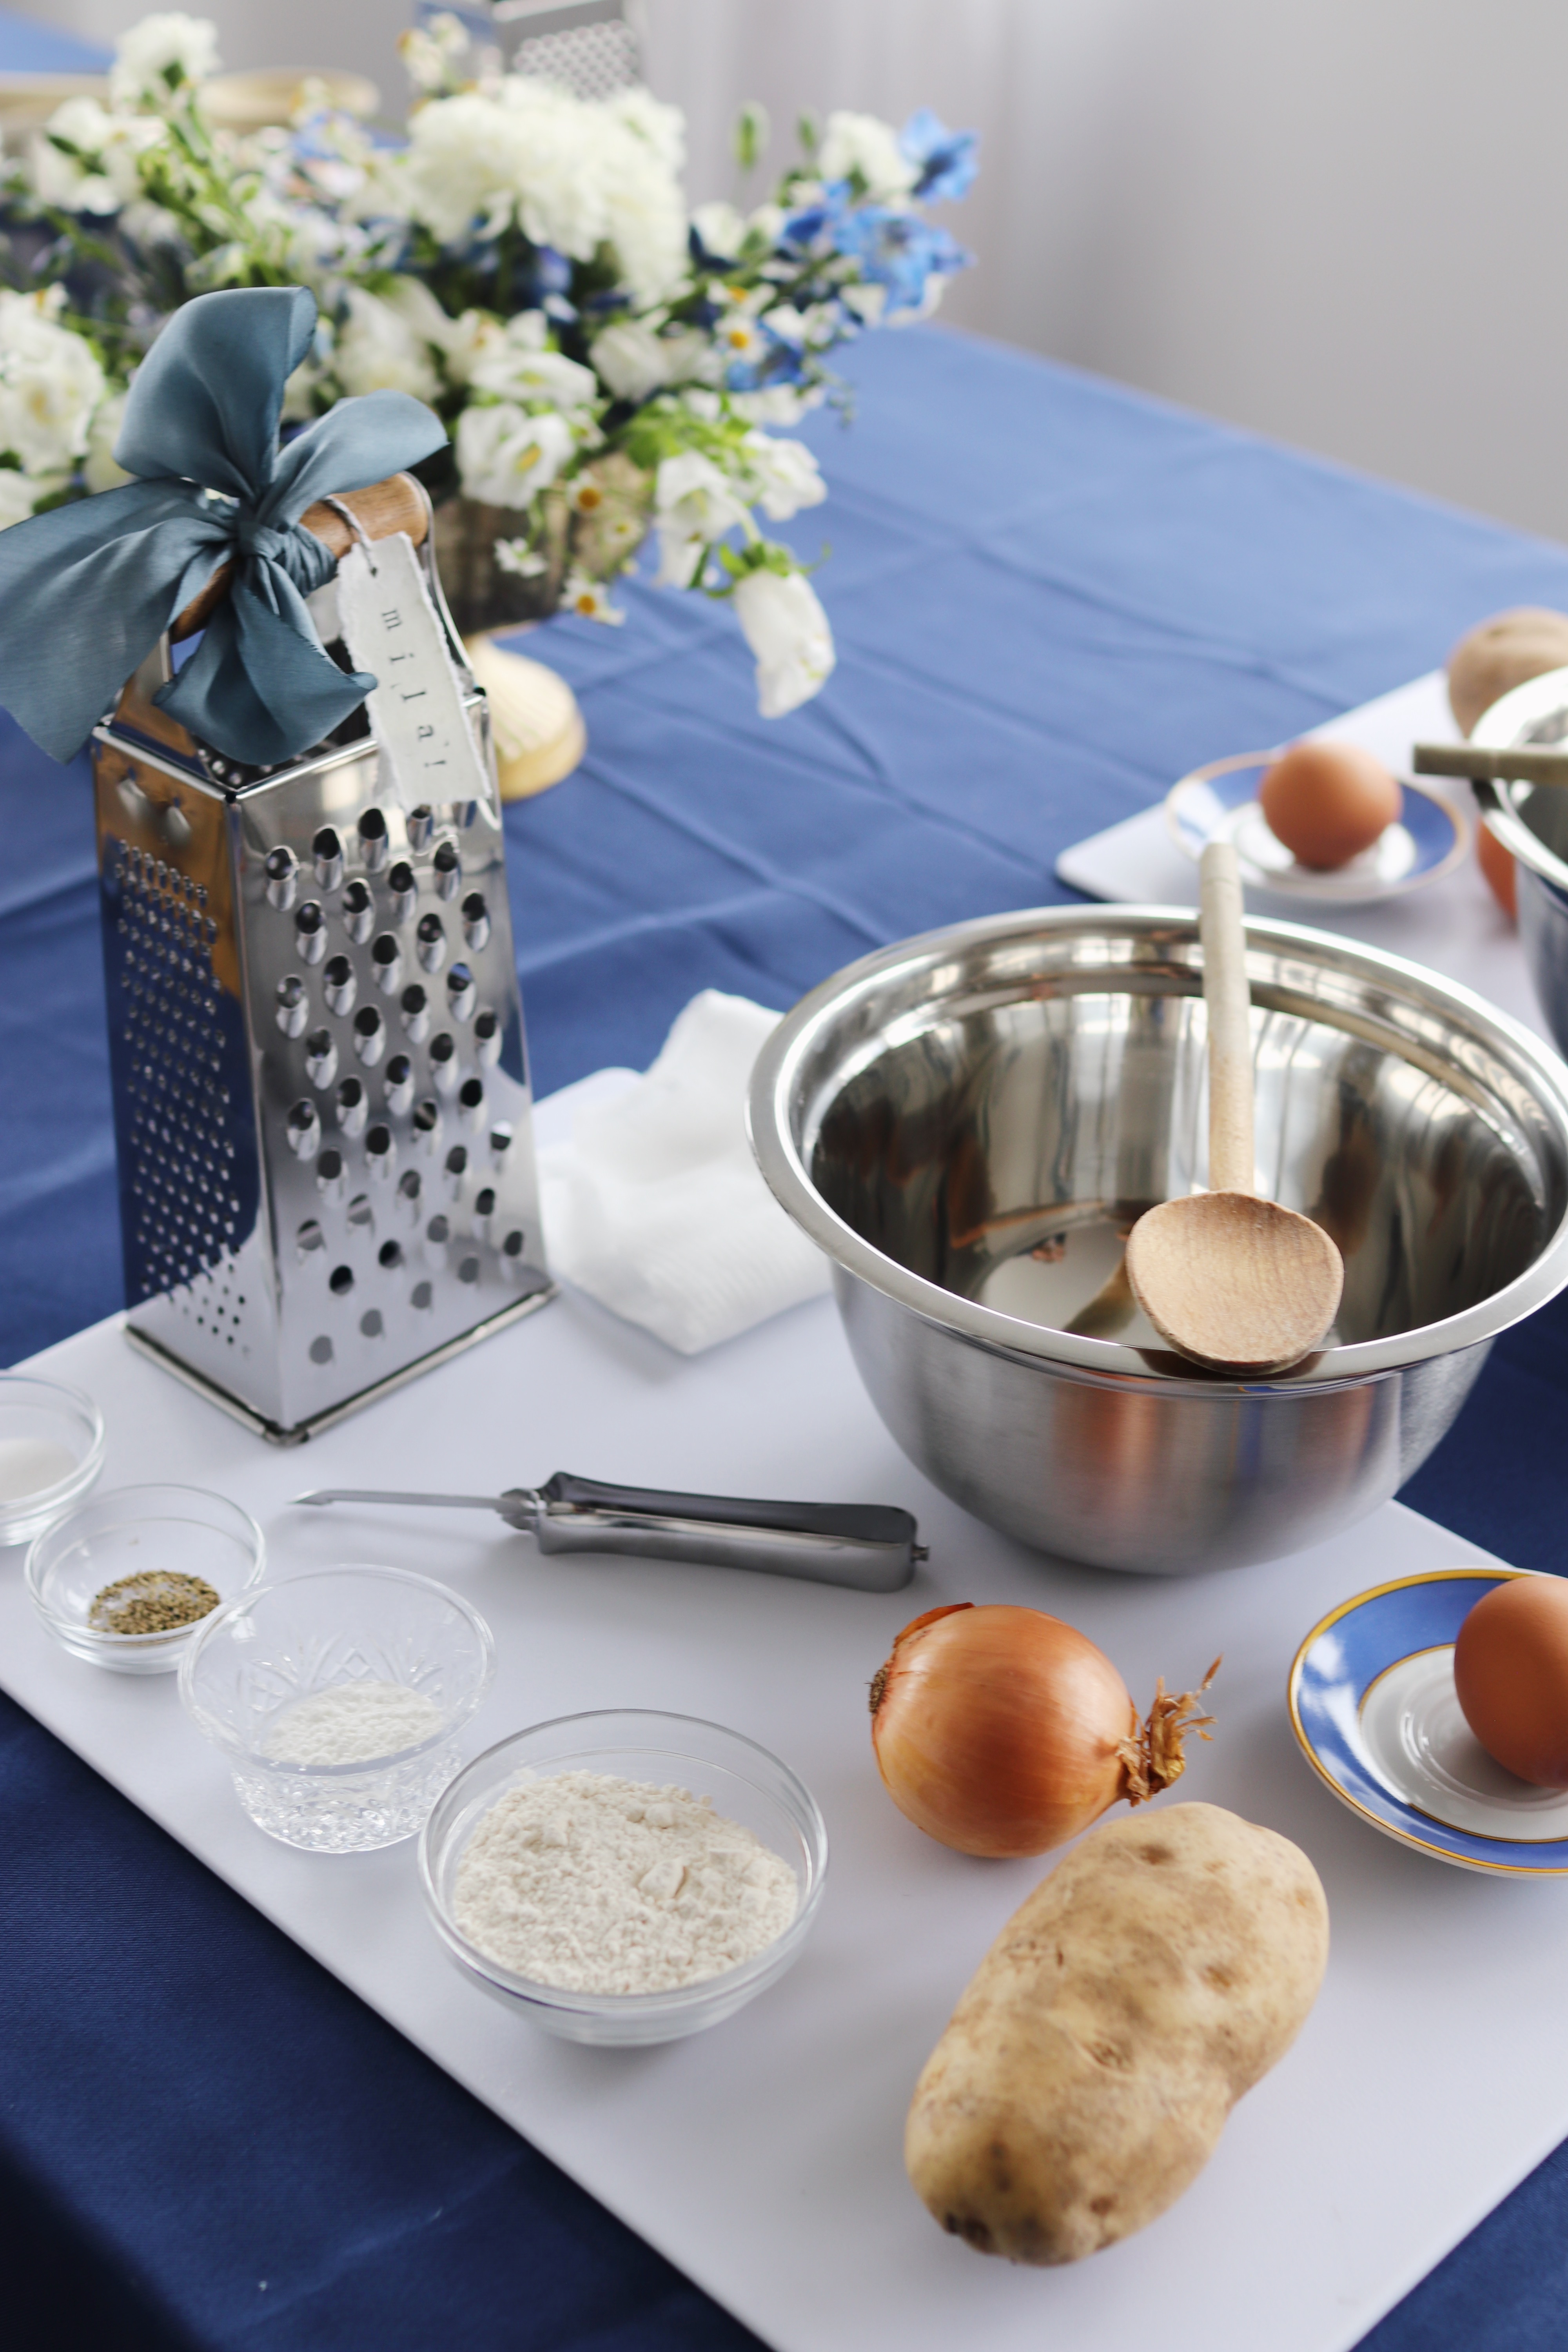
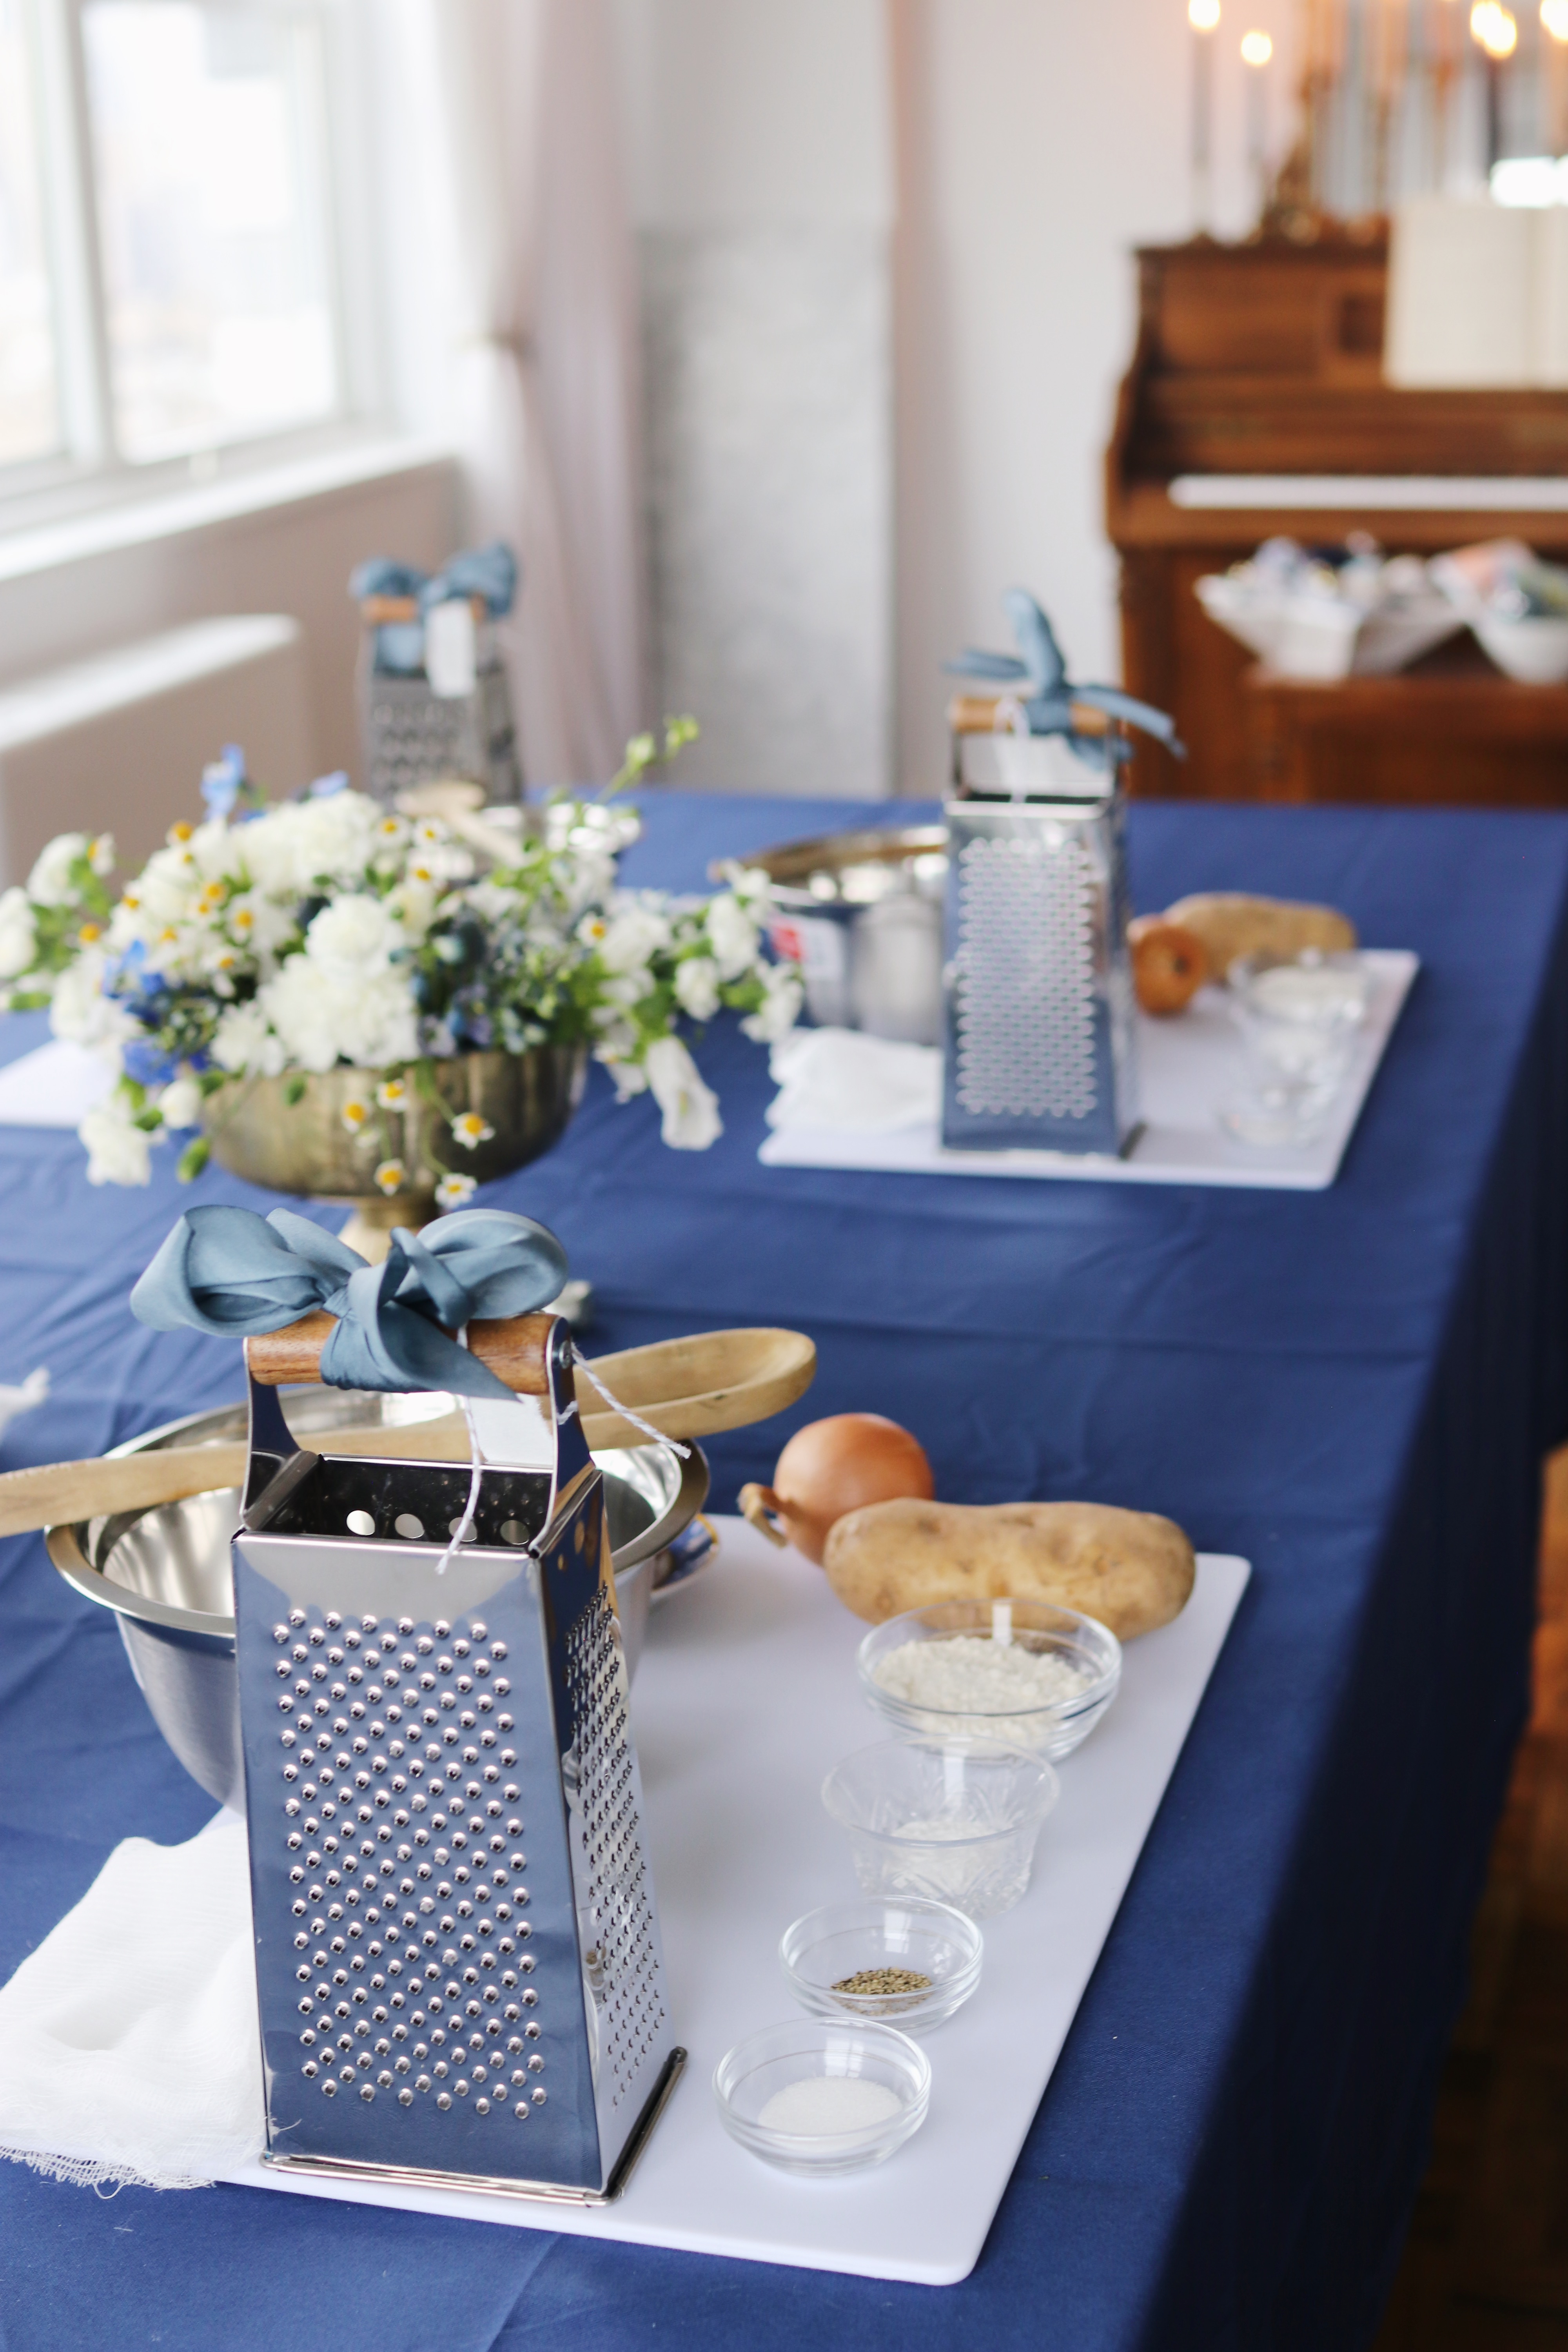
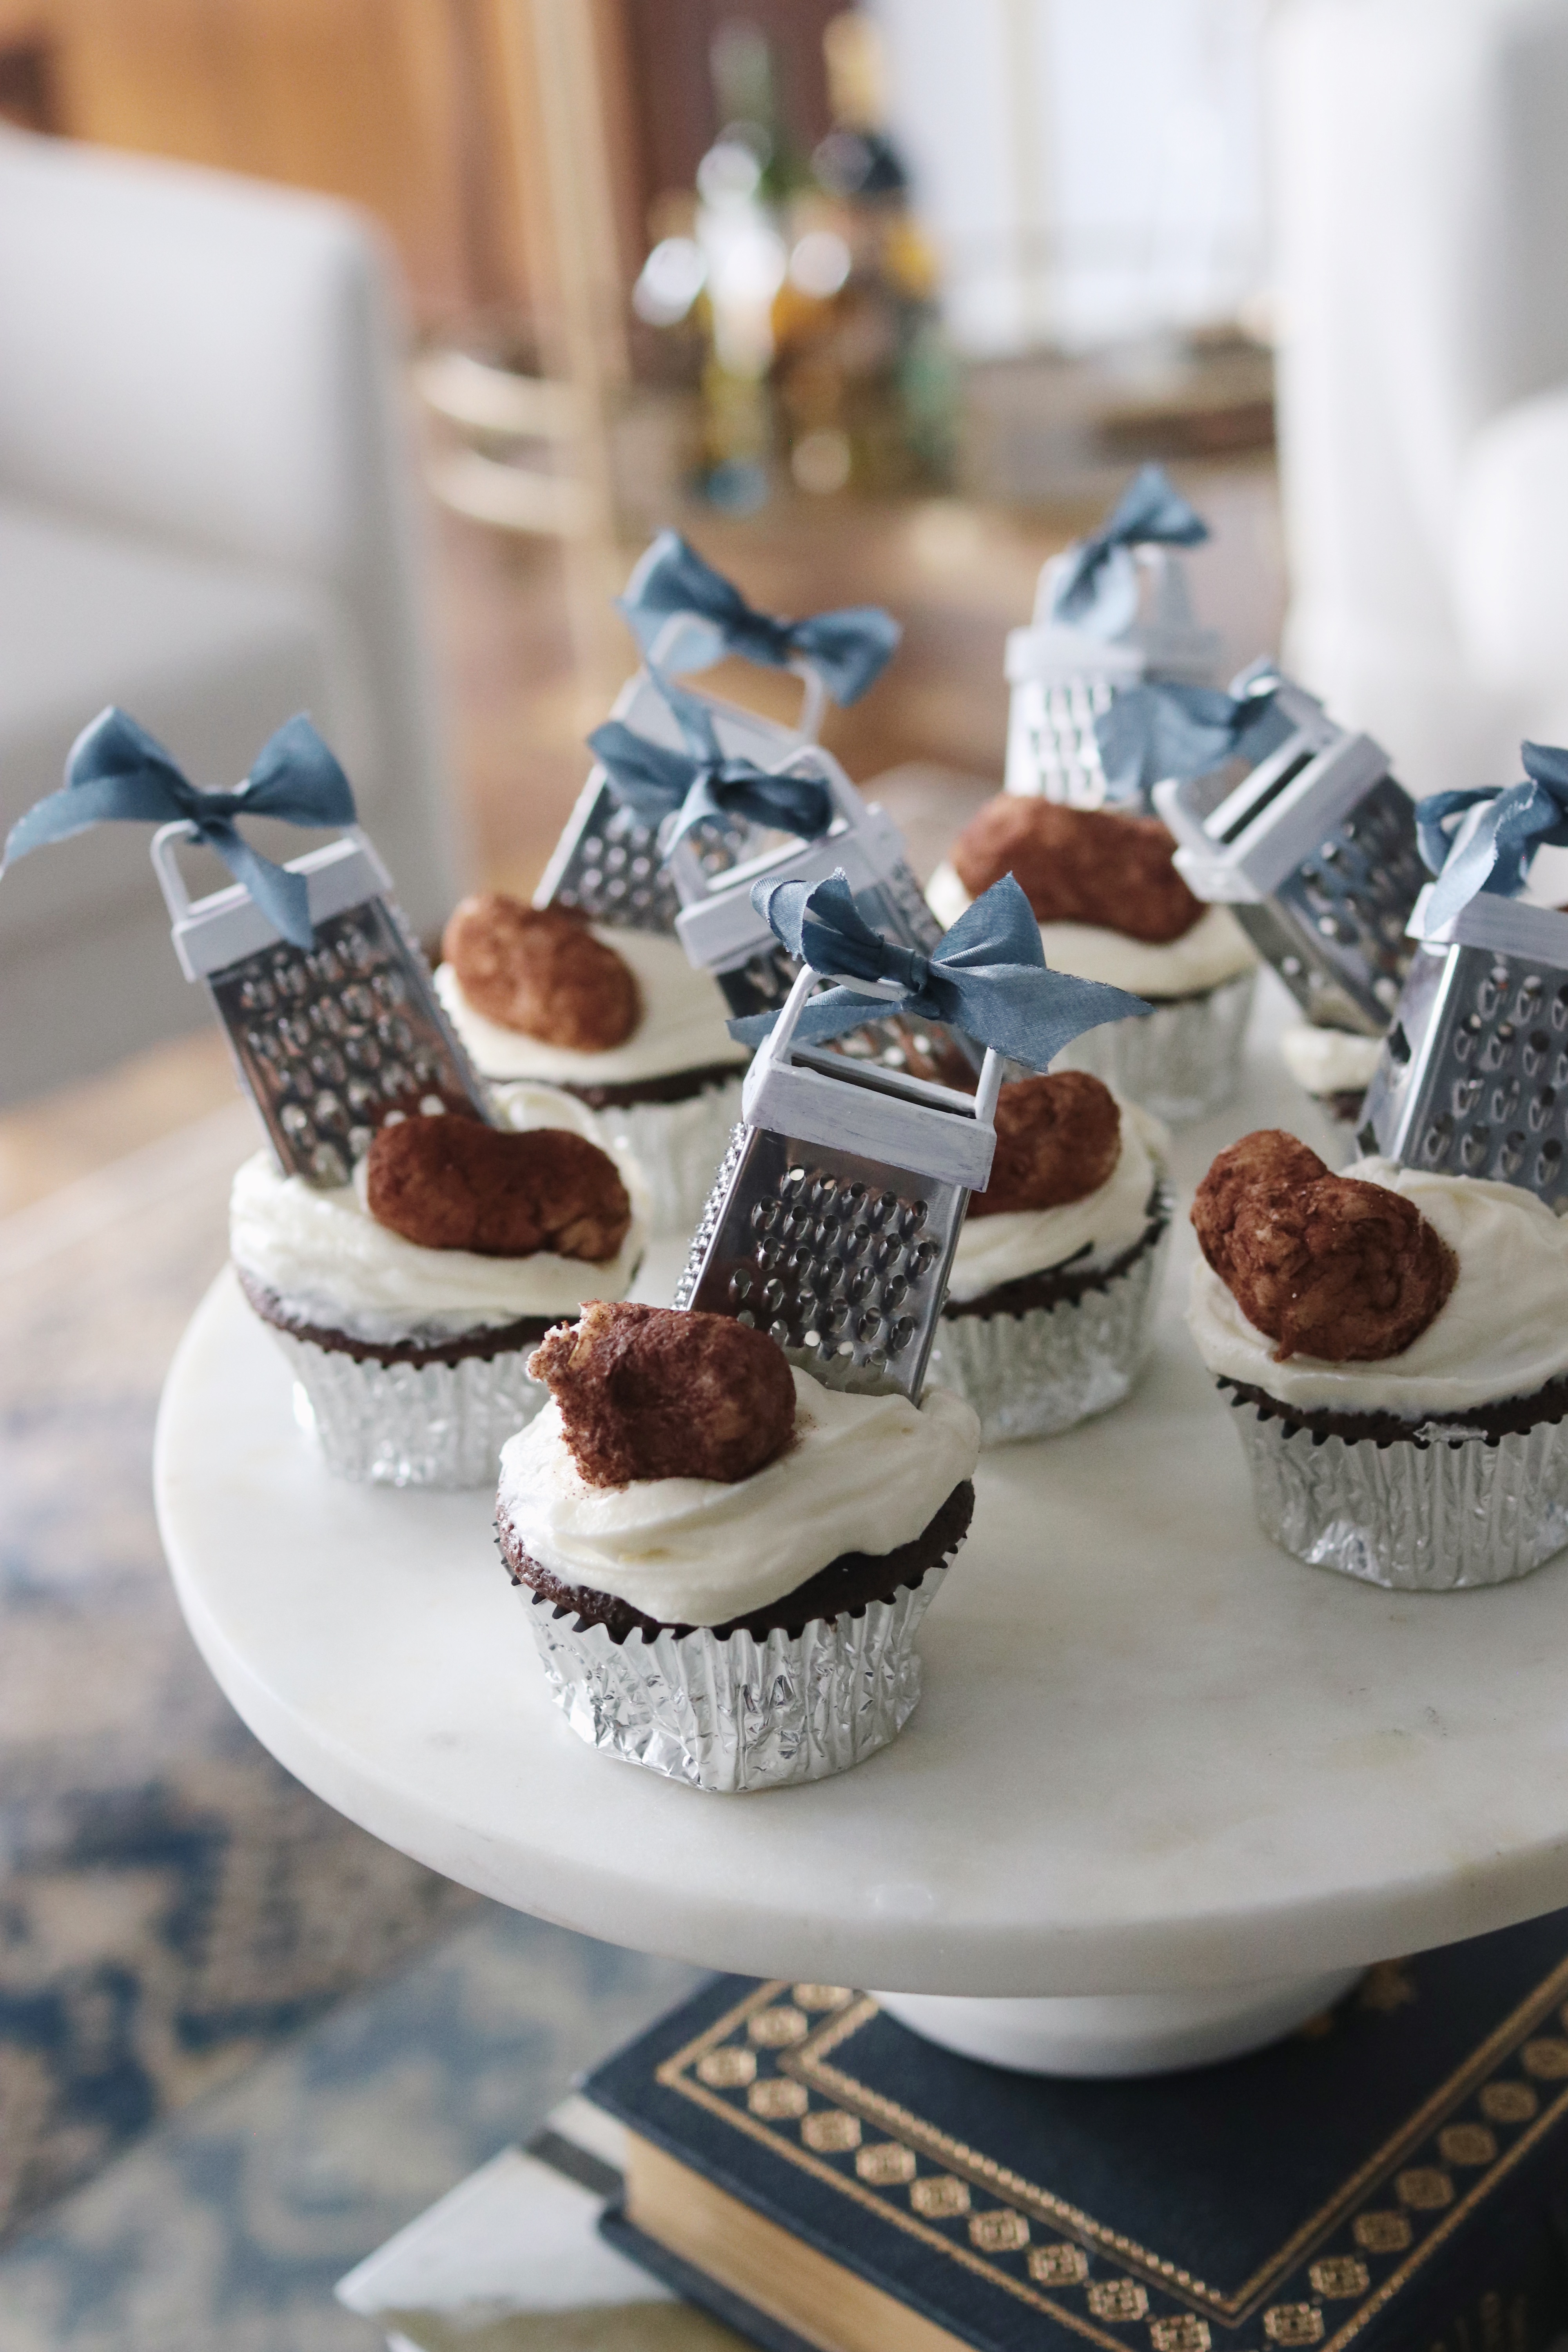
Scroll for more photos from the party, find the latke cupcakes tutorial here (no actual potatoes OR latkes harmed in the making of those, I promise!), or stay up here to browse a full shopping list. Two quick notes before I go, though: 1. You certainly don’t need to invest in a grater for each guests—and if you don’t think you’ll use them again, you shouldn’t; you could always just keep the main implements (grater, peeler, knife, wooden spoon, etc.) in the middle of your table for sharing and set up smaller “stations” with just the non-shareable basics: a potato, an onion, some cheesecloth and so on.) And 2. I used the Smitten Kitchen latke recipe for this party—a favorite! (Helpful to know the recipe if you’re wondering how to portion out ingredients for each station.)
- Miniature graters (painted with white acrylic craft paint and a small craft paintbrush; full details over here)
- Full-sized graters
- Ribbon (saved from my sister’s wedding years ago; linking something similar here!)
- Peelers
- Watercolor paper used for “place cards” (I stamped them with a mini alphabet set and black ink)
- Grey baker’s twine (old and no longer available—I always use this! Similar here.)
- Blue tablecloth (not impressed with this; much prefer the Crate and Barrel tablecloth I used last year)
- Farberware cutting boards (the base for each “station” – I used the larger size and it felt perfect)
- Duralex mini glass bowls (left over from last year’s party!)
- Tiny crystal bowls (also left over…my husband’s always like, “Why do we own hundreds of tiny bowls?” and, well, this is why.)
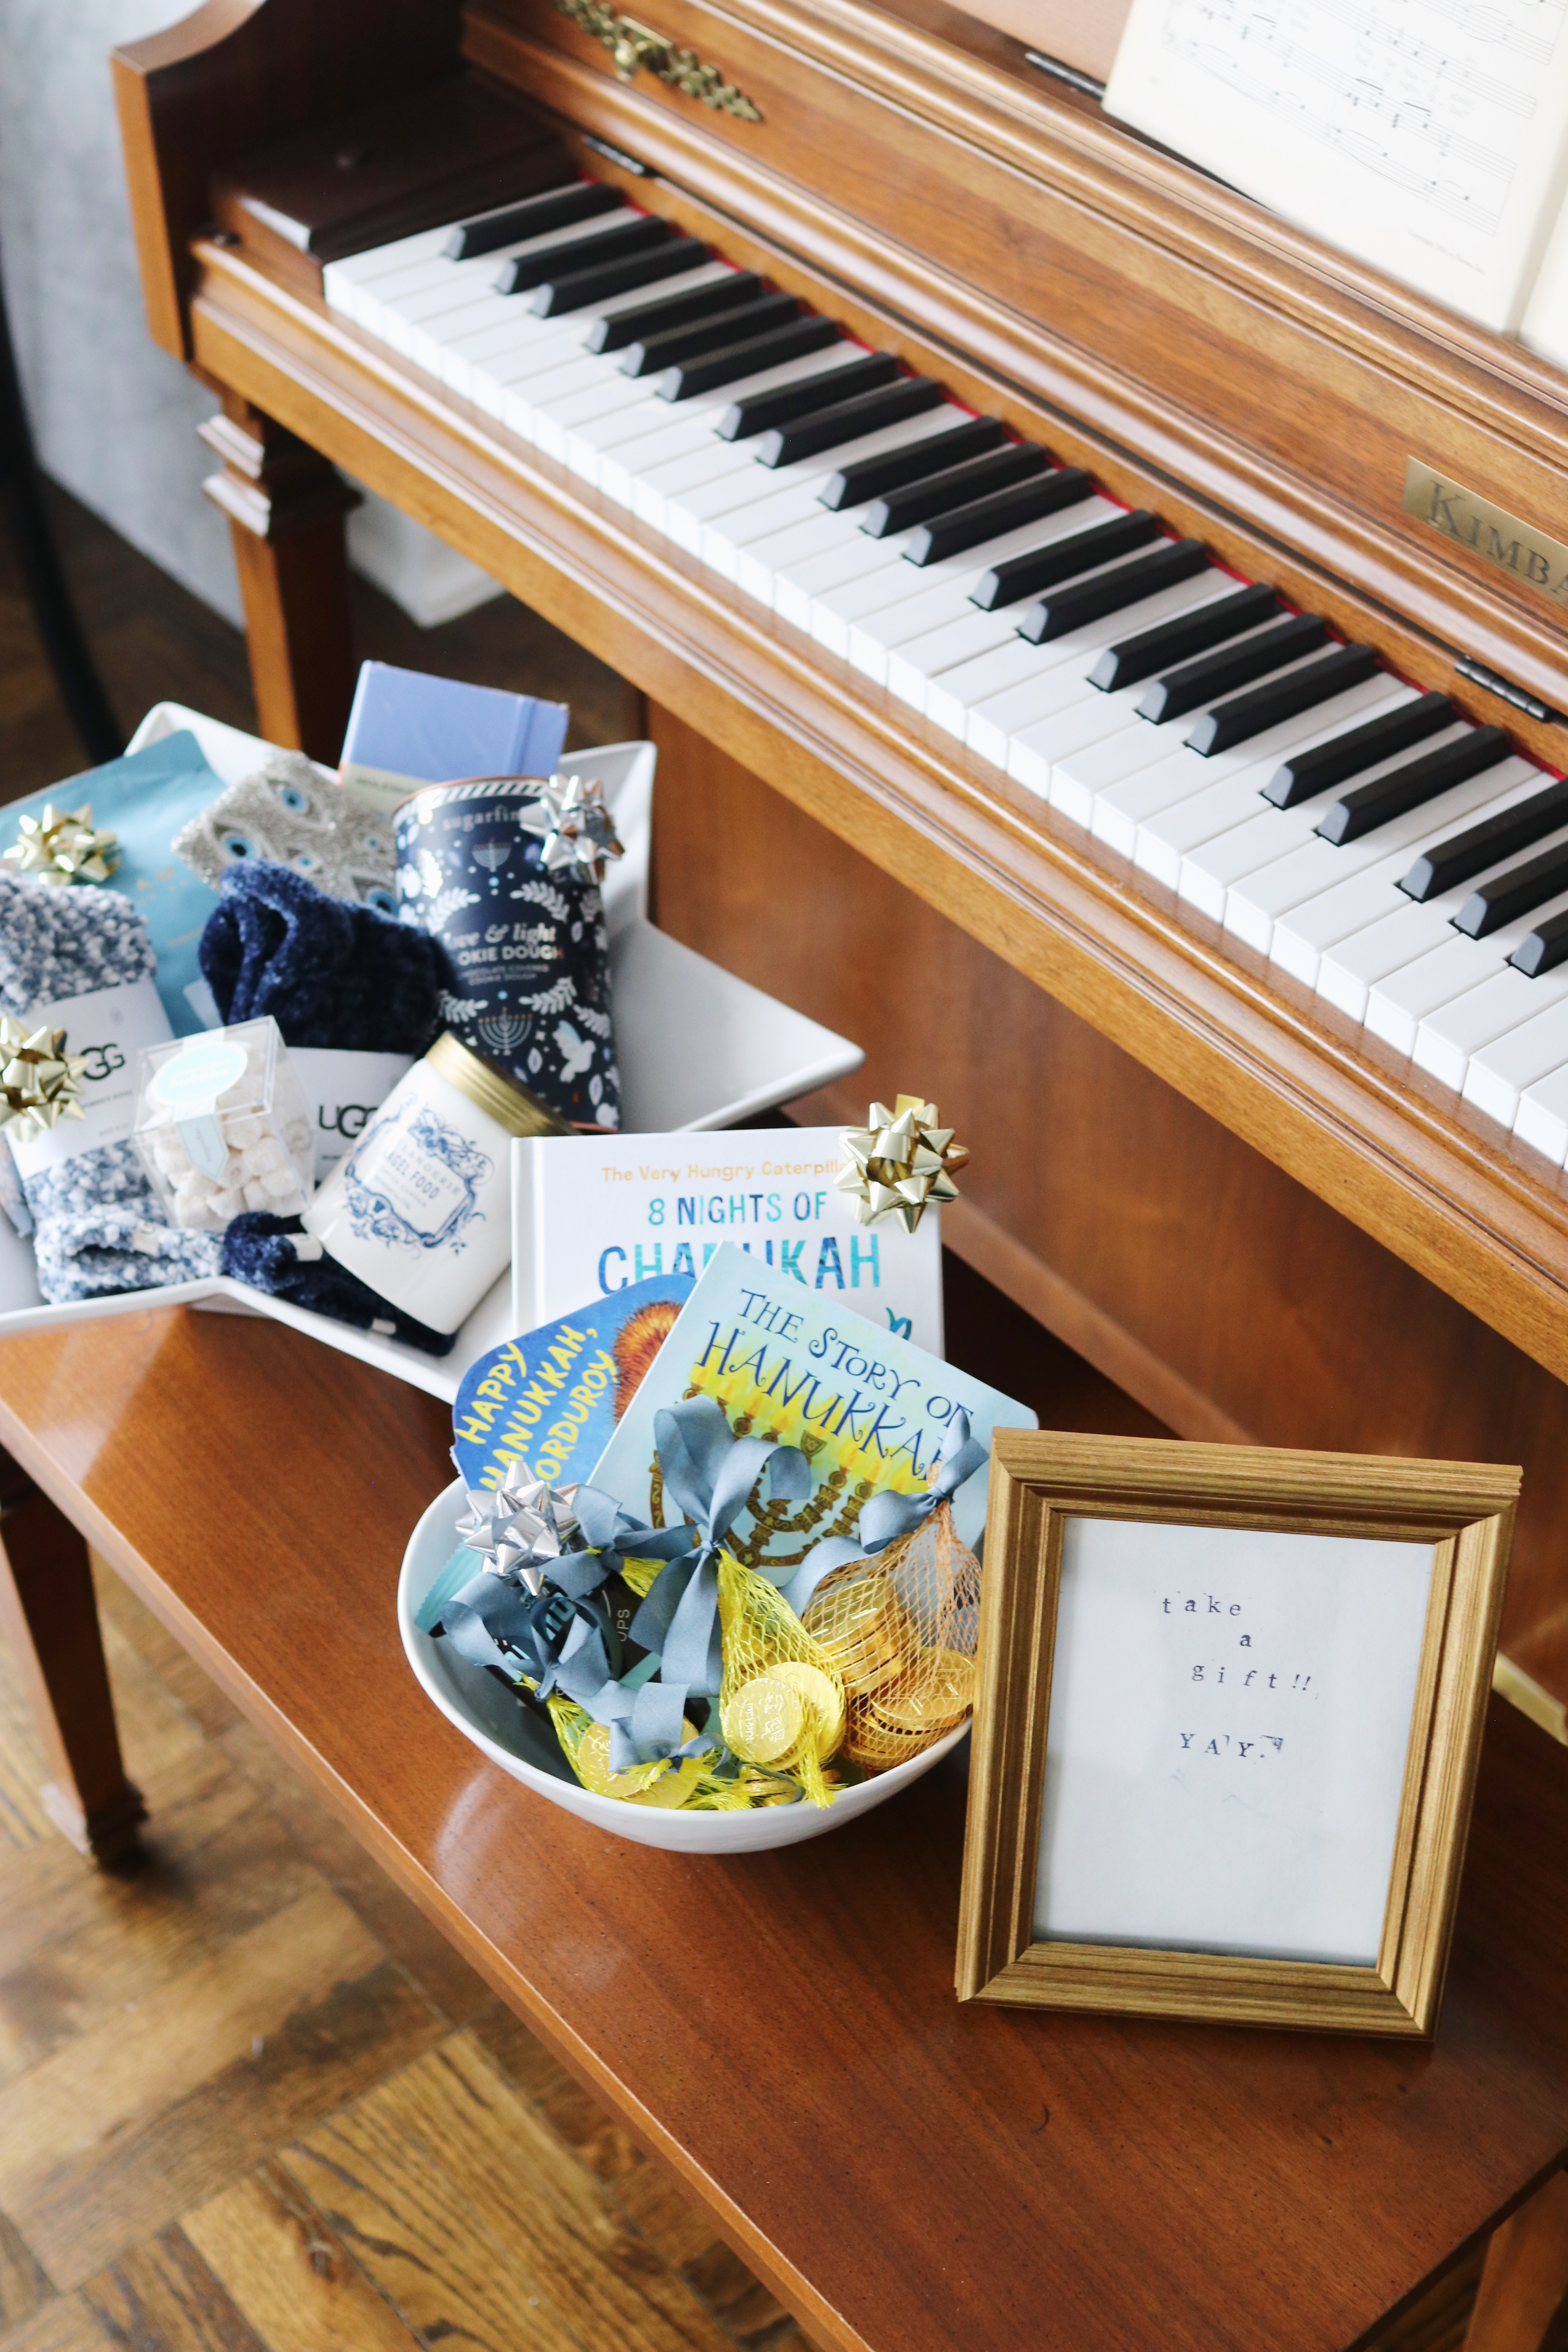
- Star of David bowl (sadly, I think this one’s been discontinued…it’s also from last year via Crate and Barrel)
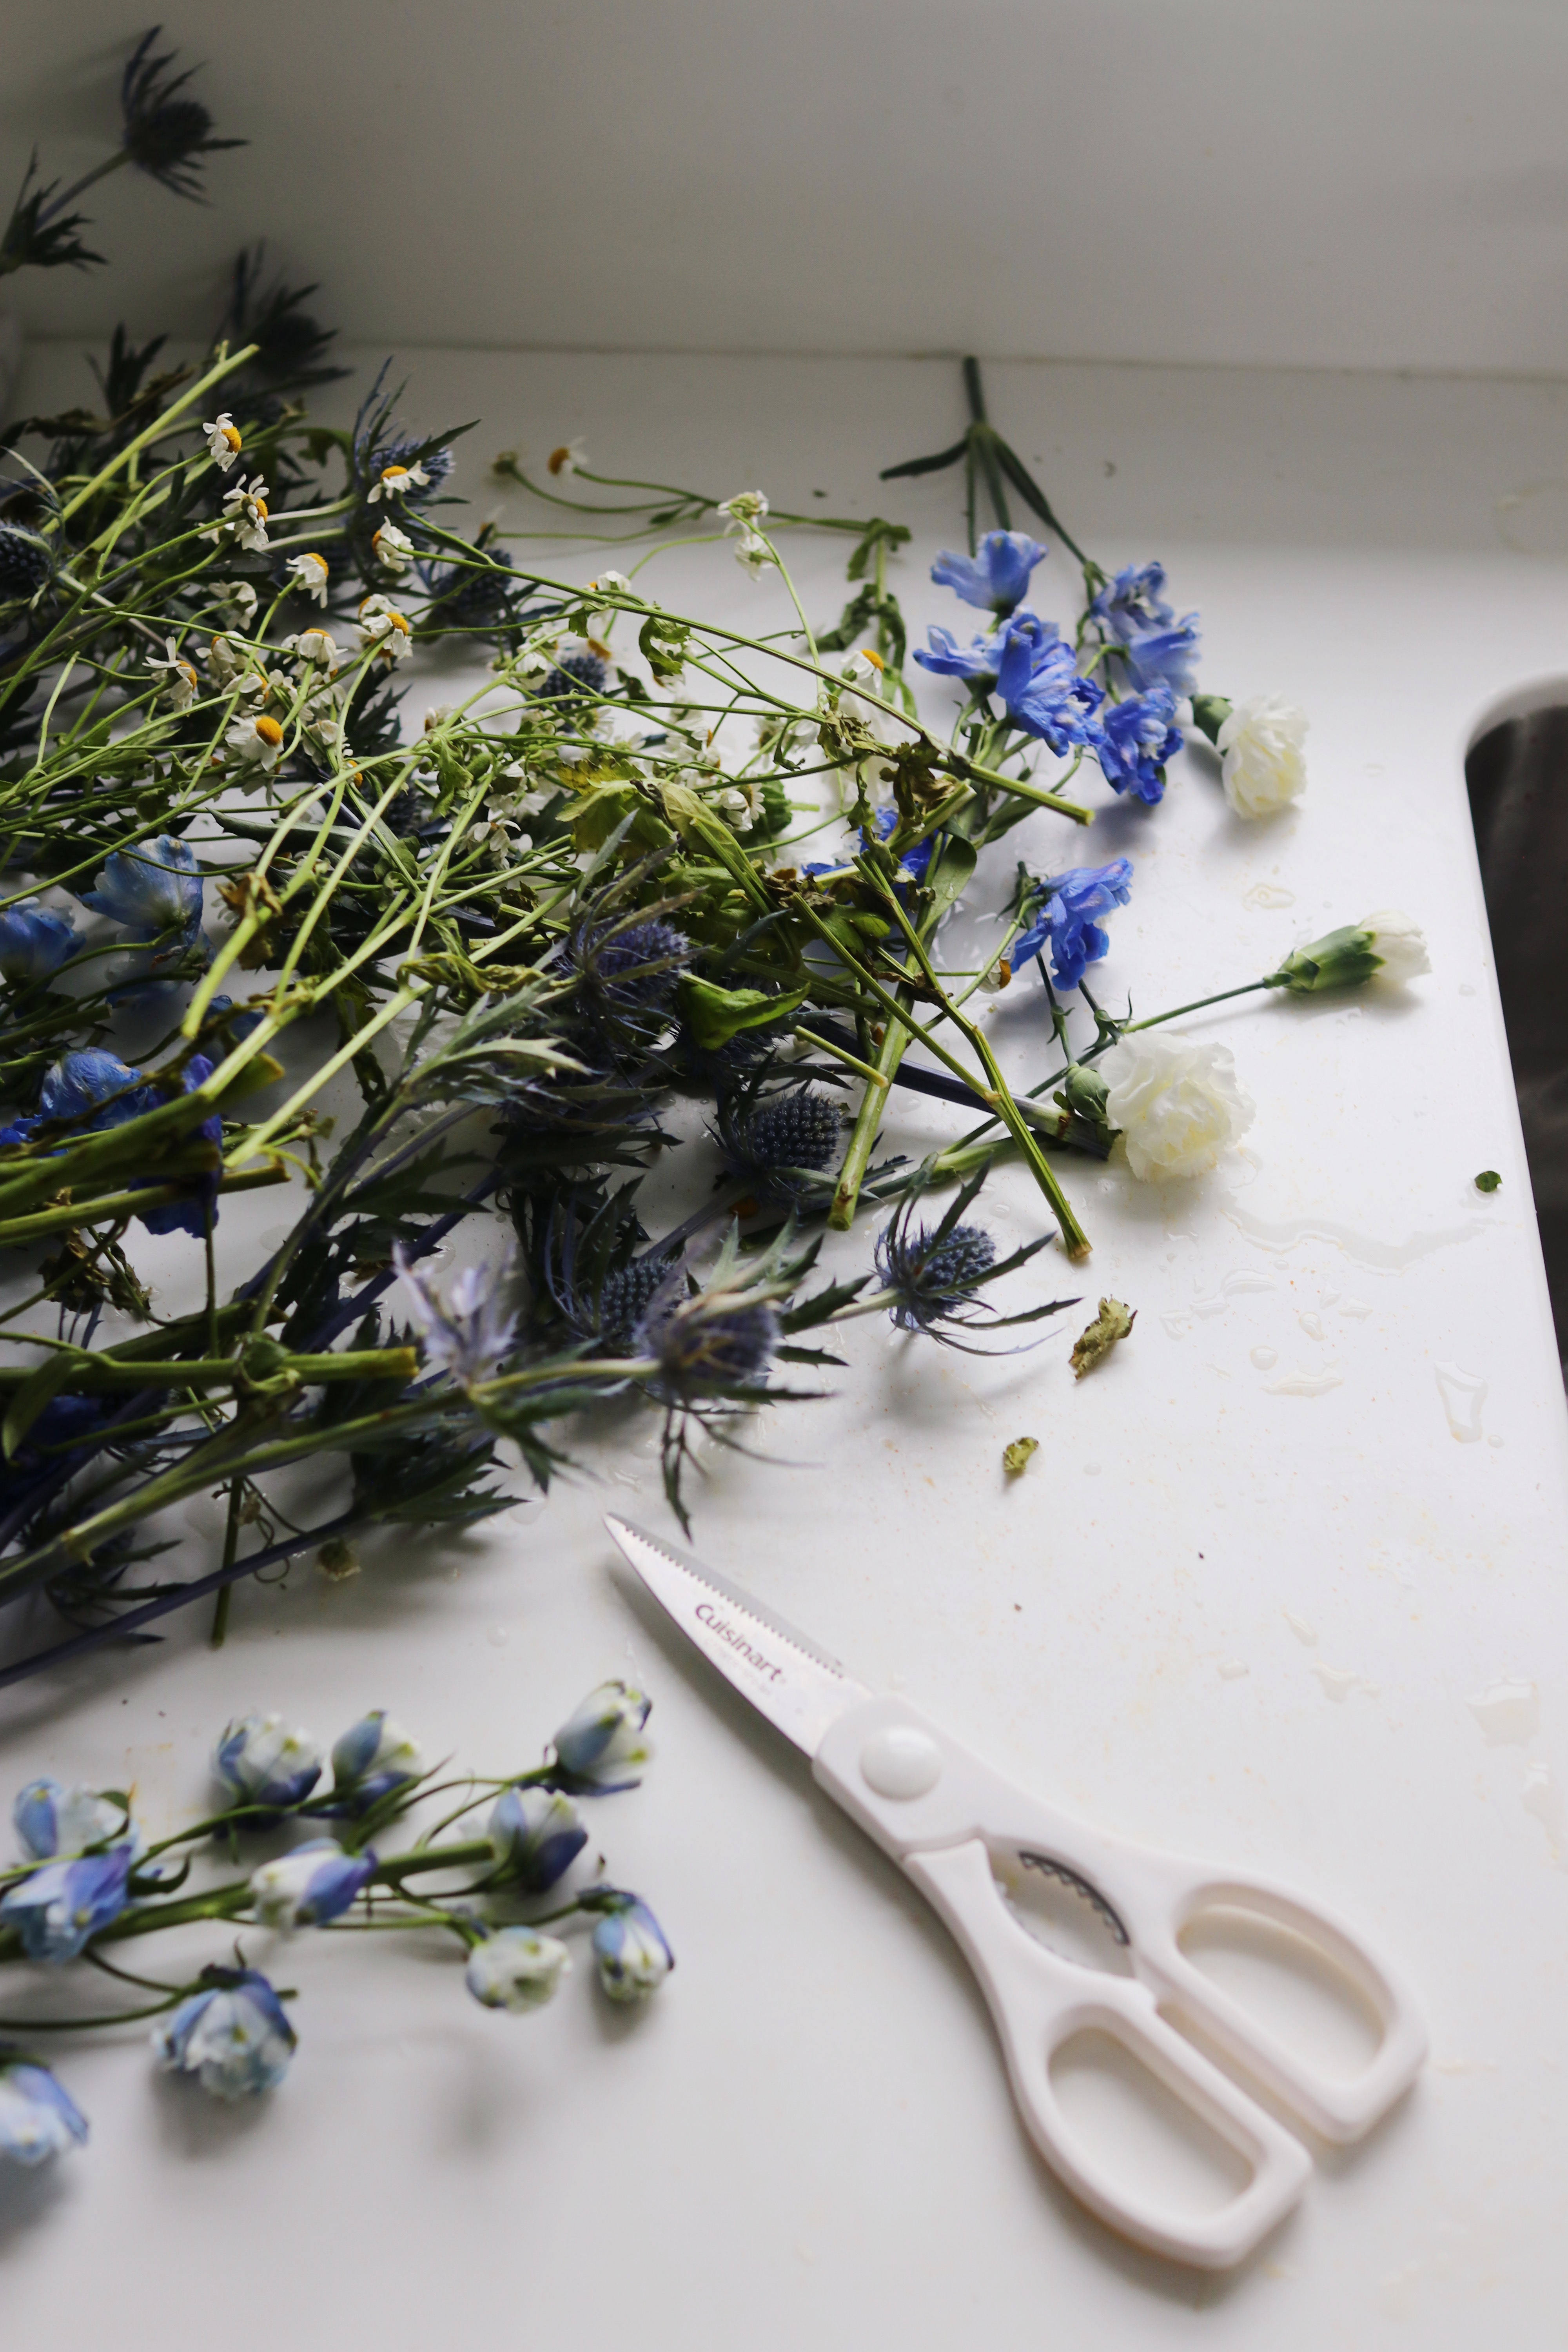
- Afloral vintage-style footed bowl (left over from our wedding! I have dozens of these now and LOVE them so much; they’re all over our apartment)
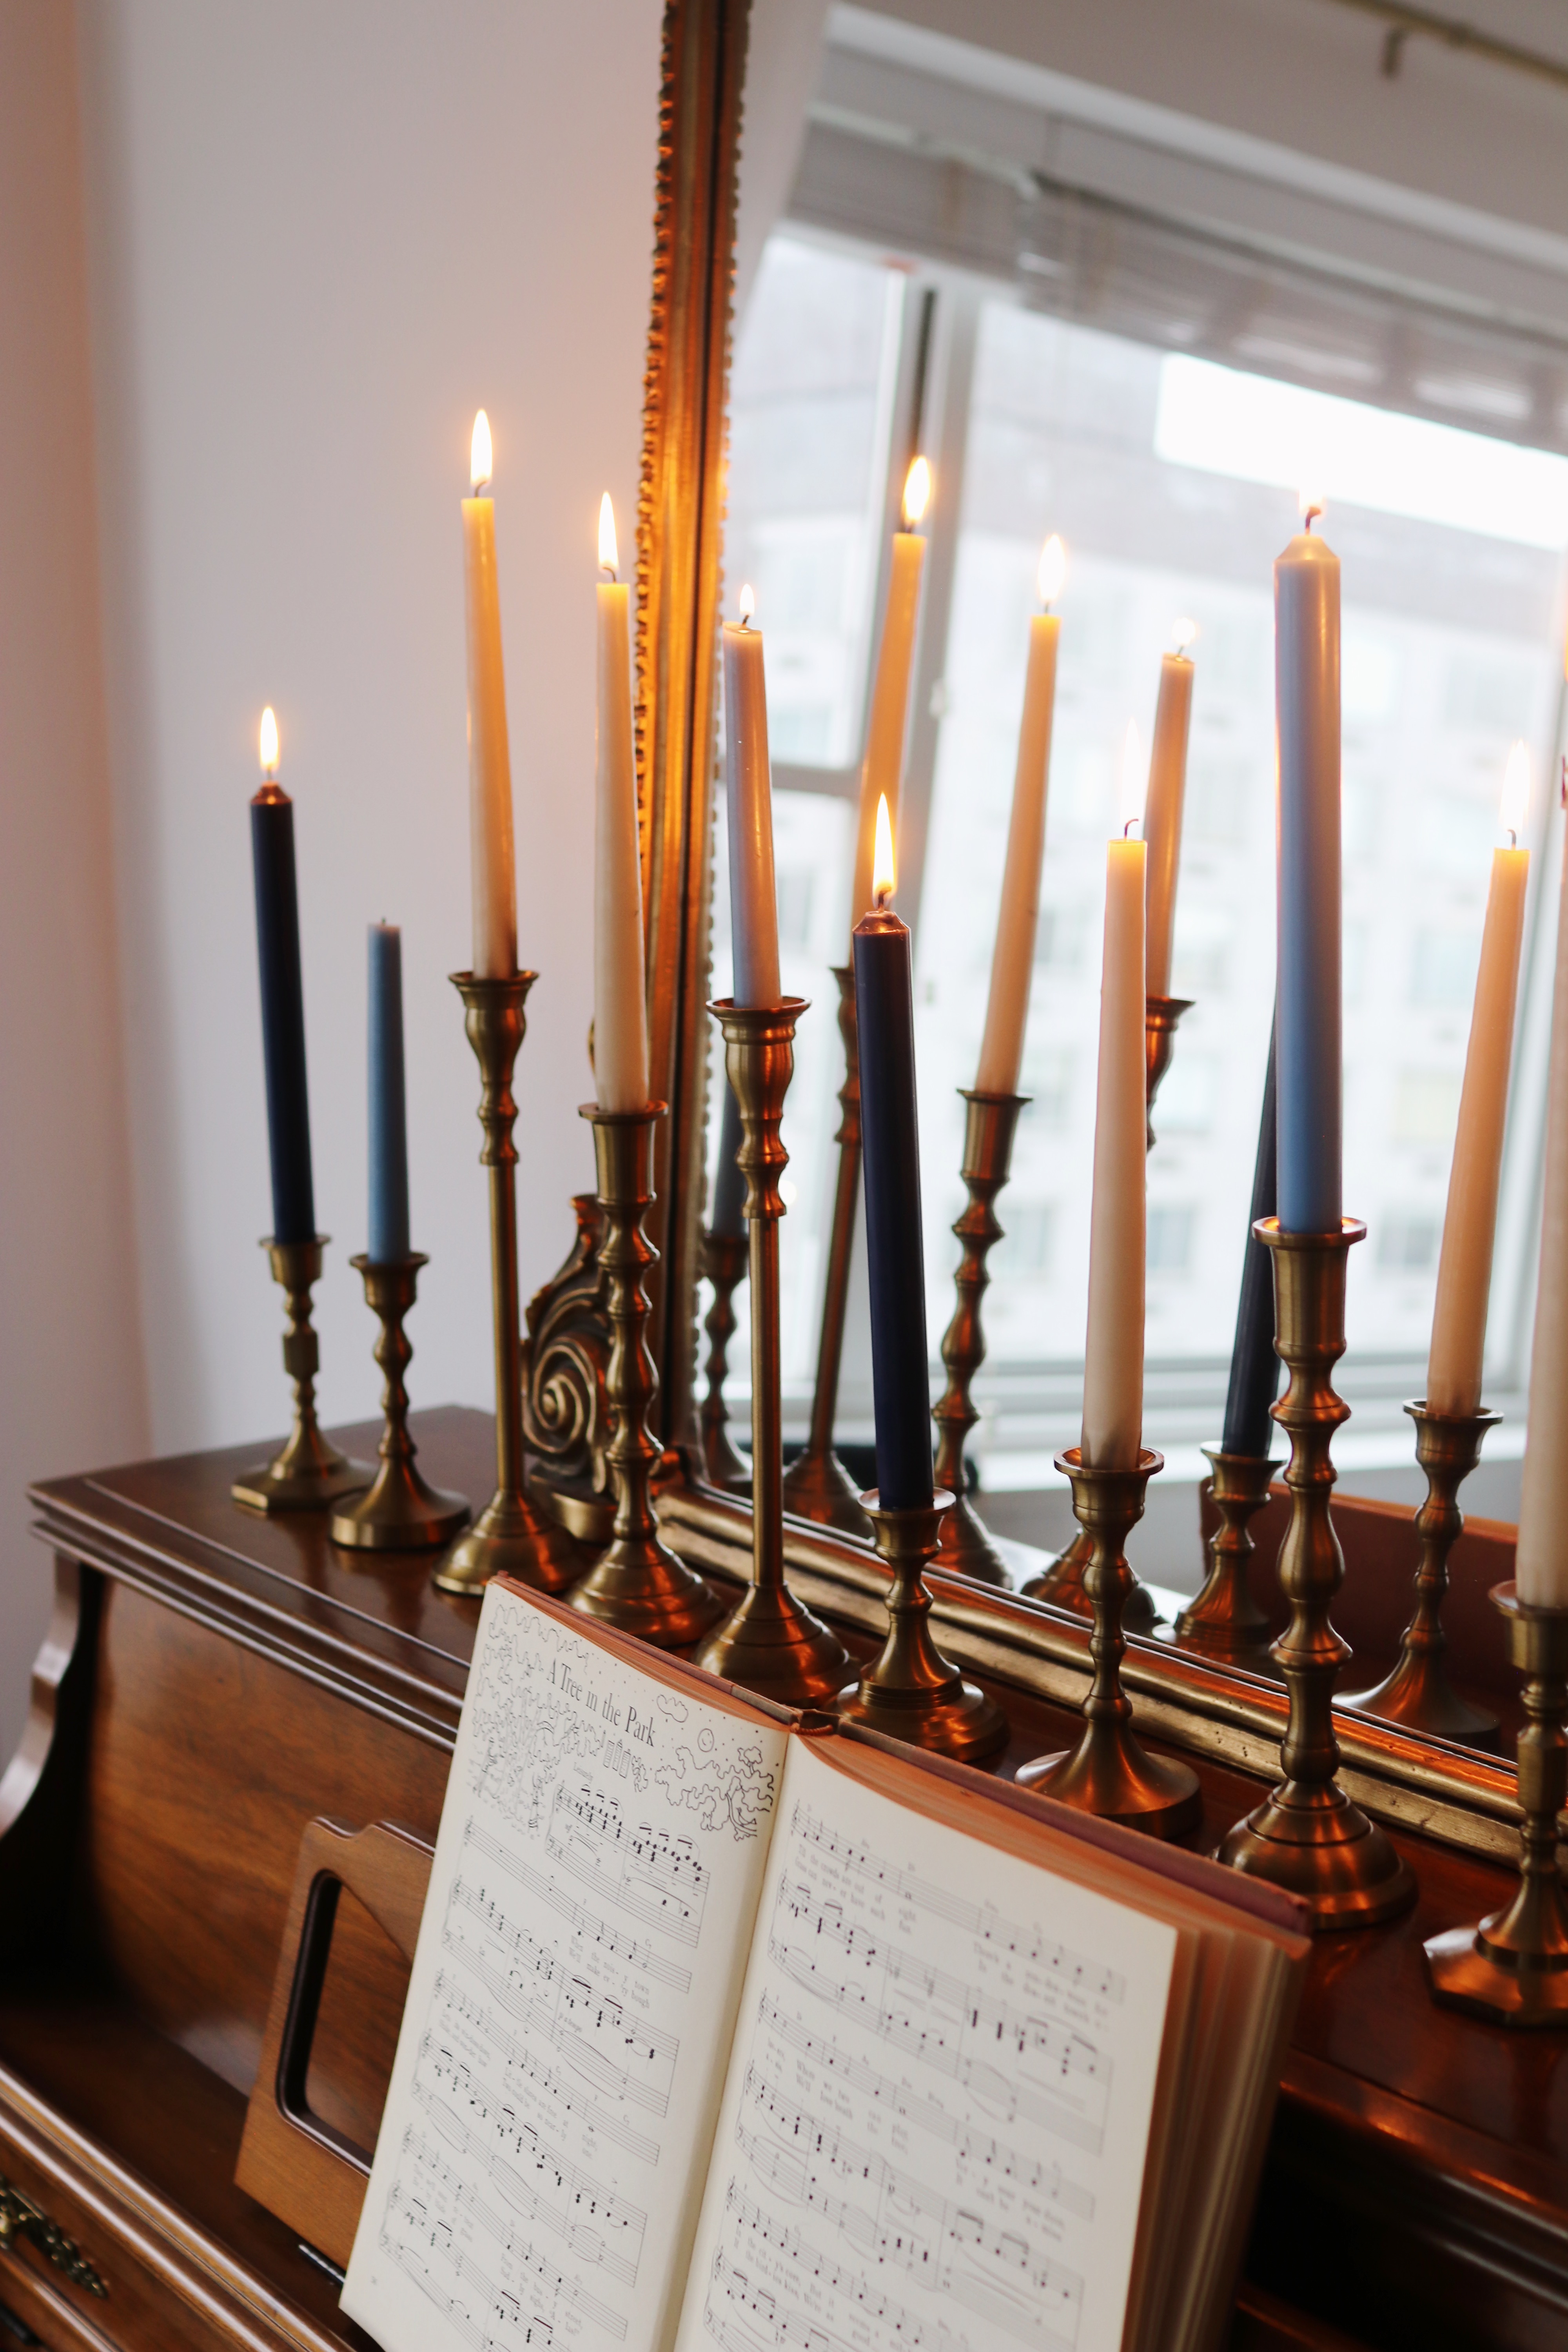
- Candles (the off-white ones are leftover tapers from our wedding; the others are from a party supply store in our neighborhood; search “navy/sky/dusty blue taper candles” and you’ll be able to find dozens of similar options online)
- Mini blue plates (espresso saucers from my husband’s family in Brazil; can’t find to link! Love the idea of using espresso saucers as vessels for smaller items, though)
