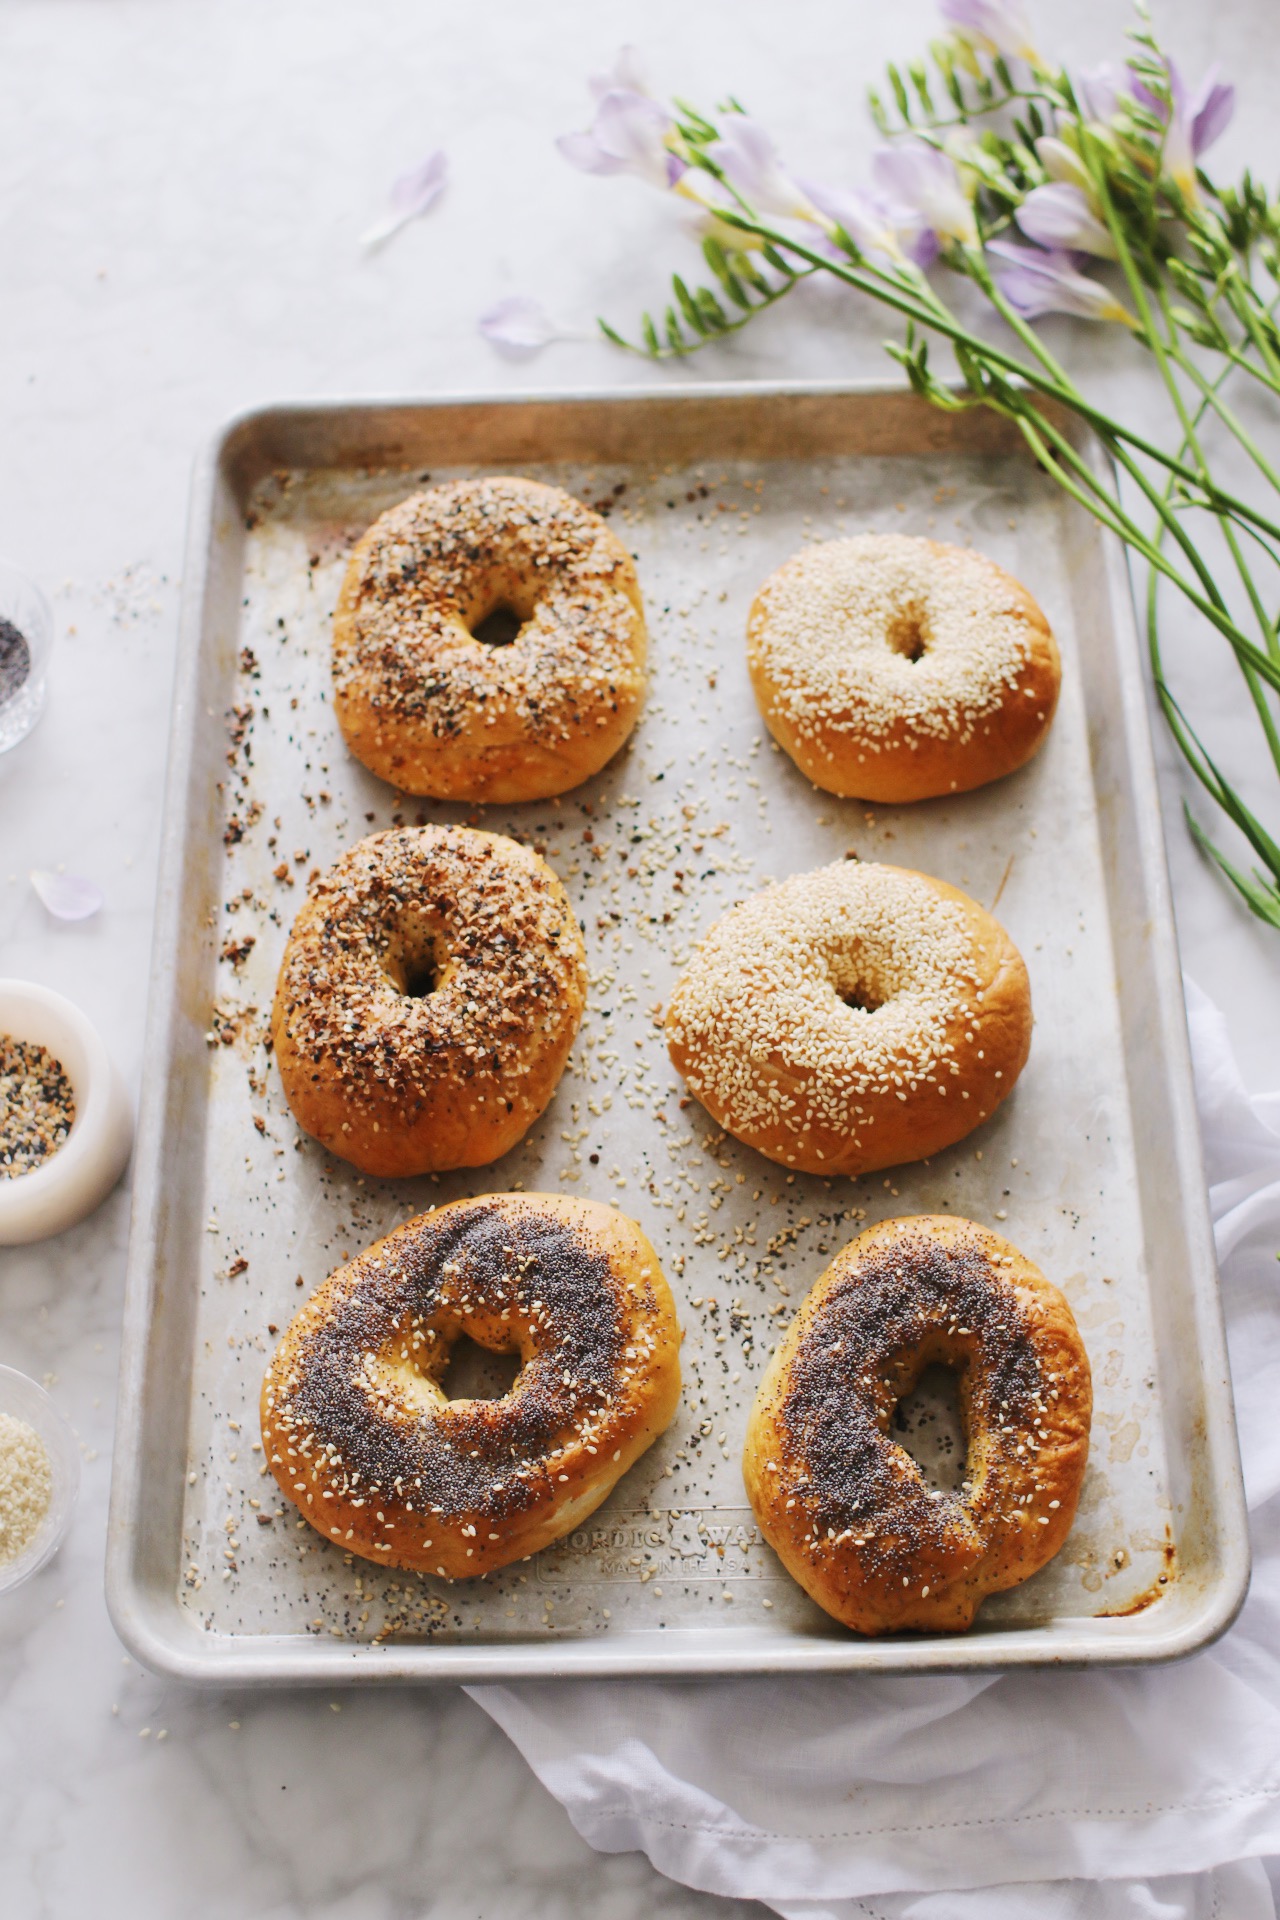
With pride and joy and a very messy kitchen, I am *delighted* to announce the birth of my latest, greatest, shiniest batch of bagels yet. Born April 4, 2021. 4-ish ounces, 5″ inches long, respectively. Er, wide. Er, diameter?
Anyway, they’re here. And oh my goodness, that’s a beautiful, beautiful thing. Because, for starters, I’m not sure my kitchen can handle any more culinary experiments this month. There are poppy seeds behind the fridge. Puffs of flour perpetually in the air. Bagels stuffed into every corner of my very tiny freezer.
But this is also a beautiful thing because…I think I got it. By George, I really think I got it.
(Okay, pause, now we all have to listen to this number from the Original London Cast Recording from 1959 because it’s the best. While we’re at it, might as well listen to the overture. And that Embassy Waltz bonus track? Are you KIDDING me?!?? Meetcha back here in a sec.)
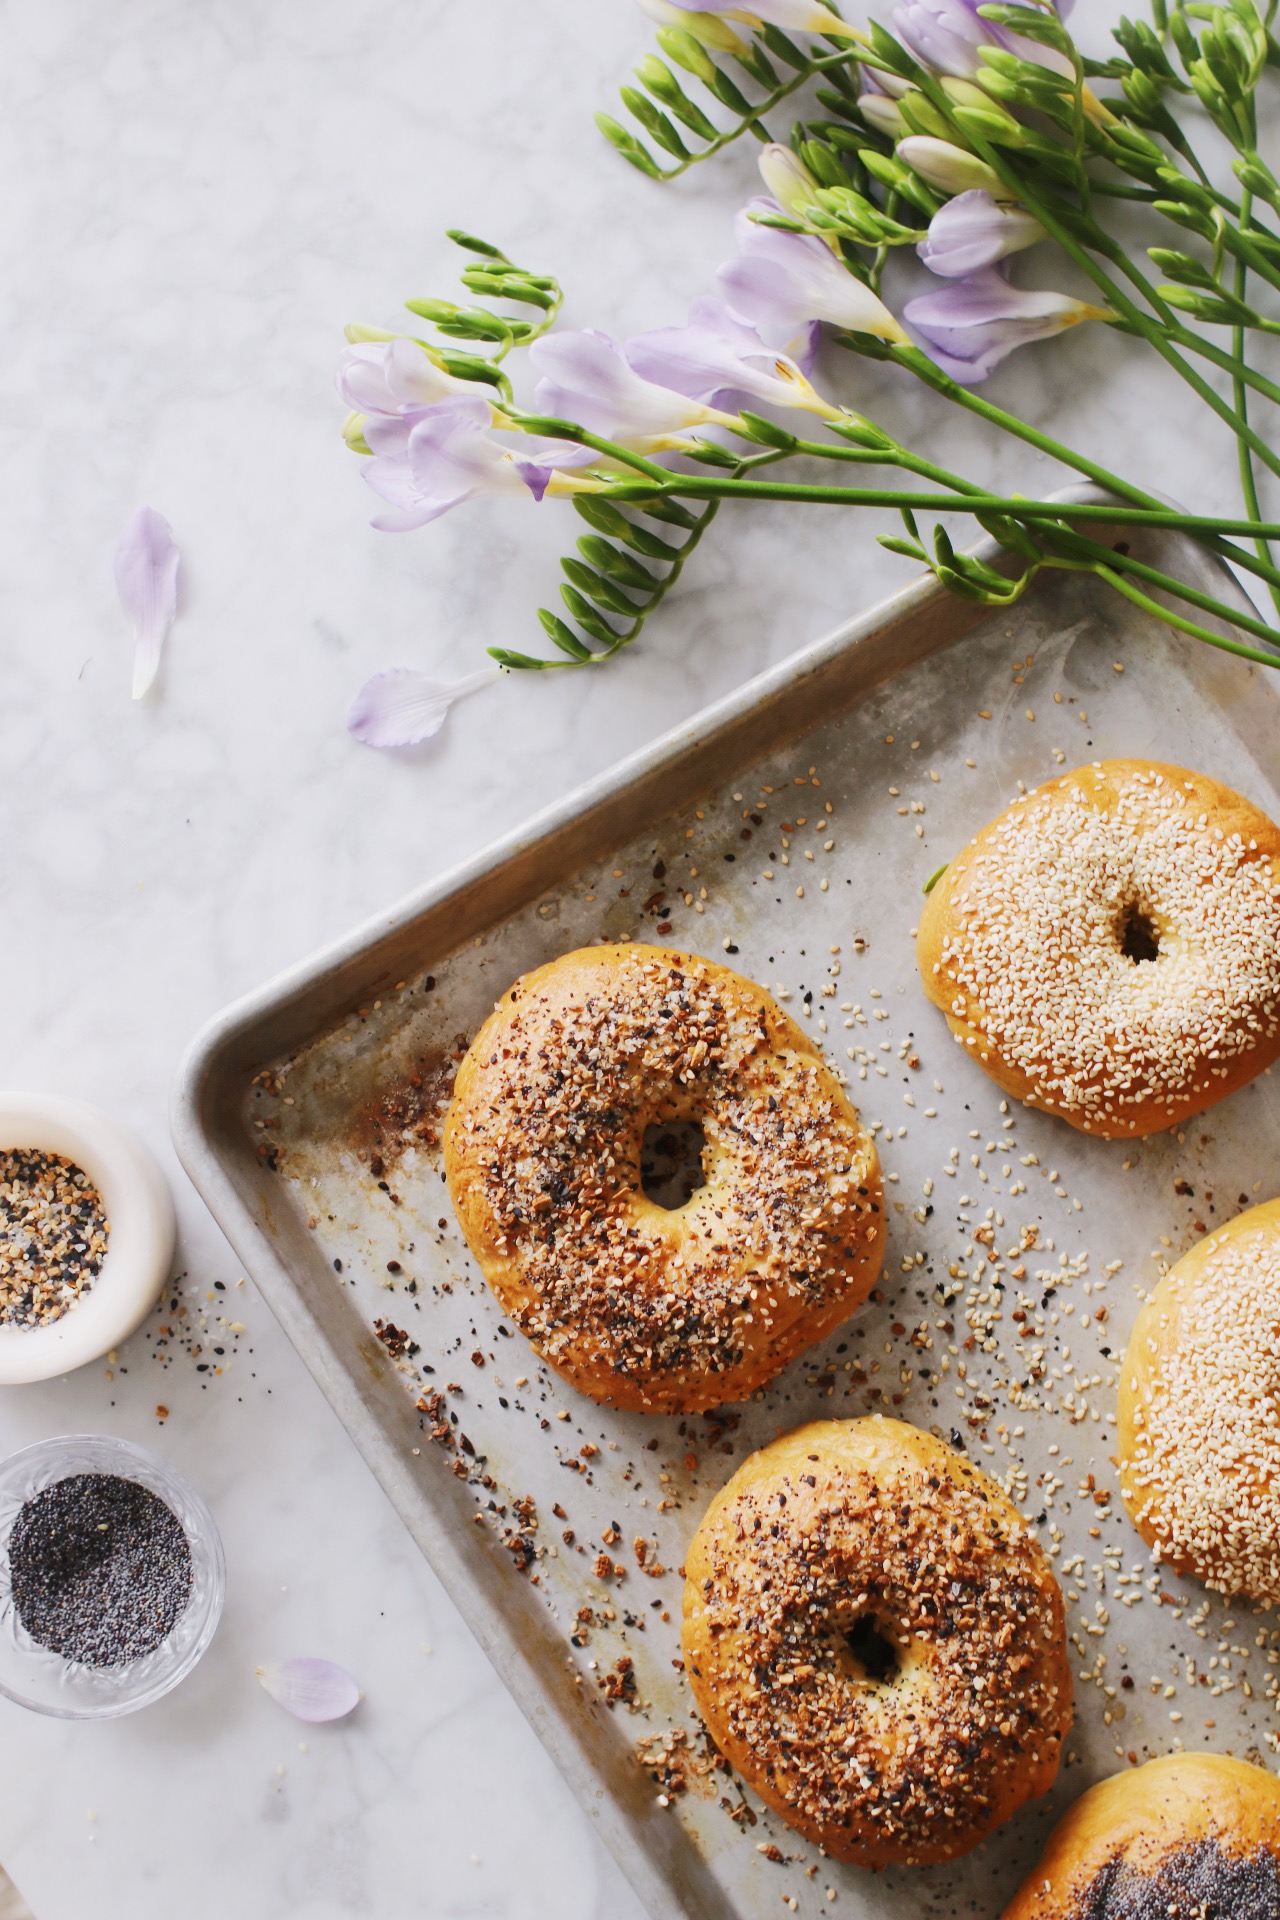
As I was saying, this is IT. The chewiest, dreamiest, most classic, absolute best New York-style bagel recipe around, and the whole thing comes together in one morning (no waiting around overnight!), and the results don’t just taste good—soft and pillowy inside with a shiny, golden, barely-there crust—but they look good, too.
Of course, Rome wasn’t built in a day. Let’s just say…it’s been a journey getting here. A carb-filled, history-laden, schmear-covered journey that involved many, many packets of yeast and many, many trips to Zabar’s for extra-thin-sliced Nova.
But now, this bevy of hole-y beauties is here. And it was alllllll worth it.
*collapses*
I get asked all the time for a homemade bagel recipe (specifically, an easy, make-it-in-one-day, true-to-New-York bagel recipe). But I’ve always put off sharing my own because, well, I never had my own. The way I think about it is, if you’re going to go to the trouble of making your own bagels—a several-hours-long affair, and that’s not counting poppy seed clean-up duty—the results should be at least on par with your local bakery or bagel shop or deli. Otherwise, WHY oh why would you wake up extra early on a Sunday morning?
But!
Recently I’ve been feeling even more romantic about my beloved Upper West Side, both because I just passed my 10-year anniversary of living here (with a brief 2-year move downtown, but never mind that), and because…well, actually, I’ll save that second piece of news for another post. How’s that for burying the lede? Just take my word for it, though: It was the right time to figure out the bagel situation once and for all.
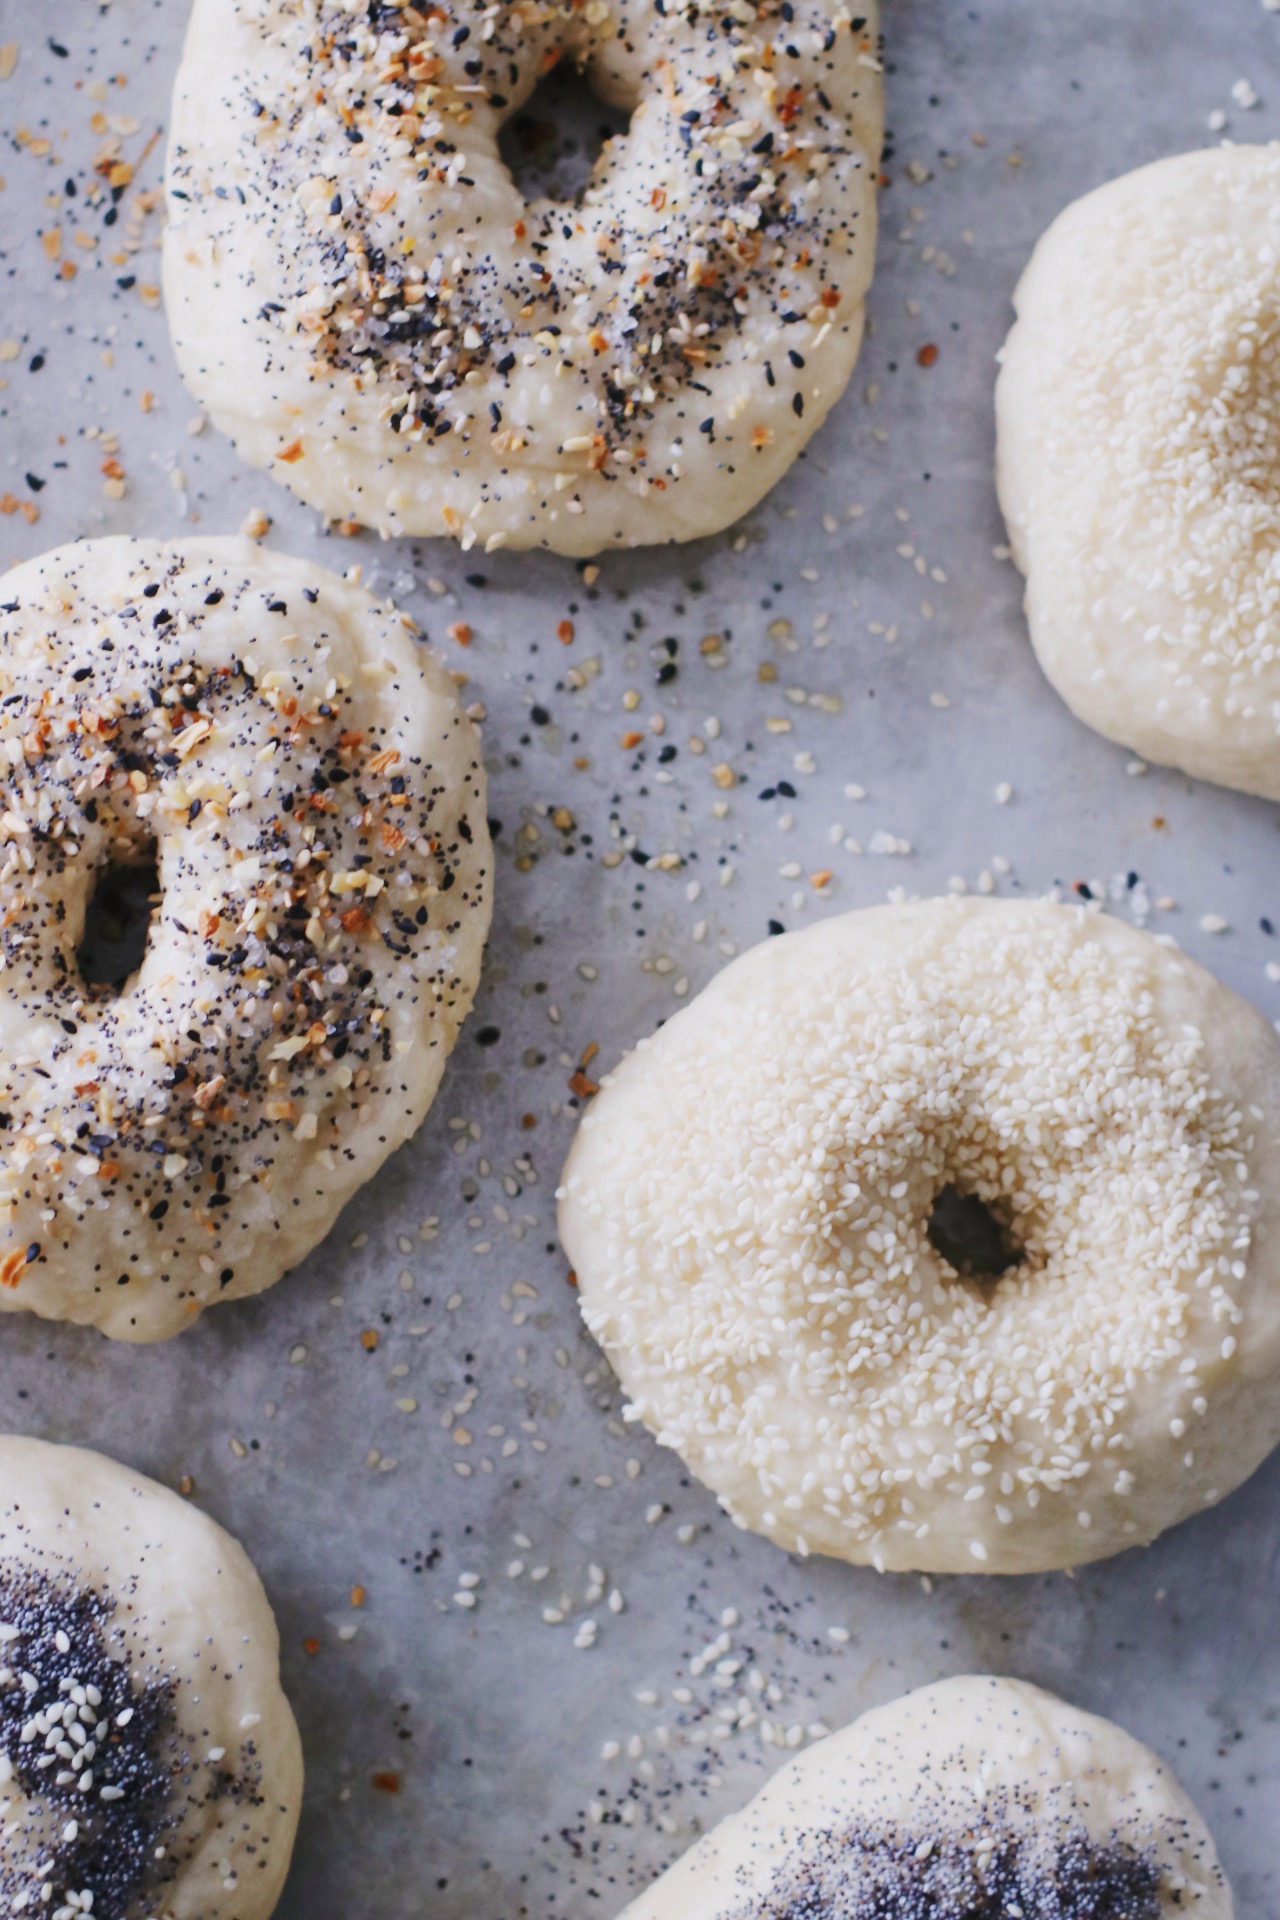
So! I did a little research, ordered about 9370845 packets of yeast, and got to work. I tried fast bagel recipes, slow bagel recipes, easy bagel recipes, not-so-easy bagel recipes. I experimented with barley malt syrup and brown sugar and molasses. I took bite after bite after bite. (And zipped through Julie Andrews’ entire discography while I was at it, mind you.) (That’s a hefty discography.)
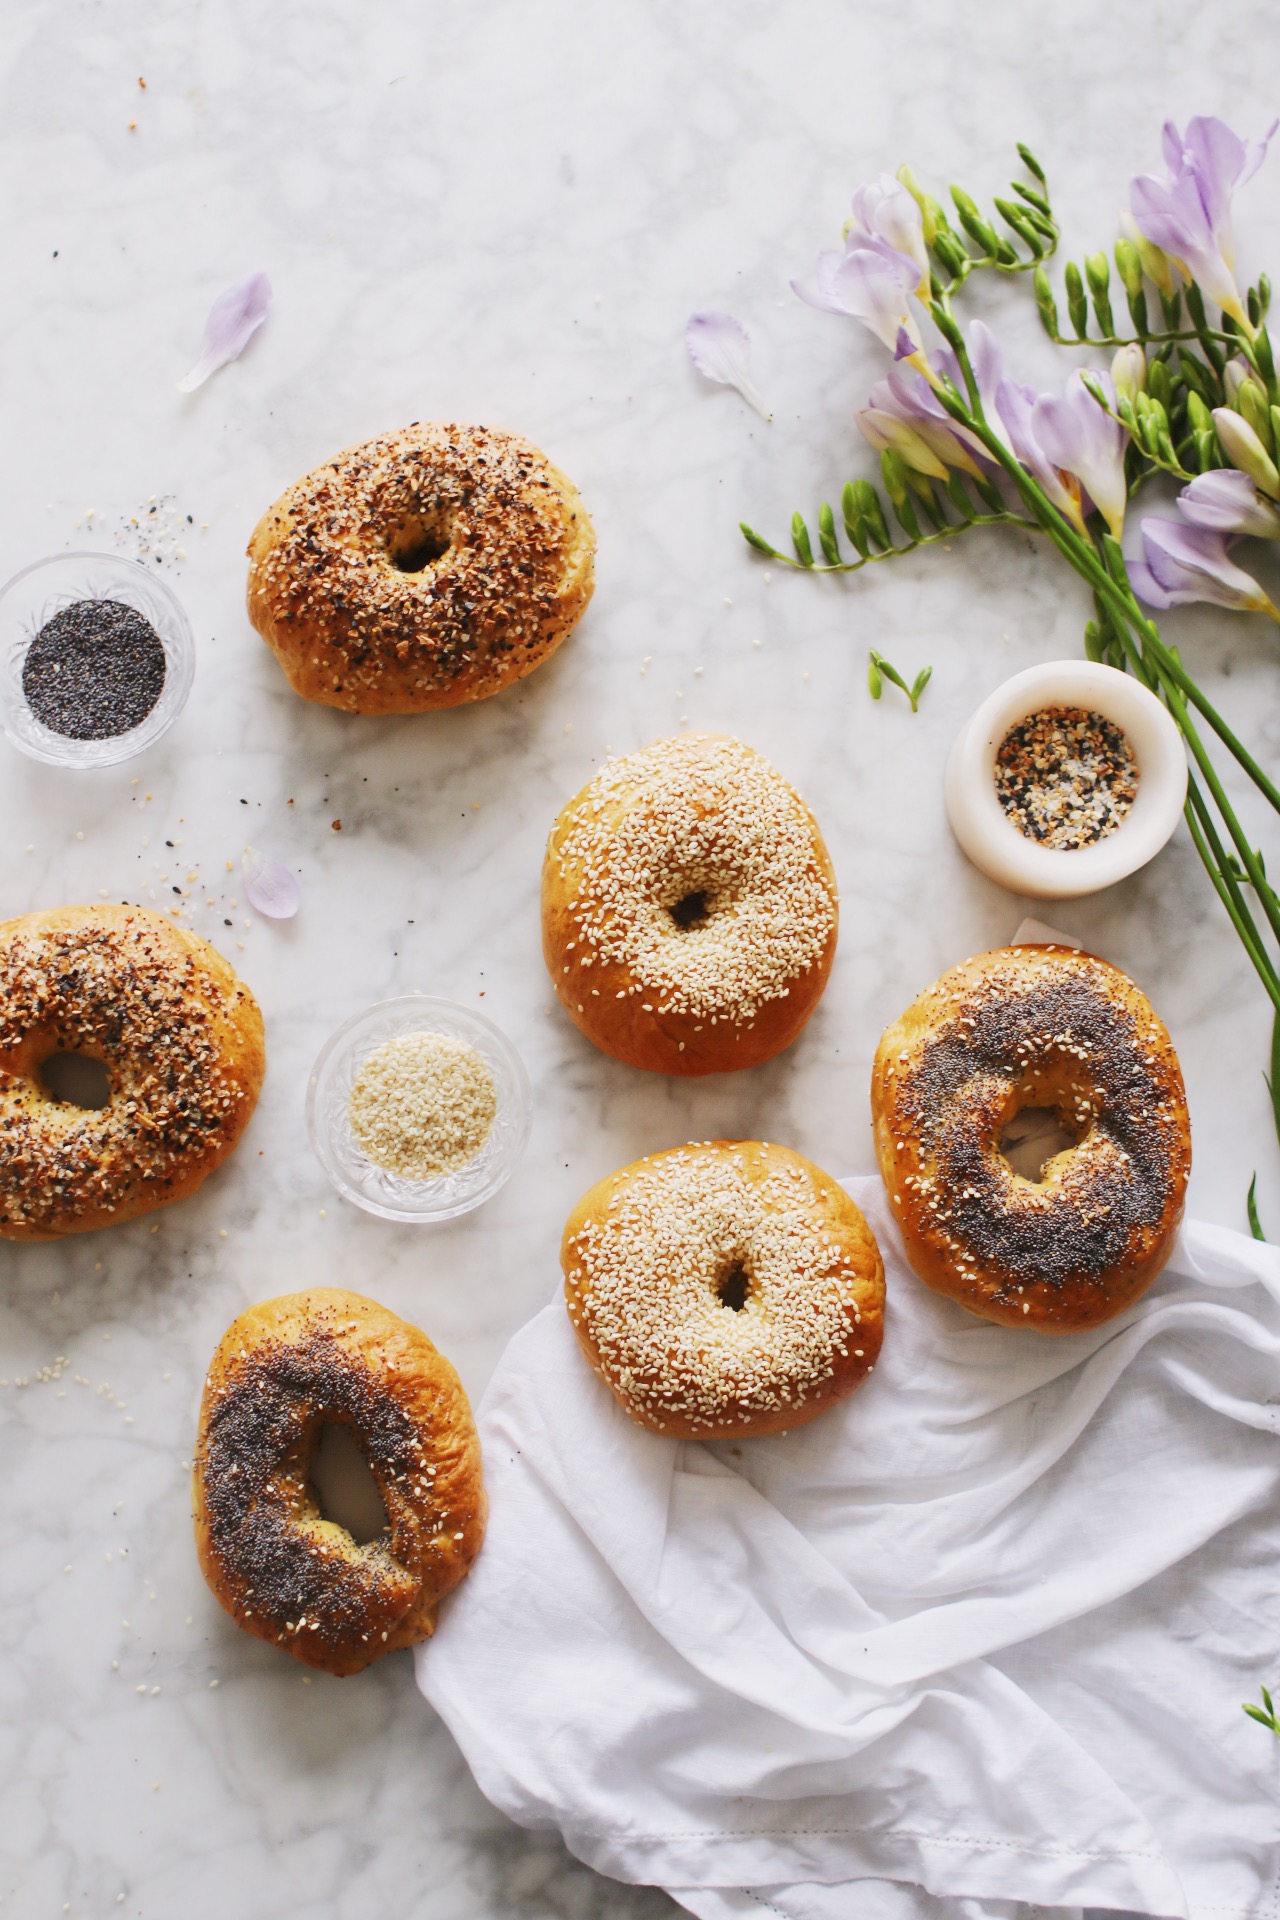
The following is my tried-and-true conglomeration of the various tips and tricks and ingredients that worked well for me, plus a smattering of Rebekah-ified additions because, well, that’s the fun thing about having your own blog. You can smatter things.
I recommend reading through the entire recipe and the notes below before getting started, just so that you don’t find yourself saying, “Oh, that step probably doesn’t matter so much,” and ending up with your apartment on fire and misshapen bagels flying to and fro. Of course, a bagel is a bagel, I say. It’s more the apartment-on-fire situation you want to avoid.
In any event, some notes (will continue to update this post with FAQ I receive over the next few weeks):
Knead until you can’t knead anymore. The biggest difference between my recipe and others on the internet is the kneading time. Don’t run to get your glasses, now; you’re reading it correctly already. Yes, I’m asking you to knead them dough by hand for 20 minutes minimum. Yes, that’s a very long time—and you’ll be surprised at how much extra flour you’ll be able to incorporate during that time. And if your physique is anything like mine (petite and, um, sort of lacking in upper arm strength), you may have to knead for even longer (up to 30 minutes). But I cannot stress this enough: the kneading is crucial. It can’t be skipped. So turn on your favorite album from the very beginning, pour yourself a cozy mug of hot chocolate, and have at it.
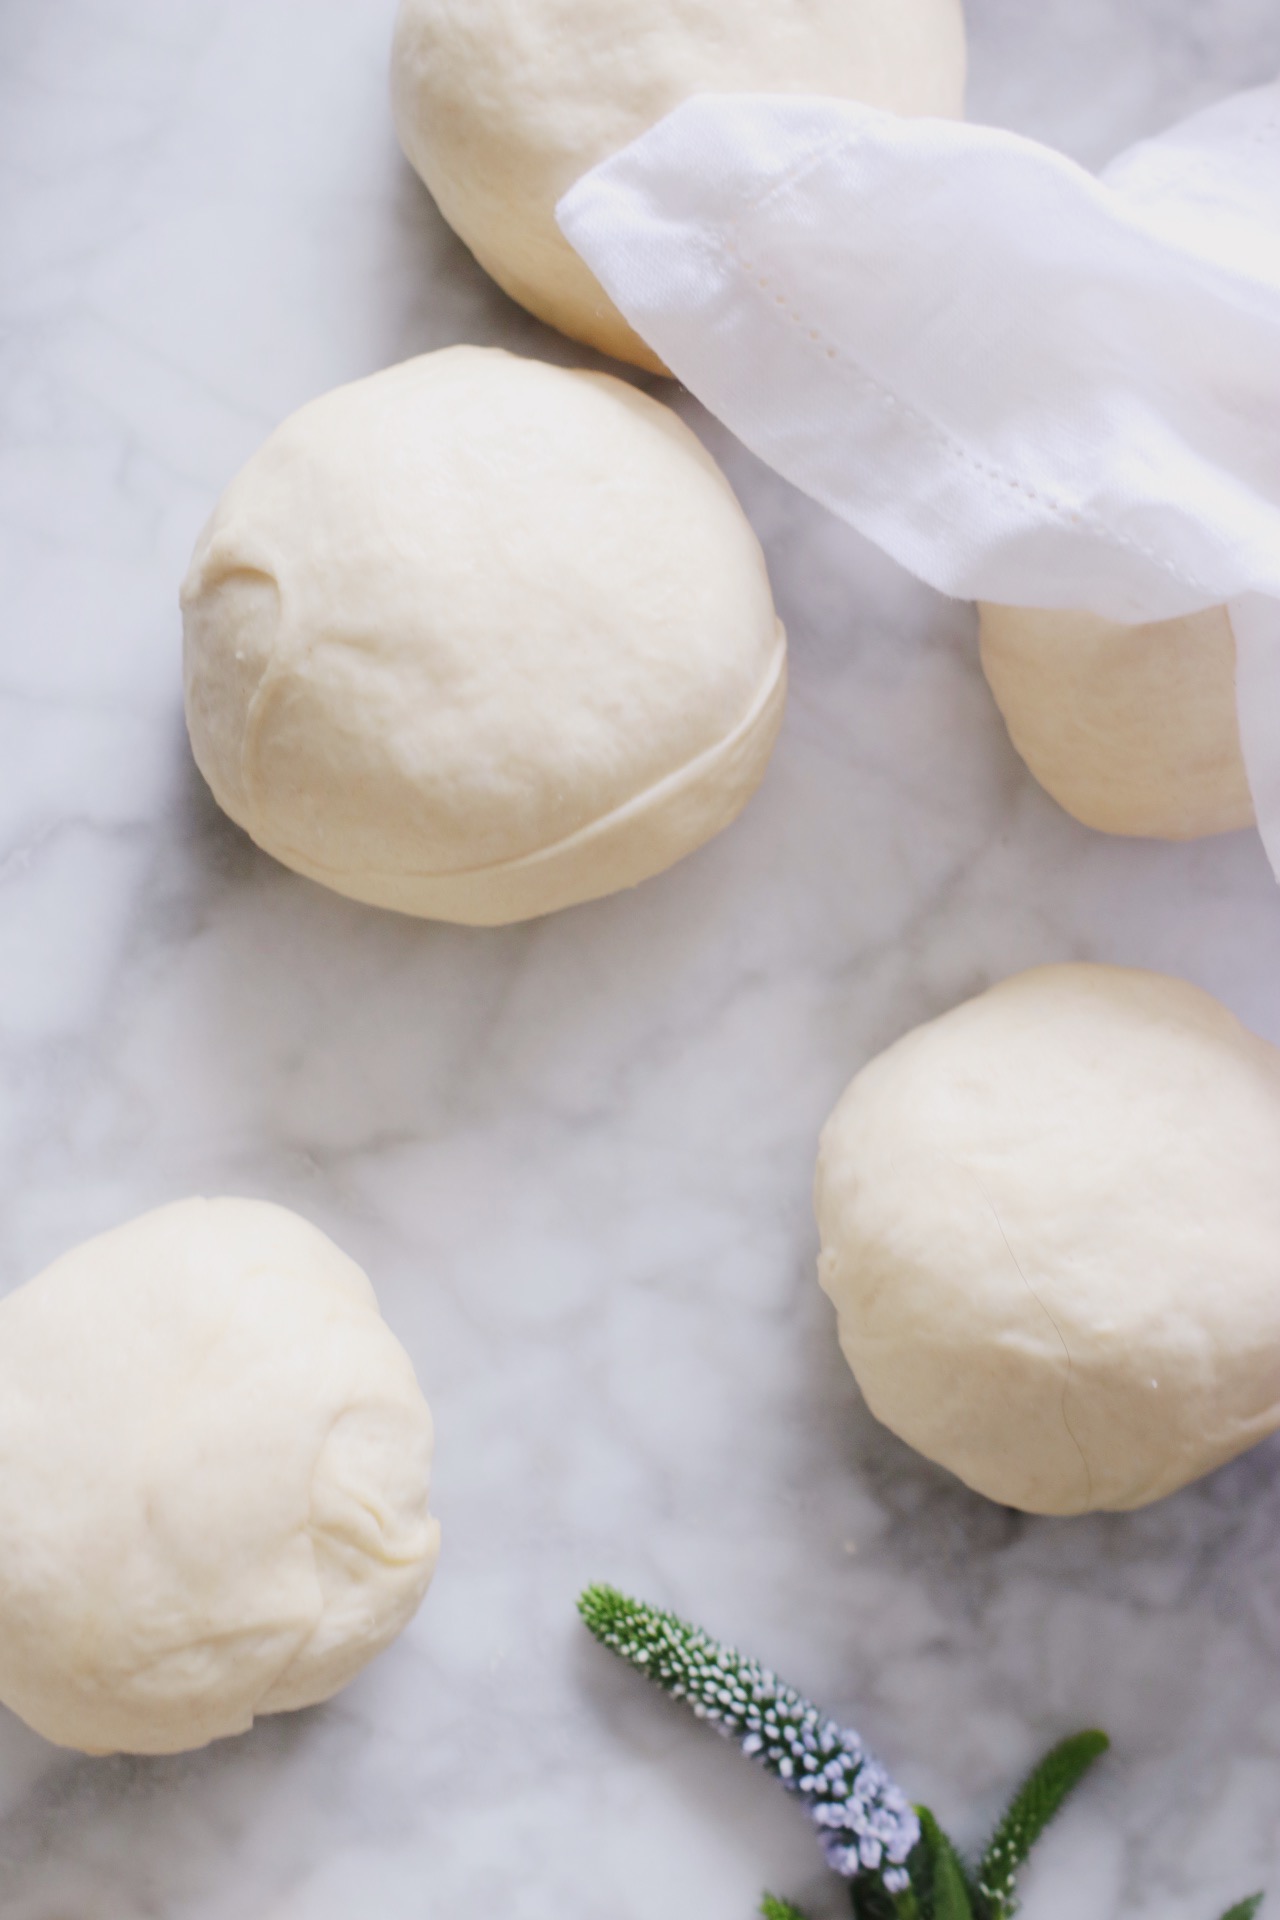
Why the extra-long kneading time, you ask? Because that’s what will end up giving your bagels such a pretty exterior. You’ll know you’re done kneading when the ball of dough is completely smooth on top—no little pockmarks, or “tears,” or little openings that give way to moist, tacky dough layers. “Soft as a baby’s bottom” isn’t really an idiom I’m into, personally—it’s not exactly the most appealing turn of phrase—but there’s no other way to put it. When the dough is ready, it’ll feel baby-level smooth.
So I BESEECH you, friends and readers and randos alike: Don’t give up when it’s 80% or even 85% there. With just a little more elbow grease (literally), perfect bagels are within reach.
(P.S. Yes, you can use a stand mixer with a dough hook, but you’ll still have to let it go for at least 10 minutes. I personally prefer to do this part manually to really get a feel for the dough and how much extra flour I should be adding, but many people do opt for mixer assistance.)
Trust your gut. In my personal and professional life, I’ve always disliked this advice. I don’t know about your gut, but my gut has a tendency to blurt out unhelpful things, like, “Run away and live among the wolves.”
HOWEVER.
When it comes to bagel-making, this guidance is spot-on. Don’t be shy about looking at your dough, and determining instinctively that it’s too wet or dry, and adding more water or flour during the hydration and kneading processes, respectively. I note this in the recipe, and it’s especially vital when you’re kneading—you’re going to have to keep adding more and more flour until you reach that nearly perfect, super smooth look. This is the kind of project that requires you to look up from the written steps, really observe your particular dough, and decide how much of the extra ingredients to include based on your specific baking conditions (altitude/temperature/flour brand).
But you absolutely do not have to be an expert to do this. It’ll come naturally to you. I promise.
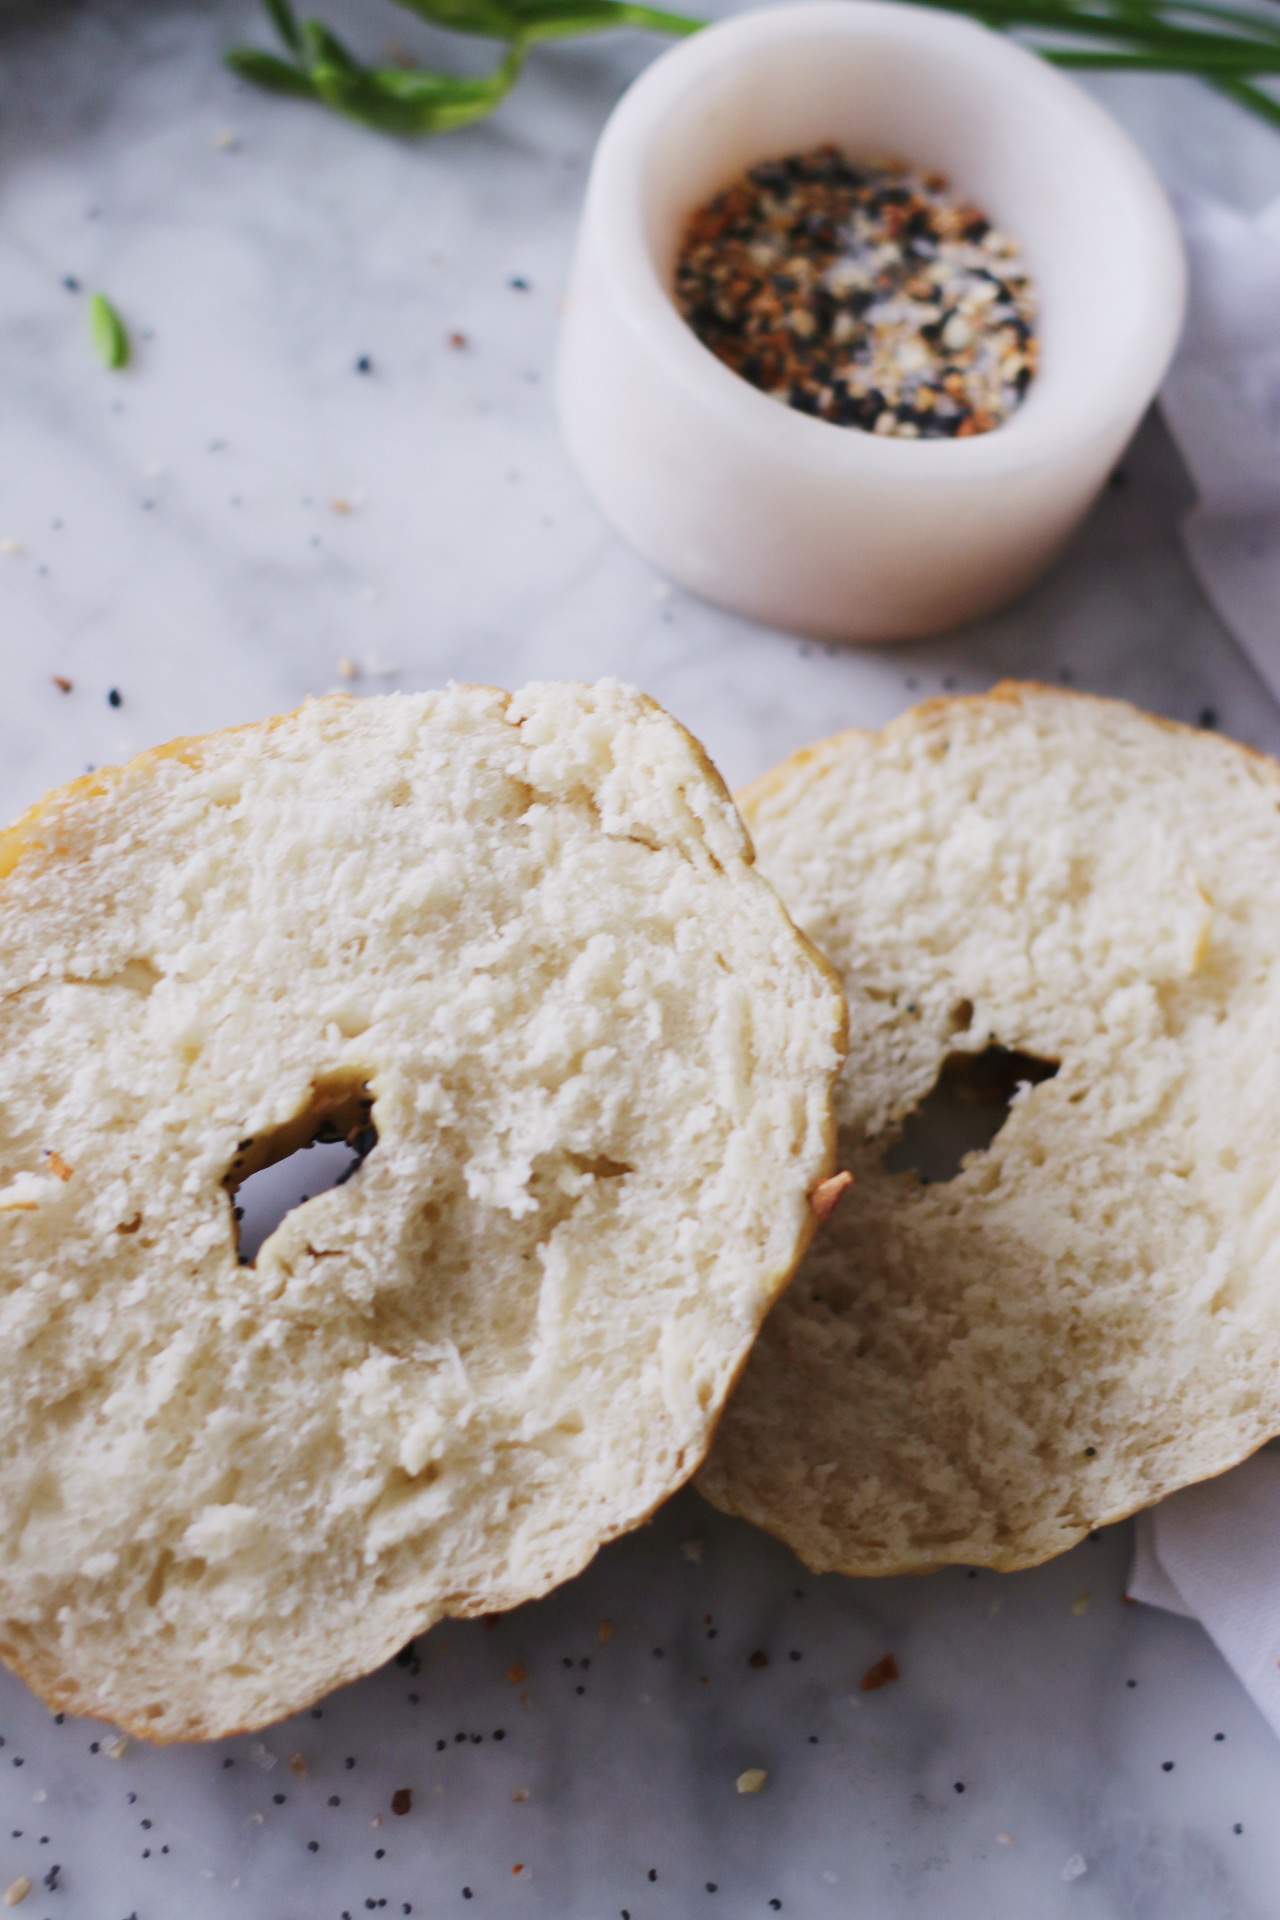
No barley malt syrup for me, but it’s more of a personal thing. I decided against including barley malt syrup in my recipe because I think that would deter too many people from making these at home and (more importantly) I found that my bagels tasted awesome with *and* without it. I feel like if this is going to be a quick weekend project, we should focus on supplies you already have in your pantry. Still, it’s absolutely worth mentioning that the syrup is frequently included in bagel recipes and worth checking out for yourself if you’re craving a je-ne-sais-quoi bagel-y taste that you feel like you’re not getting with the end result here.

You’ll regret not greasing your baking sheet. You definitely, absolutely want to oil your baking sheet before baking. I made a few batches without greasing the pan and I’m pretty sure I’ll still be finding bagel pieces on it 50 years from now.
Boiling = chewy. I put this in the instructions because it’s that important, but you’re going to want to boil on each side for 90 seconds (that’s 90 seconds per side) for that tell-tale chewy, New York-style interior. I know it’s tempting to go overboard here to make them even chewier, but I promise I’ve already allotted in extra time and taken prime chewiness into consideration on your behalf—so there’s no need. Plus, boiling for too long can unhelpfully interfere with the baking process later on. (If you don’t like a chewy bagel, by the way, this probably isn’t the recipe for you!)

Remember, your bagels are going to expand. This sounds like a metaphor. It is not a metaphor. The bagels are just going to get bigger, first when they boil, and next when they bake. So make sure the holes you make are big enough to account for the extra puffing-up that’s about to occur; otherwise, the dough will end up eclipsing that space over time and you won’t have a tell-tale bagel shape.
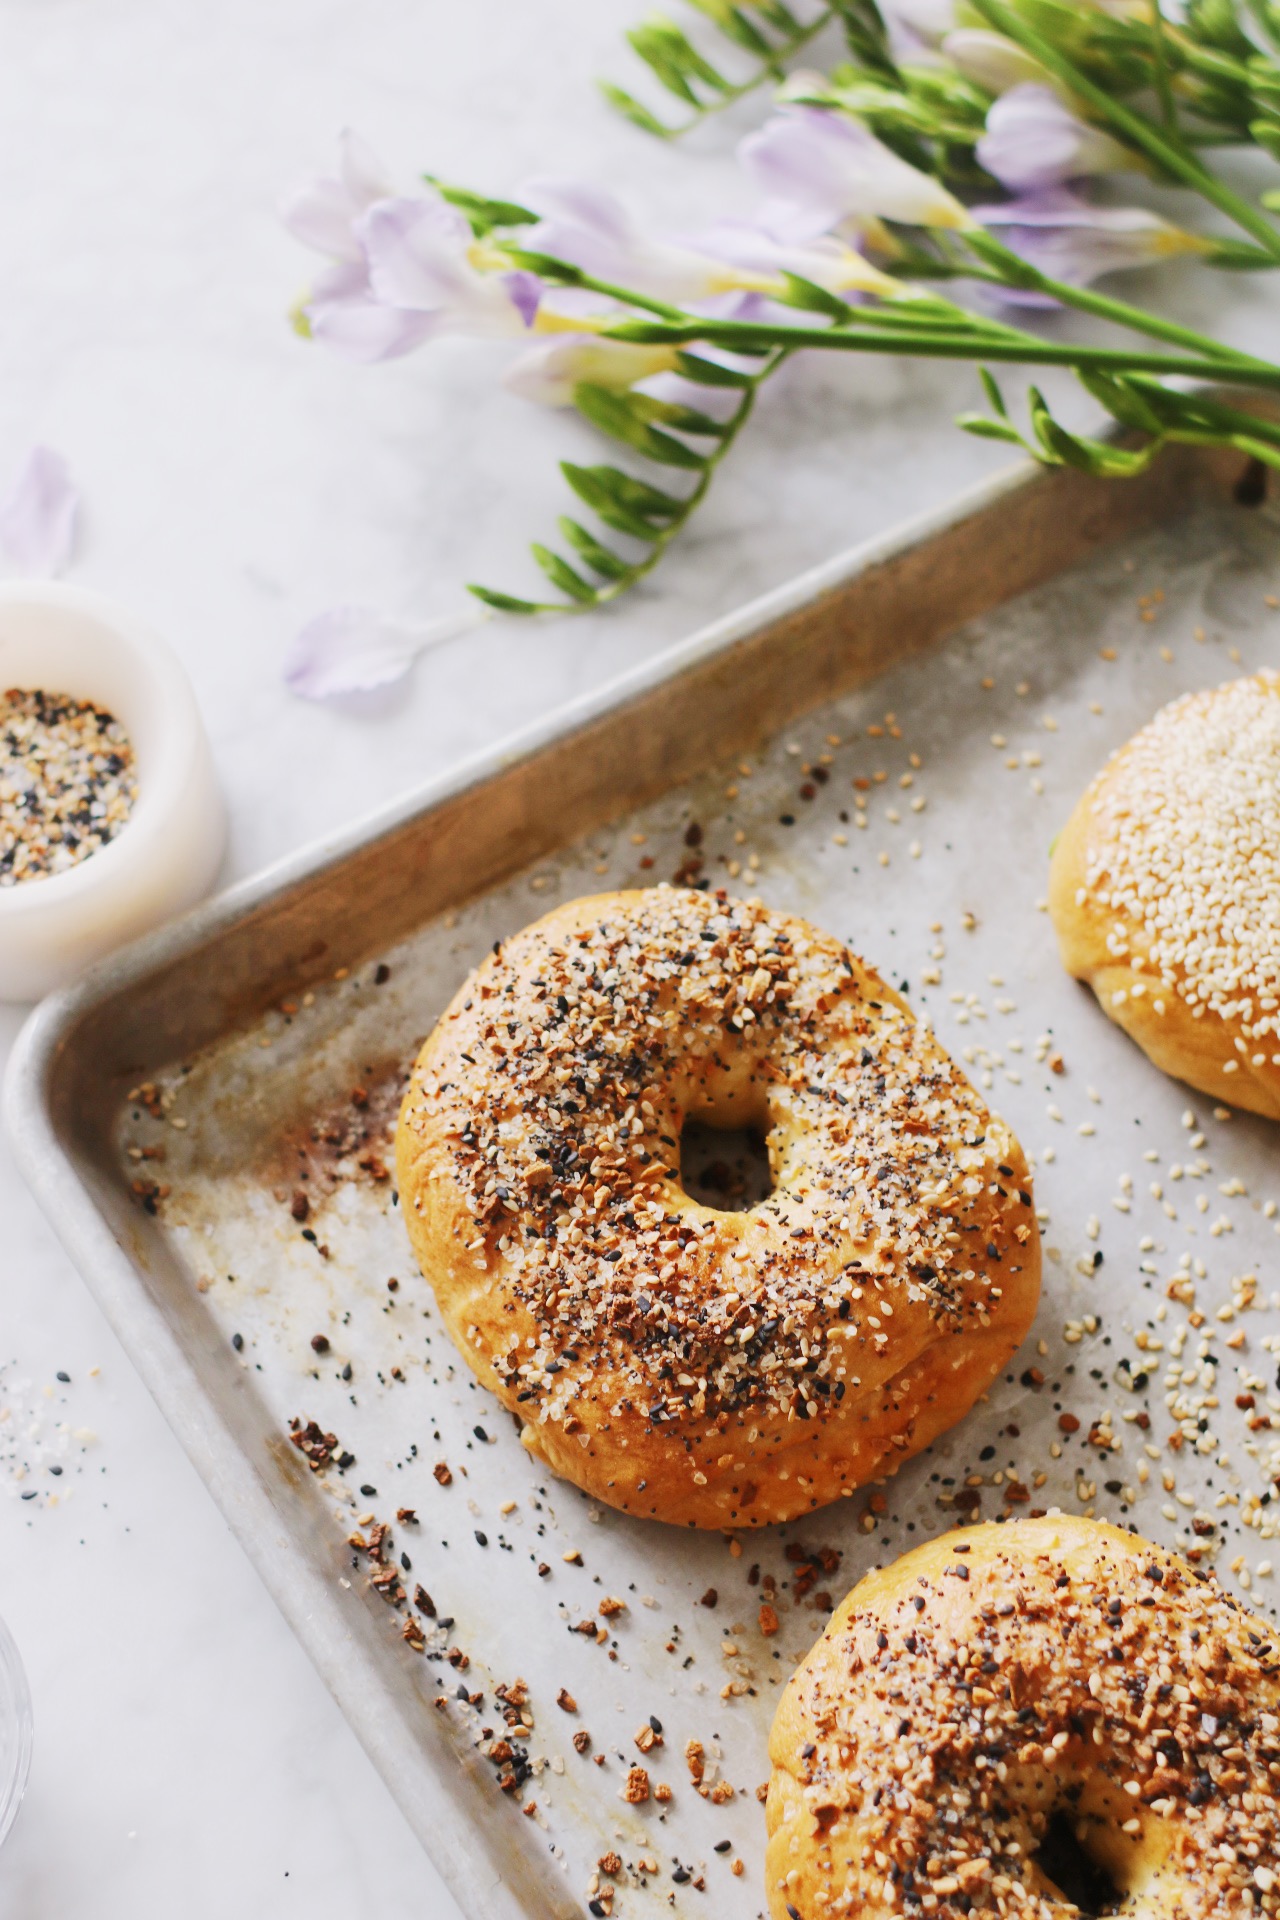
Chewy New York-Style Bagel Recipe
Makes 8 bagels and takes about 2.5 total hours. Adapted from a few favorite recipes of mine: Love and Lemons and Sophisticated Gourmet, and The Bread Bible by Rose Levy Beranbaum.
What You’ll Need:
For the dough:
- 2 teaspoons (6g) active dry yeast
- 4 1/2 teaspoons granulated sugar
- 1 1/4 cups warm water
- 3 1/2 cups (440g) bread flour, plus an extra 2-3 cups to have on hand for surface-dusting and kneading (I wouldn’t recommend subbing for all-purpose flour; this high-gluten flour is what gives the bagels their New York-style chewiness)
- 1 1/2 teaspoons salt
- 2 tablespoons olive oil, for greasing the bowl and baking sheet
For the poaching water:
- 2 quarts water
- 2 tablespoons maple syrup
- 2 teaspoons baking soda
- 1 tablespoon salt
For the toppings:
- Ideas include poppy seeds, sesame seeds, Everything Bagel Seasoning, cinnamon-sugar, coarse salt, raisins, minced olives, shredded cheese..anything goes!
What You’ll Do:
- Without stirring, add the sugar and yeast to a measuring cup containing 1/2 cup (120ml) of the warm water, then let the mixture sit for five minutes. It’ll foam up quite dramatically during this time. Once time’s up, give it a stir to ensure that everything has dissolved.
- In a large bowl, mix together the flour and salt with a wooden spoon. Make a well in the center with your spoon or your fingers, and pour in the sugar-yeast-water mixture. Add another 1/3 cup of warm water into the well, then mix the flour-salt mixture with the contents of the well to incorporate. Slowly add in the remaining scant 1/2 cup water, as needed. (Note: Depending on where in the world you live and your specific conditions— humidity/temperature/altitude/flour brand/etc.—you might need to continue adding a few more tablespoons of water to get a truly moist, firm dough. You don’t want to overdo it, but you do want the dough to feel tacky to the touch and a little sticky at this point—not dry.)
- Pour the dough out of the bowl onto a well-floured countertop. Begin kneading, working in both the flour on the countertop and as much additional flour as you can, and continue kneading for about 20-25 minutes until you’ve got a firm, smooth, elastic dough without any pockmarks or “tears.” I know 20 minutes by hand is a very long time (you’ll need to go at it longer if your physique is petite like mine), but it’s the crucial step that ensures a smooth finish on your finished bagels later on. Also, a *lot* of extra flour gets incorporated into these guys during the kneading process. Don’t skimp on your additions—I’m usually able to get in a full 1 1/2 to 2 cups or so. (See notes earlier in post for more information about this kneading process, the flour additions, and tips on substituting for a stand mixer with a dough hook. I personally prefer to do this part manually to really get a feel for the dough and how much extra flour I should be adding, but many people do opt for mixer assistance.) When you’re just about done kneading—say, 5 minutes away from completion—bring a large pot of water to boil on the stove. Note that this water is not for the bagel boiling; instead, you’ll be using it briefly in the next step to help the dough rise.
- Back to the dough! Use your hands, a cloth, or a pastry brush to grease the interior of a large, clean bowl with the olive oil. Add the dough to the bowl, making sure to get oil on all sides of the mound before covering it with a damp dish towel or cloth. Place the bowl of dough in the middle rack of your oven, then carefully place the pot of now-boiling water on the rack below. Close the oven (but don’t turn it on!). All you’re doing here is creating a warm, moist environment in which the dough can rise most successfully.
- At the 1-hour mark or when the dough has doubled in size (take a peek and determine for yourself if you need to give it a little extra time, as this may change depending on the weather and where you live!), remove it from the oven. Remember to remove the pot of water at the same time, just to be safe—you don’t want to forget that it’s sitting in the oven later on. Then, punch down the dough (this part is fun) and let it rest for another 10 minutes.
- During the resting time, begin to prepare the poaching water by bringing about two quarts of water to a boil in a large pot along with the maple syrup, baking soda, and salt. You can also prep and set aside your baking sheet at this time; simply grease it lightly with olive oil. Don’t skip this greasing step or the bagels will stick to the pan during the baking process.
- Return to your dough! Without flouring your surface (I repeat: no flour!), divide it into 8 equal pieces, then shape each piece into a smooth round, working gently and trying not to “deflate” it too much. You can do this by first carefully stretching and tucking, stretching and tucking the outer edges under and beneath the little mound to create the basic, smooth circle shape, then placing the ball on the counter, smoother side up, and cupping your palms around it or gently on top of it (without squishing it down!), and using them to move it very gently in a circular motion to continue shaping it. Have I mentioned it’s a good idea to be very gentle with your dough from here on out? Be precious with these bagels.
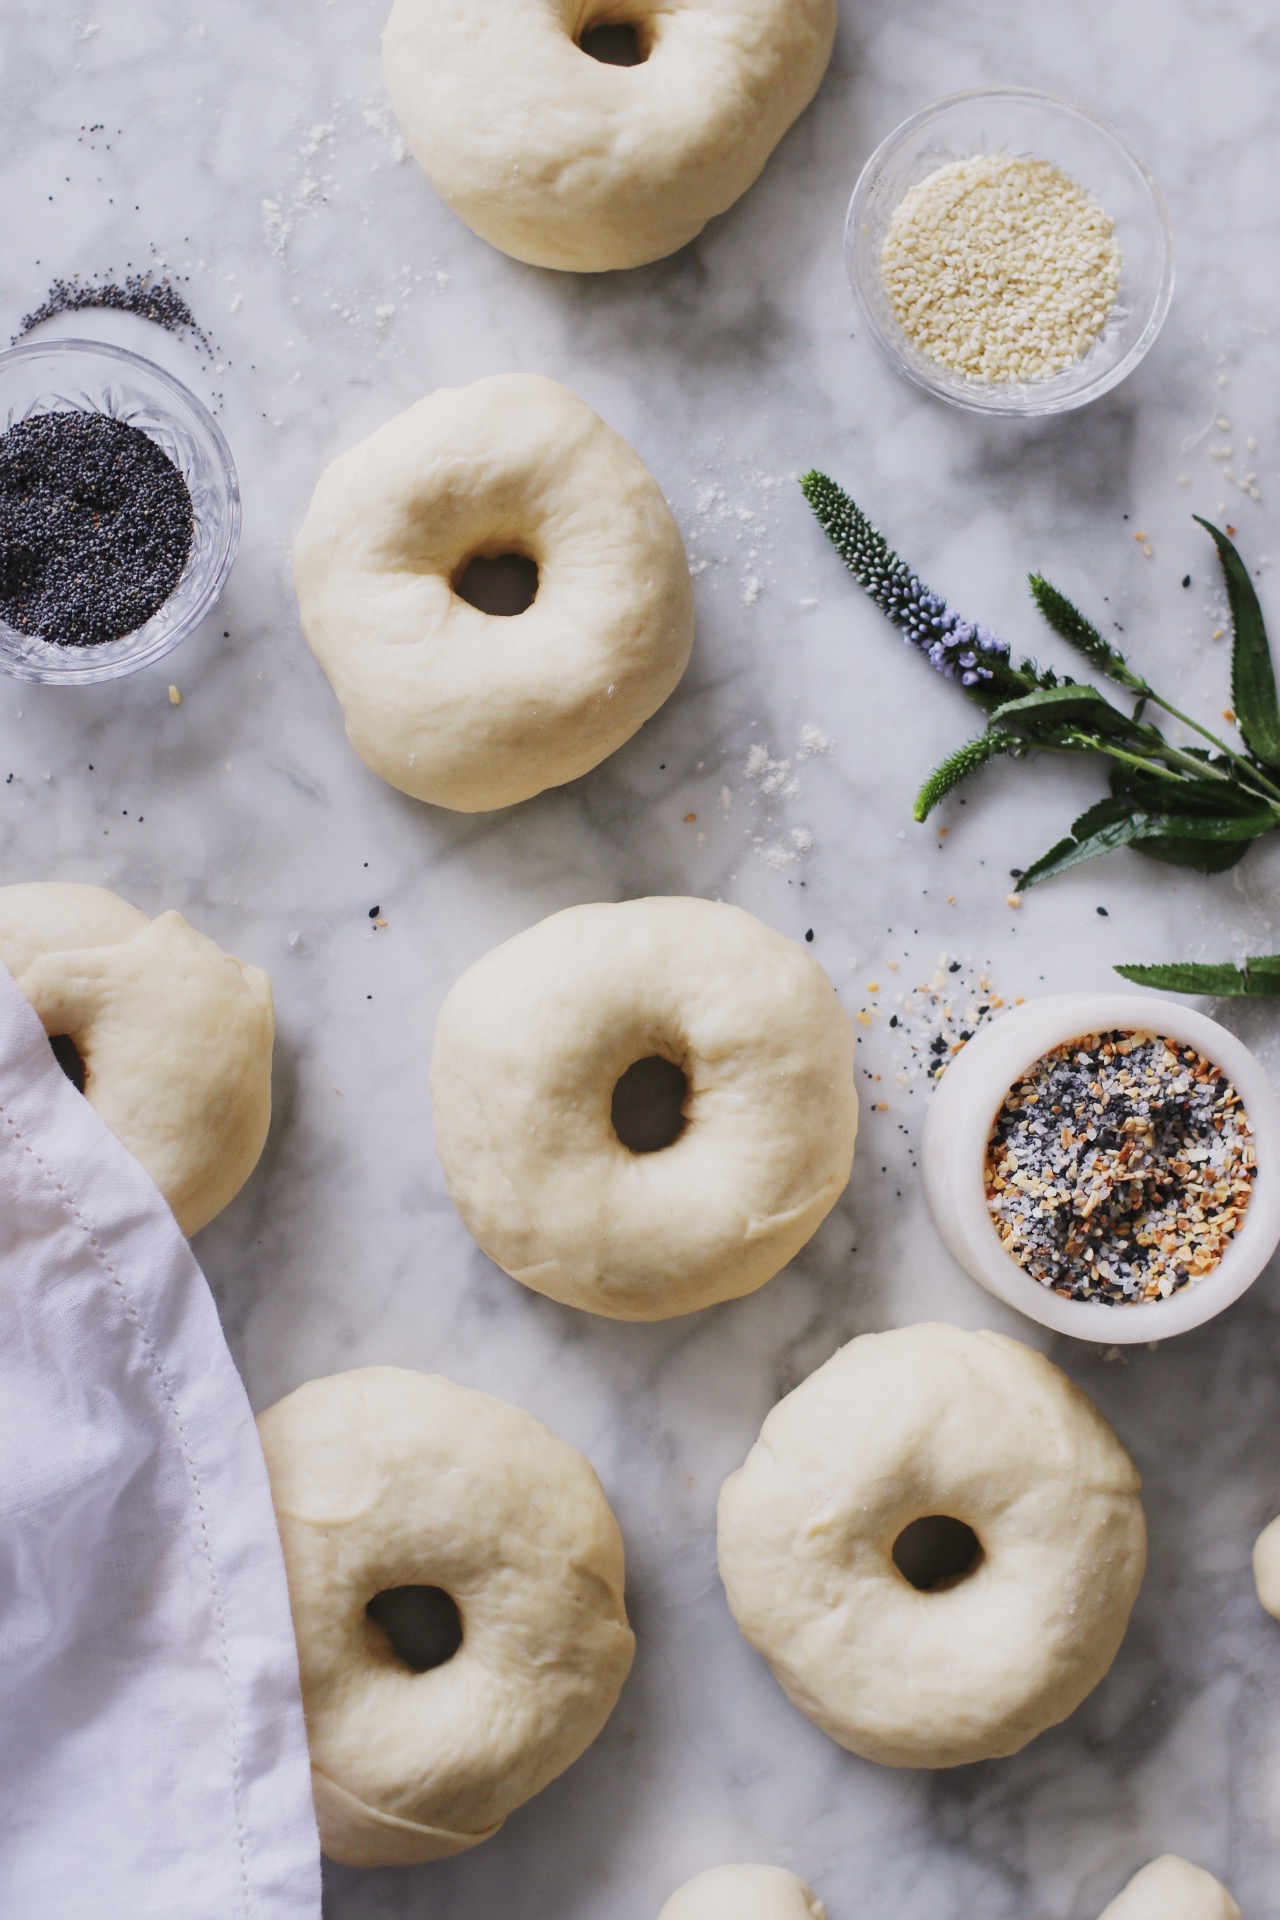
- Dip your pointer finger in flour, then press down into the center of each dough ball to form the hollow middle of your bagel. Slowly make a widening circular motion to stretch each ring until it’s about 1 1/2″ in diameter. Remember, these holes will soon be eclipsed a little bit by the expanding dough, so they need to be somewhat generously sized—not tiny. Place each formed bagel onto the baking sheet and cover with a damp cloth or kitchen towel to rest for another 10 minutes.
- Preheat your oven to 425ºF. Reduce the heat on the now-boiling poaching water to a simmer. Using a slotted spoon, place each bagel carefully into the water, one by one. Depending on the size of your pot, you may be able to boil up to 3 at a time without the risk of misshaping them; I was only able to boil 2 at a time. They expand during the boiling process and can squish each other if they get too close, so it’s really best not to overcrowd the water. Boil on each side for 90 seconds (that’s 90 seconds per side) for that tell-tale chewy, New York-style interior (I know it’s tempting to go overboard here to make them even chewier, but I promise I’ve already allotted in extra time and taken prime chewiness into consideration on your behalf—so there’s definitely no need.)
- As you take each bagel out of the water and place it back onto the baking sheet, sprinkle immediately with your desired toppings while it’s still wet and steamy—the water will help the toppings stick. Be generous!
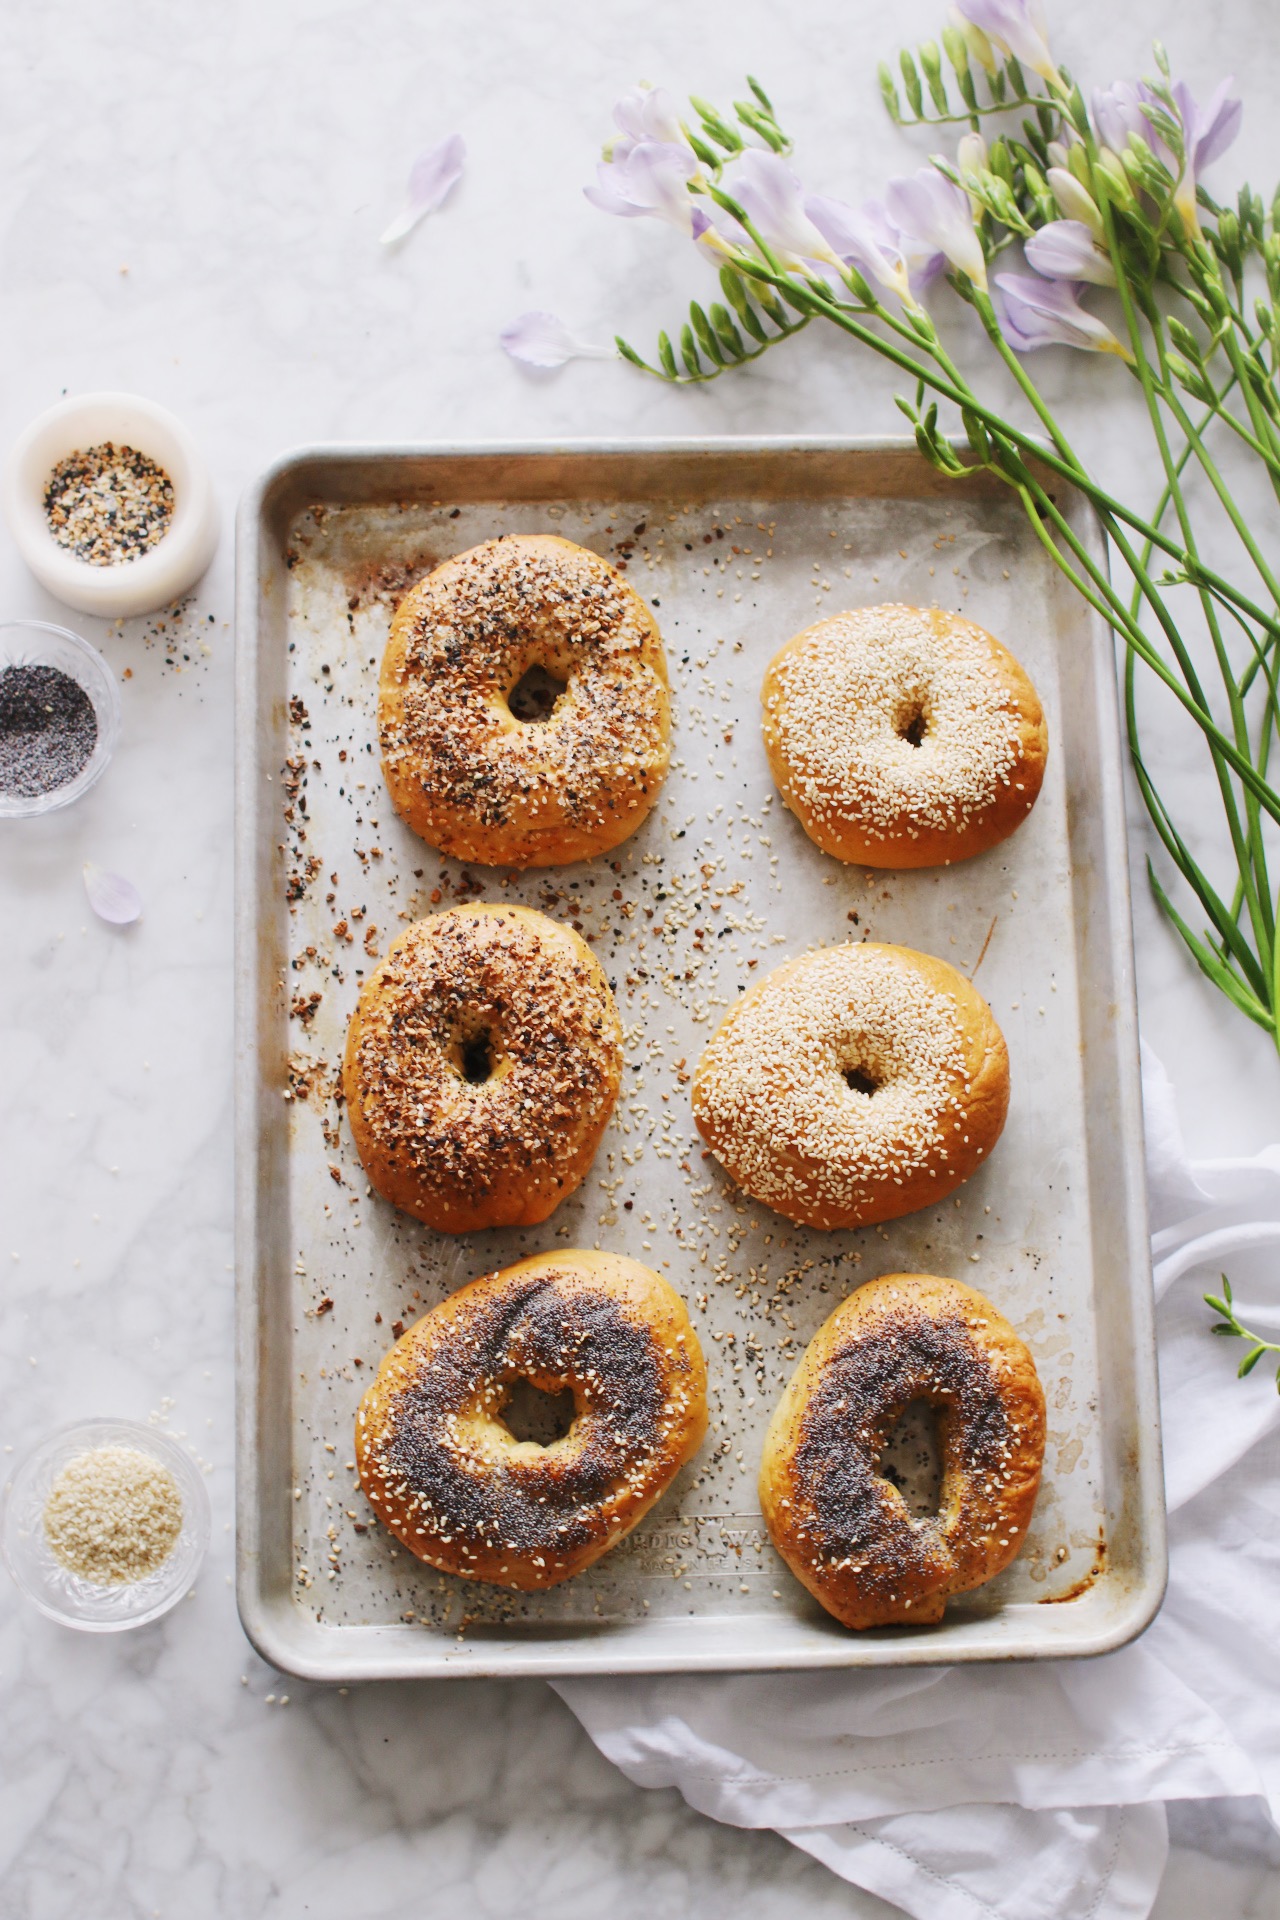
- Bake for 20 to 25 minutes (I found a sweet spot at around 23, but every oven is different), then carefully release and lift the beautifully browned bagels from the pan (aren’t you glad you oiled it?), place them on a serving platter, and let them cool slightly before digging in.
SAFETY NOTE: Did you know that bagel-cutting is statistically one of the most common kitchen-related injuries that lands people in the emergency room? Well, it is, and there’s even a name for it—”BRI” (bagel-related injuries). I know that sounds almost comical, but it’s actually quite serious and scary—please be careful and work slowly. Here’s an article that has some handy tips on how to avoid hurting yourself, and more information on all of this from The Wall Street Journal.
STORAGE INSTRUCTIONS: I recommend eating the bagels right away or same-day, but if you can’t, you can always store them at room temperature for 2-3 days—after that, they’ll start to go stale. By the first day after baking them fresh, you’ll want to slice into halves and toast before enjoying. Toasting magically makes them taste new-ish again.
If you want to freeze the bagels, first pre-slice them, then throw the halves in an airtight bag and into the freezer for up to 4 months. It’s recommended to thaw the bagels by placing the frozen halves onto a baking sheet and into a cold oven (I repeat: that’s an oven that is off), then turn the oven to 350ºF, let them warm up, and remove the bagels at around 10-12 minutes. You can finish them off in the toaster if you’d like to brown them a little.

Made your recipe for the first time today and WooHoo! Absolutely scrumptious bagels! We don’t have any bakeries that so New York style bagels close by and I have been craving them. These were perfection! I love the way you laid out the recipe and all your tips! Thanks a million!