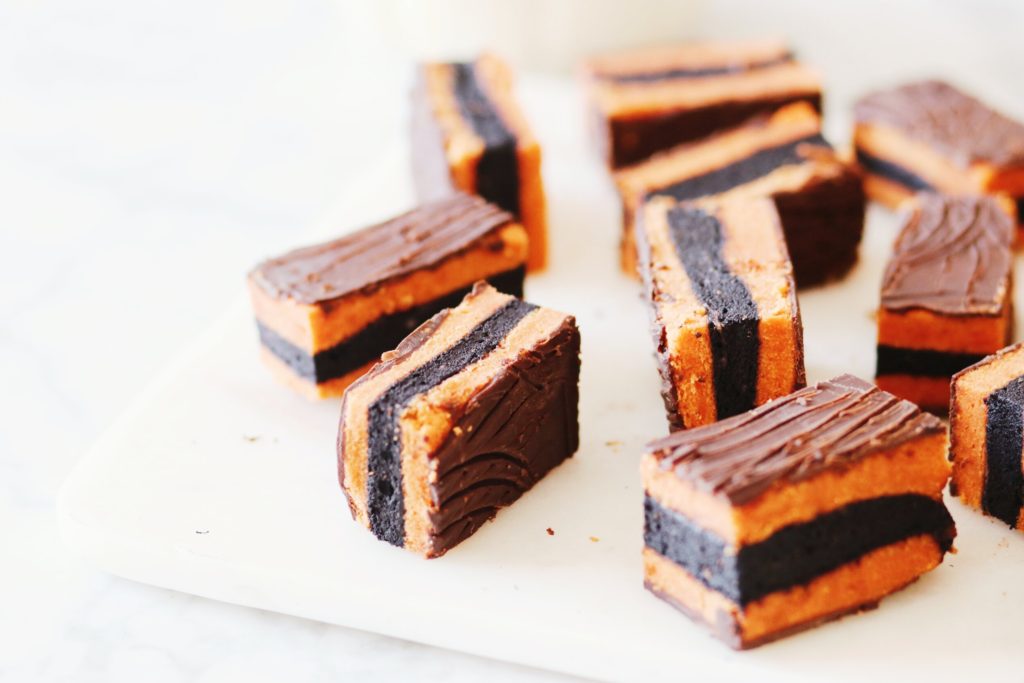
gonna start this post with a big ol’ WHOOPS.
apparently, for the last ~3 weeks, this page had a little note on it saying it would be “updated with the recipe on october 6.” it is now october 23, and halloween is in t-minus 2 seconds, and i’m only adding in the recipe as we SPEAK.
sorry about that.
the good news: only 22 people have accessed this page since the beginning of the month!
the bad news: only 22 people have accessed this page since the beginning of the month!
😬
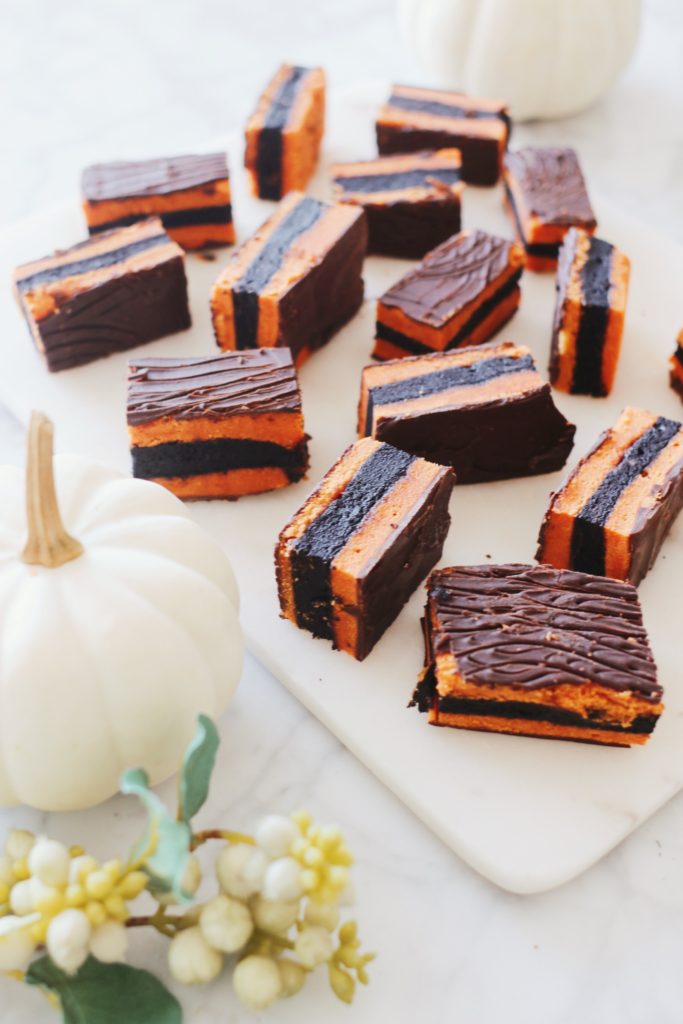
anyway, here’s another delightfully dramatic recipe that takes several hours, will probably get black food coloring all over your kitchen, ceiling, children, and cats, and involves ingredients you may or may not be able to find in your local supermarket, municipality, or continent.
there is also this part where you’re instructed to balance eight heavy soup cans on top of the dough to keep it nice and smushed down, and then you’re supposed to carry that entire teetering mess of a situation toward your refrigerator and pray said cats are not in your way.
wait. WAIT!!!!!!!!!!!!! don’t leave yet.
there’s more. and it’s good.
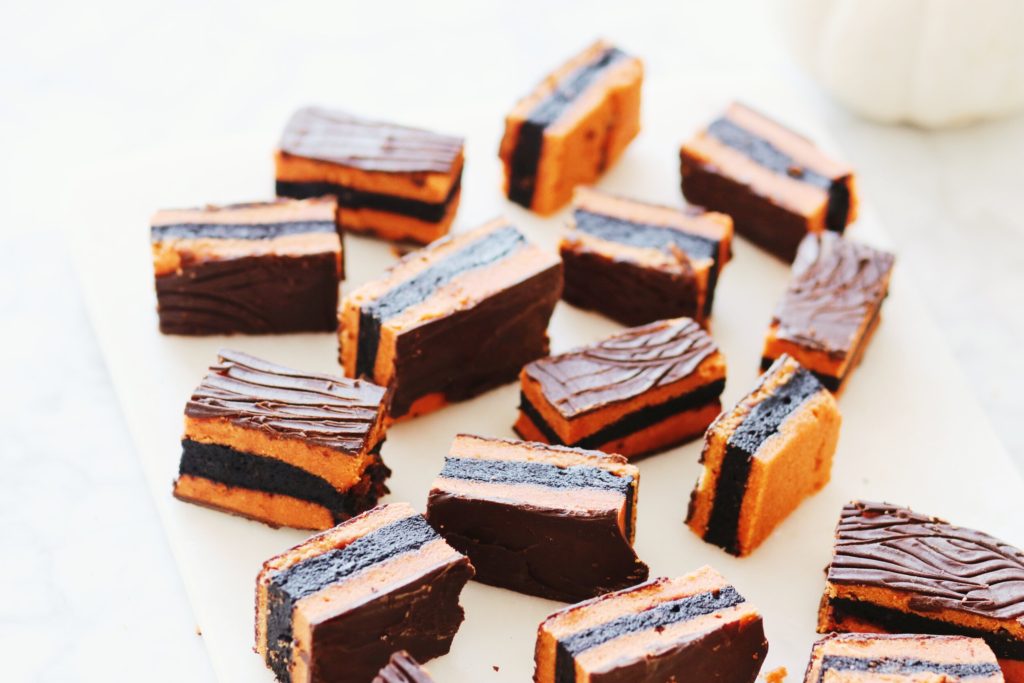
the result of all this madness, you see, is a rainbow cookie that tastes better than any bakery version you’ve ever had. the kind of cookie that makes people ask, wide-eyed, if you “REALLY made these” or if it’s all too good to be true.
at which point you can quietly emerge from your post-traumatic haze, point to the food coloring stains in your wallpaper with a shaking hand, and remark that it is not, in fact, too good to be true.
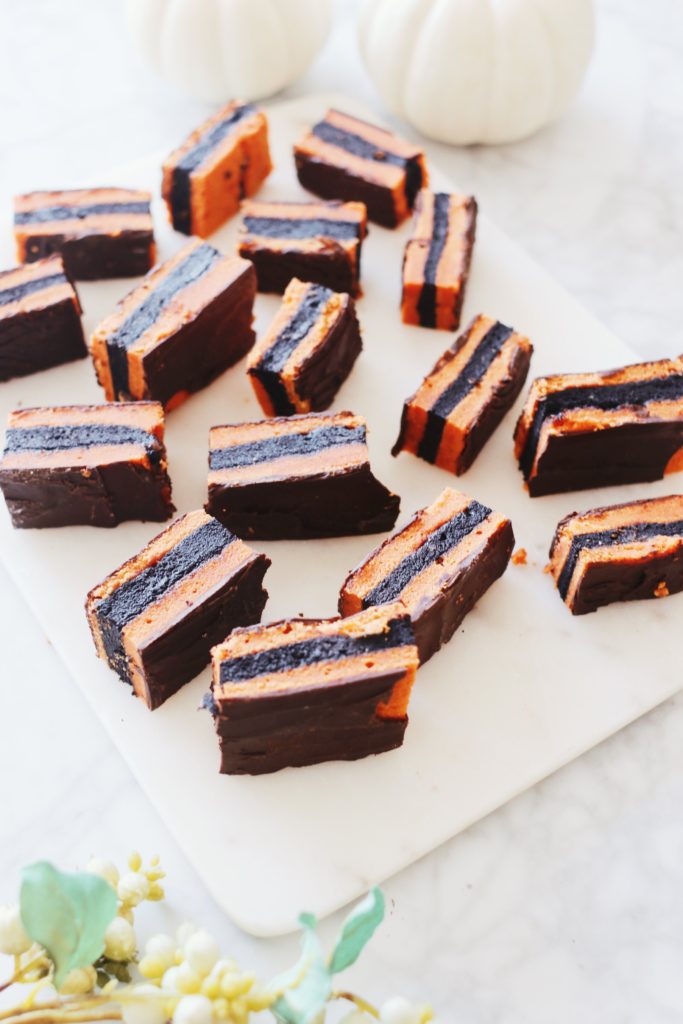
all jokes and soup cans aside, these cookies are legitimately fabulous. just ask my brother gideon; he is veritably OBSESSED. as for those not-so-easy-to-find ingredients…amazon will actually ship them right to your door! so, there.
actually, i loved these guys so much that i’m planning on making them again for hanukkah (in different colors, of course). and maybe even for thanksgiving too!
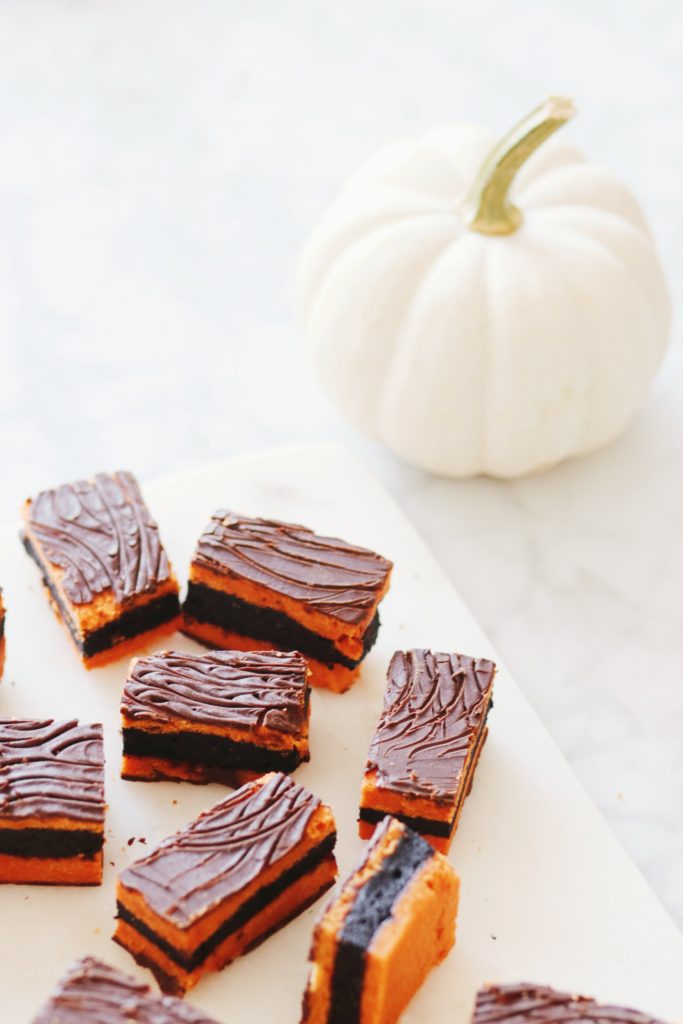
so.
BELATED HALLOWEEN RAINBOW COOKIES!
let’s do it:
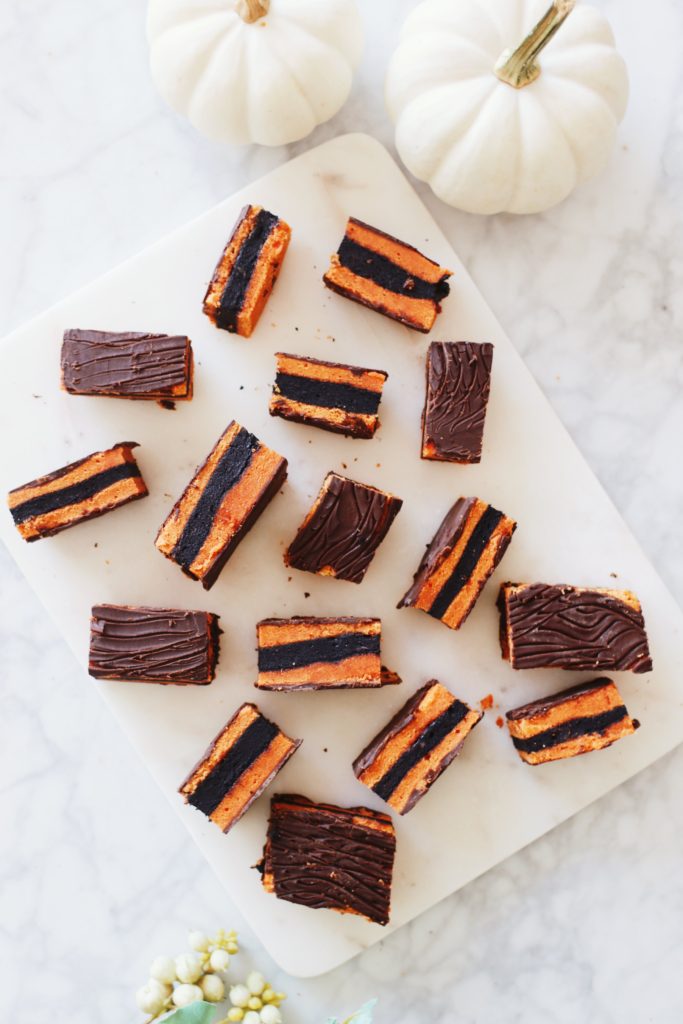
orange and black rainbow cookies
what you’ll need:
- Nonstick cooking spray
- 1 cup sugar
- 1 8-ounce can almond paste
- 3 sticks unsalted butter, softened and divided
- 4 eggs, separated
- ¼ cup milk
- 2 teaspoons almond extract
- 2 cups all-purpose flour
- 1/4 teaspoon black food coloring
- ¼ teaspoon red food coloring
- ¼ teaspoon yellow food coloring
- ½ cup blackberry jam, divided
- 1½ cups semisweet chocolate chips, melted
1. Preheat the oven to 325 degrees. Grease three 9-by-13-inch quarter sheet pans with cooking spray , then line each with parchment. In a stand mixer fitted with a paddle attachment, combine the sugar, almond paste, and one stick of the butter. Mix until smooth—the goal is to break down the almond paste as much as possible. Add the remaining two sticks of butter and continue to mix until smooth, scraping down the sides of the bowl as needed.
2. Slowly add the egg yolks, followed by the milk and almond extract. Mix until combined. Add the flour and slowly mix until combined, scraping down the sides of the bowl as needed. Once the flour is combined, set aside.
3. In a separate bowl, whip the egg whites until they form stiff, fluffy peaks. Fold the whipped egg whites into the flour mixture to form a smooth batter, then divide equally between two bowls. (Note: When you’re working with egg whites, you don’t want to mix too much—you’ll cause them to deflate a bit! Try to work relatively quickly from here and don’t over-mix).
4. Stir the red and yellow food coloring into the first bowl of batter until evenly orange-colored (add more until you’re satisfied with the resulting color!), then stir the black color into the second bowl of batter until equally evenly colored (same goes for the black food coloring—but keep in mind the note above about over-working the egg whites). Keeping the batters separate, evenly spread them into the greased and parchment-lined quarter sheet pans, and bake, rotating halfway through the baking process, until the cakes are set, 10 to 12 minutes. Let cool completely.
5. Once both cakes are cooled, spread half of the jam to cover the surface of the orange cake. Then carefully lift the black layer up off its pan, remove the parchment, and set it down on top of the orange layer. Finally, repeat the step by spreading the remaining jam on top of the black layer, then placing the final orange layer on top. Discard the parchment again. It’s okay if there’s some mess here! Remember, you’re making cookies, not a cake. Once you cut up the whole thing into little pieces, the final product is bound to look a little bit more polished.
6. Cover the cake with plastic wrap. The way I recommend doing this is to set down a large piece of plastic wrap beneath the sheet pan itself, while the plastic is still “connected” to the box of extra plastic wrap. Then, wrap that plastic up and over the top of the cake to “hug” the cake tight. Top with another quarter sheet pan. Finally, weigh down all those delicious layers with soup cans or heavy plates—whatever you’ve got on hand! You’ll want to let it rest in the refrigerator for at least four hours or overnight.
7. Remove the weights and the plastic wrap. Spread half of the melted chocolate over the top of the cake and refrigerate until set, at least 30 minutes. Once solid, flip the cake carefully onto a cutting board, discarding the bottom (now top!) layer of parchment, and spread the remaining melted chocolate in a even layer over the surface. Return to the refrigerator and chill until set, another 30 minutes.
8. Once set, trim the cake into a large rectangle, reserving the extra trim for snacking. Cut the cake into 1-inch squares, then serve. These will keep well for about a week.
