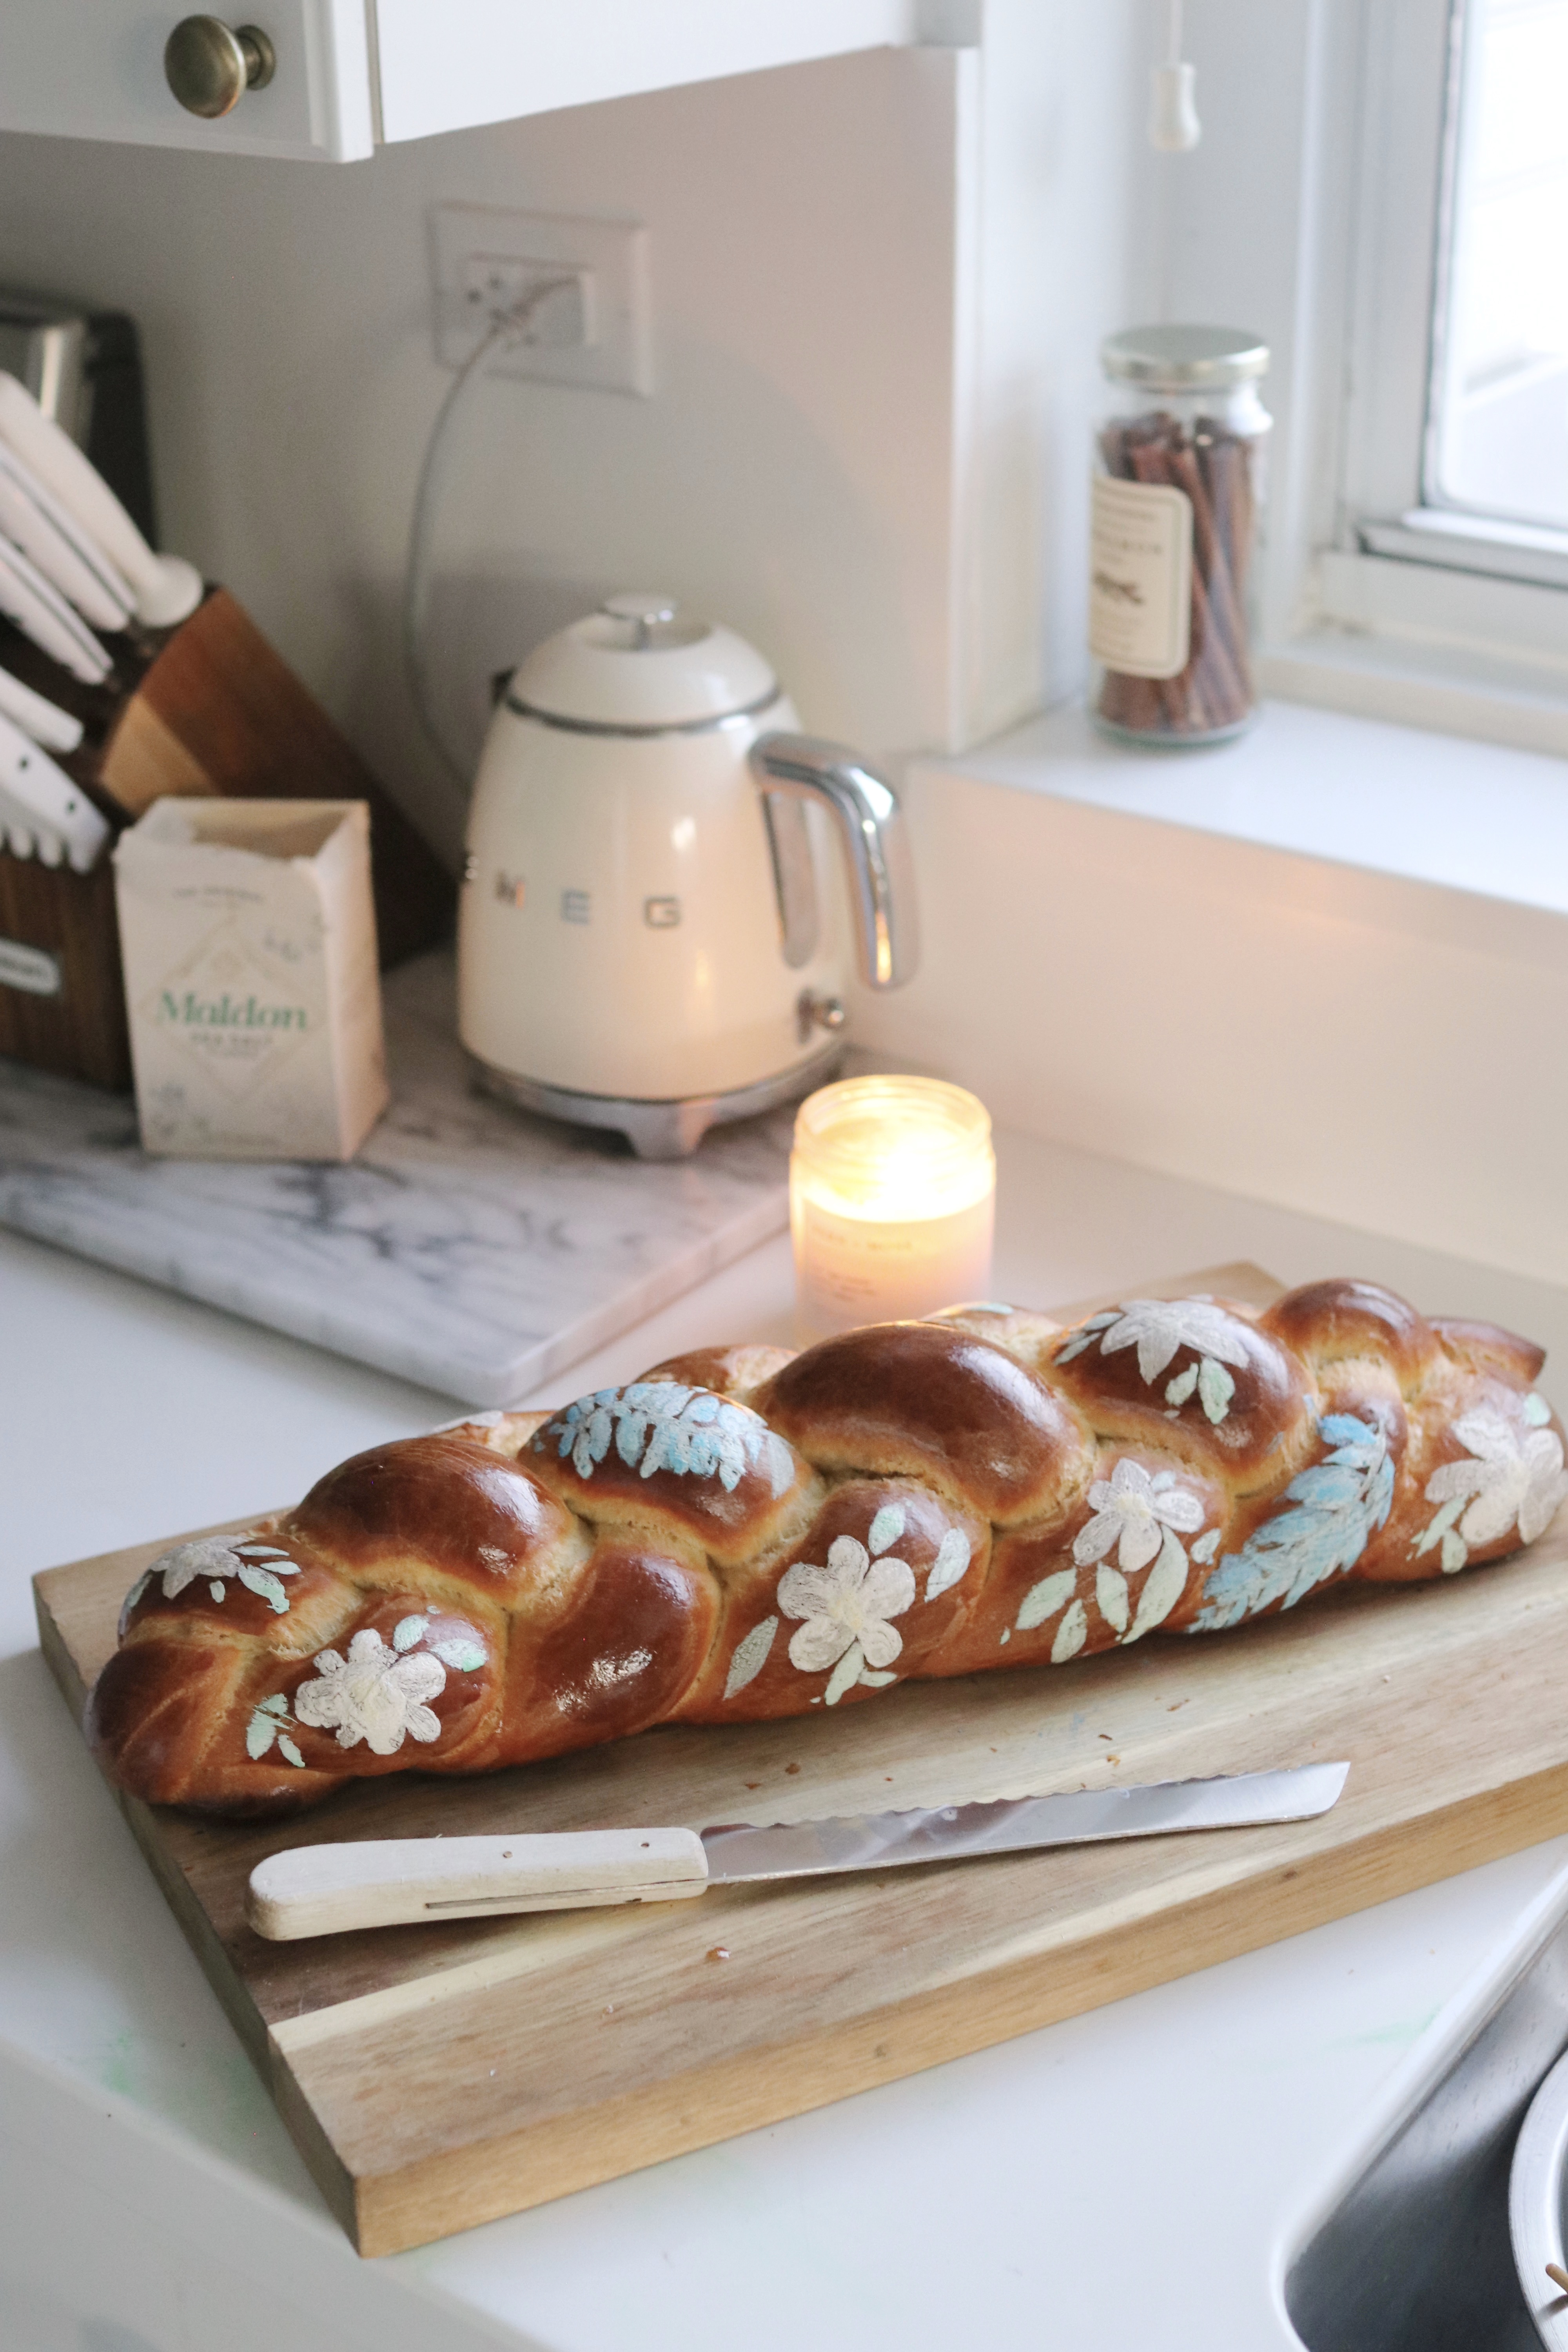
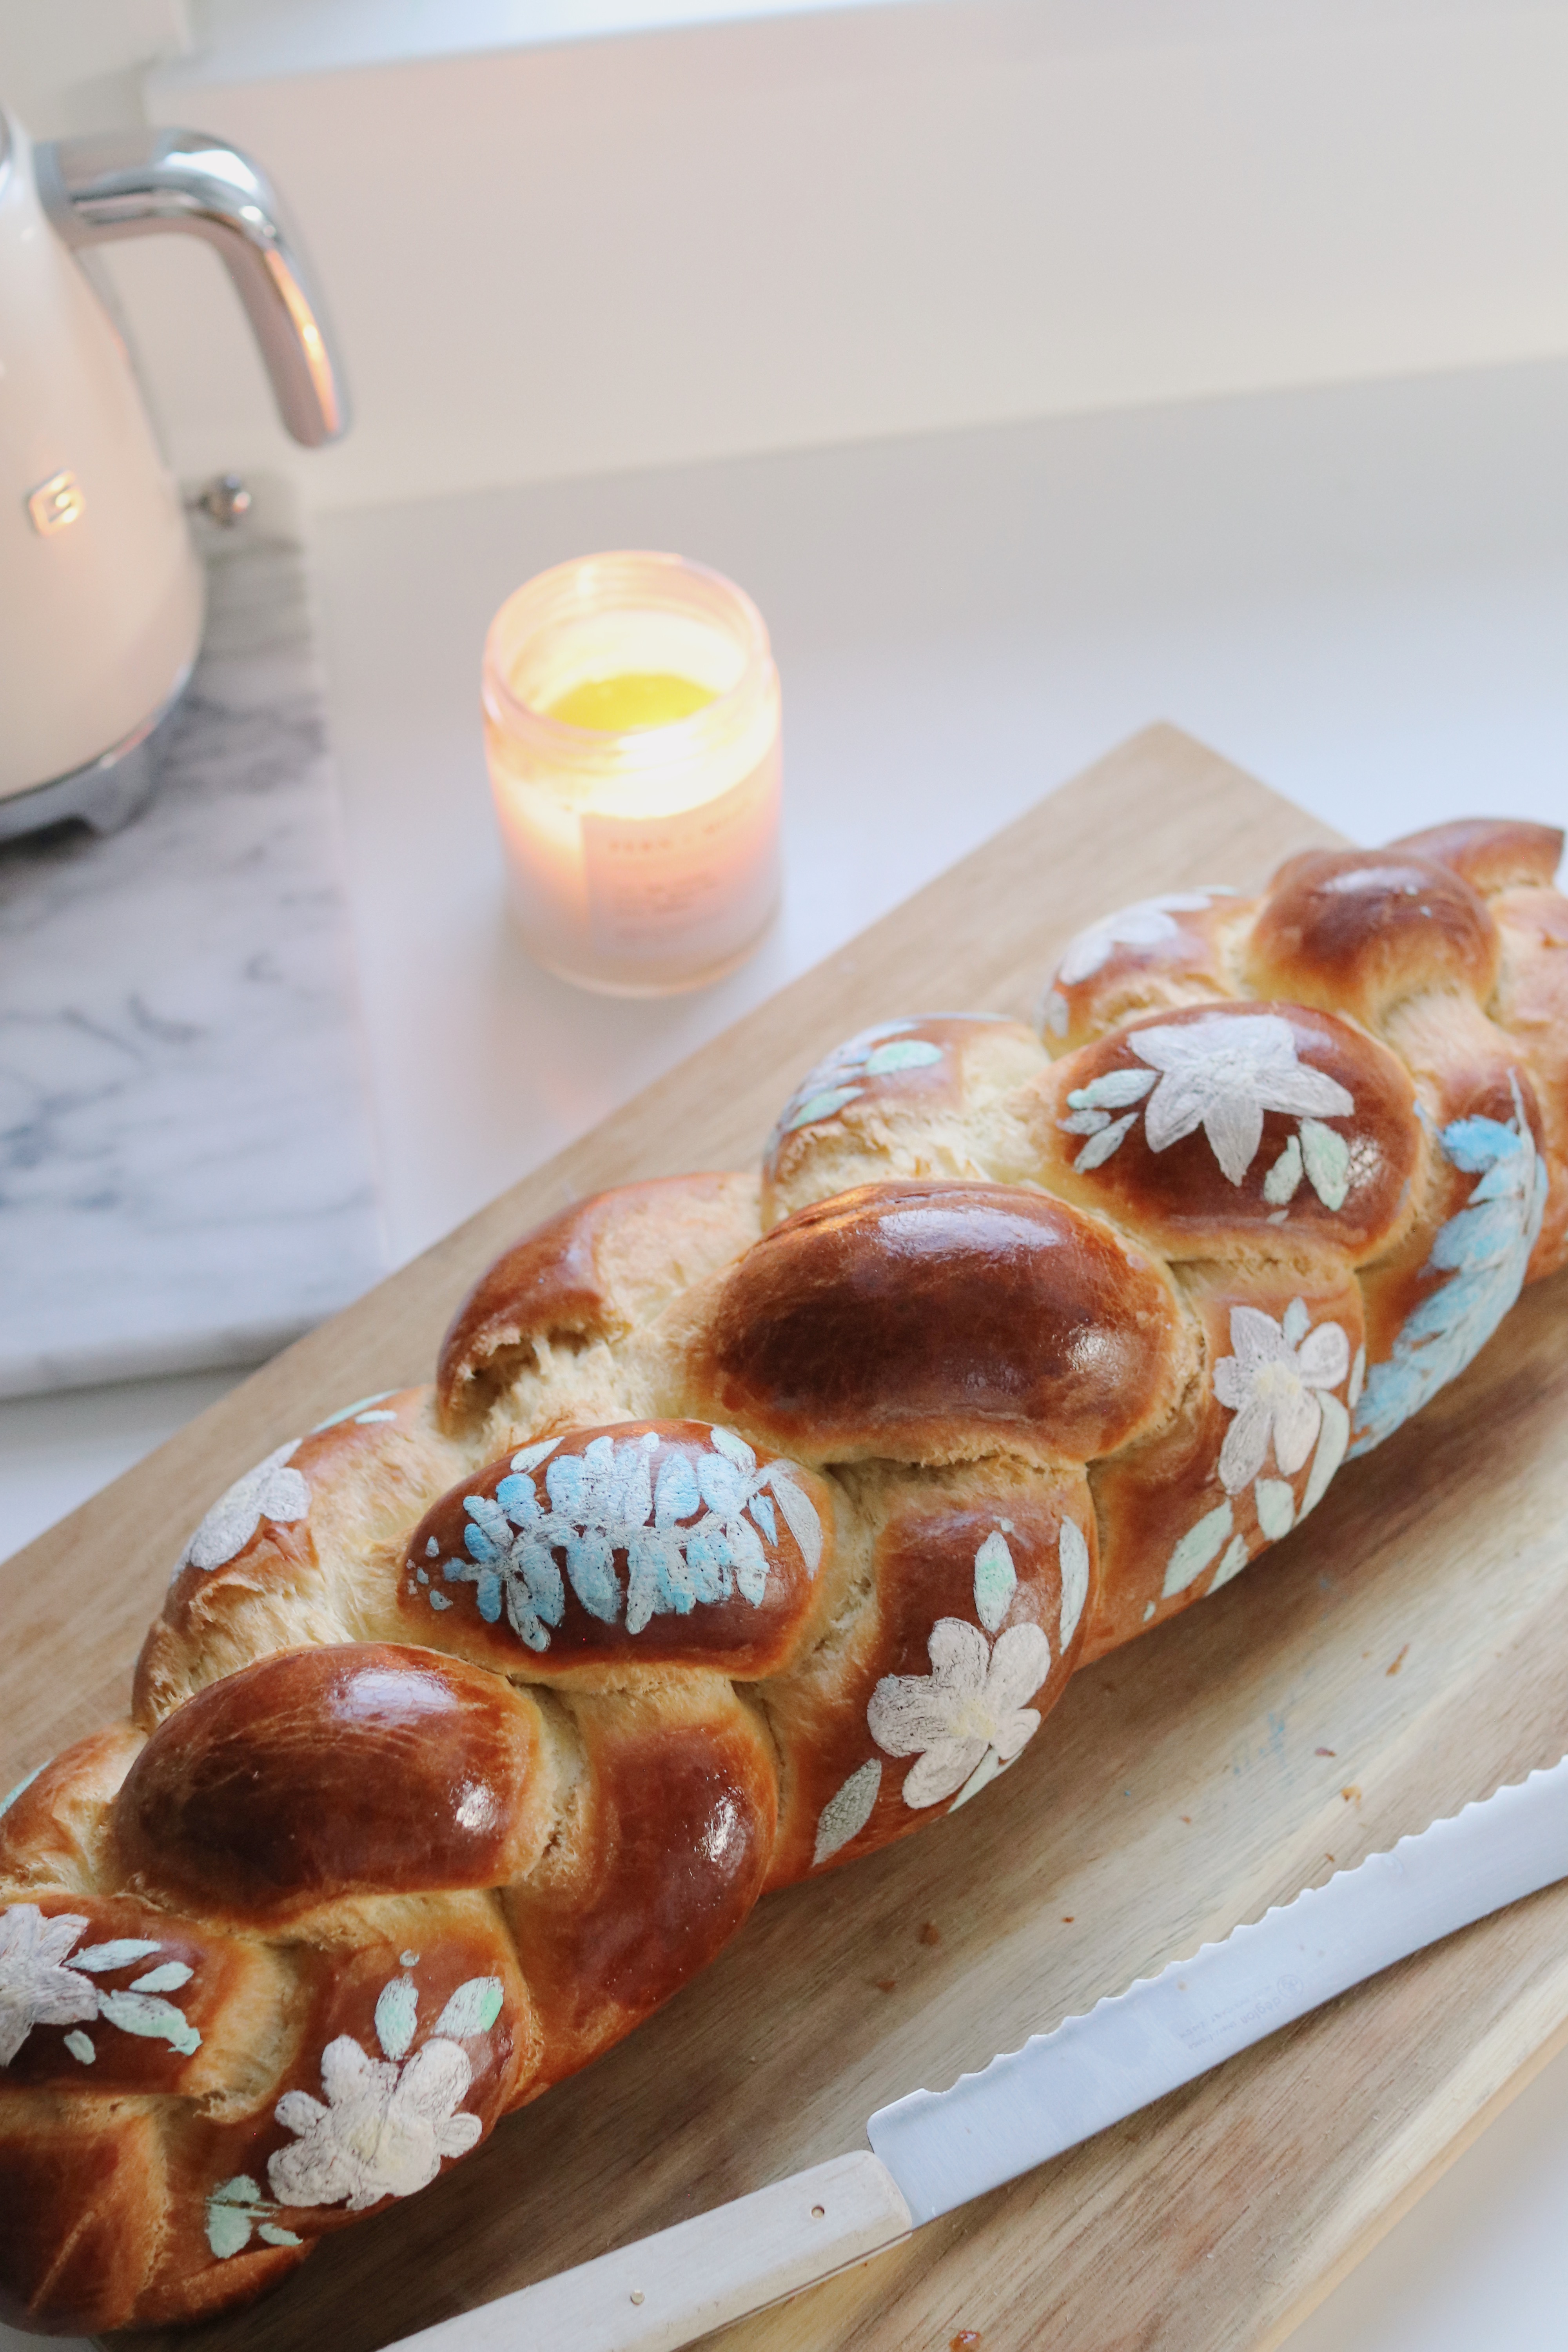
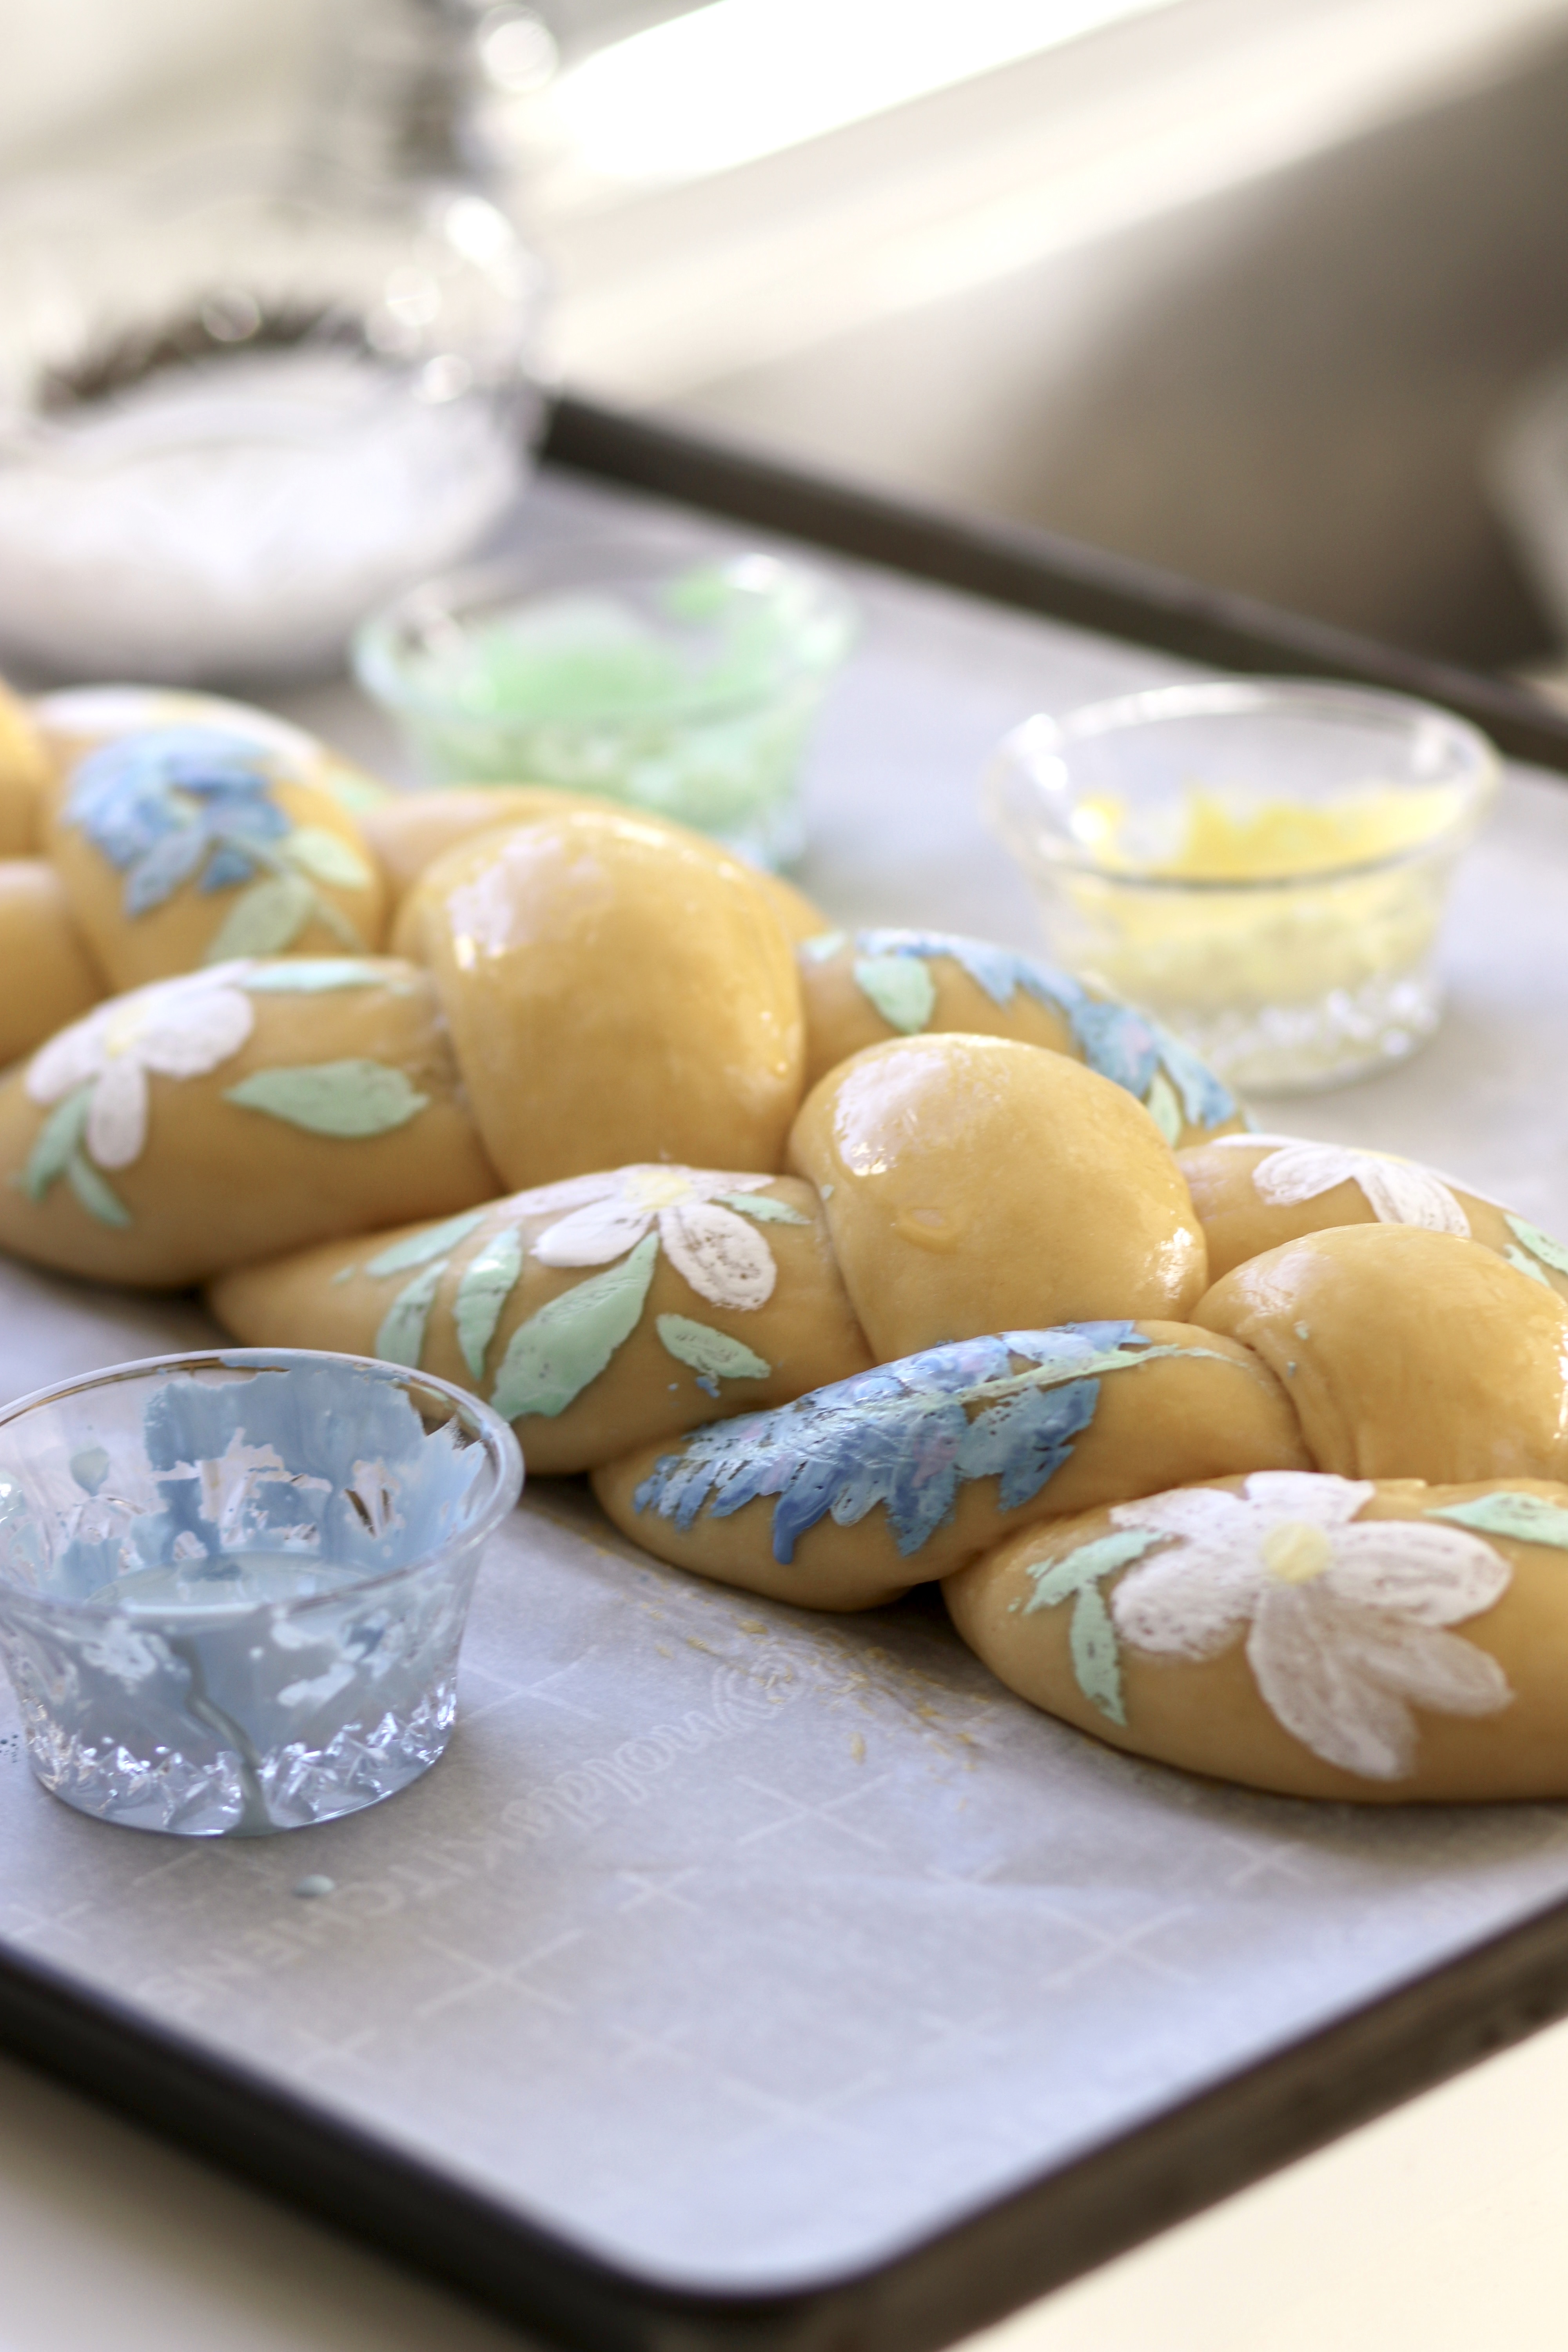
Painting challah is delightfully meditative, it’s surprisingly easy, and it’s a fun way to spruce up your go-to recipe and a standard braid without having to learn any fancy new techniques. (And yes, the paint here is edible!) This first loaf was inspired by all of the gorgeous painted sourdough tutorials that have been popping up lately—I wanted to see if I could replicate the effect on challah, and was happily surprised with the result. There’s some troubleshooting I’d still like to do, particularly when it comes to getting the colors to pop more. But in the meantime, I’ll share all of my tips and tricks below, and answer a few of the questions I’ve been getting most frequently.
Without further ado…
Is the paint edible and safe for consumption?
It’s definitely edible! And yes, it’s safe, too, though you’re free to seek out alternatives to the store-bought food colors. But let’s talk about titanium dioxide. In my technique, that’s the main ingredient in the whitening agent you’ll use alongside the food coloring to keep your paint opaque and rich in color even as the bread bakes, and which, to some of my readers, seems to be the most troubling element here. In response to a few messages I received about the purportedly “toxic” nature of this product, I spent an evening reading half a dozen papers and public health policy findings its usage. Here’s what I found:
First, it’s important to note that the general toxicity accusation/belief seems to be based on recent European legislation banning titanium dioxide (see here). The European attitude—which is not shared by either of the UN’s FAO or WHO, or the US FDA—is based on a pretty extreme (read: ridiculous) inference about oral ingestion risk based on inhalation studies with animals in which enormous doses were forced on the test subjects over a very short period of time (see here). These dosages were equivalent to a human being inhaling (and not ingesting), in one hour, roughly ten-ish years’ worth of the amount in this loaf, assuming you were planning on baking and eating one new loaf every few hours. Most significant of all, though, is that even then, the data doesn’t demonstrate toxicity but, rather, is inconclusive and simply cannot prove a “safe intake level.”
So, based on all current evidence, yes, I’d say it’s safe. But you’re welcome to do your own research and let me know what new information you find! (By the way, if the people behind this ban were actually interested in removing obviously, highly toxic and carcinogenic food ingredients from the market, they might want to start with alcohol, which, at normal, everyday intake levels is a known carcinogen associated with higher risks of dozens of cancers. Titanium dioxide probably sounded better as a “synthetic” food additive; alcohol is “naturally” fermented.)
Alright, I’ve hopped off my soapbox—let’s paint some challah!
Step 1: Assemble your supplies!
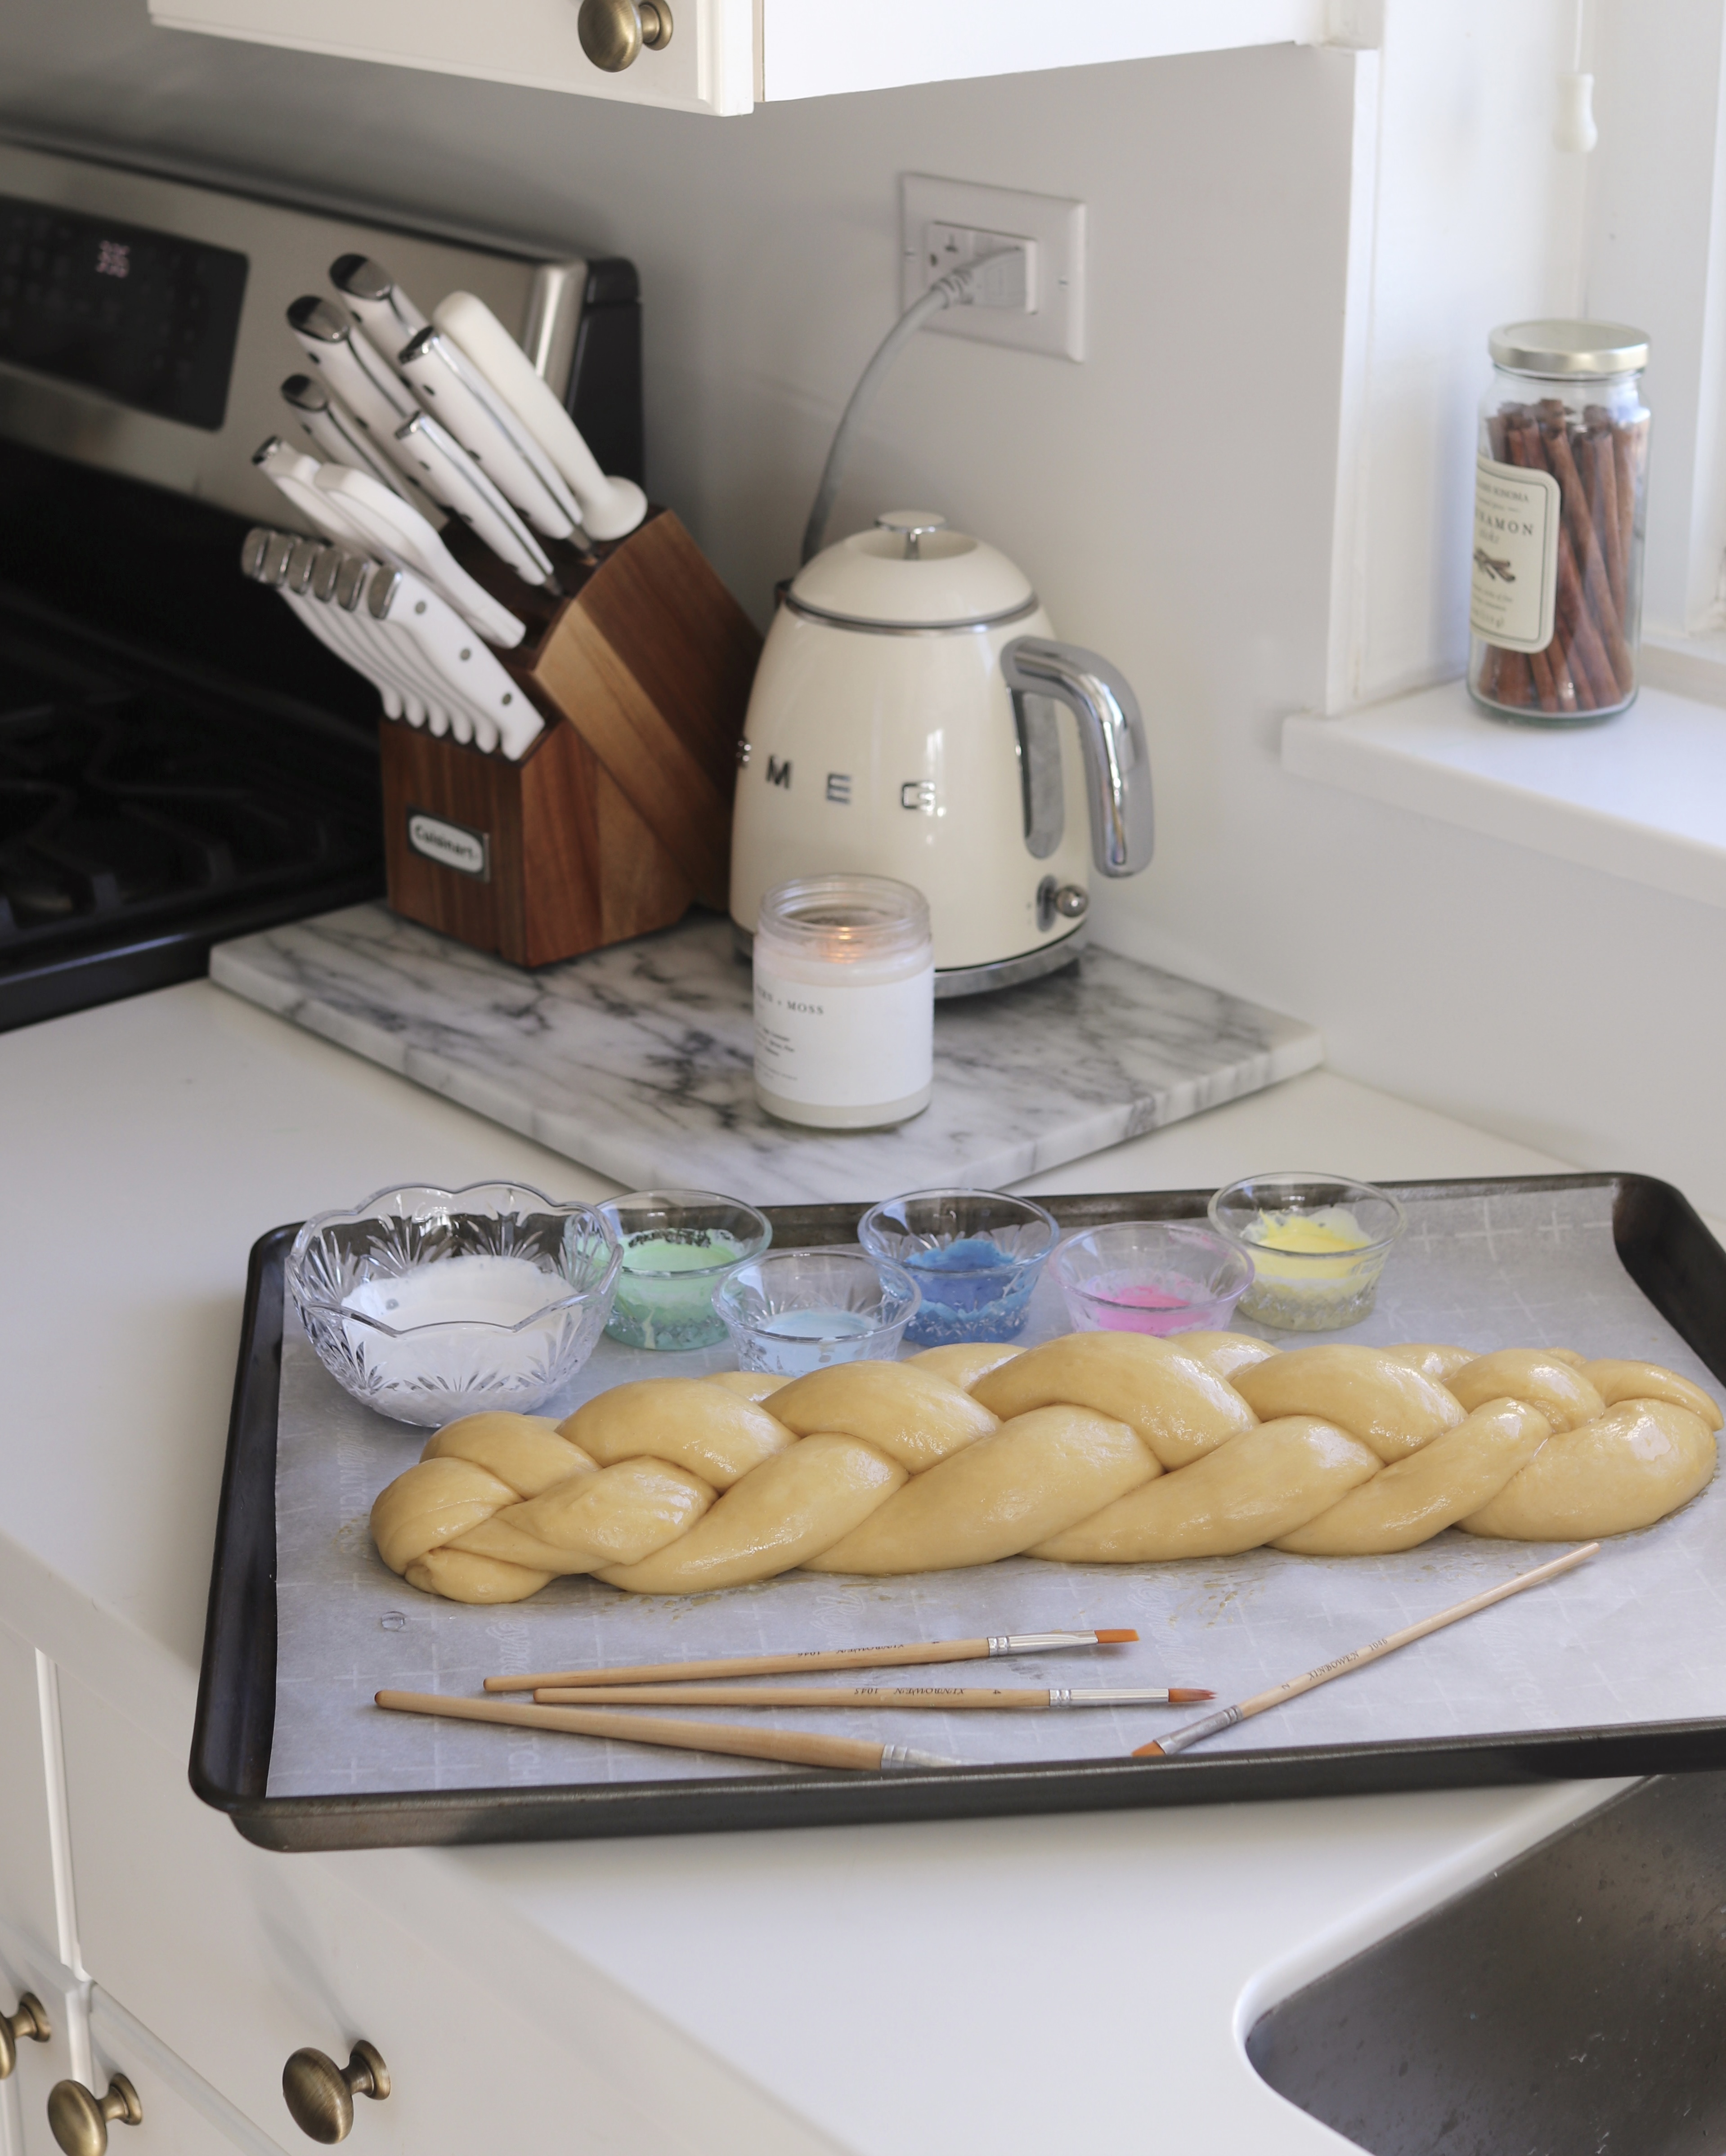
You will need:
- All of the ingredients for the challah recipe of your choosing (I’ll talk more about that in the next step!) and any related tools and materials—parchment paper, a baking sheet, and so on
- White thickener food coloring (this is what makes the paint colors stand out even after baking)
- Gel food colors (I’ve also had success with water-based food colors, but just be mindful of the fact that these can lessen the strength/viscosity of the whitening agent and make the “paint” more runny)
- Clean, food-grade paintbrushes
- A plate or ceramic/plastic artist’s palette on which to mix the colors
- Paper towels for the inevitable mess that follows the mixing process
Step 2: Choose a challah recipe and get to making it!
As you might have suspected, the first step here is actually making your challah dough. You can use any recipe—your go-to is just fine! What is important is that you’ll need the surface of the final, un-baked, braided loaf to be somewhat smooth and supple in texture and fairly uniform, too. It doesn’t have to be perfect by any means, but painting on a lumpy loaf is bound to be a lot more difficult. (Side note: I’m asked about my own challah techniques constantly and admittedly have taken my sweeeeeet time putting together a tutorial, but rest assured it’s currently, finally in the works!)
Once you’ve made your dough, kneaded it, let it rest, braided it, and gotten it to the point where it’s almost ready for its bake, you’re ready to paint. No matter which recipe you’re using, the painting step should come after the final egg wash, just before the bake.
(…But! If you’re using a recipe with multiple rises, as I do, you can also consider substituting painting time for rising time so that you don’t have to work as quickly; if you choose to do so, you’ll technically be adding the egg wash earlier in the process than typically recommended, but that’s fine.) (And if these last parentheticals don’t make sense given the recipe you’re using, not to worry. Just refer back to the underlined section above.)
Step 3: Apply egg wash and wait briefly.
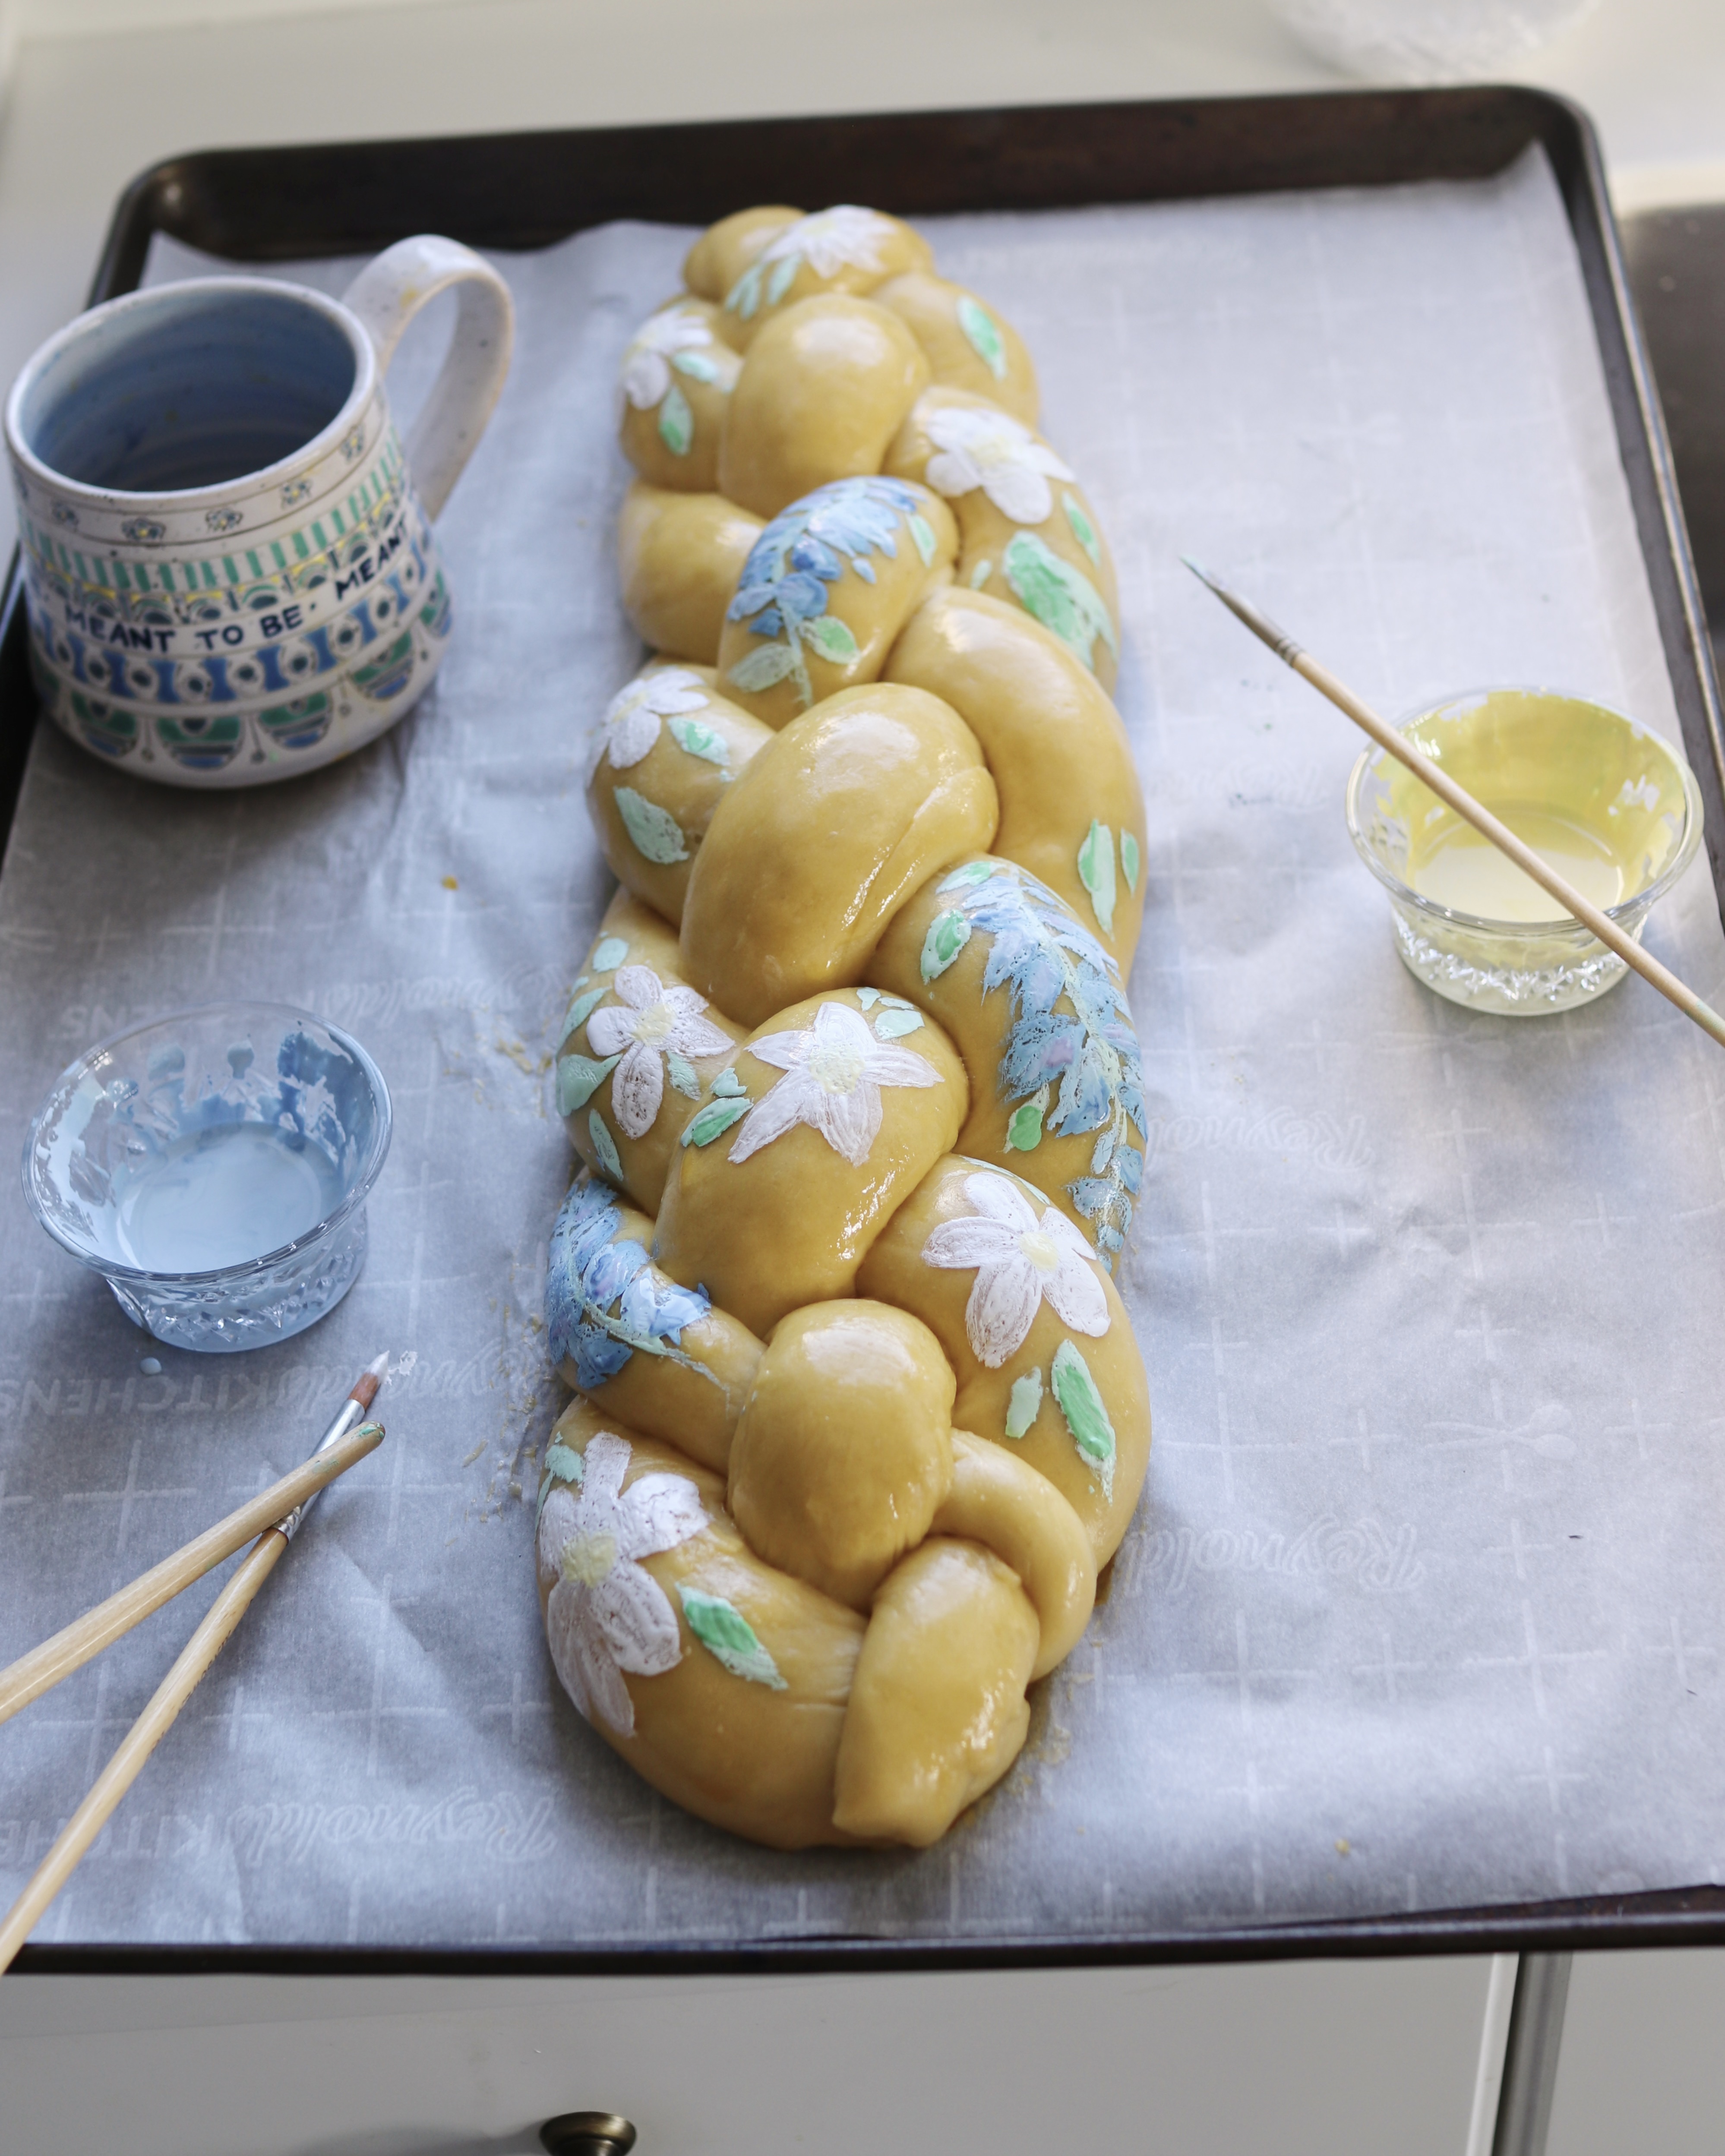
I was a bit concerned about this step before I painted my first loaf—I thought the surface might become too wet post-wash and the paint wouldn’t stick to it properly. But I also knew that a challah without egg wash wouldn’t achieve that beautiful deep brown hue, and I’m partial to that in my loaves. So…I went for it anyway! Lo and behold, it all worked out and the paint did stick. I’d recommend letting about 5 minutes pass in between the wash and the painting process; doing so allowed some of the egg to seep into the dough and left the surface considerably less watery.
Step 4: Mix your paint—and try to work quickly.
The whitening agent (listed in the supplies above) is the key here. It needs to be mixed into every gel food coloring hue you use in order to ensure that it shows up properly on the final, baked loaf. In other words, don’t think of it as a whitener; think of it as a “makes-colors-actually-show-up” tool. (You have the not-toxic titanium dioxide to thank for that aspect of the product, by the way!) So, essentially, you’ll want to use the whitener as a base for each color you mix, then get creative by adding a few drops of the color of your choice to said whitener and playing around until you’re happy with your palette. Remember: You only need a few drops of both whitener and color; not only will this result in less waste, but it’s all that’s needed for most small illustrations, and it’s way easier to adjust the colors as needed, too.
Step 5: Paint and bake!
There’s no trick to the painting portion of this experiment, of course—you can just have at it! I do recommend working fairly quickly here, too, just to avoid the exterior of the challah becoming dried out over time (for my recipe, in order to combat this and give myself more time, I just allowed this painting time to become part of my final rise—so, I brushed on my egg wash before said rise, rather than afterwards). Then, bake according to your recipe and enjoy!
Lindo esse trabalho, perfeito
Gostaria de saber onde compro essa tinta , imagino que essa tinta não qual quer tinta. Por que usamos tintas em gel, em pó para trufas, glaces ,explica por favor.
Onde posso encontrar essa tinta .