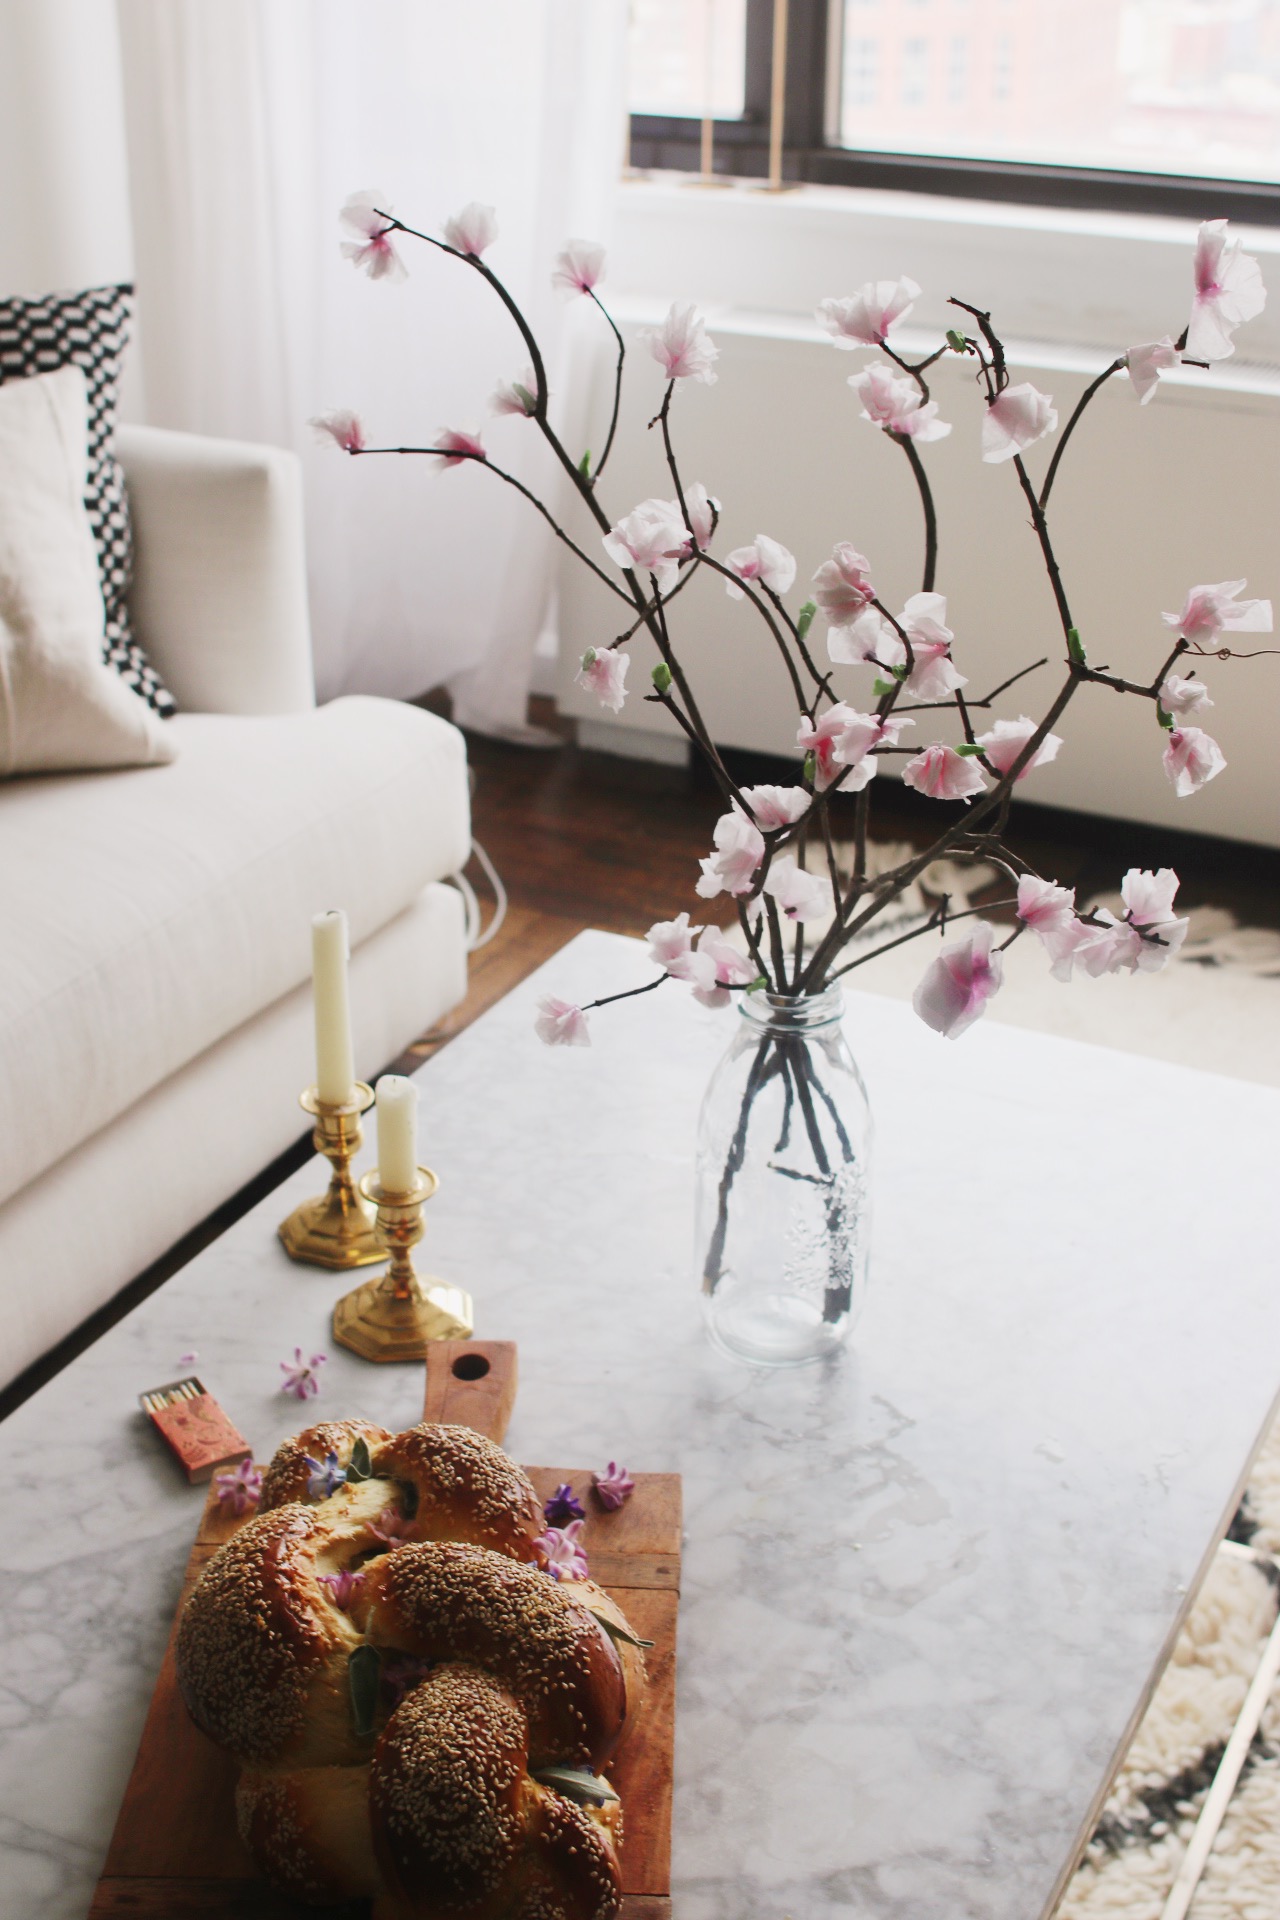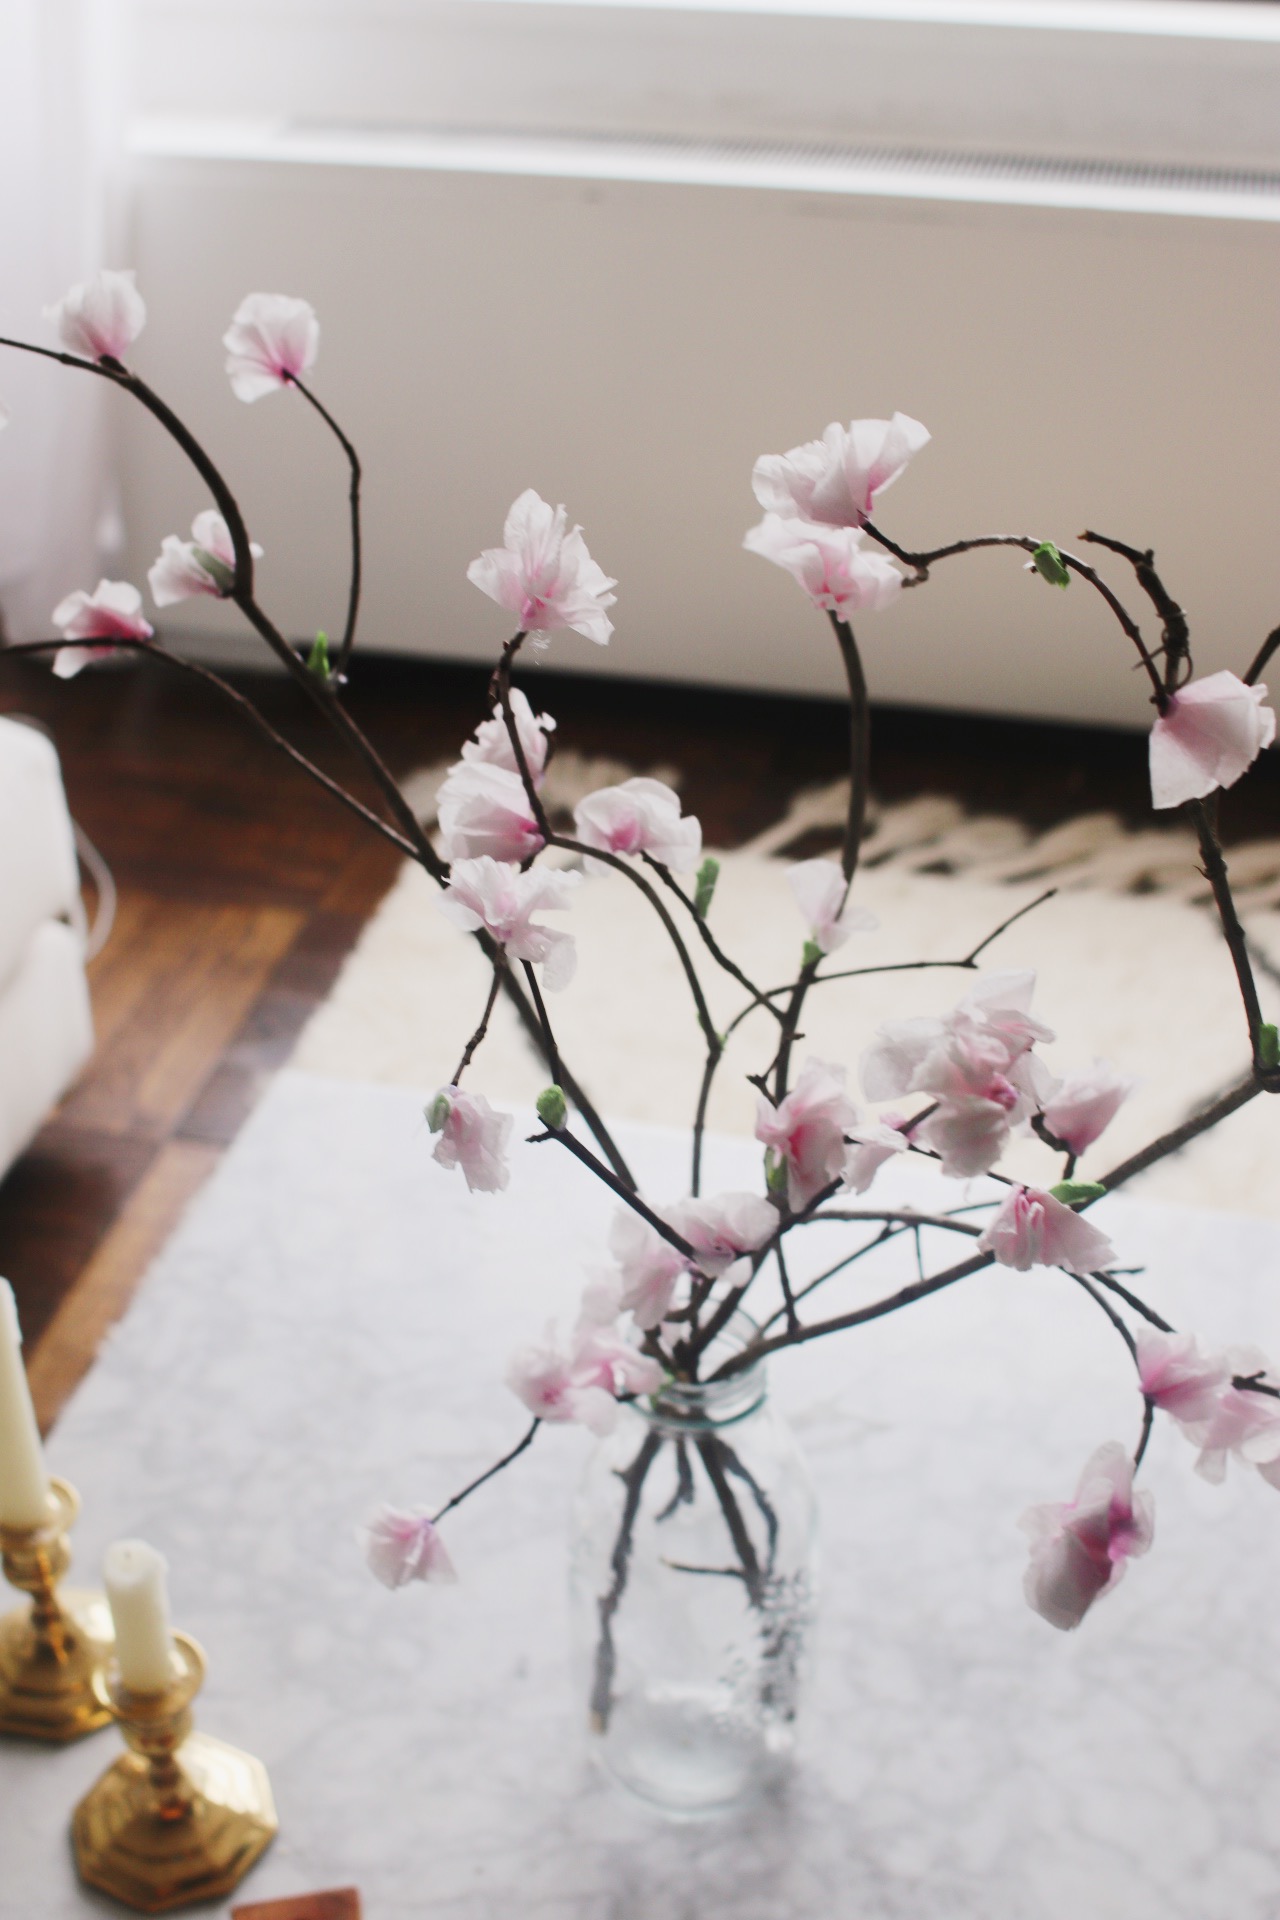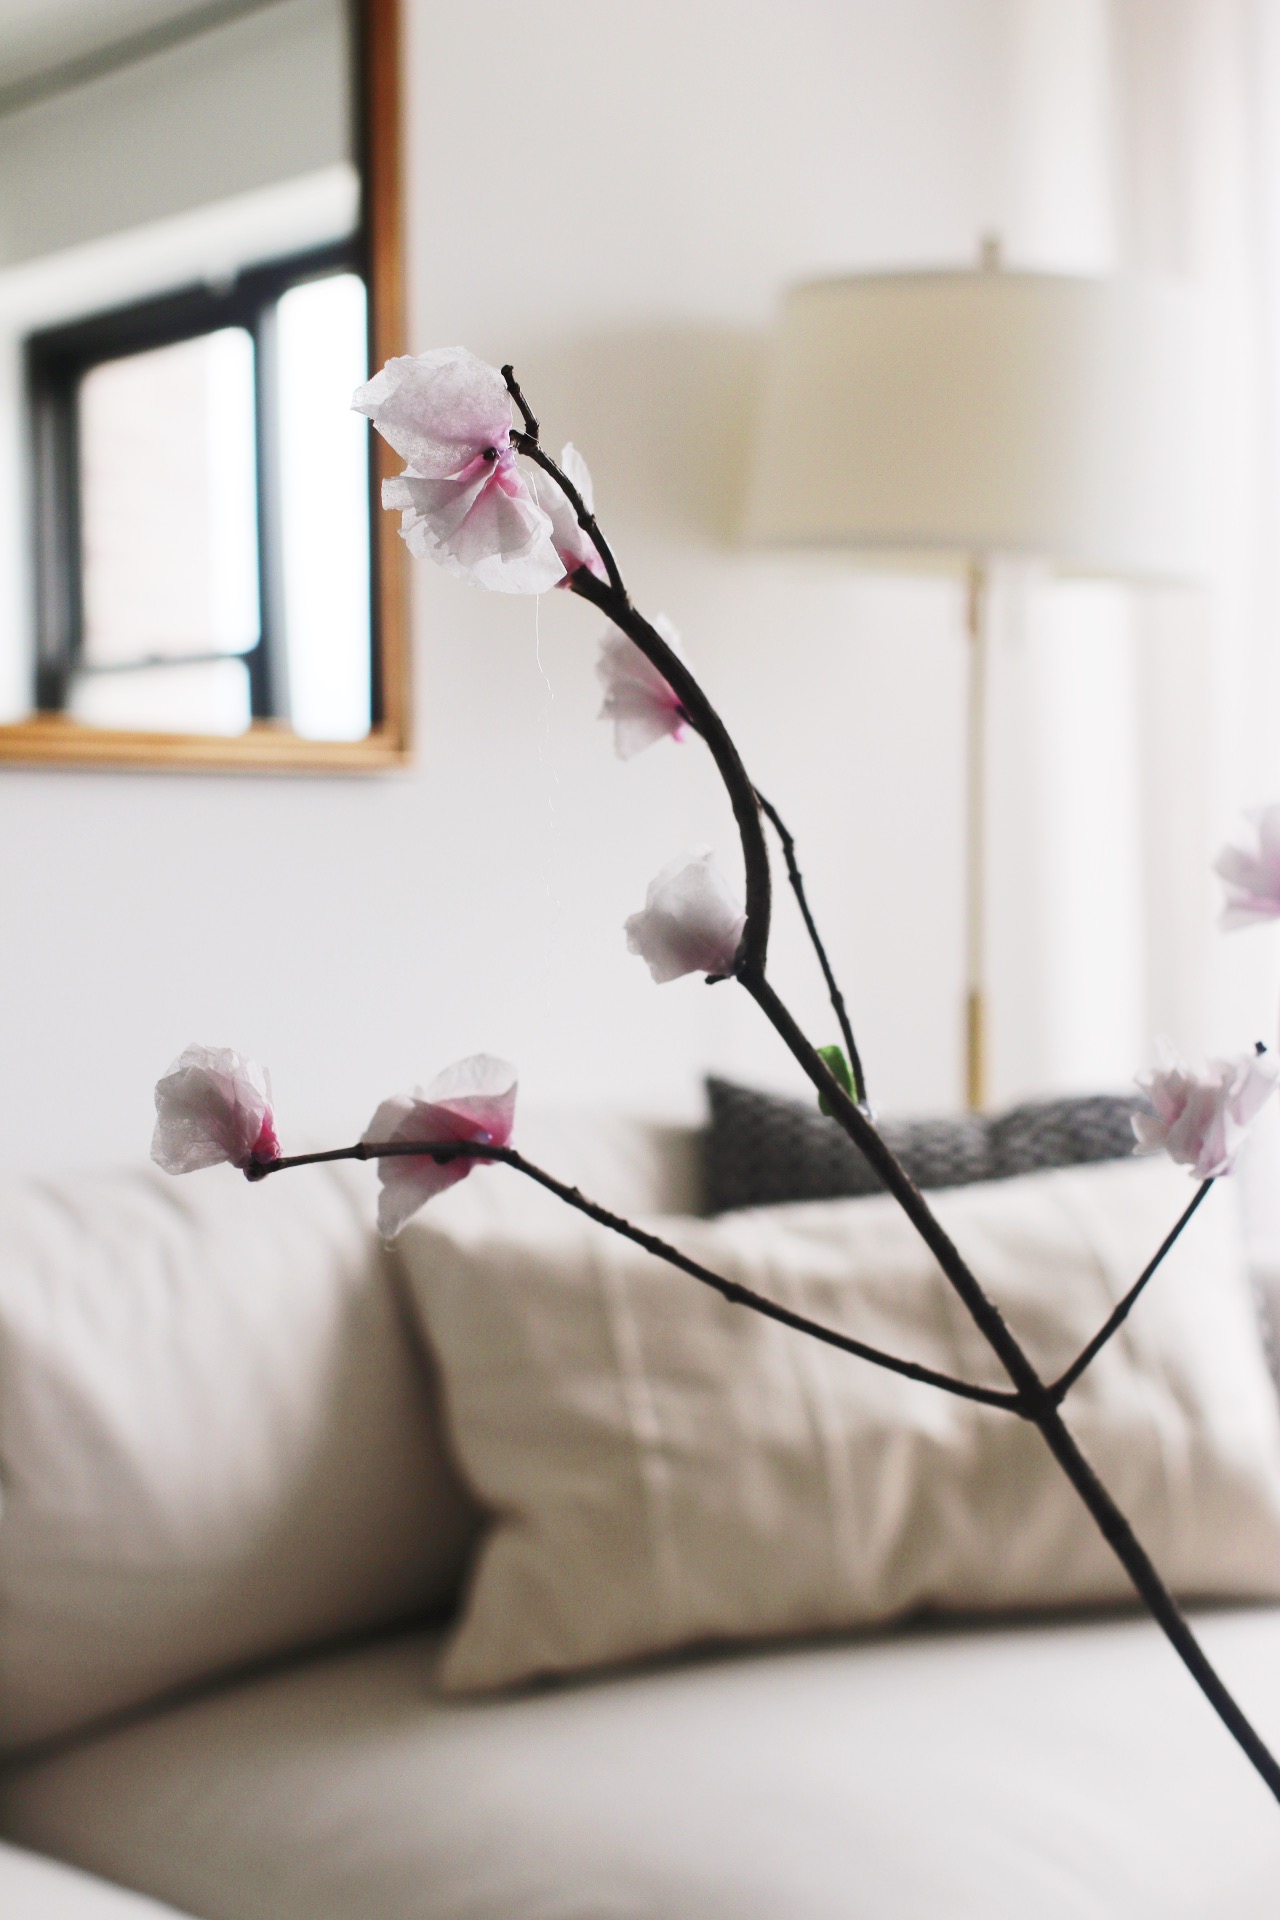
These pretty paper cherry blossoms were inspired by a brilliant post from Darcy Miller. For the uninitiated, Darcy is a “party expert” and Martha Stewart editor whose book, Celebrate Everything, is pretty much my go-to guide to all things entertaining. I know I tend to speak in hyperbole about, well, everything, but you’ve got to understand that this book is actually pure gold. It’s so, so creative. I’ve been known to terrorize my own friends and family members and dinner party guests and random men on the street by making them flip through it with me as I exclaim about this or that platter or cupcake. (Also, as if she wasn’t already the greatest, Darcy was kind enough to share my gelt hot chocolate bombs on her Instagram a few months back. *faints*)

Anyway, these beautiful blooms pretty much stole the show when I posted a shot of last week’s pre-Shabbat set-up. I was fielding questions left and right: “How do I make those?” “What’s the container they’re sitting in?” “Are the branches made of paper, too?”
So…I figured I’d direct you all over to Darcy’s fabulous tutorial to get the full scoop. That’s here!
But all you really have to know is that these are so simple—and perfect for crafters who’ve never tried their hand at paper flowers before. The branches are, in fact, real and foraged from my parents’ backyard, and the paper flowers are nothing more than white paper napkins dipped into the tiniest bit of red dye. So cool, no?

Oh, and the container I’m using here i just a milk jug I bought a million years ago for my DIY egg cream bar.
All of that qualifies this as one of the most budget-friendly, long-lasting spring DIYs out there. The LOVELIEST. Hope you head over to Darcy’s blog and try your hand at them yourself!
