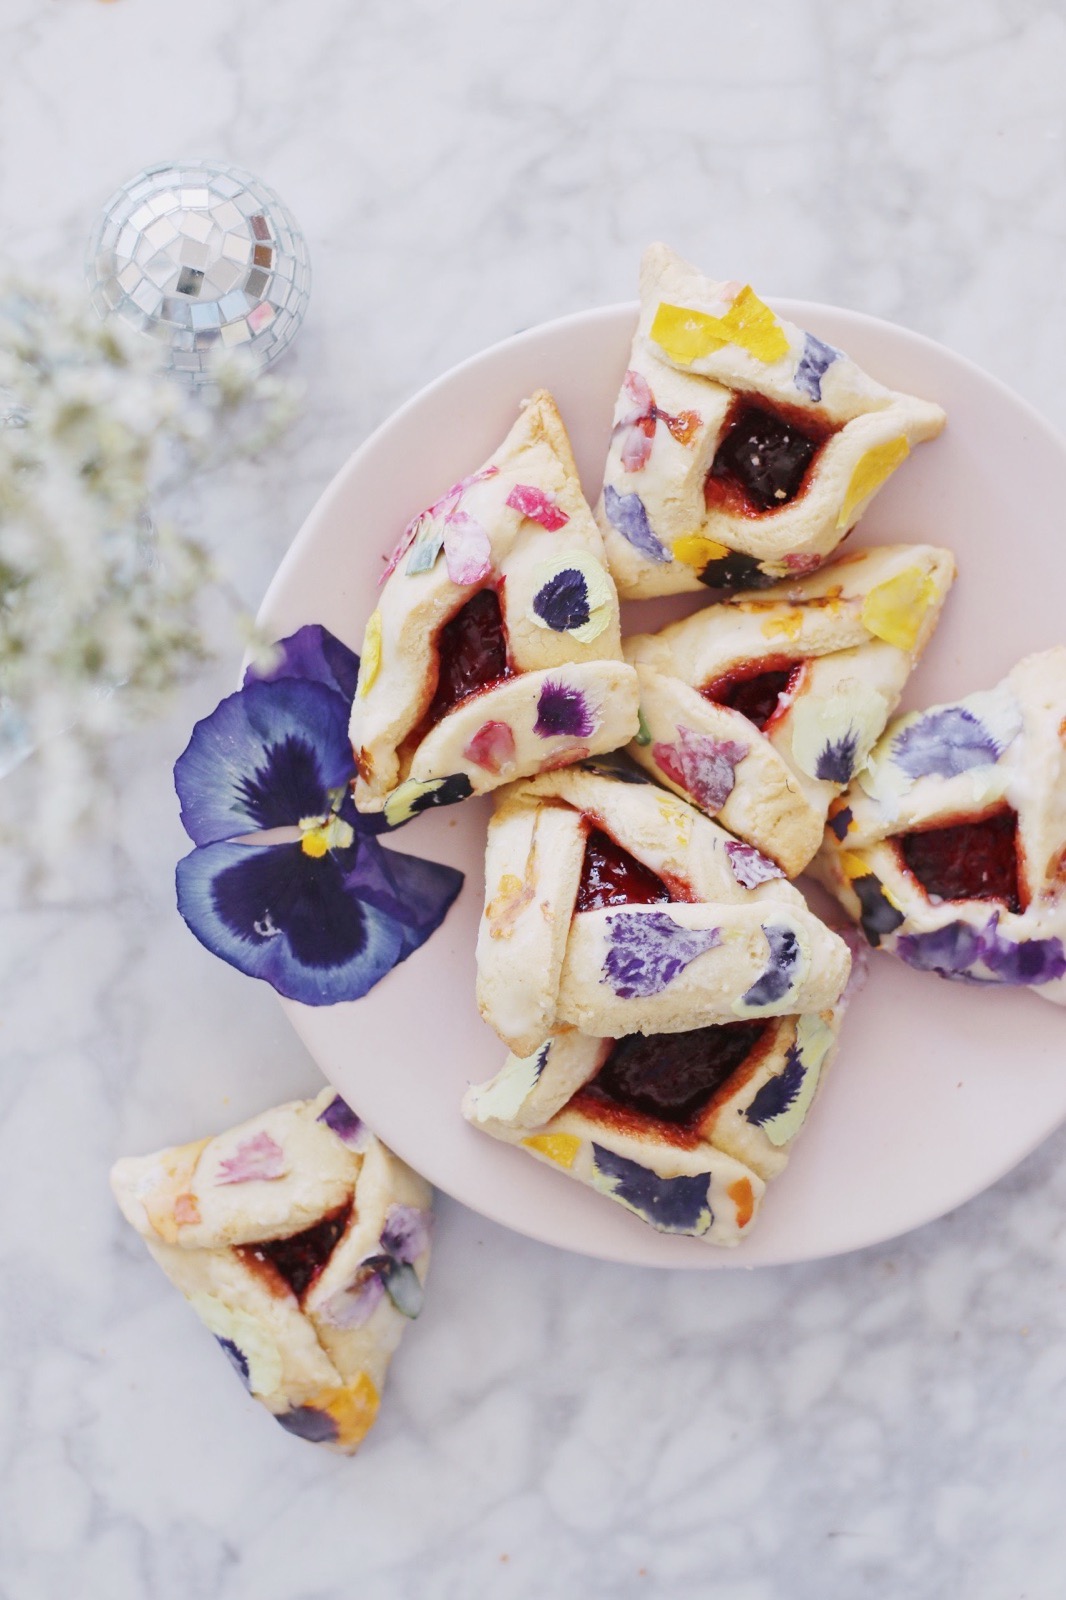
…Or, an introduction to my favorite new hobby: pressing fresh flowers using my dad’s old flower press from the ’70s. Speaking of, why did I not get my hands on this flower press earlier? How is it possible that I lived 28 long years without one in my life? Why are flower presses not just a universal THING, like televisions and coffee tables?
That, my friends, is the questch.
Anyway, back to the cookies. Yes, it’s already Purim, and yes, I’m a little late with this post. WHOOPS.
But I hope you’ll forgive me once you see how lovely these guys are—and maybe bookmark this tutorial for next year?
Because I think you’re gonna love these. Truly I do.
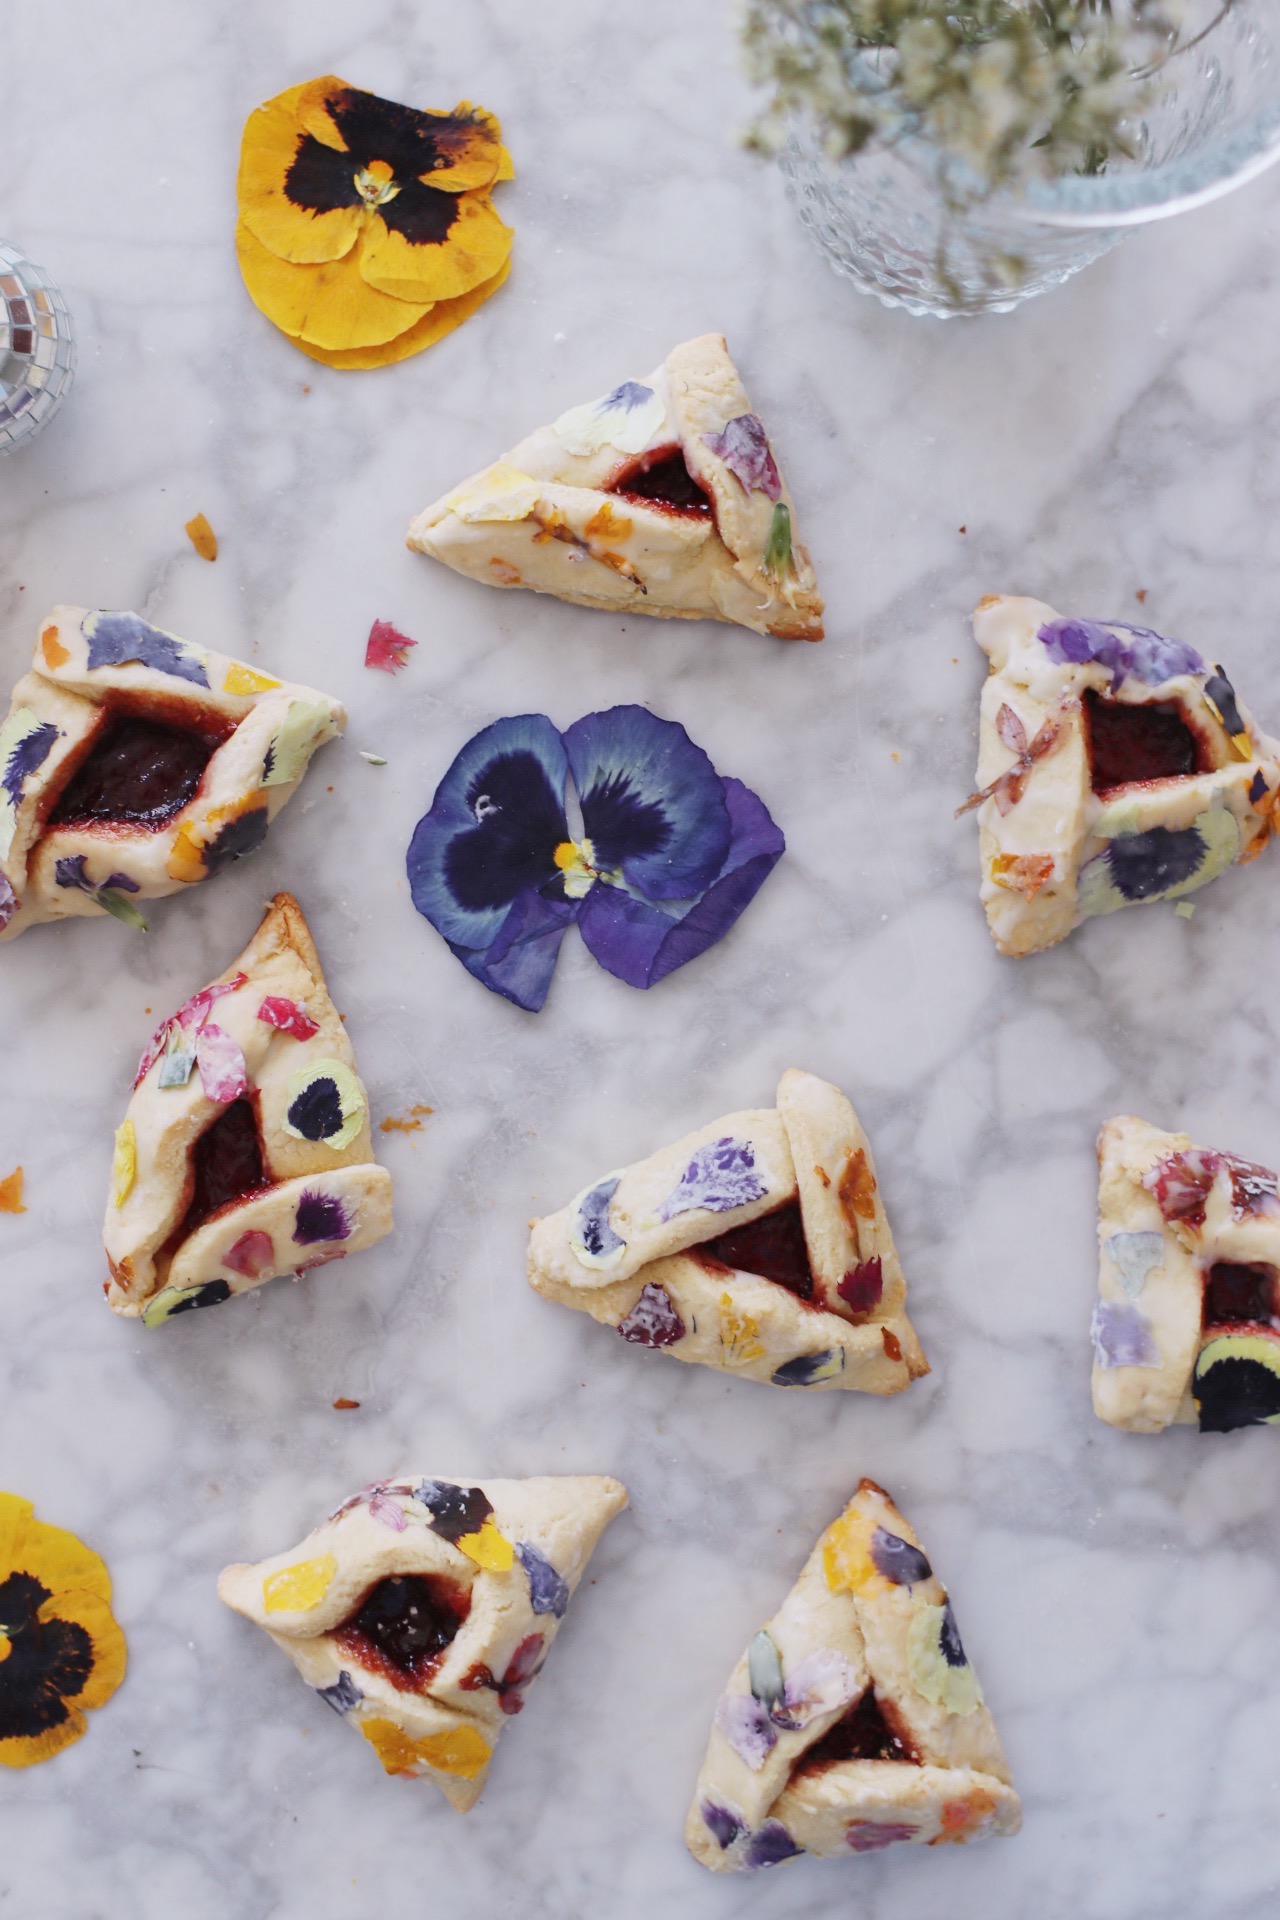
You’ll note that this tutorial does not involve baking the flowers directly into the cookies. There’s a reason for that! I’ve tried so many edible flower recipes, and ultimately, when it comes to baking with them, I’ve never been fully satisfied with the result. Even when the flowers don’t burn or over-bake or turn an unsightly brown color, they still manage to lose so much of their vibrancy and color in the oven…or they just shrink up. It’s always a shame to see a beautiful, fresh bloom go to waste like that.
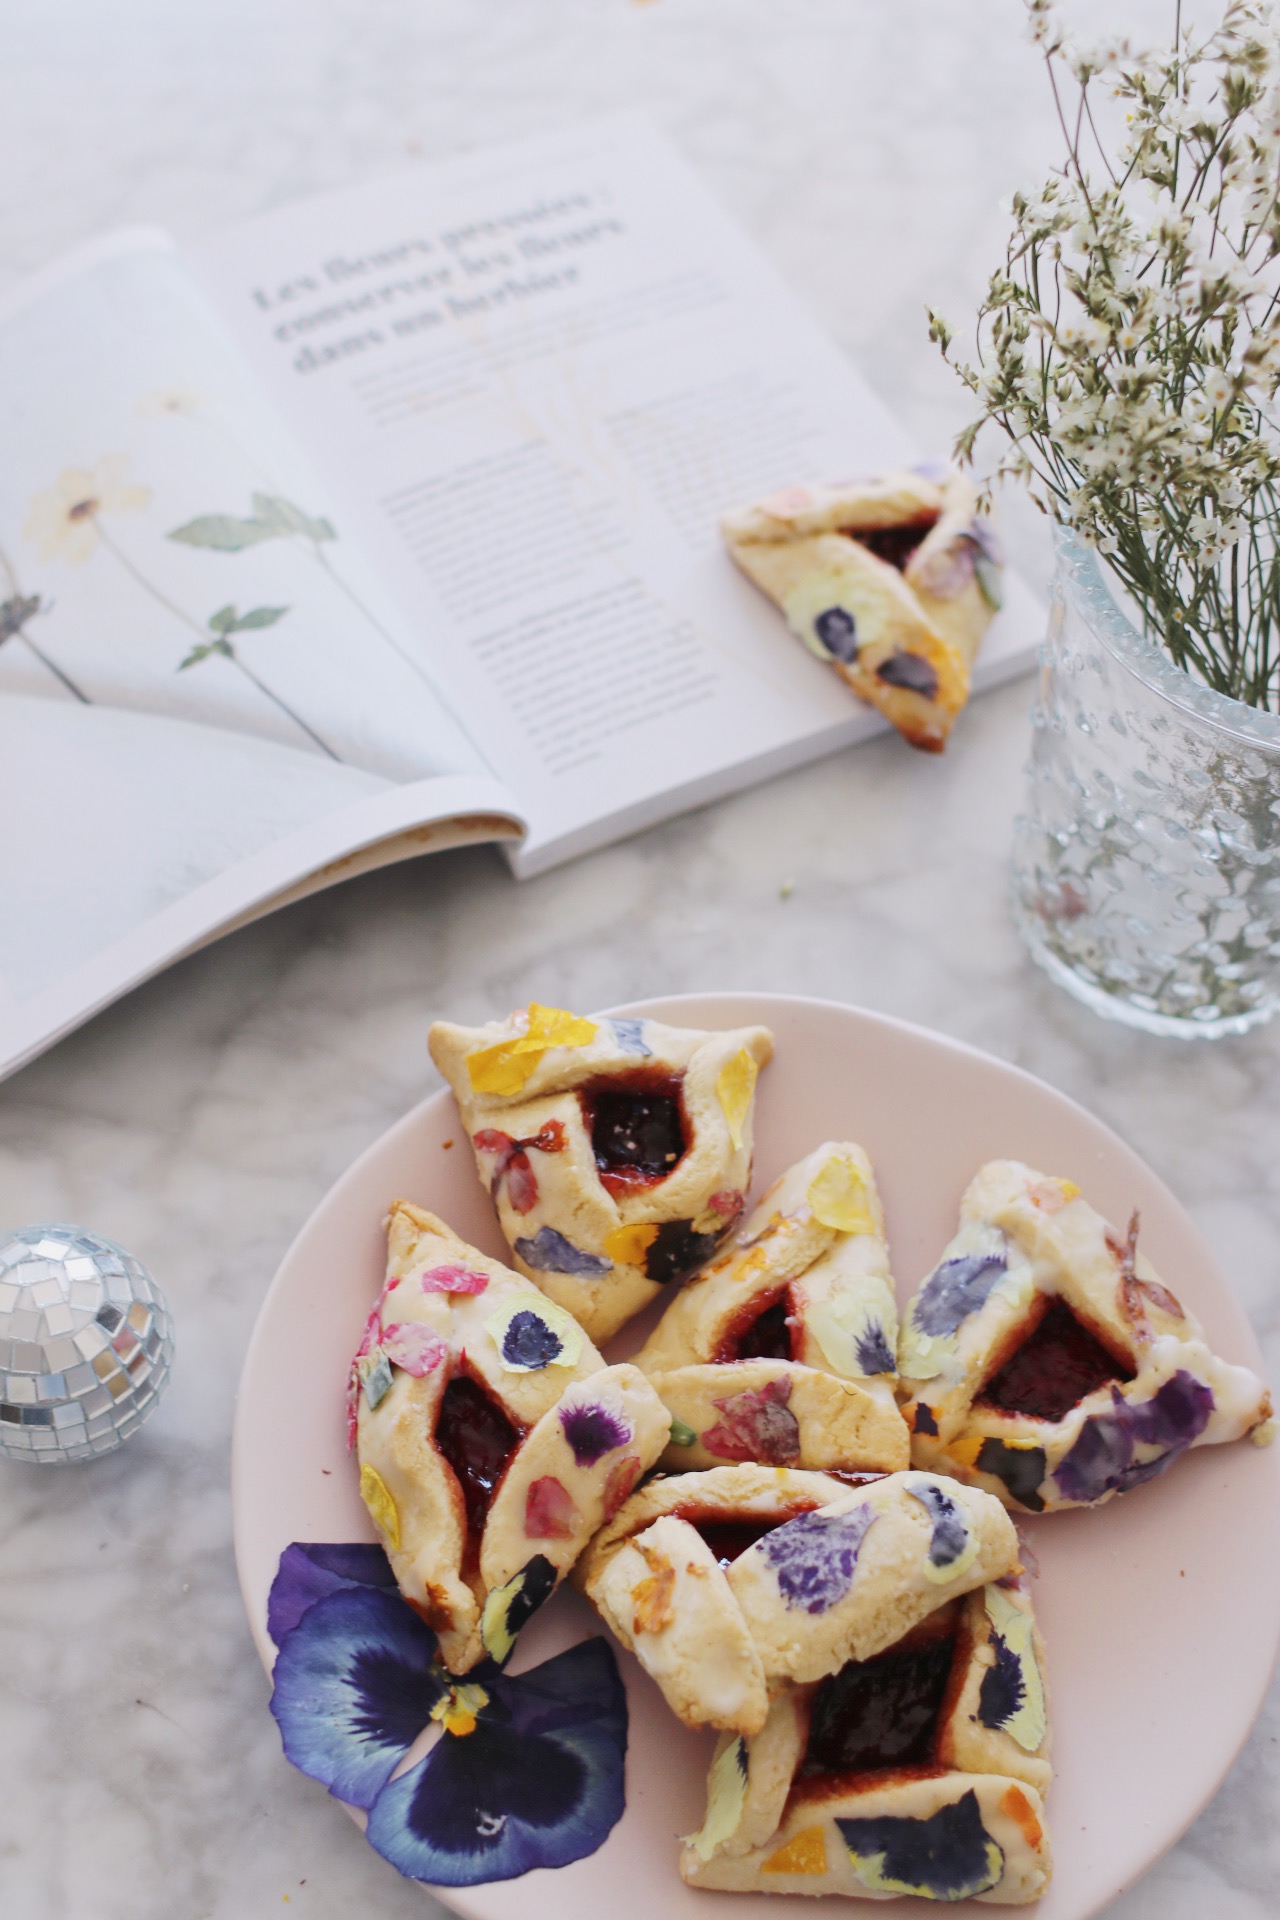
Yes, those types of baked goods absolutely do have the potential to turn out beautifully (hellooo, Loria Stern!), but there’s just so much to love about the look of still-fresh flowers, and it’s so much easier to add them in at the end and not to have to worry about how they’ll look post-bake.
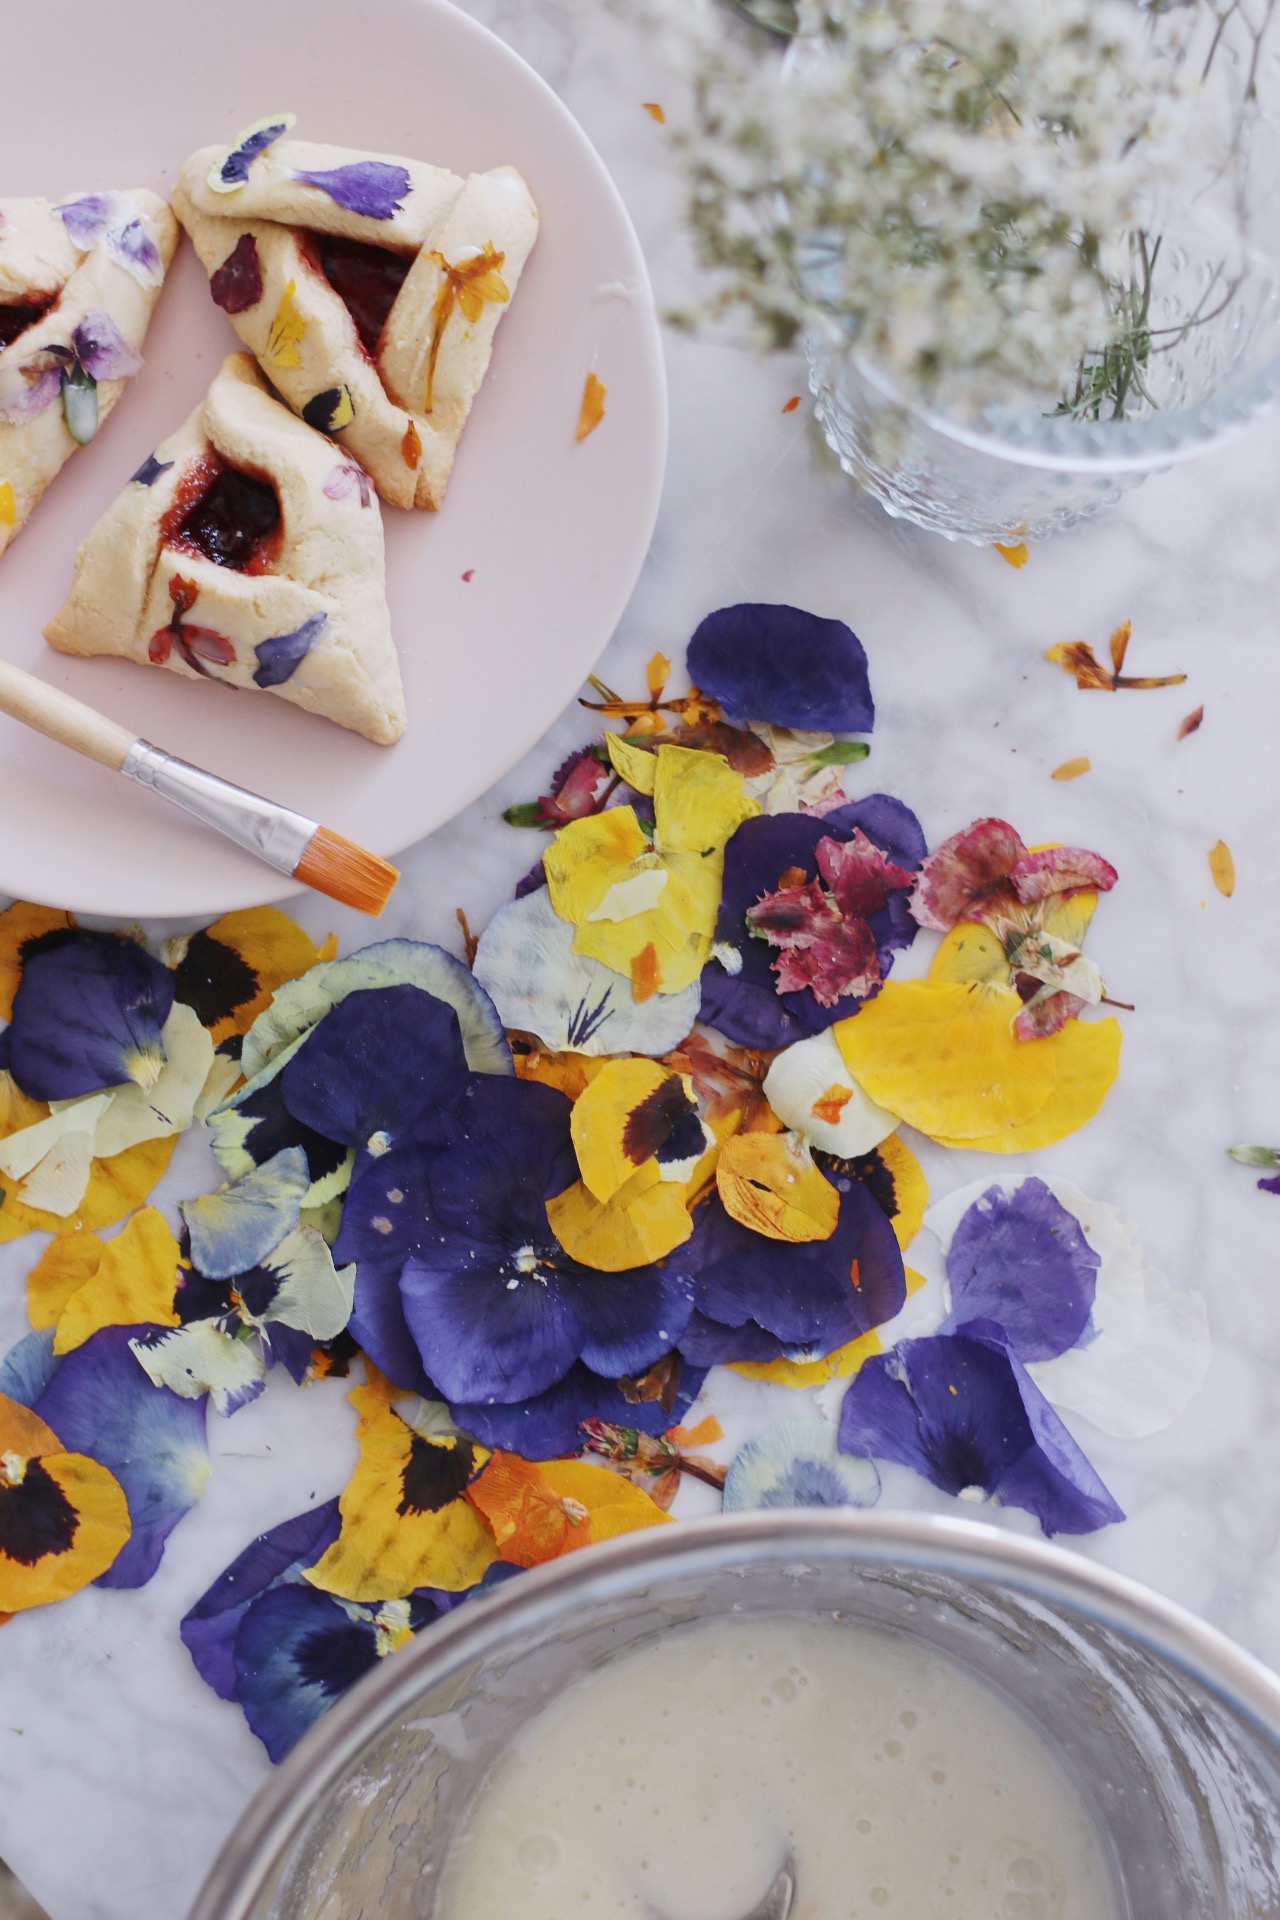
Instead, these hamantaschen involve a layer of edible Mod-Podge—well, that’s what I’m calling it, anyway—which is basically just a simple, sugary glaze that acts as a glue. You’ll use a paintbrush to paint the glaze on and adhere the flowers to the surface of the already-baked cookies.
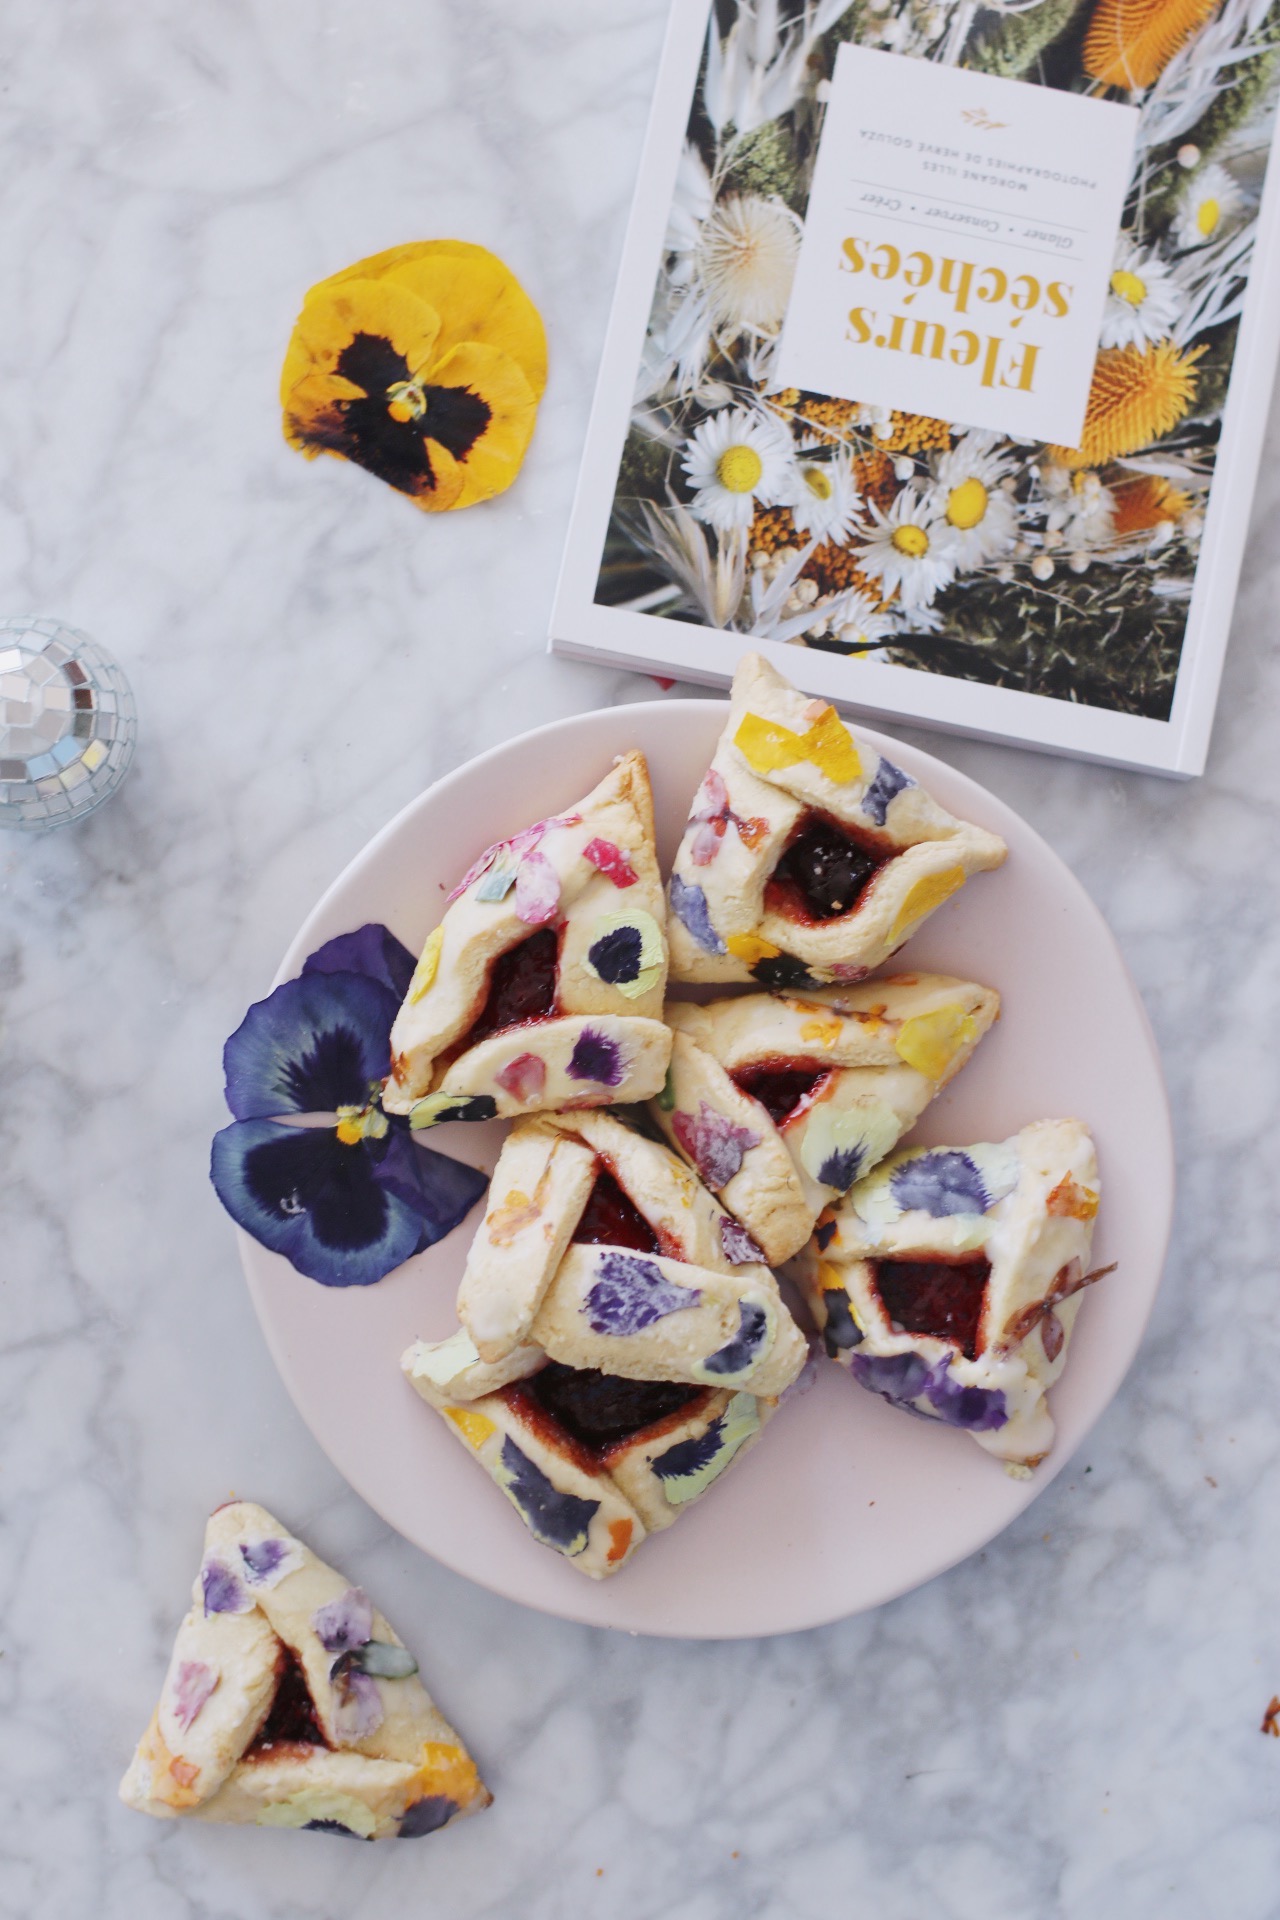
And that’s it! I hope you love these gorgeous cookies and have as much fun as I did putting them together. Without further ado, find the full tutorial below—and as always, feel free to comment below with any questions (or reach out via Instagram)!
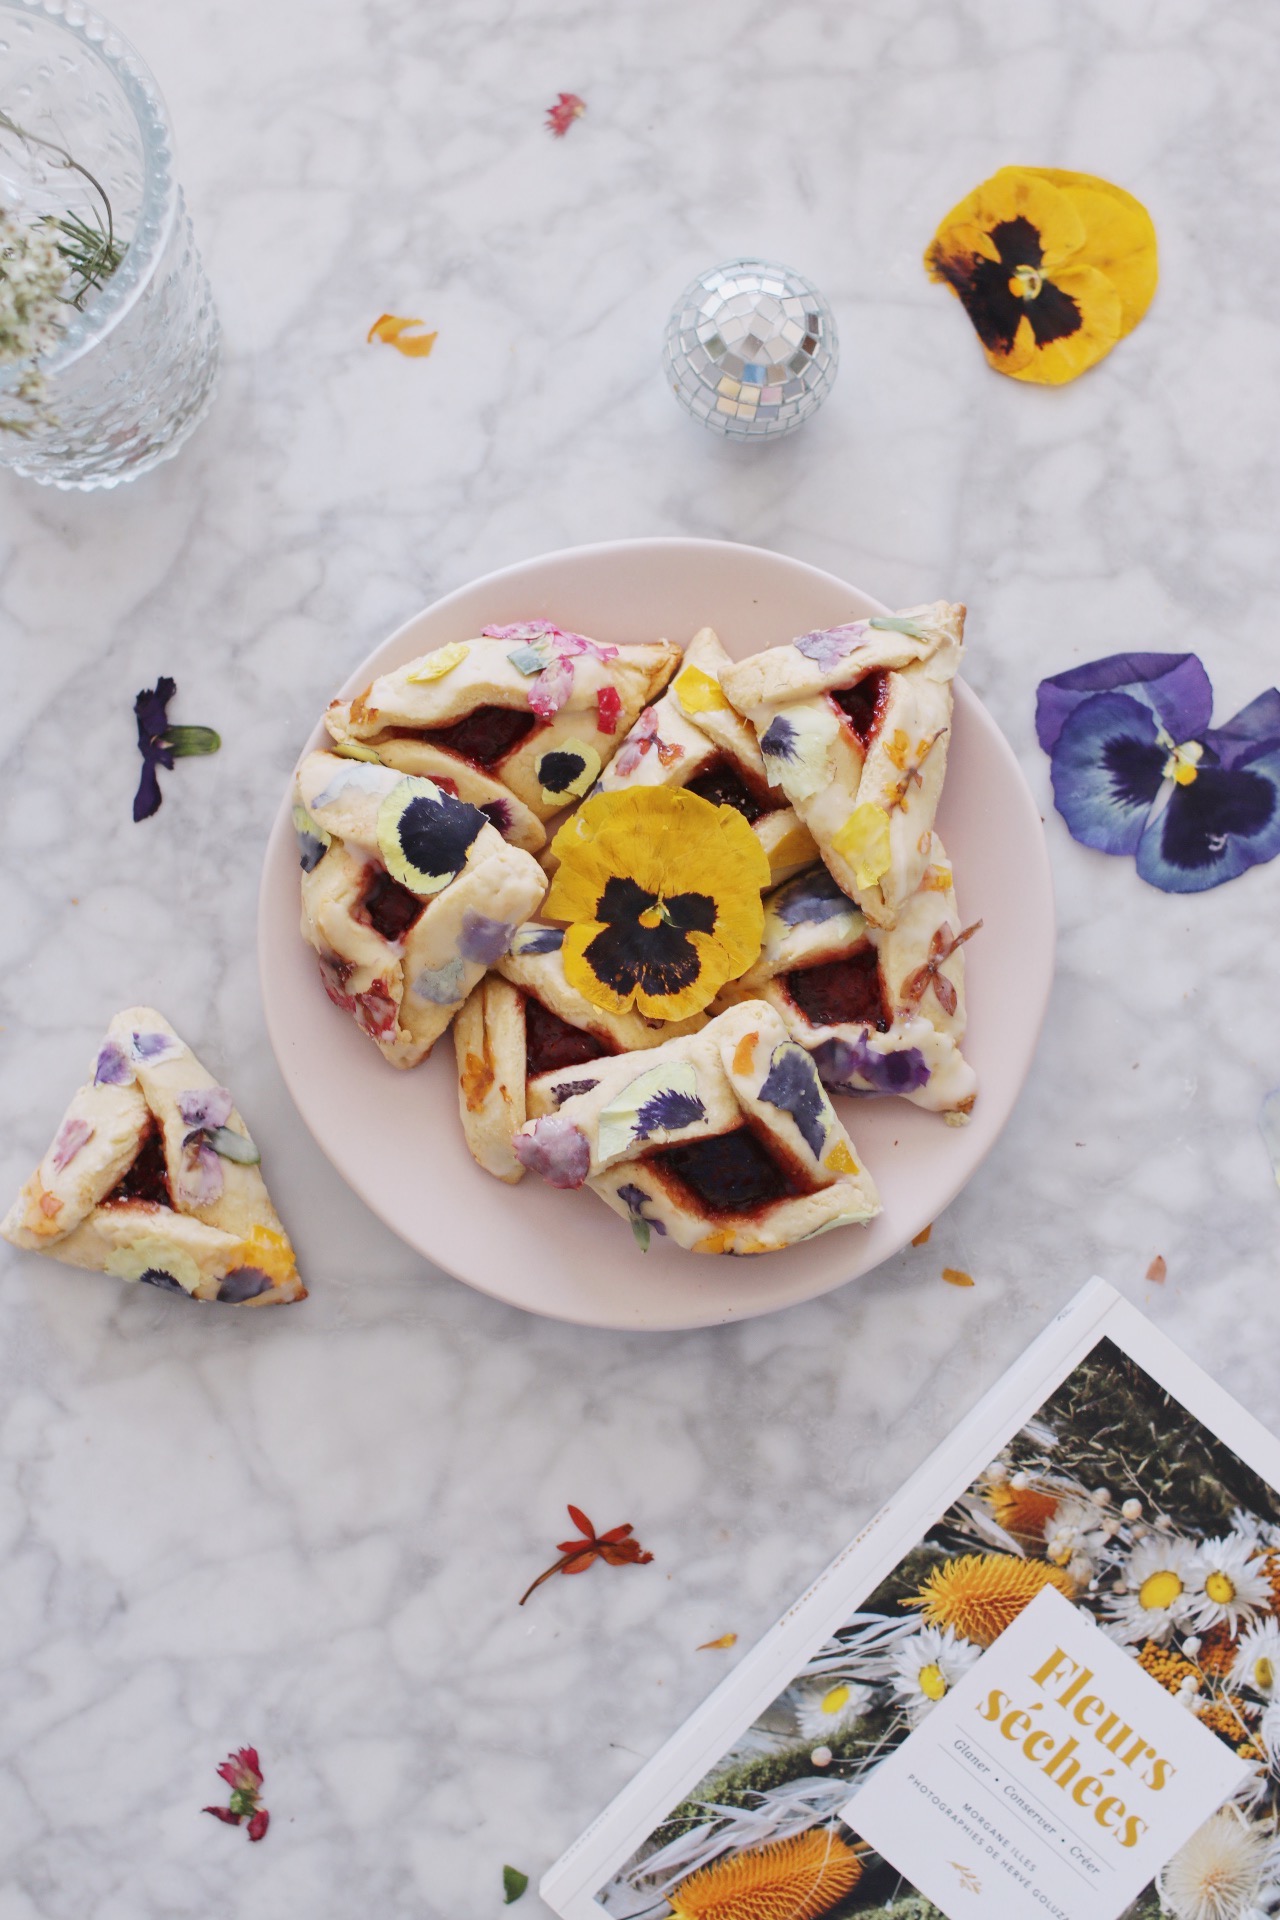
Pressed Flower Hamantaschen
What You’ll Need:
- One batch of your favorite hamantaschen recipe, baked and cooled! (I love Tori Avey’s—she’s got a very popular buttery hamantaschen recipe and a dairy-free version as well; I used the dairy-free recipe for the cookies you see here and opted for strawberry preserves as my filling)
- A selection of edible flowers (pre-Covid, I used to purchase these at a local farmer’s market; lately, I’ve been ordering from Gourmet Sweet Botanicals and adore their selection)
- 1 cup confectioner’s sugar
- 2 1/4 tablespoons milk
- A small paintbrush
What You’ll Do:
- Press your flowers: Ideally, you’ll do this at least two weeks before assembling the hamantaschen in order to ensure that they’re really dry and flat! But I’ve had luck pressing them for just a week, and you can absolutely get by with less-than-totally-dry flowers. Use a flower press or lay the fresh blooms flat on one sheet of printer paper with a tiny bit of space between each (so that they don’t get stuck together once dry). Top with a second sheet of paper, then place several heavy books or flat objects on top (you really want some serious weight here!). Return in two weeks—your flowers should be beautifully dry and paper-thin.
- Make the glaze: Whisk together the sugar and milk in a medium bowl.
- Decorate the hamantaschen: Using the paintbrush, dab a thin layer of your glaze “glue” onto one section of the outside of one of the hamantaschen. Place a flower petal (or full flower, if it’s not too large!) onto the glaze, then use the paintbrush to apply more glaze on top of the flower to secure—kind of like edible Mod-Podge. The glaze will dry clear, so don’t worry about overdoing it. Continue until you’re satisfied with the look of the cookies, then serve or share (or save, according to your specific hamantaschen recipe).
