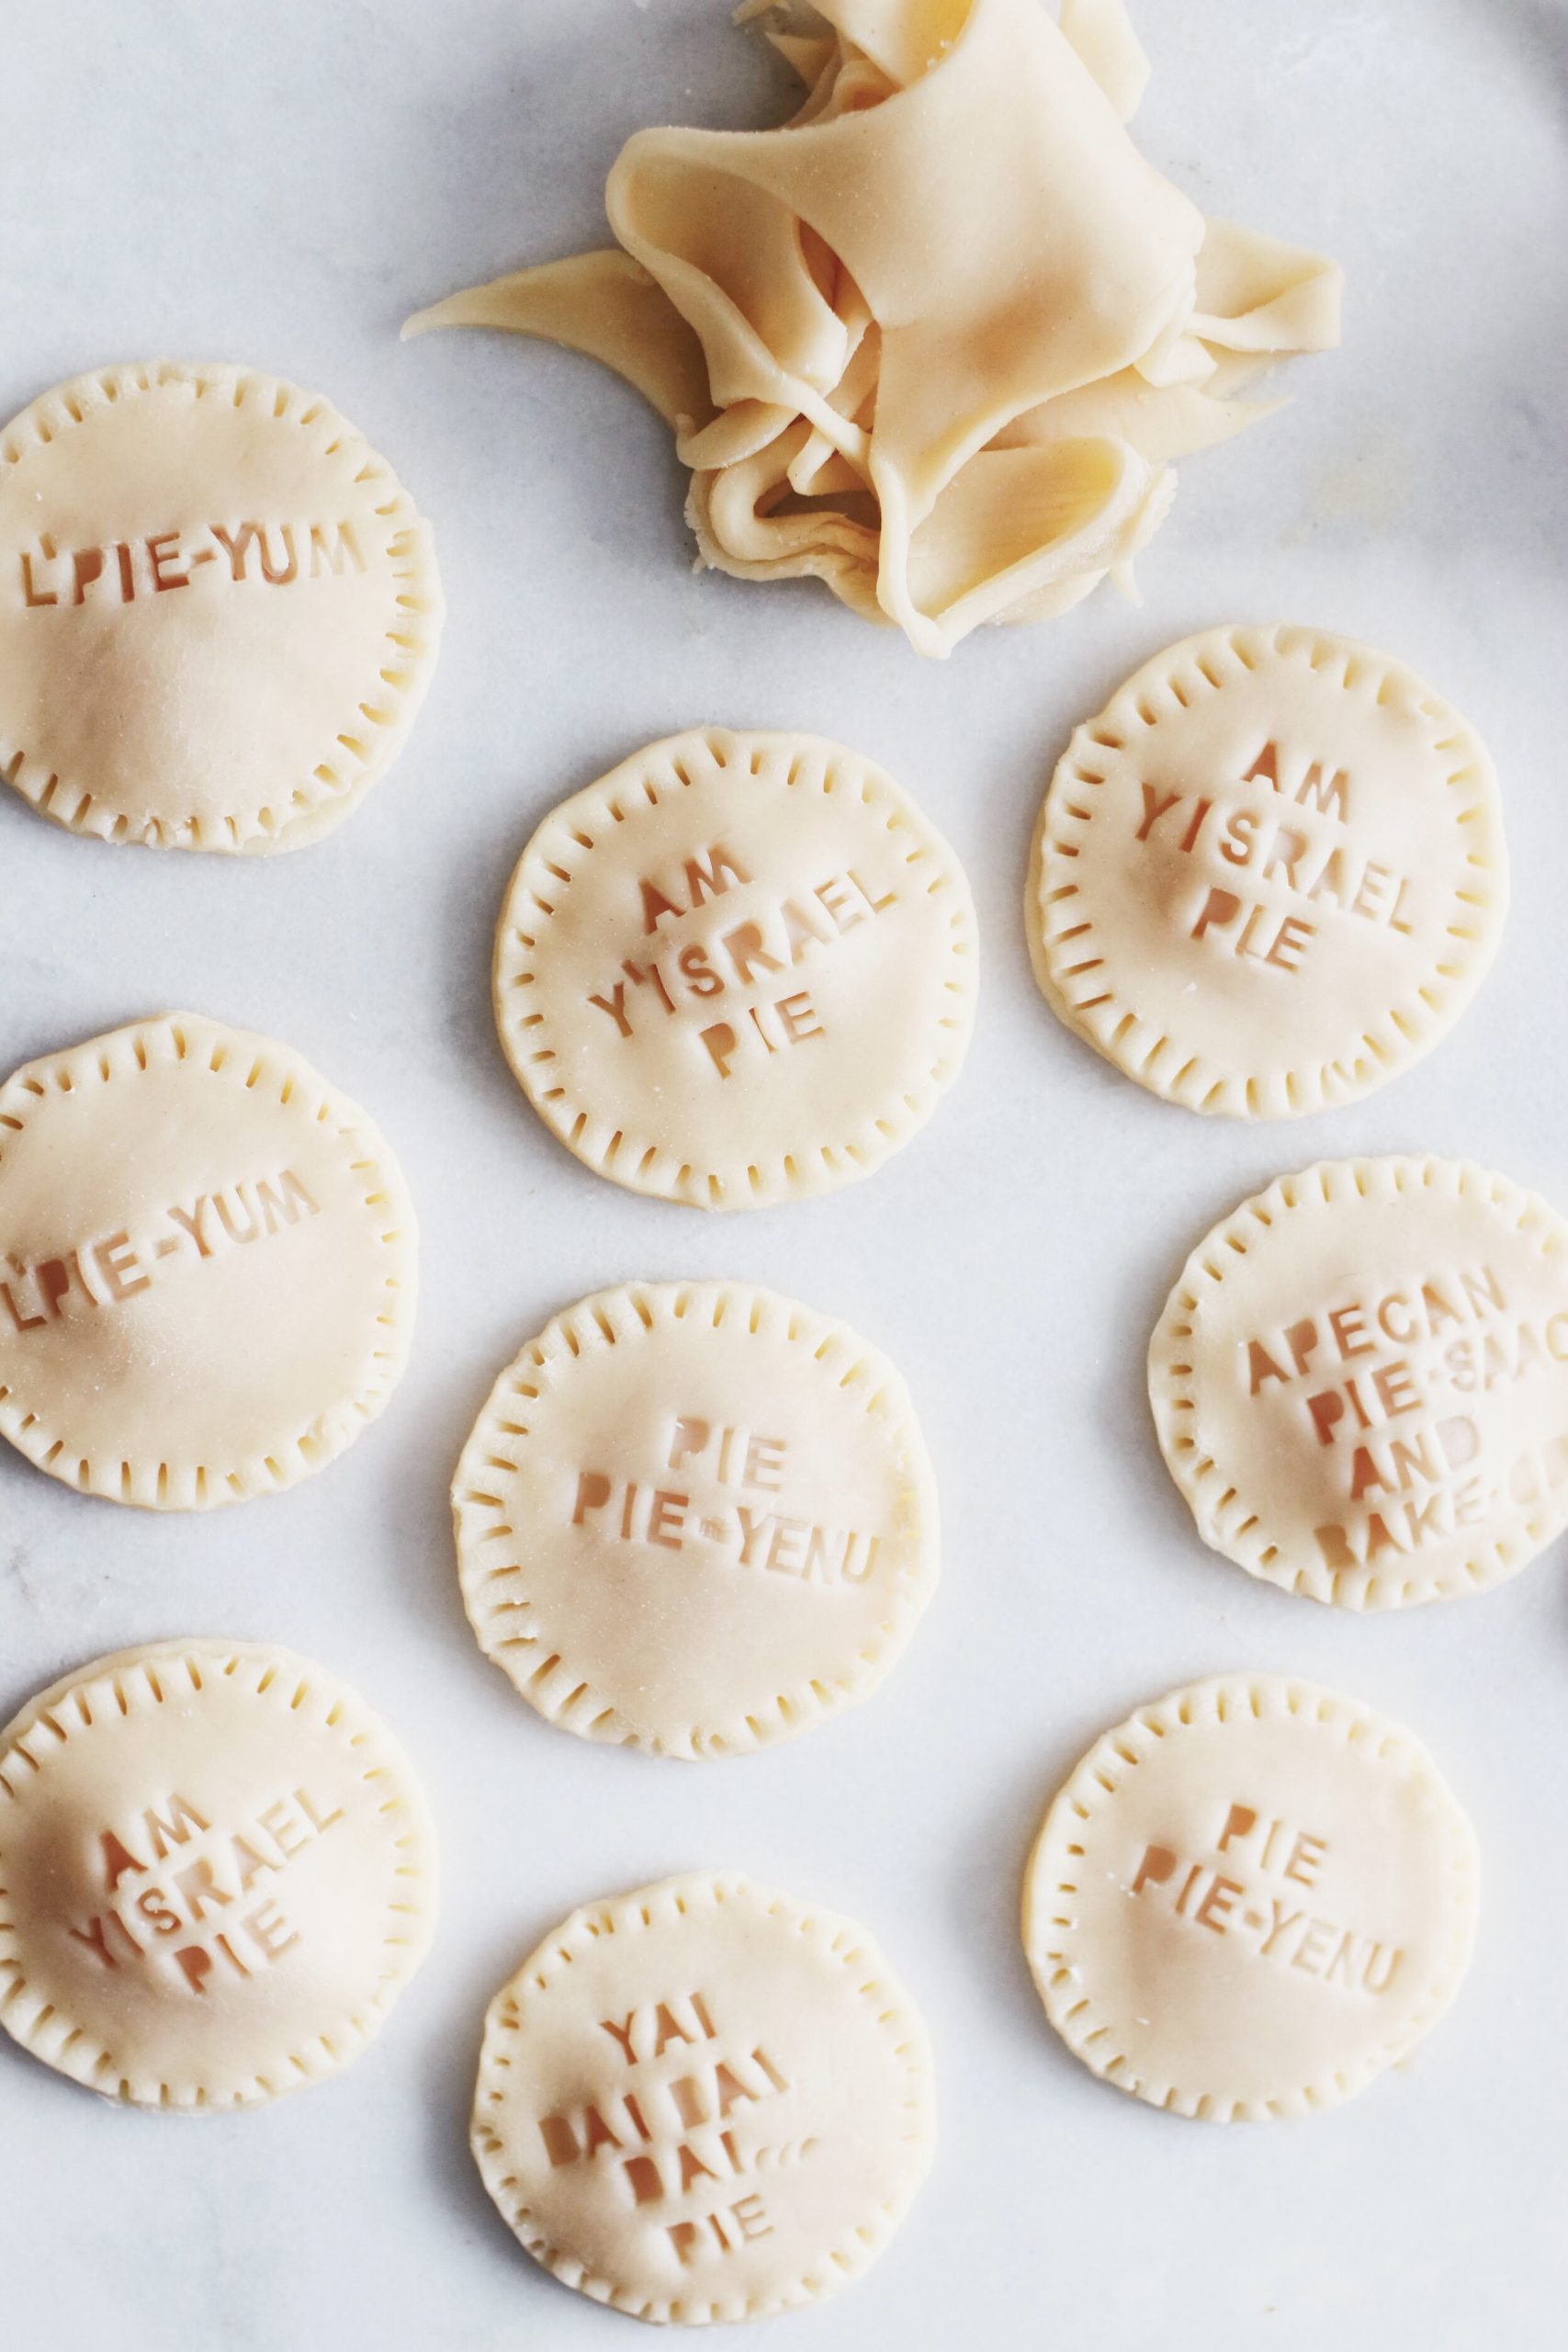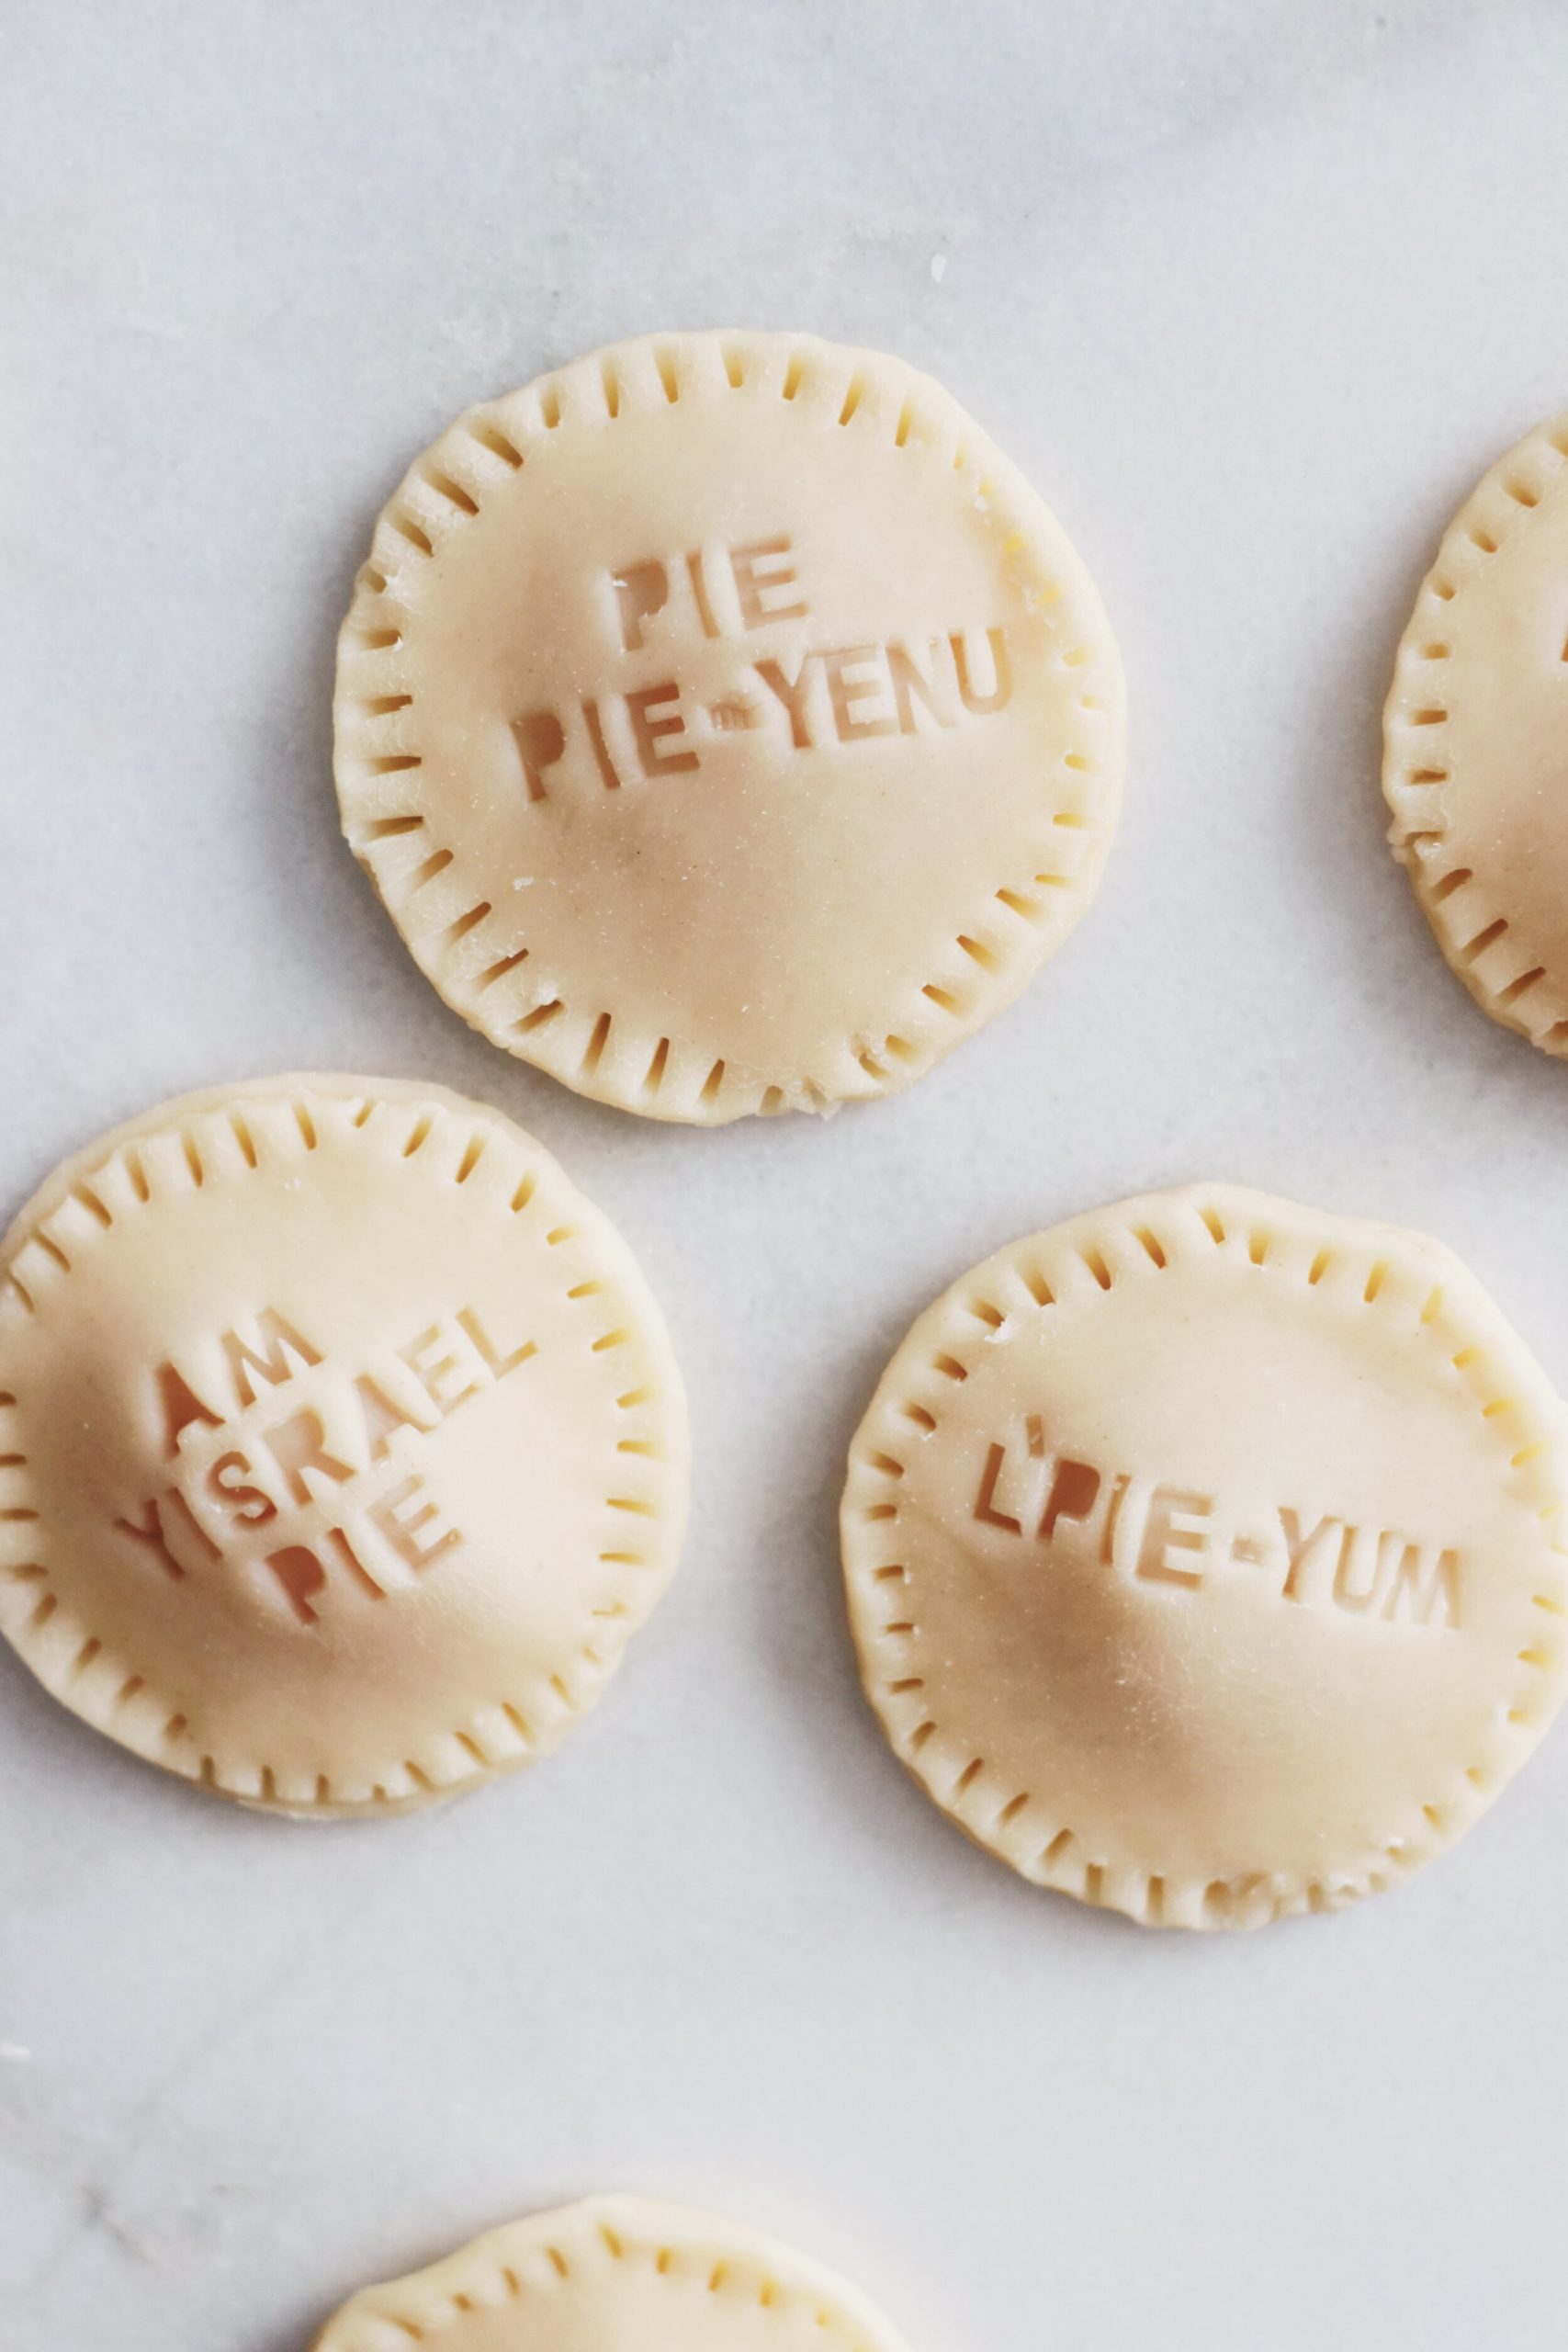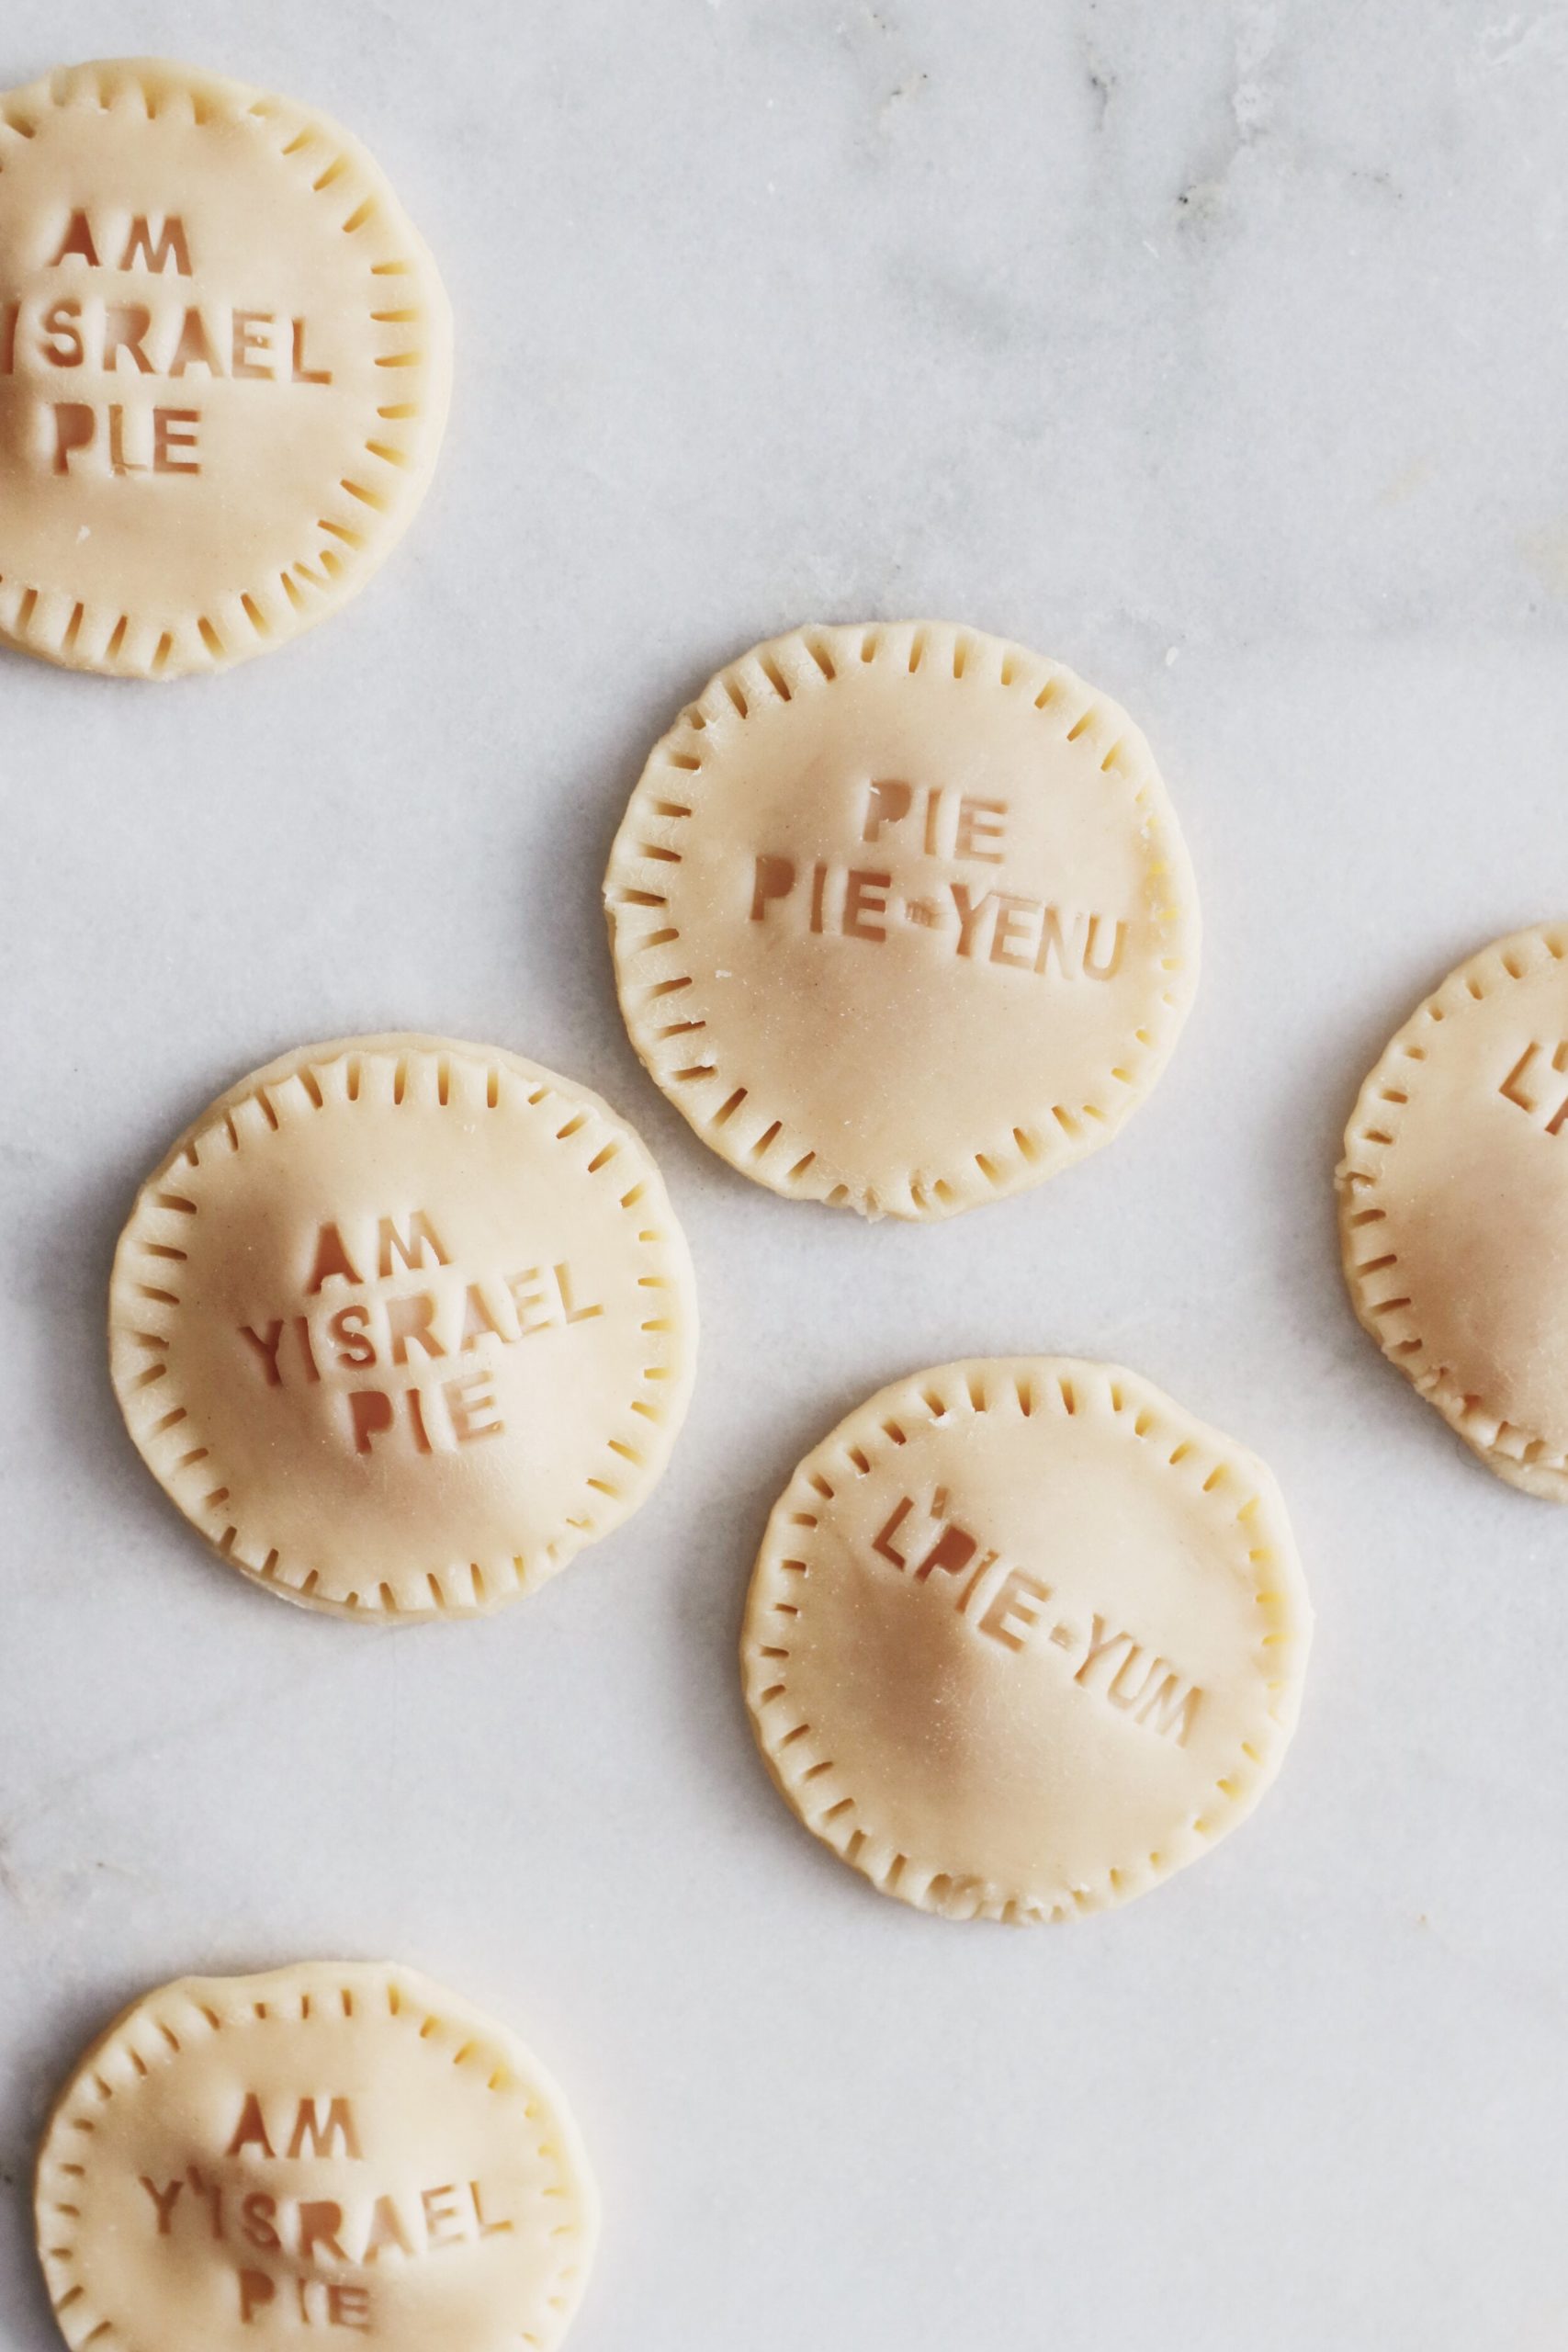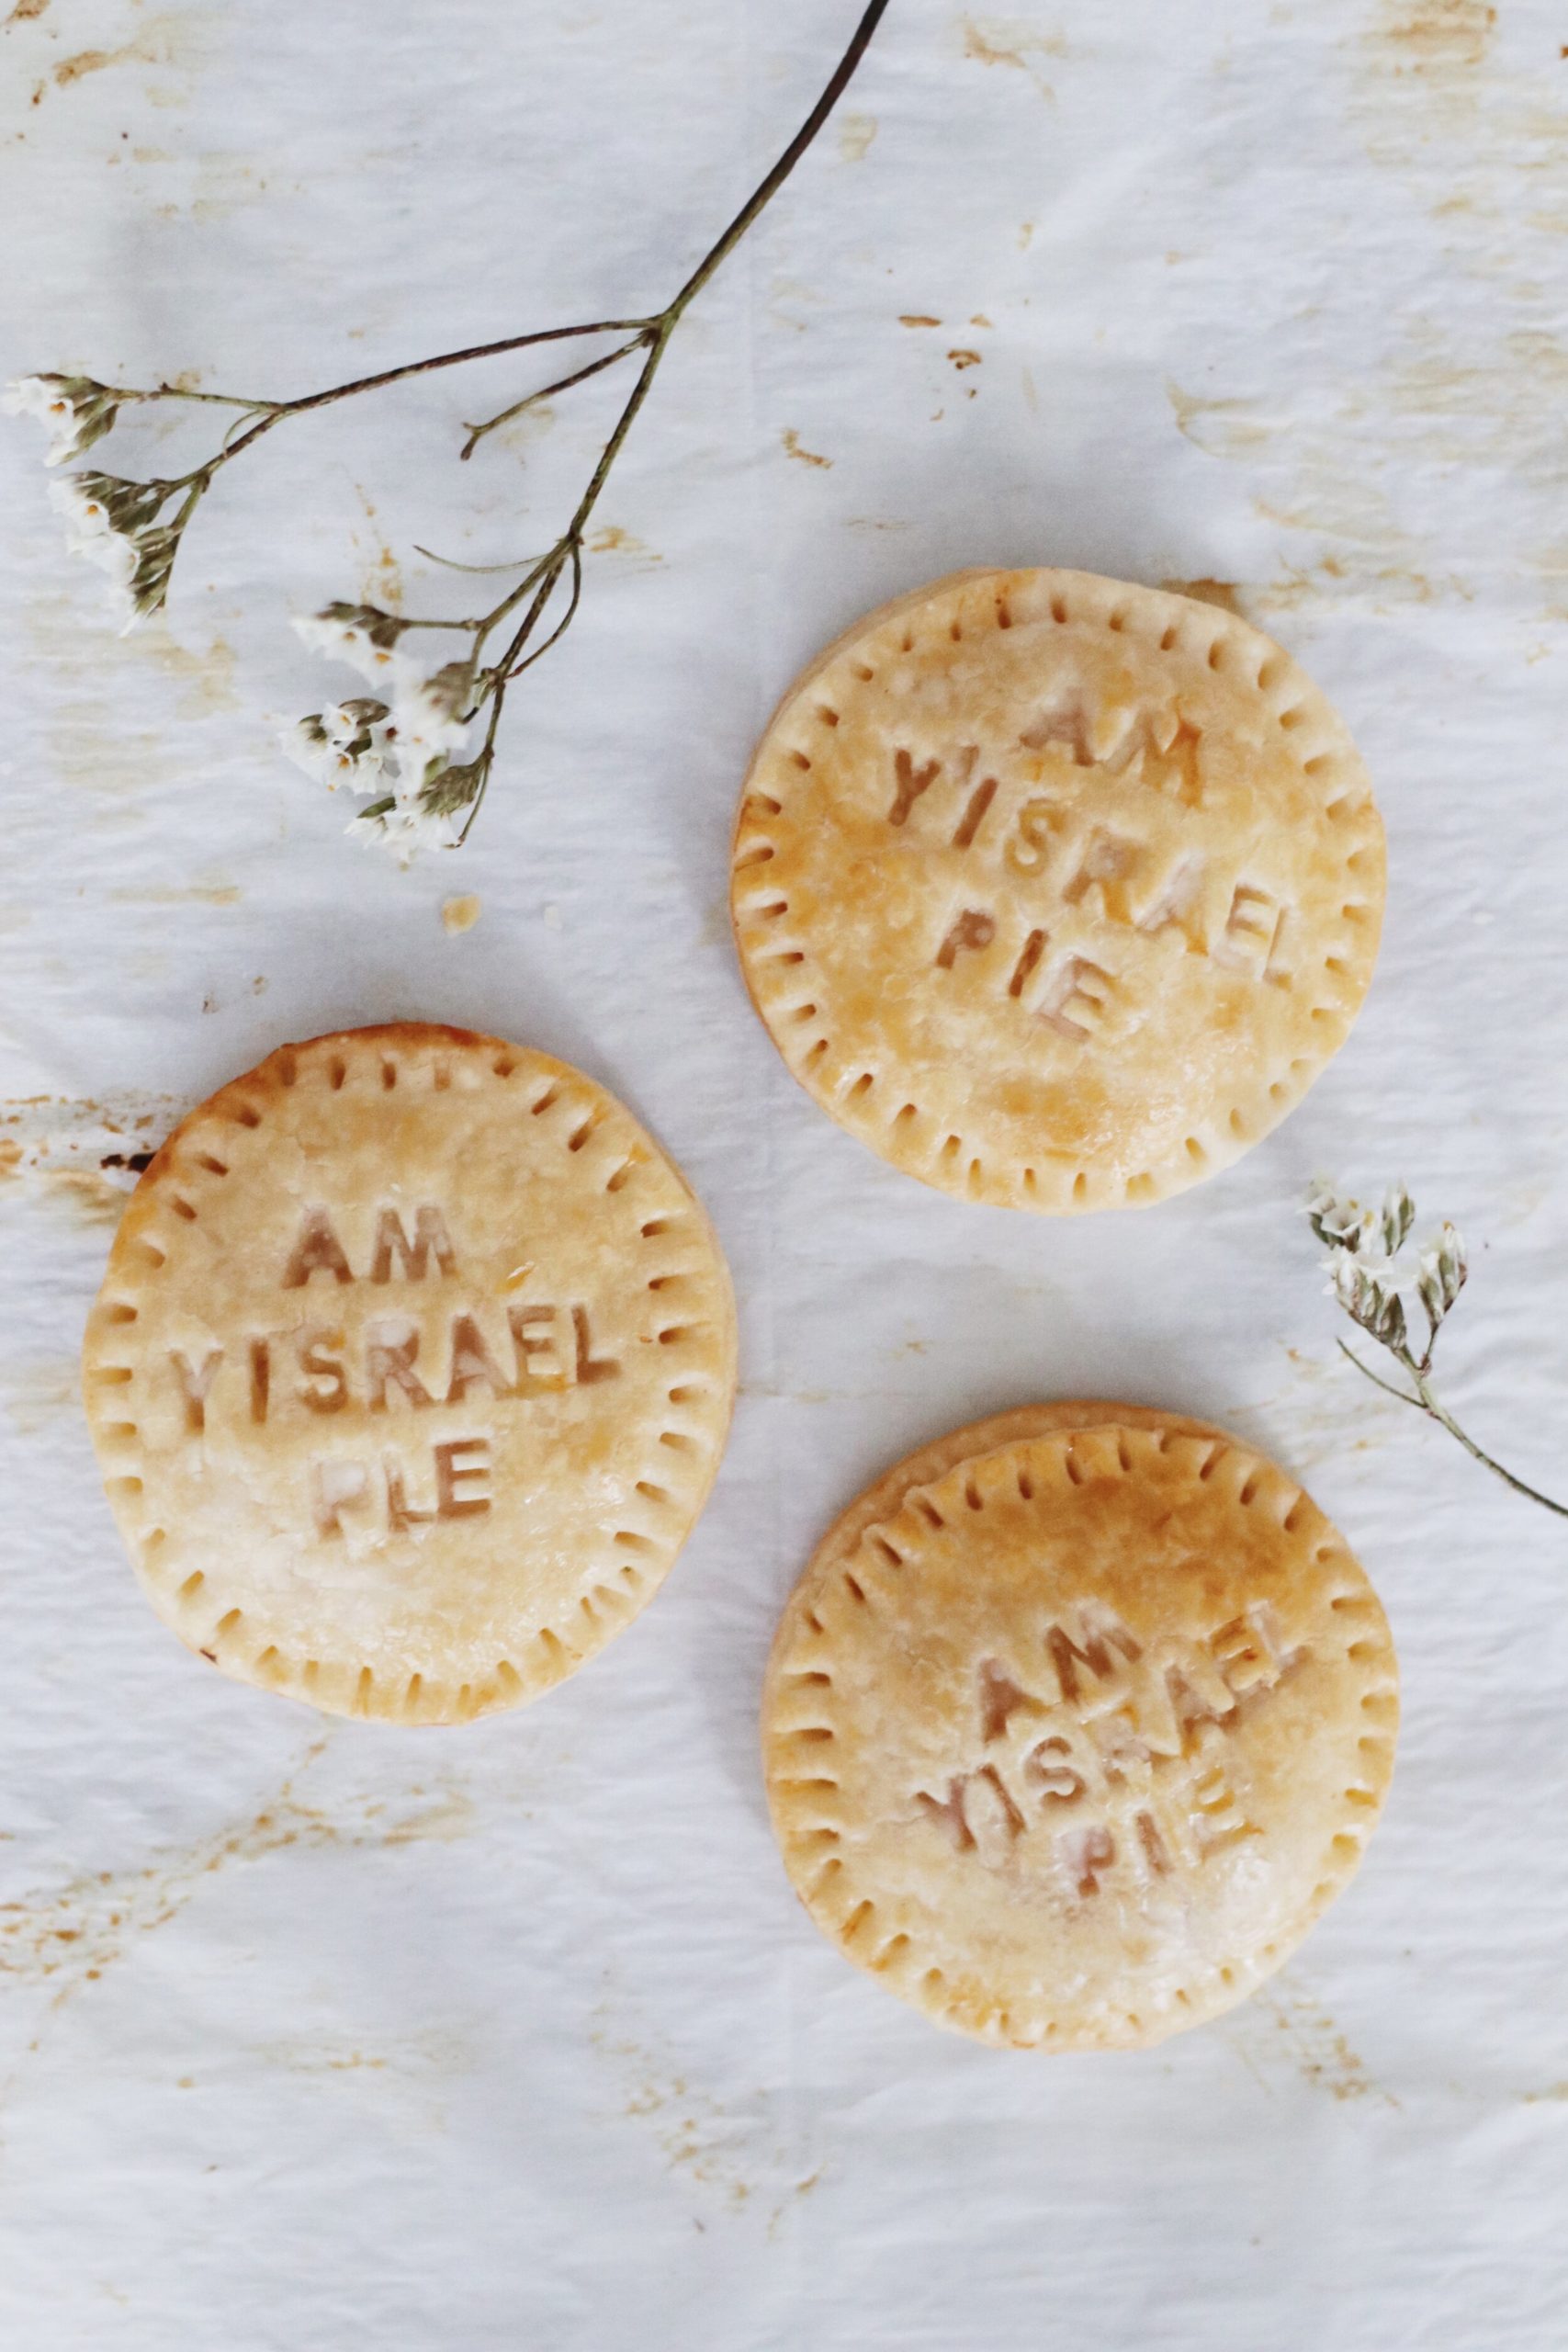
I’m keeping this post RATHER short because i’m in the throes of Hanukkah-planning / work / life and my brain is mush.
BUT!
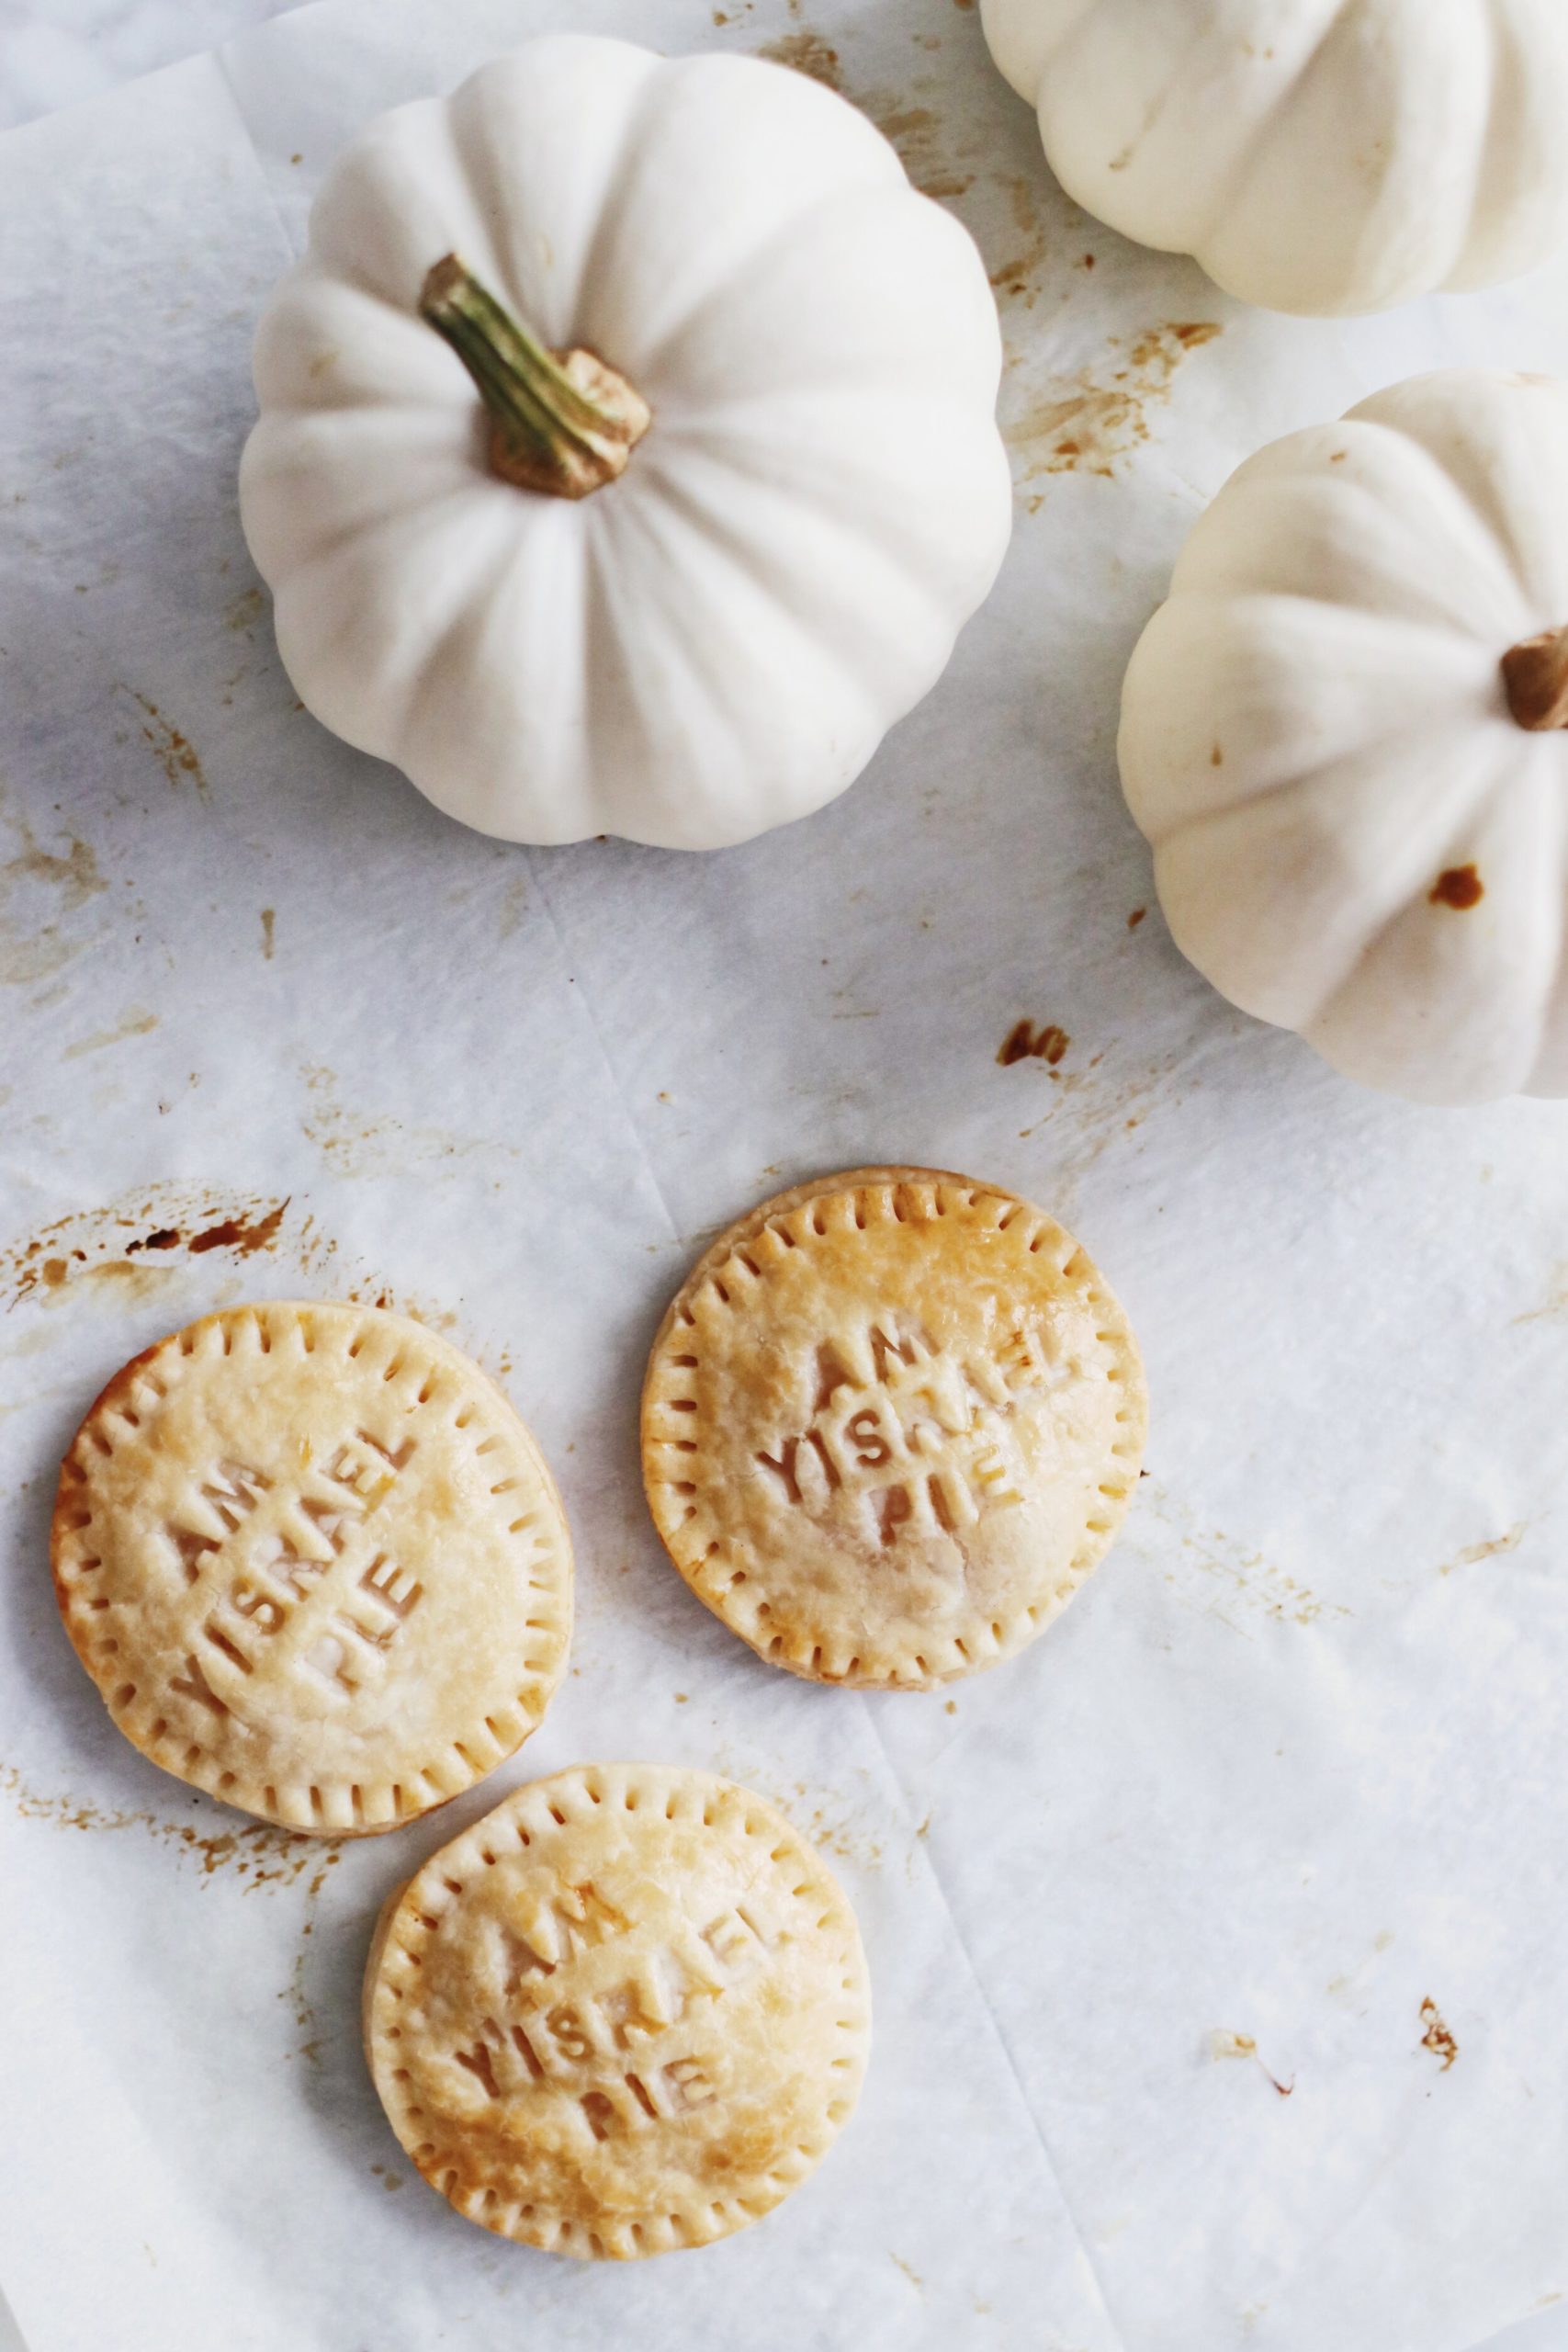
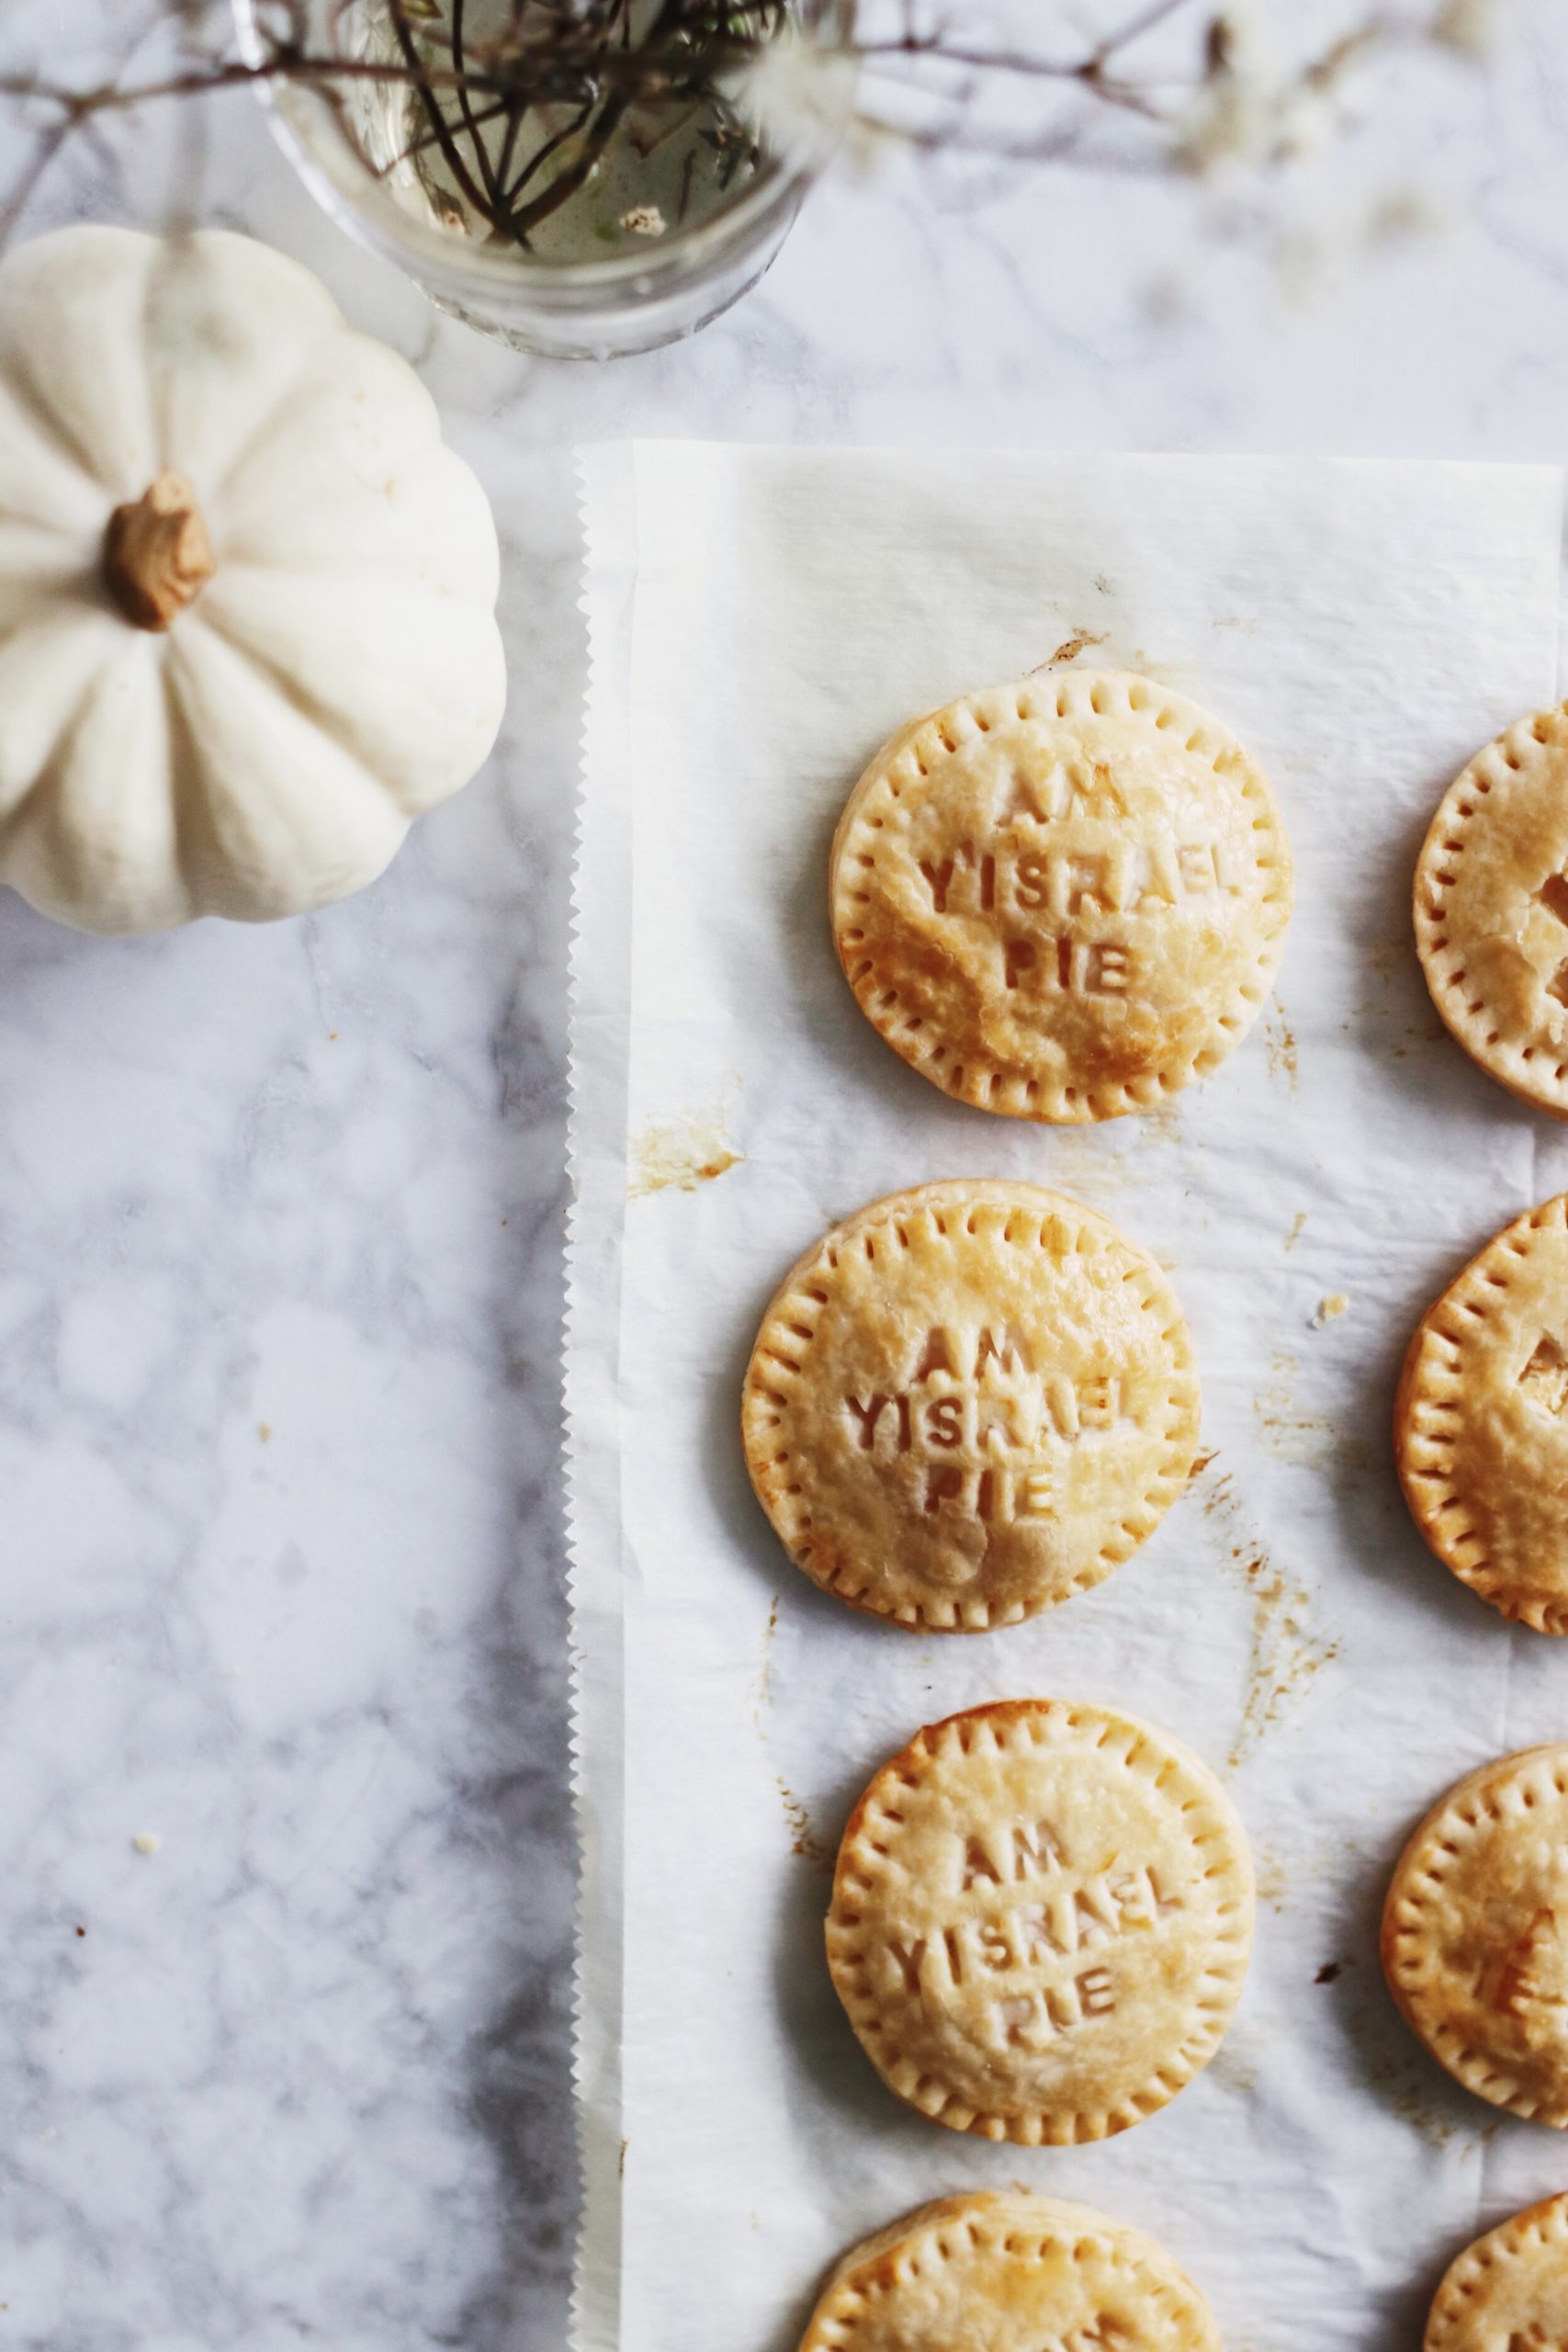
Today I’m sharing another super quick Thanksgiving Shabbat idea. Actually, you should feel free to customize these pies for whatever occasion. They’re incredibly easy, take only two-ish ingredients (three if you count the egg wash) and—of COURSE—involve puns.
Aren’t they cute??
Here’s how to bring them to life:
Punny Jewish Pie Cookies
What You’ll Need:
- 1 batch pie dough (store-bought or homemade)
- Circle cookie cutters (at least 3″; a glass cup with a 3″+ circumference works well too)
- Cookie imprinting set
- Jam or pie filling in a flavor of your choice (store-bought or homemade; I prefer using jam or an apple butter as opposed to pie filling because you don’t end up with as many lumps in the final product)
- fork
- Egg wash (1 large egg + 1 tablespoon heavy cream or water, mixed)
- Parchment paper
- Baking sheet
- Small sharp knife
What You’ll Do
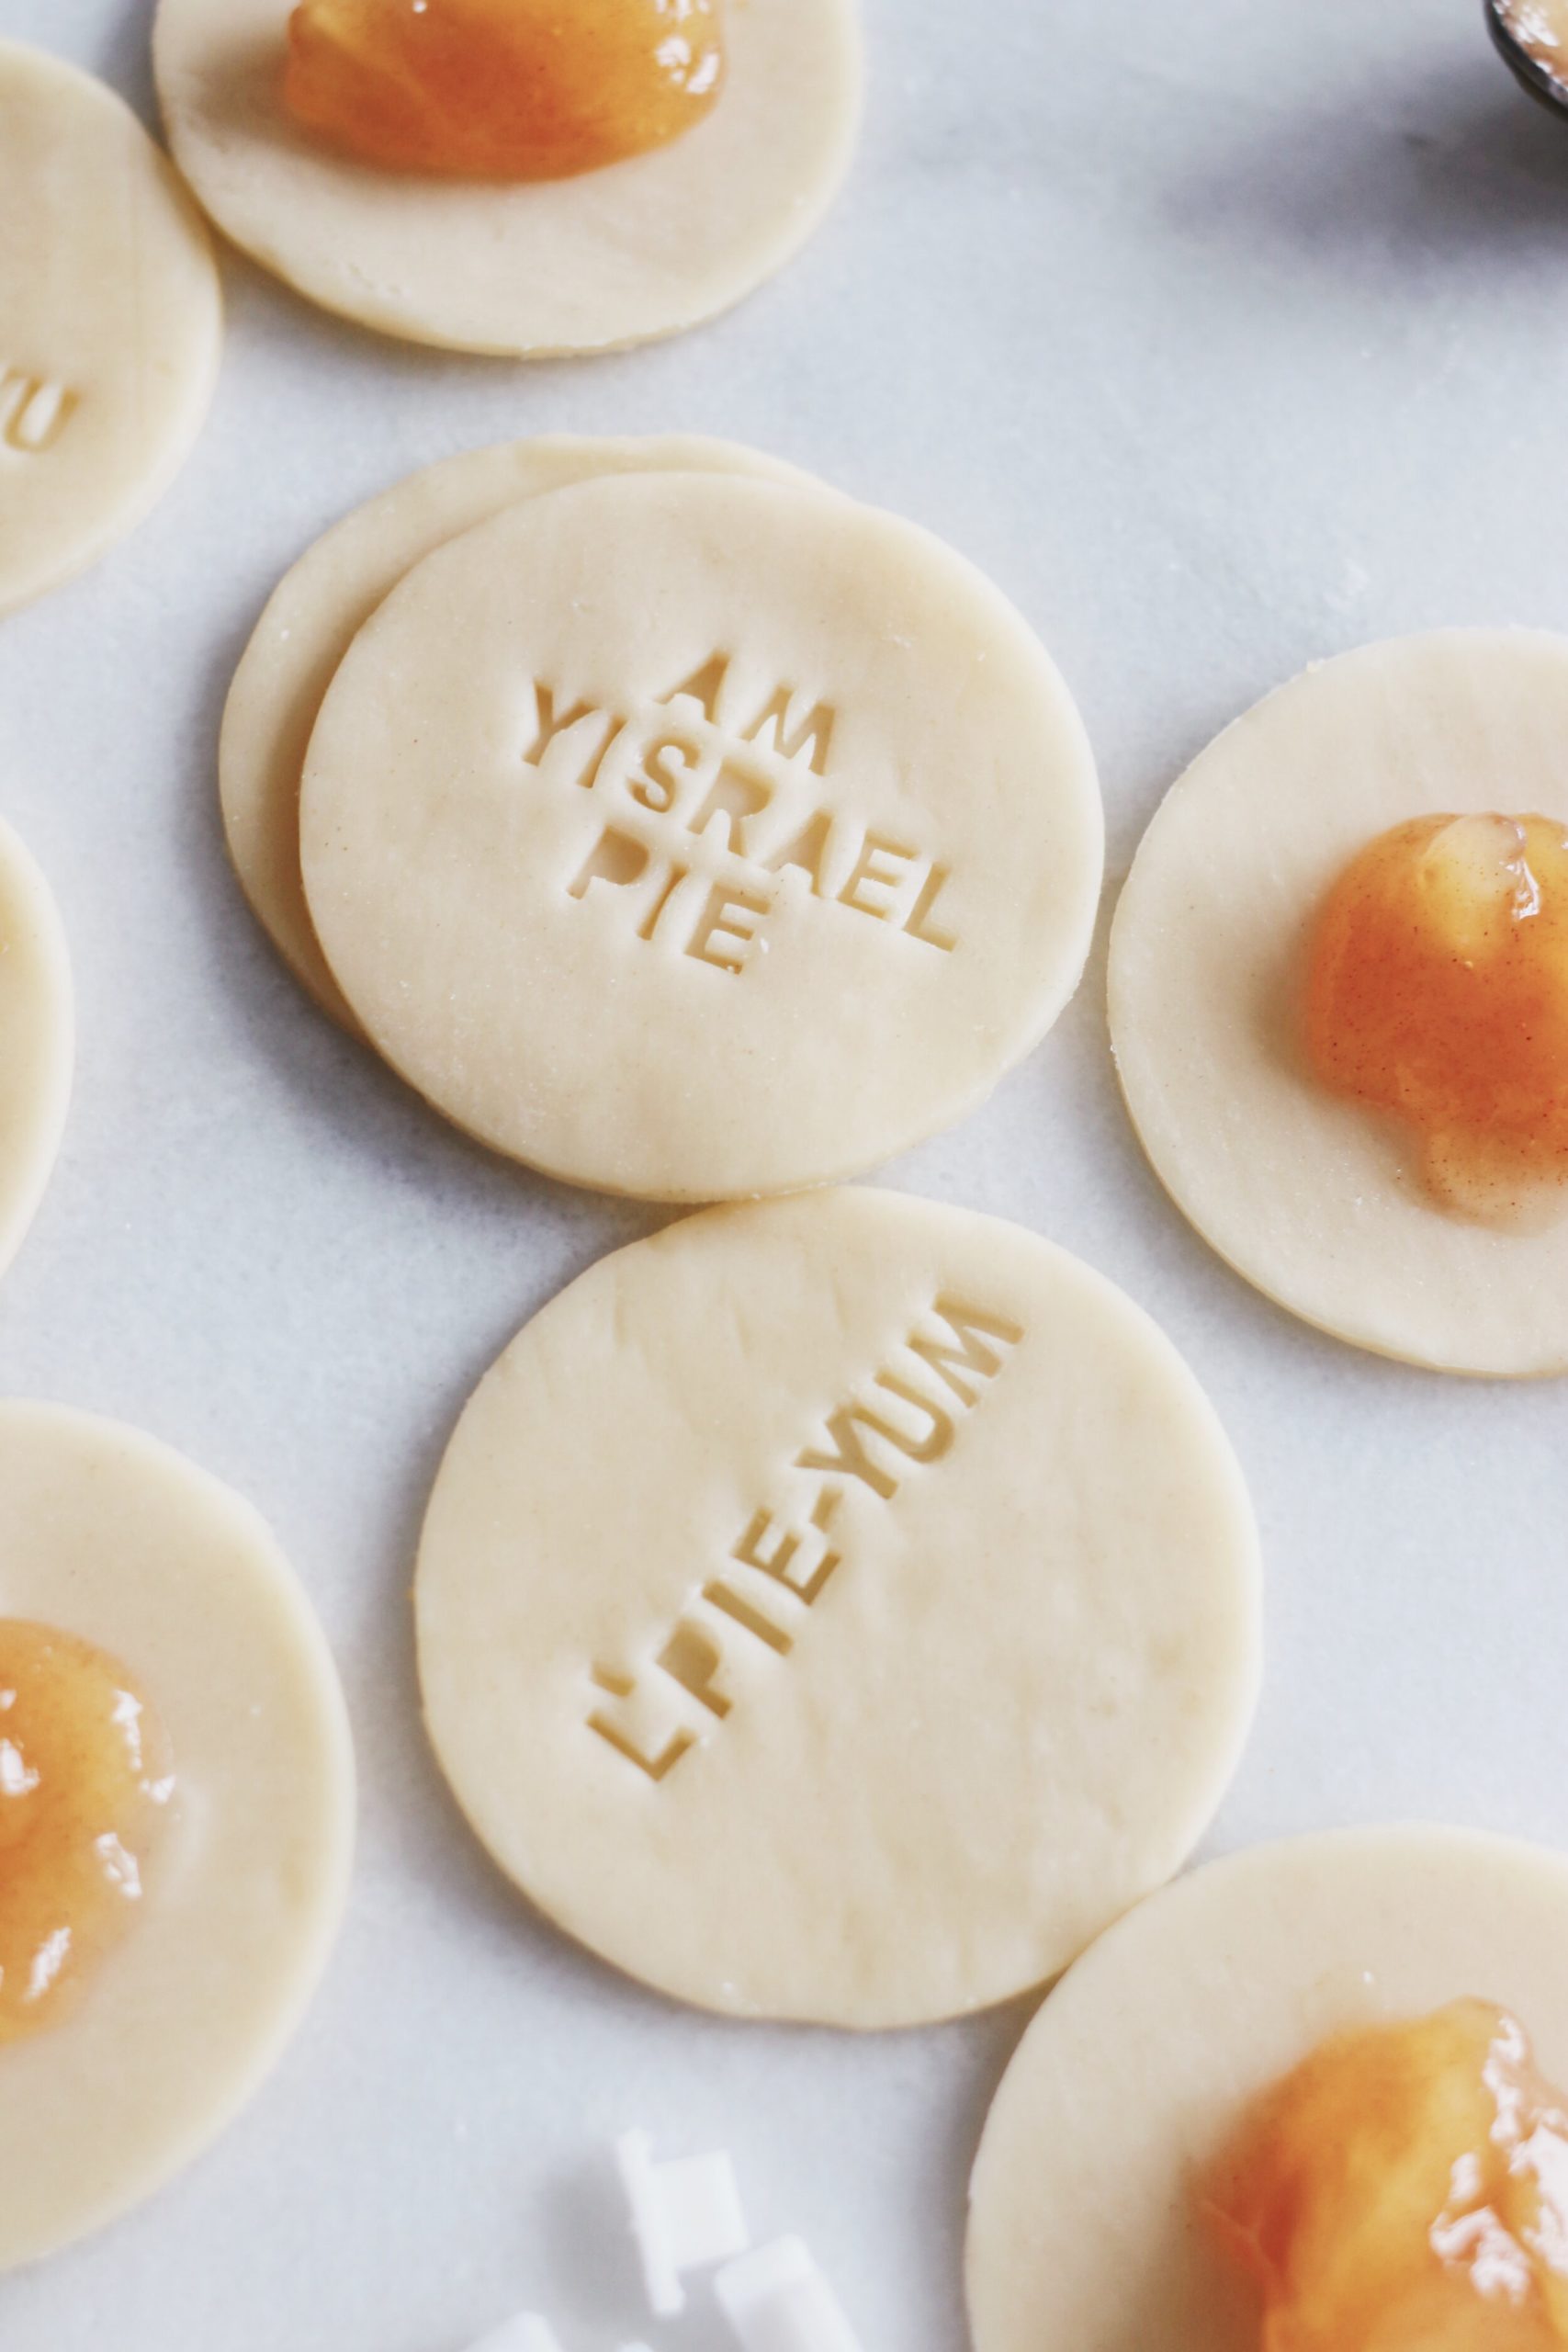
- Cut out circles of pie dough—you’ll want to be left with an even number, because two circles results in one pie cookie! set aside half of the circles.
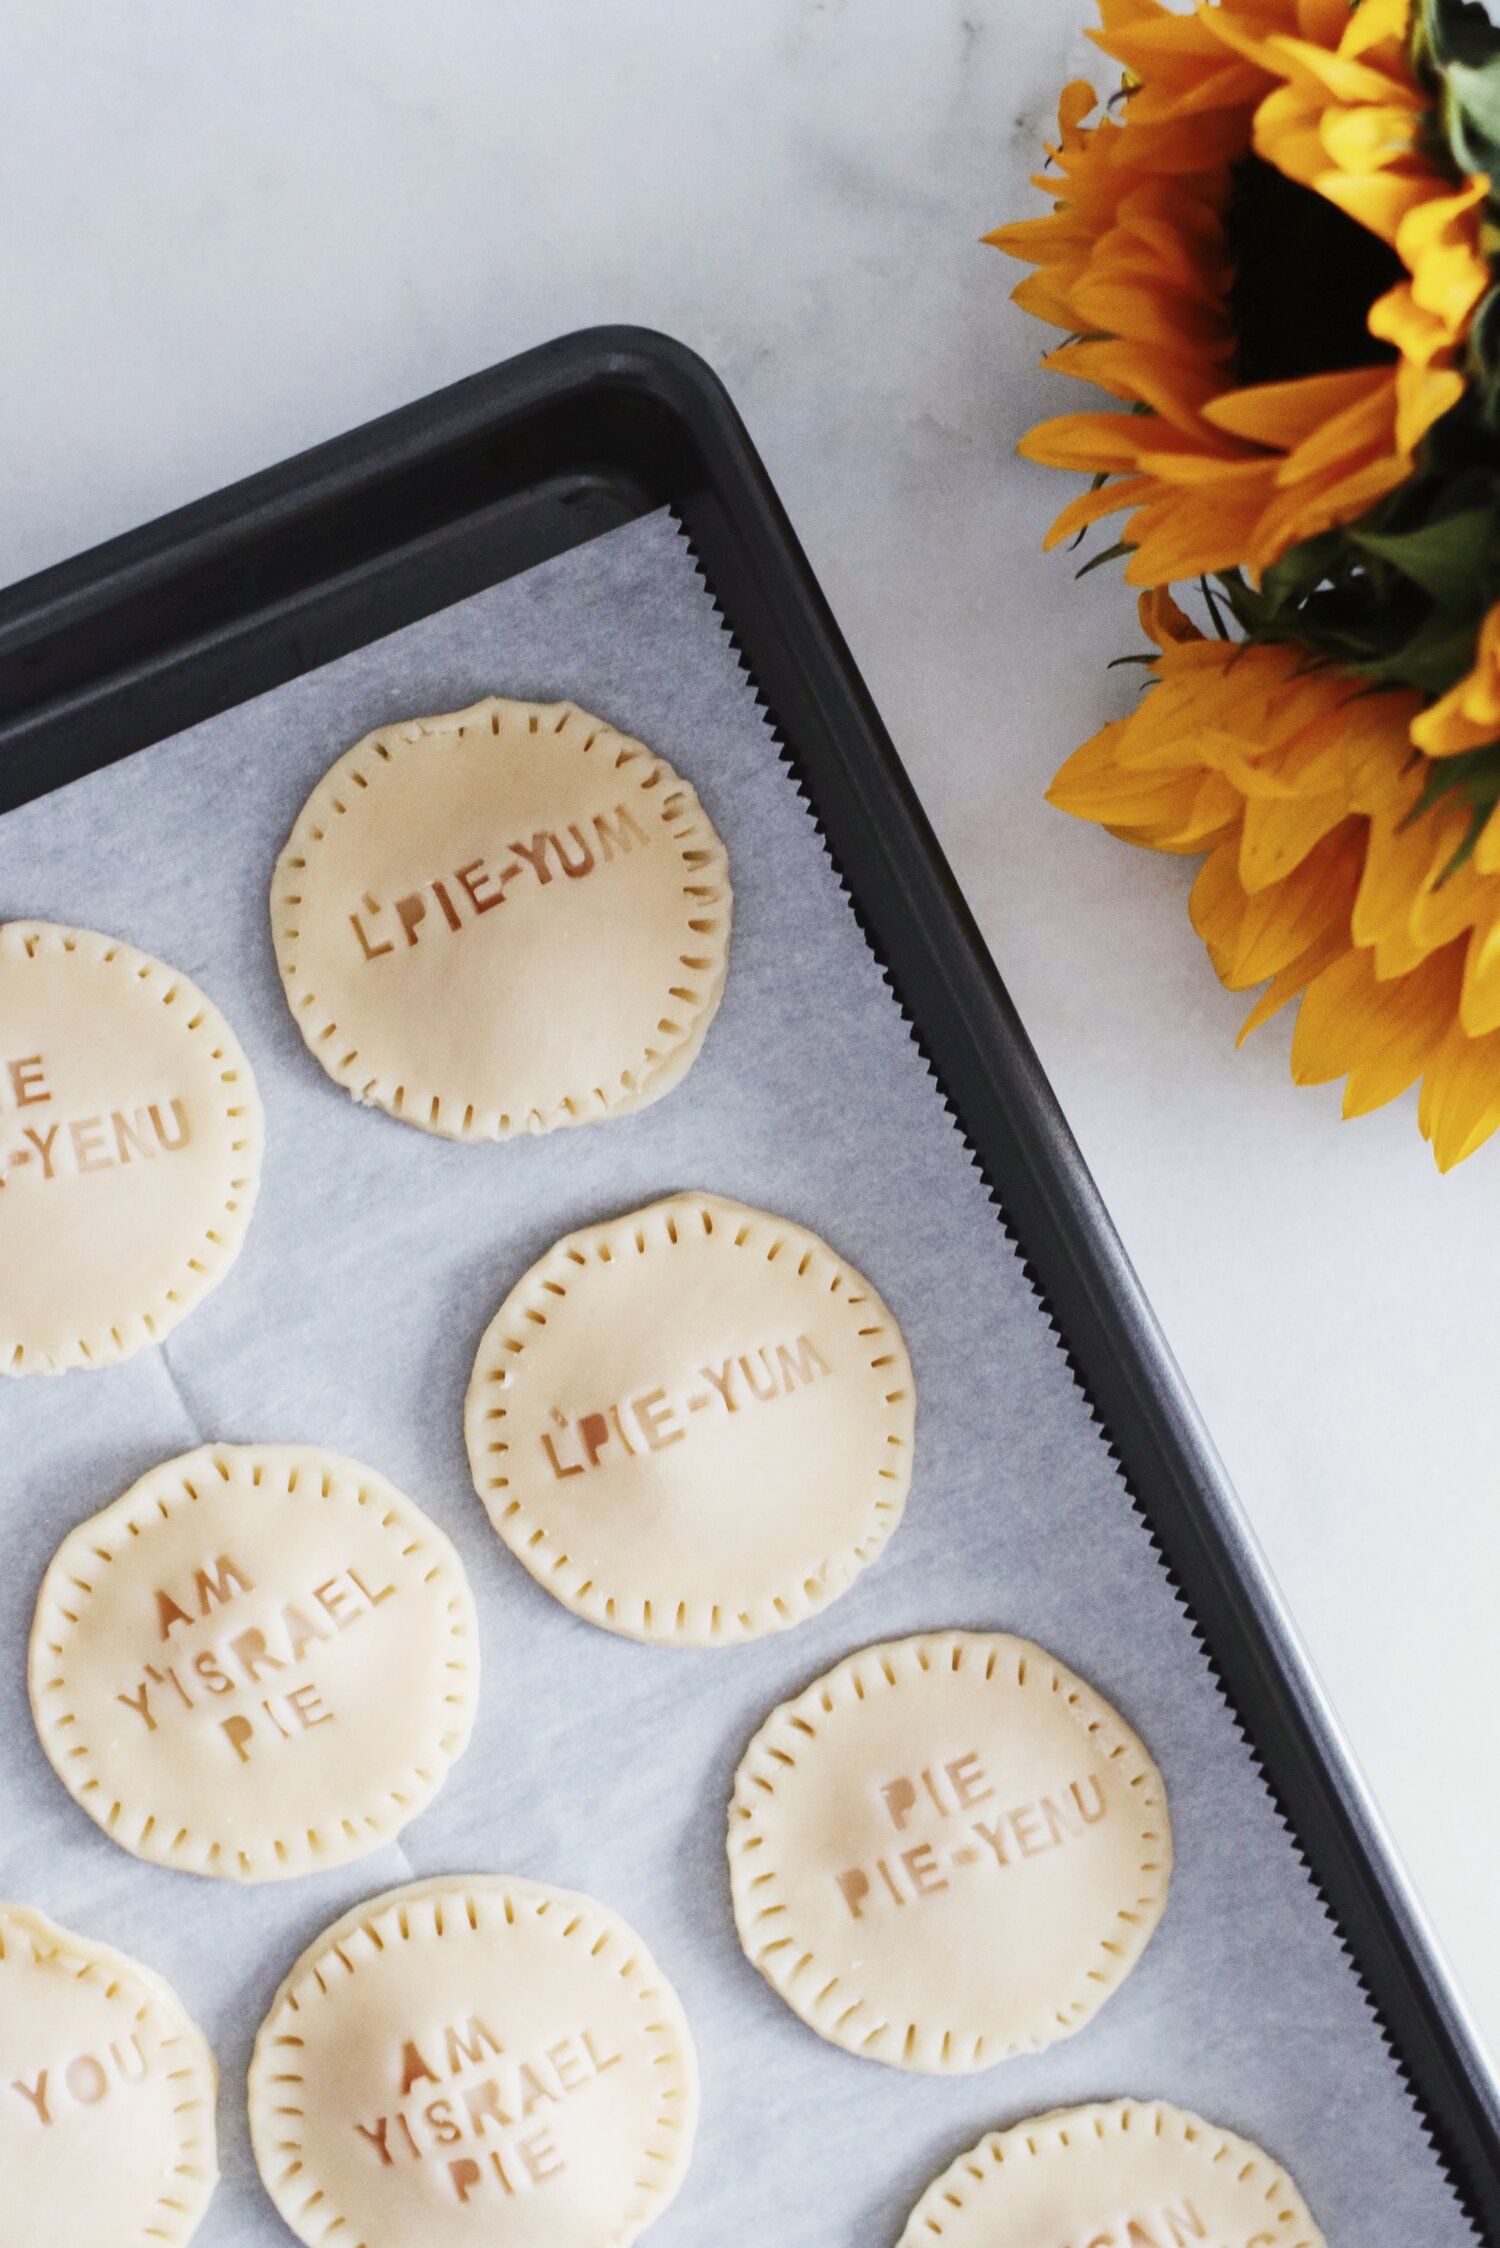
- Using your imprinting tools, write messages of your choice on each remaining circle. Try to leave a little bit of space at the outer edge of each piece of dough—at least a few centimeters. Brevity is paramount here. Aka keep it short and sweet, peeps. Another tip: don’t be shy about your imprints! Obviously you don’t want to cut alllll the way through the dough, but you do want the message to be legible—so press firmly and confidently with each letter.
- Add a very, very tiny dollop of apple pie filling (much less than you think you’ll need!) to each un-imprinted dough circle. using a pastry brush, coat the edge of the dough around the filling with egg wash (this will help the two dough rounds stick to each other).
- Top with an imprinted circle. Press gently around the filling to push out any extra air caught between the two layers. Then, use the tines of a fork to create a pretty “pie”-inspired design around the perimeter of each finished pie (and to further push the two layers together). Place each finished “pie” on a parchment-lined baking sheet and refrigerate for at least 30 minutes.
- Preheat the oven to 400°F. Brush the top of each pie with egg wash. Using a knife, carefully cut three slits into the top of the pies within three of the letter imprints—this way, you’ll allow trapped air to escape, but don’t have to mess up the pretty designs you’ve got going on.
- Bake for 18 to 20 minutes or until the pies are golden brown (keep a close eye on them!). Remove from the oven and let cool slightly before serving.
