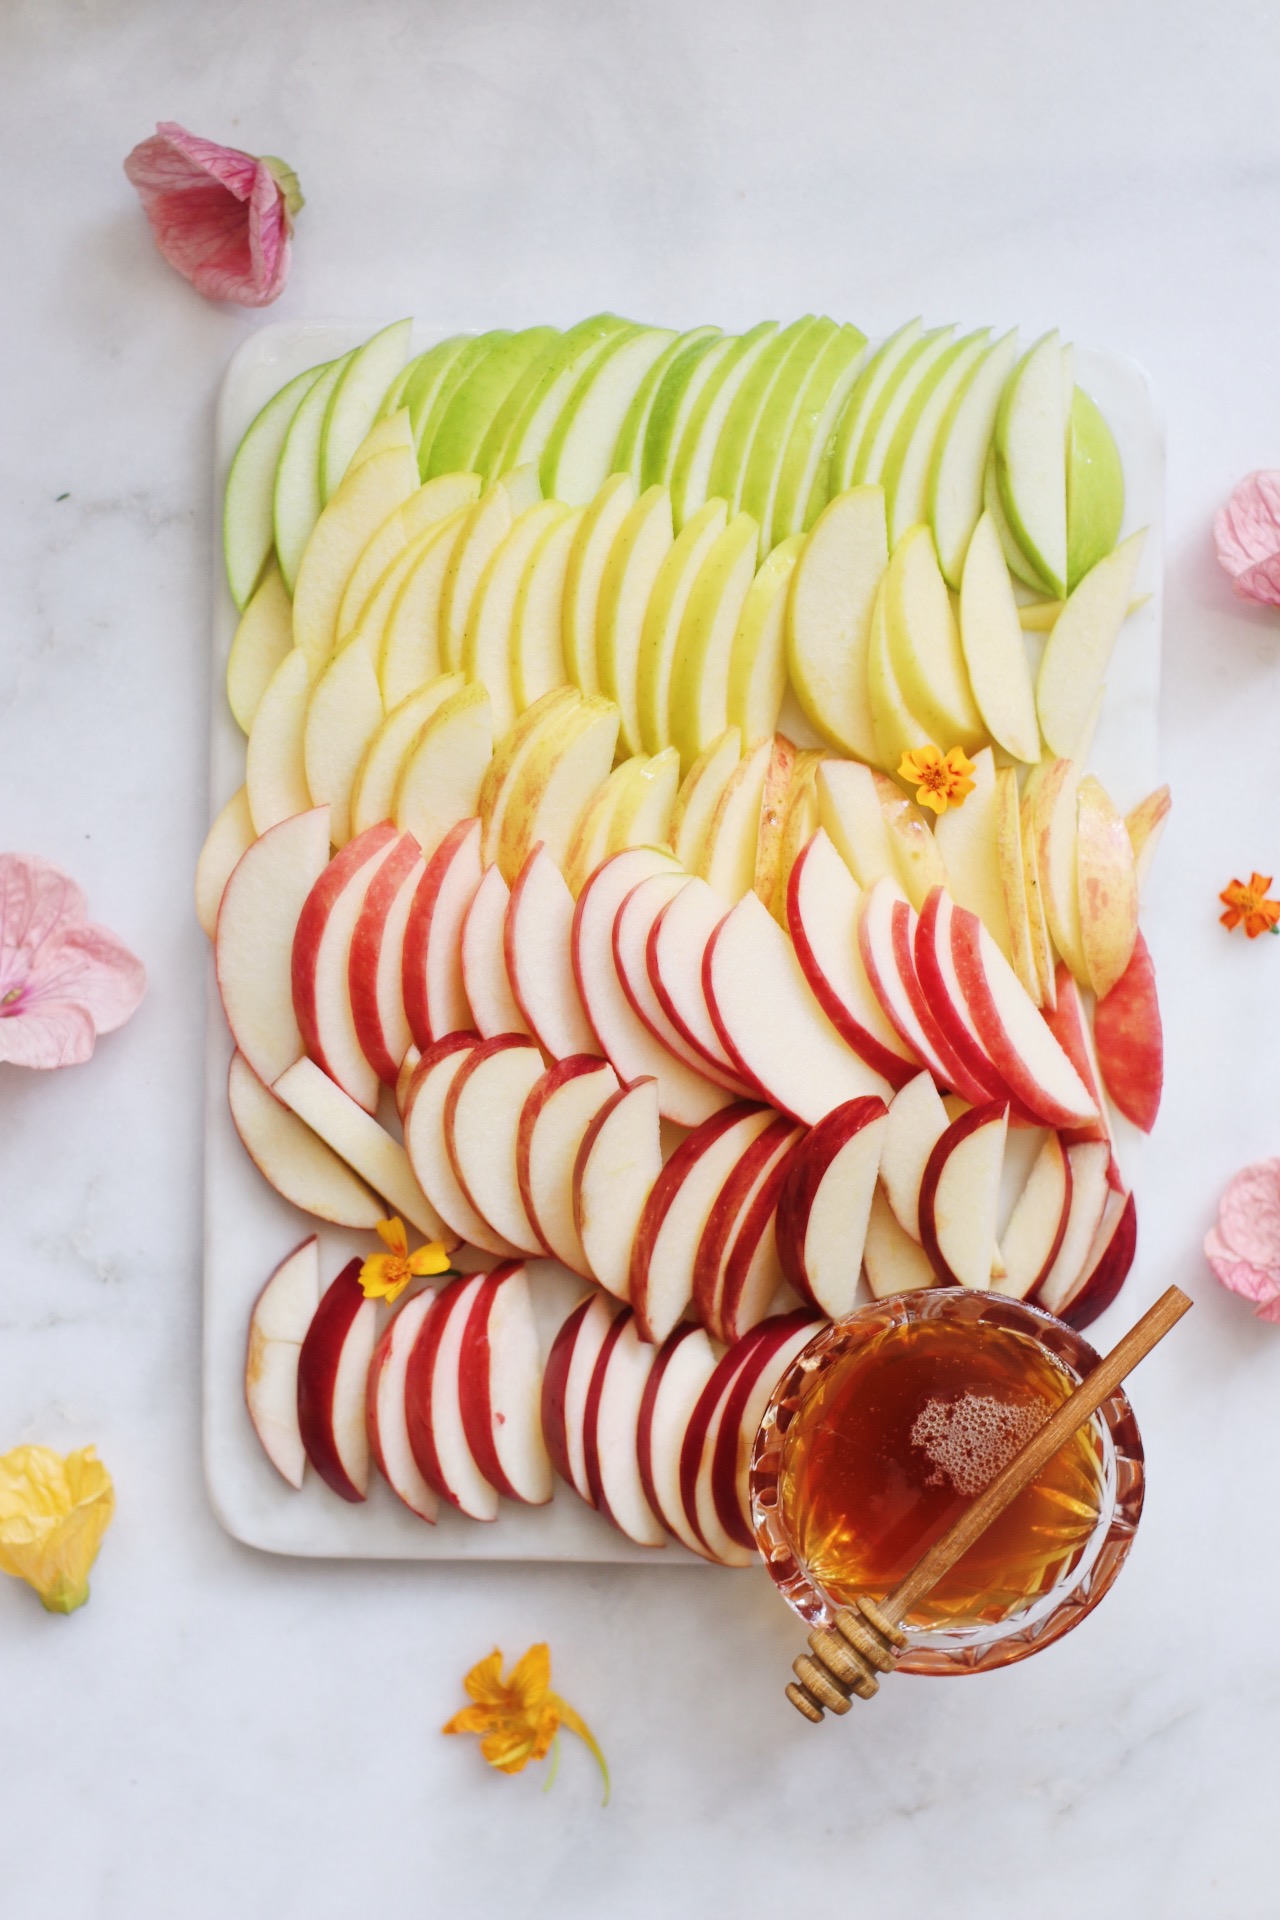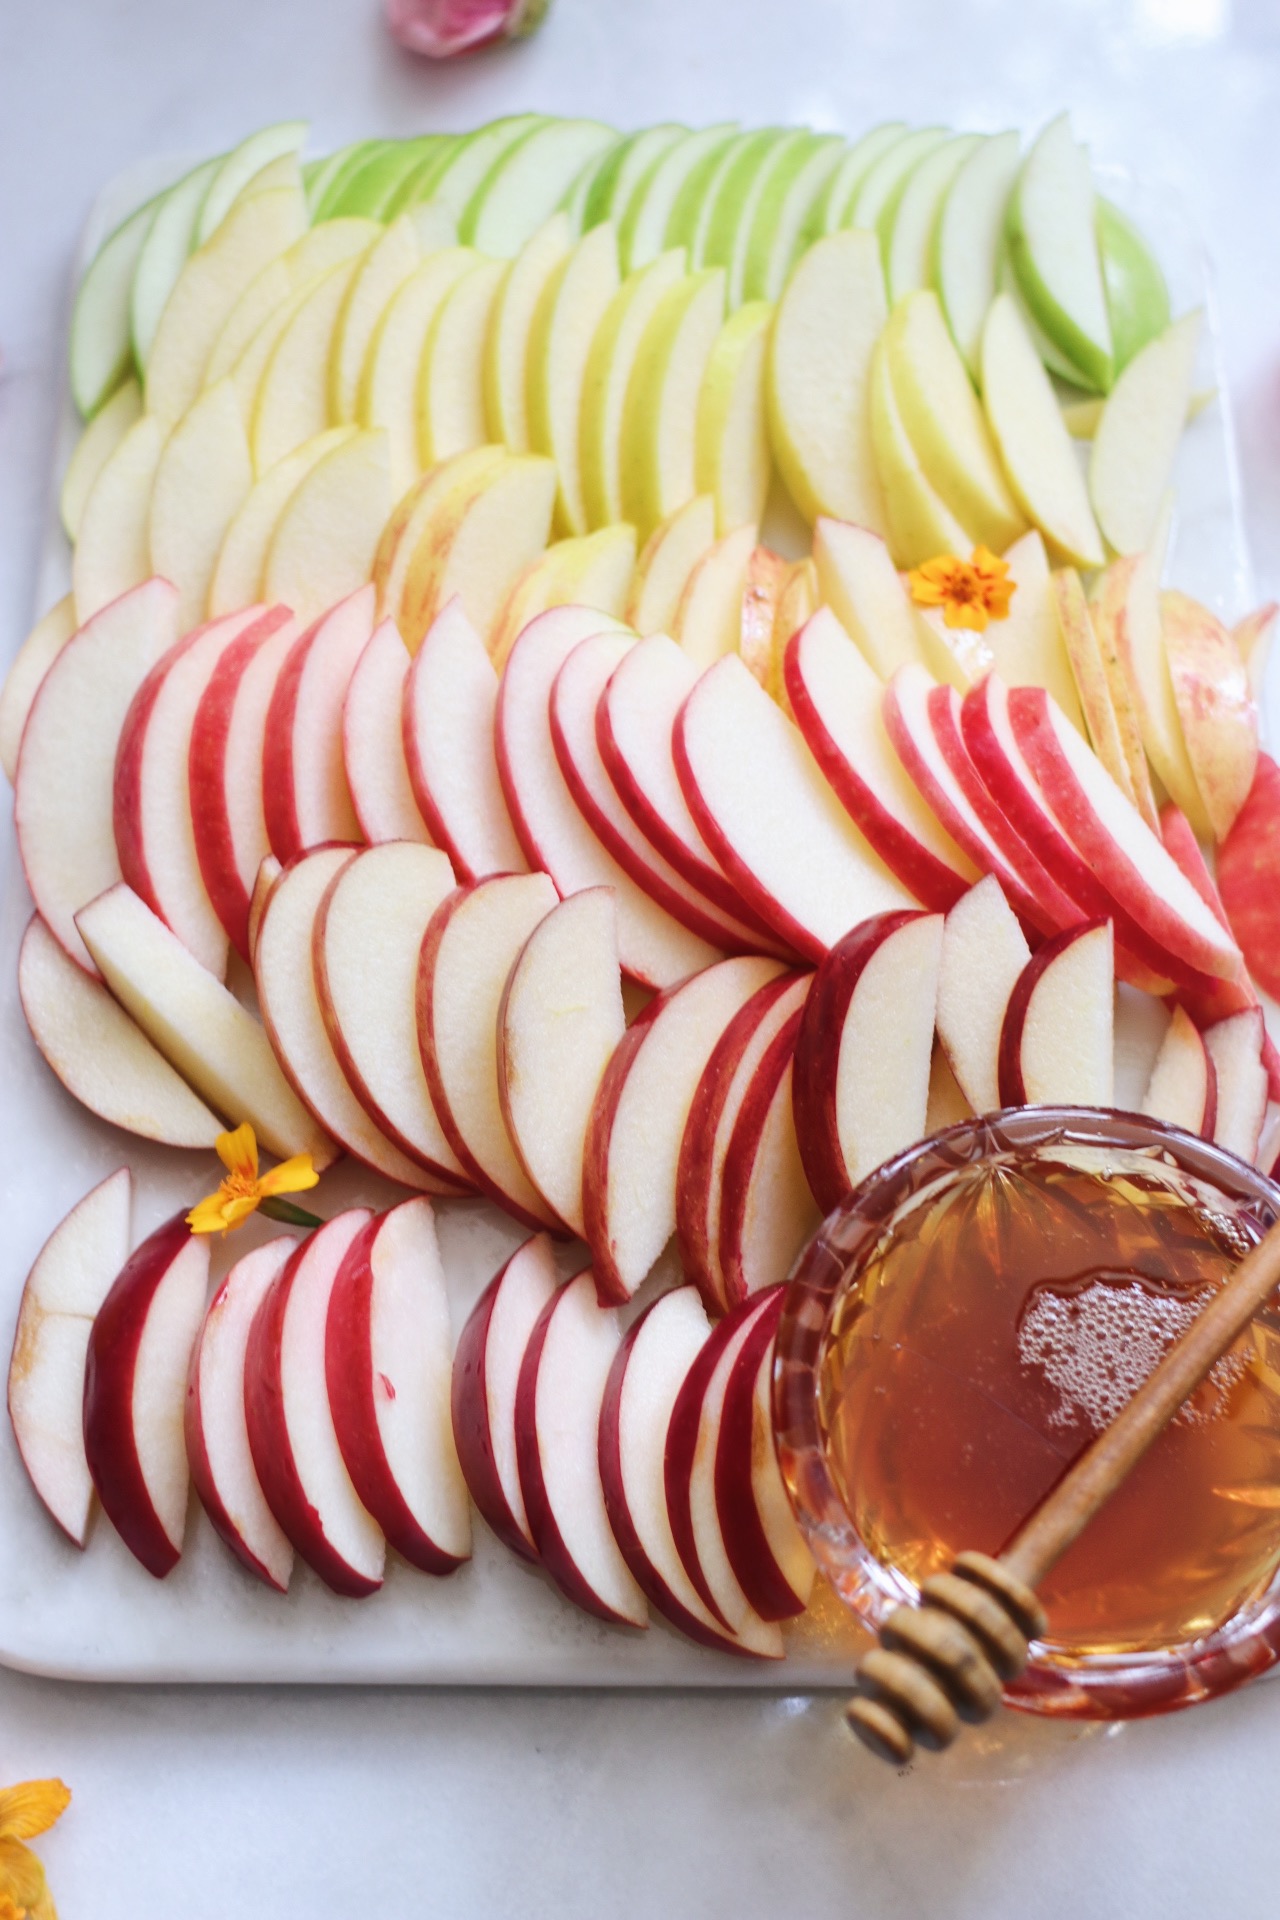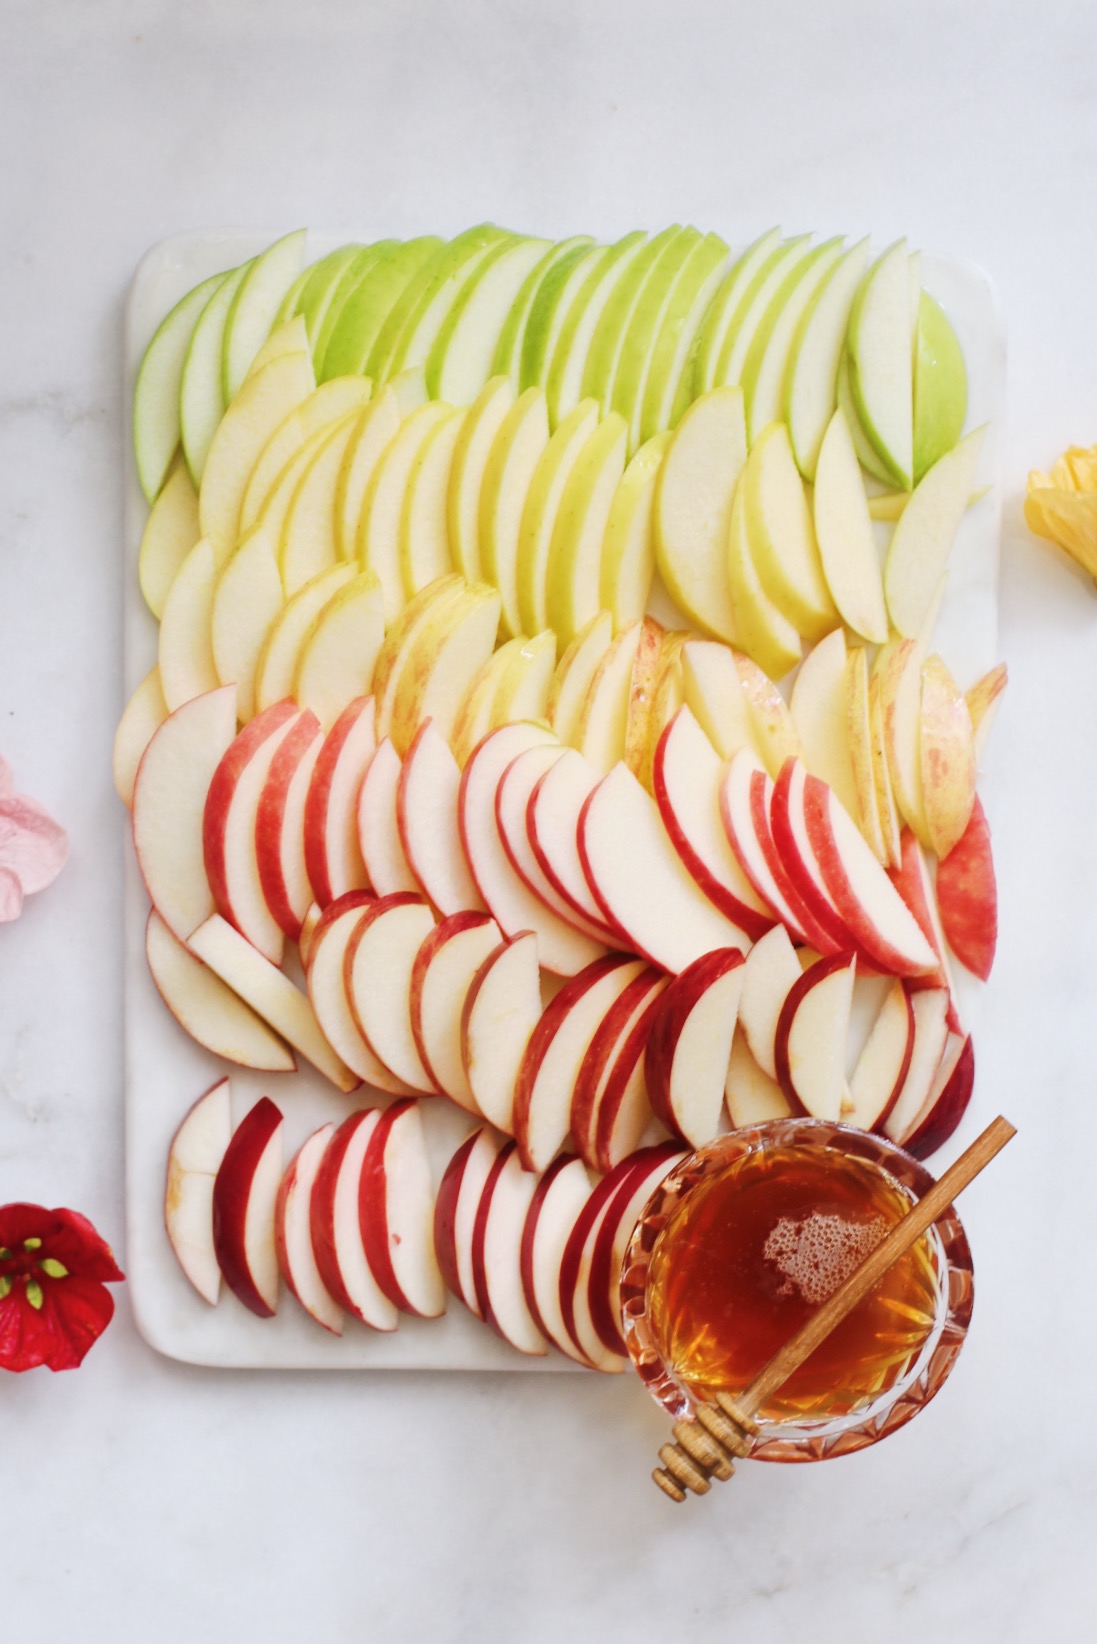
You know what’s crazy about this board? It actually only took seven apples to make. Would’ve been six, but for some reason the Golden Delicious ones I used were really tiny.
This is all just to point out that sometimes, these more elaborate, exciting-looking ideas are just a matter of cutting up a bunch of apples and putting them in color order.
Which a toddler could do!
Which reminds me, this is a great activity to try with a toddler.
Here’s all you need to know to throw together your own:

Start with a flat board or platter, not a plate.
I guess that should be obvious; the title of this post is literally “Apples and Honey Board.” But I honestly think that still doesn’t give the board here enough credit. It’s what gives you that nice, flat canvas on which to play around with all your actual ingredients and elements. I think that’s why cheese boards have been so popular on Instagram over the past few years; there’s a freedom in a flat surface like that, and in being able to place your ingredients wherever the heck you want. So…highly, highly recommend investing in one! This is the one I use most frequently, by the way (it’s also the one shown here).
Shop for apples in a range of colors!
Even if you’re not going for the rainbow look, it can be nice to have a few different colors on your board. The variety tends to be super pretty, yes, but it’s also just a chance to try different textures and tastes. And I don’t know about you, but I tend to go ALL. IN. on apples and honey. So I’d rather have a few different things to try than just one variety of apple. You know?
If you do want to do the rainbow thing, again, you really only need one apple in each color to make it happen! Red, yellow, and green alone would be cute if you don’t feel like lugging home all that heavy fruit.

Lemon juice is your friend.
Oh, lemon juice. Thank goodness for it. I talked about this when I whipped up last year’s board, but I actually learned a new trick this year that’s even more helpful: Instead of spritzing my apple slices with lemon juice, I set out a bowl filled with the stuff next to my work station, and as I cut the apples, I dunked each one into the liquid and submerged it fully before placing it on the board. The slices did not turn brown. I mean, at least for one-and-a-half-ish hours they didn’t, and that’s how long they sat out before we ate them. Magic.
Add a honey dipper and garnishes!
Of course you don’t have to invest in a fancy honey dipper, but, I mean, THEY’RE SO CUTE. I used this same one last year; you can find it online here.
And then…another “optional” piece would be those edible flowers. I’ve talked about them in a few other pieces, but the important things to know are that 1) they add so much visual flair to anything you add them to, from salads to desserts, and 2) you can get them overnighted to you anywhere in the U.S. from Gourmet Sweet Botanicals in California. The shipping can get pricey, but with so many farmer’s markets closed or not operating normally, it’s worth knowing about.
THAT’S IT! Shana tova, friends! Few more fun posts coming over the next week, and then…somehow!…we’ll be in a new year.
Thank goodness. 😬

thanks for sharing rebekah! Looking forward to putting this together for this upcoming weekend:)
amazing to hear!! tag me on IG so I can see your work! 🙂 @rebekahlowin. shana tova!