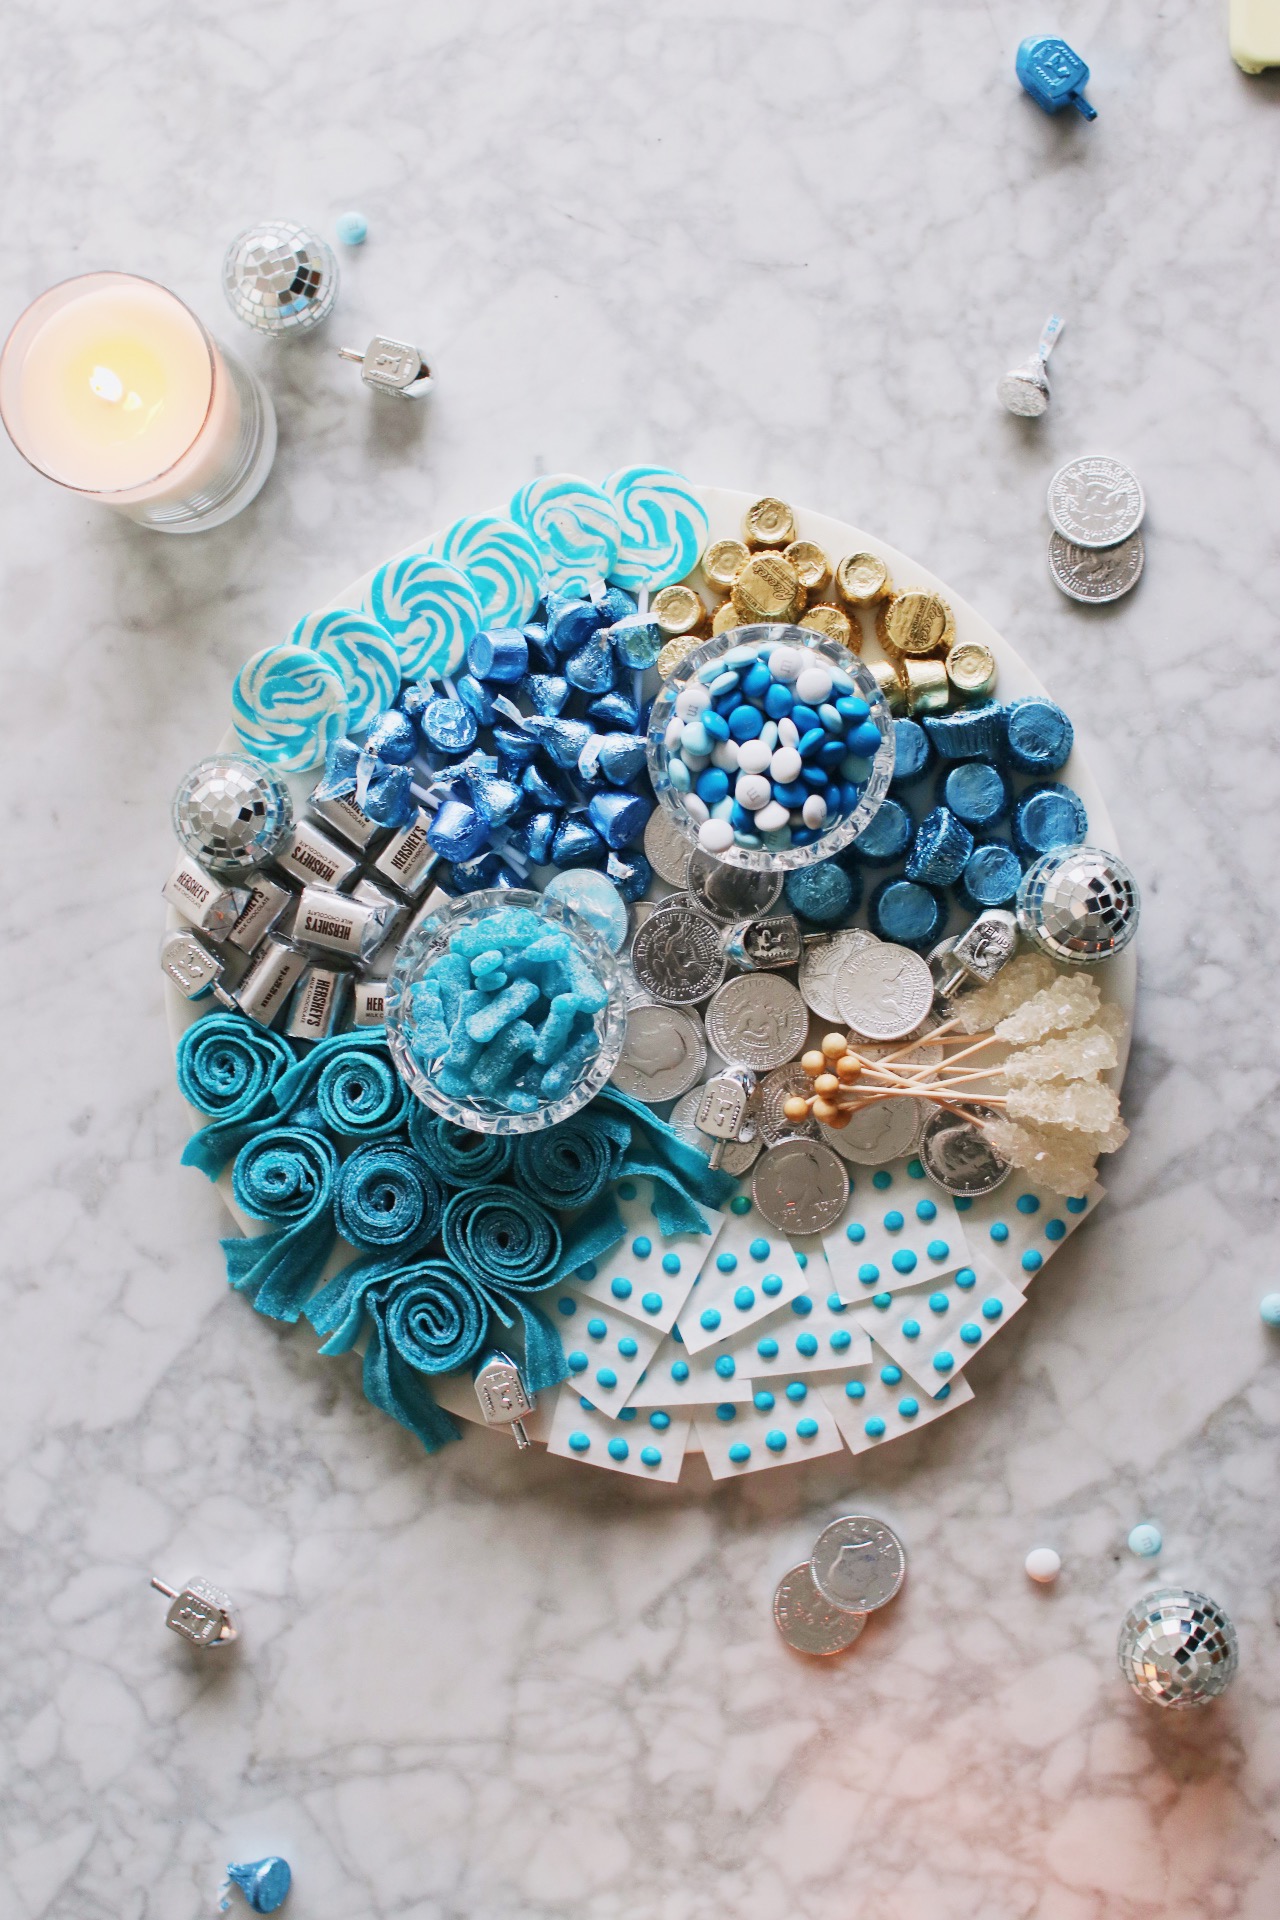
“But Rebekah,” you ask. “Didn’t you make a Hanukkah candy board last year?”
Yes. Yes I did.
But that one was a rectangle shape.
This one is round.
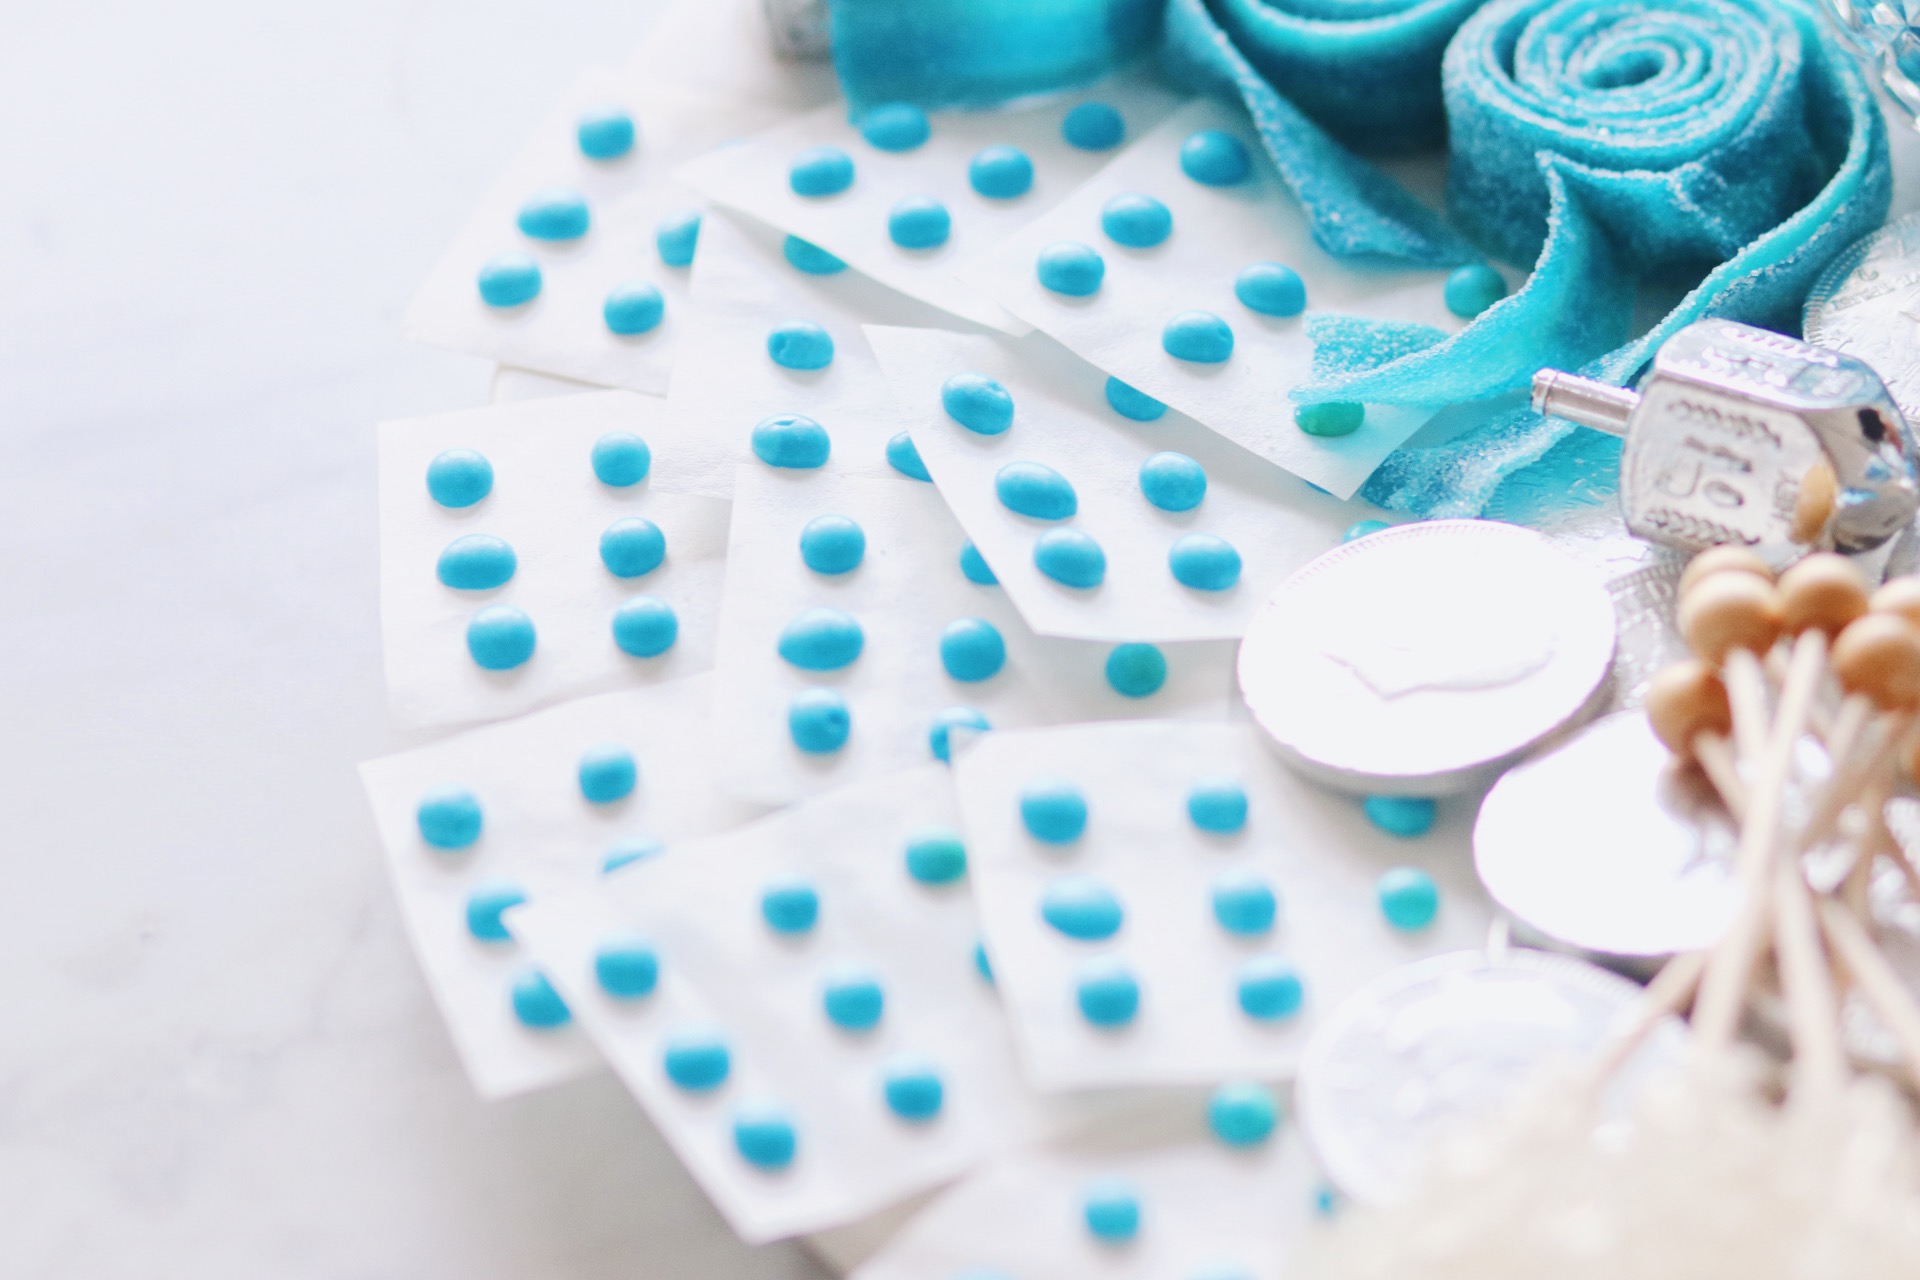
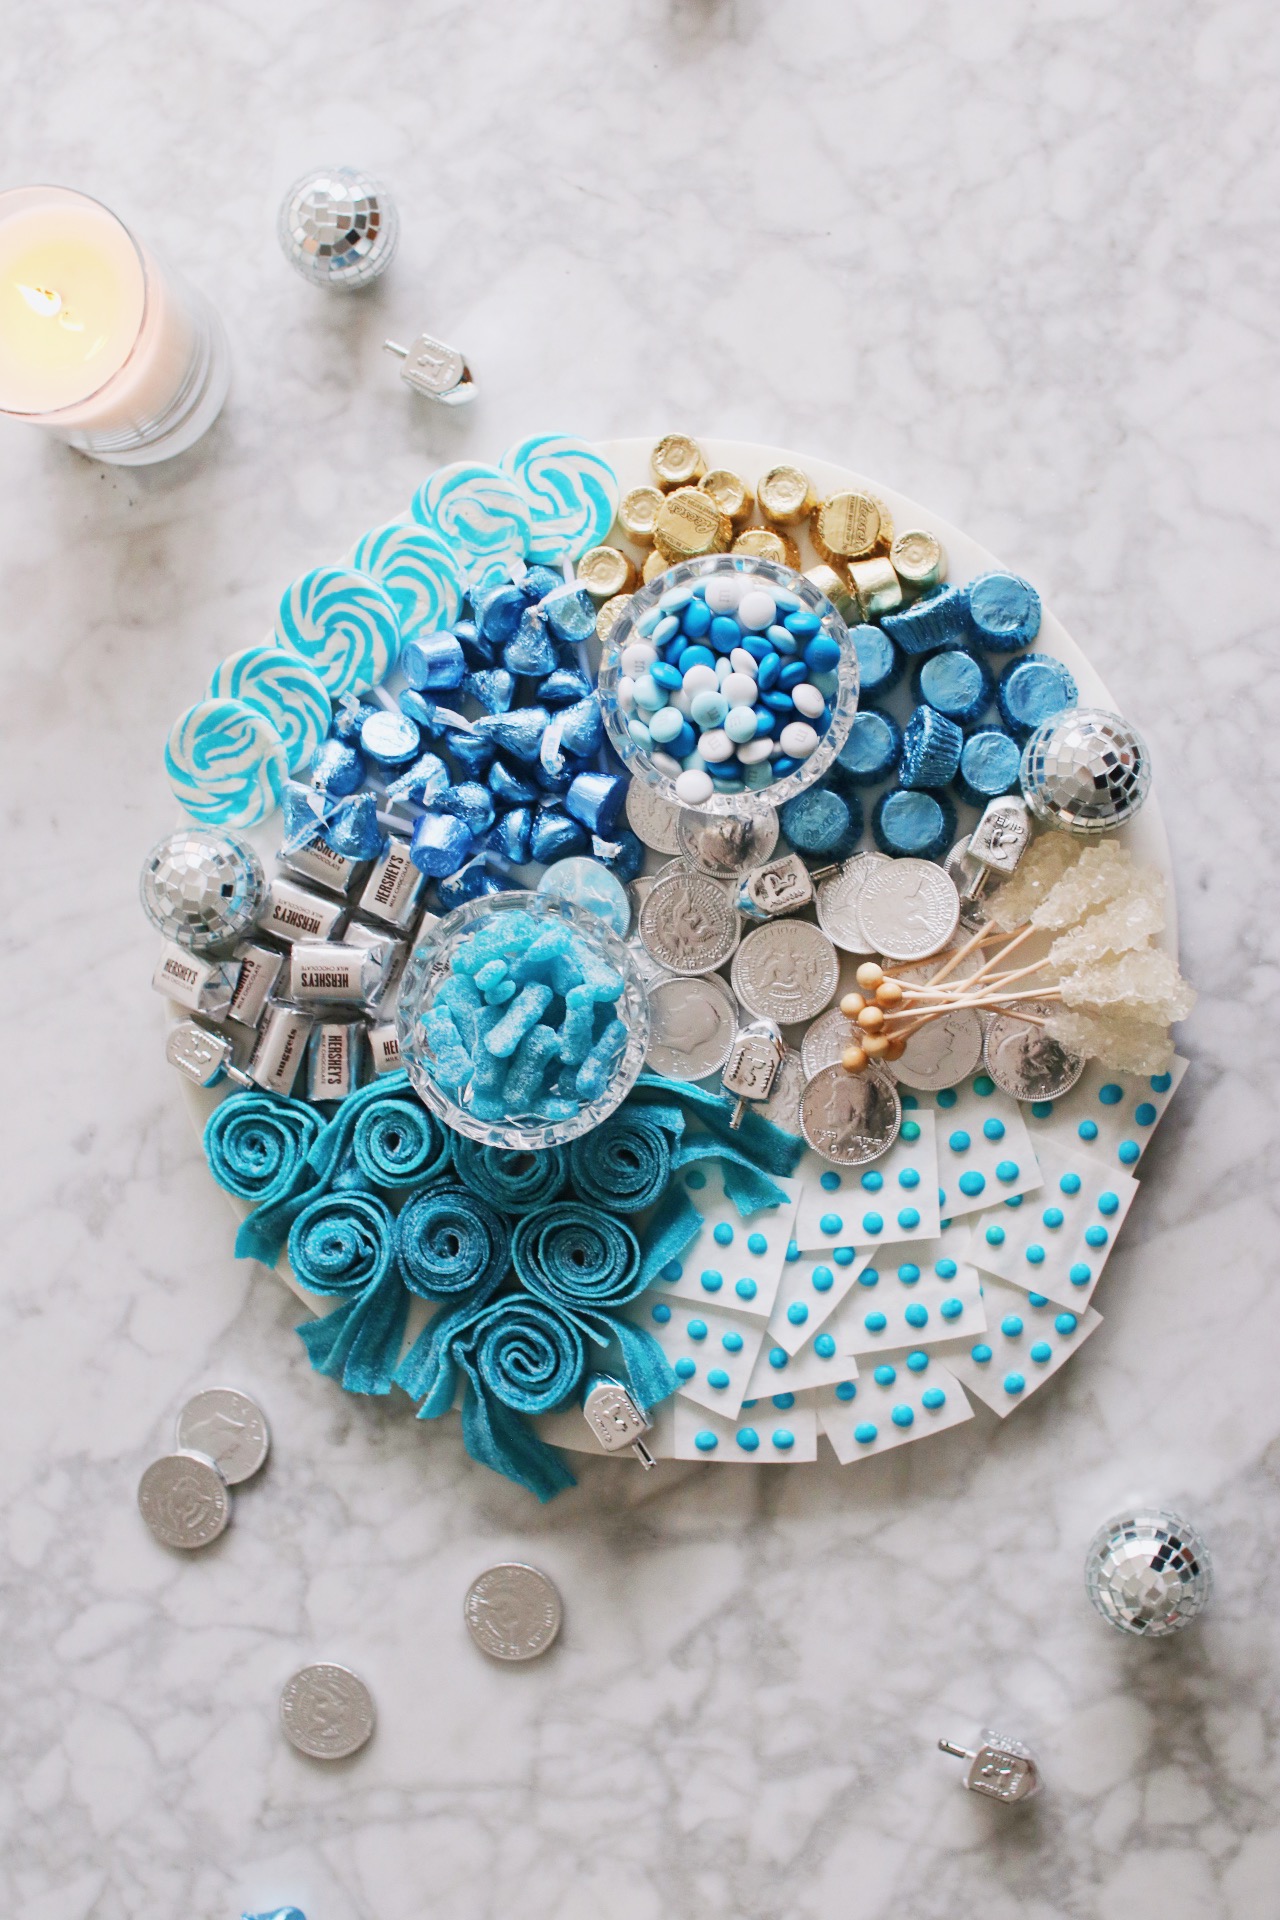
So. This thoroughly round candy board that looks nothing at all like last year’s rectangle board—how was it constructed? How can you make your very own at home? Where can you get that silver gelt? And the blue Hershey’s kisses? And the tiny disco balls?
The answers to these and all your other pressing candy-related questions will be revealed in the tutorial below.
Happy Hanukkah!
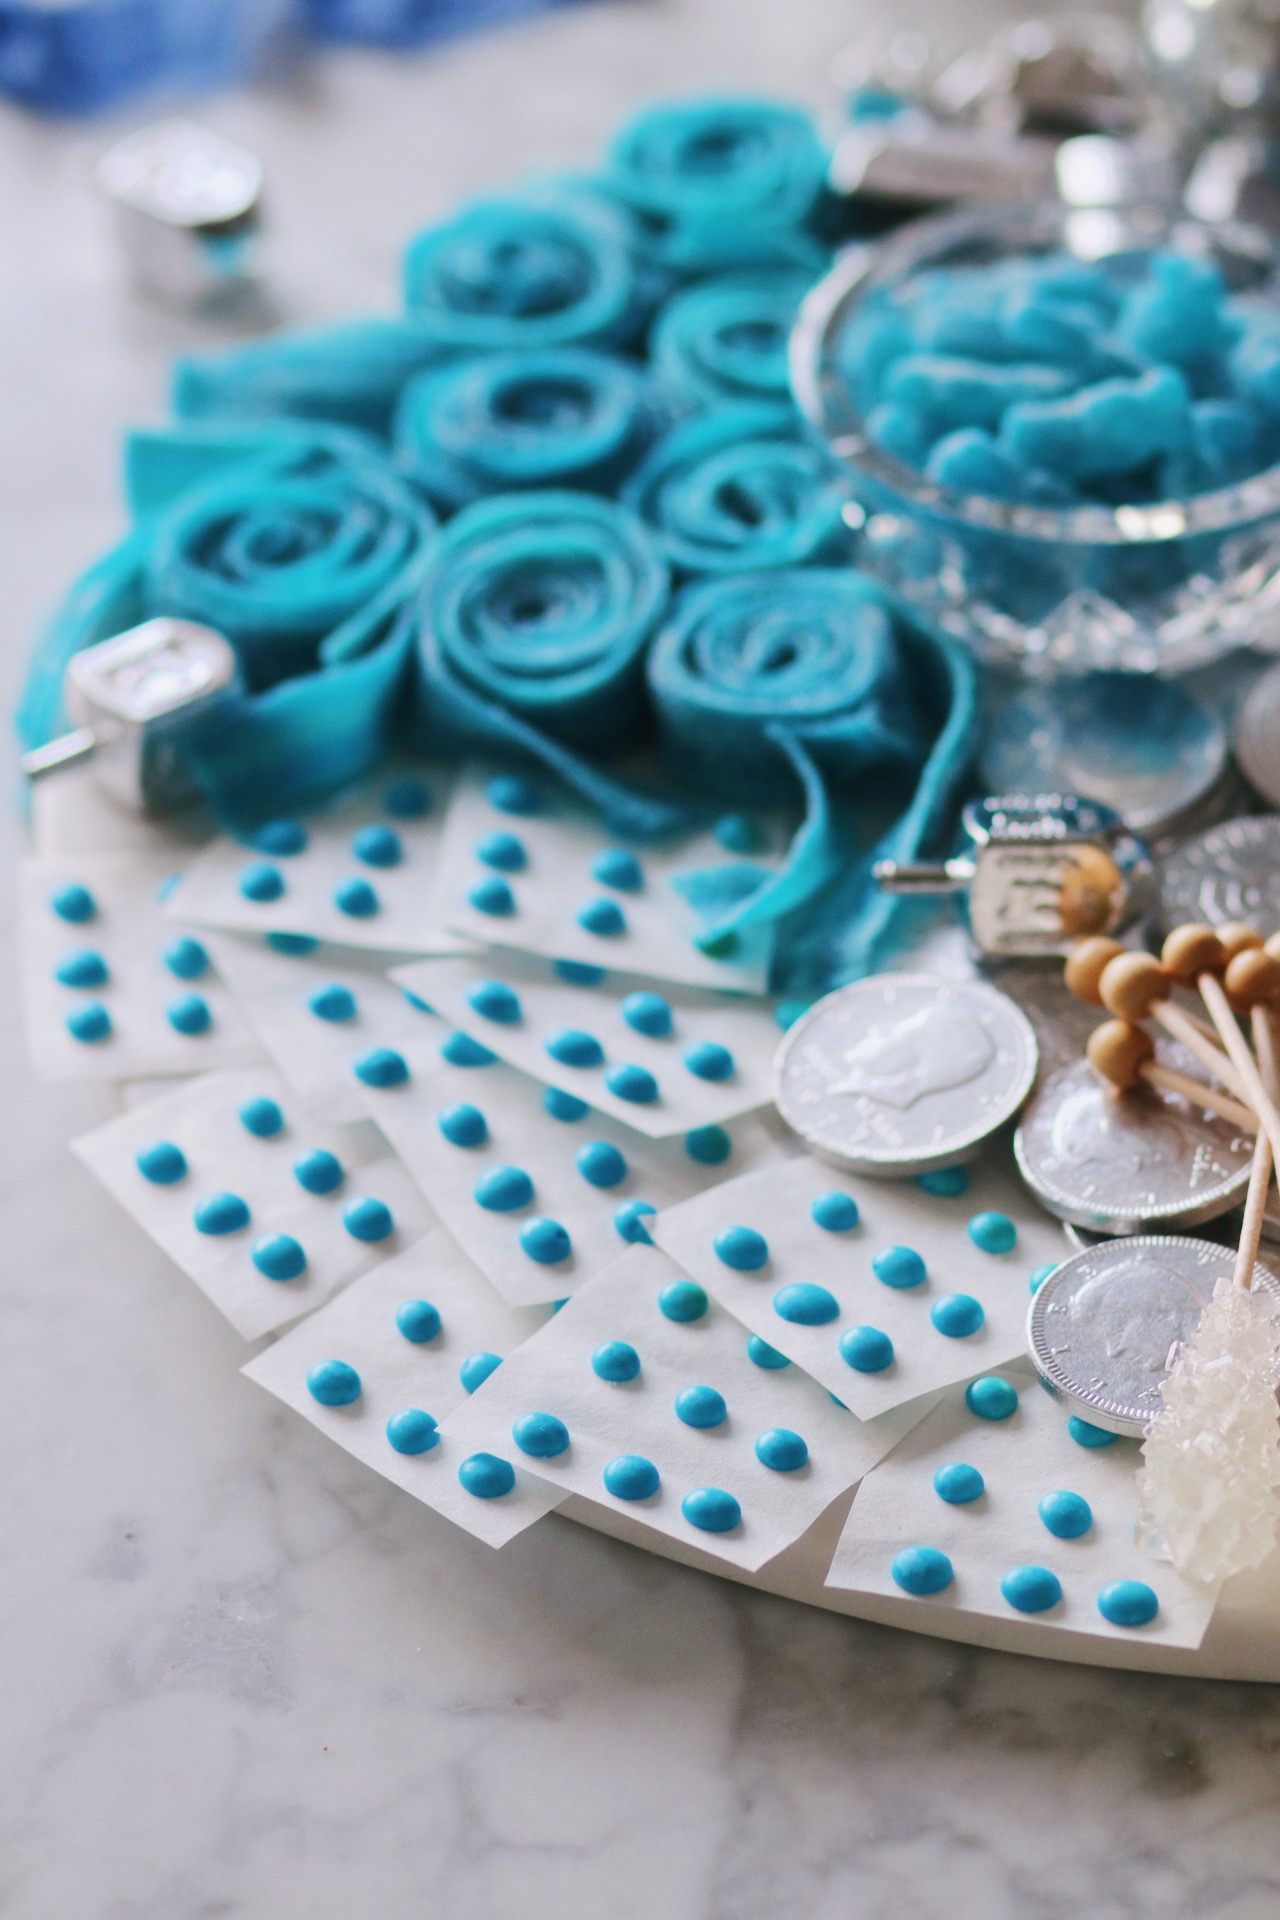
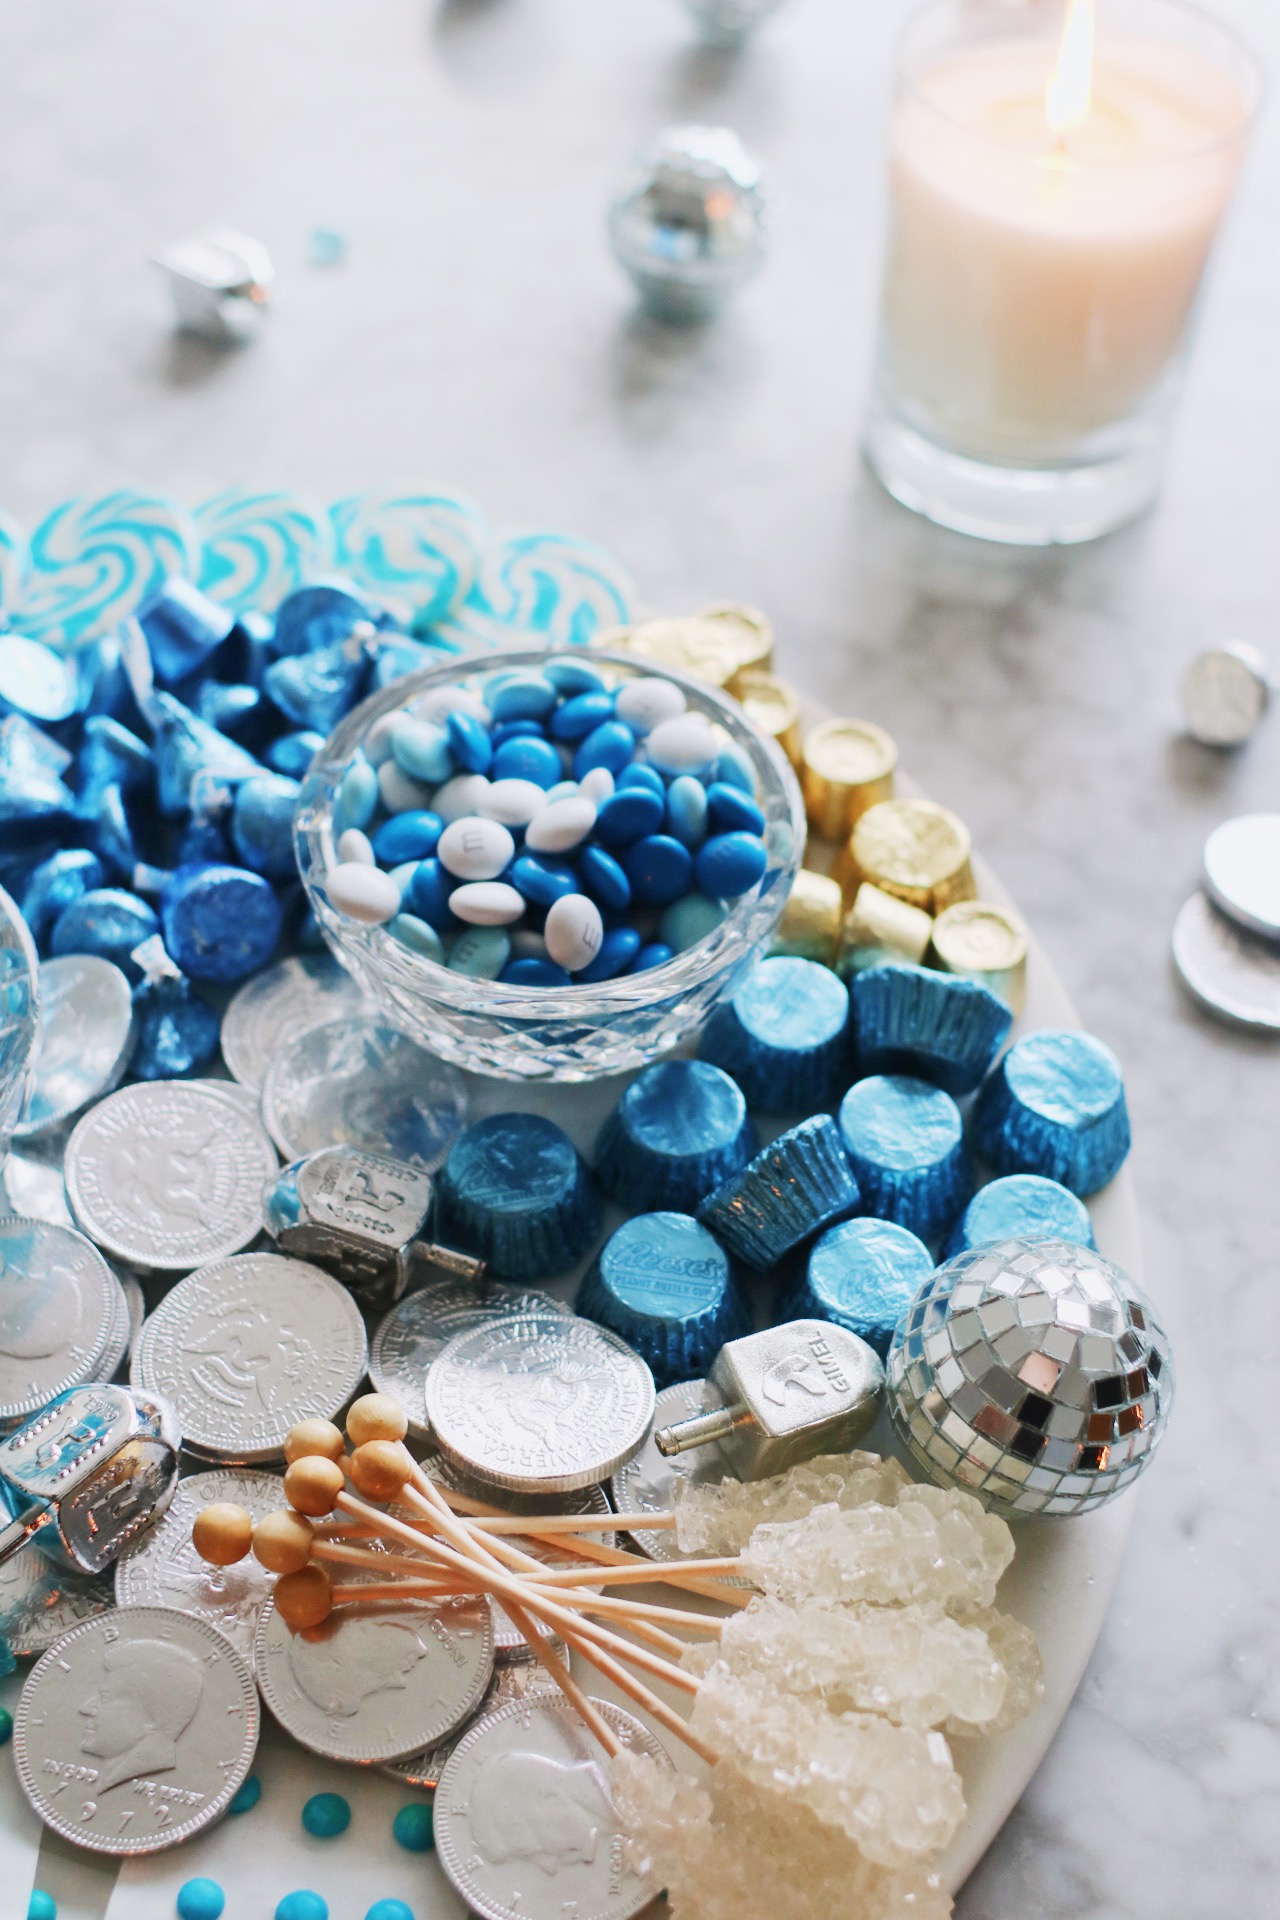
Round Hanukkah Candy Board
What You’ll Need
- A flat, round board (this will provide a nice “blank canvas” on which to work)
- Blue and silver candies
- Small bowls
- Extras: silver dreidels, mini disco balls
What You’ll Do
These are really just tips and tricks; there’s no rhyme or reason to what I ended up doing! There’s no need to copy exactly what I did here. Get creative and plate/arrange your own candies as you see fit.
- Select a board. I know, I know—seems obvious enough. But you want to make sure that the board you pick has a nice flat surface, and no rounded edges (i.e. no dinner plates!). It’ll make it way easier to place the little piles of candies and make them look nice.
- Pick a color scheme and go candy shopping! I honestly think that picking out the candies that’ll go on your board is the most fun part of all of this, so just have fun and pick out what you think will work best. I thought the silver and blue together was such an elegant look, and slightly different from the usual golds and blues you see around this time of year, but really…anything goes. No rules here. I went with the following—please note that not all links are kosher:
- Blue Hershey’s kisses (for these guys, I actually bought on-sale pastel springtime candies around Passover time last year and froze them. 😬 But you can find them online, too.)
- Swizzle sticks
- Candy buttons (I cut off the other colors so that these were only blue)
- Blue candy belts
- Blue Sour Patch Kids
- Blue Reese’s Peanut Butter Cups and blue Rolos
- Silver gelt
- Lollipops
- A few other silver candies I had in my pantry or freezer—waste not!
- And blue M&Ms, which I found at the—gasp—Times Square M&M store. I’ve now been in that store three times for the sake of this blog and each time is more overwhelming than the last. But you can also find them online here.
- House some of the candies in mini bowls. Just to give the board at least some structure. I chose to keep the M&Ms and Sour Patch Kids set apart in those bowls because when I placed them on the board, they looked a little messy.
- Arrange and rearrange until you’re happy with how it all looks. Don’t be discouraged if it looks a little wonky at first. Rearranging is not just expected; it’s necessary. I think I went through 3-4 iterations of this board before I got it looking exactly how I wanted it to look.
- Fill in the gaps with your “extras.” Unless you have small kids around, in which case—don’t do this! Mixing tiny edible and non-edible items is a choking hazard. Just saying that one more time for the folks in the back. But if that’s NOT the case, go right ahead and fill in any awkward “blank” spaces in your board with those extras of yours! I used the mini disco balls and silver dreidels I linked above, but you could also throw in just about any other silver and blue trinkets you find around your house. The idea here is to make the board look even more lush and plentiful without having to purchase even more candy.
- That’s it! Take a few photos, share with friends, or use the board as a centerpiece for your holiday dinners this year.

This is great – just great!!