(Pssst: Have you seen my Hanukkah brunch tablescape with Pottery Barn yet? I developed these for that lovely event…so you should go check it out!)
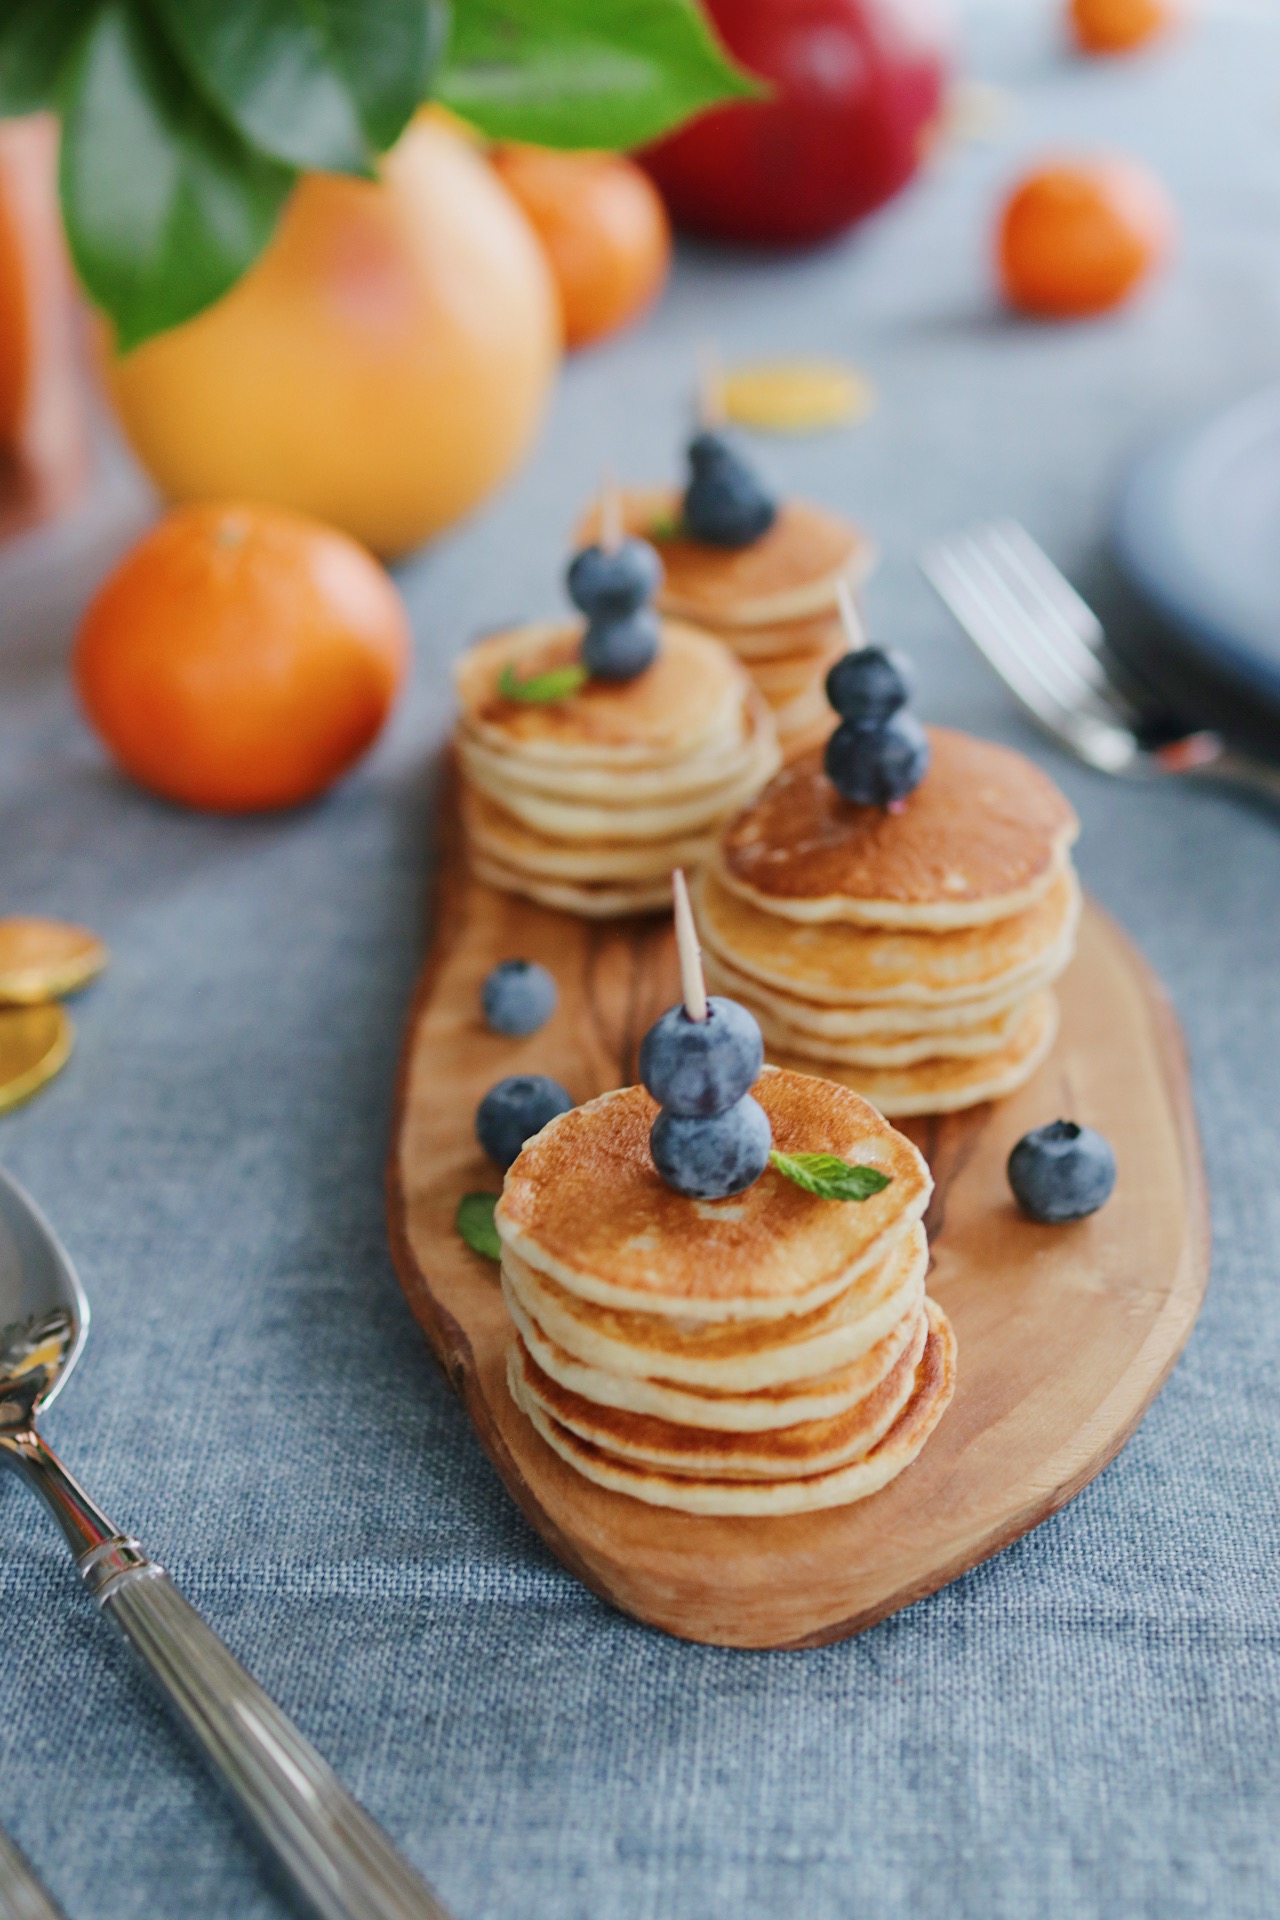
Okay. THESE PANCAKES. I just love them, even if they didn’t turn out exactly the way I thought they would. I originally had this vision of making pancakes in cookie cutters (when do my visions not involve cookie cutters?) and popping them out in perfect little shapes.
Alas, ’twas not to be. Not even a little bit. Cookie cutters + eggs? Yes. Cookie cutters + toast? Also yes. Cookie cutters + pancakes? Particularly miniature pancakes that you’d like to stack on top of each other in an orderly fashion? Apparently not.
And that is how we ended up here. In the end, there were more than enough cookie cutter dishes to go around (see: cookie cutter eggs and toast), so it’s probably for the best.
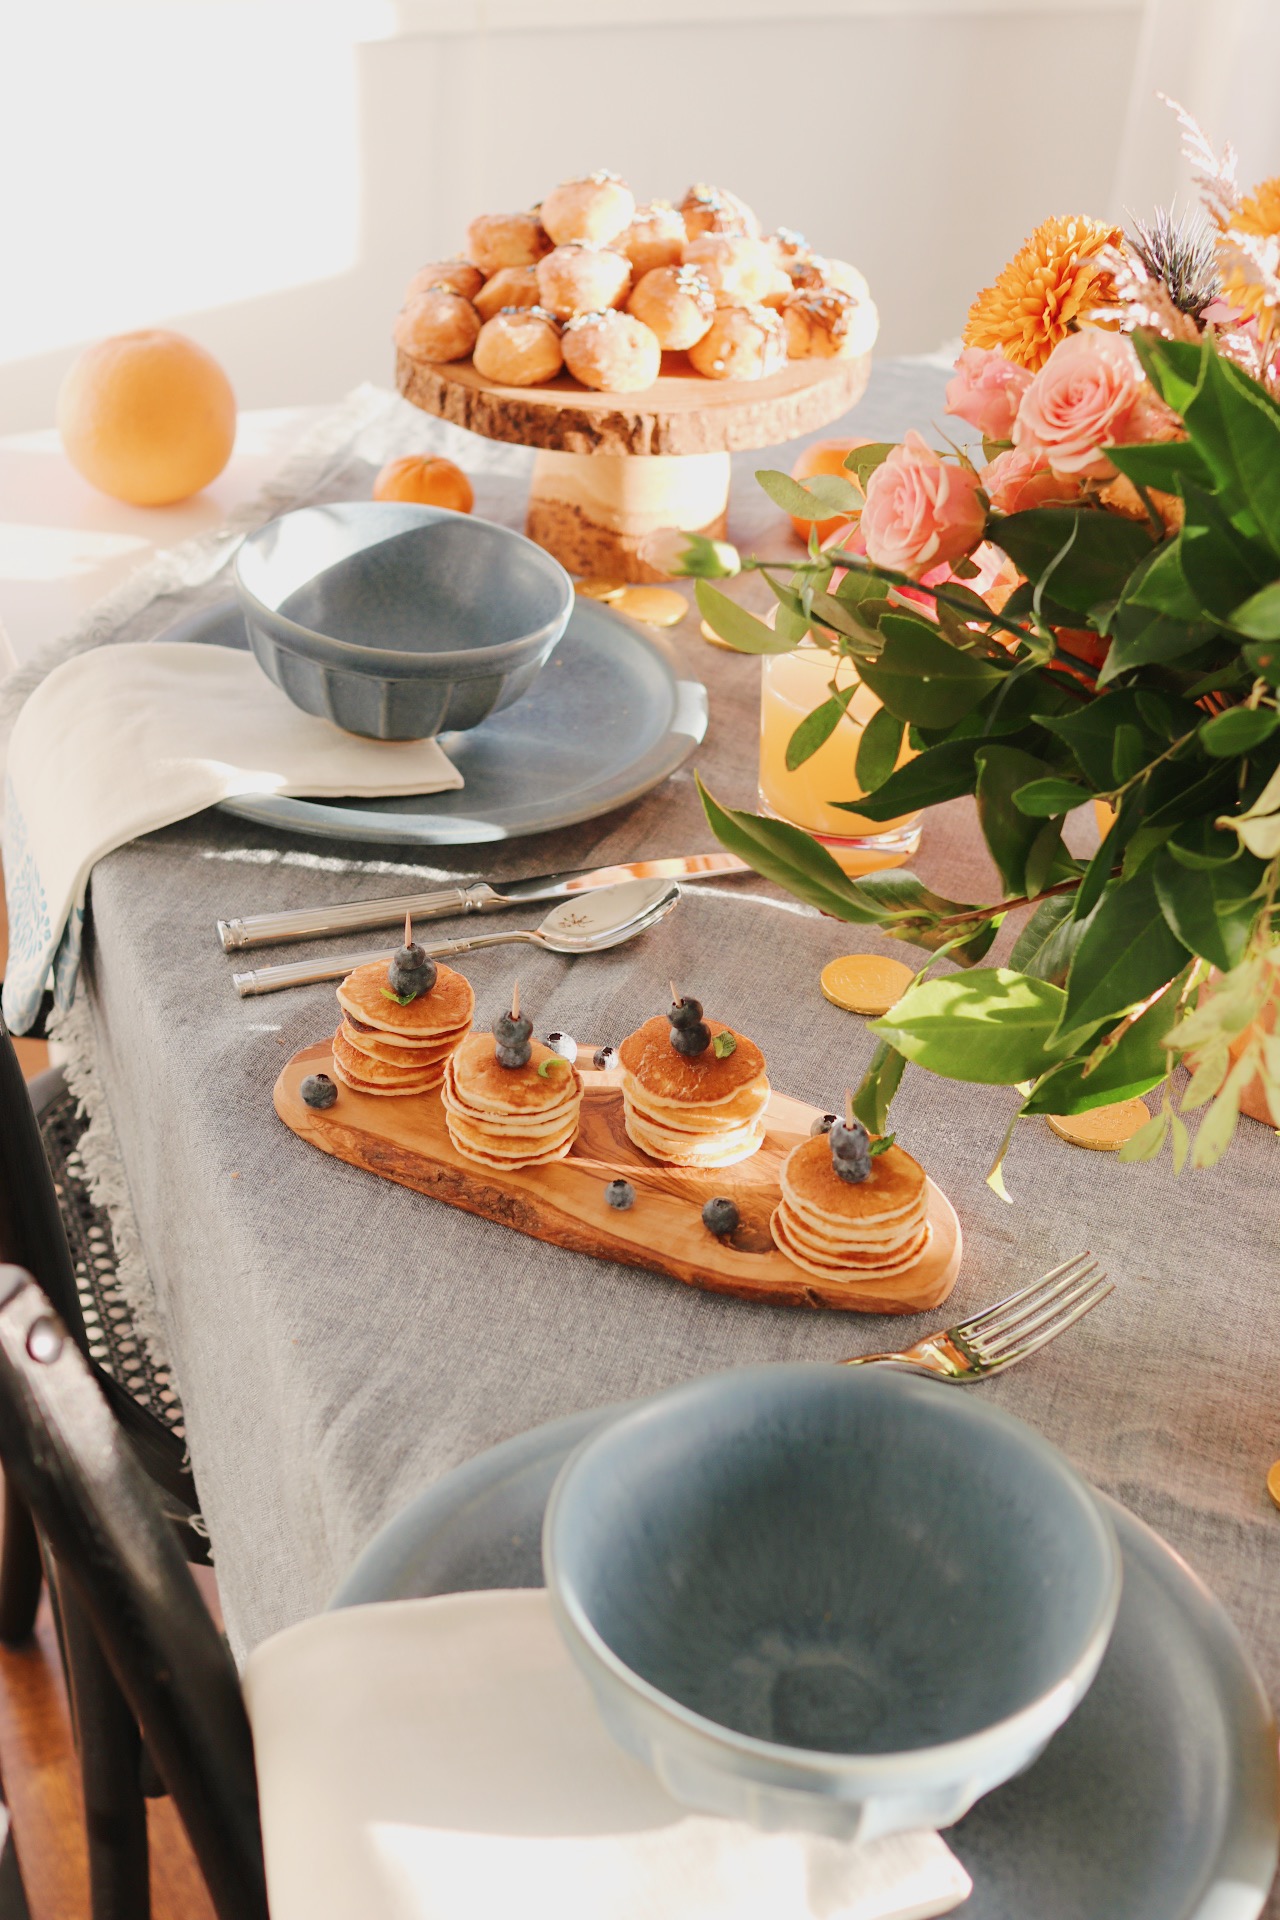
I’ve included a full tutorial below, but it’s really quite simple—and most of the “instructions” are actually just tricks that might help you make them faster and have an easier time spiffing them up.
I hope you have fun with this one! Tag me in your creations on IG or just send me a DM—I love hearing from all of you and seeing what you’ve created as each holiday rolls around.
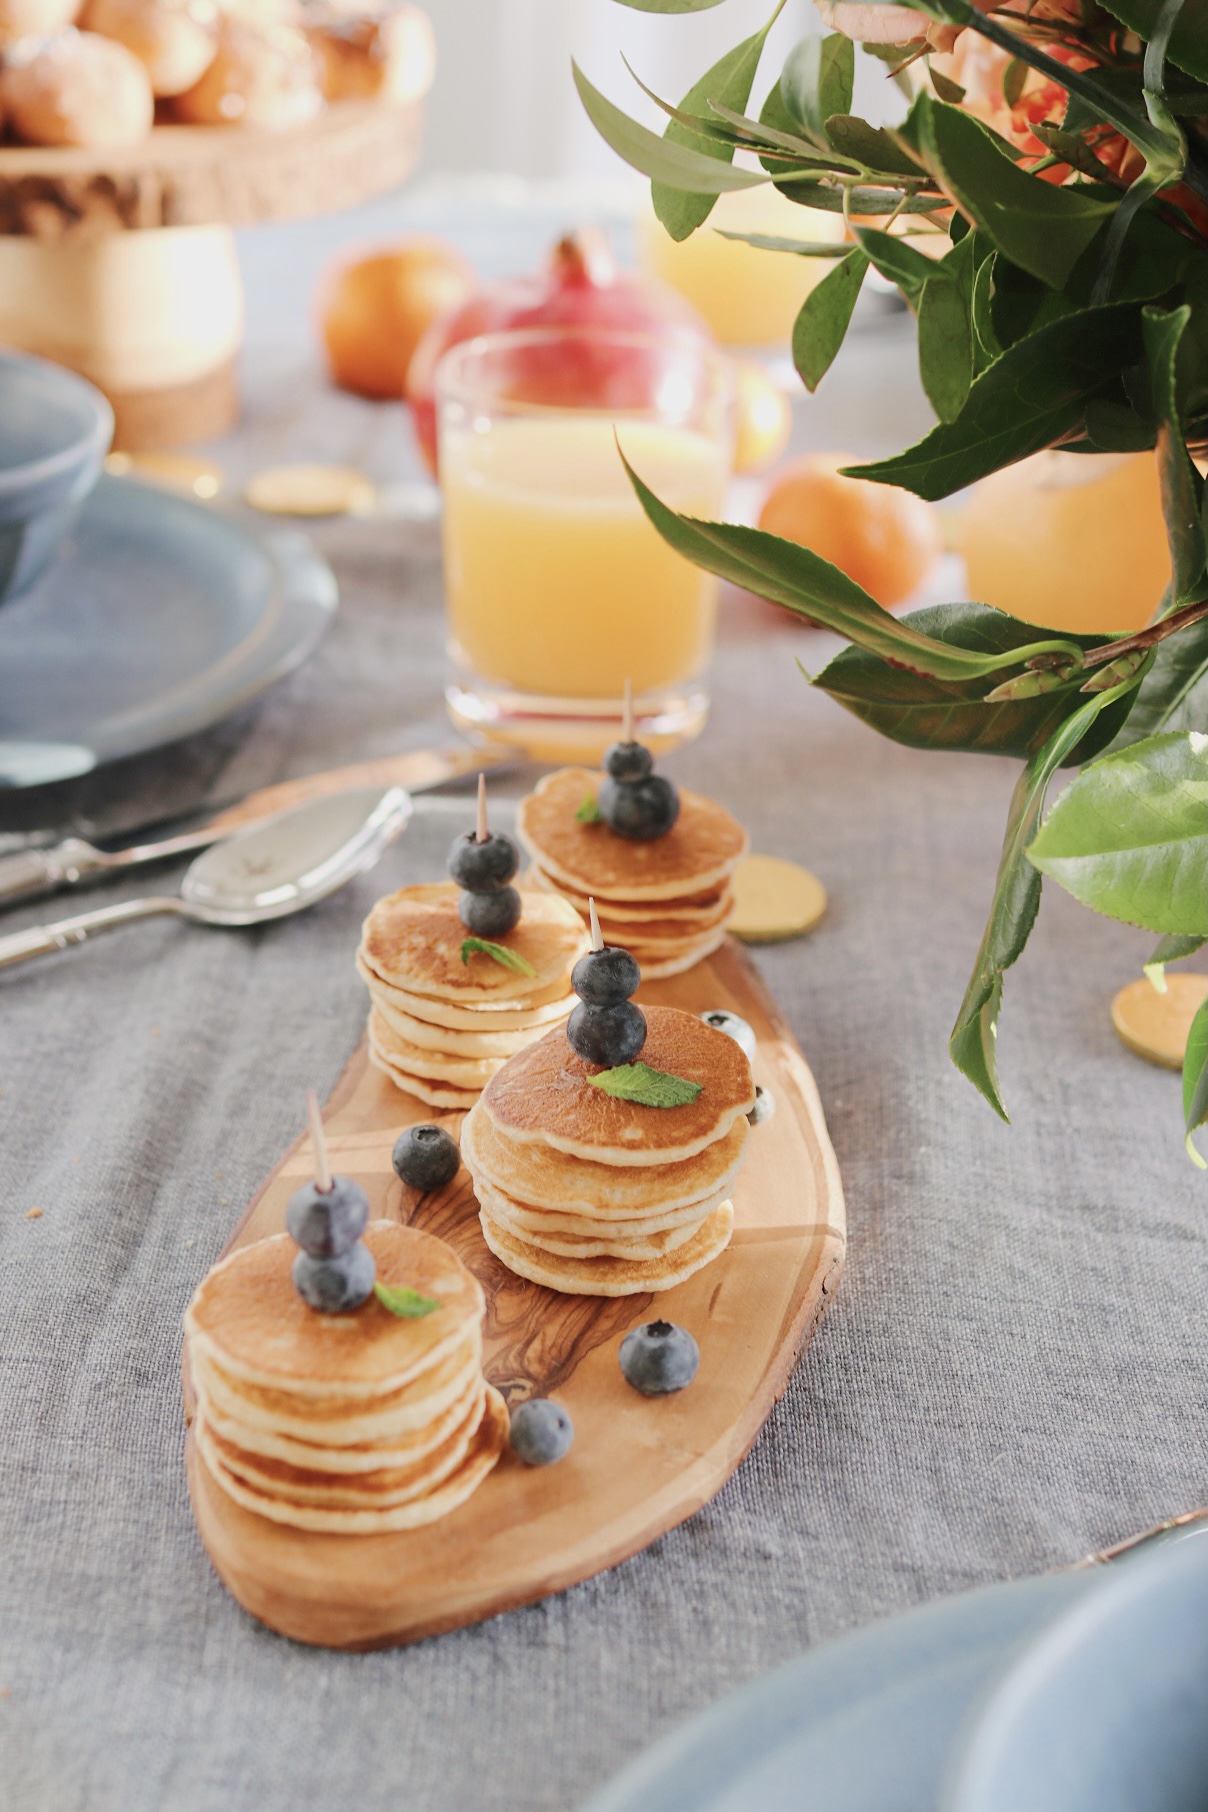
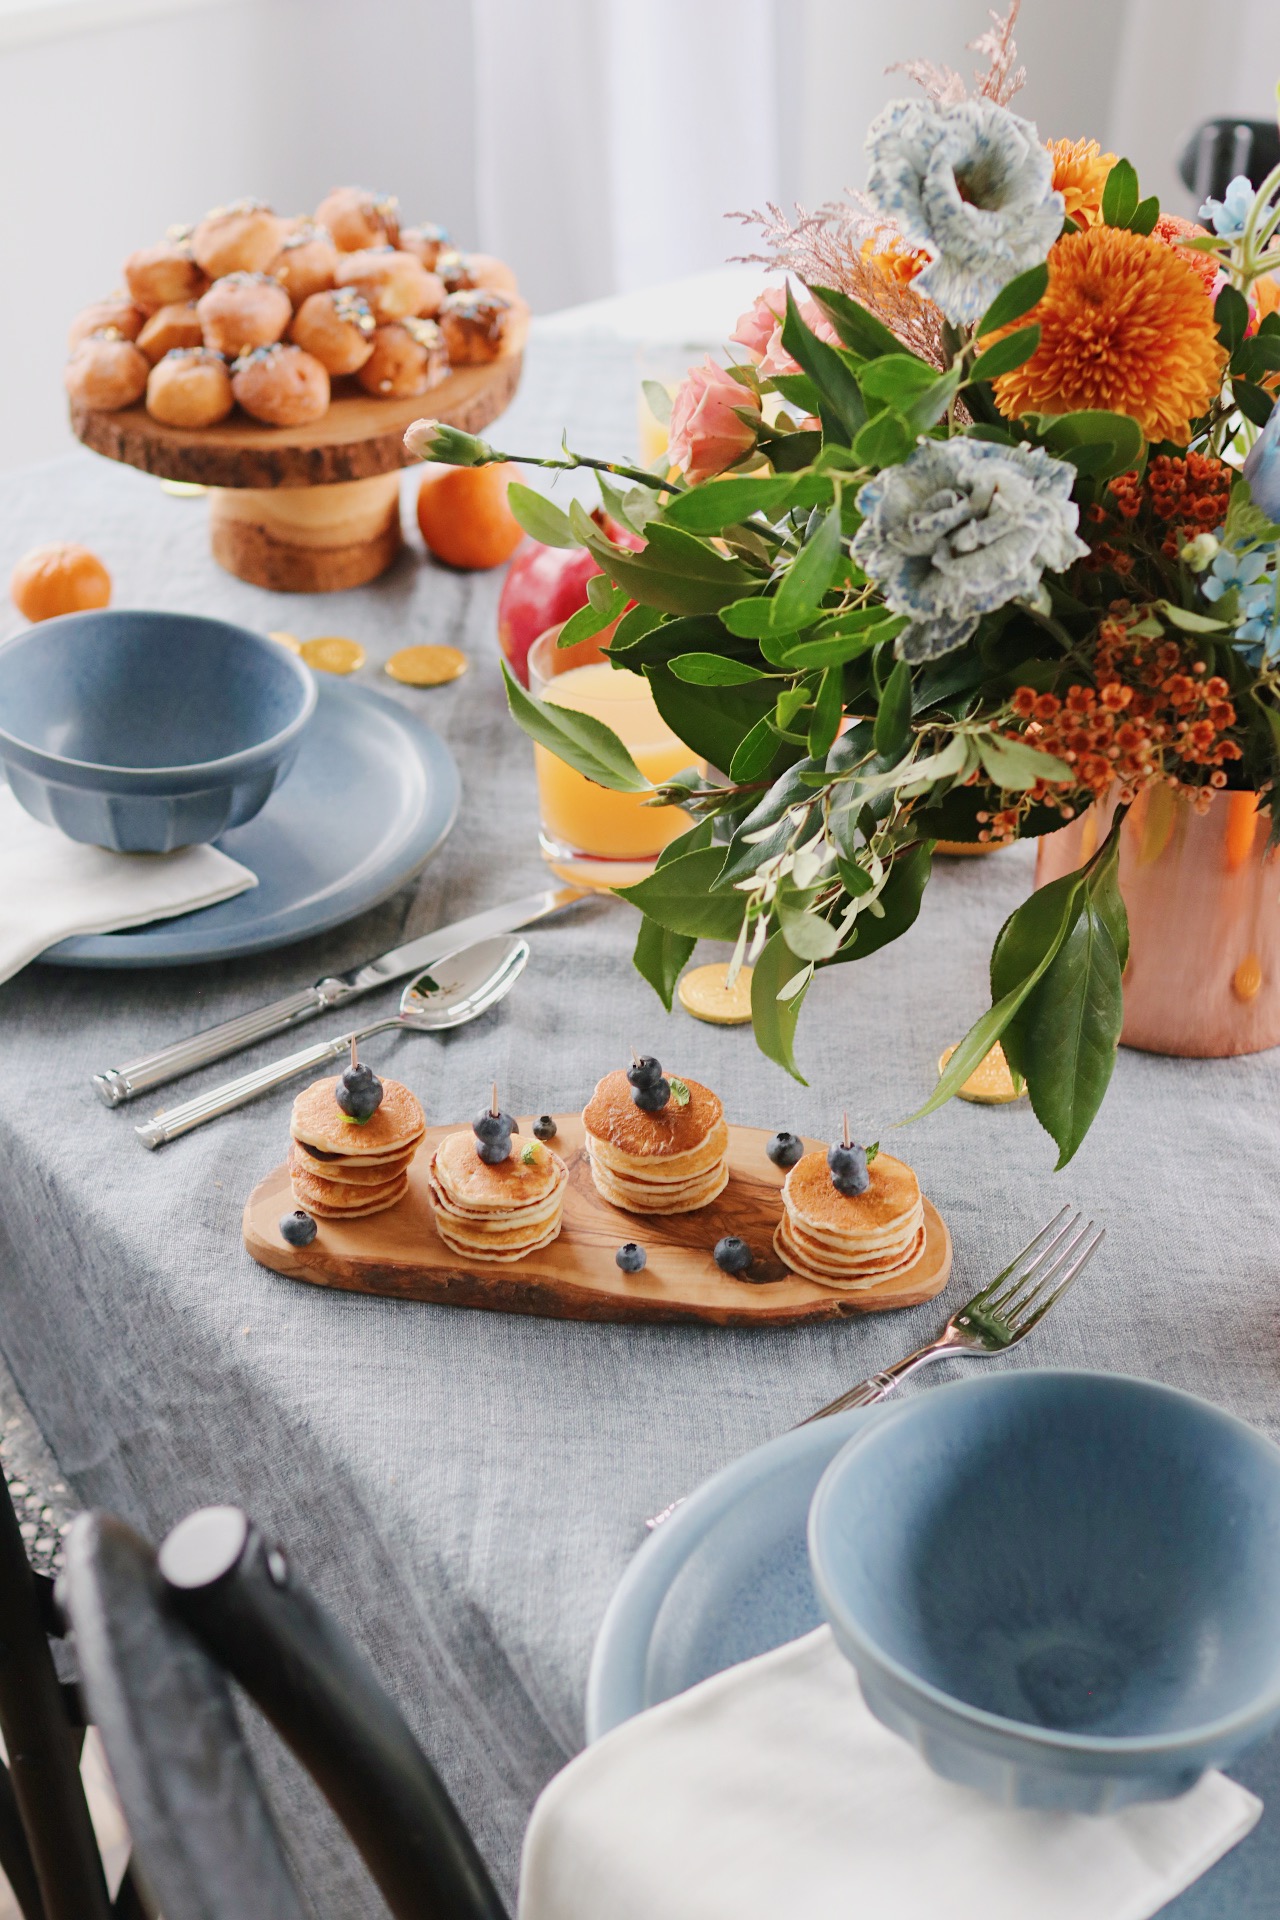
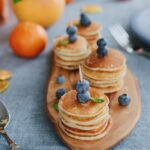
Silver Dollar Pancake Stacks with Blueberries
Description
Just a simple, cute appetizer idea for a brunch party! These are super easy to put together with a big visual payoff.
Ingredients
- Prepared pancake batter
- A squeeze bottle
- Toothpicks
- Blueberries, to garnish
- Mint sprigs, to garnish
- Maple syrup, to serve
Instructions
- Preheat the oven to 200 degrees. Prepare the pancake batter according to your preferred recipe/method—for the purposes of this tutorial, I recommend using a recipe or mix that’s less thick and lumpy and more on the runny side. Spoon your prepared batter into a squeeze bottle with a small opening and set aside.
- Heat and grease a griddle according to your chosen recipe/method. Once it’s hot, squeeze the batter onto the pan in small, even circles; wait 1-2 minutes or until many bubbles have formed on the surface before flipping (I prefer my pancakes to be a slightly darker brown, so I leave them on for ~30 seconds longer).
- Transfer the finished pancakes to a baking sheet, cover loosely with aluminum foil, and keep them warm in the oven as you re-grease the pan and work on making the rest of the pancakes.
- Prep for assembly by placing two blueberries onto as many toothpicks as you’d like there to be stacks (I like to insert the toothpick into the top of the blueberry—where the stem would be—and push them up the toothpick, rather than pushing the toothpick through the bottom of the blueberry, because then the entire toothpick gets blueberry juice on it and the top won’t be quite as clean and pretty. But of course any way works!)
- When you’re ready to assemble, remove the pancakes from the oven. Determine how many pancakes you’d like on each stack (I went with 5), then get to work stacking them neatly (you can group similar sizes together for the most cohesive look). When each stack is finished, skewer it with the blueberry-adorned toothpick, add a small mint leaf to garnish, and you’re done! Serve warm with maple syrup.
