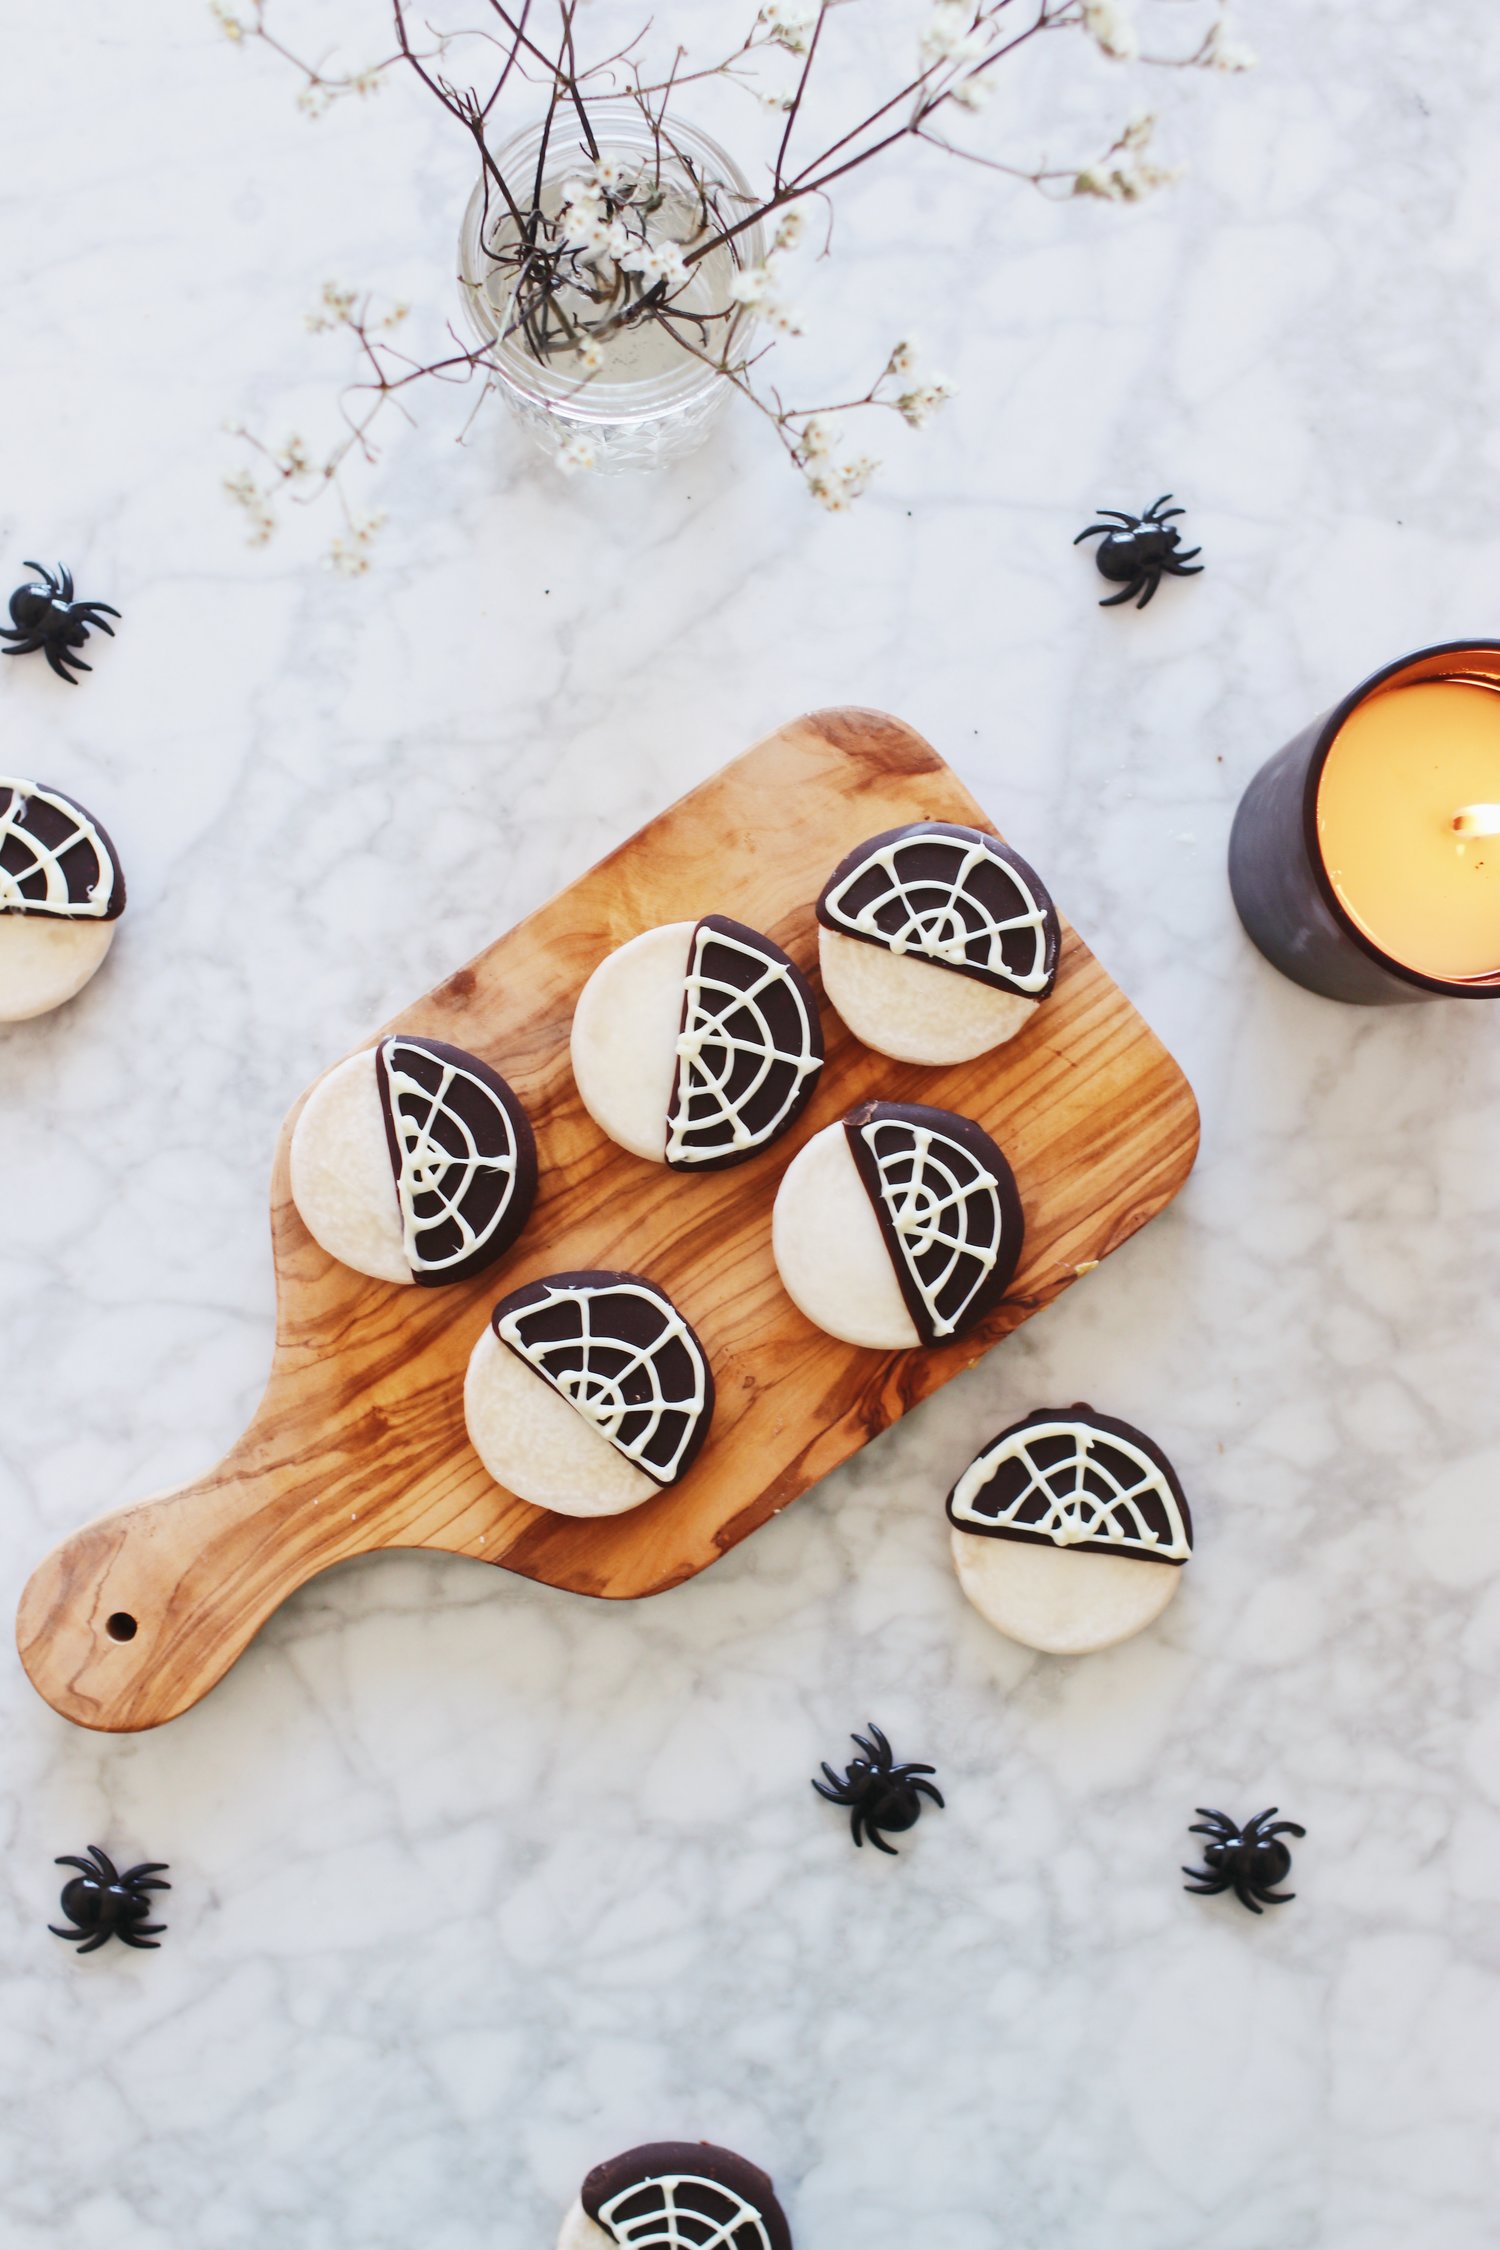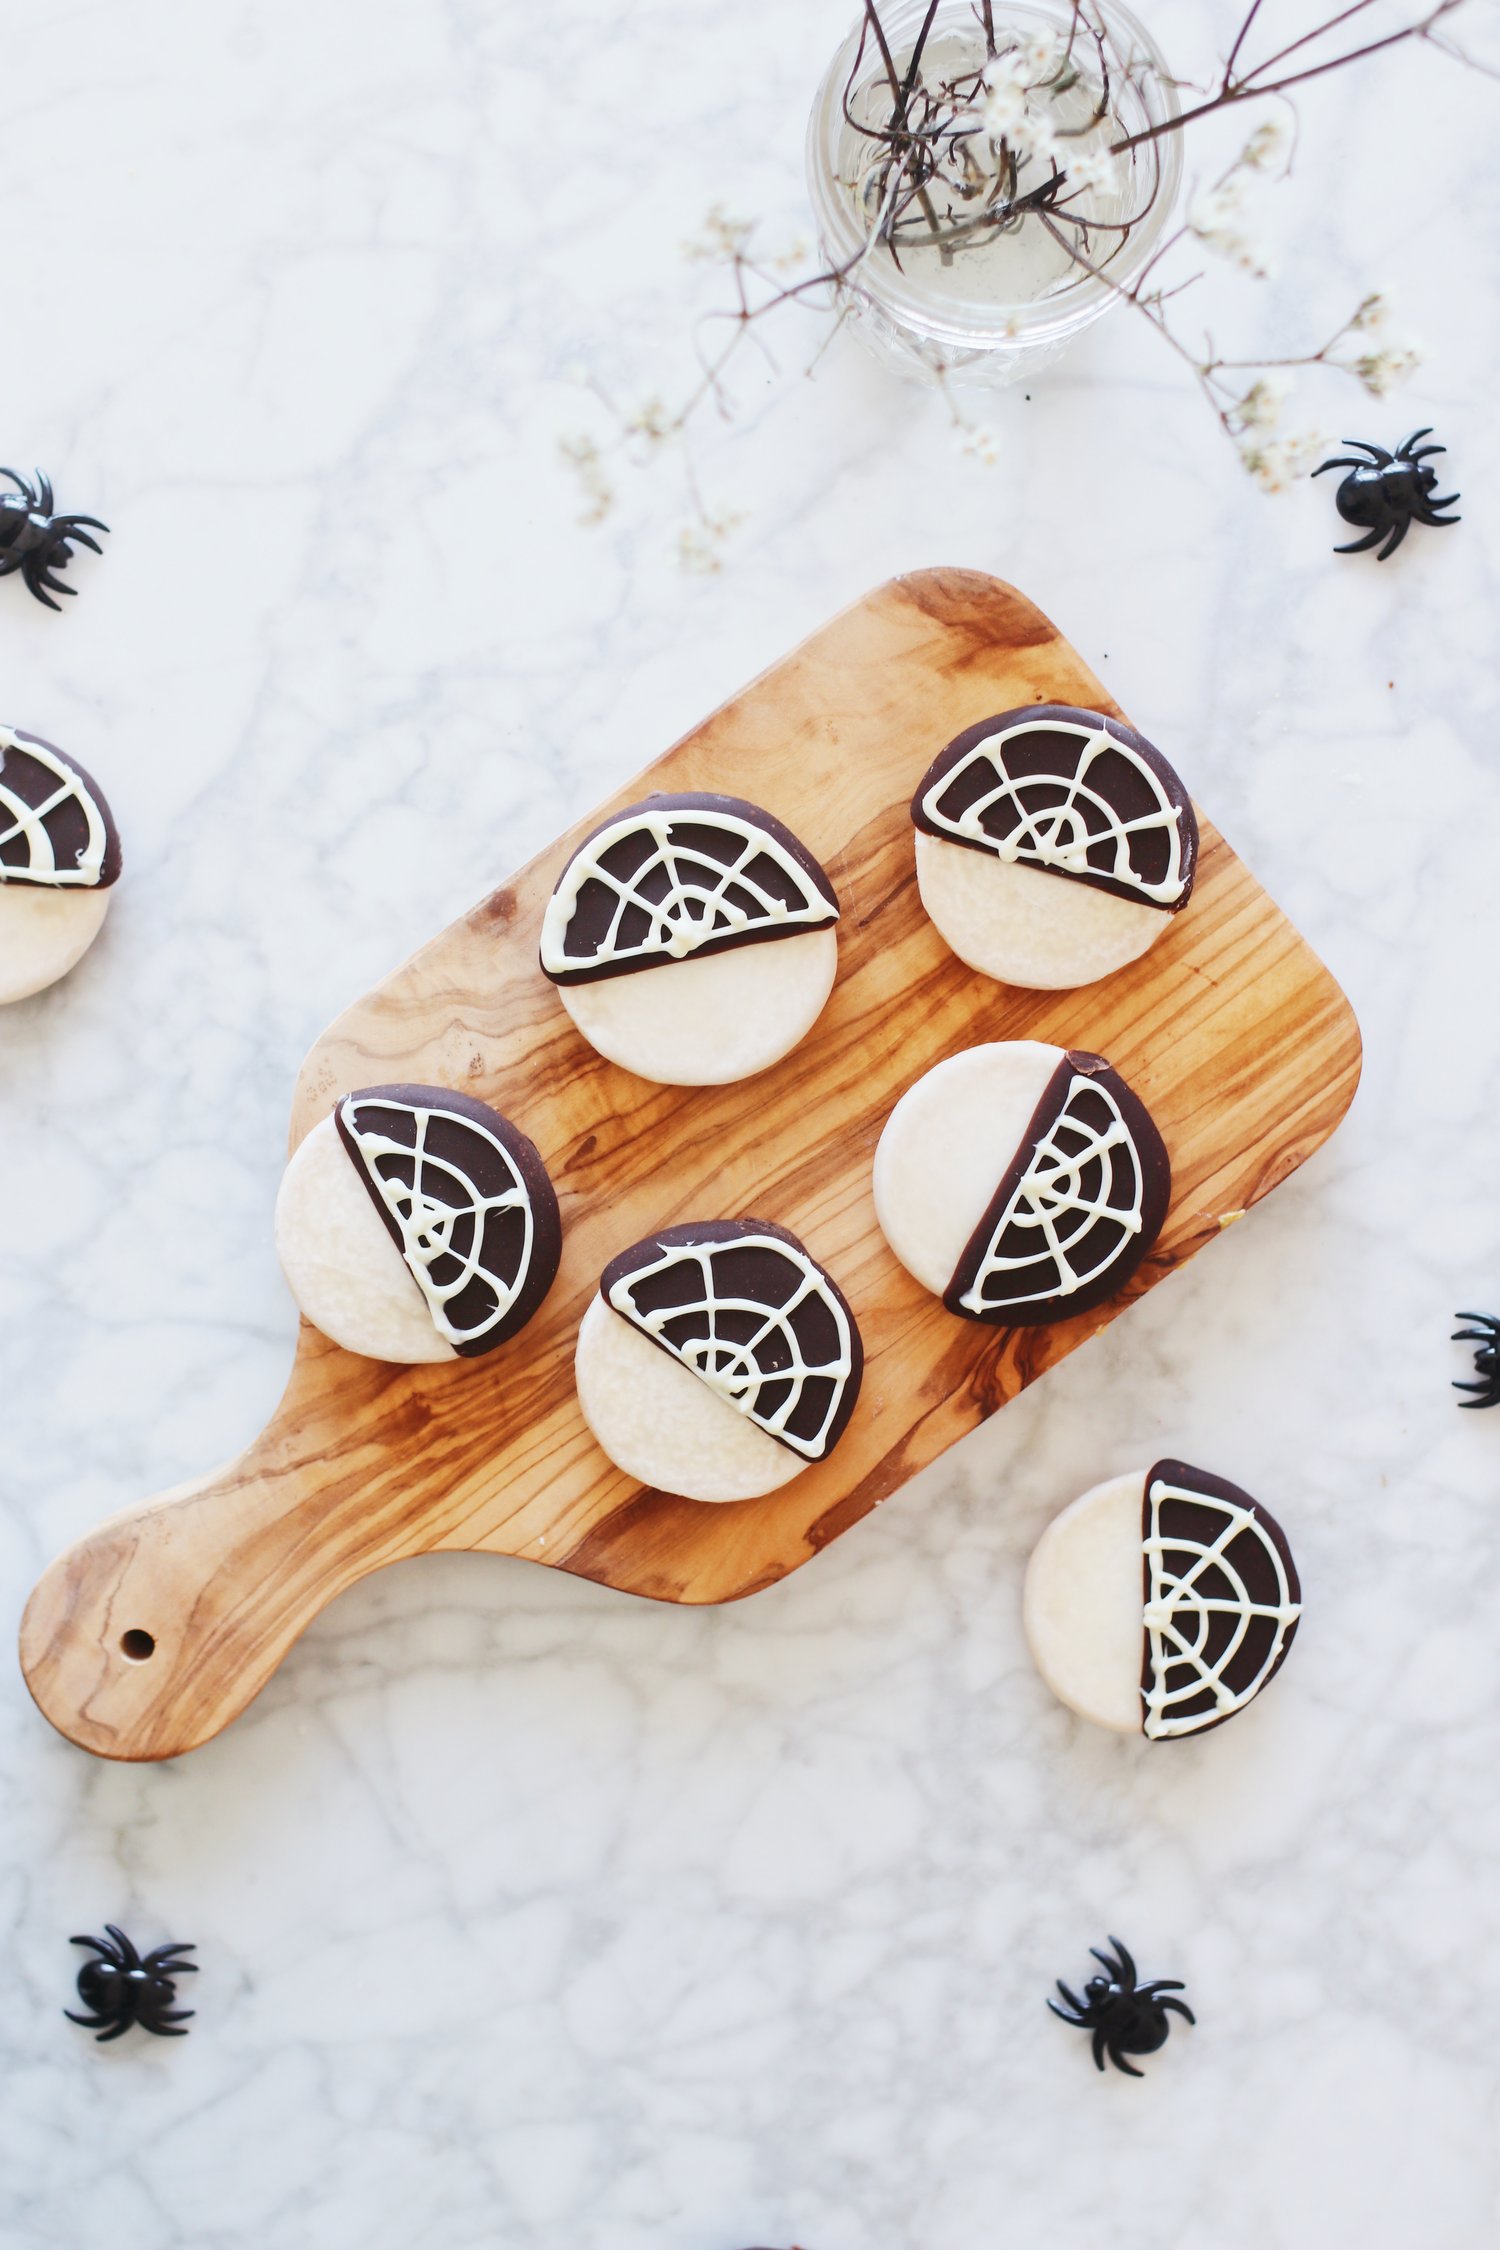
I GIVE YOU…your new favorite Halloween (and/or Halloween Shabbat) cookie recipe.
It’s kid-friendly. It’s grown-up friendly. It’s sophisticated. It’s playful. It’s edible! It’s decorative.
What’s not to love?
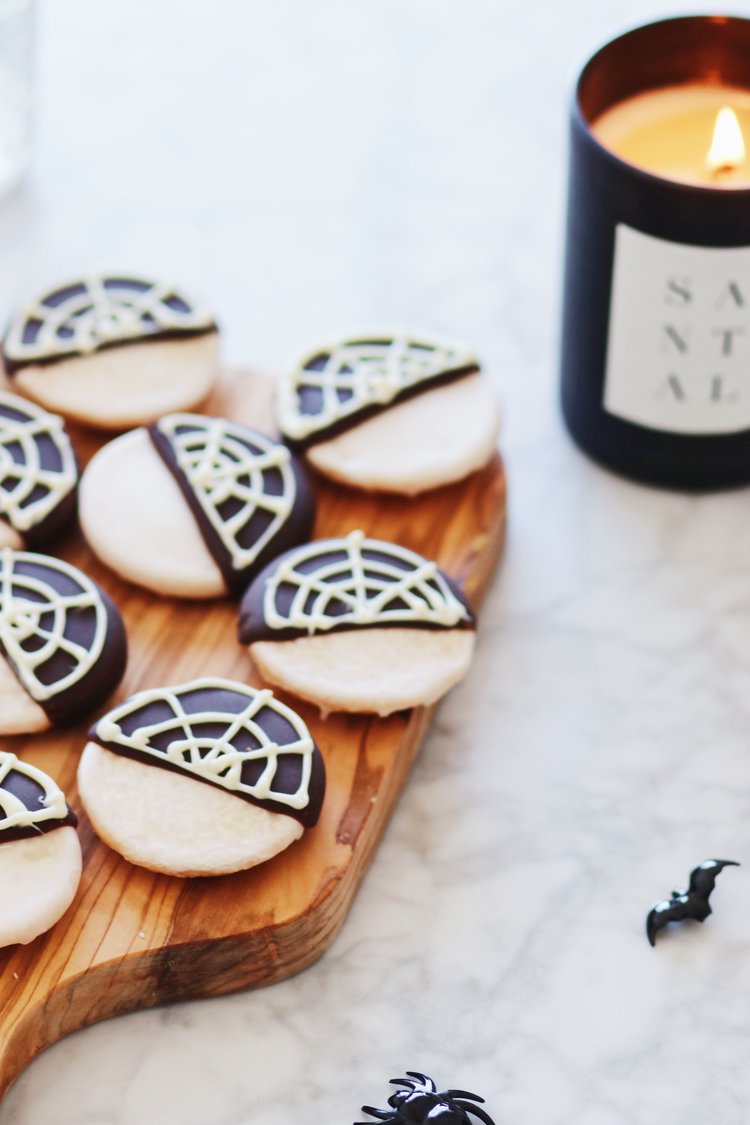
I have so many other, equally unimportant things to say about these gorgeous cookies (they’re asymmetrical! I LOVE ASYMMETRICAL THINGS!) but I’m pretty sure they speak for themselves. So! Let’s get to the recipe!
But one quick note: If you’re not up for baking the cookies from scratch, you can always substitute in store-bought ones and just add on the decorative chocolate web per the last part of the recipe below. Just begin your spiderweb-cookie-making-process at step 7 and proceed until the end of the recipe.
Oh! And as always, if you do make these, shoot me a note on Insta so I can take a look. 🙂

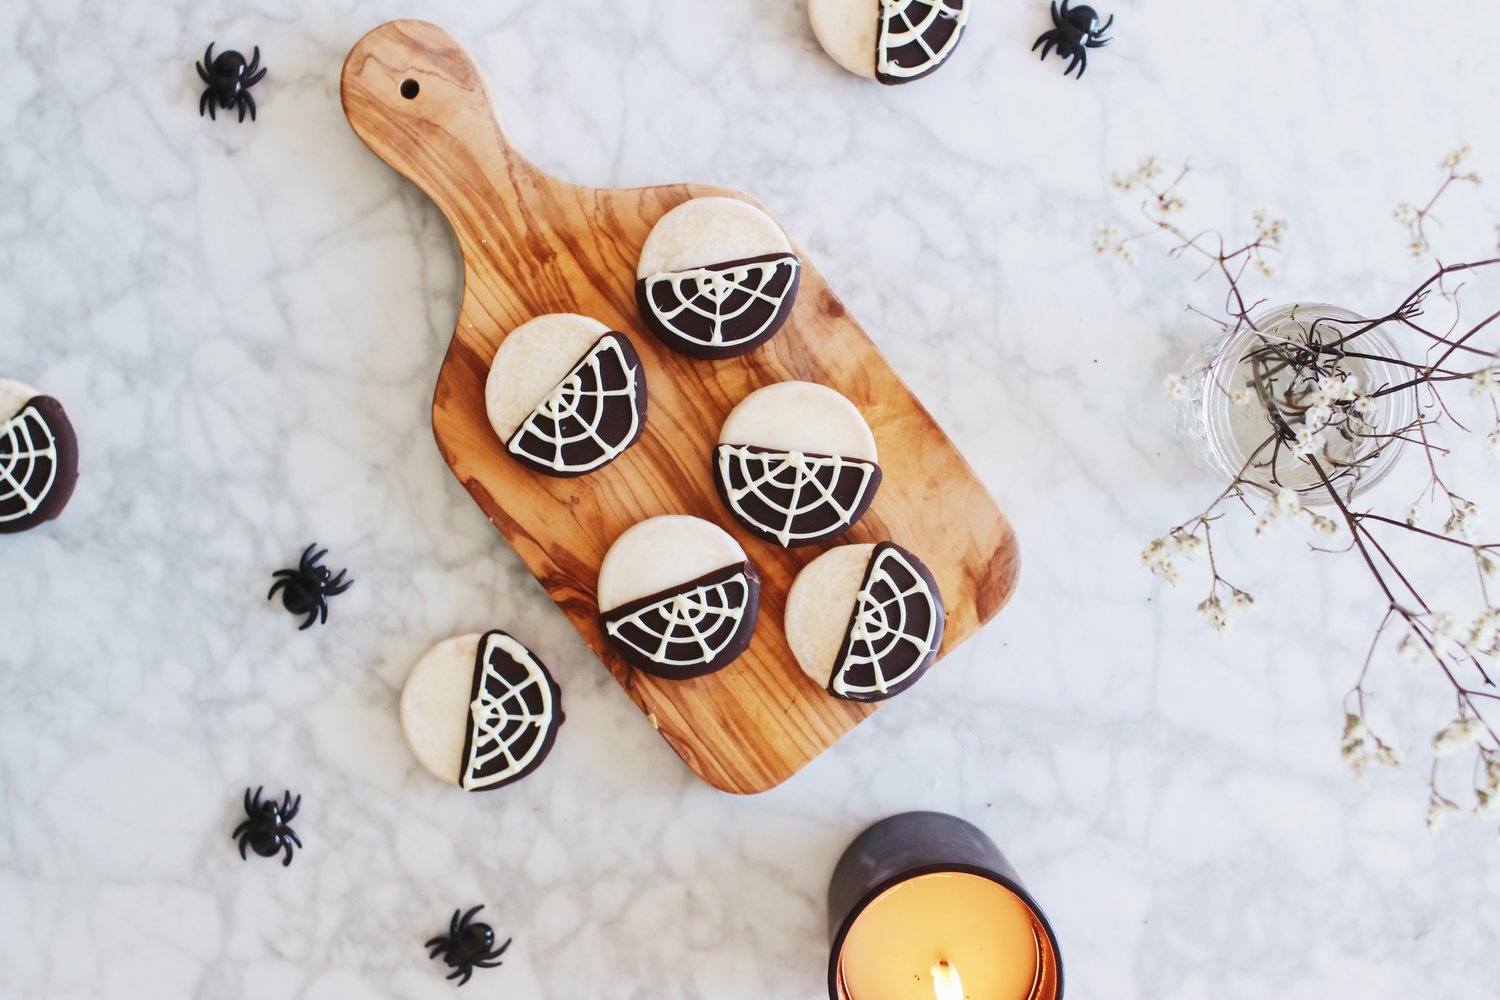
Spiderweb Black & White Cookies
Base recipe adapted from Epicurious.
Makes about 10-12 medium-sized cookies.
What You’ll Need:
For the cookies:
- 1 1/4 cups all-purpose flour
- 1/2 teaspoon baking soda
- 1/2 teaspoon salt
- 1/3 cup well-shaken buttermilk
- 1/2 teaspoon vanilla
- 1/3 cup (5 1/3 tablespoons) unsalted butter, softened
- 1/2 cup granulated sugar
- 1 large egg
For the icing:
- 1 1/2 cups confectioners sugar
- 1 tablespoon light corn syrup
- 2 teaspoons fresh lemon juice
- 1/4 teaspoon vanilla
- 1 tablespoon water
- 1/4 cup unsweetened Dutch-process cocoa powder
For the spiderweb decoration:
- 1/2 cup white chocolate chips (if you only have regular chocolate chips, you can always create the design on the white half of the cookie instead)
What You’ll Do:
- Preheat the oven to 350°F. In a bowl, whisk together the flour, baking soda, and salt. Separately, stir together the buttermilk and vanilla in a cup and set aside.
- Beat together the butter and sugar in a large bowl with an electric mixer until pale and fluffy, about 3 minutes, then add the egg, beating until combined well. Mix in the flour mixture and buttermilk mixture alternately in batches at low speed (scraping down side of bowl occasionally), beginning and ending with flour mixture. Mix until smooth. (The mixture will look a bit runny at this point; it’s really more of a batter than a dough. That’s fine and correct! These “cookies” are more like “cakes” anyway—that’s the texture they’re known for.)
- Spoon 1/4 cups of the batter about 2 inches apart onto a buttered baking sheet. Bake in the middle of oven until the tops of the cookies are puffed and pale golden, and cookies spring back when touched (for the record: that’s 15 to 17 minutes according to Epicurious, but only 10 minutes according to me and my oven!). Transfer with a metal spatula to a rack and chill (to cool quickly), about 5 minutes.
- While the cookies chill, prepare the icing by stirring together the confectioners sugar, corn syrup, lemon juice, vanilla, and 1 tablespoon water in a small bowl until smooth and thick. Don’t try to thin it out too much; you won’t get the thick glaze look you want at the end.
- Transfer half of the icing to another small bowl and stir in cocoa, adding more water to thin the mixture (1/2 teaspoon of water at a time; you can even add by drops to avoid over-thinning) until it reaches the same consistency as the white icing.
- Once the cookies have cooled completely (really, truly cool—or else the icing will melt and you’ll be left with runny cookies!), plate them flat sides up, then spread white icing over half of each and chocolate icing over the other half. Let the icing harden for at least 2 hours.
- In a medium bowl, melt chocolate chips in 15-second intervals in your microwave, stirring every 15 seconds (be sure the bowl you’re using is microwave-safe!). Let the melted chocolate cool slightly, 1-2 minutes.
- Spoon the cooled, melted chocolate into a piping bag fitted with a tiny round tip or use a small plastic bag and trim a tiny hole at one corner. (Did I mention these tips/holes should be truly TINY? If they’re not, you won’t have proper control of the piping process. Tiny tiny tiny. Impossibly tiny.)
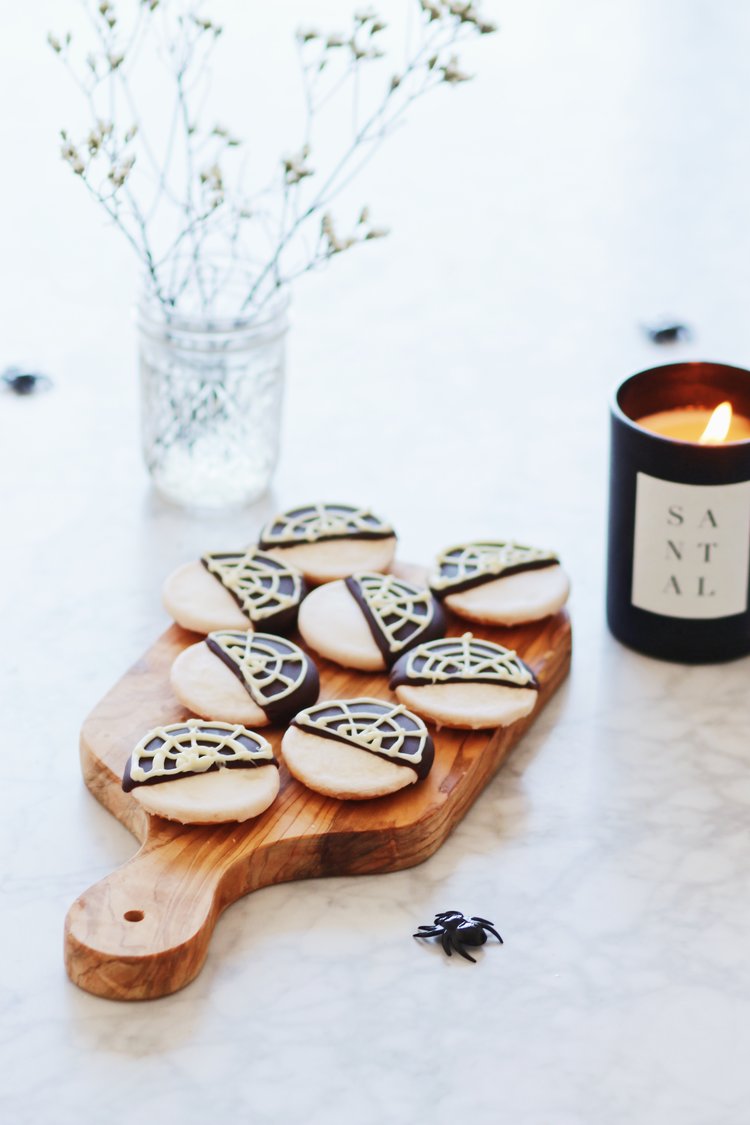
- Carefully pipe a half-moon shape (the exterior of your “web) onto one cookie. Create the web by piping two more, smaller half-moons within that larger half-moon, as pictured, then pipe three lines diagonally outward from the center of the cookie toward the outside. Let sit for at least an hour while the chocolate sets, then serve or store at room temperature in an air-tight container for up to one week.
