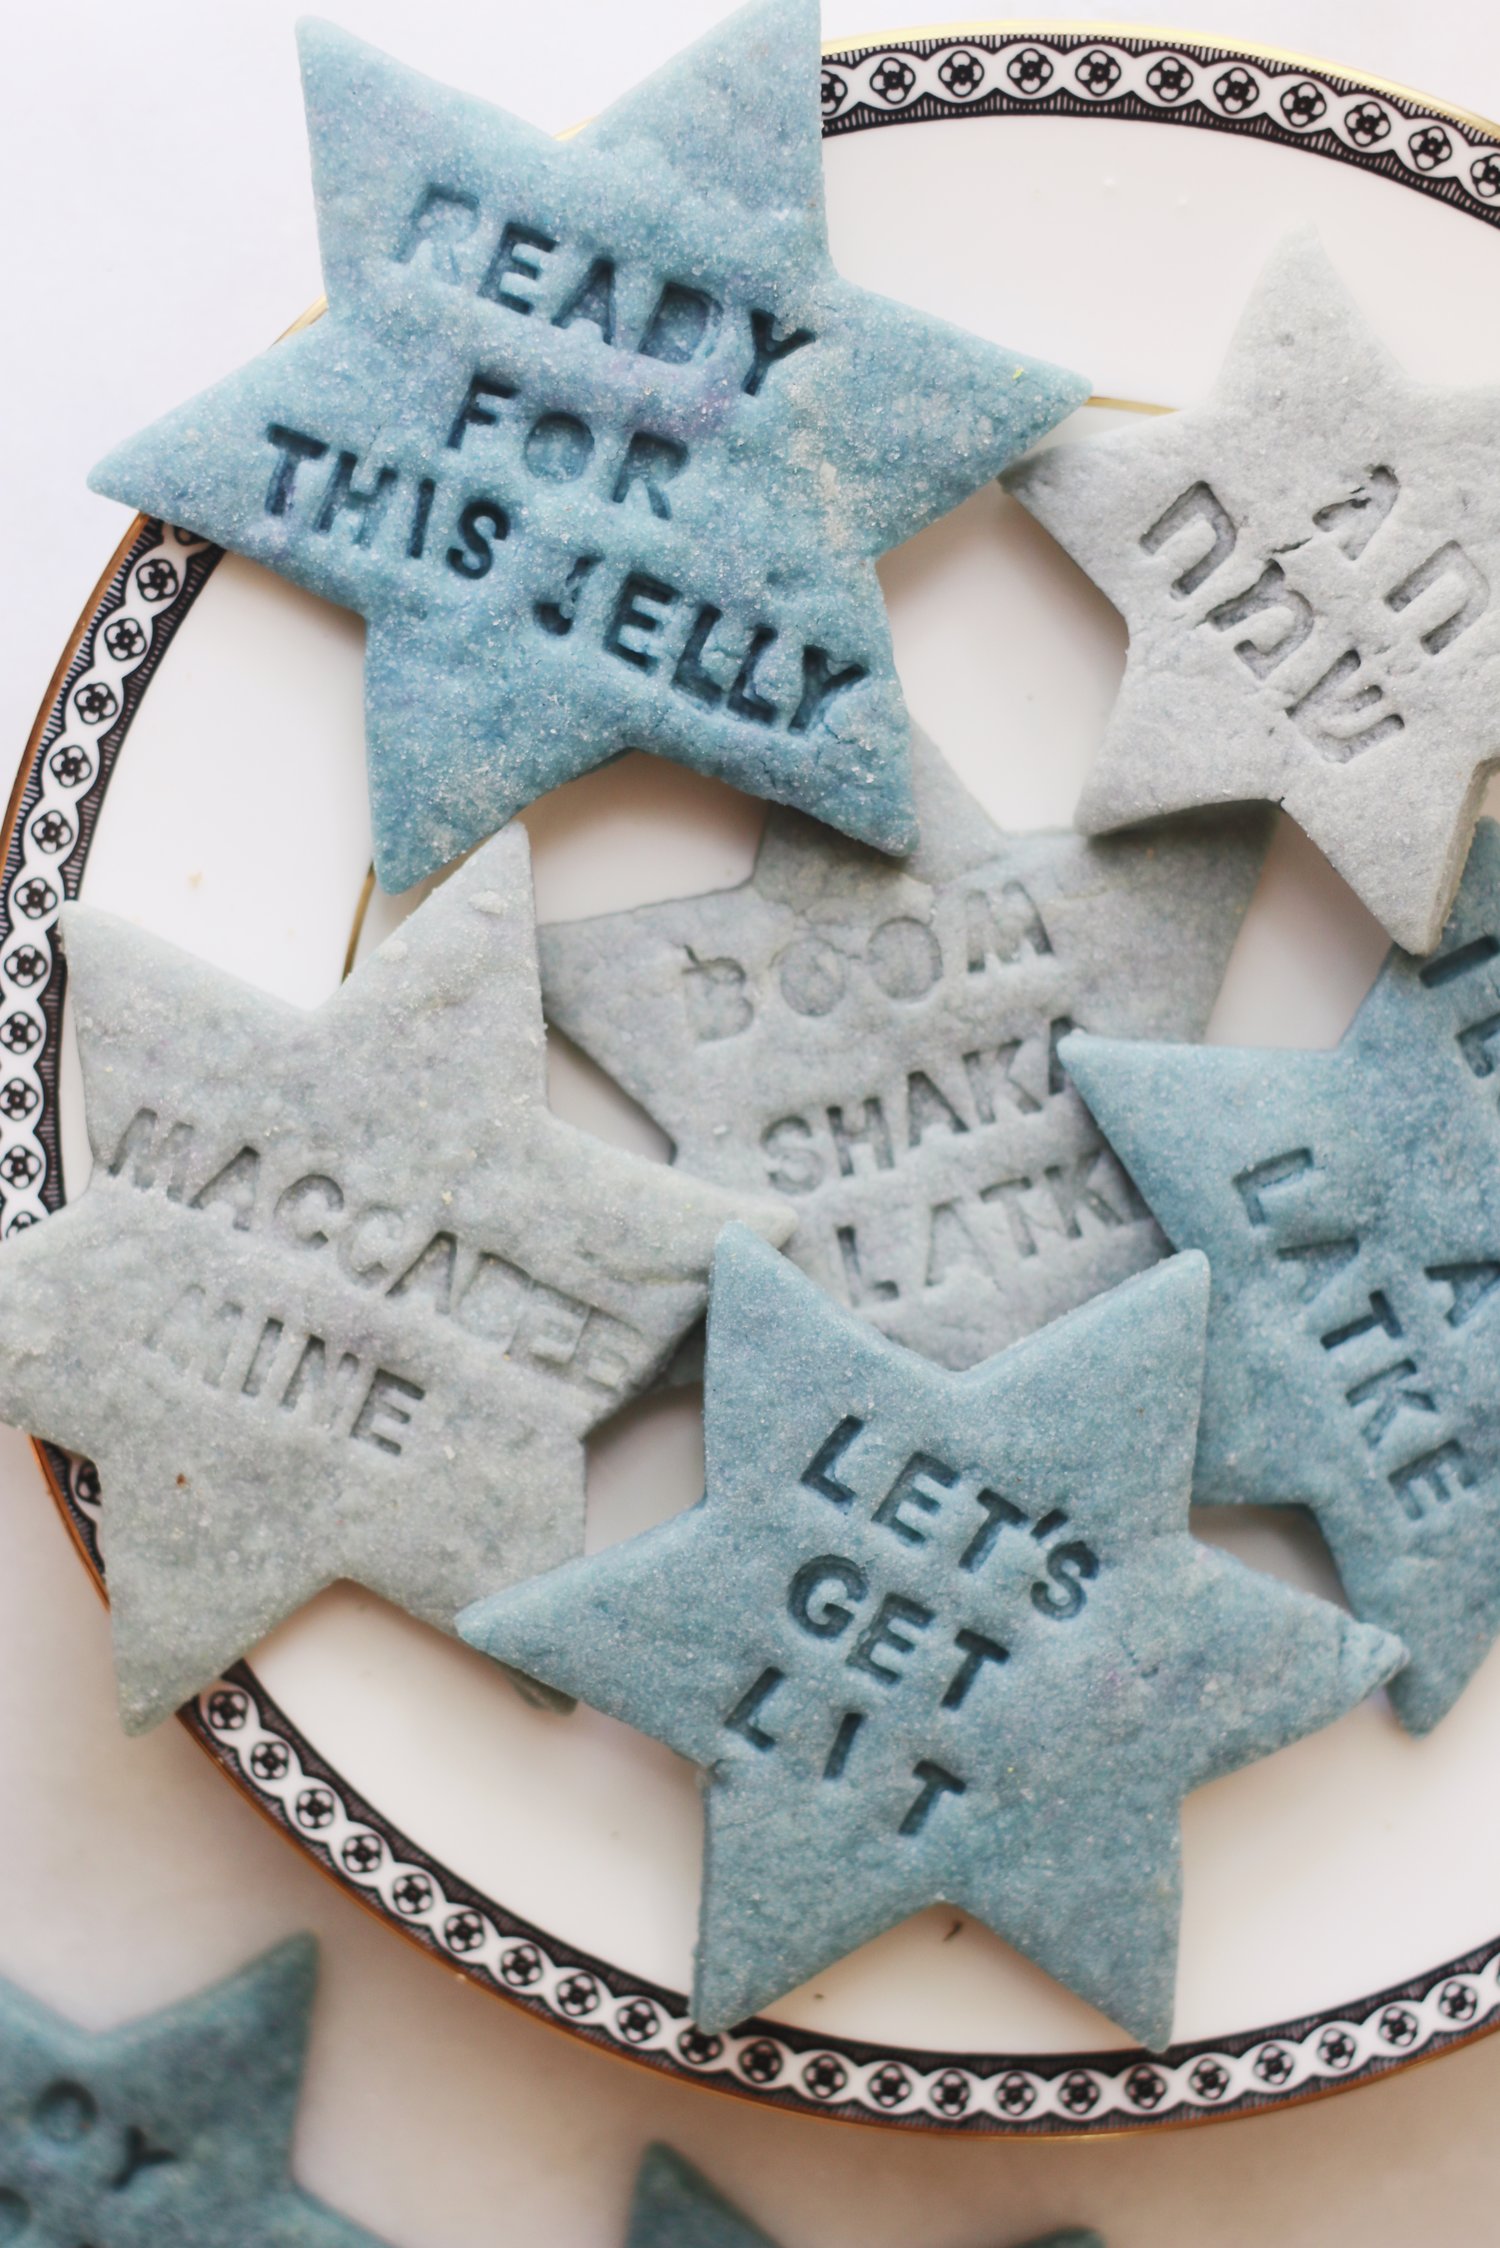
owning a cookie imprinting set is a dangerous, dangerous thing.
one minute, you’re enjoying the sunshine and summer air, laughing over brunch with friends, being a (passably) normal human, living a (passably) normal life. you have a future. you have dreams. a life. an apartment.
A FAMILY.
and then the cookie imprinting set you ordered on amazon arrives and everything changes forever and that’s that.
goodbye, future. goodbye, dreams and family. now, it’s just the letters, the cookies, and you, and everything else fades away. (and could I possibly quote more musicals in one paragraph? you bet your bottom dollar I could.)
where was I.
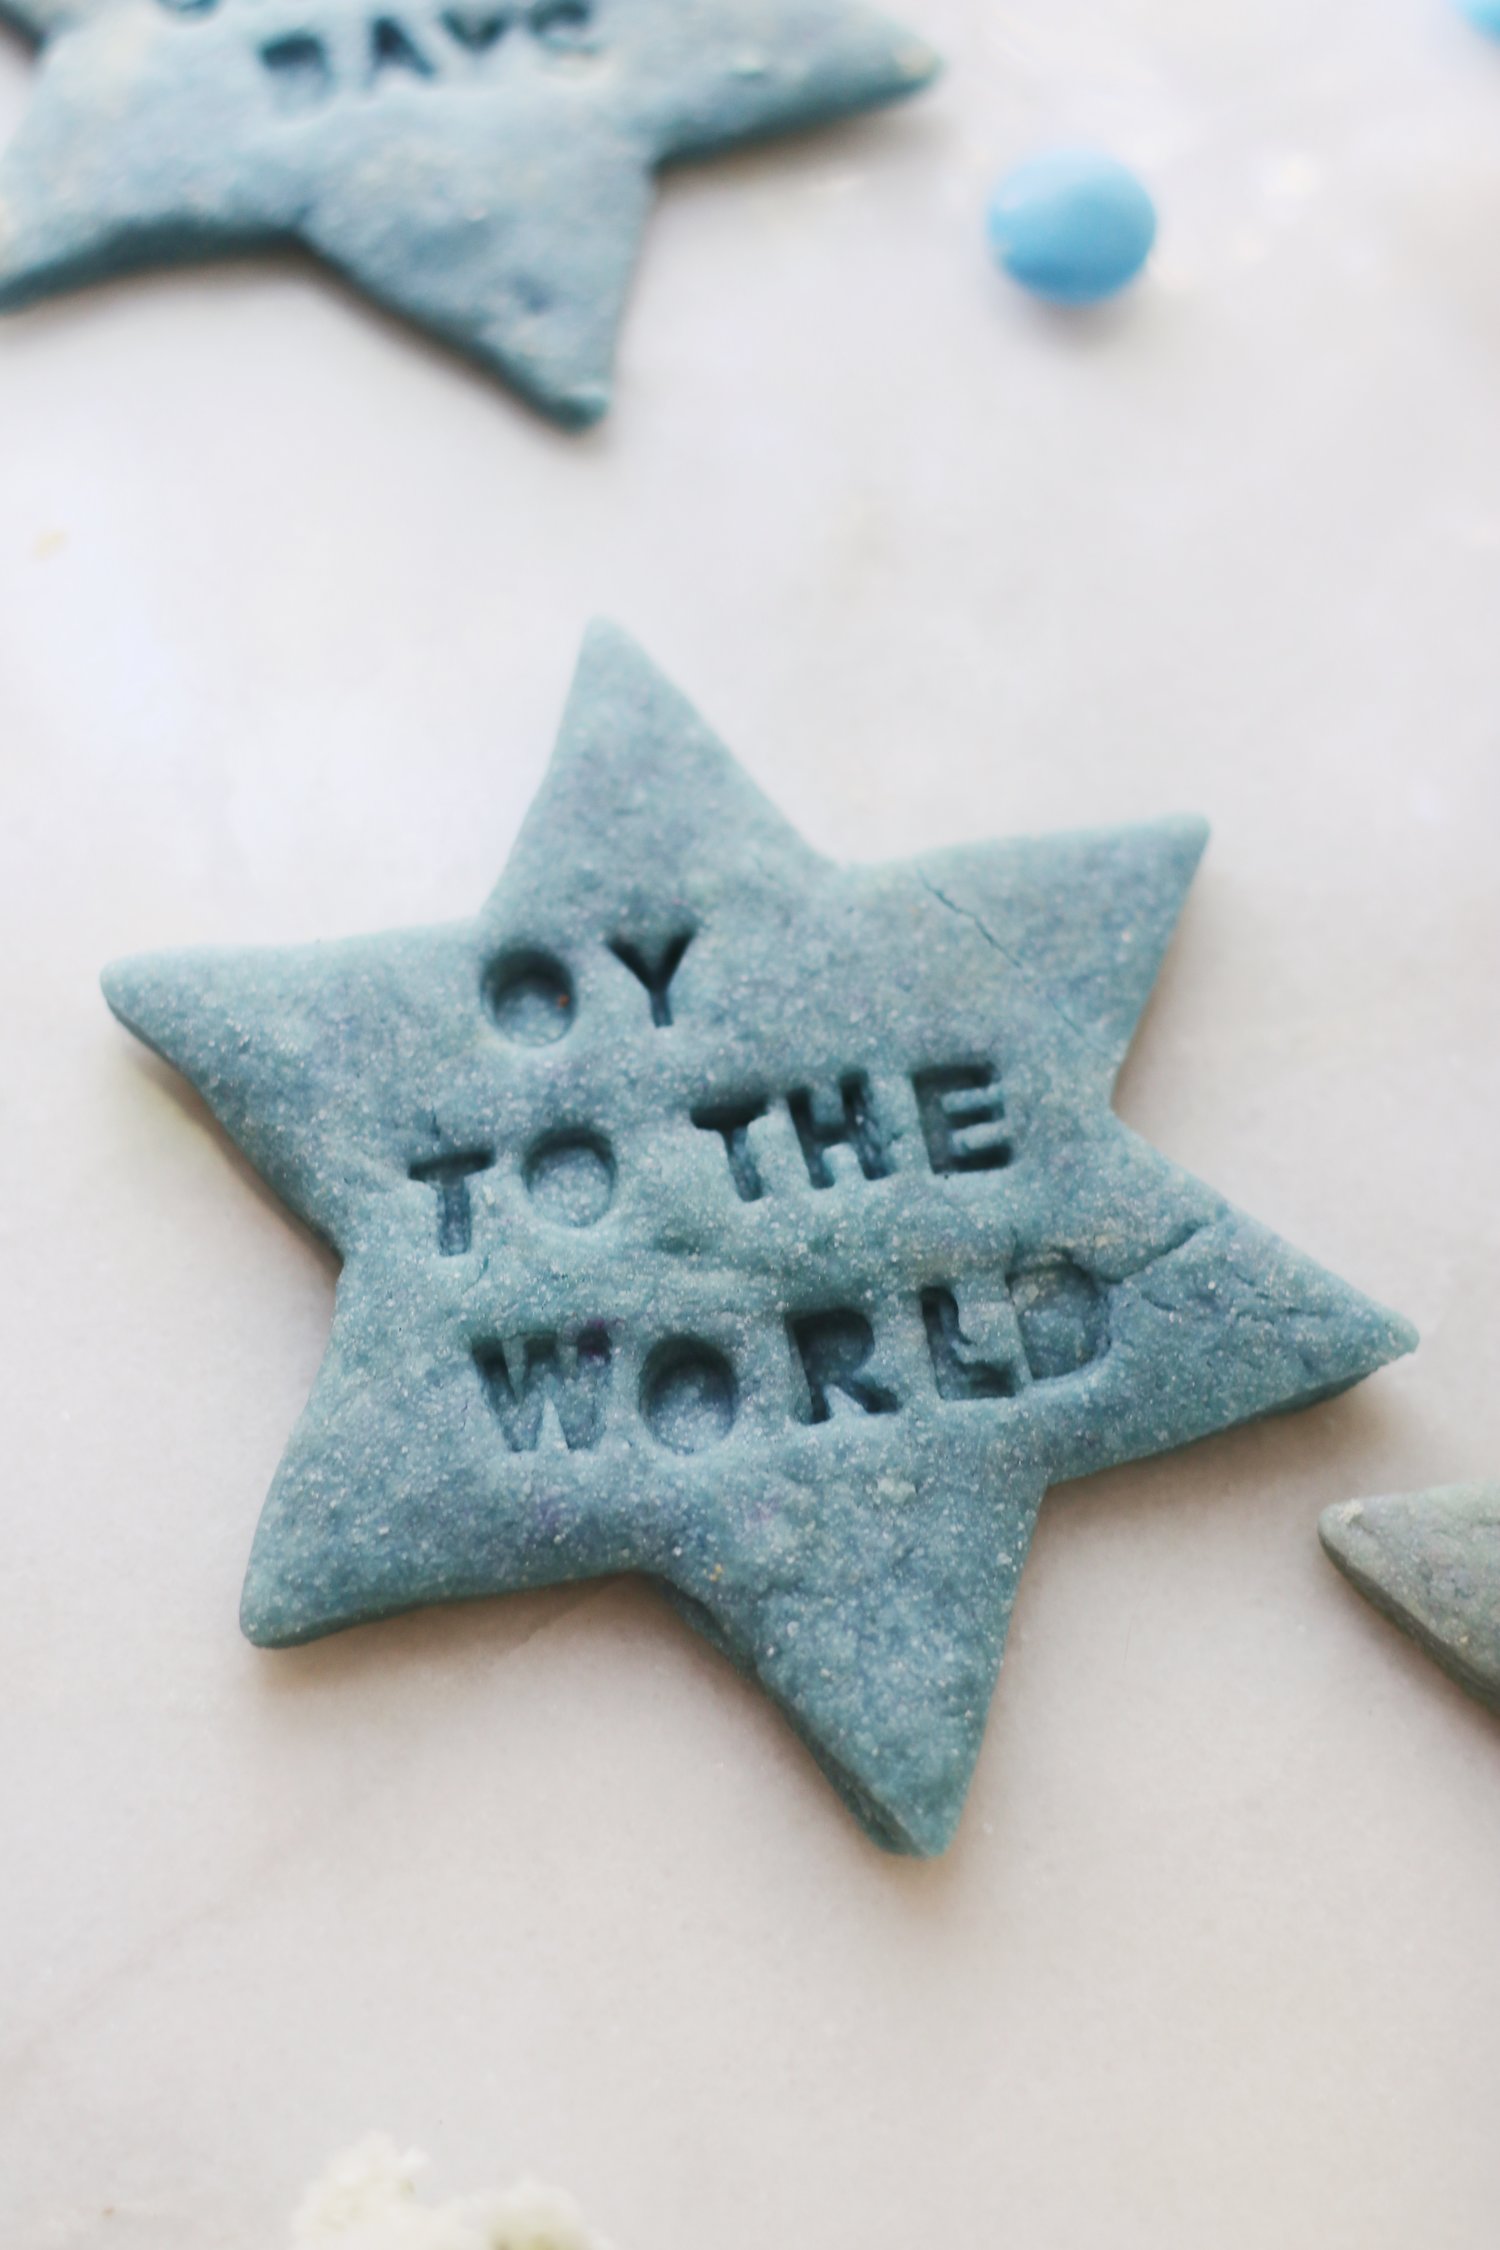
AH YES. cookie imprinting. the thing about it is…once you start, you can’t stop. take, for instance, the matter of today’s post. is it june? yes. am i making—and posting about—hanukkah cookies? also yes. have i lost my mind? no. i was simply stamping away at these here marvelous mrs. maisel cookies, as one does on a sunny saturday afternoon, when it occurred to me that there were so many OTHERcookie-stamping opportunities to be had out there: hanukkah cookies, rosh hashanah cookies, shabbat cookies, national paper bag day cookies, and so on. who was I to deny them their crumbly star turn?!!
so i got to work. and the rest, as they say, is history.
(believe it or not, very little of the above story is fabricated.)
(the dreams and family remain intact.)
(BARELY.)
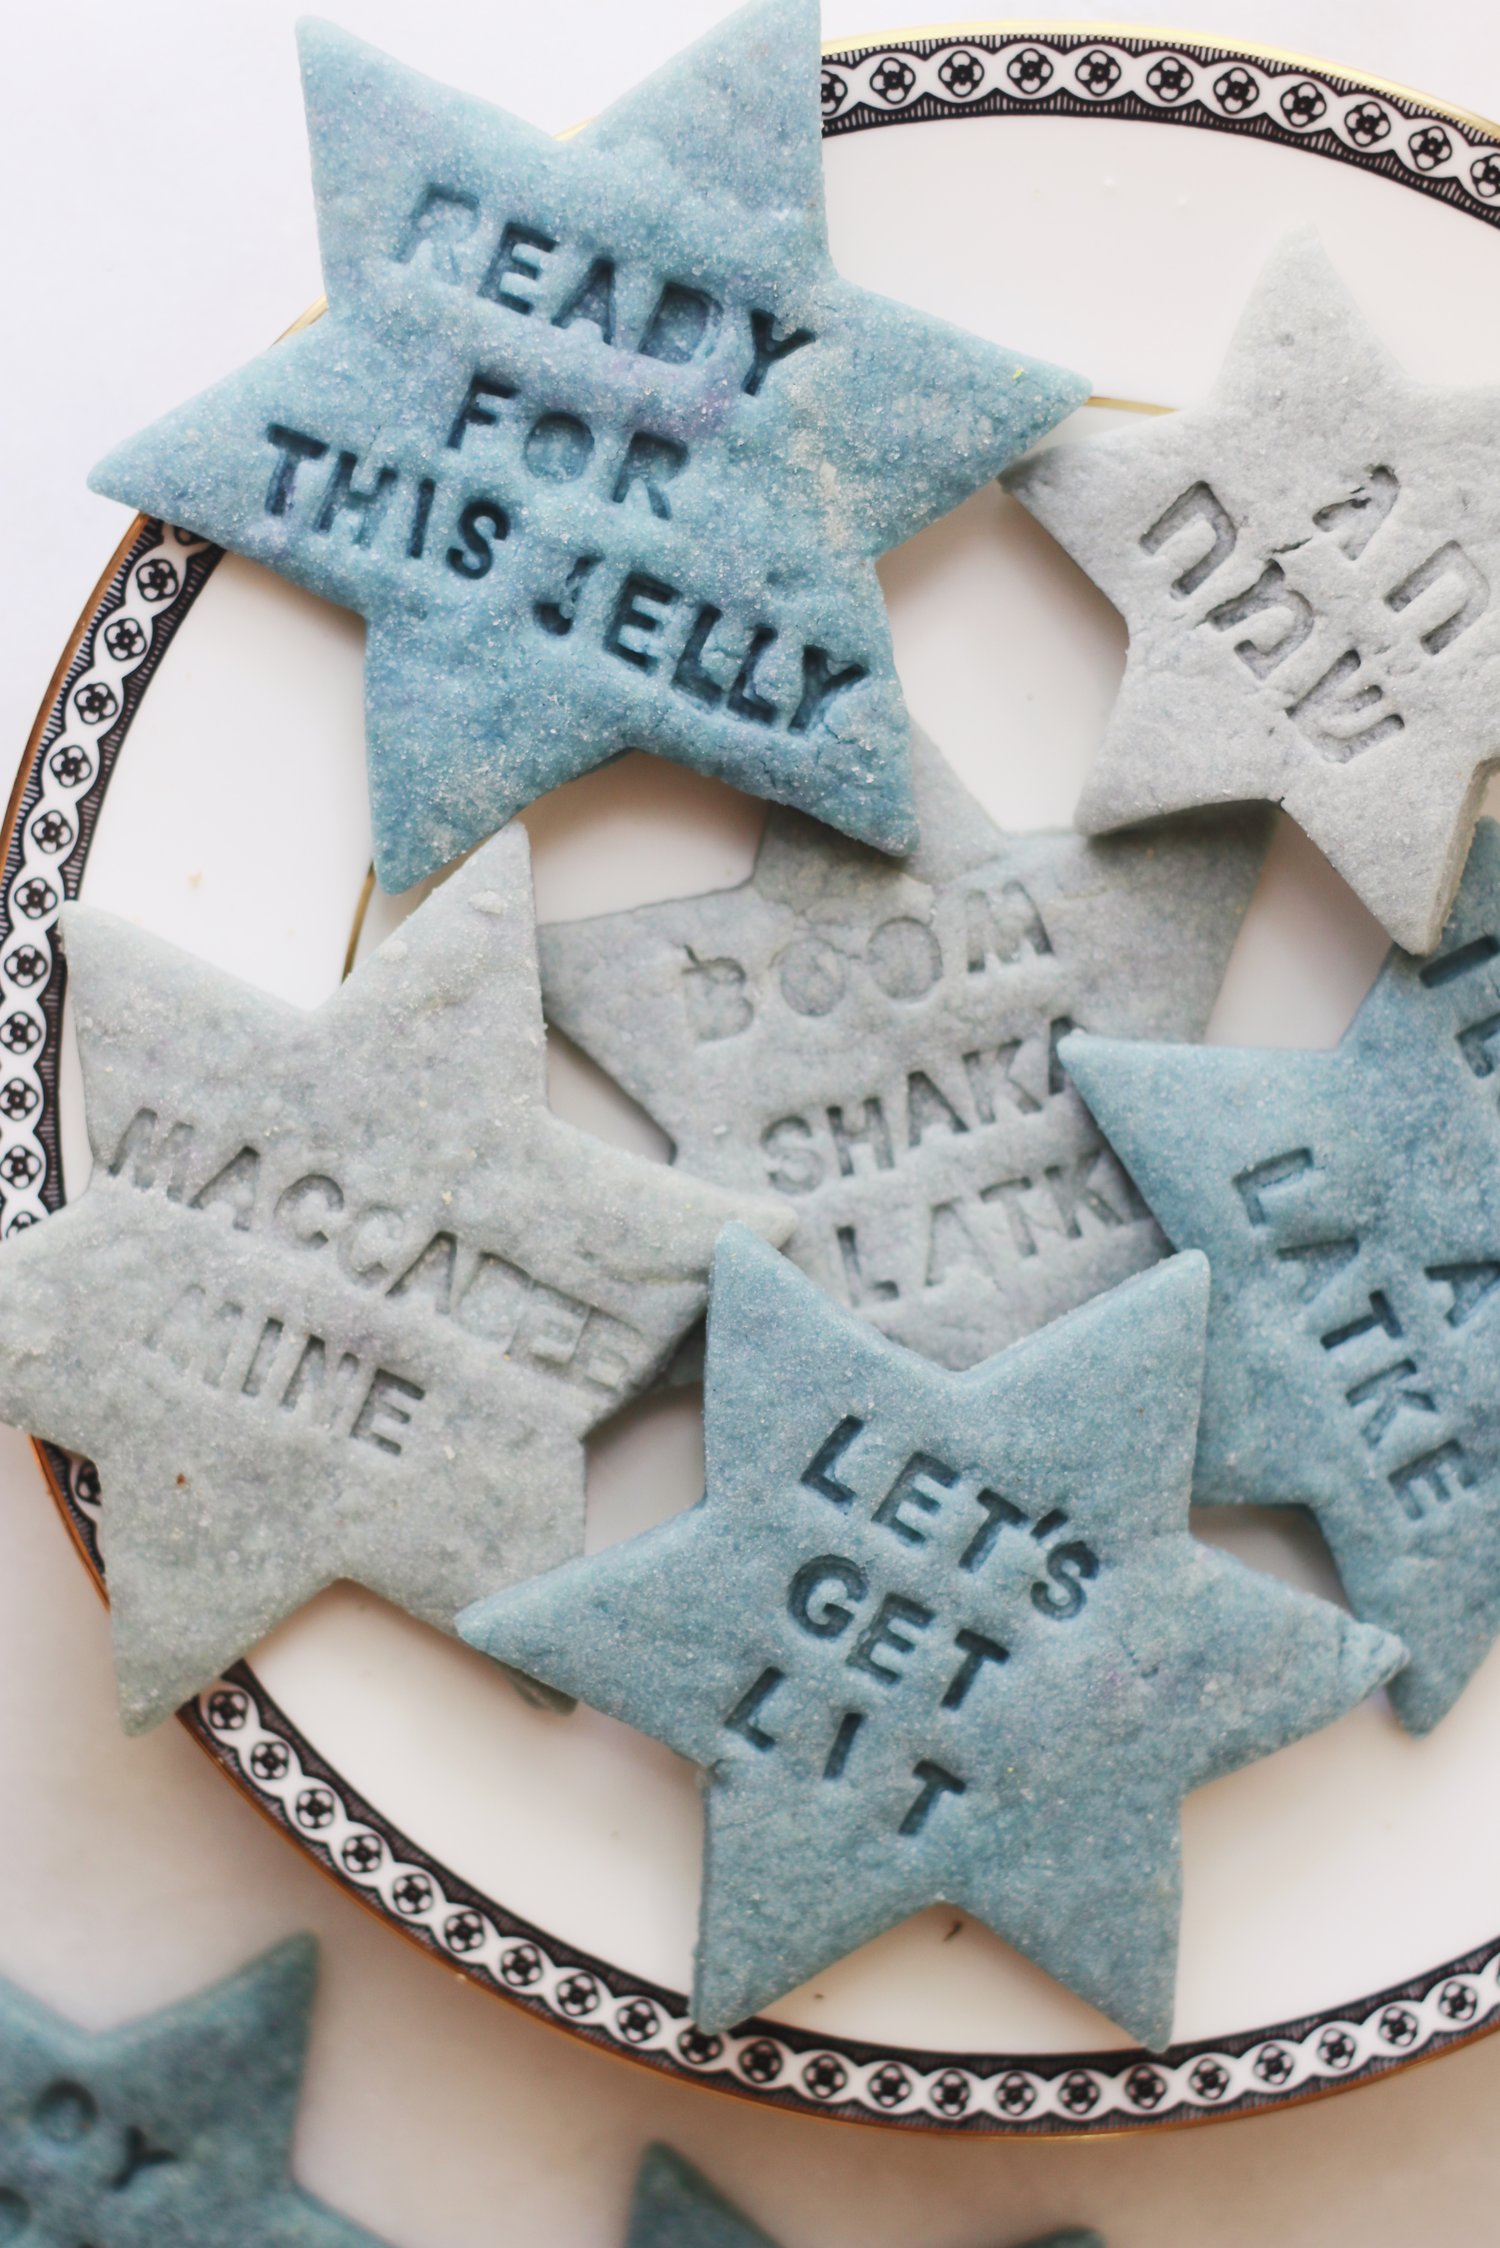
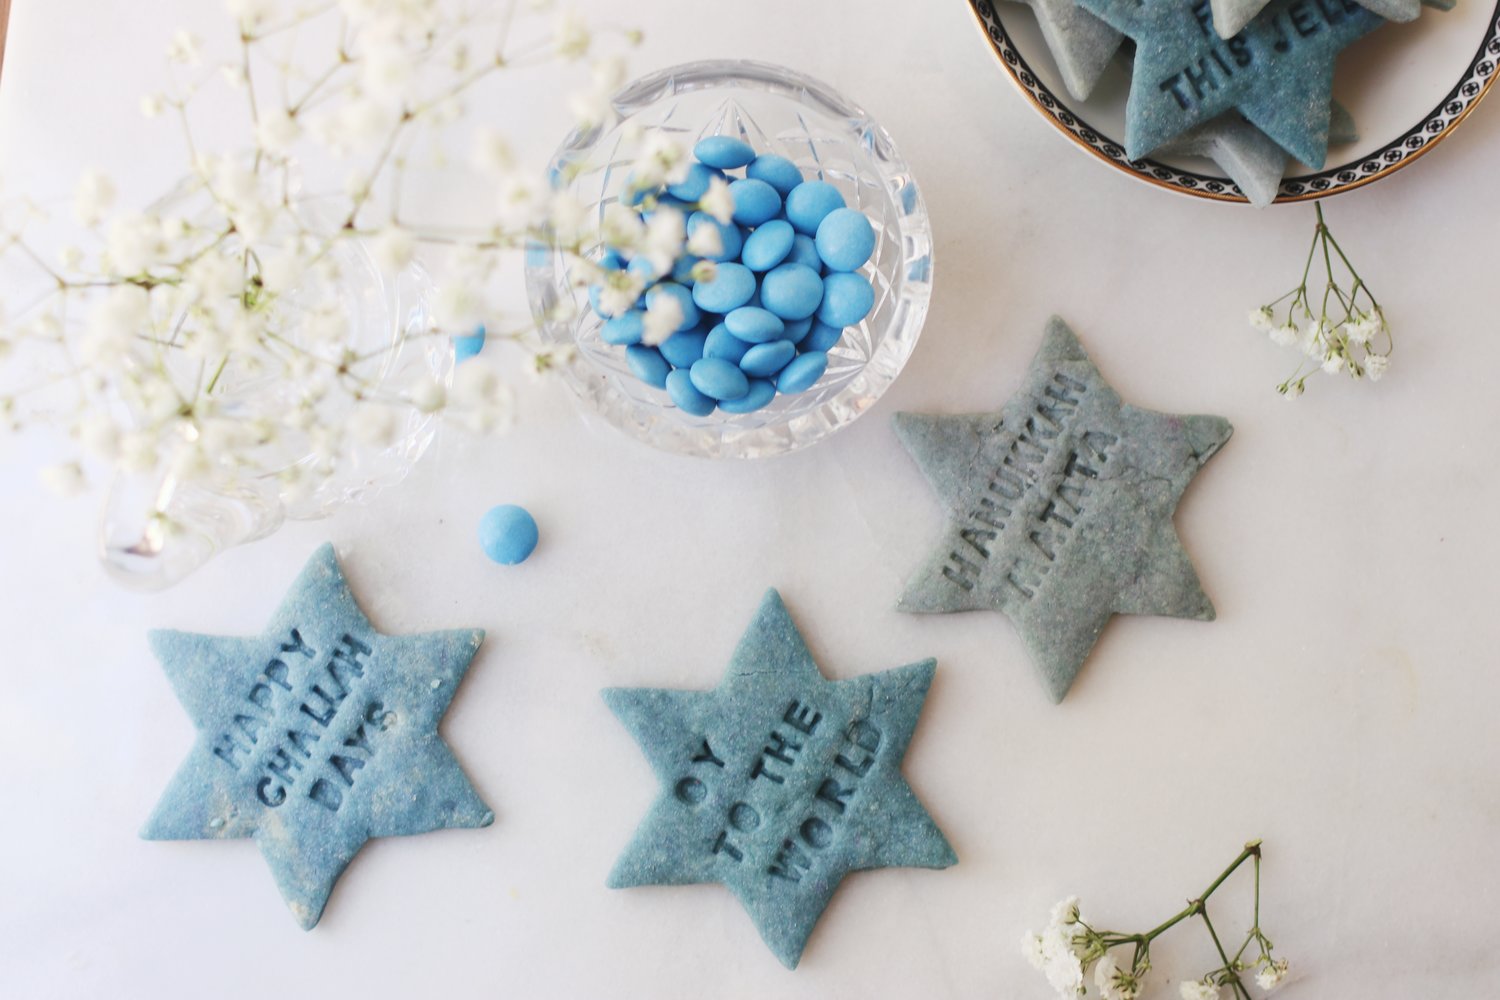
jokes aside, i truly have had so much fun with my cookie imprinting set of late. and yes, i also got so carried away that i even made Hanukkah cookies smack-dab in the middle of summer.
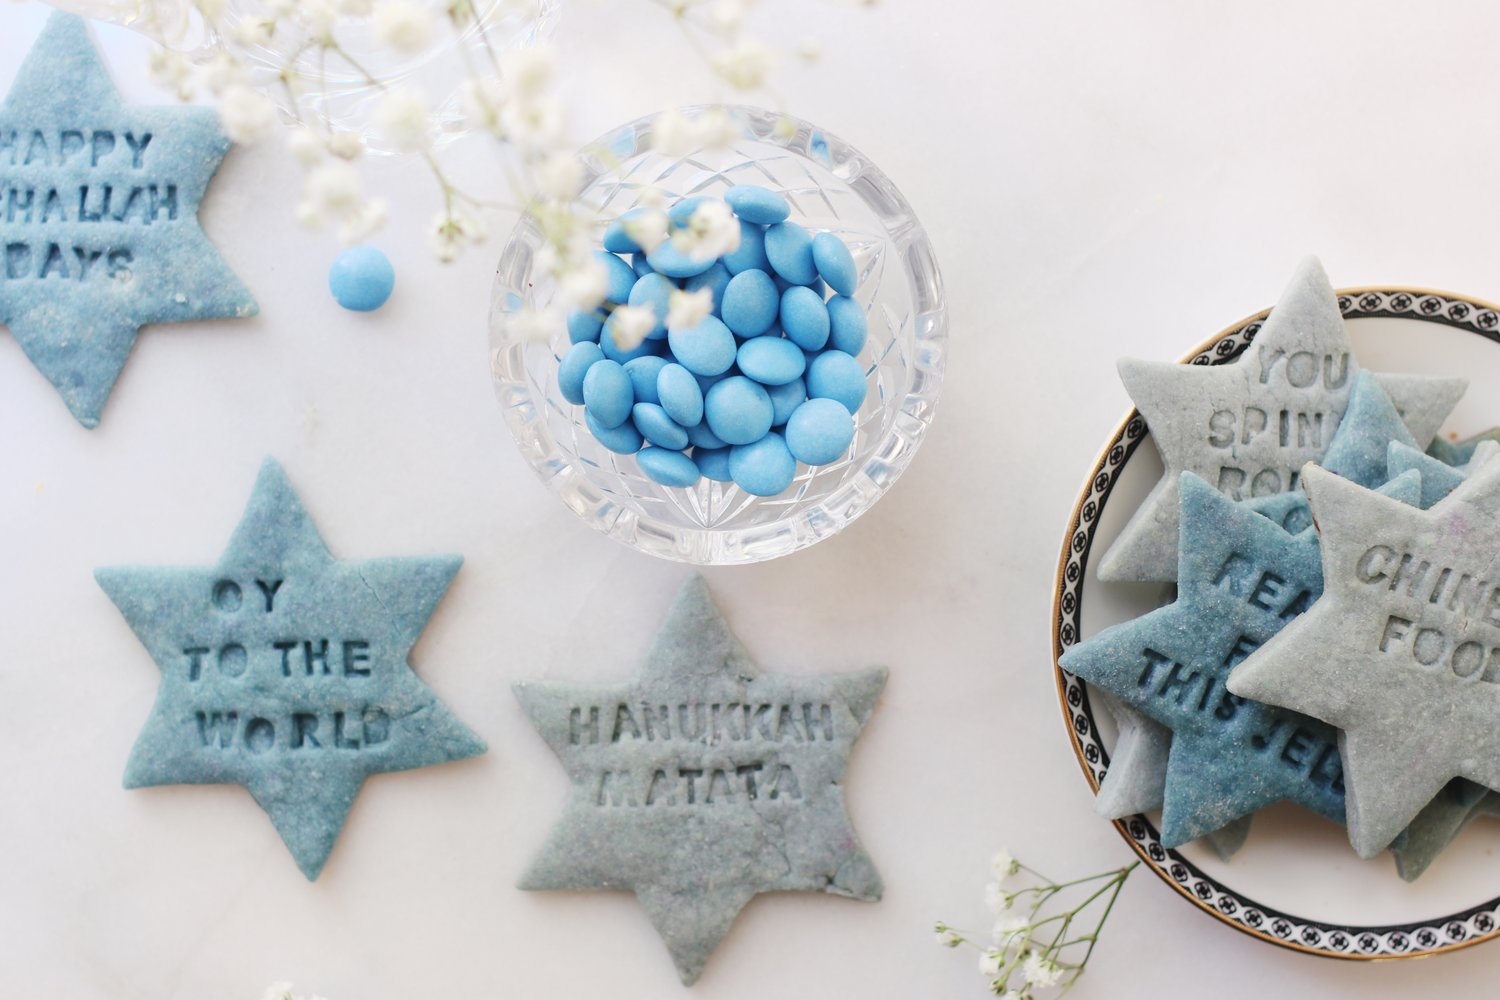
i hope these punny treats make you smile as much as they made me smile. i can imagine them being the absolute perfect thing to bring to a holiday party or ship off to a faraway friend come december or just stare at adoringly all on your own.
p.s. if the makers of the infamous cookie imprinting set just so HAPPEN to find themselves reading this post one day…all I’m saying is, I would make for an excellent spokesperson.
p.p.s. yes, i am aware that “chinese food” is not a pun. i had a lot of cookies to get through. so sue me.
and now for the recipe (after approximately 1.3 zillion more photos, of course, because I am not so good at the whole “narrowing things down” thing.
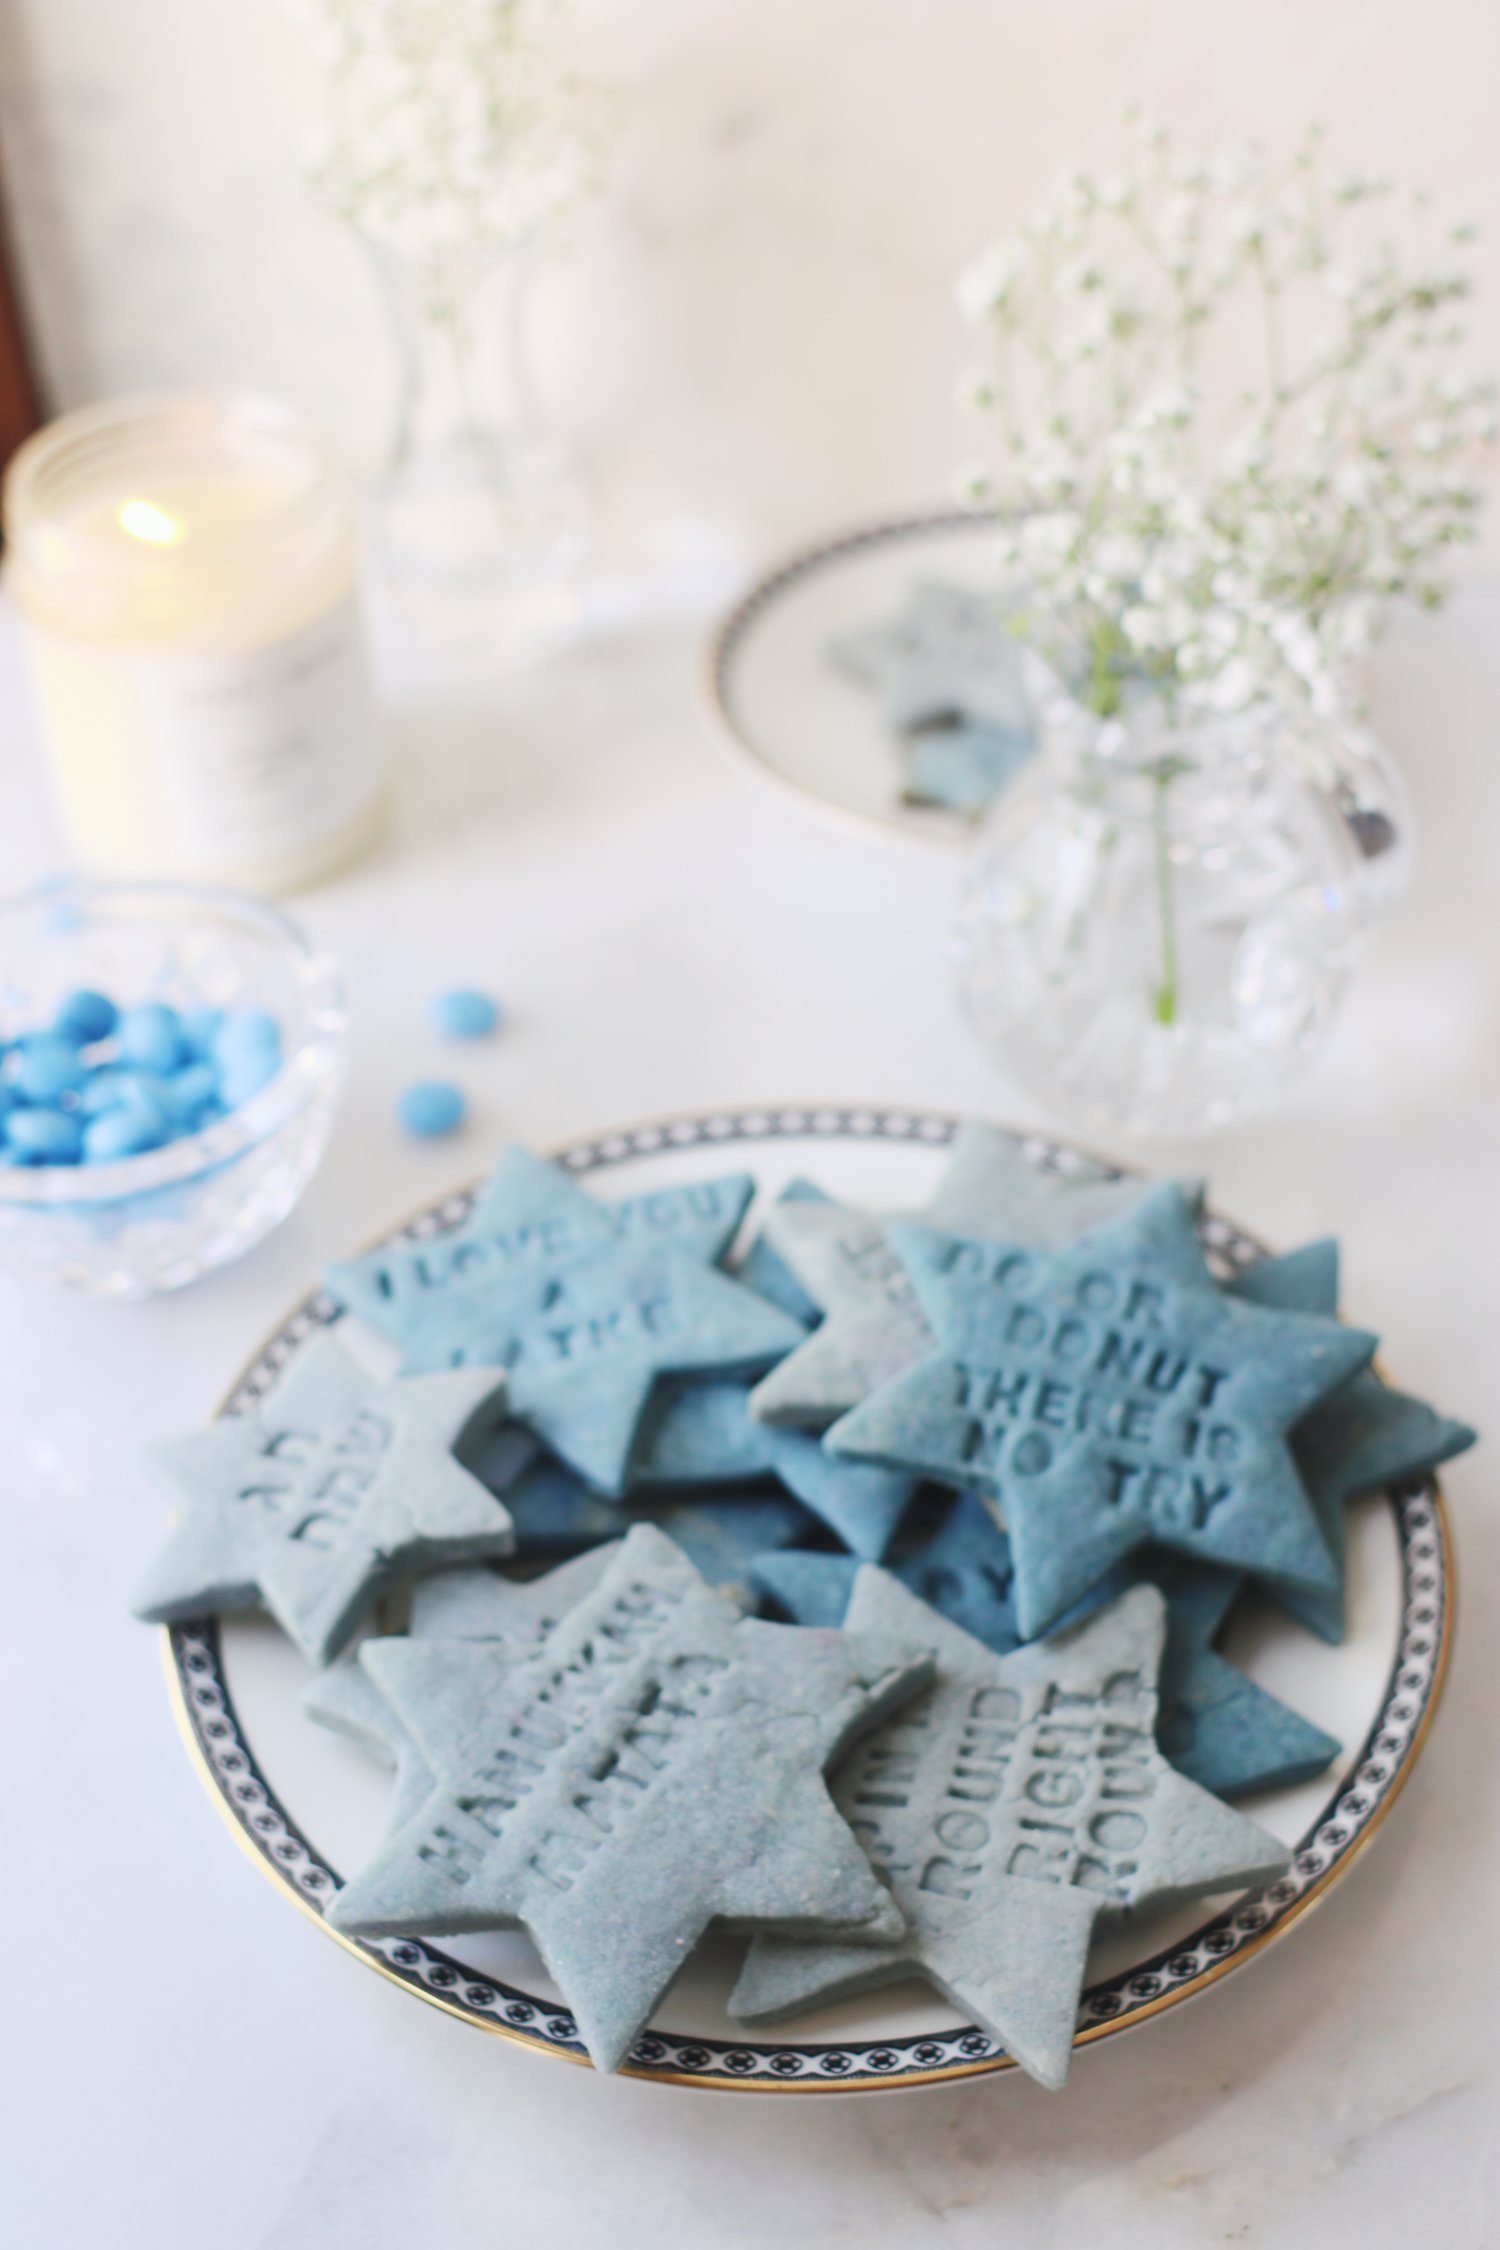
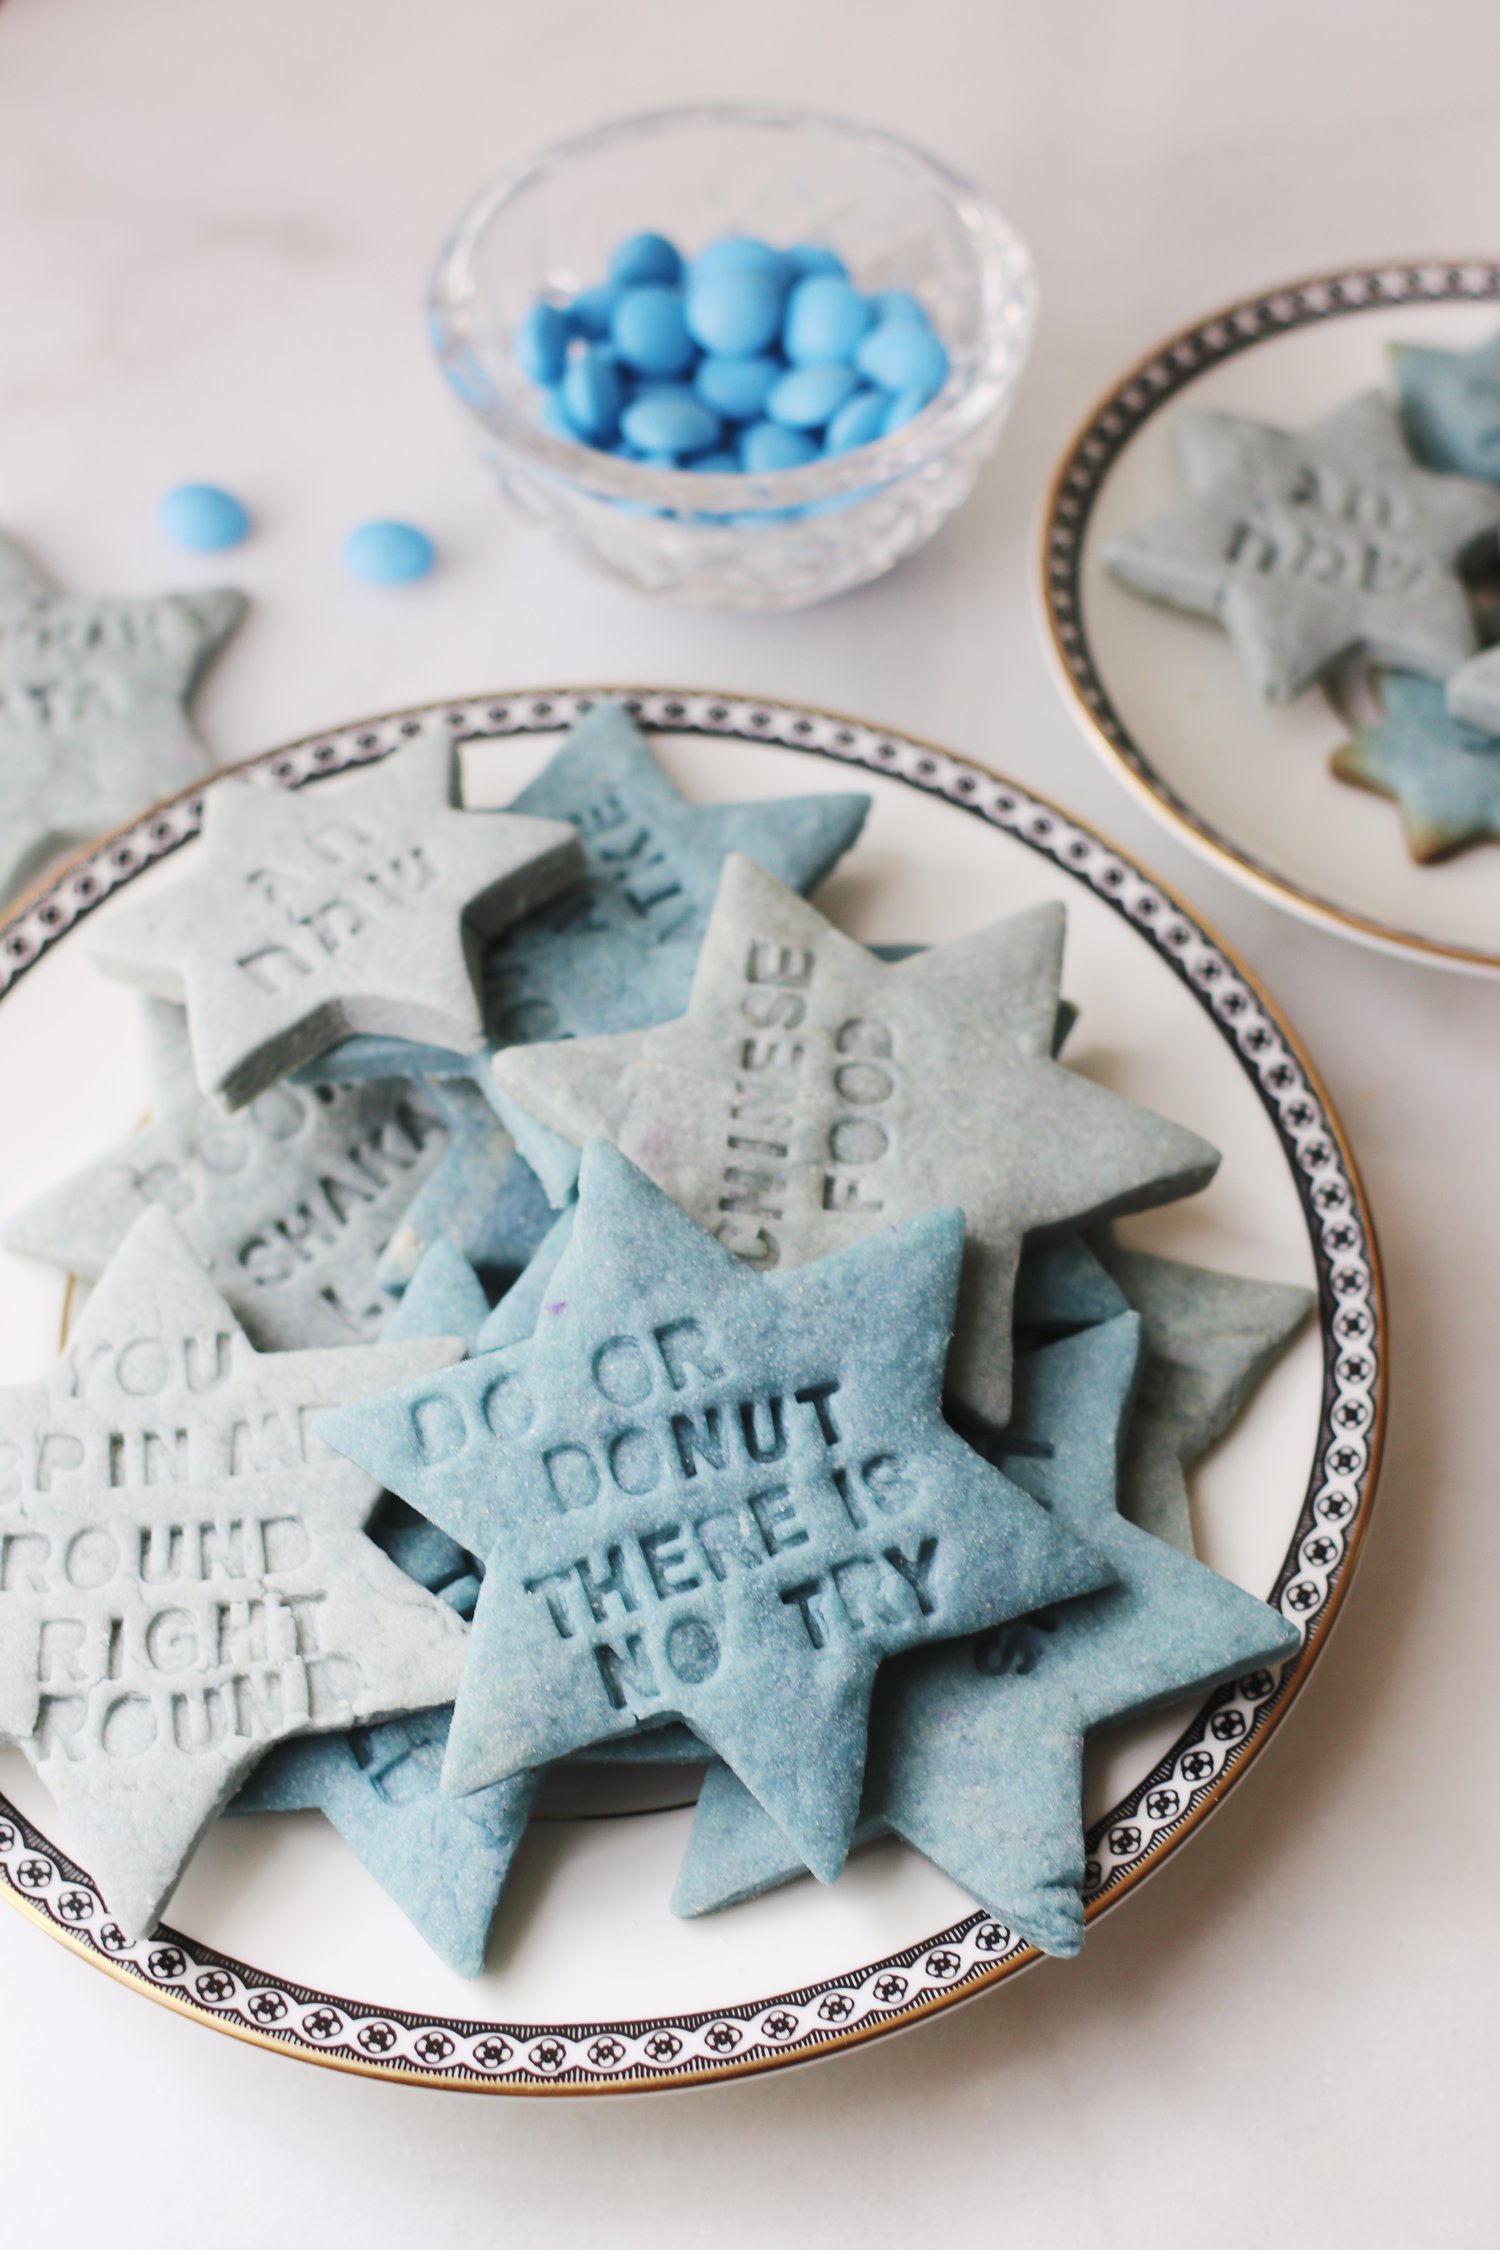
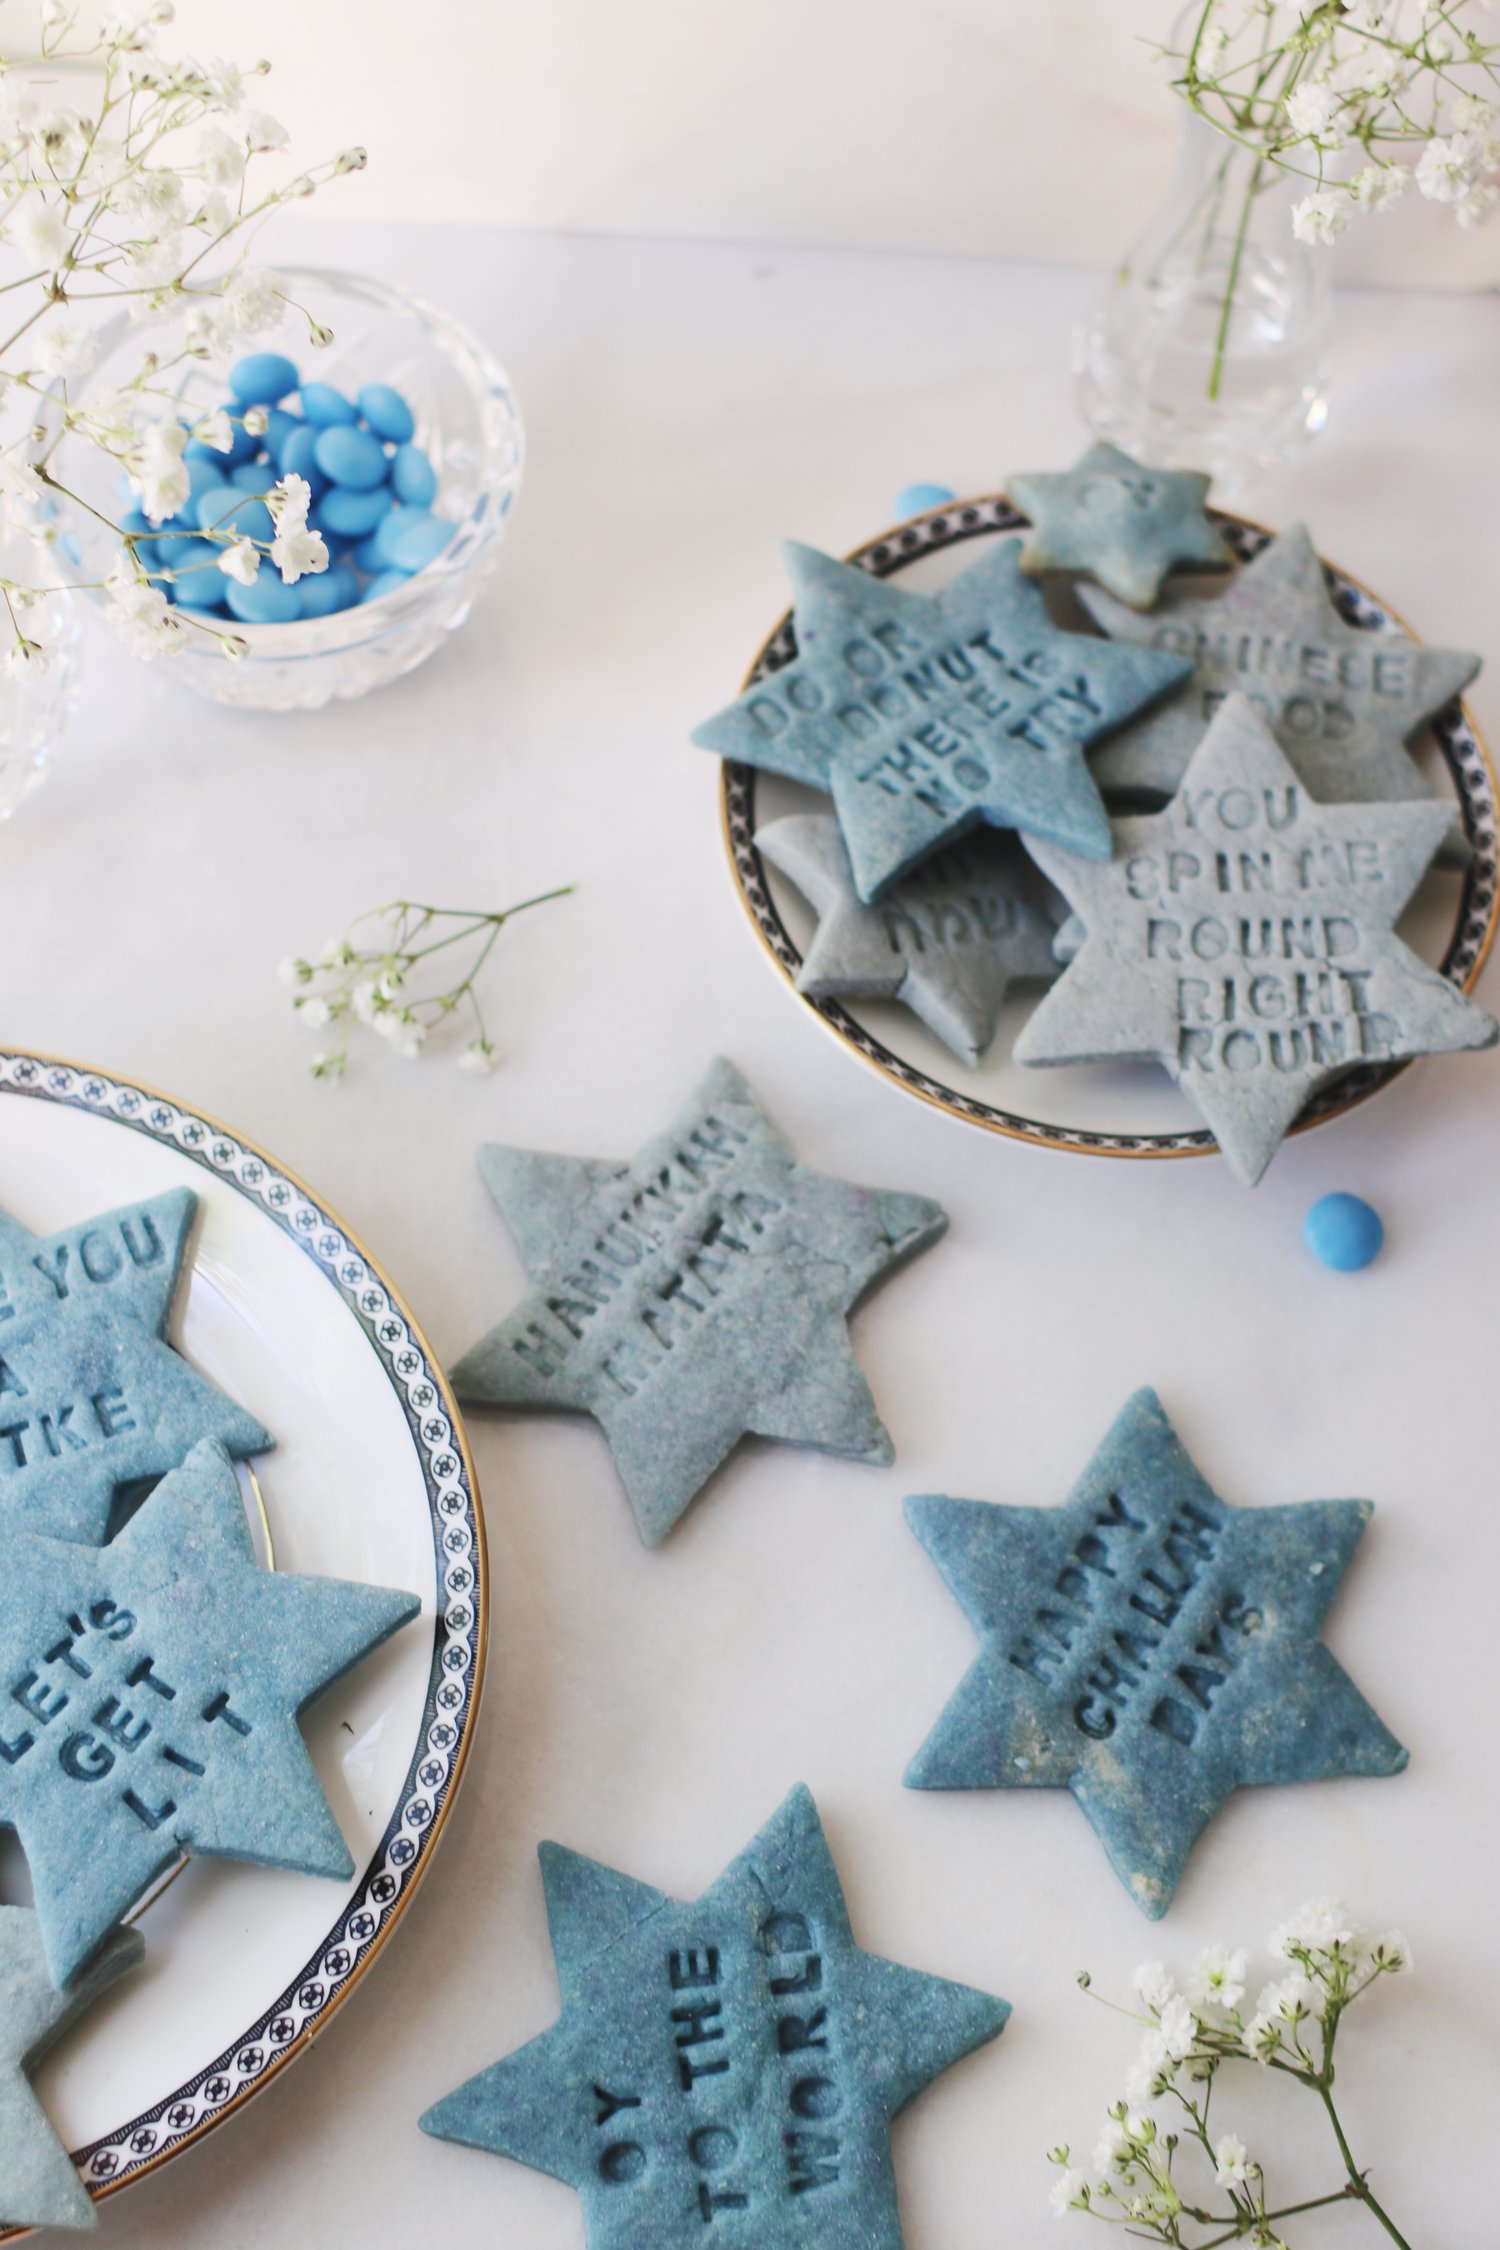
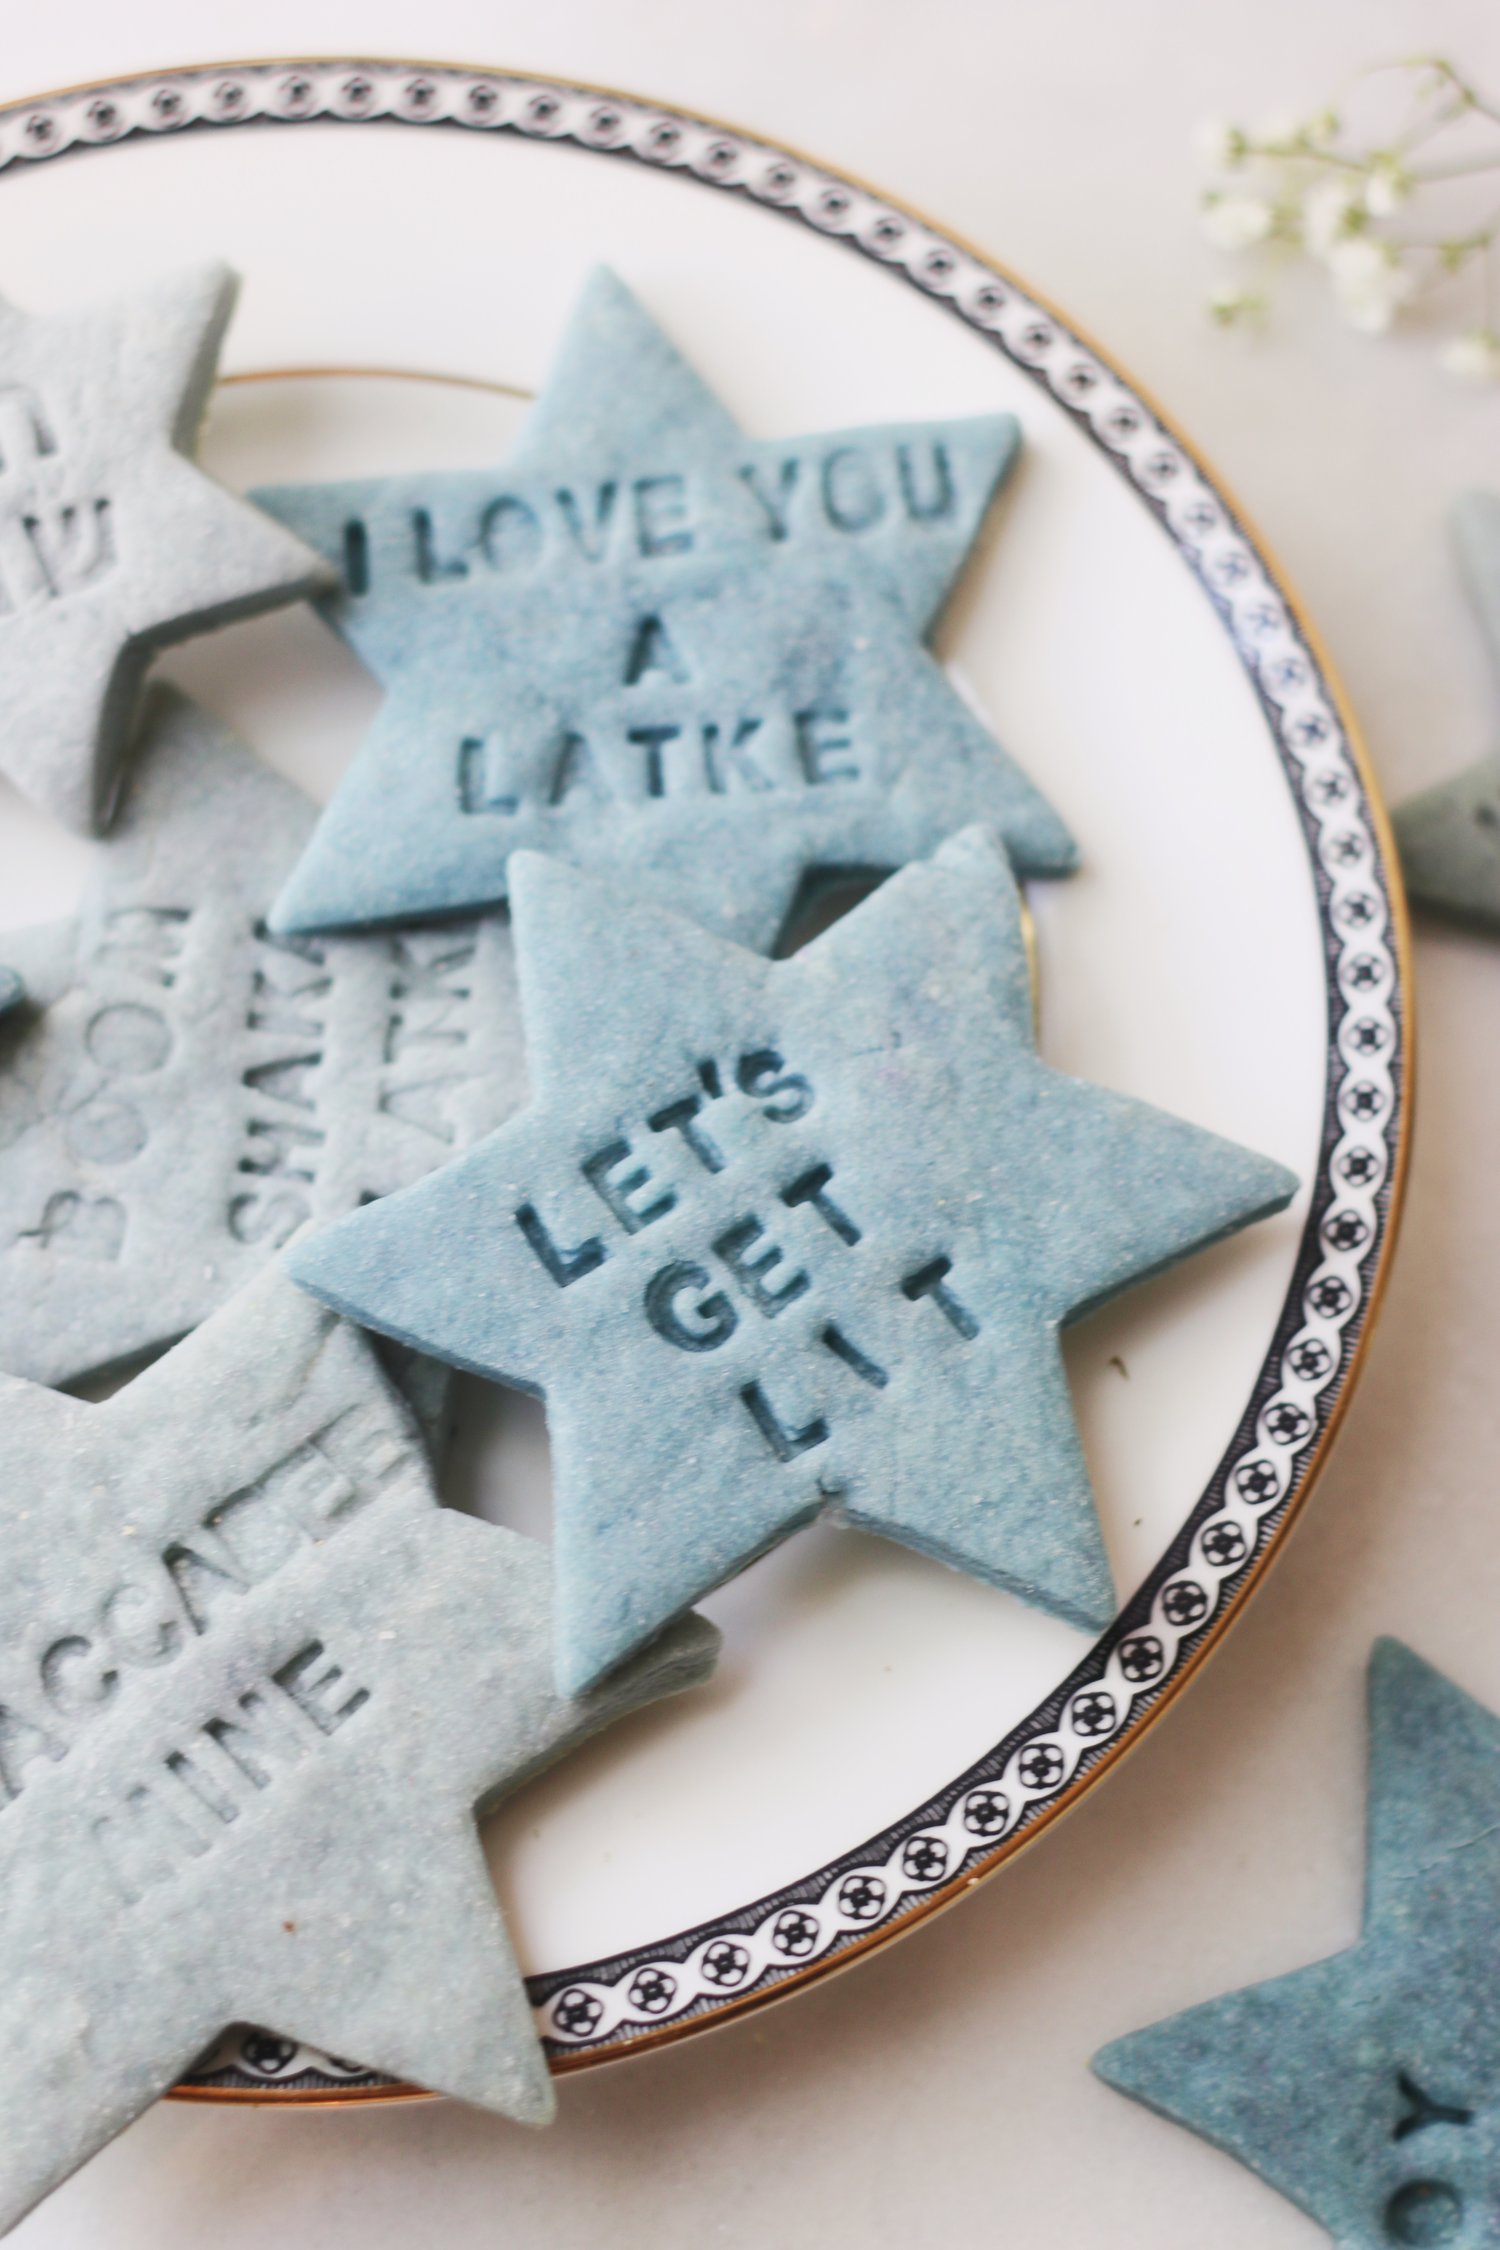
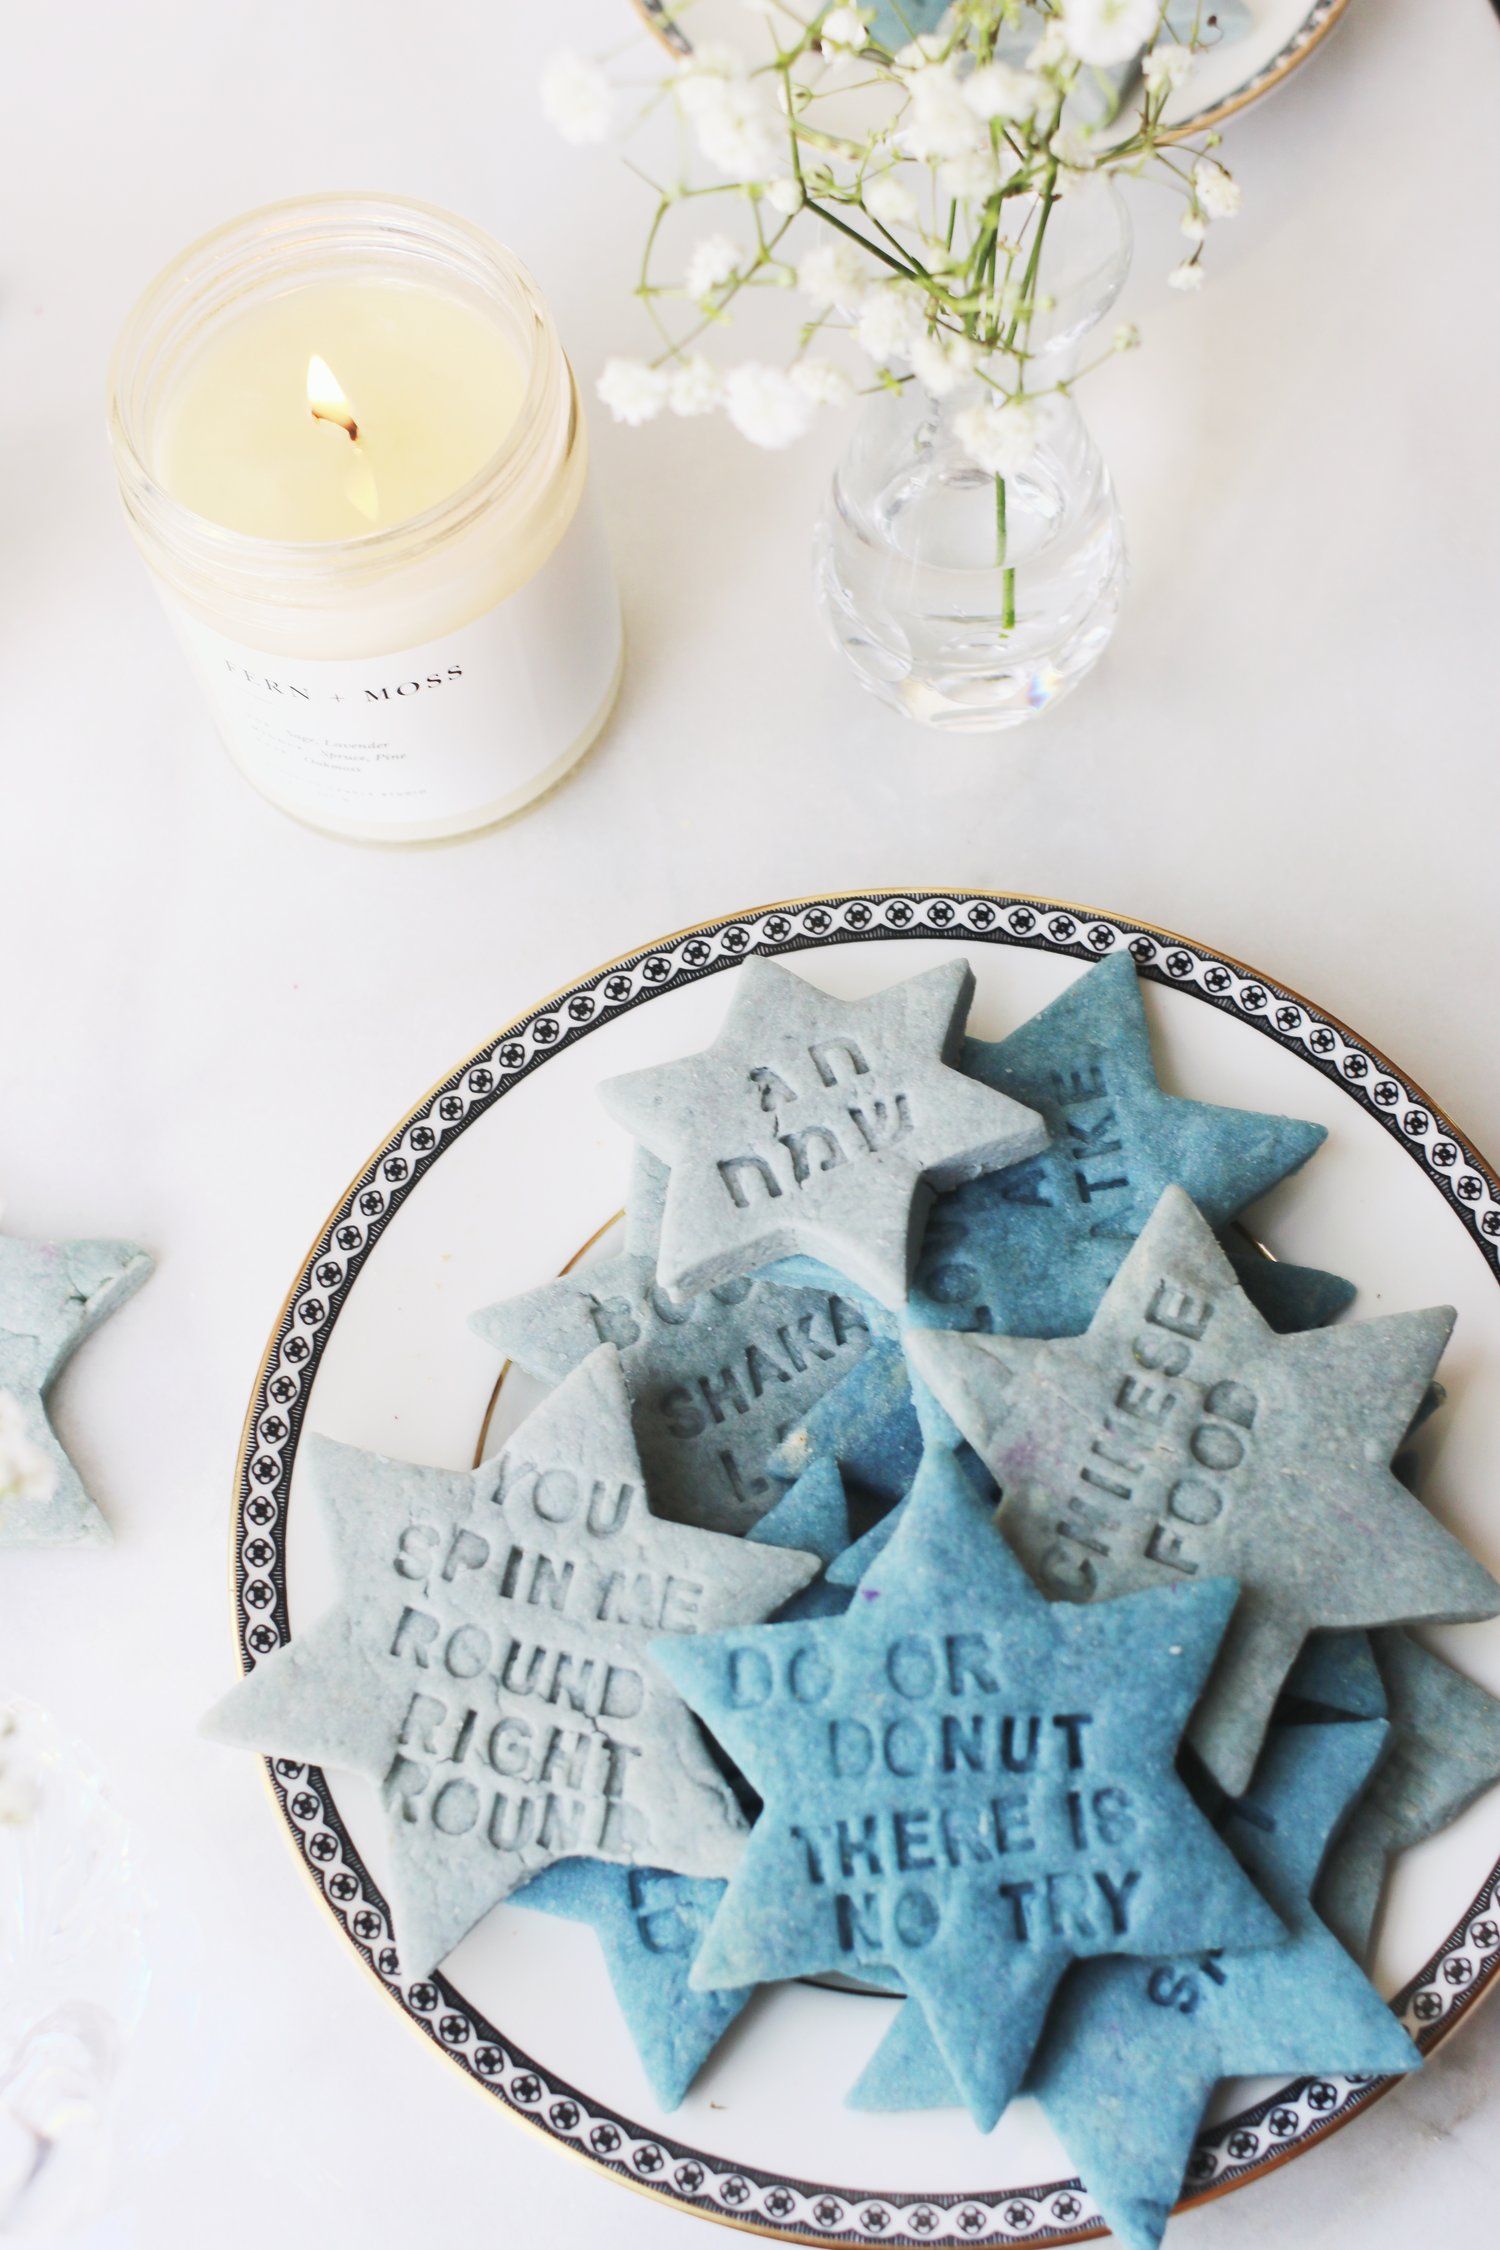
Stamped Hanukkah Pun Cookies
What You’ll Need:
- 2 sticks (1 cup) unsalted butter, at room temperature
- 2 ounces cream cheese, at room temperature
- 1 cup granulated sugar
- 1 large egg
- 1 1/2 teaspoons vanilla extract
- 3 cups all-purpose flour
- 1 1/2 teaspoons baking powder
- 1/2 teaspoon salt
- Cookie imprinting set
- Neon food coloring (normal food coloring works just fine, too; I just happened to use the neon set for the colors you see here, which I think are so lovely and subdued)
- Star of David cookie cutters
What You’ll Do:
- Using a hand mixer, cream together the sugar, butter, and cream cheese in a large mixing bowl. Once the mixture is light and fluffy, mix in the egg and vanilla.
- In a separate bowl, mix together all the dry ingredients. Slowly incorporate them into the butter mixture until they’re thoroughly combined.
- Once your dough is made, separate it into as many sections as you’d like different colors of cookie (I made two different blue hues using the blue and purple coloring—more info on that later in this step!). Drop a very, very, very small amount of color into the dough ball, then knead it together until the color is evenly spread throughout. I suggest doing this incrementally, as the colors tend to build up much faster than you’d think they would. Another color tip: You’ll notice that the colors aren’t quite appearing “as advertised” since your dough has quite a bit of yellow in it already. This means that you’re essentially already working with a yellow and blue combo—which creates green! To counter that greenish effect, I added a tiny, tiny bit (pinprick amount!) of purple as well, which helped the “blue” really shine through. Color each different section of cookie with some food coloring.
- Once the colors are mixed into your balls of dough, flatten each one until it’s about an inch think, then wrap it (individually!) in plastic wrap and chill for at least 1 hour or overnight. While the dough is chilling, prepare your letters into sections so that you don’t have to take too much time when you’re ready to bake.
- About 10 minutes before you plan on using it, remove the dough from the refrigerator and allow it to soften. Prep your baking pans with nonstick spray or parchment paper, then set your oven to 350. Flour your surface generously, then roll out your dough, one color at a time, until it’s about ¼” thick.
- Cut out shapes using the star cutters, then place the cookies on the baking sheet *before stamping them.* Once they’re laid out on a baking sheet, my suggestion is to stamp the letters onto the cookies one at a time, by hand, instead of using the combination tool that comes with the kit. Be careful to leave yourself enough room—there’s always less than you think there is! But if you do mess up, you can always flip over that piece of dough and try again on the other side.
- Once your messages are stamped, bake your cookies for 5-6 minutes, being sure not to leave them for longer than that…they’ll burn really, really quickly.
- Let cool *on the pan* to ensure that the letters and cookies harden properly. Then serve, wrap, gift, eat, and enjoy!

Where did you get the Hebrew cookie imprint letters?
hi Heidi! they were from an Etsy seller called AuBonCake, but unfortunately it looks like she’s not selling these exact stamps anymore. I’ll have to do some digging because I get this question frequently around Hanukkah! https://www.etsy.com/shop/AuBonCake?ref=simple-shop-header-name&listing_id=737475525