hi friends! how’re you holding up out there? a high-rise window washer briefly appeared outside of my 30th floor apartment this morning and it was the most intimate human contact i’ve had in nearly three weeks, so…there’s my personal update.
ANYWAY.
welcome to day 2 of the #NextYearInPerson campaign. if you haven’t had a chance to see what this is all about, you can read more here or check out the campaign on instagram here. but essentially, over the next few days and weeks, i’ll be posting a series of virtual seder resources to prove that a “passover apart” can be more than just tolerable. it could, in fact, be just as lively, vibrant, and meaningful as the ones of years past. instead of diminishing the beauty of the holiday, these challenges we’re facing could very well accentuate it, reminding us that the most beautiful, special things are worth fighting for.
toward that end, i’m kicking things off with a few virtual seder invites. each of the follow graphics is “Paperless Post-friendly,” meaning you can just upload, customize, and send to friends. i’m hoping these will make your digital celebration a little more fun and beautiful, right from the outset.
okay. let’s do this:
how to upload, customize, & send these digital invites
1. first, select your favorite invite color from the options below to download it to your computer.

2. click this link to open the Paperless Post customization dashboard.
3. place your cursor in the “empty card” area and click. a menu will pop up over on the left-hand side of the screen.
4. select the gold “add photo” button and browse for the invite image you downloaded. upload it!
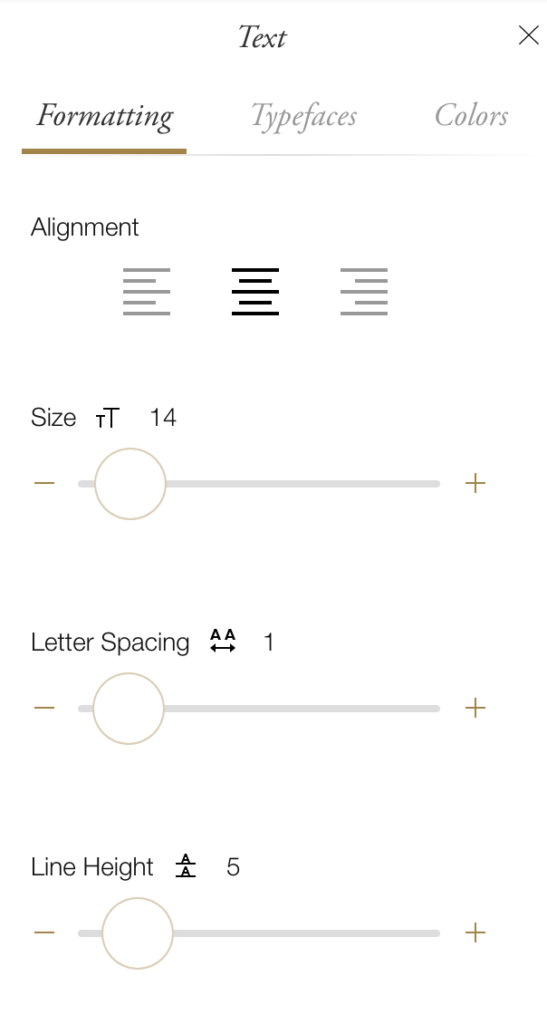
5. click on the text box that remains in the card area, and delete the text within it. add whatever text you’d like to appear at the bottom of the card, format that text using the tools in the left-hand column, and click “SAVE”. fyi, i used the typeface “Trade Gothic Condensed” in the color white, and the following formatting conditions:

6. click “NEXT” to advance to four quick, optional design steps: you’ll be prompted to customize the liner, envelope, front of the envelope, and reply card. (again, not necessary but fun!)
7. advance to “ENTER DETAILS” add the details of your event. under “ADDITIONAL OPTIONS,” you can choose to add a link to your scheduled video conference (more on how to set up these video calls in tomorrow’s post), links to your favorite digital haggadot, or whatever else you think might be helpful.
8. enter your guests’ names. send!

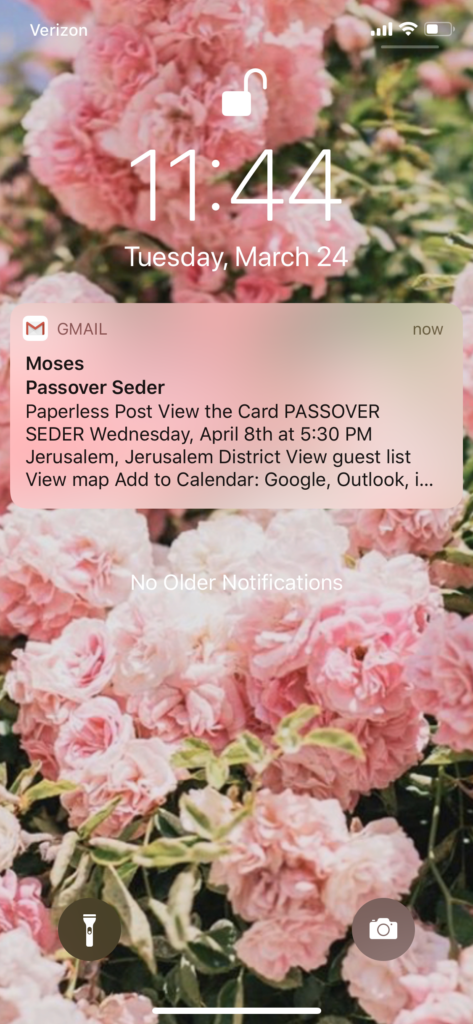
(like any normal girl would, i sent test invitations to myself from “moses.”)
i hope this is helpful to you guys, and i hope you’ll continue to encourage others to opt for small / immediate family / solo seders this year by sharing photos and posts of your virtual seder prep with the hashtagg #nextyearinperson. most importantly, i hope you’ll choose to stay home yourself on april 8.
sending love and healthy thoughts. till tomorrow…
