My mom has been making my grandmother’s holiday brisket every year for Rosh Hashanah for as long as I can remember. The process is simple, easy, and no-frills—like, TRULY no-frills. It’s just four-ish ingredients, after all. But the result is a tender, melt-in-your-mouth, out-of-this-world Jewish holiday brisket that’s perfect for a festival meal or family gathering. (The baby carrots are my favorite, by the way—you won’t skimp on them if you know what’s good for you.)
Here, with some very helpful input from my mom (thanks, mama!), I’m walking you through every single step of the process for this delicious holiday brisket, including how to shop for the perfect cut of meat, how many pounds to buy, and how to, you know, cook it. The result: your ultimate guide to never-fail, super flavorful Jewish holiday brisket.
Let’s get to it! Find some frequently asked questions below, followed by the recipe.
P.S. If you’re looking for Rosh Hashanah ideas, you’ll find plenty more on the blog right now. I have pages dedicated to Rosh Hashanah quotes, Rosh Hashanah poems, Rosh Hashanah desserts, Rosh Hashanah cocktails, and more, plus an out-of-this world brisket hand pie recipe you’ll want to get your hands on. Follow along on Instagram for even more ideas and year-round inspiration!

How did brisket become “holiday brisket”—and why is it such a staple in Jewish cuisine?
Julia Moskin of The New York Times explained it best (and most succinctly) in an article that appeared in The Jewish Daily Forward a few years back: “Brisket is implicitly kosher since it’s from the front of the animal, and it was cheap because anything that takes a long time to cook and that can’t be grilled has challenges, especially in a restaurant.” There’s more to the story, of course—like the fact that you’ll rarely eat such a large, slow-cooking cut of meat except on special occasions, which prompted Jews to inadvertently make brisket an official holiday food—but that’s a good way of summing it up.
How do you pick out a good holiday brisket at the grocery store?
An excellent question! All Jewish holiday brisket adventures begin at the store, after all. Here are two *personal,* possibly controversial tips:
1. Ask for the “first cut,” also known as the “flat cut.” Again, I said these tips might be controversial! But this is how we do things in my family. There are generally two options when you’re buying holiday brisket: the “first cut” (aka “flat cut”) or the “second cut” (aka “point cut”). Some people prefer that second cut because it actually has more fat, so it’s a little tastier. It’s also really tender, so it’s a good fit for recipes that require you to shred up the meat after it’s cooked. But in my family, we’ve always made our brisket with the first cut, and that’s what’s most often used in classic, simple, oven-baked, Jewish brisket recipes. If you’ve never tried brisket before, I suggest following our lead and opting for that “first cut.”
P.S. On that note, you might be wondering why we buy a “cut” in the first place instead of just asking for an entire brisket. It’s because a full brisket—holiday brisket or any brisket for that matter—is enormous. So unless you’re some sort of legendary, electric-knife-slinging brisket chef, I’d recommend…not doing that.
2. Speaking of size, we typically buy a 5-lb. cut. That’s enough to feed 8-10 hungry people and leave you with some leftovers. If you need something a little bigger, you can ask for a 7-lb. (we have a very big immediate family, so we do that occasionally!), but it’s rare that you’ll even find a cut that large being offered. Some people stick with the rule of buying a half pound for each person at their table (again, that’s including a decent amount of leftovers), but we pretty much always go with that 5-lb. cut for our family of 8+.
How do you plate, garnish, and serve holiday brisket?
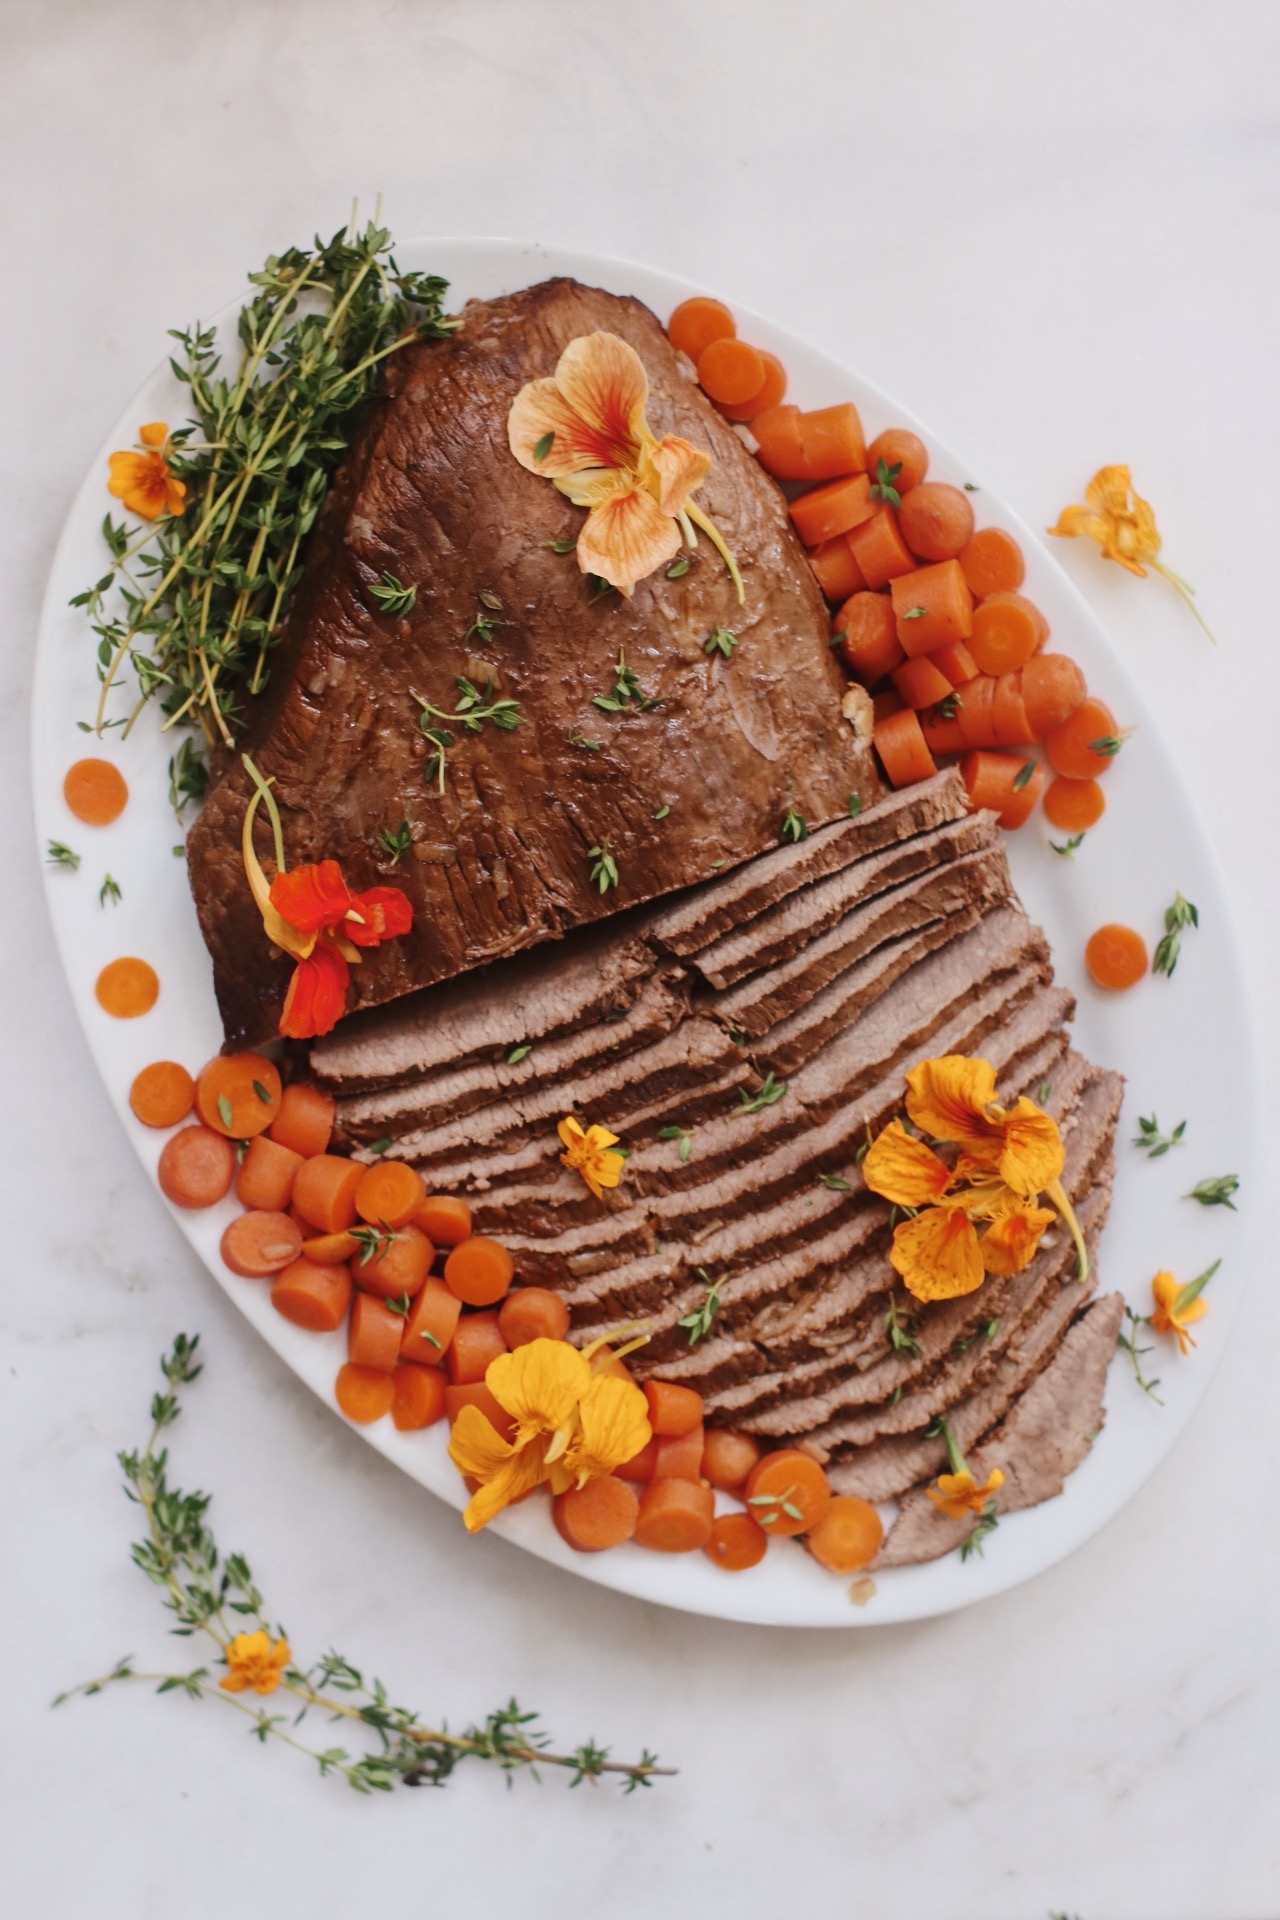
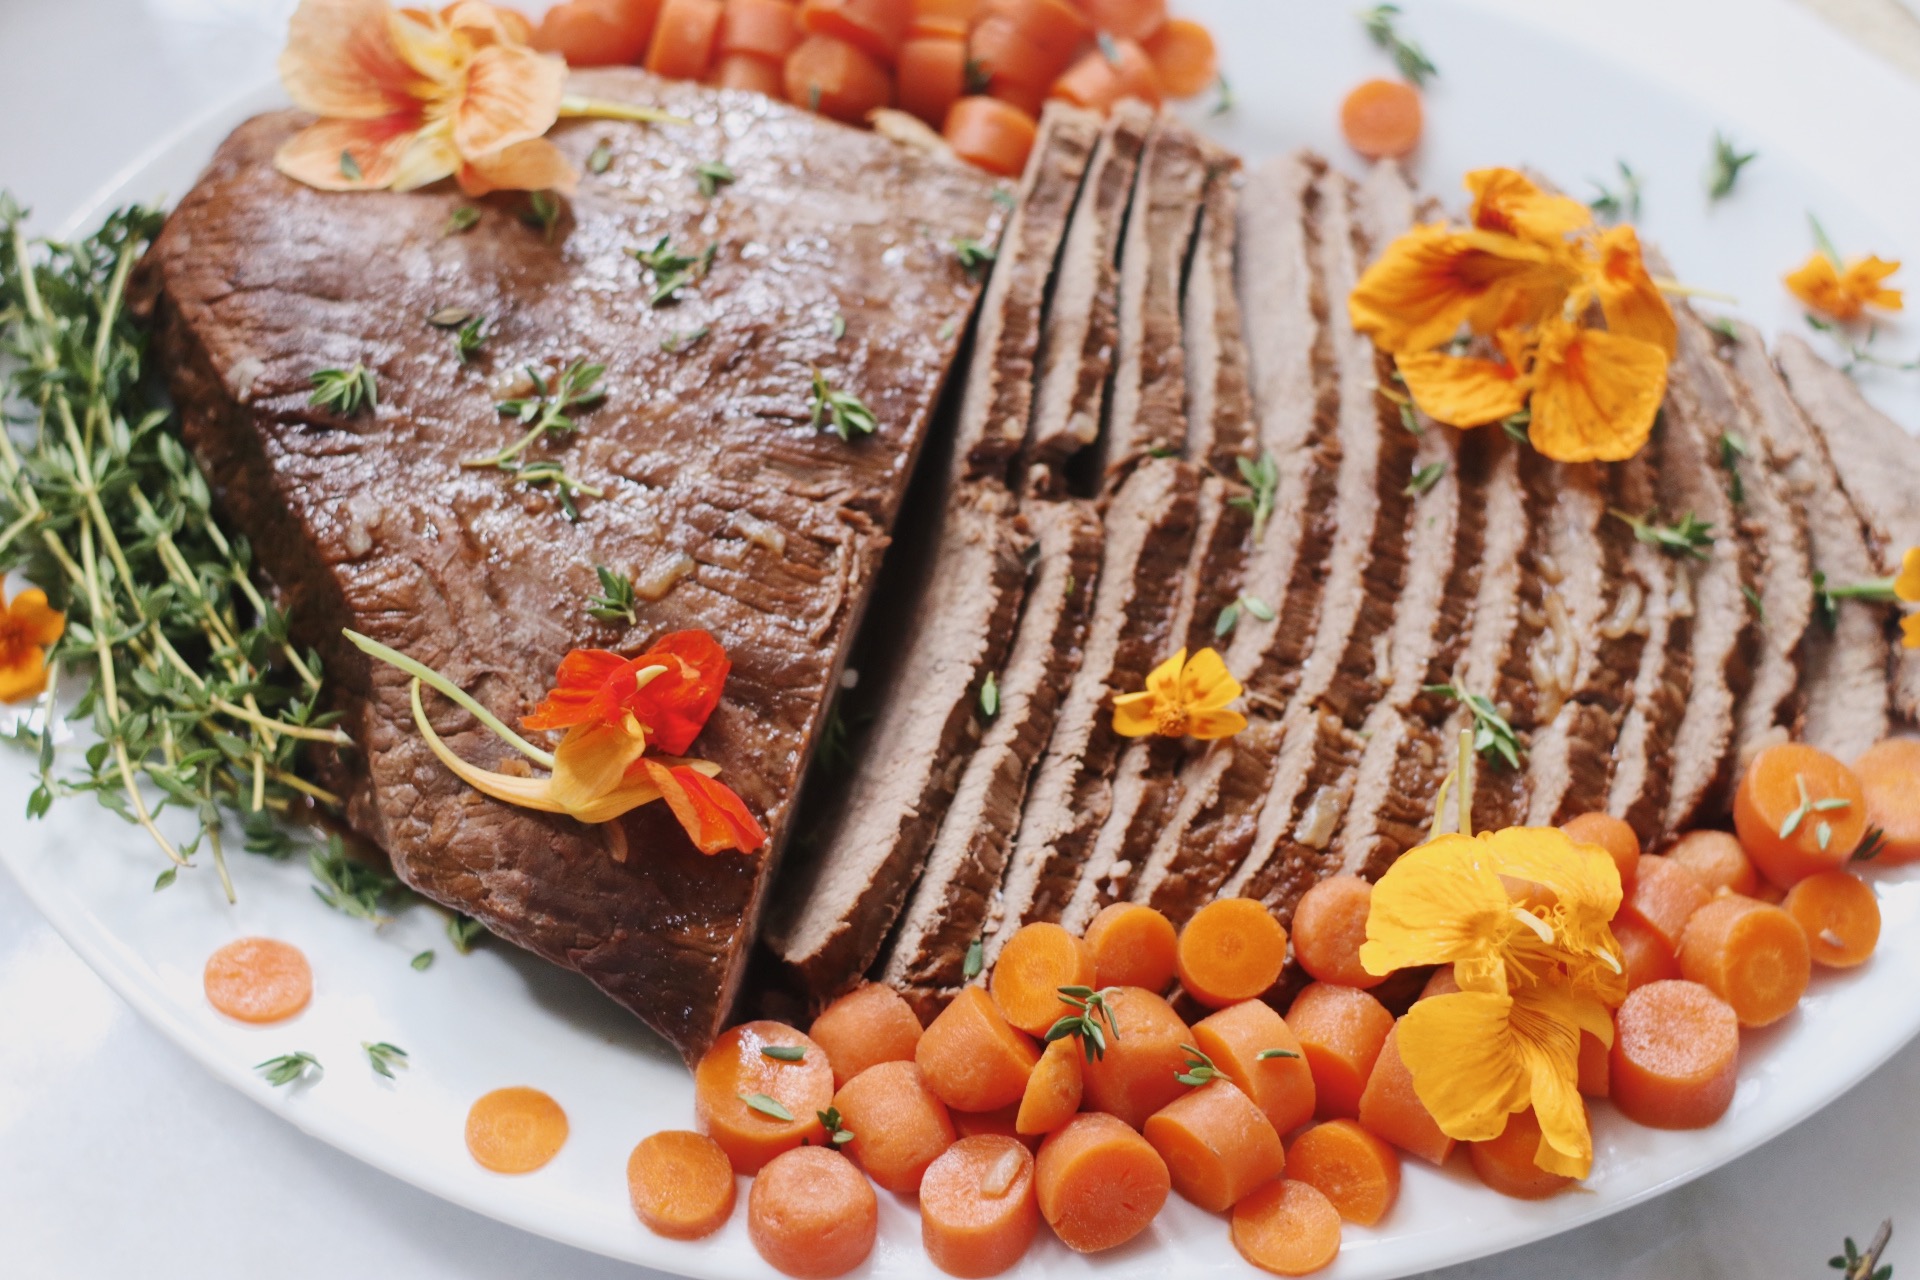
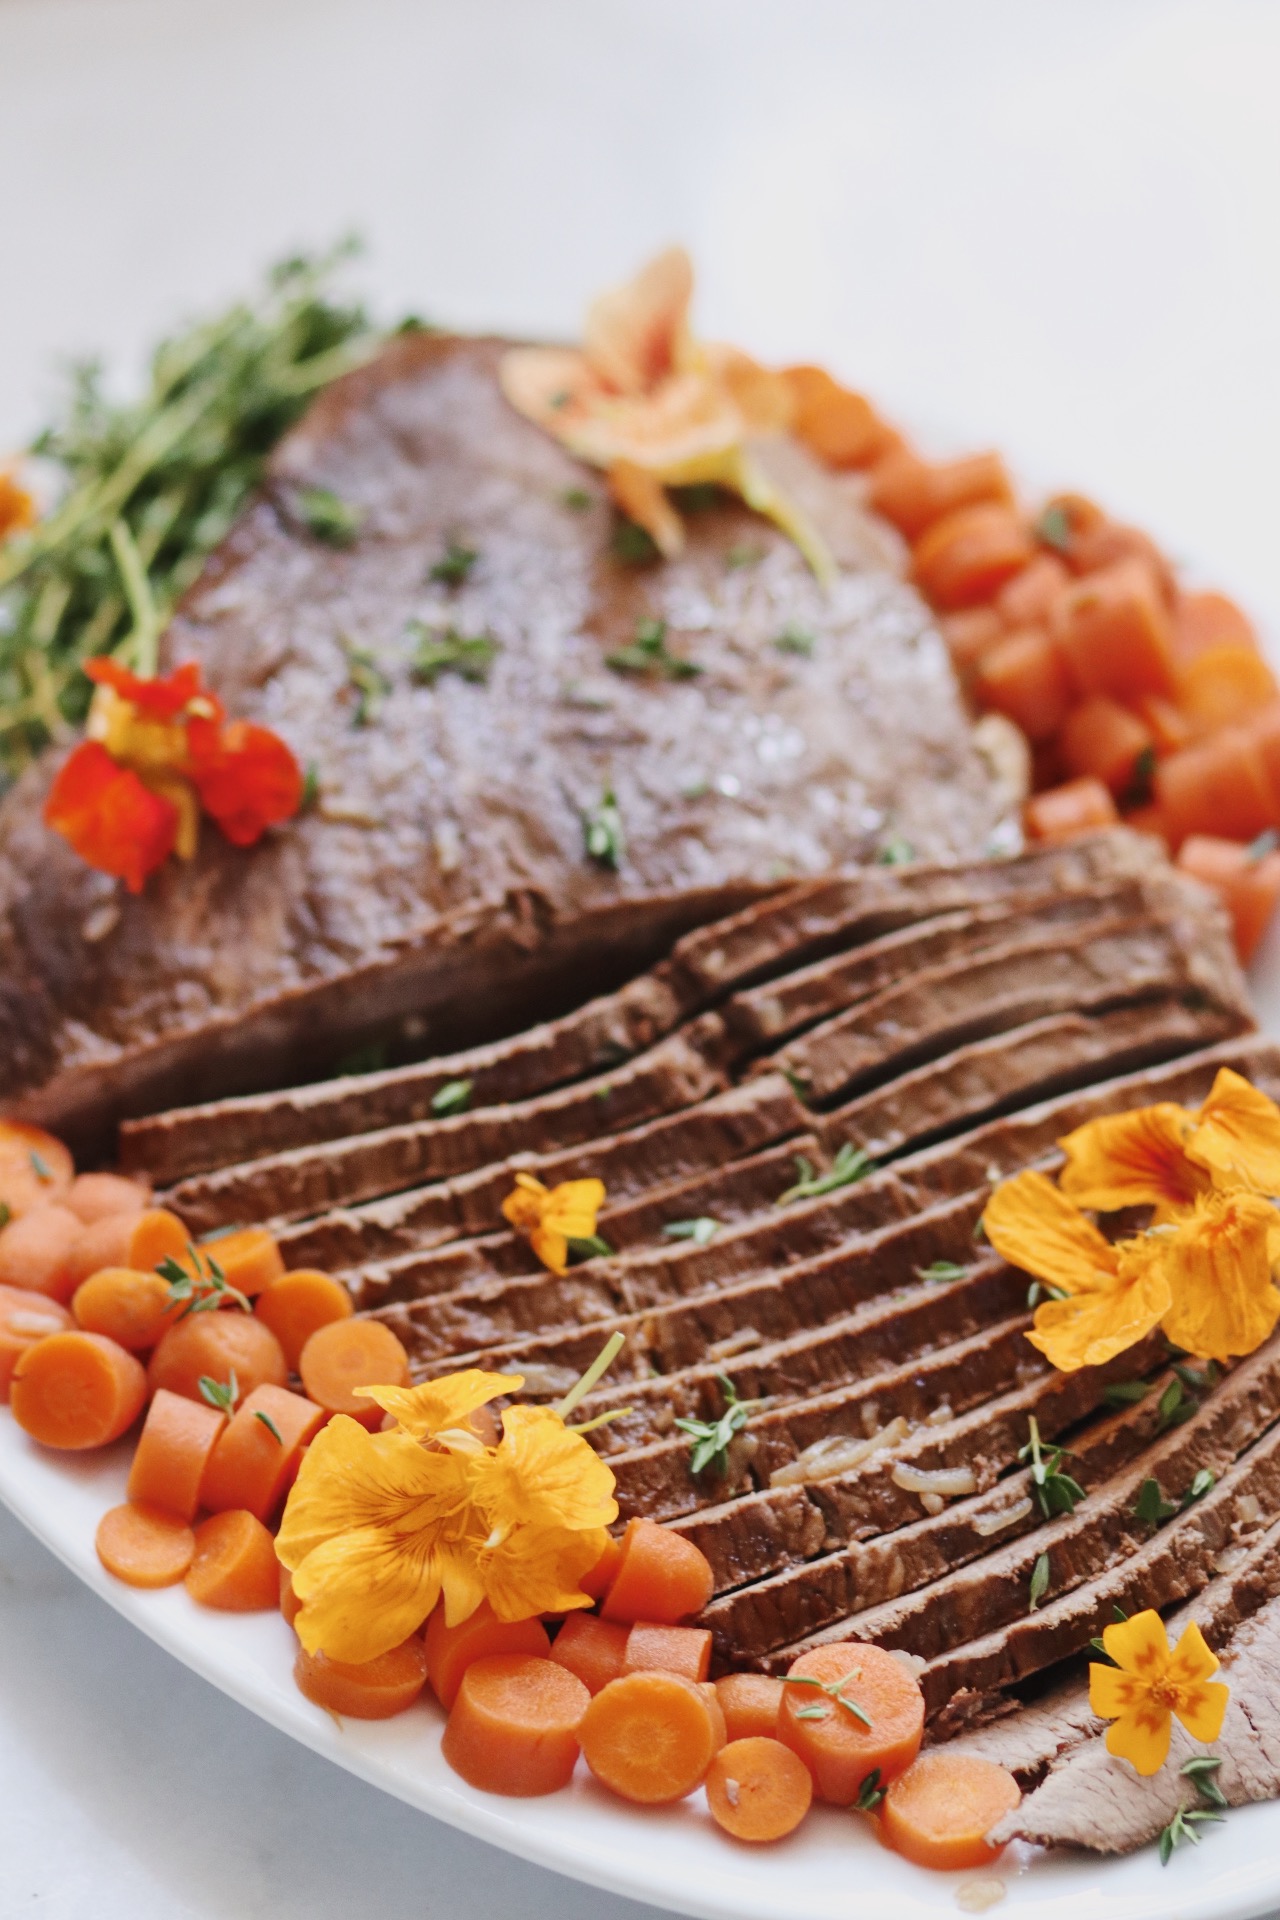
Okay, so, not gonna lie—we normally don’t plate it up quite so nicely. All of this floofery you see around the edges there? The edible flowers? Yes, that was just me going to town because, well, a photo shoot was imminent. Also, my mom never cuts the carrots into those smaller pieces you see in the photos; she generally just leaves them whole and throws them right next to the brisket when she’s ready to serve. I just thought they looked pretty that way. But now, I’ve completely fallen in love with the results of this fancy-shmancy brisket styling experiment of mine, and we may never go back.
So…my first tip if you want to go the next-level, someone-give-this-brisket-a-modeling-job route: Consider adding edible flowers! They’re available at just about any farmer’s market, but since many markets are closed right now, you can also get them overnighted to you from places like Gourmet Sweet Botanicals. It’s a little pricey to go that route, but odds are you’ll only be splurging on something special like that a few times a year. (No stake in the game, I’m just always so impressed with the quality and freshness of Gourmet Sweet Botanicals’ flowers.)
Next, let’s talk about those carrots! I just loved the idea of chopping them up and then placing them at opposite ends of the platter like that, with a few of the extra-thin slices trailing away toward the edges like polka-dot carrot “confetti.” GAH! So cute. Don’t underestimate those carrots, by the way; they’re really one of the best parts of this whole brisket situation. As for the bunches of fresh thyme you see here—we had some in the fridge, so I just grabbed that and threw it on at the last minute. Really love how it looks, though.
What should I do with brisket leftovers?
Well…eat them, of course! As I mentioned earlier, Leah Koenig’s Brisket Hand Pies are one excellent idea for creatively repurposing this recipe, but you certainly don’t have to go to all that trouble if you don’t feel like it; brisket is delicious as is.
And that’s IT! Find the full recipe below. I’m so happy that I got a chance to share these tips with you, and I’m beyond excited about the possibility that others around the world will be enjoying our family’s traditional holiday brisket recipe this year. How cool. As always, drop me a line if you do end up trying our recipe, or if any of these suggestions come in handy as you prepare your holiday meals.
Shana tova!


Easy Holiday Brisket
Description
This step-by-step holiday brisket recipe is simpler than most and made with only a few ingredients, but it’s not at all short on flavor. It’s also how my family and I have been enjoying the dish for decades! Depending on how hungry your crowd is, you should be able to feed 8-10 people (or more!) with about 5 servings of leftovers. And those leftovers are necessary, because you’ll quickly realize you can’t get enough of this tender, flavorful brisket.
Ingredients
- 5–7 pounds brisket, first cut
- Freshly-ground black pepper
- 4 cups beef stock
- 2 cups water
- 2 packets Lipton Onion Soup Mix (each box comes with the two packets you’ll need)
- 1 pound baby carrots (no need to slice them unless if you want to serve as pictured here)
- Optional garnishes: Edible flowers, fresh thyme (I used stemmed bunches of thyme and a smattering of individual thyme leaves)
Helpful tools:
- Sharp kitchen knife, for trimming the fat
- Large Dutch Oven or roasting pan with lid
- 2 quart-sized glass measuring cups or large, quart-sized containers
- Oven mitts to keep your hands safe
- Large tongs, to turn the brisket over in the middle of the cooking process
- A trivet on which to safely place the hot, heavy Dutch oven after you remove it from the heat
- Sharp carving knife (we use an electric knife to get those nice even cuts, but it’s not necessary)
Instructions
- Preheat the oven to 500° F. Pour the beef stock into a quart-sized measuring cup (or other quart-sized container) along with 1 packet of the soup mix; stir to combine and set aside. To a second quart-sized measuring cup or container, add the water and the second packet of Lipton Soup Mix; stir to combine and set aside.
- Prepare the meat: Use a sharp knife to trim off at least some of the fat—it’s the very noticeable white layer on the outside of the brisket (some don’t trim this at all, or trim at the end of the cooking process). Next, rinse the brisket and pat it dry using a paper towel. Rub both sides of the meat with a thin layer of freshly-ground black pepper. (No need to add salt; the soup mix you’ll add later contains plenty.)
- Put the meat in the bottom of a large Dutch oven, and place in the preheated oven, uncovered, for about 30 minutes to brown/sear. When 30 minutes is up, carefully turn the brisket over (remember to protect your hands from the heat) and continue browning for about 5-10 more minutes on the other side.
- When time’s up and/or both sides have browned, lower the temperature to 325° F. Working quickly but with extreme caution—it’s going to be very hot—open the oven, remove the Dutch oven to a trivet, and pour in the contents of both quart containers (the stock-Lipton mixture and the water-Lipton mixture), making sure the entire brisket is well-covered.
- Return the pot to the oven, covered. Let it continue cooking for another two hours at the new, reduced temperature of 325° F. At the two-hour mark, open the lid of the Dutch oven and add the baby carrots right in alongside the meat; cover again and continue cooking for one more hour.
- Finally, it’s time to safely remove the brisket from the pan. Let it rest on a cutting board for about 15 minutes before cutting in thin, diagonal slices against the grain using a carving knife. (The direction you cut the meat here is important; if you go the wrong way, it may fall apart.)
- Serve the brisket topped with its residual juices from the pan and the softened carrots. Reserve some of the extra liquid from the pan in a separate dish; you can serve this as a “gravy” alongside the meat for those who want to add a little more onto their plates. Garnish as shown, if desired (optional and just for fun!).

My mom made her brisket the same way and I’ve been making it like that for 45 years!! I just found you on Instagram and started to follow. L’shana Tovah!
oh my goodness. this MADE my day to hear, and I just told my mom who is also thrilled – ha!! so fun to know that you made it this way, too. and THANK YOU for reaching out; I’m so glad to hear you’re following on IG and look forward to staying in touch over there! sending love & shanah tovah!
Talk to me about steps to make this ahead – the day before?
great question! you can cook this 1-2 days before you plan to serve it; it’s even better that way bc all the flavors will deepen. before serving, transfer it to a cooking vessel, pour the reserved cooking juices on top, cover the pan tightly with foil to preserve moisture (aim for no holes or gaps in the foil!), and reheat it in a 325 degree oven for 15-25 mins if already sliced and about 45-60 mins if whole.
Excited to try this! Just had a question: can you make this ahead and then freeze it? Wondering how freezing/reheating would affect brisket texture. If you’ve tried freezing this recipe, would love to hear how it turned out, and how would you advise reheating? Since we’re expecting a new baby around Rosh Hashana, the only way I’ll be able to do any high holiday cooking this year is to make it now and freeze it for later! Thanks!
hi Ruth! first, b’sha’ah tovah on the new baby!!! 🙂 yes, brisket can be made ahead of time and frozen/reheated, and though I’ve never done it myself, I’ve heard it makes the meat even more delicious (this is certainly true for the brisket leftovers we have out of the fridge)! you can store the meat *with the liquid/gravy* for up to two days in the fridge and up to three months in an airtight container in the freezer. let me know how it goes for you and enjoy!